
Introduction
If you enjoy the refreshing taste of tomato juice, you’ll be pleased to know that you can easily make it at home using a blender. Homemade tomato juice allows you to control the ingredients and customize the flavor to your liking. In this guide, we will explore the step-by-step process of making blender tomato juice, highlighting the benefits of this homemade approach and sharing tips for achieving the perfect consistency and taste. By following these instructions, you can create a delicious and nutritious tomato juice that is bursting with fresh flavors.
Why Use a Blender for Tomato Juice?
Using a blender to make tomato juice offers several advantages, making it a practical choice for many households. Therefore, exploring these benefits can help you appreciate its convenience and efficiency.
Convenience and Accessibility
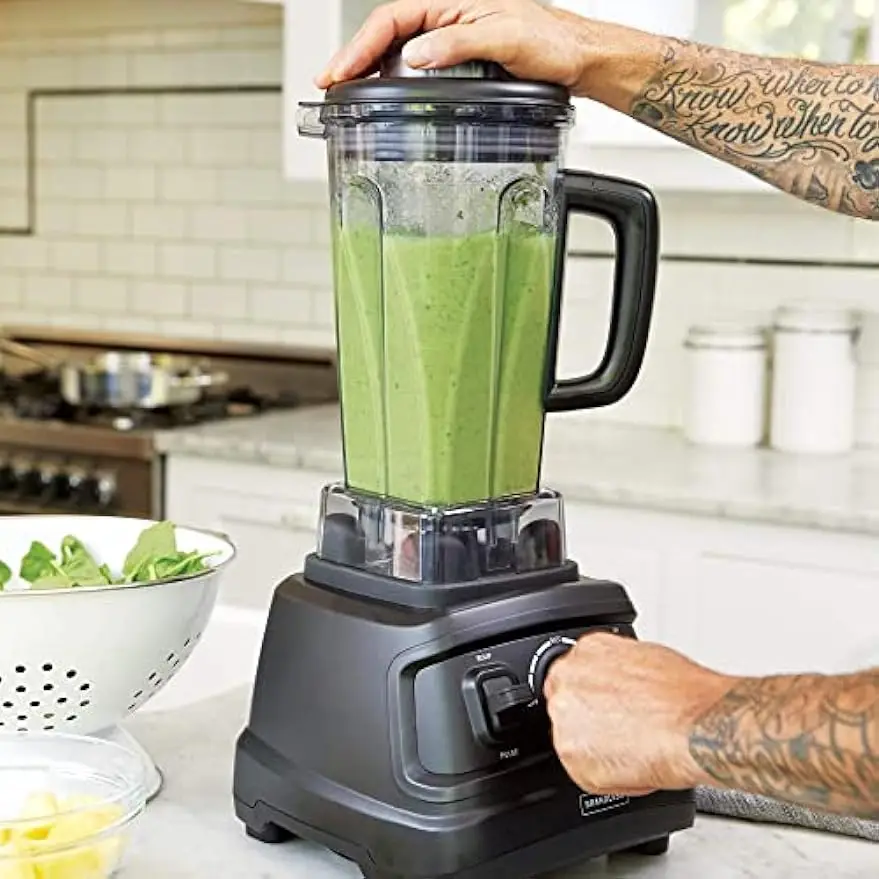
Blenders are common household appliances, making them readily accessible for most people. Unlike specialized juicers, which may require additional investment, a blender is a versatile tool already present in many kitchens. Using a blender simplifies the process, requiring fewer steps and less equipment. Consequently, the convenience and accessibility of blenders make them an attractive option for making tomato juice. Therefore, understanding this benefit underscores the practicality of using a blender.
Nutritional Benefits
A blender preserves the fiber content in tomatoes, providing additional nutritional value. Traditional juicers often extract the juice while discarding the pulp, which contains essential fibers and nutrients. Blending tomatoes integrates the entire fruit, ensuring you receive all the health benefits. The fiber helps in digestion and promotes a feeling of fullness, making blended tomato juice a healthier alternative. Therefore, recognizing the nutritional benefits highlights another reason to use a blender for making tomato juice.
Tips for Enhancing Your Tomato Juice
While the basic process for making tomato juice is straightforward, several tips can enhance the flavor and nutritional value. Therefore, exploring these additional tips provides further insights.
Straining the Juice
For those who prefer a thinner consistency, straining the blended tomato juice can remove excess pulp. Using a fine mesh strainer or cheesecloth, pour the blended juice through and collect the liquid in a separate container. This step ensures a smoother, more refined juice, catering to different texture preferences. Consequently, straining enhances the drinking experience for those who prefer less pulp. Therefore, understanding the option to strain the juice provides flexibility in your preparation.
Adding Nutrients and Flavor
Enhancing your tomato juice with additional nutrients and flavors can elevate its nutritional profile and taste. Consider adding vegetables such as celery, carrots, or bell peppers during the blending process. These additions not only boost the vitamin and mineral content but also add complexity to the flavor. Fresh herbs, like basil or cilantro, can introduce aromatic notes, while a splash of lemon juice can add brightness and acidity. Therefore, recognizing the potential for customization enhances your homemade tomato juice’s appeal.
How to make tomato juice from fresh tomatoes with a blender?
Selecting the Right Tomatoes
1.1. Fresh and Ripe Tomatoes
Choose ripe and flavorful tomato output from a blender for the best results. Look for tomatoes that are firm and fully ripened, as they will have a sweeter and richer taste. Varieties such as Roma, beefsteak, or heirloom tomatoes are excellent choices.
1.2. Organic or Homegrown Options
Consider using organic tomatoes or homegrown varieties to ensure that your tomato juice is free from pesticides and chemicals. Organic tomatoes are typically available at local farmers’ markets or grocery stores that carry organic produce.
Preparing the Tomatoes
2.1. Washing the Tomatoes
Thoroughly wash the tomatoes under running water to remove any dirt or residue. Gently Rub the skin of each tomato to ensure it is clean.
2.2. Removing the Core and Seeds
Using a sharp knife, cut out the core of each tomato and discard it. To remove the seeds, cut the tomato in half horizontally and scoop out the seeds with a spoon. Removing the seeds can help achieve a smoother texture in the juice.
Blending the Tomatoes
3.1. Cutting the Tomatoes into Chunks
Cut the prepped tomatoes into large chunks to ensure easy blending and to prevent strain on the blender’s motor.
3.2. Blender Capacity and Batch Sizes
Consider the capacity of your blender when determining the batch size for blending. For larger blenders with high capacity, you can blend all the tomato chunks at once. If using a smaller blender, it is advisable to blend the tomatoes in batches to avoid overflow or strain on the blender.
3.3. Adding Flavor Enhancements (Optional)
At this stage, you can add additional flavor enhancers to customize the taste of your tomato juice. Common options include a pinch of salt, a squeeze of fresh lemon juice, or a sprinkle of herbs such as basil or parsley. Experiment with flavors to find your preferred combination.
3.4. Blending Speed and Duration
Start with a low blending speed to break down the tomato chunks and then gradually increase the speed to achieve a smooth consistency. Blend the tomatoes until they are thoroughly pureed and all the chunks have disappeared. The duration may vary depending on the power of your blender, but usually, it takes around 1-2 minutes.
Straining the Tomato Mixture
4.1. Choosing a Straining Method
Once the tomatoes are blended, you have the option to strain the mixture to remove any remaining pulp or seeds. Straining can create a smoother and more refined texture. You can choose between using a fine-mesh strainer, cheesecloth, or a nut milk bag for this step.
4.2. Straining the Tomato Puree
Place the strainer or cheesecloth over a large bowl or pitcher that can hold the strained juice. Pour the tomato puree into the strainer, allowing it to strain naturally. Use the back of a spoon or a rubber spatula to gently press down on the mixture to extract as much juice as possible. Continue until all the juice has been extracted and only pulp remains.
4.3. Removing Pulp (Optional)
If you desire a completely pulp-free tomato juice, strain the juice a second time, either by using a finer strainer or repeating the process with the cheesecloth or nut milk bag. This will result in a smoother consistency.
Adjusting the Flavor
5.1. Taste Testing
Taste a small amount of the strained tomato juice to assess the flavor. It is at this stage that you can make adjustments to cater to your preferences. If you find the juice too tangy, you can add a pinch of sugar or a sweetener of your choice. If it lacks acidity, you can add a bit of lemon juice or vinegar.
Serving and Storing
6.1. Chilling the Tomato Juice
Refrigerate the freshly made tomato juice for at least one hour before serving. This will help enhance the flavor and allow the juice to cool.
6.2. Serving Suggestions
Tomato juice can be enjoyed plain or used as a base for various cocktails and culinary creations. Serve it chilled in a glass over ice or incorporate it into recipes like Bloody Marys, marinades, soups, or sauces.
6.3. Storing the Tomato Juice
If you have leftover tomato juice, transfer it to an airtight container and refrigerate it for up to three days. Shake or stir the juice before serving, as natural separation may occur.
Benefits of Homemade Tomato Juice
7.1. Fresh and Natural Ingredients
Making tomato juice at home allows you to use fresh, ripe tomatoes and eliminates the need for preservatives or added artificial flavors.
7.2. Customization and Control
Homemade tomato juice gives you complete control over the taste and flavor. You can adjust the sweetness, acidity, and any additional ingredients to create a juice that suits your palate.
7.3. Nutritional Value
Tomatoes are rich in vitamins, minerals, and antioxidants. By making your tomato juice at home, you can ensure that it retains its nutritional value and get the maximum health benefits.
Tips for the Best Tomato Juice
Tomato Varieties
Experiment with different tomato varieties to find the ones that yield the best flavor and consistency for your tomato juice. While Roma and beefsteak tomatoes are commonly used, you can try heirloom varieties or cherry tomatoes for unique flavors.
Adjusting Consistency
If you prefer a thicker tomato juice, reduce the straining time or opt for a coarser strainer that allows some pulp to remain. Conversely, for a smoother and more refined texture, strain the juice multiple times or use a finer mesh strainer.
Enhancing Flavor
Aside from the optional flavor enhancers mentioned earlier, you can further enhance the taste of your tomato juice with ingredients such as Worcestershire sauce, hot sauce, garlic powder, or celery salt. Remember to add these ingredients sparingly and adjust according to your taste.
Freezing Tomato Juice
If you have an abundance of tomatoes, consider freezing the tomato juice for future use. Pour the strained juice into ice cube trays to freeze. Once frozen, transfer the cubes to freezer bags or containers. Thaw the cubes as needed for individual servings or tomato juice recipe blender.
Blending with Other Ingredients
You can experiment with adding other complimentary ingredients to your tomato juice for added flavor and nutrition. Consider blending with herbs like basil or cilantro, adding a squeeze of citrus such as lemon or lime, or incorporating vegetables like cucumber or bell peppers.
Conclusion
How to make tomato juice in a blender? Making tomato juice with a blender is a straightforward process that allows you to savor the natural flavors of fresh tomatoes while providing flexibility in customizing the taste based on your preferences. With the right tomatoes, blending technique, and optional flavor enhancements, you can create a delicious and nutritious tomato juice that is ideal for enjoying on its own or incorporating into various recipes in 2024. By following these steps and experimenting with different flavors, you’ll be able to make homemade tomato juice that rivals store-bought options in terms of freshness, quality, and taste.


 Leakage Issues
 Display and Control Issues
 Blending Process
 Performance Benefits
 Long-Term Investment
 User Reviews and Testimonials
 Conclusion:
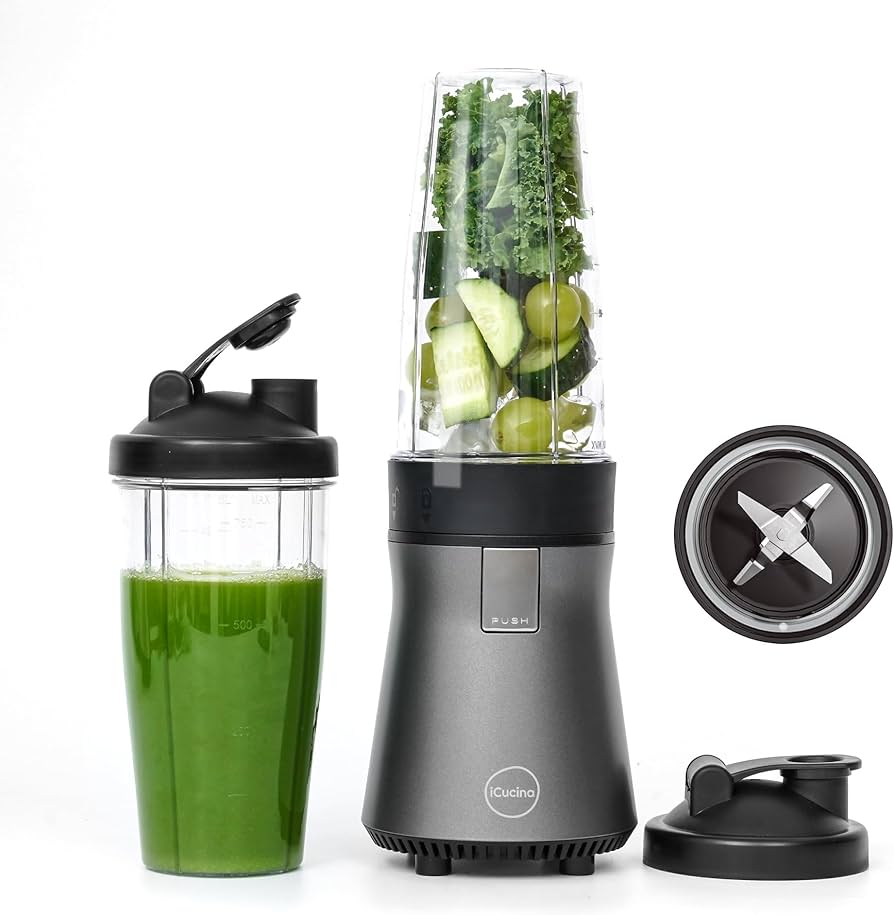
 What Blender Does Smoothie King Use?
 Essential Ingredients for Replicating Flavors
 Maintaining Your Blender
 Common Mistakes to Avoid

 Selecting the Right Blender:
 Blending Time:
 Potential Drawbacks:
  Comparing Alternatives: