
Introduction
Blenders are versatile kitchen appliances that can do much more than just blend smoothies or soups. They can also be used to create refreshing and delicious frozen yogurt or sorbet right in the comfort of your home. If you’re looking to satisfy your sweet tooth with a healthier alternative or experiment with fruity and tangy flavors, this guide will walk you through the step-by-step process of making frozen yogurt and sorbet using a blender. Get ready to indulge in delightful frozen treats!
Can a blender be used to make frozen yogurt or sorbet?
Frozen Yogurt: Creamy and Tangy Goodness
1.1. Ingredients
To make frozen yogurt, gather your desired ingredients, including plain yogurt, sweetener (such as honey or maple syrup), and flavorings like vanilla extract or fruit puree. You can also add mix-ins such as fresh fruit chunks, chocolate chips, or crushed cookies for added texture and flavor.
1.2. Blender Preparation
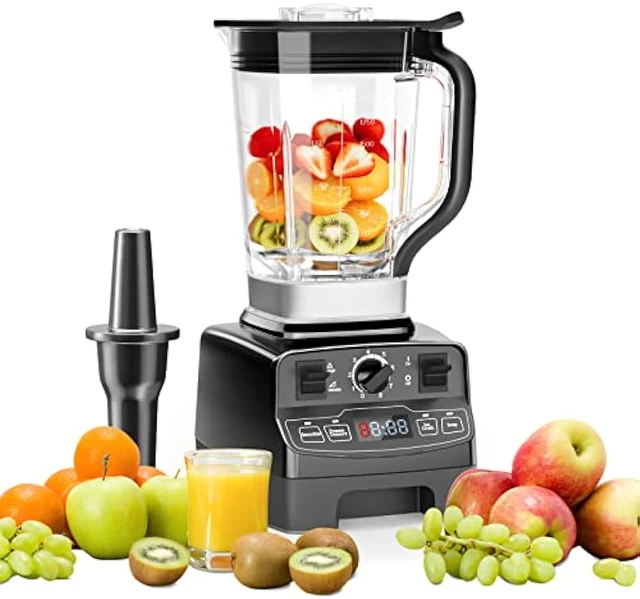
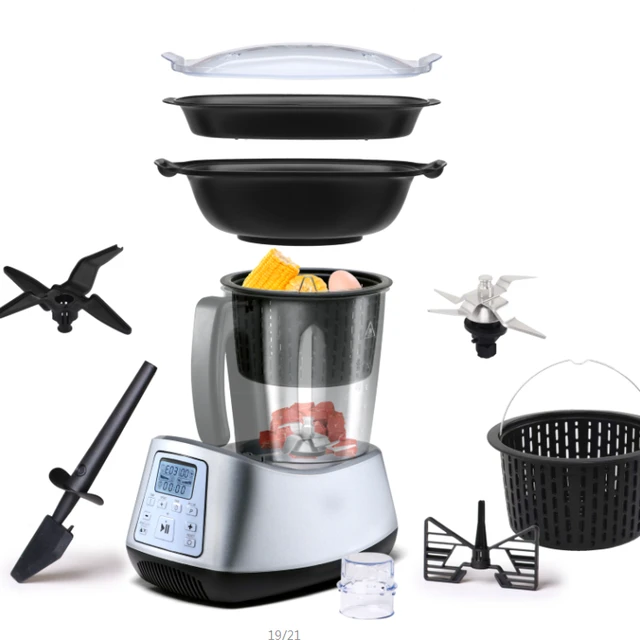
Ensure that your blender is clean and ready for use. If necessary, disassemble the blender jar and wash all components thoroughly. Once clean, reassemble the blender, ensuring that all parts are securely in place.
Preparing the Frozen Yogurt Base
2.1. Yogurt Selection
Choose a plain yogurt that suits your taste preferences. You can opt for regular, Greek, or dairy-free yogurt, depending on your dietary needs or preferences. Full-fat yogurt tends to yield a creamier texture, while low-fat or non-fat options may result in a slightly lighter texture.
2.2. Sweetening the Yogurt
Measure the desired amount of sweetener, such as honey or maple syrup, and add it to the blender. The amount of sweetener can be adjusted to suit your taste. Keep in mind that freezing dulls the sweetness slightly, so it’s okay to have a slightly sweeter base.
2.3. Flavor Enhancements
To infuse your frozen yogurt with delightful flavor, add your chosen flavorings, such as vanilla extract or fruit puree, to the blender. The quantity and type of flavorings will depend on your preferences and the recipe you’re following.
Blending the Frozen Yogurt Mixture
3.1. Blending Process
Place the lid securely on the blender and begin blending the yogurt mixture on a low speed. Gradually increase the speed to achieve a smooth and well-combined mixture. Blend for a few minutes until the ingredients are fully incorporated and the mixture is creamy and smooth.
3.2. Mix-in Additions
If you’re adding mix-ins to your frozen yogurt, stop blending briefly to incorporate them into the mixture. This can include fresh fruit chunks, chocolate chips, or crushed cookies. Blend for a few additional seconds to distribute the mix-ins evenly throughout the yogurt.
Freezing the Frozen Yogurt
4.1. Freezing Containers
Prepare freezer-safe containers to store your frozen yogurt. You can use one large container or individual portions, depending on your preference. Ensure that the containers are clean and dry before use.
4.2. Filling the Containers
Pour the blended frozen yogurt mixture from the blender into the prepared containers. Fill the containers to about 3/4 full, as the yogurt will expand as it freezes. Leave some space at the top to allow for proper expansion and to accommodate any additional toppings or swirls.
4.3. Optional Toppings and Swirls
Get creative by adding toppings or swirls to your frozen yogurt. This can include drizzling chocolate sauce, caramel, or fruit puree on top. Use a spoon or skewer to swirl the toppings or create patterns for an aesthetically pleasing presentation.
4.4. Freezing Time
Place the containers in the freezer and let the frozen yogurt set for at least 4-6 hours, or until it reaches the desired firmness. Remember to cover the containers with lids or plastic wrap to prevent ice crystals from forming.
Sorbet: Refreshingly Fruity Delight
5.1. Fruit Selection
For sorbet, the primary ingredient is fresh or frozen fruit. Choose your favorite fruits, such as berries, mangoes, peaches, or citrus fruits, depending on what is in season or readily available. Ensure that the fruits are ripe and flavorful for the best results.
5.2. Fruit Preparation
Wash and clean the fruits thoroughly, removing any stems, seeds, or skin. Cut larger fruits into smaller chunks for easier blending. If using frozen fruit, allow it to thaw slightly before blending.
5.3. Sweetening the Sorbet
Some fruits may require additional sweetening to balance their natural tartness. Add a sweetener of your choice, such as sugar, honey, or agave syrup, to the blender along with the fruit. Adjust the amount of sweetener based on the fruit’s natural sweetness and your personal preference.
5.4. Optional Citrus Juice
For an added burst of freshness and tanginess, consider adding a splash of citrus juice, such as lemon or lime juice, to the fruit mixture. Citrus juices help brighten the flavors of the sorbet and add a zesty kick.
Blending the Sorbet Mixture
6.1. Blending Process
Place the lid securely on the blender and start blending the fruit mixture on a low speed. Gradually increase the speed to ensure thorough blending. Blend for a few minutes until the mixture becomes smooth and homogeneous, with no visible fruit chunks.
6.2. Optional Sieving
To achieve a smoother texture, you can pass the blended mixture through a fine-mesh sieve or strainer to remove any remaining fruit fibers or seeds. This step is optional, and some prefer to keep the sorbet texture slightly rustic and full of fruit bits.
Freezing the Sorbet
7.1. Freezing Containers
Similar to frozen yogurt, prepare freezer-safe containers for storing your sorbet. Choose containers that are the appropriate size for your desired amount of sorbet, ensuring they have lids or can be covered with plastic wrap.
7.2. Filling the Containers
Pour the blended sorbet mixture from the mixer into the prepared containers, leaving some space at the top for expansion. Smooth the surface with a spoon or spatula, ensuring an even distribution.
7.3. Optional Fruit Swirls and Toppings
For an eye-catching presentation, consider adding fruit swirls or chunks to the sorbet mixture. Gently fold in fresh fruit chunks or create swirls with fruit puree using a spoon or skewer. This adds visual appeal and bursts of fruit flavors.
7.4. Freezing Time
Place the containers in the freezer and allow the sorbet to freeze for at least 4-6 hours, or until it reaches the desired firmness. Remember to cover the containers to prevent ice crystals from forming.
Serving and Enjoying your Frozen Delights
8.1. Softening the Frozen Yogurt or Sorbet
Before serving, remove the containers from the freezer and let the frozen yogurt or sorbet sit at room temperature for a few minutes to soften. This step ensures easier scooping and a smoother texture.
8.2. Scooping and Serving
Using an ice cream scoop or spoon, portion out the desired amount of frozen yogurt or sorbet into bowls or cones. Garnish with fresh fruit, mint leaves, or a dusting of powdered sugar to enhance the presentation and flavor.
8.3. Storing the Remaining Frozen Yogurt or Sorbet
If there are leftovers, ensure that the remaining frozen yogurt or sorbet is stored in an airtight container in the freezer. This helps maintain its texture and prevents freezer burn. Remember to label the container with the flavor and date of preparation for future reference.
Conclusion
Blenders can be fantastic tools for creating luscious and refreshing frozen desserts like yogurt and sorbet. With the right ingredients, a little creativity, and a trusty stick blender, you can whip up frozen treats that are both delicious and healthier alternatives to store-bought options. So, grab your blender, gather your favorite ingredients, and embark on a delightful frozen adventure right in your kitchen. Indulge in the creamy and tangy goodness of frozen yogurt or savor the fruity and refreshing delight of homemade sorbet. Enjoy every spoonful and share the frozen joy with friends and family!