Posted on Leave a comment

Is it OK to blend ice in a blender?

Blender

Introduction

Blending ice is a common practice when making smoothies, frozen beverages, or slushies. However, some individuals may wonder if it is safe for their blender to handle ice. In this informative guide, we will explore the topic in detail to provide a comprehensive understanding of blending ice in a blender. By addressing concerns, providing tips, and outlining the potential impact on blender performance, we aim to help you make informed decisions and achieve successful ice blending results.
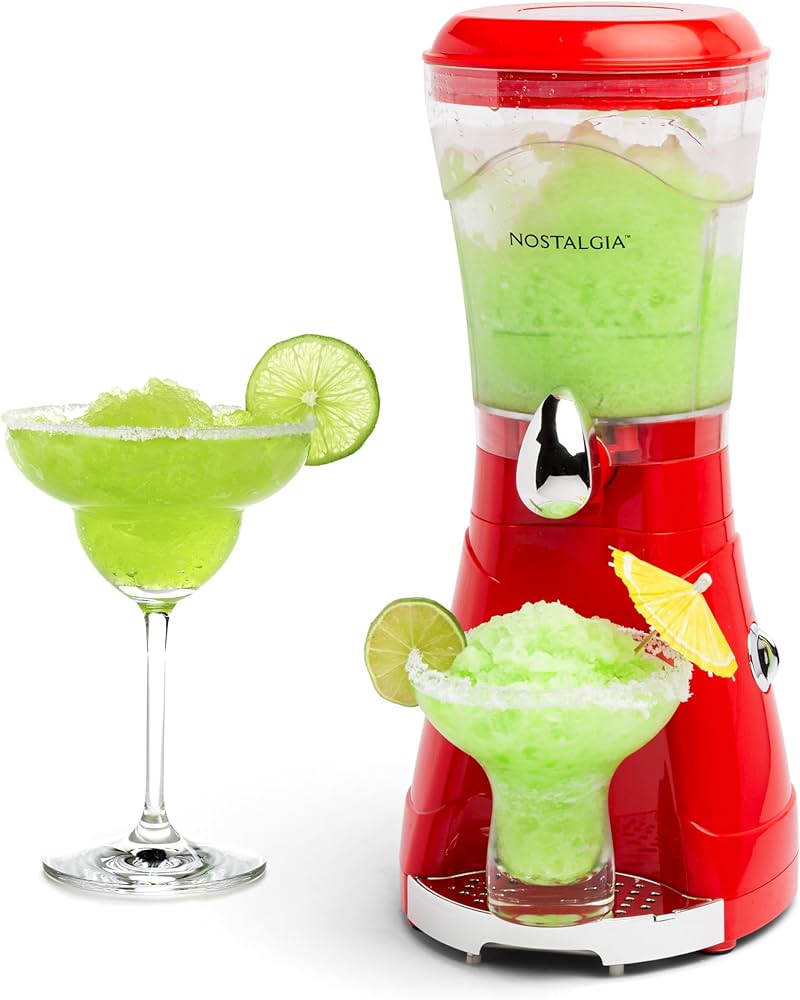
Blender

Is it OK to blend ice in a blender?

I. Understanding Blender Capabilities

  1. Blender Types and Specifications:

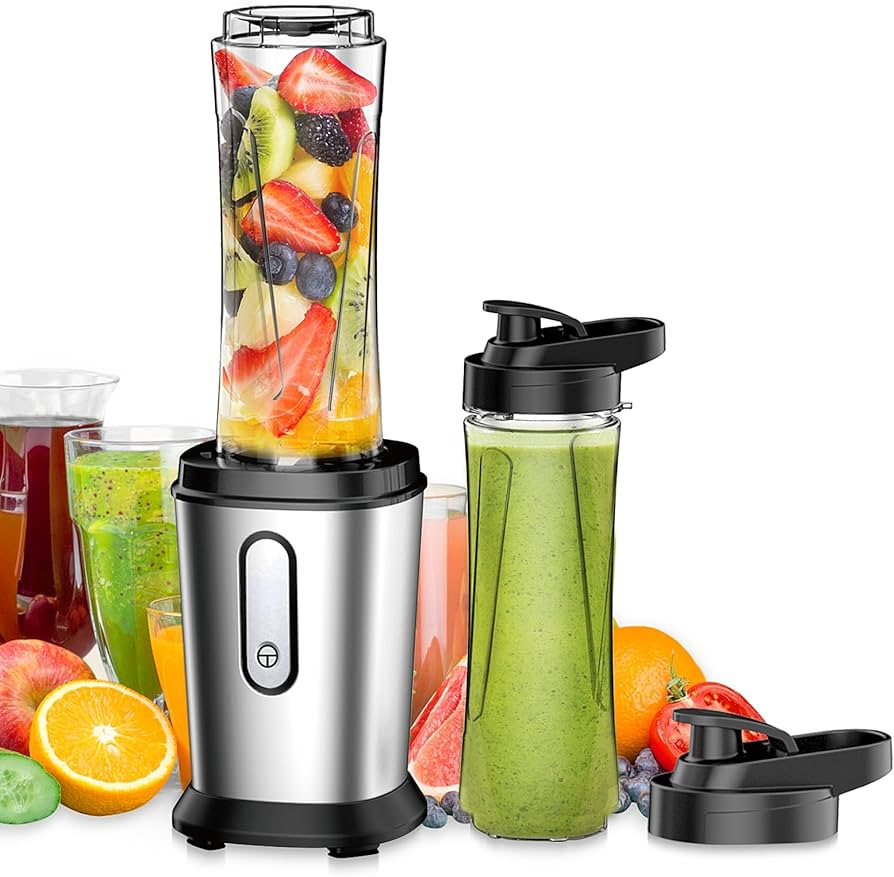
  • Blenders come in various types, such as countertop blenders, immersion blenders, and personal blenders, each with different capabilities and power levels. It is important to consult your blender’s user manual or specifications to determine if it is designed for blending ice.
  1. Motor Power and Blade Strength:

  • The motor power and blade strength of a blender play a crucial role in determining its ice blending capability. Blenders with higher wattage and more robust blade assemblies are generally more effective at crushing ice.

II. Assessing Blender Suitability for Ice Blending

  1. Reviewing the User Manual or Manufacturer Guidelines:

  • Consult the blender’s user manual or manufacturer guidelines to determine if it explicitly states that it can blend ice. These resources often provide specific instructions and recommendations to ensure safe and optimal blender performance.
  1. Blender Label or Markings:

  • Some blenders may have labels or markings indicating their suitability for ice blending. Look for symbols or statements, such as “Ice Crusher” or “Ice Blend” to confirm if your blender is designed for this purpose.
  1. Jar or Pitcher Material:

  • Consider the construction material of your blender’s jar or pitcher. Glass, high-quality plastic, or heavy-duty materials are typically more resistant to the impact and force exerted during ice blending.
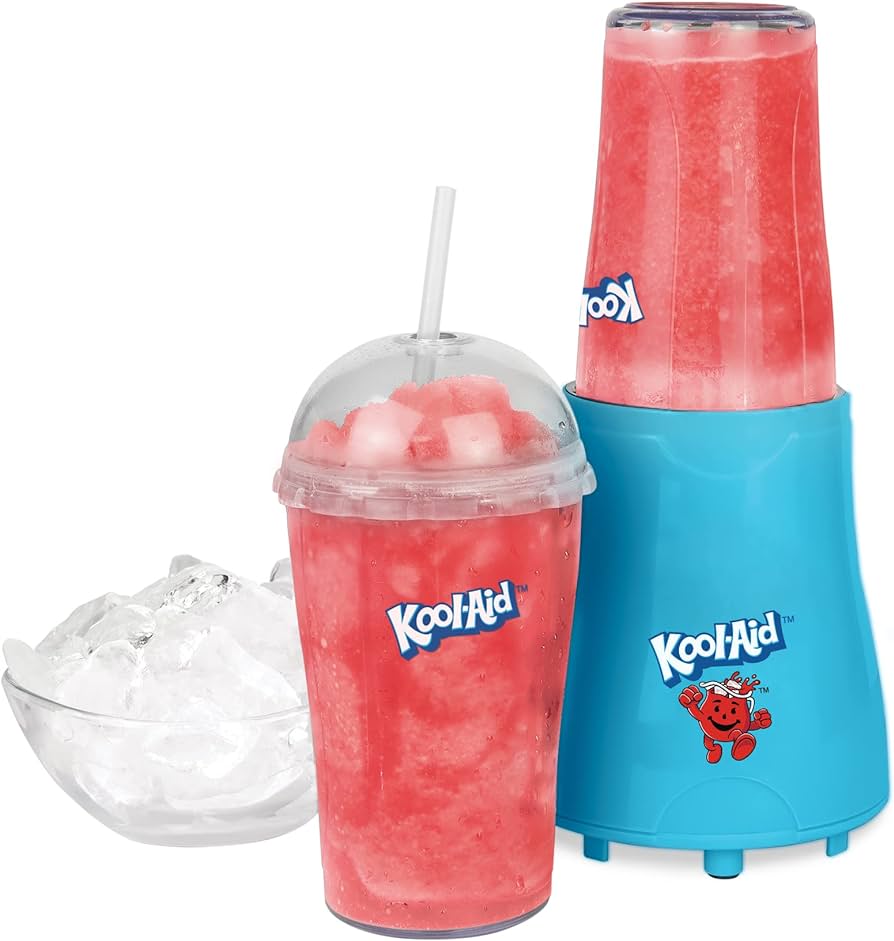
Blender

III. Tips for Successfully Blending Ice

  1. Ice Cube Size:

  • To facilitate the blending process, use ice cubes that are relatively small in size. Large ice cubes may strain the blender’s motor and blades. If necessary, you can crush larger ice cubes using a mallet or rolling pin before adding them to the blender.
  1. Liquid Ingredients:

  • Incorporating liquid ingredients, such as water or juice, when blending ice can help create smoother results. Liquids aid in the blending process by providing a medium to move the ice around the blades, reducing the strain on the blender.
  1. Pulse Blending Technique:

  • When blending ice, utilize a pulsing technique rather than continuously running the blender. This approach allows the ice to move around and encourages even blending, reducing the strain on the blender motor.
  1. Layering Ice and Liquid:

  • To prevent the ice from forming a solid block at the bottom of the blender jar, layer the ice and liquid ingredients. Start by adding a small amount of liquid, followed by a layer of ice cubes, and repeat the process until all the ingredients are added. This method helps distribute the blending process evenly.
  1. Stopping and Stirring:

  • During the blending process, occasionally stop the blender and use a spoon or spatula to stir the mixture. This ensures that any ice chunks are evenly incorporated and encourages smoother blending results.

IV. Potential Impact on Blender Performance

  1. Motor Overload:

  • Blending ice can place additional strain on a blender’s motor, particularly if the blender is not specifically designed for ice blending or if it has a lower wattage. Continuous blending or overloading the blender with excessive ice may lead to motor overheating and potential damage.
  1. Blade Dullness or Breakage:

  • Repeatedly blending ice can dull or damage the blender’s blades over time, especially if they are not designed for ice blending. It is essential to regularly inspect the blades for signs of wear and tear and replace them if necessary.
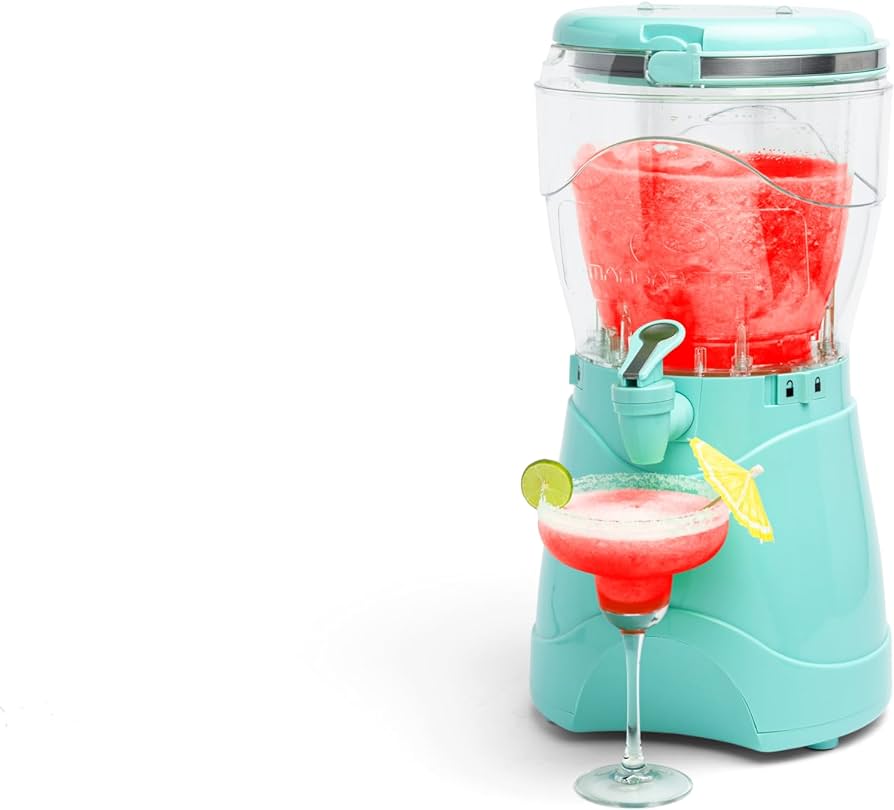
Blender

V. Maintenance and Care

  1. Cleaning the Blender:

  • After blending ice, clean the blender thoroughly to remove any ice residue, which can potentially affect future blending results. Disassemble removable components, such as the jar, lid, and blades, and wash them with warm soapy water or follow the manufacturer’s instructions for cleaning.
  1. Regular Maintenance:

  • To ensure optimal blender performance, perform regular maintenance, such as tightening loose parts, lubricating blade assemblies (if applicable), and inspecting for any signs of wear or damage. Regular maintenance helps extend the lifespan of the blender, allowing it to handle ice blending more effectively.

VI. Alternatives to Blending Ice

  1. Pre-Crushing Ice:

  • If your blender is not suitable for blending ice or you prefer not to exert that strain on it, consider pre-crushing the ice using alternative methods. Use a manual ice crusher, mallet, rolling pin, or even a clean cloth to crush the ice before adding it to your blender.
  1. Ice Shaver or Snow Cone Machine:

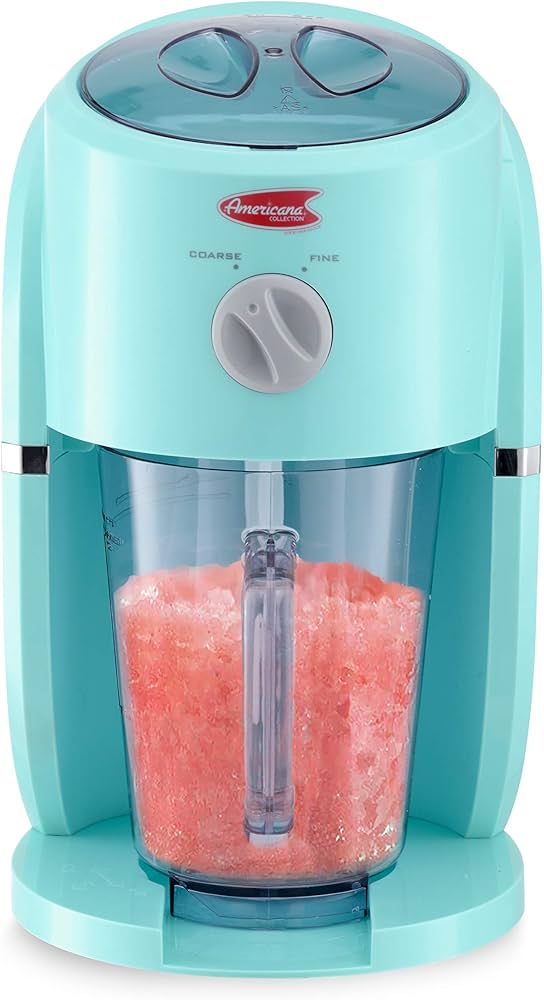
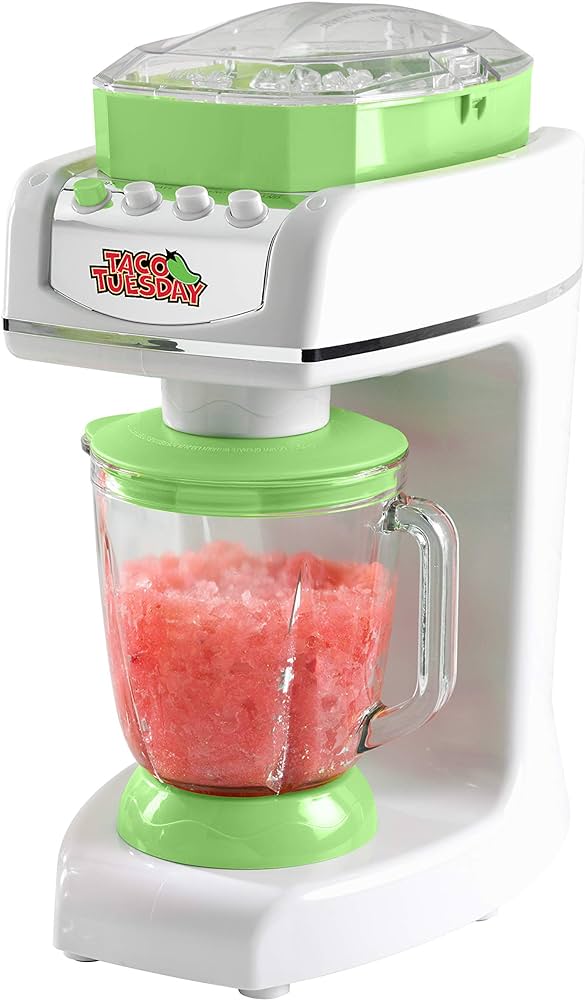
  • Alternatively, invest in a specialized ice shaver or snow cone machine that is specifically designed for crushing ice. These devices are dedicated to ice applications and may produce better results compared to traditional blenders.

Blender

VIII. Exploring Ice Blending Recipes and Ideas

  1. Classic Smoothies:

  • Blending ice with fruits, yogurt, and liquids can create delicious and refreshing smoothies. Experiment with different fruit combinations and add-ons, such as protein powder, nut butter, or greens, to customize your smoothie according to your preferences.
  1. Frozen Cocktails:

  • Blending ice with alcoholic beverages, mixers, and flavors can result in delightful frozen cocktails. Try popular options like margaritas, piña coladas, or daiquiris, or get creative and develop your own unique cocktail creations.
  1. Fruit Slushies:

  • Blend ice with your favorite fruit juices, fresh fruit, and sweeteners to create vibrant and fruity slushies. Mangos, strawberries, watermelons, and citrus fruits are excellent choices for flavorful slushie combinations.
  1. Coffee and Tea Blends:

  • For the coffee or tea enthusiasts, blending ice with brewed coffee or tea, milk or cream, sweeteners, and additional flavorings is a fantastic way to enjoy chilled caffeinated beverages. Try variations like mocha frappuccinos or matcha green tea smoothies.
  1. Frozen Desserts:

  • Blending ice with frozen fruits, sweeteners, and cream or yogurt can help you create luscious frozen desserts, such as sorbets or frozen yogurt. Experiment with different fruit flavors and add textural elements like nuts or chocolate chips for extra indulgence.
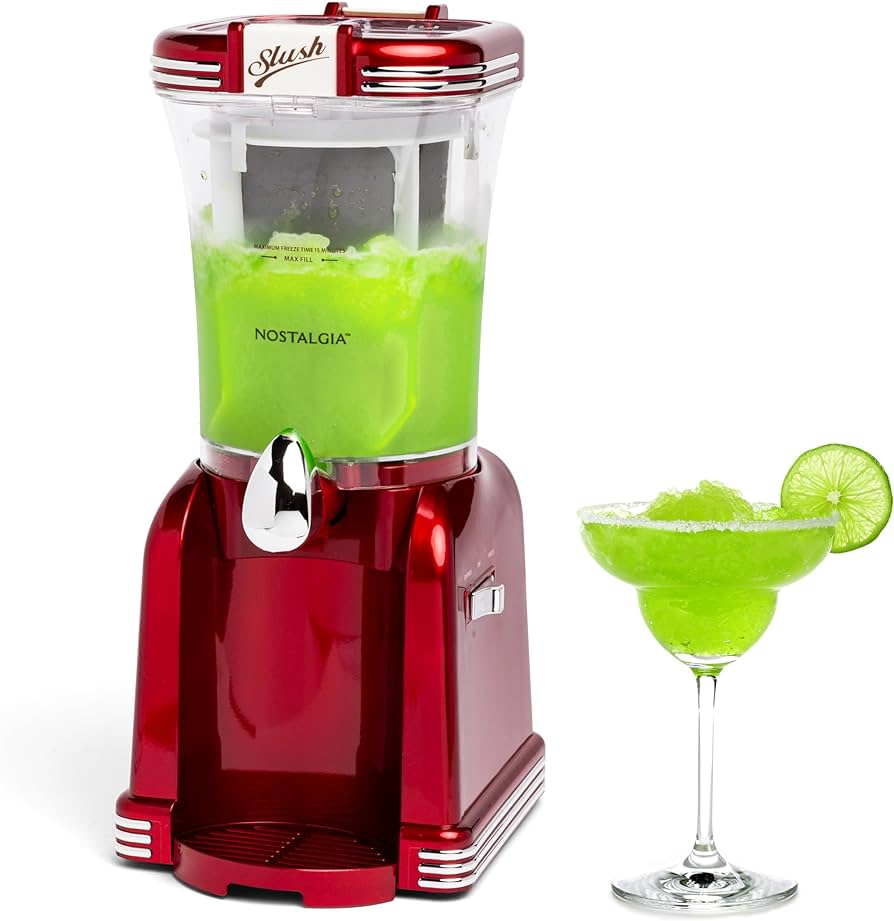
Blender

VII. Conclusion: Blending Ice with Caution and Consideration

Blending ice in a traditional blender is generally feasible, but it is important to exercise caution, understand your blender’s capabilities, and follow proper techniques to achieve successful results. Consult your blender’s user manual, assess its suitability for ice blending, and utilize the tips provided.

Remember, if you do not have a blender suitable for ice blending, there are alternative methods and specialized devices available to help you crush ice effectively. Prioritize maintenance and care to ensure your blender’s longevity and optimal performance over time.

With a well-suited blender, proper techniques, and a little creativity, you can enjoy delicious blended drinks, smoothies, and icy treats that will keep you refreshed and satisfied.

Posted on Leave a comment

Can you make a slushies in an electronic blender?

Blender

Introduction

Slushies are a delicious and refreshing treat, perfect for hot summer days or any time you crave a cool and icy drink. While slushies are typically associated with specialized machines, you can also make them easily at home using a blender. In this comprehensive guide, we will explore the step-by-step process of making a slushie with a blender. By covering the necessary ingredients, blending techniques, and customization options, we aim to provide you with the knowledge and confidence to create your own homemade slushies for your enjoyment.

Blender

Can you make a slushie with a blender?

I. Gathering the Essential Ingredients and Tools

  1. Ingredients:

  • Fruit juice or flavored beverage of your choice
  • Ice cubes
  • Sweetener (optional)
  • Fresh fruit or herbs for additional flavor (optional)
  • Garnishes (e.g., fruit slices, whipped cream, sprinkles) (optional)
  1. Tools:

  • Blender
  • Measuring cup or scale
  • Blender pitcher or jar with a secure lid
  • Drinking glasses
  • Straws or spoons for serving

II. Selecting the Right Blend of Ingredients

  1. Choosing the Base Liquid:

  • Select a fruit juice or flavored beverage as your base liquid for the slushie. Popular choices include orange juice, lemonade, fruit punch, or soda. Opt for a liquid that complements your desired flavor profile.
  1. Deciding on Sweeteners:

  • Determine if you need to add any sweeteners to the slushie. Depending on the sweetness of your chosen liquid and personal preference, you may want to add honey, sugar, agave syrup, or other sweeteners. Taste and adjust as needed.
  1. Adding Additional Flavor Enhancements:

  • To elevate the flavor of your slushie, consider incorporating fresh fruit, such as berries or watermelon, or herbs like mint or basil. These additions can enhance the taste and provide a burst of freshness to your creation.

Blender

III. Preparing the Ingredients

  1. Chilling the Base Liquid:

  • Pour the desired amount of base liquid into a container and refrigerate it in advance. Chilled liquid will help maintain the slushie’s icy texture when blended with ice.
  1. Preparing the Ice Cubes:

  • Ensure you have an ample supply of ice cubes ready for blending. For a more convenient approach, make extra ice cubes in advance and keep them in a freezer bag for future slushie creations.

IV. Blending and Serving the Slushie

  1. Measuring the Ingredients:

  • Measure the desired quantity of base liquid using a measuring cup or a scale. Note the amount for future reference or adjustments to achieve your preferred consistency.
  1. Adding the Base Liquid to the Blender:

  • Pour the measured base liquid into the blender pitcher or jar.
  1. Incorporating Sweeteners or Additional Flavorings:

  • If desired, add sweeteners or any additional flavor enhancements to the blender. Start with small amounts and taste as you go, adjusting to your preference.
  1. Adding the Ice Cubes:

  • Drop a generous amount of ice cubes into the blender. The precise quantity will depend on your desired slushie thickness. Remember that more ice cubes will result in a thicker and icier slushie.

Blender

  1. Blending the Mixture:

  • Securely cover the blender pitcher or jar with the lid and ensure that it is properly sealed. Begin blending the mixture by starting at a low speed and gradually increasing to high. Blend until the ingredients are thoroughly combined and the ice is completely crushed.
  1. Checking the Consistency and Adjusting as Needed:

  • Pause the blending process to check the consistency of the slushie. If it is too thin, add more ice cubes and blend again. Conversely, if it is too icy or thick, incorporate more base liquid and blend until you achieve your desired texture.
  1. Pouring and Serving the Slushie:

  • Carefully remove the blender pitcher or jar from the base. Pour the slushie into serving glasses, leaving some space at the top for garnishes or additional ingredients. Optional garnishes can include fruit slices, whipped cream, or colorful sprinkles. Offer straws or spoons for easy enjoyment.

V. Customizing Your Slushie Experience

  1. Experiment with Mix-Ins:

  • Enhance your slushie’s texture and taste by adding mix-ins. Consider including crushed fruit, chocolate chips, mini marshmallows, or cookie crumbles. Mix-ins can provide exciting surprises throughout your drink.
  1. Exploring Flavor Combinations:

  • Don’t be afraid to mix and match flavors to create unique slushie concoctions. Combine different juices or experiment with flavored syrups to add depth and complexity to your creations.
  1. Trying Alcohol-Infused Slushies (for legal drinking age only):

  • If you are of legal drinking age, you can add a splash of alcohol to your slushie for an adults-only treat. Vodka, rum, tequila, or liqueurs can be excellent additions for a refreshing cocktail-inspired slushie.

Blender

VI. Cleaning and Maintaining Your Blender

  1. After-Use Cleaning:

  • Safely disconnect the blender from the power source before cleaning. Disassemble removable components, such as the pitcher and lid, and wash them with warm soapy water. Use a scrub brush or sponge to remove any residue, and thoroughly rinse before air-drying or towel-drying.
  1. Maintenance Tips:

  • Regularly clean your blender to prevent buildup and maintain optimal functionality. Refer to the manufacturer’s instructions for specific maintenance guidelines, as some blenders may have specific requirements. Additionally, ensure that the blender’s motor base remains dry and does not come into contact with water.


VIII. Tips and Tricks for the Perfect Slushie

  1. Freezing the Base Liquid:

  • For an even icier slushie, you can freeze the base liquid in ice cube trays. This method eliminates the need for additional ice cubes and helps preserve the flavor of the liquid.
  1. Adding Citric Acid for Tartness:

  • If you enjoy a tangy or tart slushie, consider adding a small amount of citric acid to the mixture. Citric acid can be found in powdered form at grocery stores or online, and a little goes a long way in enhancing the flavor.
  1. Pre-Chilling the Blender Jar:

  • To help maintain a colder temperature during the blending process, consider placing the blender jar in the freezer for a short period before using it. This chilling step can further enhance the slushie’s icy texture.
  1. Mixing Flavors for Variety:

  • Take advantage of the versatility of your blender by mixing different flavors of liquids. Combine fruit juices, sodas, or even a splash of lemon or lime juice for a vibrant and tangy slushie experience.
  1. Adjusting the Sweetness Level:

  • If your chosen liquid is already sweetened, you may opt to reduce or omit additional sweeteners. Taste the slushie mixture as you blend and adjust the sweetness to suit your palate.
  1. Layering Different Flavors:

  • To create visually appealing slushies, consider layering different flavors. Blend each flavor separately and carefully pour them into the serving glass, one layer at a time. Use a spoon to help control the pouring and create distinct layers.

Blender

Can you make smoothies in a juicer?

Yes, it is possible to make smoothies in a juicer, although a juicer is primarily designed for extracting juice from fruits and vegetables rather than blending them into a smooth consistency. Juicers typically remove the pulp and fiber, while extracting the liquid content of the fruits and vegetables.

VII. Conclusion: Blend Your Way to a Refreshing Slushie

With a blender and a few basic ingredients, you can easily create a delightful and icy slushie at home. By selecting the right blend of liquids, incorporating optional sweeteners or additional flavor enhancements, and blending to your preferred consistency, you can enjoy a customized slushie tailored to your taste.

Experiment with various flavor combinations, mix-ins, and even alcohol-infused options (for those of legal drinking age) to expand your slushie repertoire. And remember to clean and maintain your blender to ensure its longevity and continued performance.

Embrace creativity and take advantage of the versatility of your blender to savor the pure joy of a homemade slushie, ready to cool you down and quench your thirst on hot summer days or any time you desire a refreshingly icy drink.