Introduction
Milkshakes are a delicious and refreshing treat that can be easily made at home. While traditional milkshake recipes often call for a countertop blender, using a hand blender is a convenient alternative. In this guide, we will provide a step-by-step process for making a milkshake using a hand blender, exploring ingredient selection, blending techniques, and tips for achieving a creamy, smooth consistency.
Milkshakes are a classic, delicious treat enjoyed by people of all ages. Traditionally, blenders have been the go-to appliance for making milkshakes. However, many wonder if a hand blender can accomplish the same task. Hand blenders, also known as immersion blenders, are versatile kitchen tools typically used for pureeing soups or whipping cream. Consequently, they offer a convenient, easy-to-clean alternative to traditional blenders. Therefore, understanding whether a hand blender can make a milkshake effectively is essential for anyone looking to simplify their kitchen gadgets. This article explores the benefits, techniques, and limitations of hand blender milkshake, providing valuable insights for home chefs.
Benefits of Using a Hand Blender for Milkshakes
A hand blender offers several advantages when making milkshakes, making it a practical option for many.
Convenience and Ease of Use
One of the biggest benefits of using a hand blender is its convenience. Hand blenders are compact, lightweight, and easy to maneuver, making them ideal for quick tasks. Unlike traditional blenders, which require setting up and cleaning multiple parts, hand blenders are straightforward to use and clean. You can blend your ingredients directly in the glass or pitcher, reducing the number of dishes you need to wash. Consequently, the convenience and ease of use make hand blenders an attractive option for milkshake preparation.
Versatility in Small Batches
Hand blenders are particularly useful for making small batches of milkshakes. If you want to prepare a single serving, a hand blender allows you to mix your ingredients directly in a single cup or glass. This versatility is useful for those who want to enjoy a quick treat without the hassle of using a larger appliance. Additionally, hand blenders can offer variable speed settings to control the blending consistency, catering to various texture preferences. Therefore, understanding the versatility of hand blenders in making small batches highlights their usefulness.
Techniques for Making Milkshakes with a Hand Blender
Effectively making milkshakes with a hand blender involves specific techniques to ensure optimal results. Therefore, knowing these techniques is crucial.
Choosing the Right Ingredients
Choosing the right ingredients is essential for achieving a creamy, smooth milkshake. Start with high-quality ice cream and fresh milk as your base. Consider adding complementary flavors such as chocolate syrup, fresh fruit, or cookie crumbs for added texture and taste.
Additionally, ensuring that the ice cream is slightly softened can make it easier for the hand blender to mix the ingredients. Therefore, understanding the importance of choosing the right ingredients is the first step towards making a delicious milkshake.
Blending Process
The blending process can significantly influence the texture and consistency of your milkshake. First, place your ice cream and milk into a large cup or pitcher. Then, insert the hand blender and blend on a low speed, gradually increasing to higher speeds to achieve a smooth consistency. Move the hand blender in an up-and-down motion to ensure all ingredients are evenly mixed. Be cautious not to over-blend, as this can introduce too much air and thin the milkshake. Consequently, the proper blending process ensures a creamy, delightful milkshake.
Limitations and Considerations
While using a hand blender for milkshakes offers various benefits, there are also some limitations to consider. Therefore, understanding these limitations can help you decide if a hand blender is the right tool for you.
Power and Efficiency
Hand blenders may not be as powerful as traditional blenders, potentially affecting their ability to blend harder ingredients like frozen fruit or large ice cubes. If your milkshake recipe involves these tougher ingredients, the hand blender might struggle to achieve a smooth consistency. Therefore, recognizing the power limitations of hand blenders can help you determine their suitability for your specific milkshake recipes.
Capacity Constraints
Another consideration is the limited capacity of hand blenders. Unlike traditional blenders, which often come with large pitchers capable of making multiple servings, hand blenders are best suited for smaller batches. If you’re planning to make milkshakes for a group, a hand blender may not be the most practical choice. Consequently, understanding the capacity constraints can guide you in choosing the best appliance for your needs.
Can you make a milkshake with a hand blender?
Step 1: Gather Your Ingredients
1.1. Base Ingredients
Start by gathering the base ingredients for your milkshake. This typically includes milk, ice cream, and any flavorings or additional ingredients you desire. Choose the type of milk (e.g., whole, 2%, almond, soy) and ice cream flavor that best suits your preferences.
1.2. Flavorings and Additions
Consider adding flavorings such as vanilla extract, chocolate syrup, caramel sauce, or fruit puree to enhance the taste of your milkshake. Additional add-ins like cookie crumbs, chopped nuts, or sprinkles can provide texture and visual appeal.
Step 2: Prepare Your Hand Blender and Container
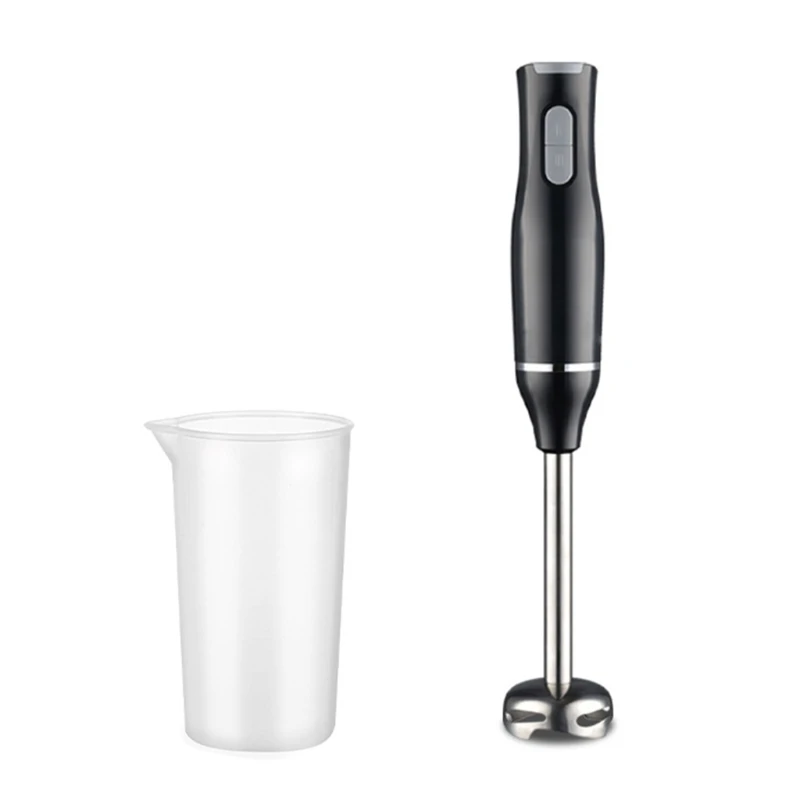
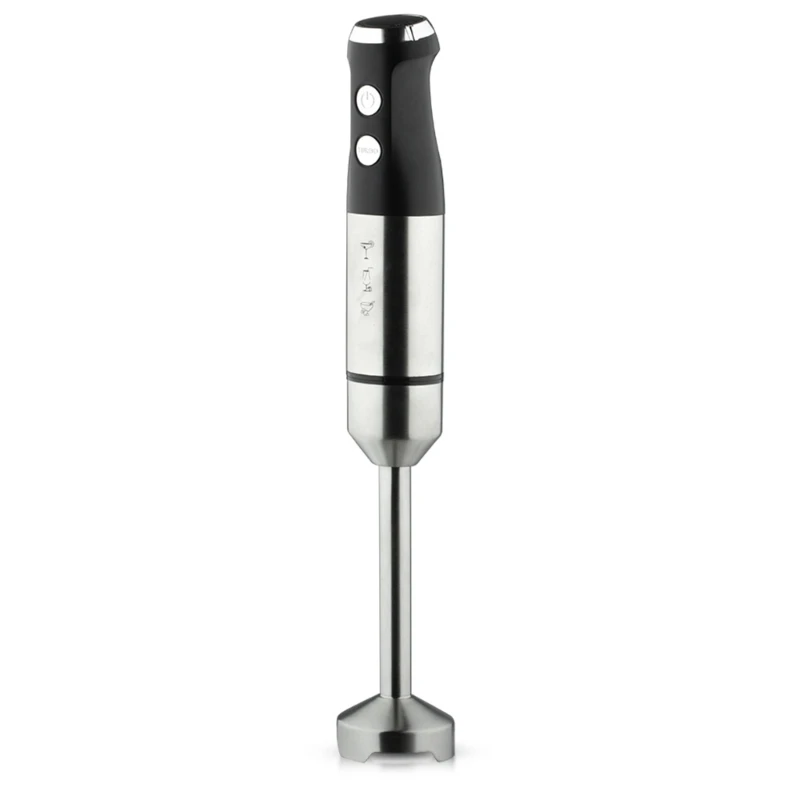
2.1. Assemble the Hand Blender
Ensure that your hand blender is fully assembled by attaching the blending attachment securely to the motor unit. Confirm that the blades are clean and in good condition.
2.2. Select a Suitable Container
Choose a container that is deep enough to hold the ingredients and allows space for the hand blender to move freely without splattering. A tall glass or a jug with a wide mouth is ideal for blending and serving the milkshake.
Step 3: Combine and Chill Ingredients
3.1. Measure and Combine Ingredients
Measure the desired amounts of milk, ice cream, and any additional flavorings or add-ins. Place them in the container you have selected for blending.
3.2. Chill Ingredients (Optional)
For a thicker and creamier milkshake, consider chilling the milk and ice cream before blending. This can help prevent excessive melting and maintain a frosty consistency.
Step 4: Blend the Milkshake
4.1. Submerge the Hand Blender
Submerge the hand blender into the container, ensuring that the blades are fully immersed in the milkshake mixture. Hold the container with one hand and grip the hand blender with the other.
4.2. Begin Blending
Start blending by turning on the hand blender, using the appropriate speed setting for your desired consistency. Begin by pulsing the blender a few times to break up larger chunks of ice cream and mix the ingredients.
4.3. Blend Until Smooth and Creamy
Continue blending until the milkshake mixture becomes smooth and creamy, with a consistent texture throughout. To achieve an even blend, move the hand blender in an up-and-down, circular, or zigzag motion while keeping it submerged in the mixture.
4.4. Adjust Consistency and Flavor
During the blending process, assess the consistency and flavor of the milkshake. If it is too thick, add small amounts of milk and blend again until the desired consistency is achieved. Adjust the flavor by adding more flavorings or sweeteners as desired, blending briefly to incorporate them.
Step 5: Serve and Enjoy
5.1. Pour into a Glass
Once the milkshake has reached the desired consistency and flavor, remove the hand blender from the container and tilt the container to pour the milkshake into a serving glass. Use a spatula or spoon to scrape any remaining milkshake from the container.
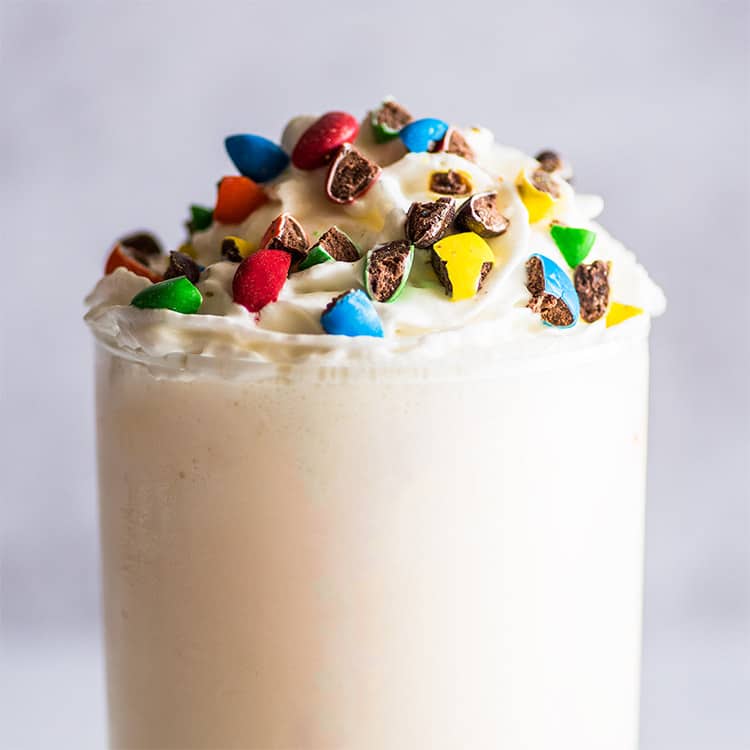
5.2. Add Toppings (Optional)
For added enjoyment, consider garnishing your milkshake with whipped cream, chocolate shavings, a cherry, or any other toppings of your choice. This can enhance the presentation and taste of the milkshake.
5.3. Serve and Enjoy Immediately
Serve the milkshake immediately while it is still cold and creamy. Milkshakes are best enjoyed fresh, directly after blending, to fully savor their flavor and texture.
Tips for Making a Perfect Milkshake
6.1. Experiment with Ratios
Adjust the ratio of milk to ice cream based on personal preference. More milk will result in a thinner consistency, while more ice cream will yield a thicker and creamier texture.
6.2. Use Cold Ingredients
Using chilled ingredients, such as cold milk and frozen ice cream, can help maintain the milkshake’s temperature and prevent it from becoming overly watery.
6.3. Customize to Taste
Feel free to experiment with different flavorings and add-ins to create your own unique milkshake recipes. Whether it’s adding fresh fruits, flavored syrups, or crushed cookies, the possibilities for customization are endless.
6.4. Clean the Hand Blender
After blending, detach the blending attachment from the motor unit and clean it thoroughly. Rinse the blades under warm water, removing any residual milkshake mixture, and dry them before storing.
Conclusion
Making a milkshake using a hand blender is a simple and enjoyable process. By selecting quality ingredients, preparing the hand blender and container, carefully blending the mixture, and personalizing the flavor and consistency, you can create a delicious homemade milkshake to satisfy your cravings in 2024. Follow these steps and tips to achieve a creamy, smooth milkshake that can be enjoyed at any time. If you like to experiment, you can also try making other sweet treats like ice cream in a handheld blender.