Juicing sugar cane at home has never been easier, thanks to the innovative designs of modern sugar cane juicer machines. Can sugar cane be juiced? Absolutely, and doing so not only provides you with a refreshing beverage but also harnesses the natural sweetness and numerous health benefits of sugar cane. This comprehensive guide will explore the ins and outs of using a sugar cane juicer, from understanding its functionality to maximizing your juicing experience, ensuring you enjoy every drop of your homemade sugar cane juice.
 The Basics: What are Juicers for Sugar Cane ?
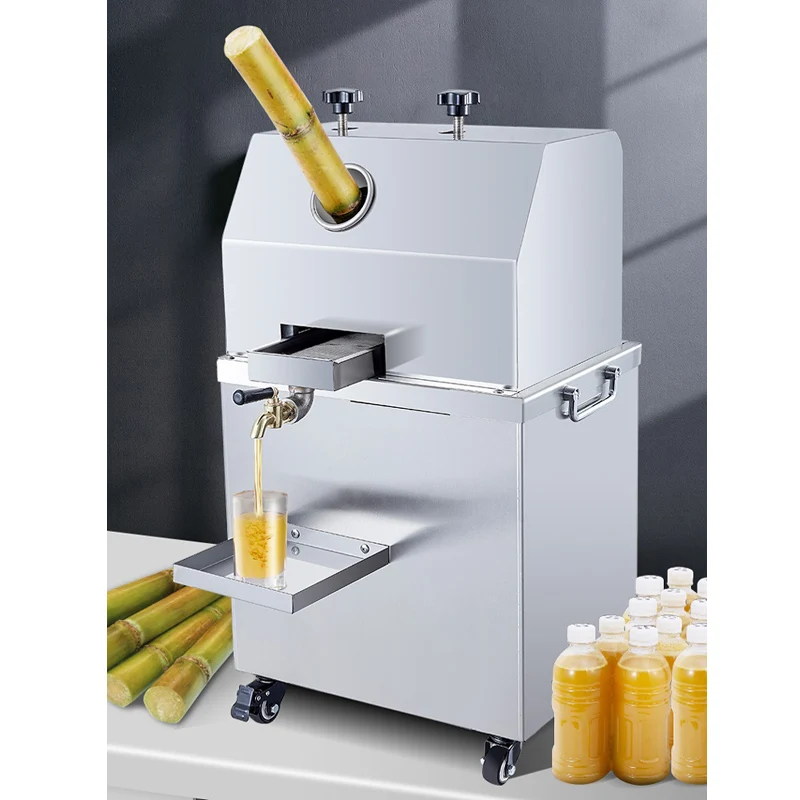
Before diving into the process, it’s essential to understand what a sugar cane juicer is and how it operates. Essentially, a sugar cane juicer is a specialized appliance designed to extract juice from sugar cane stalks efficiently. Moreover, these juicers are built to handle the tough fibers of sugar cane, ensuring maximum juice yield without excessive effort or time. Therefore, investing in a quality sugar cane juicer can transform your juicing routine, making it simpler and more effective.
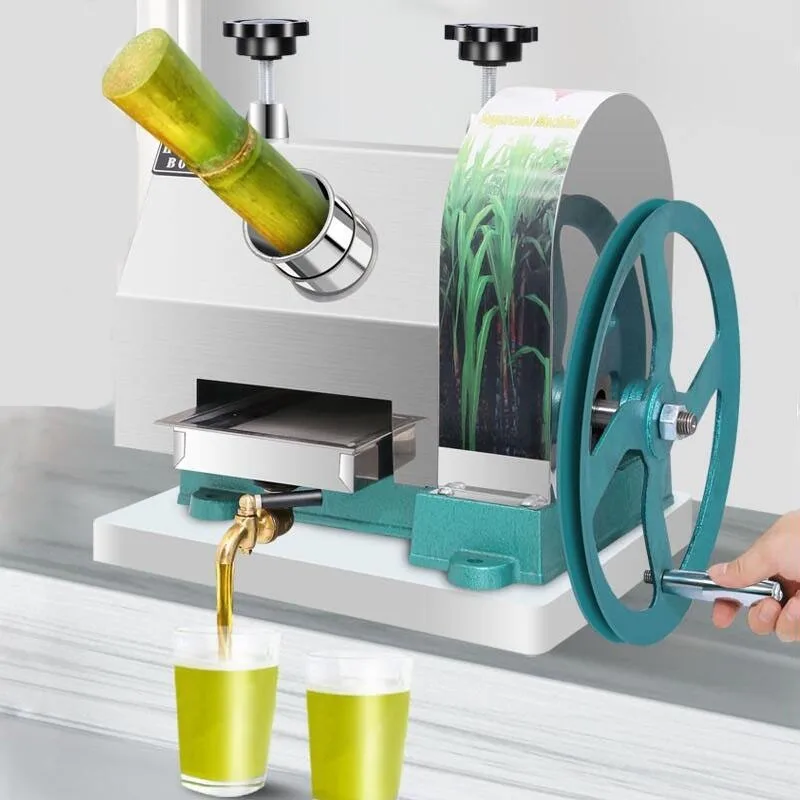
How Does a Sugar Cane Juicer Work?
Primarily, a sugar cane juicer operates by crushing and grinding the fibrous stalks of sugar cane to extract the sweet juice contained within. Additionally, the design of these juicers typically includes powerful motors and robust blades that can handle the toughness of sugar cane. Consequently, the process involves feeding the sugar cane stalks into the juicer, where they are mechanically processed to release their juice, which is then collected in a separate container. Furthermore, many sugar cane juicers come with additional features such as pulp separators and adjustable settings to customize the juice extraction according to your preference.
Benefits of Using a Juicer for Sugar Cane
Using a sugar cane juicer comes with a myriad of benefits that extend beyond just enjoying a sweet beverage. Firstly, fresh sugar cane juice is loaded with essential nutrients, vitamins, and minerals that are beneficial for overall health. Moreover, juicing your sugar cane at home ensures that you consume a product free from preservatives and added sugars, making it a healthier alternative to store-bought juices. Additionally, a sugar cane juicer allows you to experiment with various recipes and flavor combinations, enhancing your culinary creativity.
Health Advantages of Sugar Cane Juice
Specifically, sugar cane juice is known for its high antioxidant properties, which help in combating free radicals and reducing oxidative stress in the body. Furthermore, it plays a role in improving digestion, boosting the immune system, and promoting healthy skin due to its rich vitamin content. Therefore, incorporating fresh sugar cane juice into your diet can contribute significantly to your overall well-being.
Economic and Environmental Benefits
Additionally, using a sugar cane juicer can be economically advantageous. By juicing at home, you save money that would otherwise be spent on purchasing fresh juice from stores. Moreover, this practice reduces waste, as sugar cane stalks are entirely utilized, aligning with sustainable and environmentally friendly practices. Thus, a sugar cane juicer not only benefits your health but also supports eco-conscious living.
 Choosing the Right Juicer for Sugar Cane for Your Needs
Selecting the appropriate sugar cane juicers is crucial to ensure a smooth and efficient juicing experience. Furthermore, understanding the different types and features available can help you make an informed decision tailored to your specific requirements.
Types of Sugar Cane Juicers
There are primarily two types of sugar cane juicers: manual and electric.
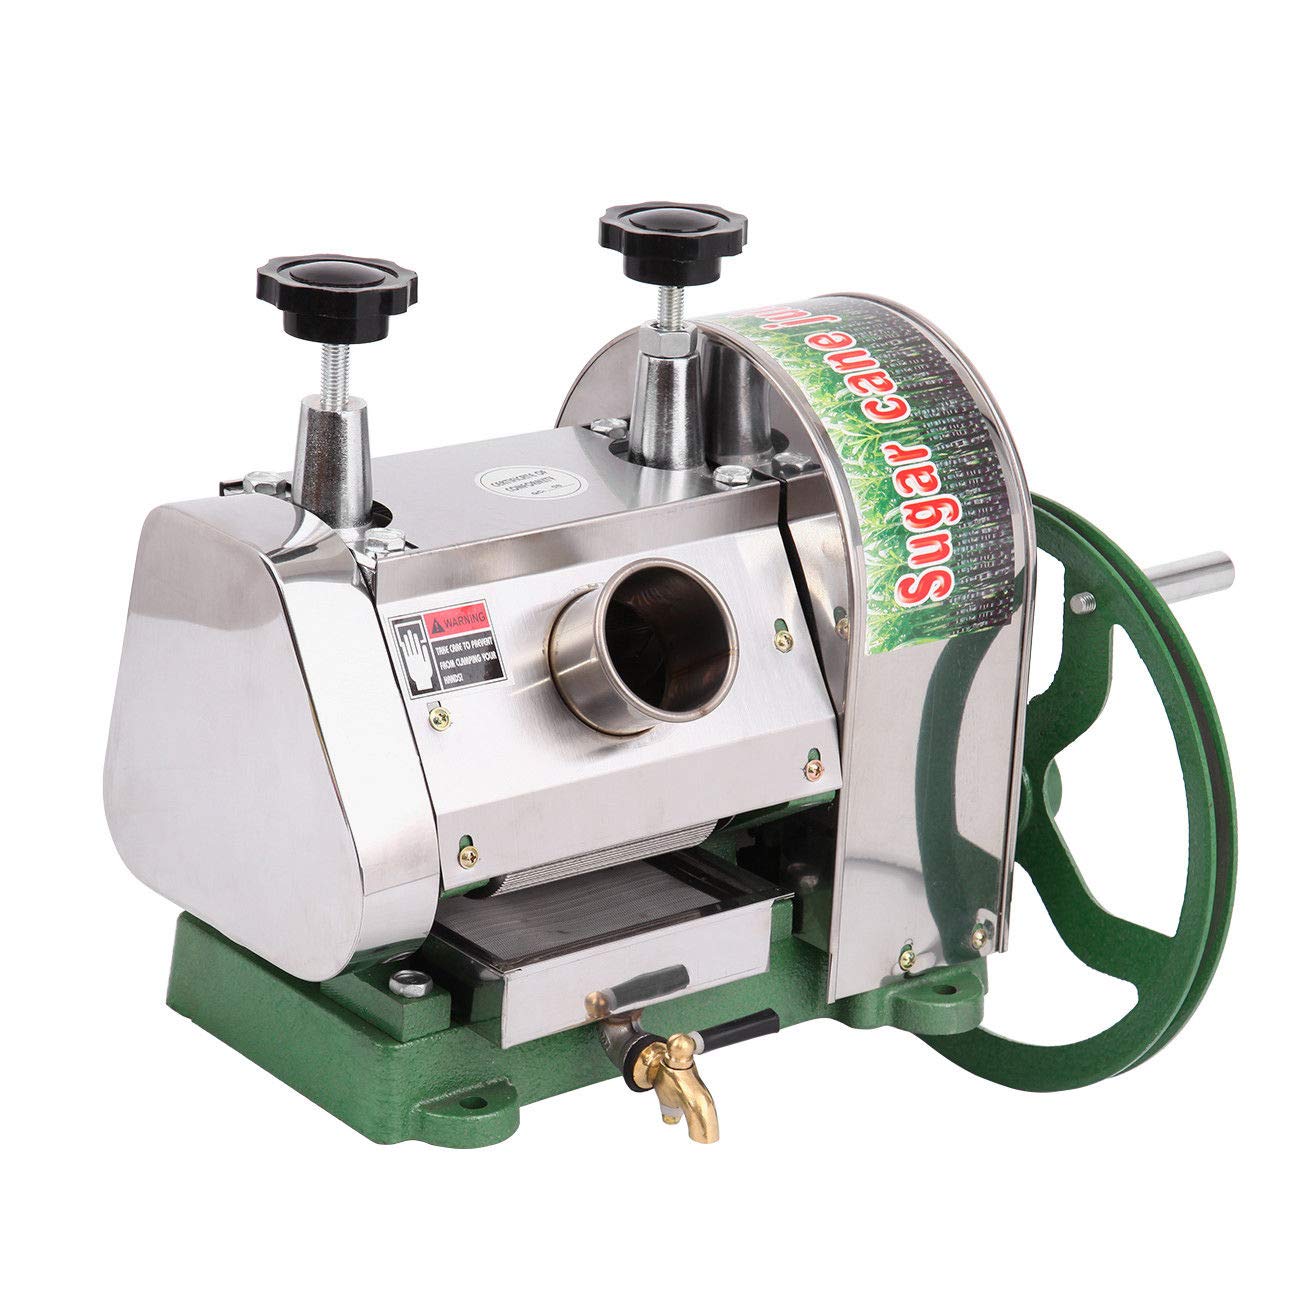
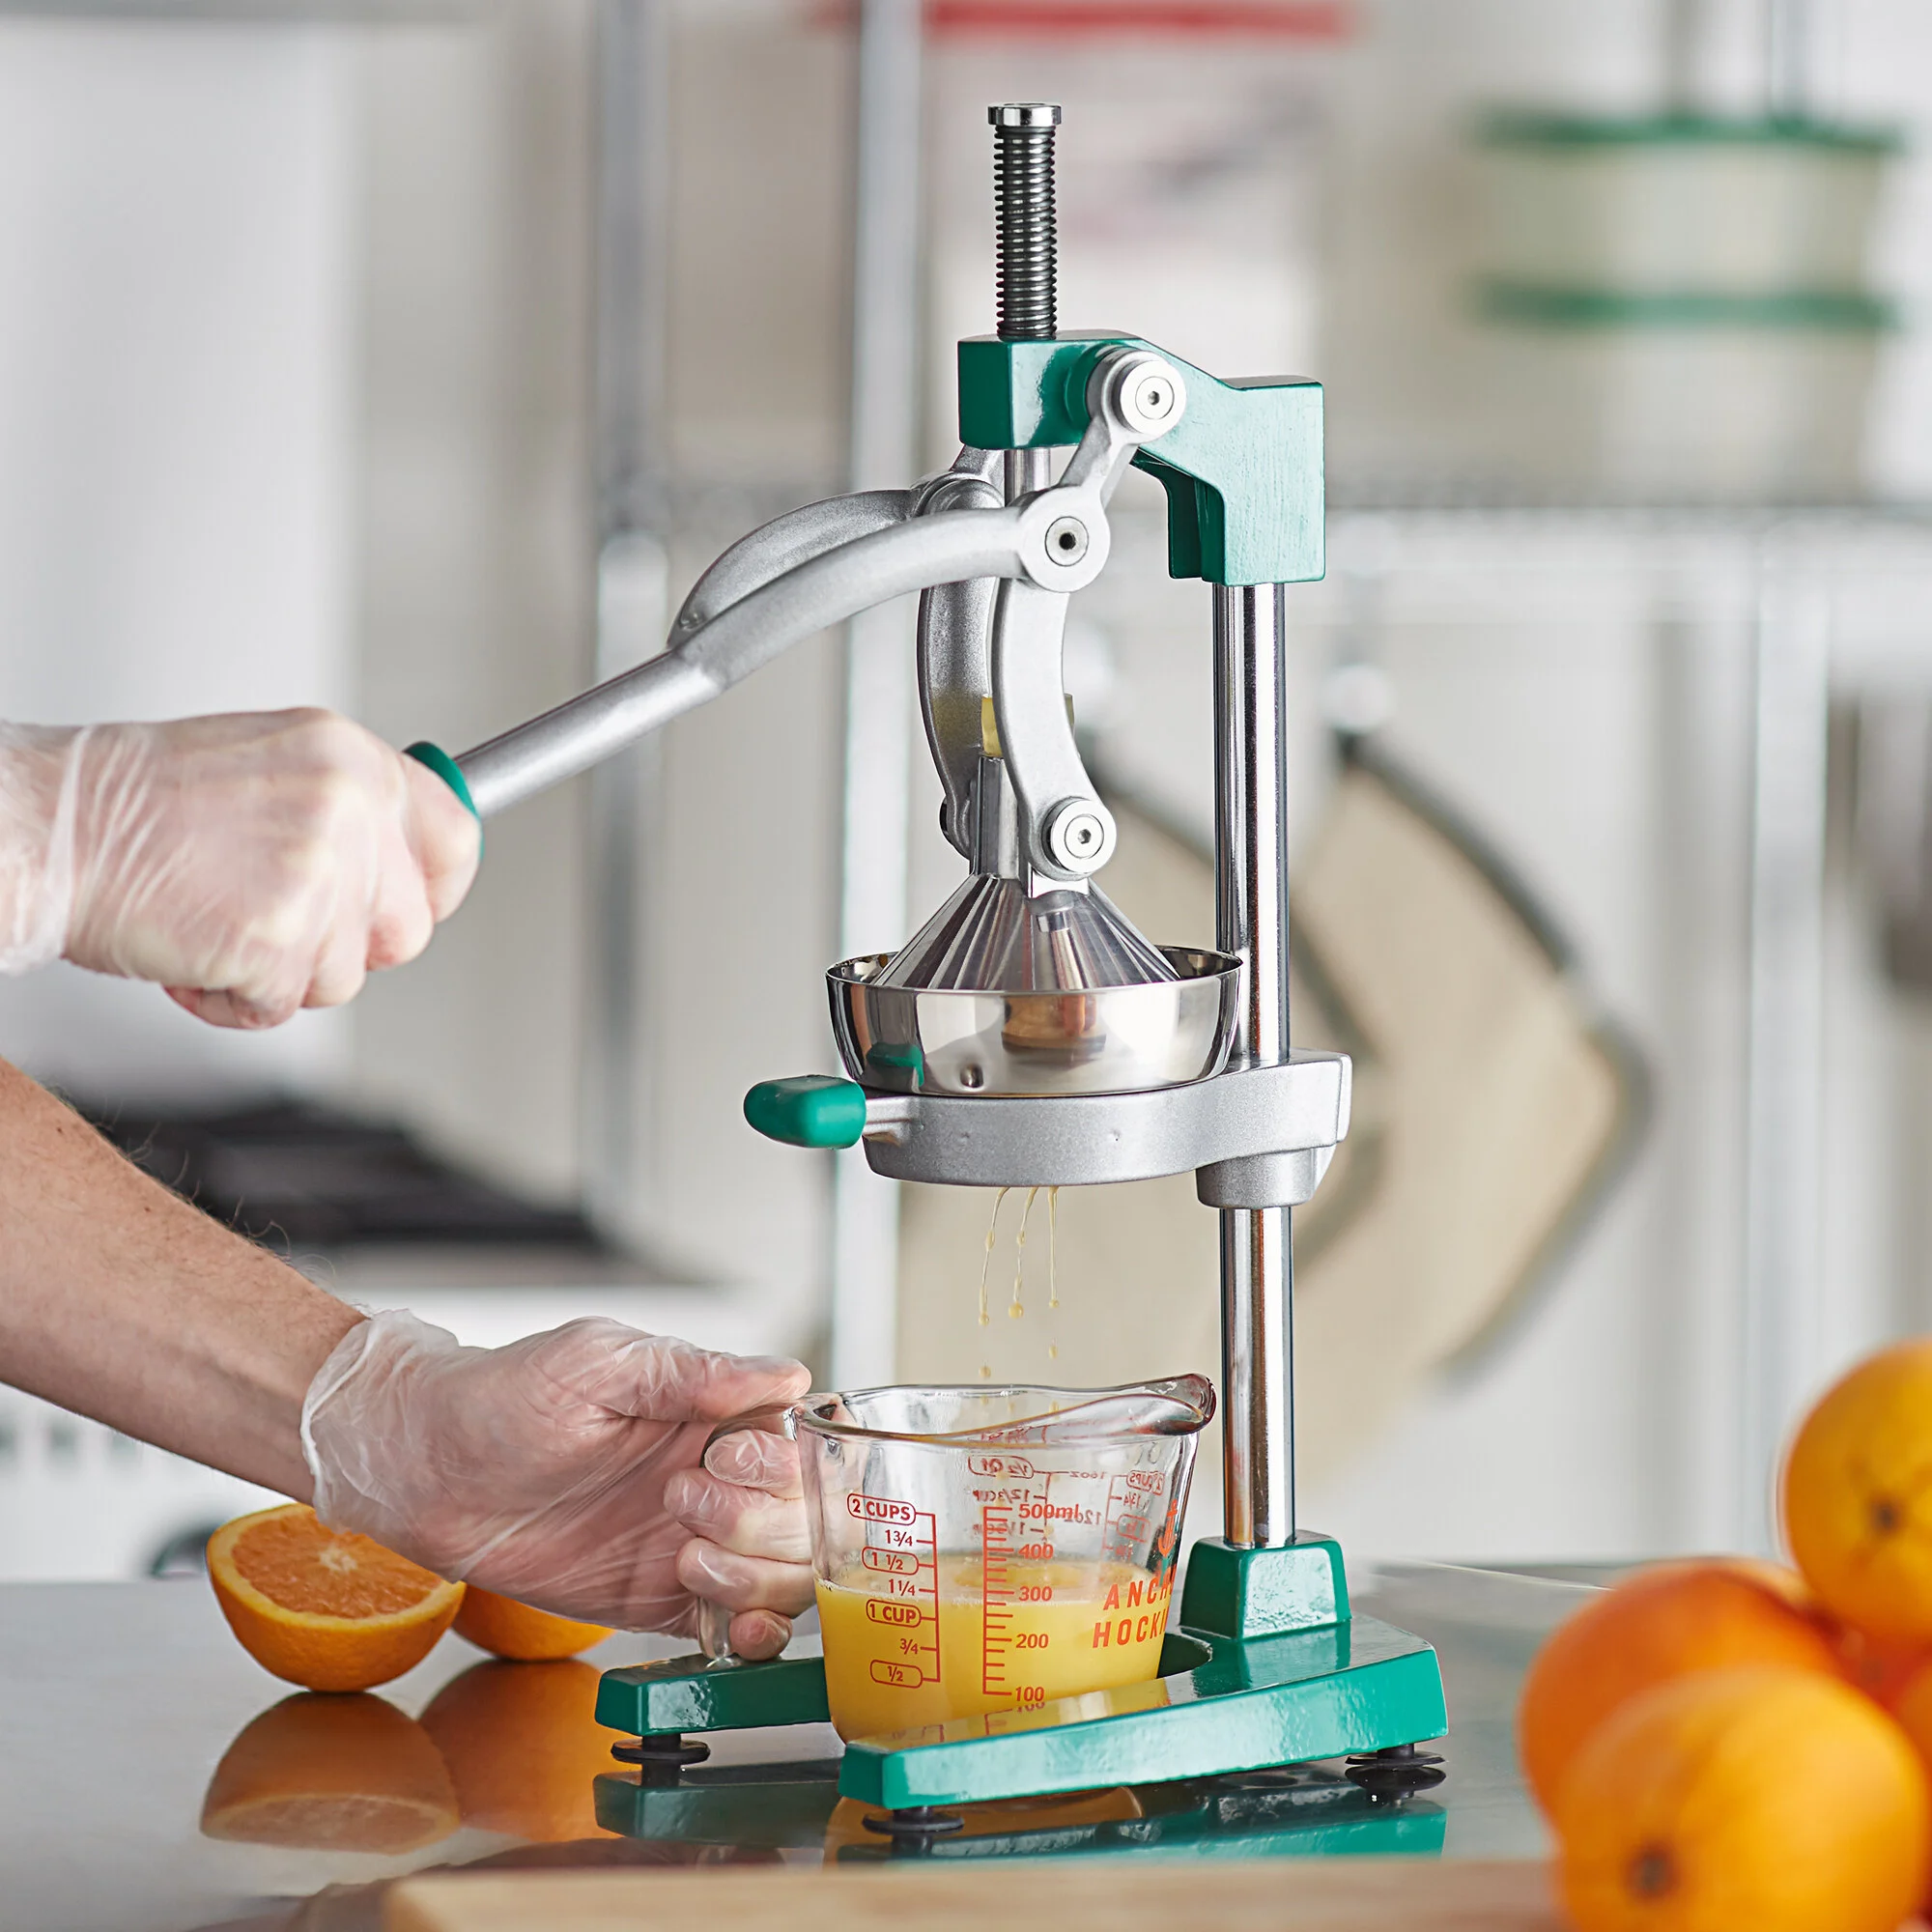
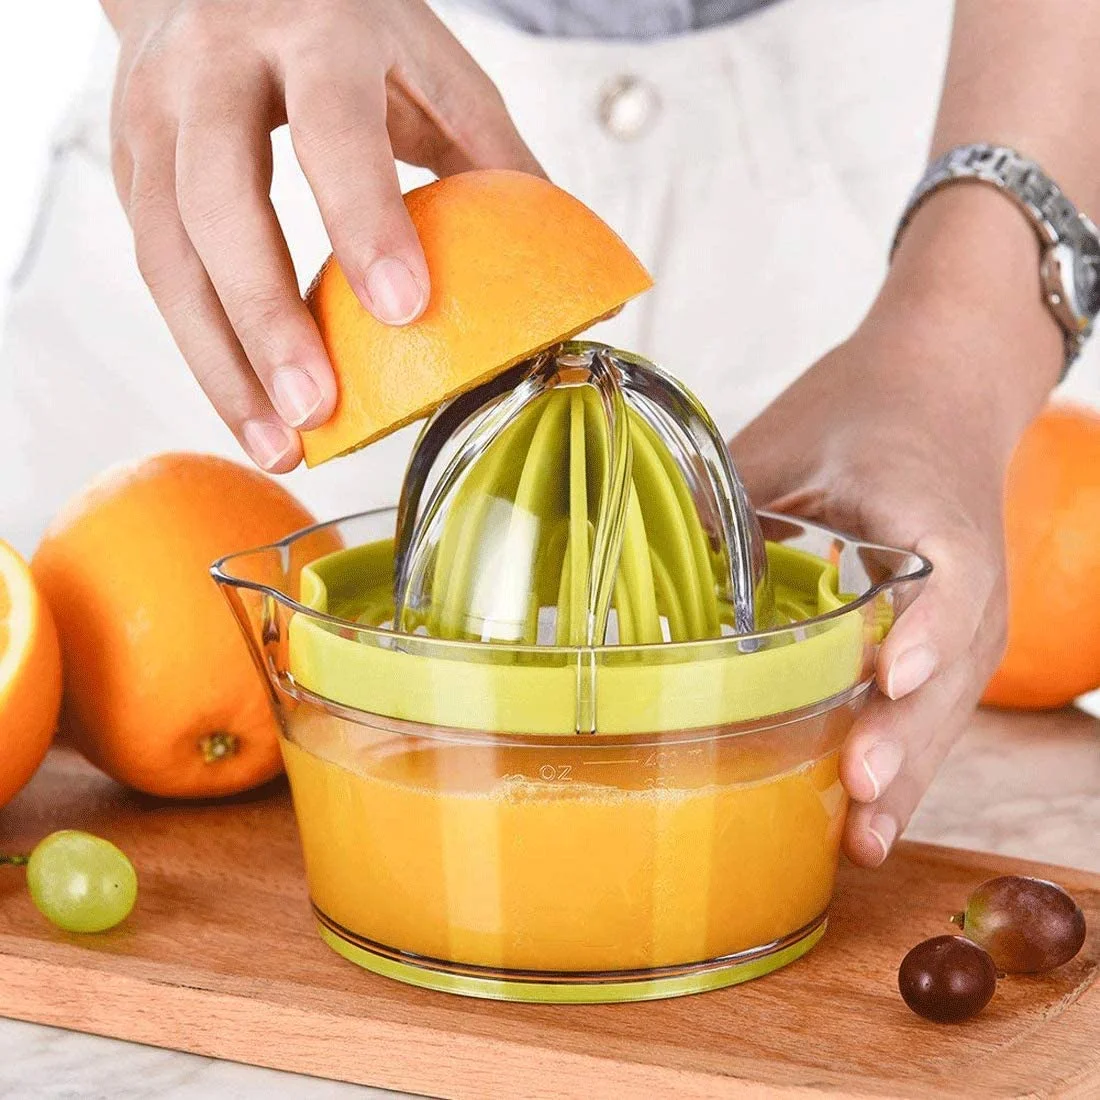
Manual Sugar Cane Juicers
Firstly, manual sugar cane juicers require physical effort to operate, typically involving a hand crank or lever. However, they are often more affordable and do not require electricity, making them ideal for those who prefer a more hands-on approach. Additionally, they are generally lighter and easier to store, adding to their convenience.
Key Features to Consider
Furthermore, when choosing sugar cane juicers, consider the following features to ensure you select a model that best suits your needs:
- Motor Power: Higher wattage motors provide more power, enabling the juicer to handle tougher sugar cane stalks with ease.
- Durability: Look for juicers made from high-quality materials such as stainless steel, which ensures longevity and resistance to wear and tear.
- Ease of Cleaning: Juicing sugar cane can be messy, so a juicer with easy-to-clean components is highly desirable.
- Juice Yield: Efficient juicers maximize the amount of juice extracted from each stalk, reducing waste and increasing productivity.
- Safety Features: Features such as automatic shut-off and safety locks prevent accidents and enhance user safety during the juicing process.
 How to Use a Juicer for Sugar Cane : Step-by-Step Guide
Knowing how to use sugar cane juicers ensures you get the best results every time. Therefore, follow these steps to maximize the efficiency of your sugar cane juicing experience.
Step 1: Preparing the Sugar Cane
Firstly, start by selecting fresh, firm sugar cane stalks. Once you have your stalks, wash them thoroughly under running water to remove any dirt or debris. Then, use a sharp knife or an appropriate cutting tool to trim off the ends and any tough outer layers that might hinder the juicing process.
Step 2: Cutting the Sugar Cane
Secondly, cut the sugar cane stalks into smaller, manageable pieces that can easily fit into the juicer. Additionally, removing the fibrous outer layers helps in improving the juice quality and flow through the machine. Moreover, cutting the stalks into uniform sizes ensures consistent juicing results.
Step 3: Assembling the Juicer
Next, assemble your sugar cane juicers according to the manufacturer’s instructions. Moreover, ensure that all parts are securely in place to prevent any leakage or mechanical issues during operation. Furthermore, double-check that the motor is properly connected and that all safety features are engaged.
Step 4: Juicing the Sugar Cane
Once the sugar cane pieces are prepared and the juicer is assembled, it’s time to start the juicing process. Firstly, turn on the juicer and allow it to reach the optimal speed for efficient juice extraction. Then, gradually feed the sugar cane pieces into the juicer, ensuring a steady and consistent flow. Additionally, use the provided tools or guards to prevent your fingers from coming into contact with the blades.
Step 5: Collecting the Juice
Afterward, carefully collect the freshly extracted sugar cane juice from the juicer’s container. Furthermore, pour the juice into a clean glass or storage container to enjoy immediately or store it for later use. Additionally, clean the juicer promptly after use to maintain its efficiency and prevent any residue buildup.
Enhancing Your Sugar Cane Juicing Experience
While using sugar cane juicers is straightforward, incorporating a few additional practices can enhance your overall experience and the quality of the juice you produce.
Experiment with Flavors
Firstly, consider mixing sugar cane juice with other natural flavors to create unique and refreshing beverages. For example, combining it with lemon or lime juice can add a tangy twist, while blending it with mint leaves offers a cooling sensation perfect for hot days. Additionally, experimenting with different flavor combinations can make your juicing routine more exciting and enjoyable.
Optimize Juice Extraction
Moreover, maximizing juice extraction involves optimizing the juicing process. Therefore, ensure that the sugar cane pieces are cut appropriately and that the juicer is functioning at peak efficiency. Additionally, you can rotate the sugar cane stalks or use a plunger tool (if available) to press out any remaining juice, increasing your overall yield.
Store Juice Properly
Furthermore, proper storage of sugar cane juice is essential to retain its freshness and nutritional benefits. Therefore, store the juice in airtight containers and refrigerate it promptly. Additionally, consuming the juice within 24 hours ensures that you enjoy it at its peak flavor and health benefits.
 Maintenance and Care of Your Juicer for Sugar Cane
Proper maintenance and care are vital to ensure the longevity and optimal performance of your sugar cane juicers. Additionally, regular upkeep prevents any potential issues that may arise from continuous use.
Cleaning After Each Use
Firstly, always clean your sugar cane juicers immediately after use. Moreover, disassemble the juicer’s components and rinse them under warm running water to remove any residual juice or pulp. Additionally, use a soft brush or cloth to wipe down the blades and other parts, ensuring that no sticky residues remain.
Deep Cleaning Recipes
Secondly, perform a deep cleaning routine periodically to maintain hygiene and prevent buildup. For instance, use a mixture of vinegar and baking soda to clean the juicer’s components thoroughly. This not only removes any stubborn residues but also eliminates odors, keeping your juicer fresh and ready for the next use.
Storing Your Juicer
Moreover, store your sugar cane juicers in a dry and clean environment when not in use. Additionally, ensure that all parts are completely dry before reassembling and storing. Furthermore, using a protective cover or case can prevent dust accumulation and potential damage to the machine’s components.
Delicious Recipes Using Sugar Cane Juice
Incorporating sugar cane juice into your diet offers endless possibilities for delicious and nutritious recipes. Therefore, here are some creative ideas to inspire your culinary adventures.
Sugar Cane Mint Cooler
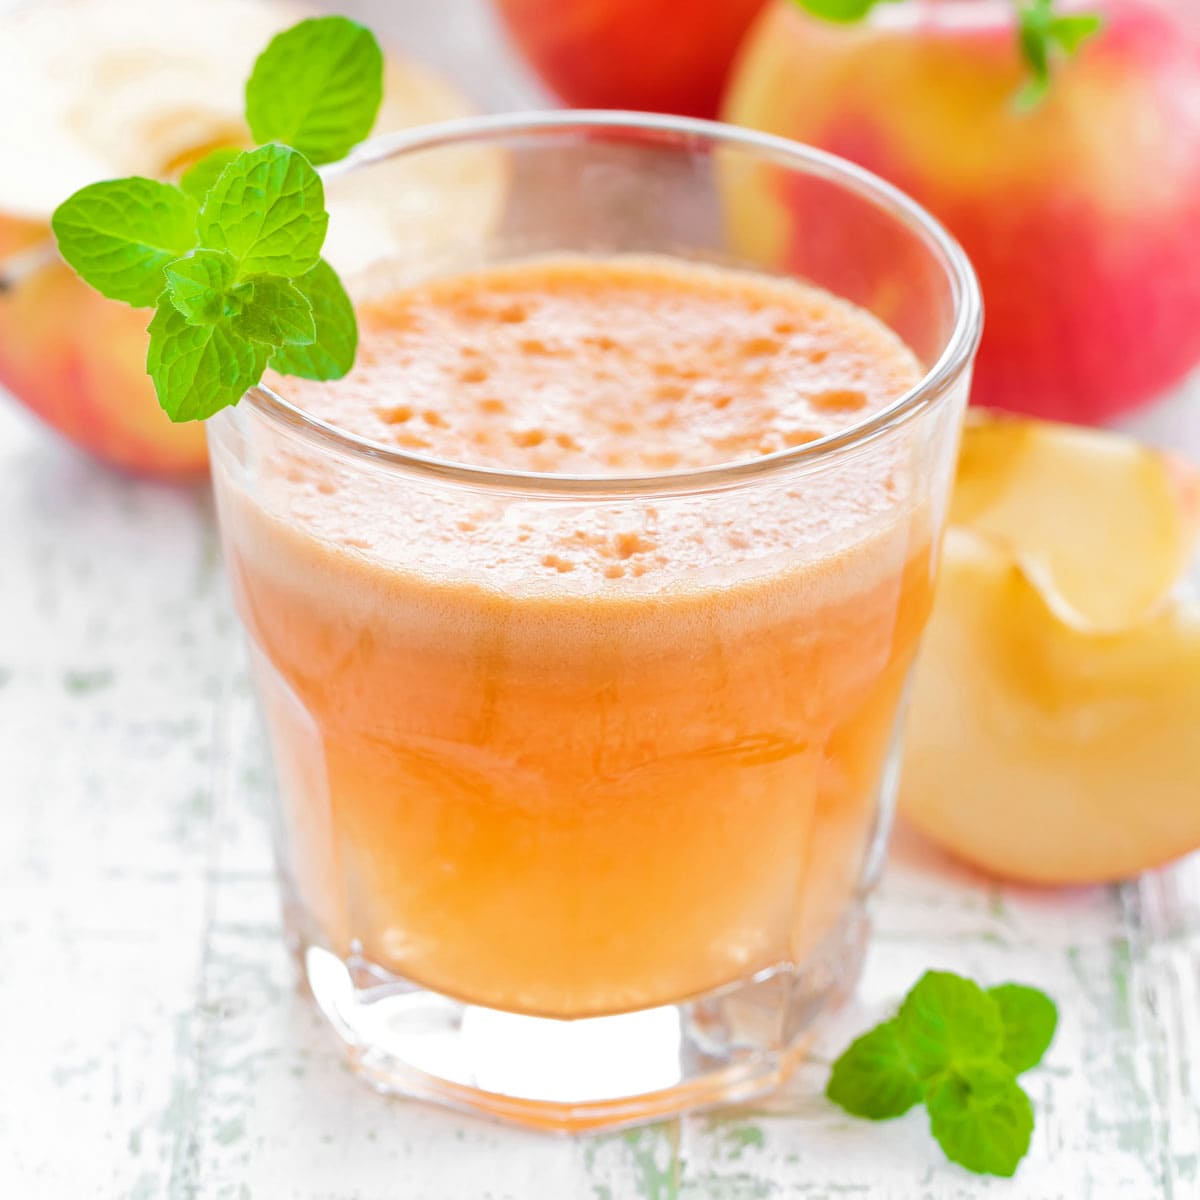
Firstly, combine fresh sugar cane juice with a handful of mint leaves and a splash of lime juice. Mix well and serve over ice for a refreshing and invigorating beverage perfect for summer days.
Tropical Sugar Cane Smoothie
Additionally, blend sugar cane juice with tropical fruits like pineapple, mango, and banana. This smoothie not only tastes great but also provides a boost of vitamins and energy to start your day.
Spicy Sugar Cane Cocktail
Moreover, create a unique cocktail by mixing sugar cane juice with a bit of spicy ginger beer and a squeeze of lemon. This drink offers a perfect balance of sweetness and spice, ideal for entertaining guests.
Sugar Cane Iced Tea
Furthermore, add sugar cane juice to your favorite iced tea recipe for a natural sweetener that enhances the flavor without overpowering it. This combination results in a smooth and subtly sweet beverage that’s both tasty and healthy.
Frequently Asked Questions About Juicer for Sugar Cane
Addressing common concerns can help you make informed decisions and enhance your juicing experience.
Can I Juice Sugar Cane Without a Juicer?
Yes, it is possible to juice sugar cane without a juicer, albeit it requires more effort and specialized tools such as a manual cane crusher or a hammer mill. However, using a sugar cane juicer streamlines the process, providing a cleaner and more efficient extraction of juice.
How Often Should I Use My Sugar Cane Juicers?
The frequency of use depends on how often you consume sugar cane juice. As a general rule, using your sugar cane juicer a few times a week ensures that it remains clean and functions optimally. Additionally, regular use helps prevent any residue buildup and keeps the juicer ready for your next juice making session.
What is the Shelf Life of Sugar Cane Juice?
Sugar cane juice, when stored properly in an airtight container and refrigerated, can last up to 24 hours. Moreover, consuming it fresh ensures the best taste and maximum nutritional benefits. Therefore, it’s advisable to juice only the amount you intend to consume within a day.
Can I Juice Other Plants with My Sugar Cane Juicer?
Indeed, many sugar cane juicers are versatile enough to juice other fibrous plants such as wheatgrass and certain types of vegetables. However, always refer to the manufacturer’s guidelines to ensure that the juicer can handle other materials without causing damage to its components.
Conclusion
Understanding how to use a sugar cane juicer ensures you extract the maximum benefits from your sugar cane stalks. By following the steps and tips outlined in this guide, you can enjoy delicious, fresh sugar cane juice at home, harnessing its natural sweetness and health benefits effortlessly. Ultimately, a sugar cane juicer not only enhances your culinary repertoire but also promotes a healthier, more sustainable lifestyle. So, invest in a quality sugar cane juicer and unlock the true potential of nature’s sweetest treasure, enjoying every refreshing sip of your homemade sugar cane juice.

 The Benefits of Using a Juicer for Tomato
 How to Choose the Best Juicer for Tomato
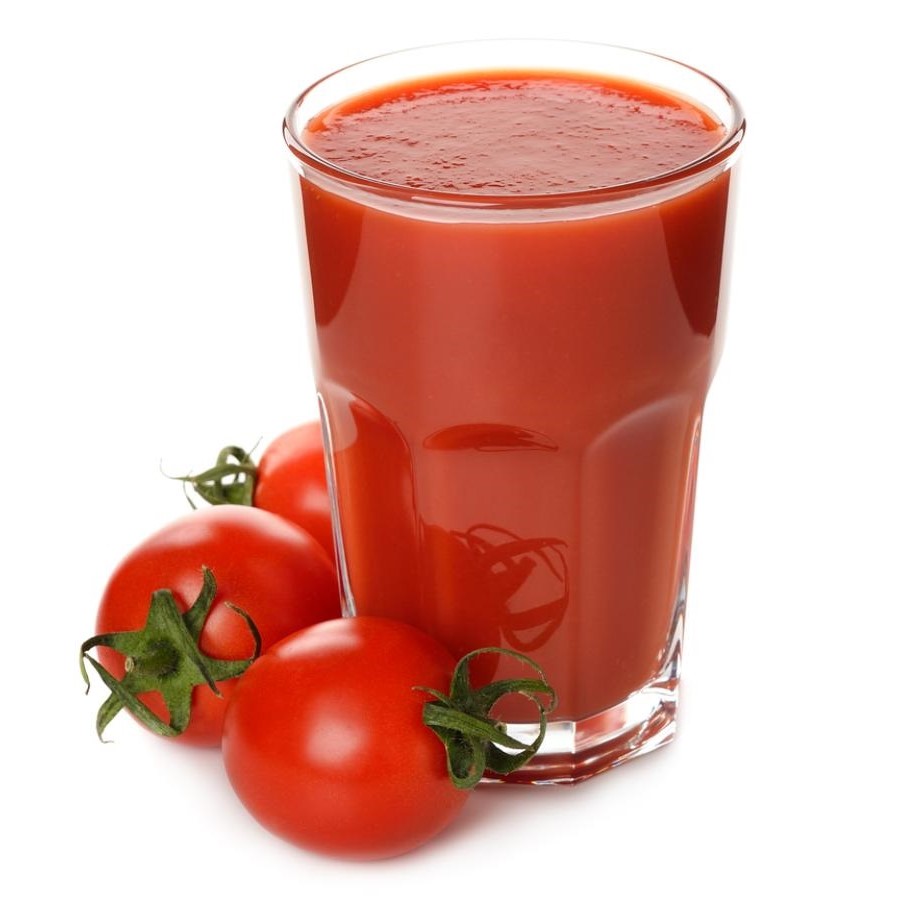 Tips for Juicing Tomatoes Effectively
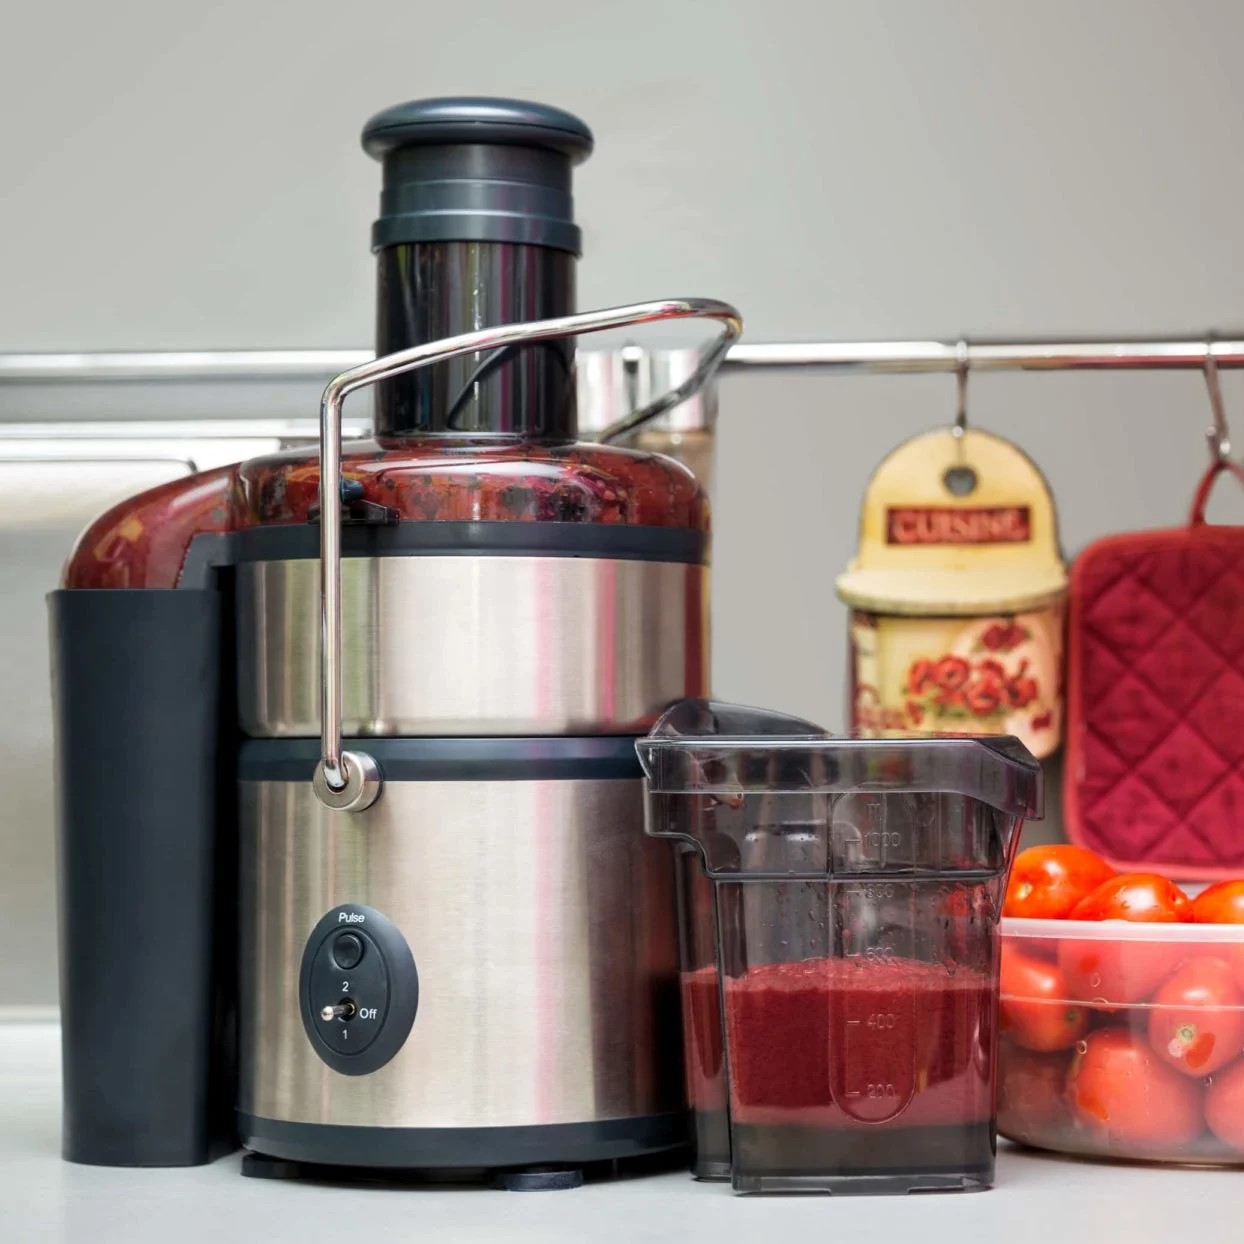 Frequently Asked Questions About Juicers for Tomato
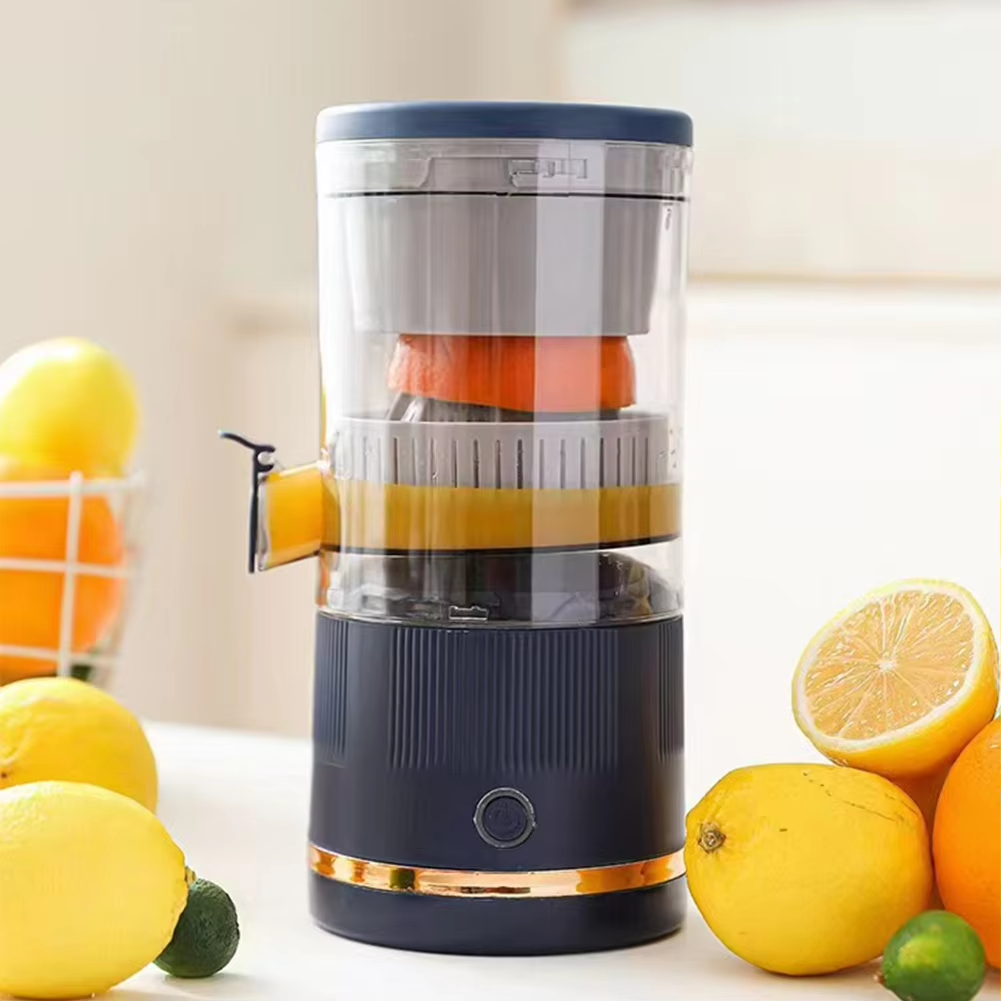 Types of Citrus Juicers – Why Electric Models Stand Out
 Benefits of Using an Citrus Juicer
 How to Choose the Best Citrus Juicer for Your Needs
 Common Issues and How to Address Them
 Understanding Slow Juicers vs. Centrifugal Juicers
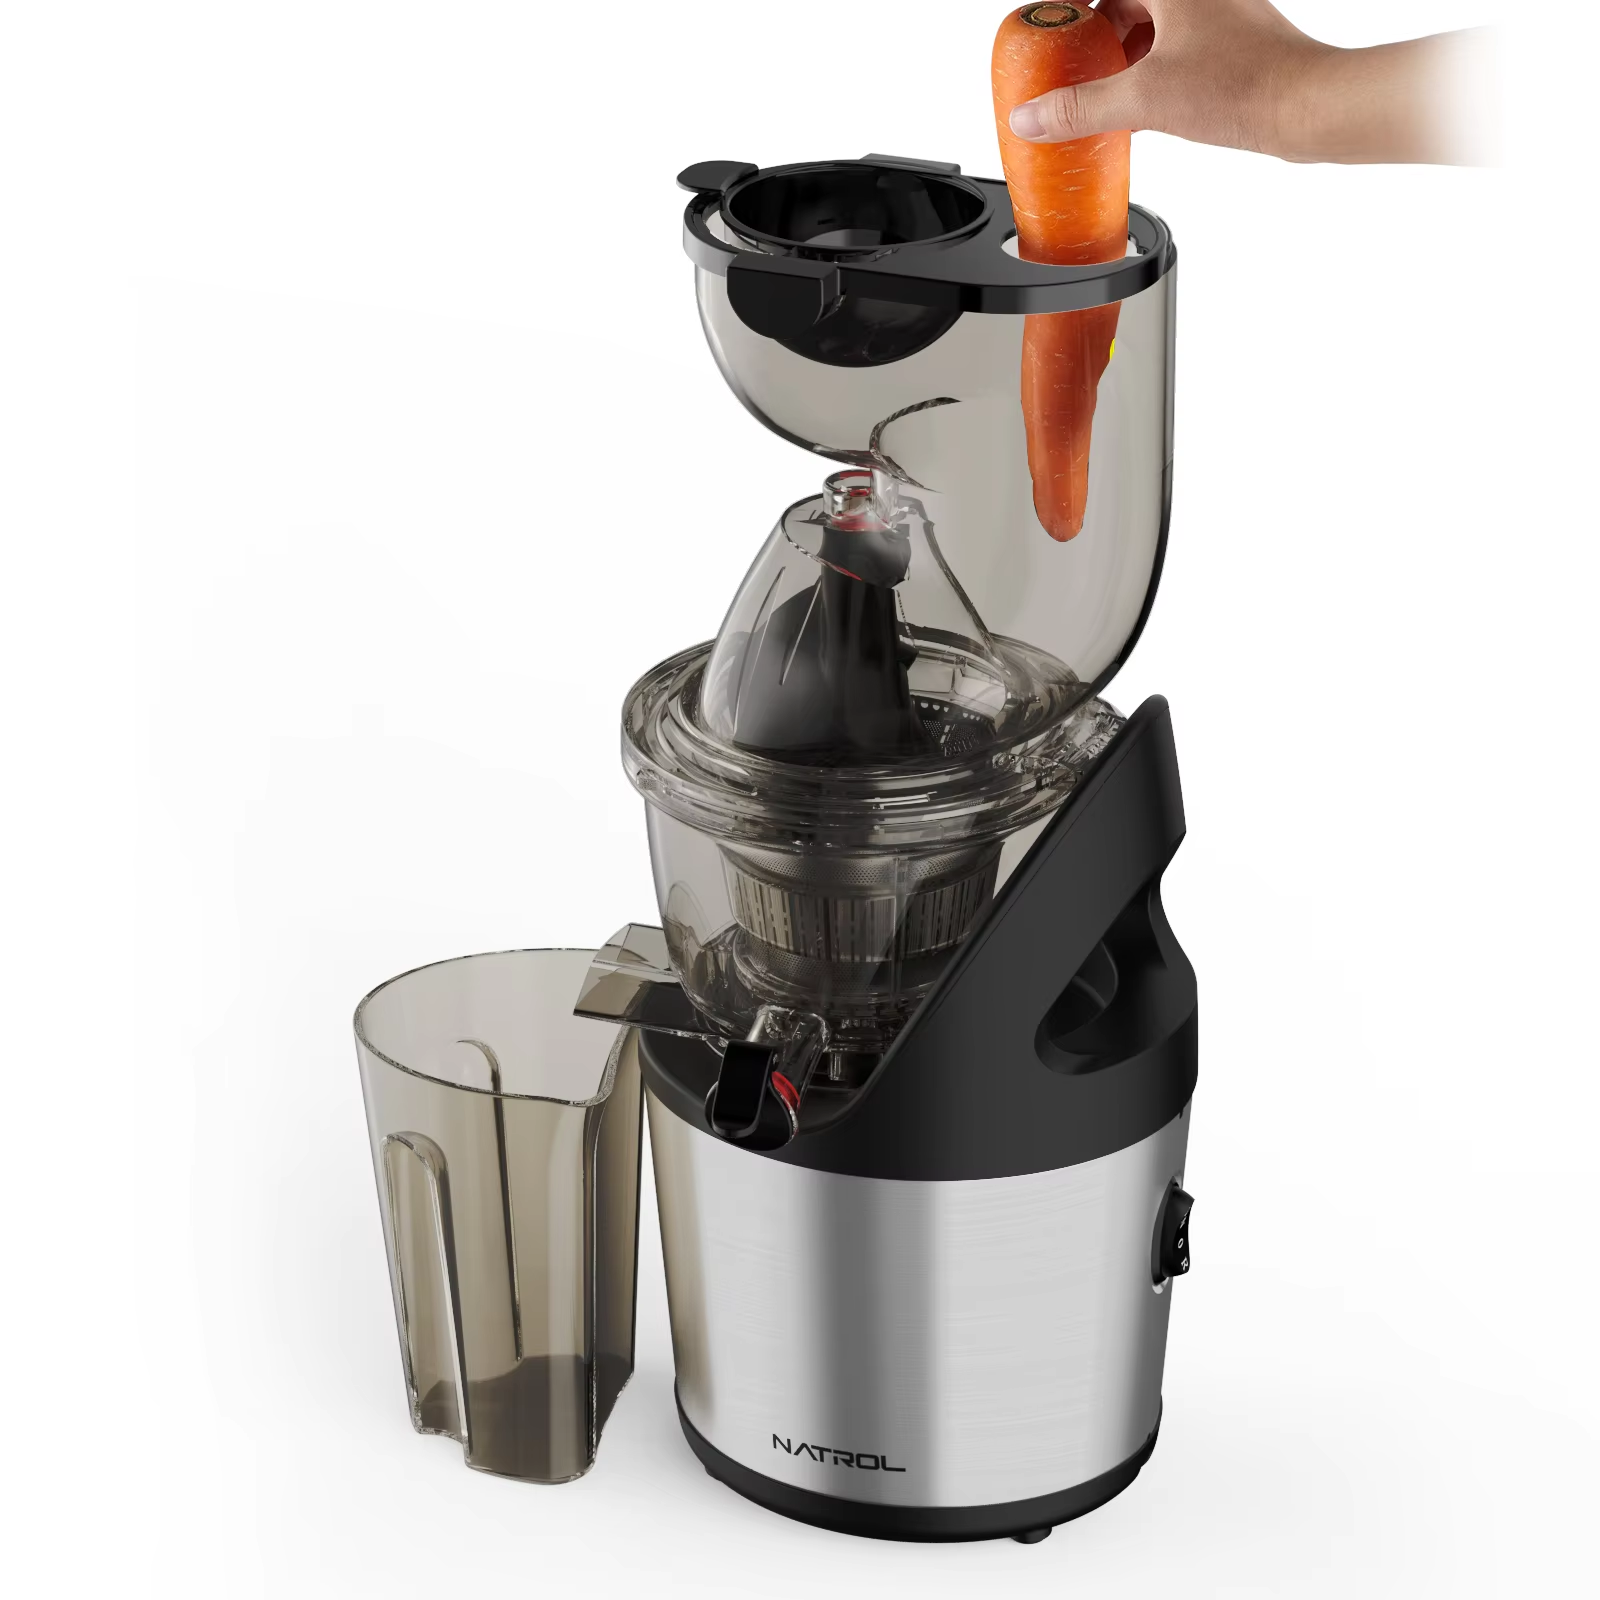 Factors to Consider When Choosing the Slow Juicer
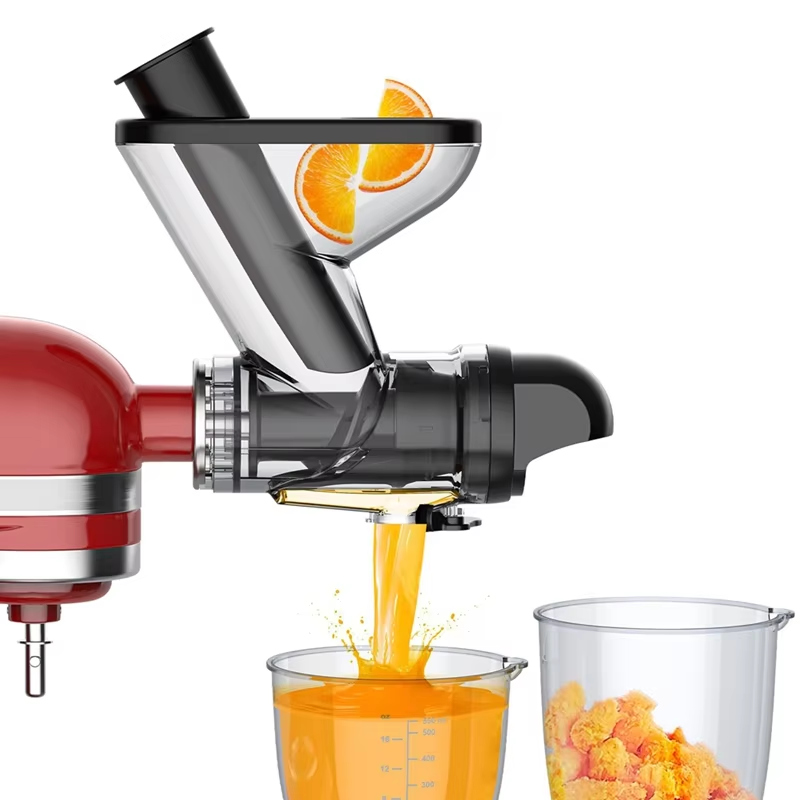 Top Features of the Slow Juicers
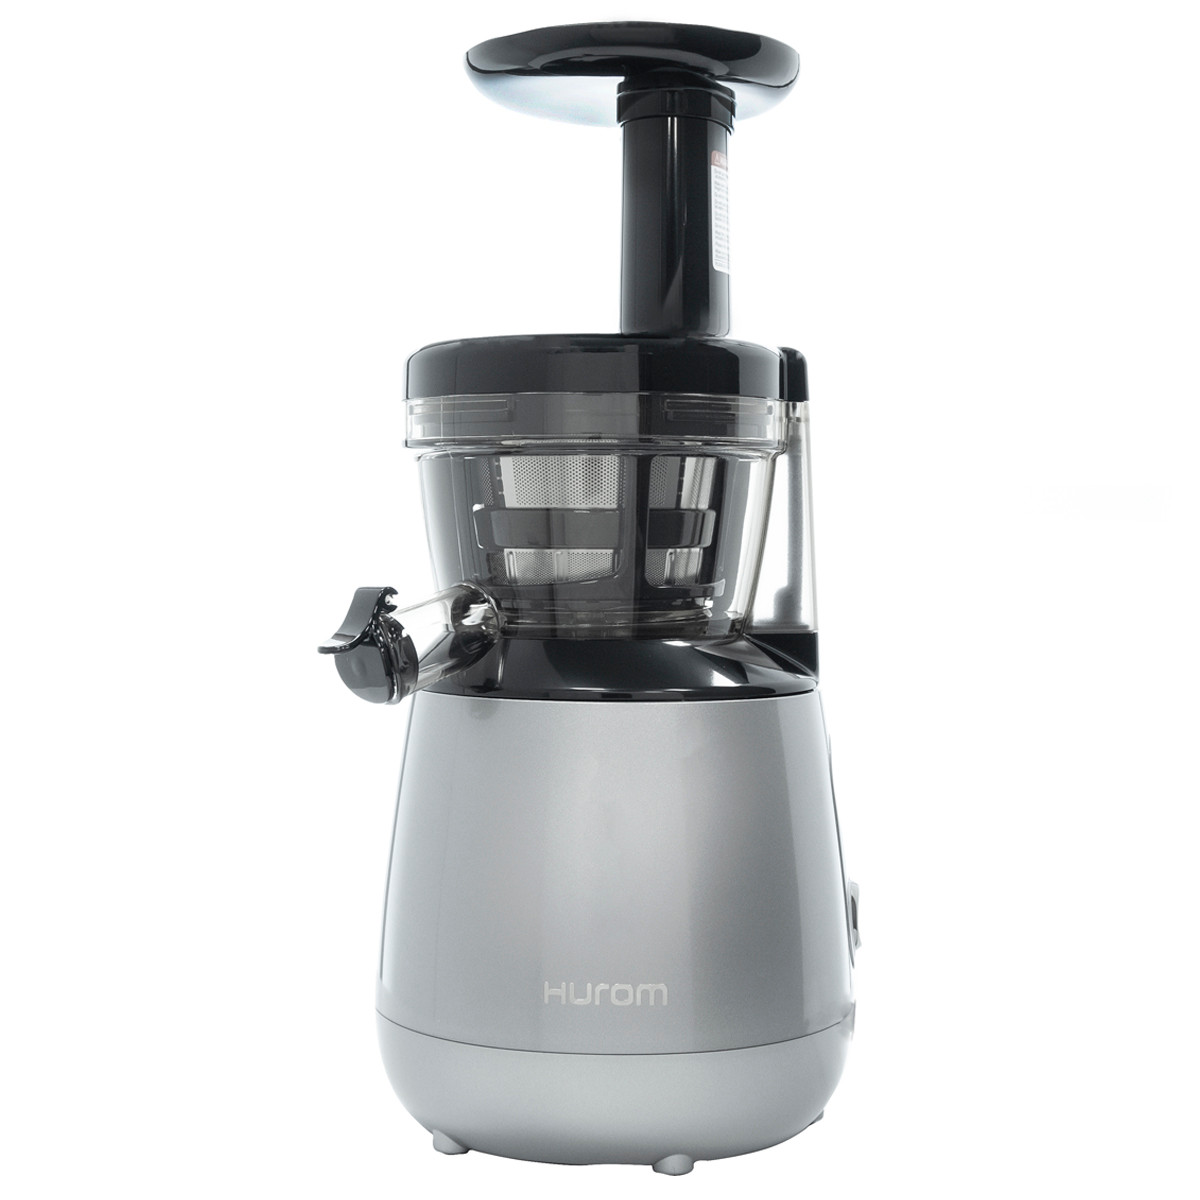 Are Slow Juicers Really Better? Analyzing the Pros and Cons
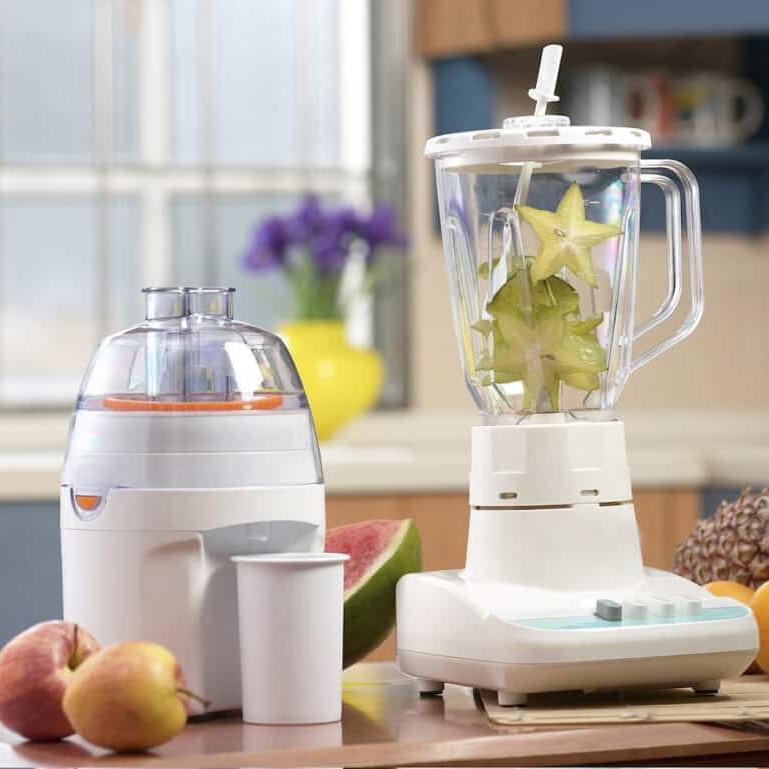
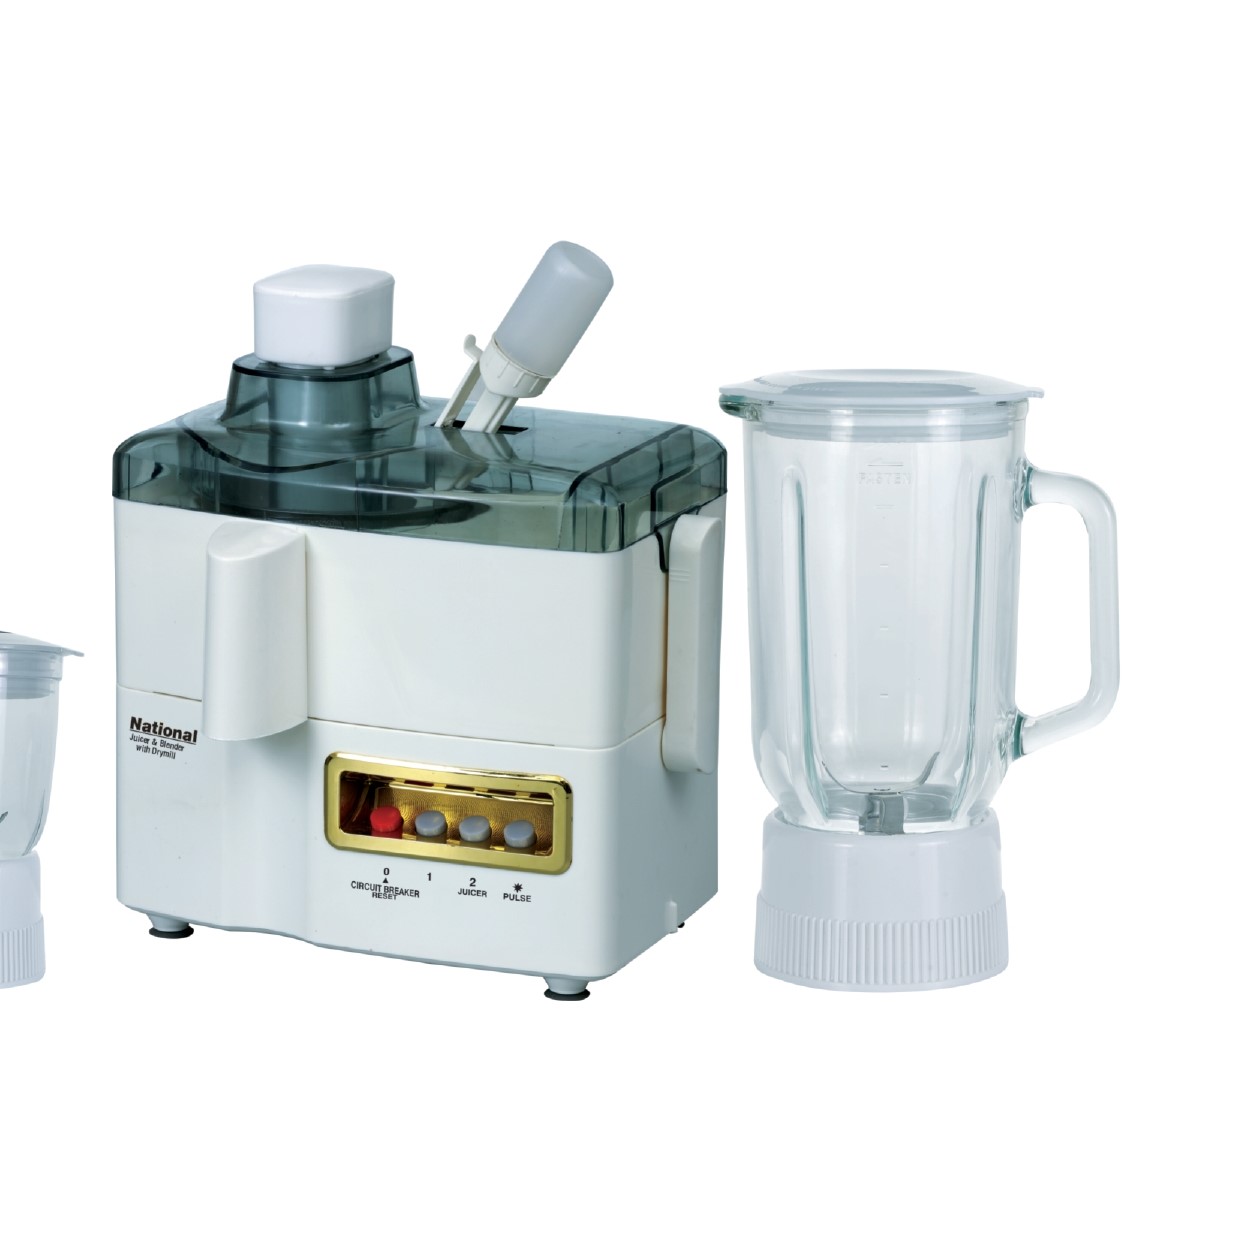 Understanding Juicers and Blenders
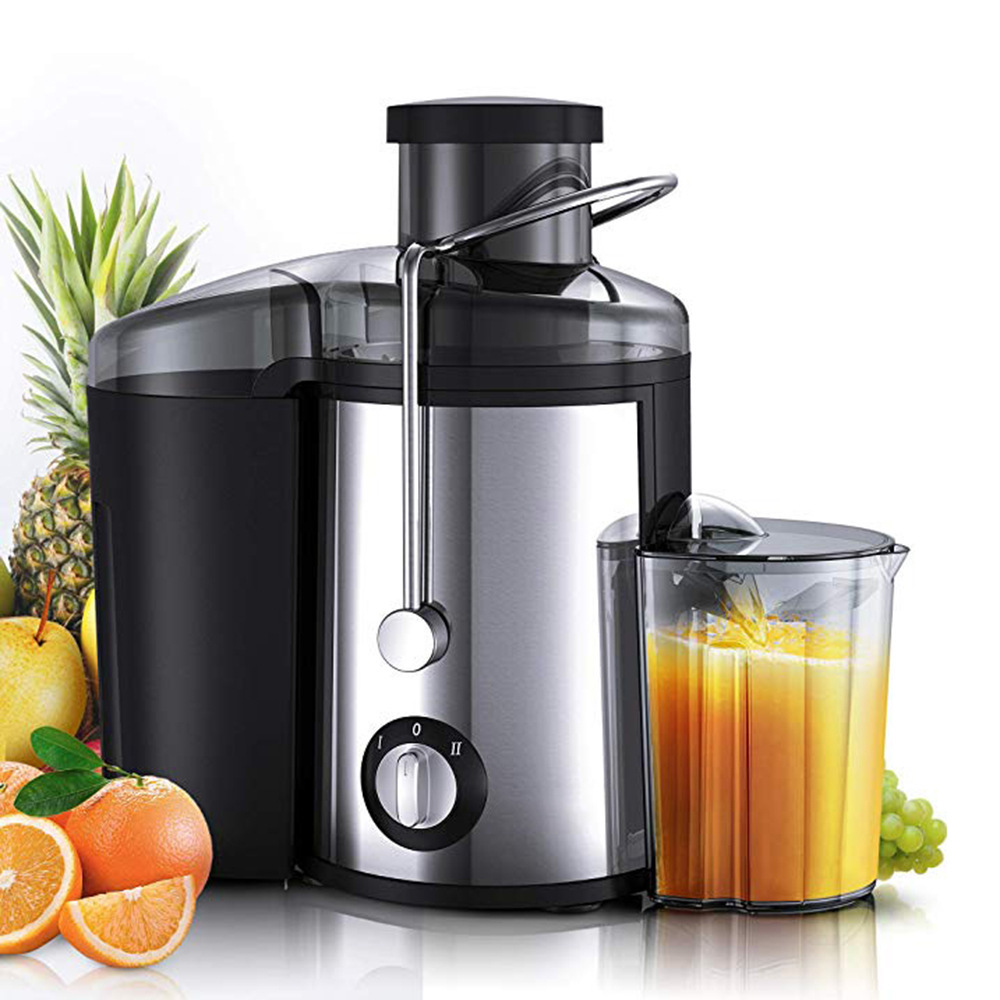 Health Benefits: Juicer&Blender
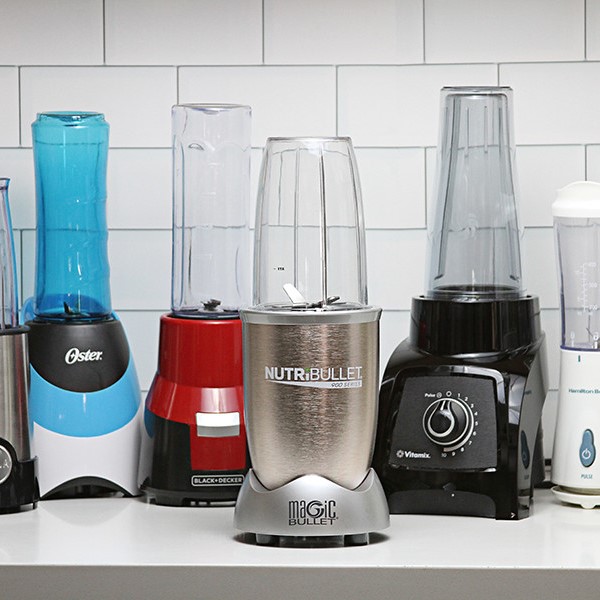 Juicer&Blender Top Models in the Market
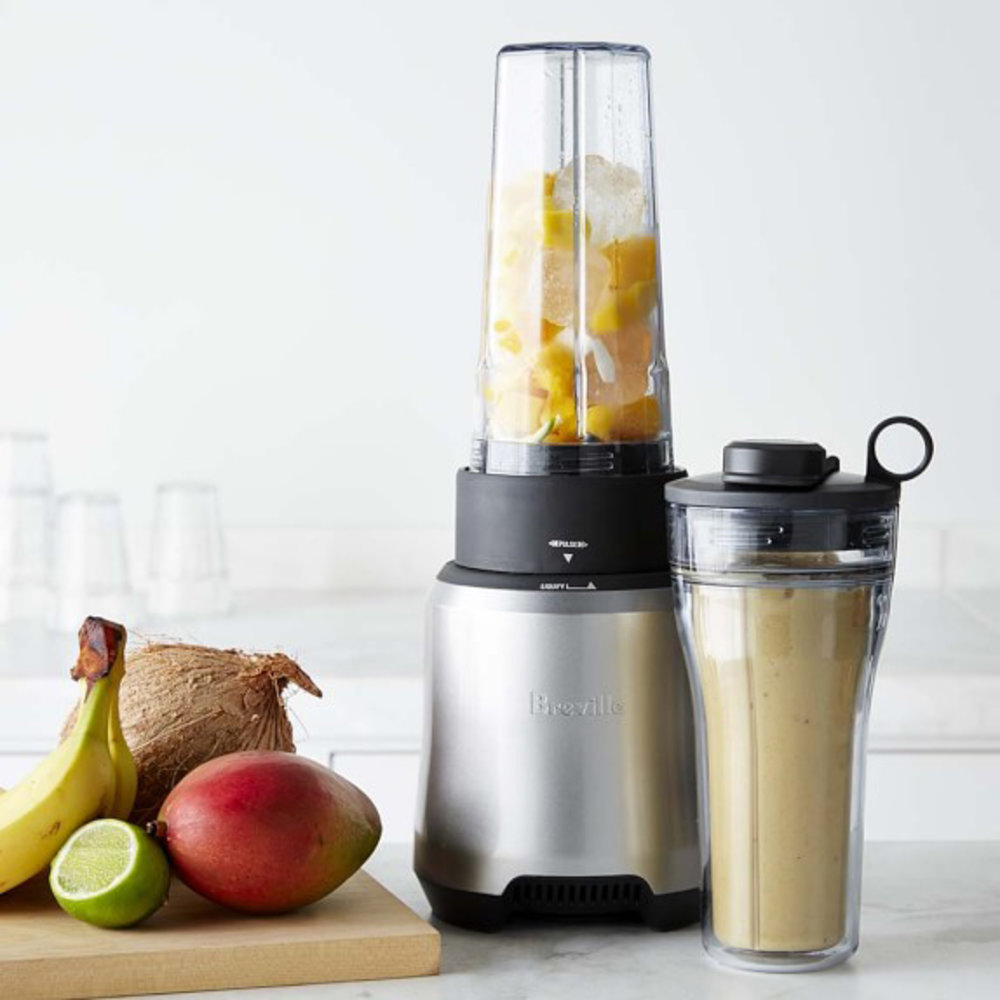 Frequently Asked Questions
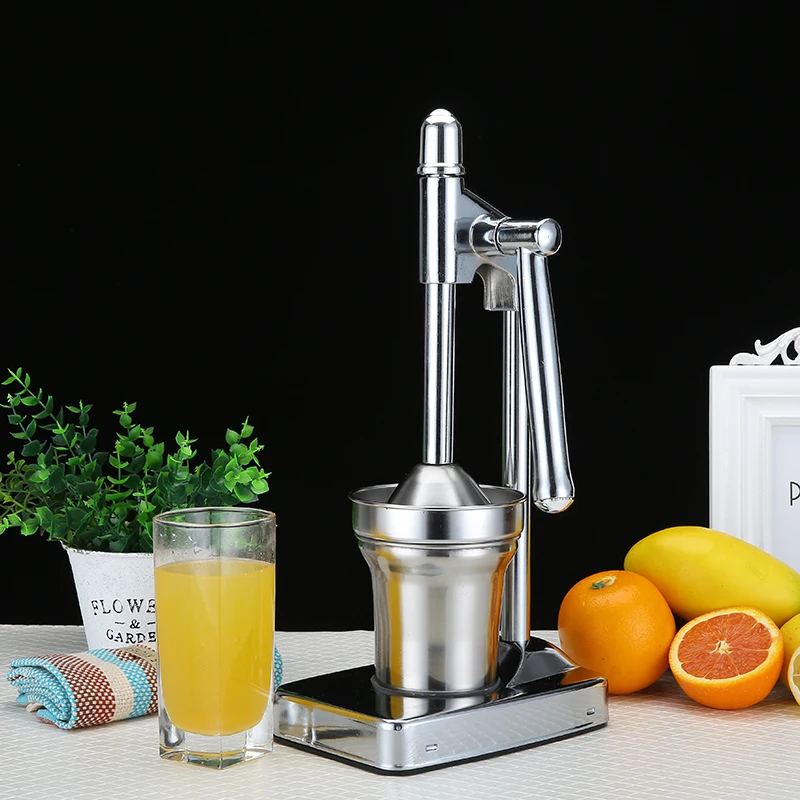
 Understanding Manual Hand Juicers
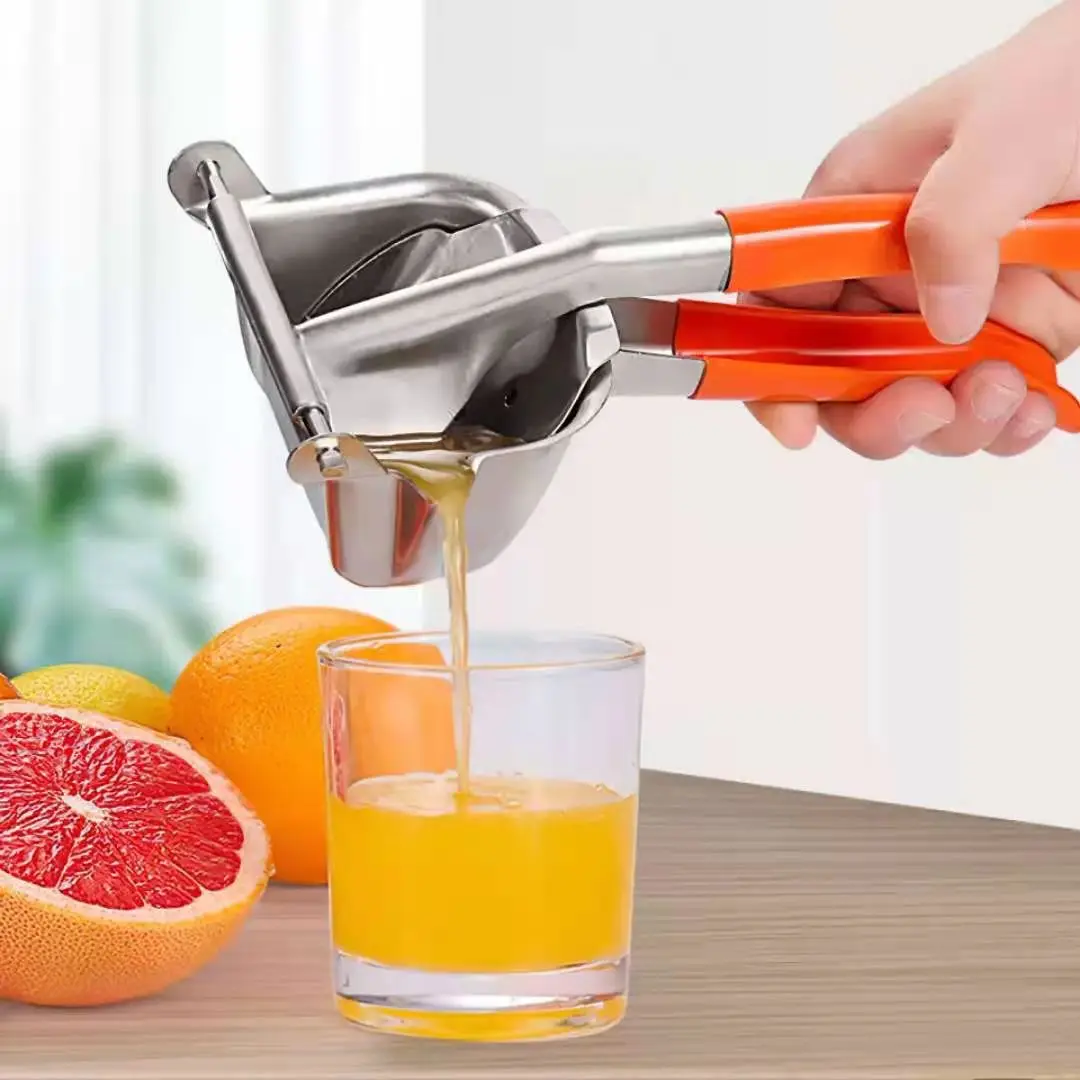 Comparing Manual and Electric Juicers
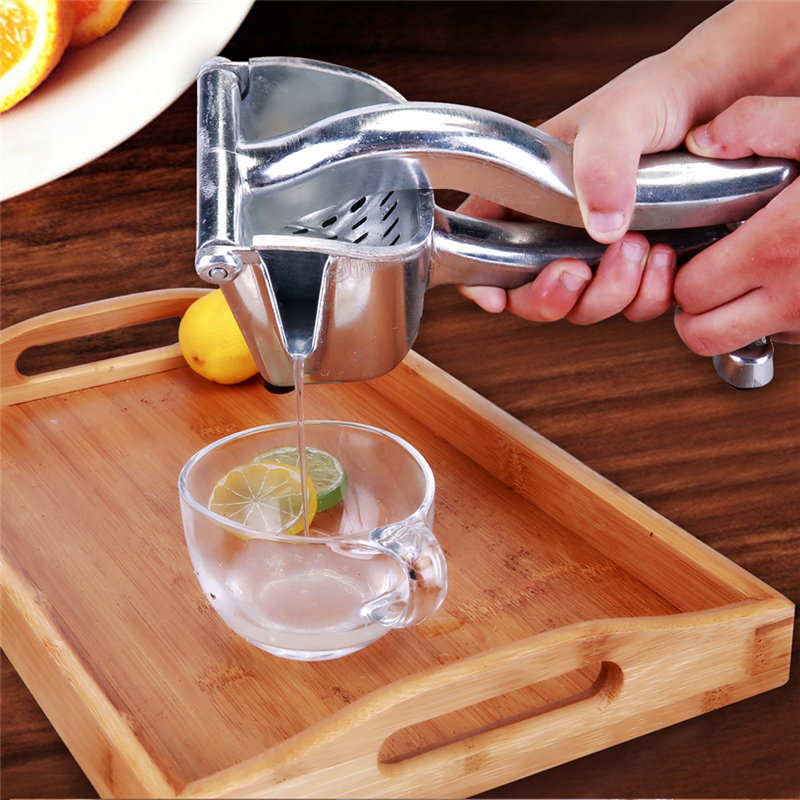 Limitations of Manual Hand Juicers
 Sustainability and Environmental Impact
 The Health Advantages of a Small Juicer
 Choosing the Right Small Juicer for Your Needs
 Maintenance Tips for Your Small Juicer
 Customer Reviews and Testimonials
 The Rise of Mini Juicers in Modern Kitchens
 Convenience and Time-Saving Advantages
 Versatility and Variety in Juice Making
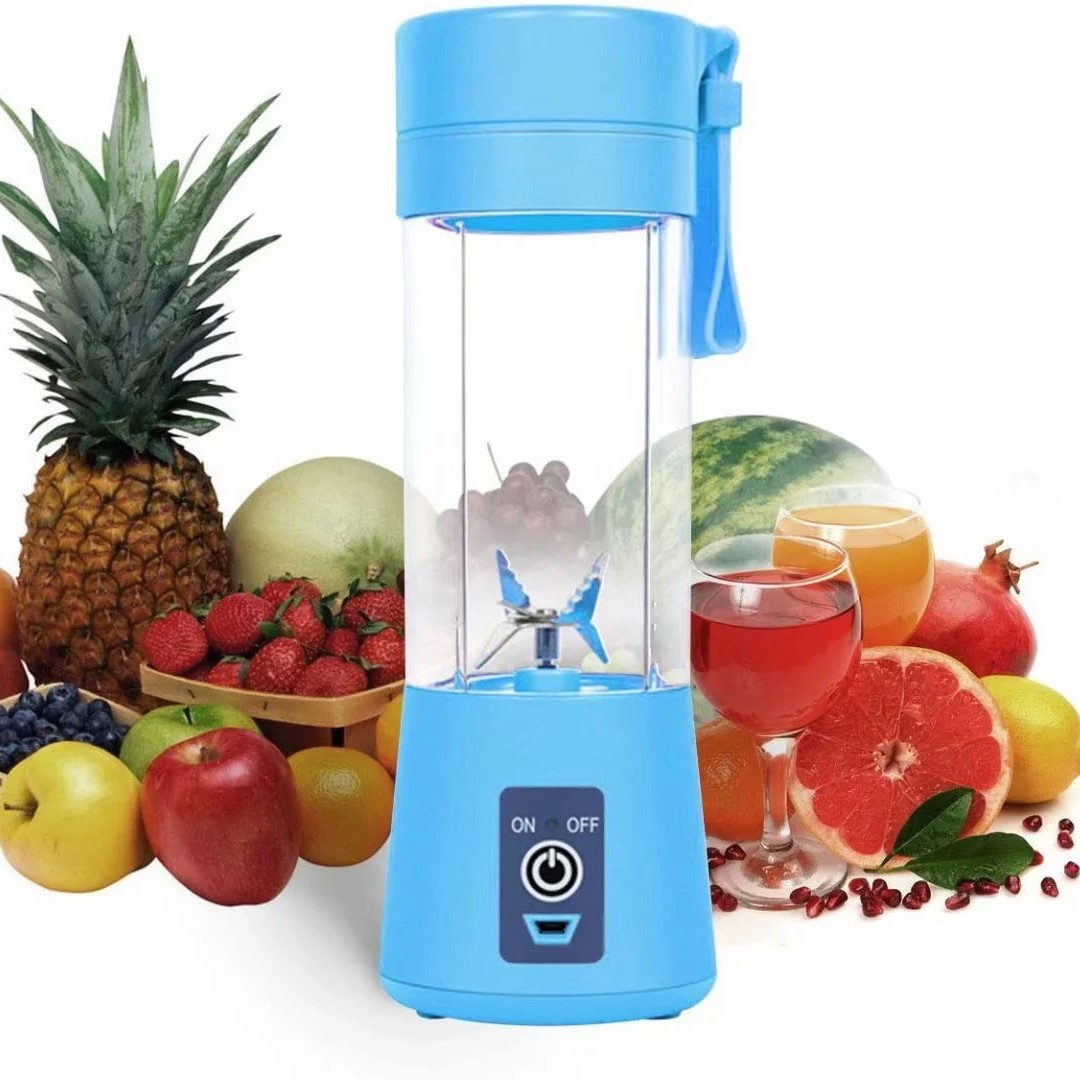 Maintenance and Ease of Use
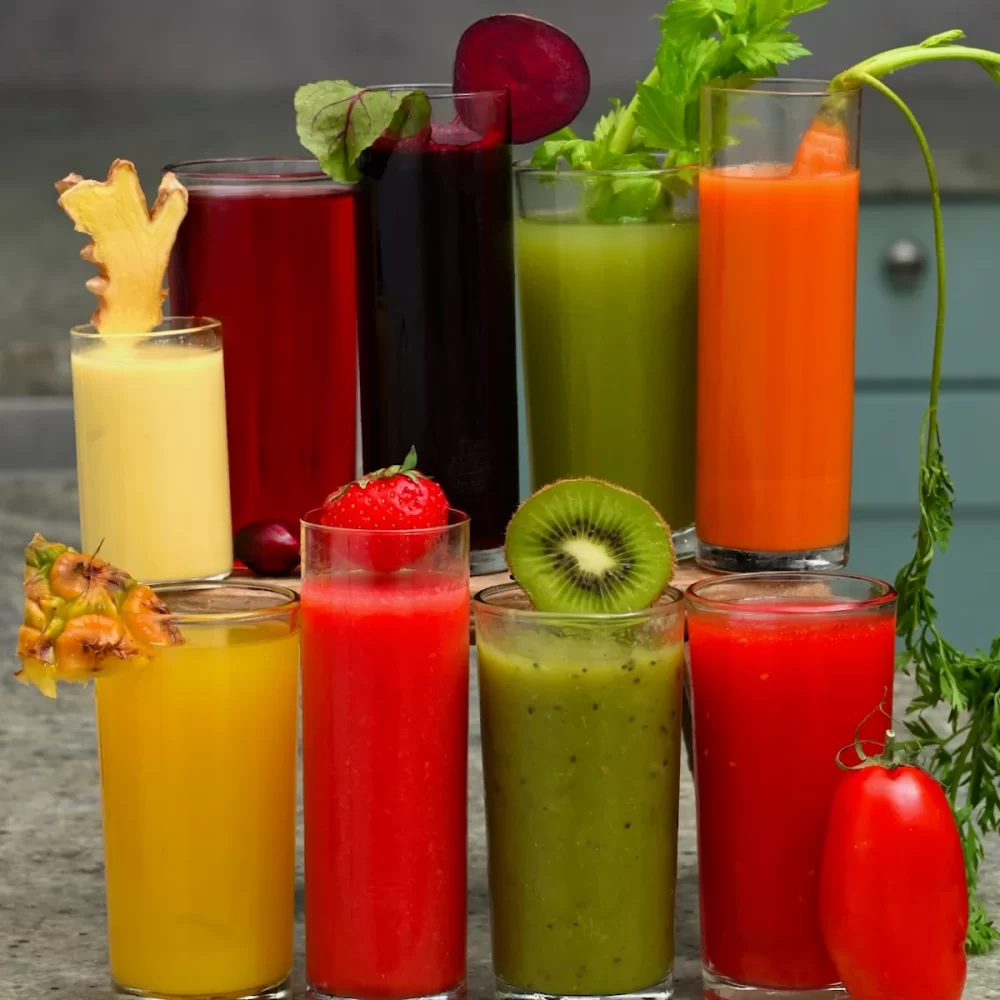
 The Art of Creating Balanced Juice Recipes
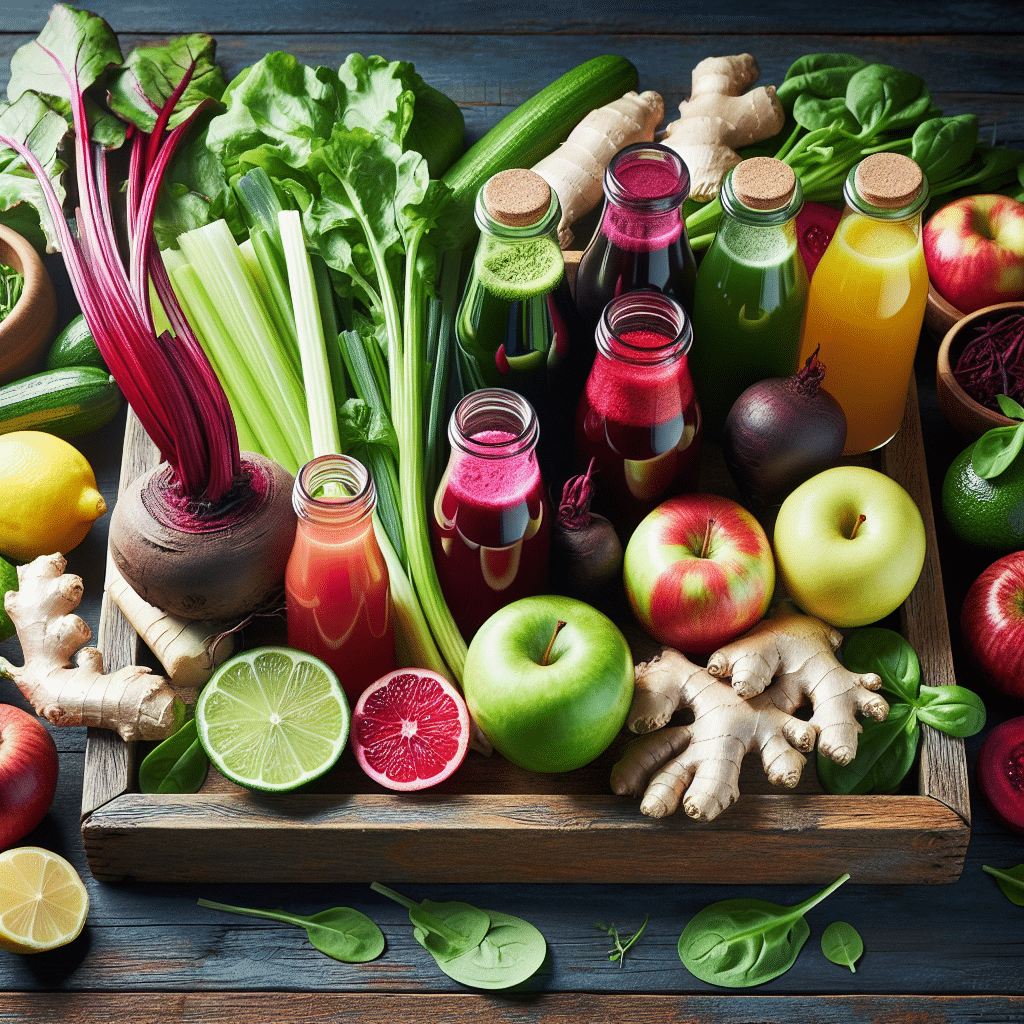 Juice Recipes for Juicer: Optimal Combinations
 Juice Recipes: What to Avoid
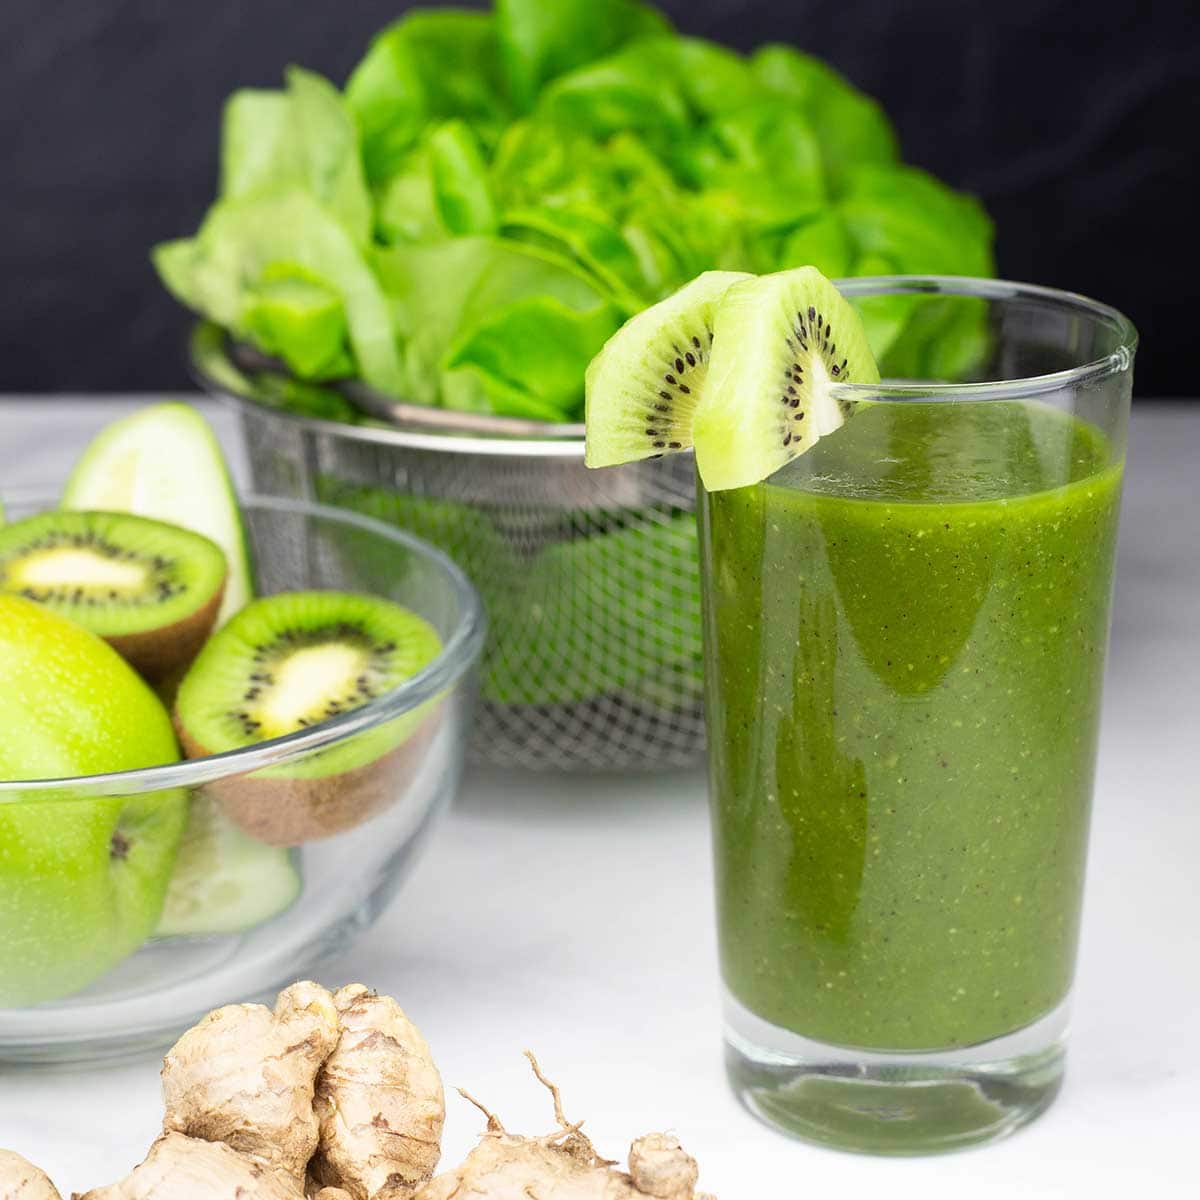 Common Mistakes to Avoid When Creating Juice Recipes
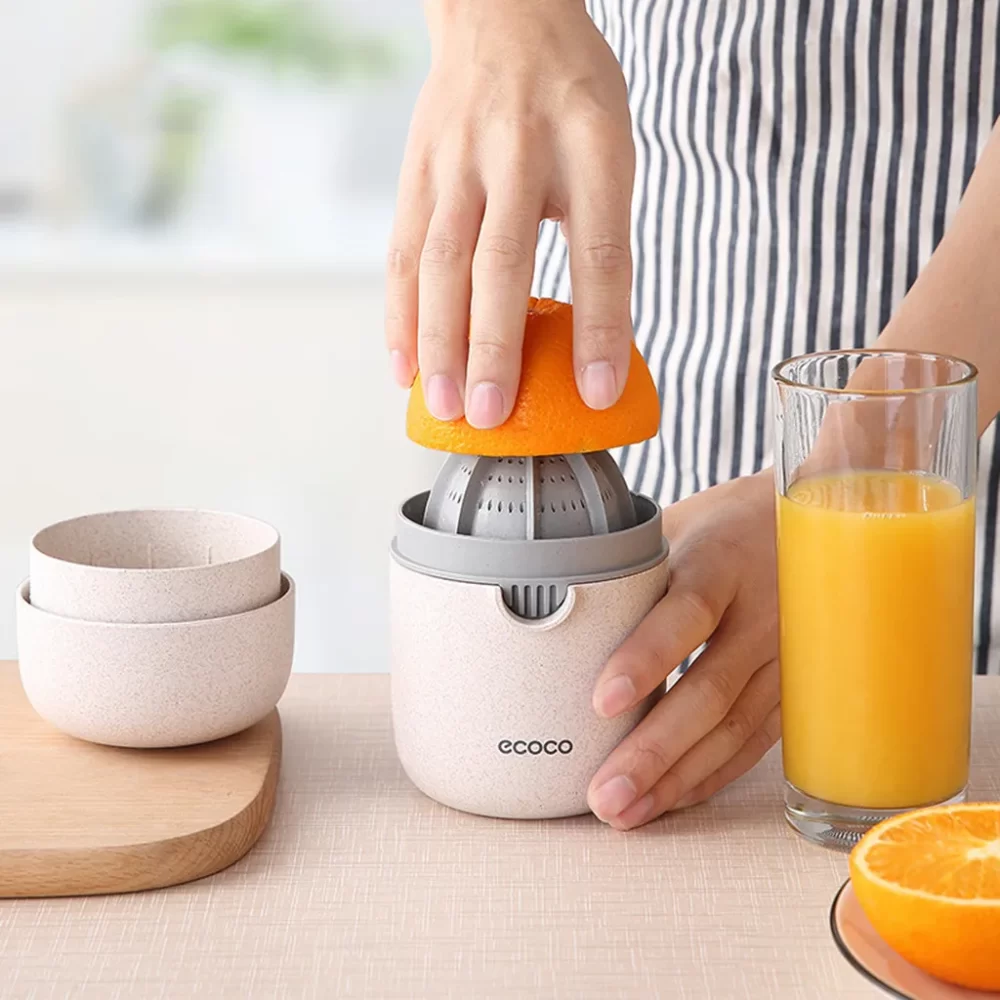
 The Advantages of Using a Hand Manual juicer
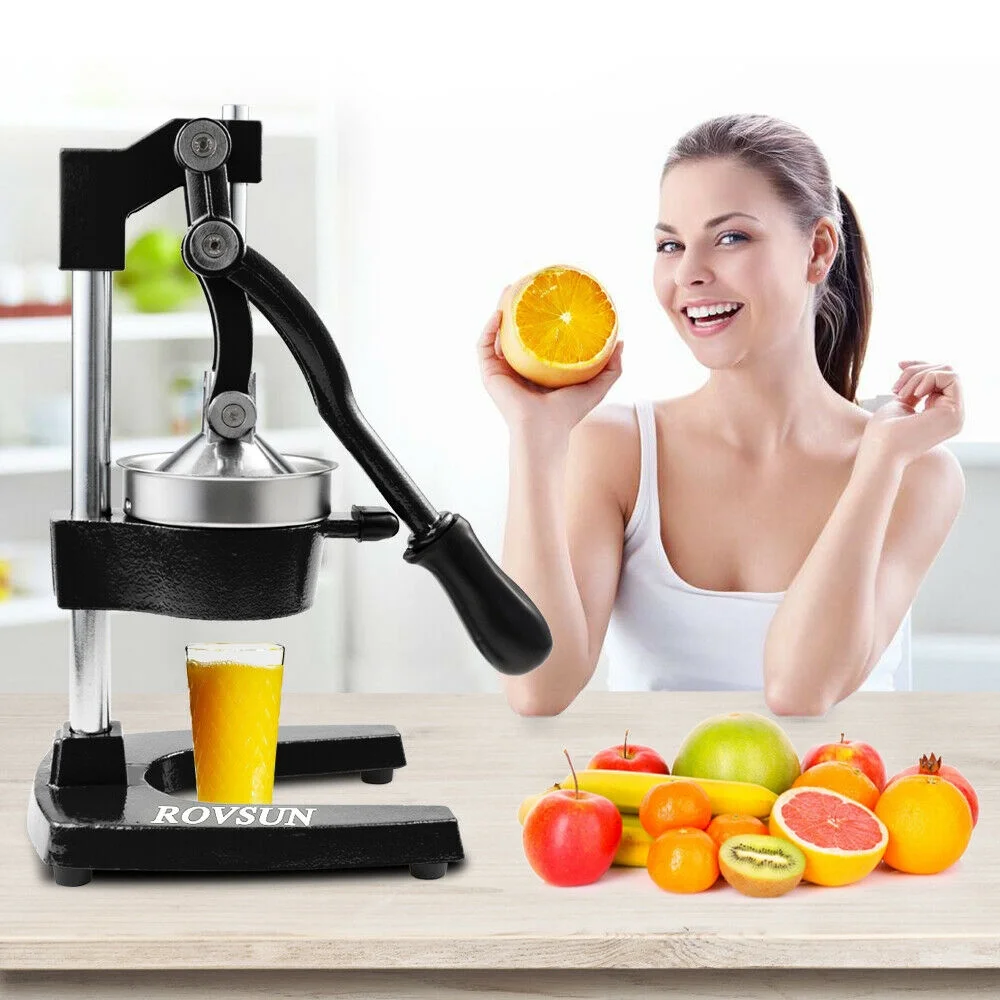 Practical Uses of a Hand Manual juicer
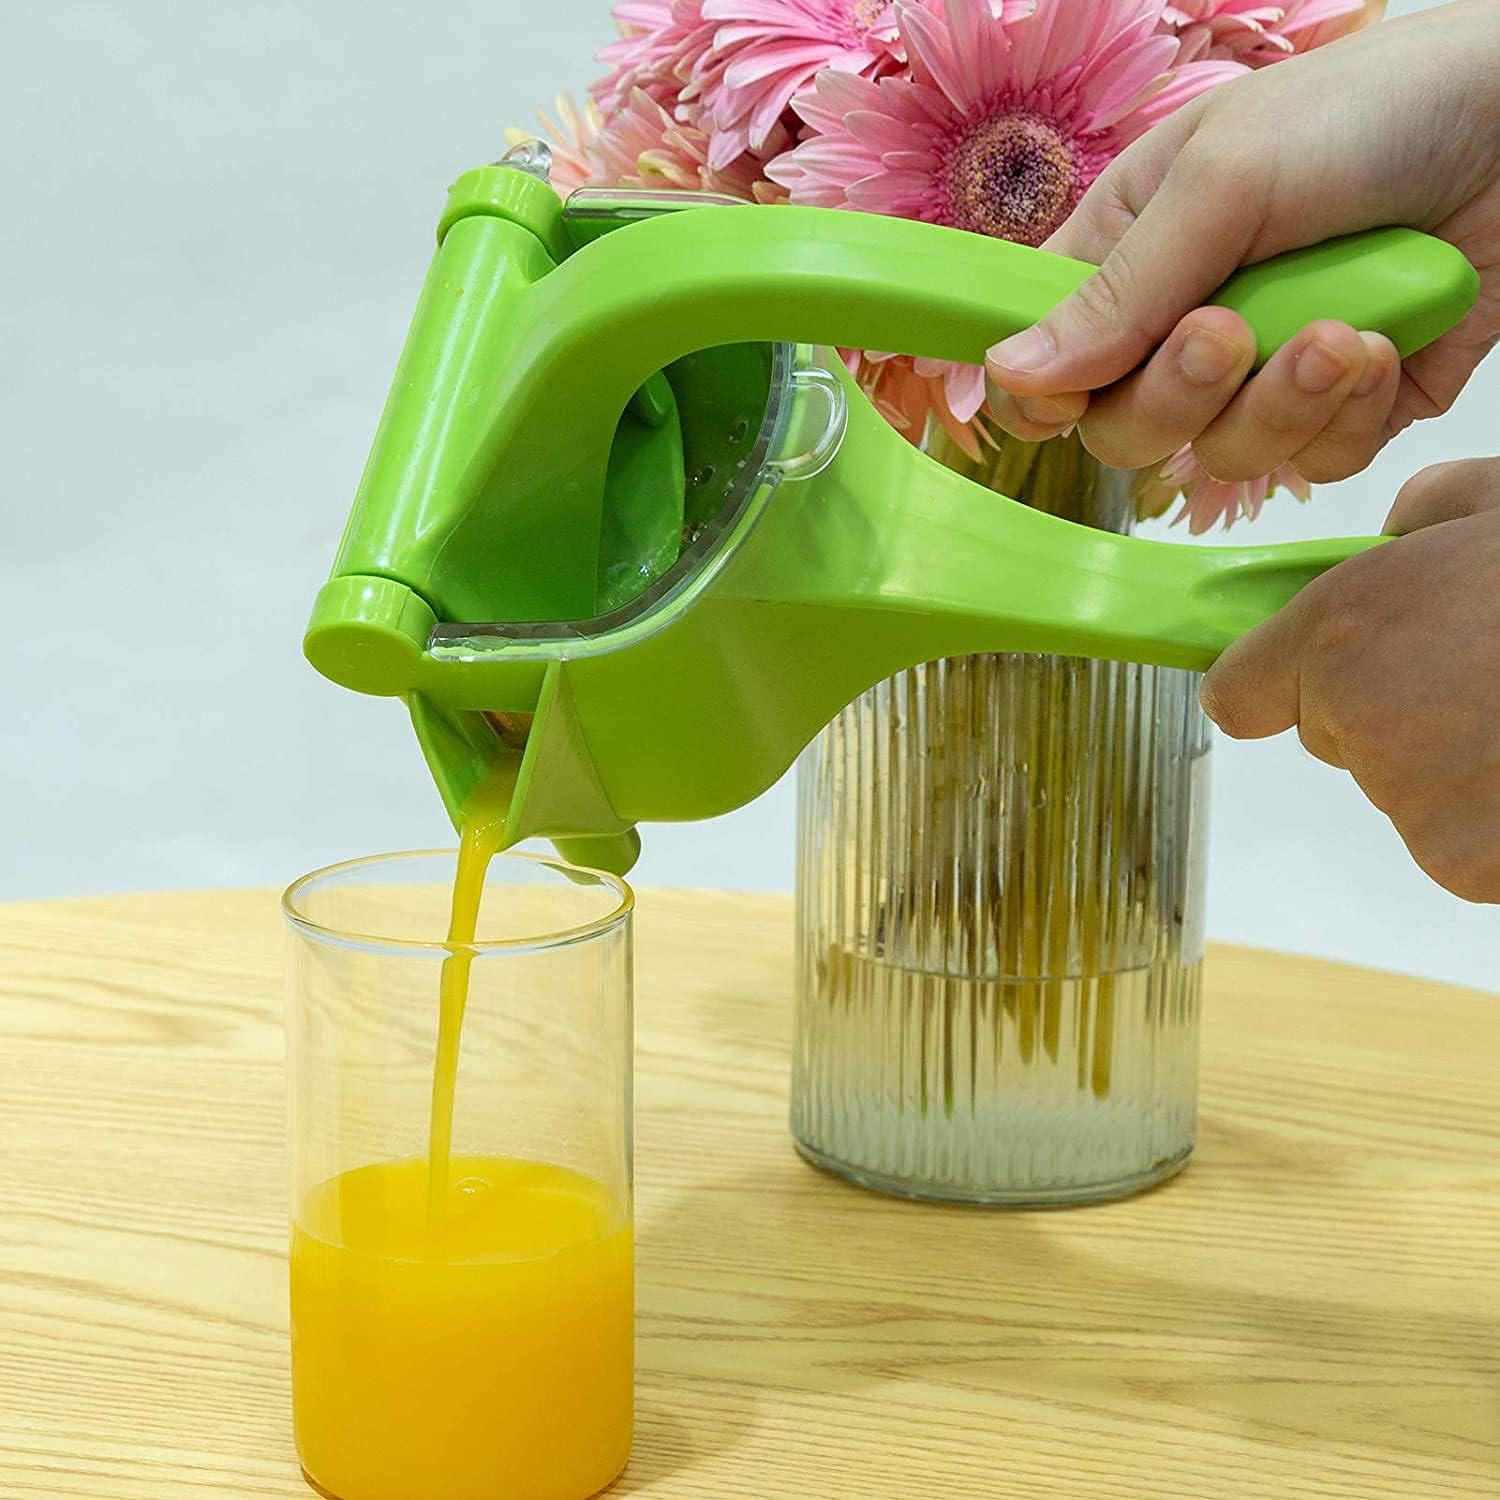 Tips for Maximizing Your Hand Manual juicer’s Performance
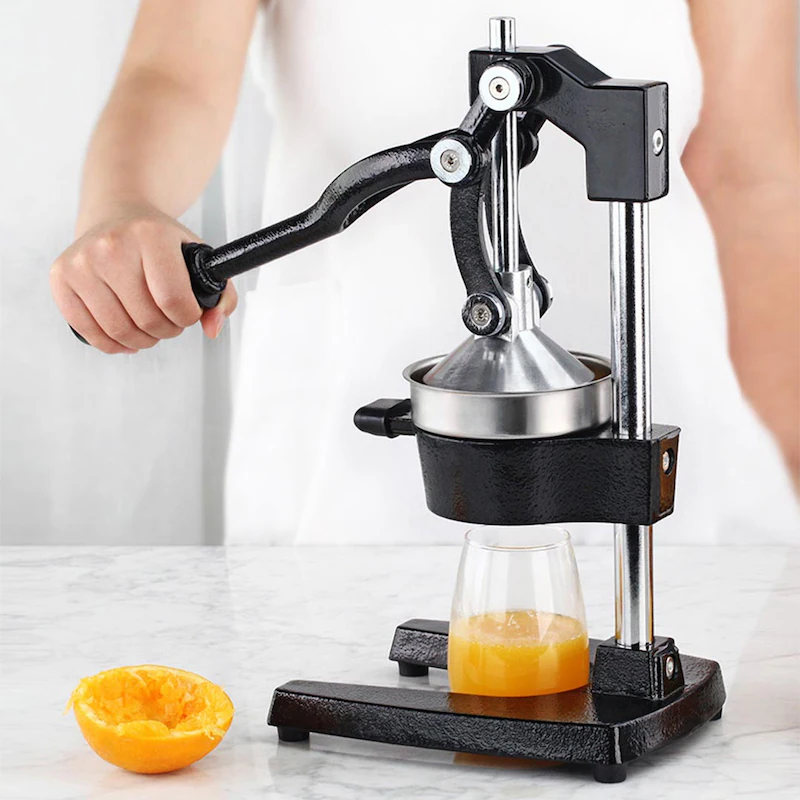 Environmental and Sustainability Benefits