Introduction
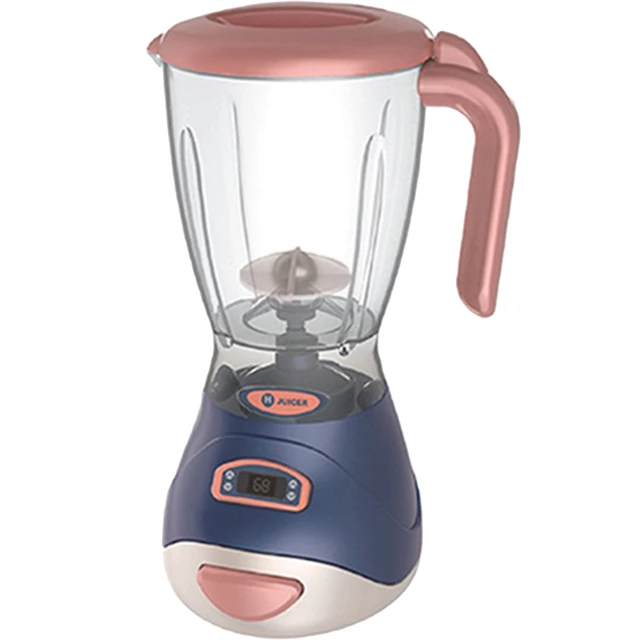
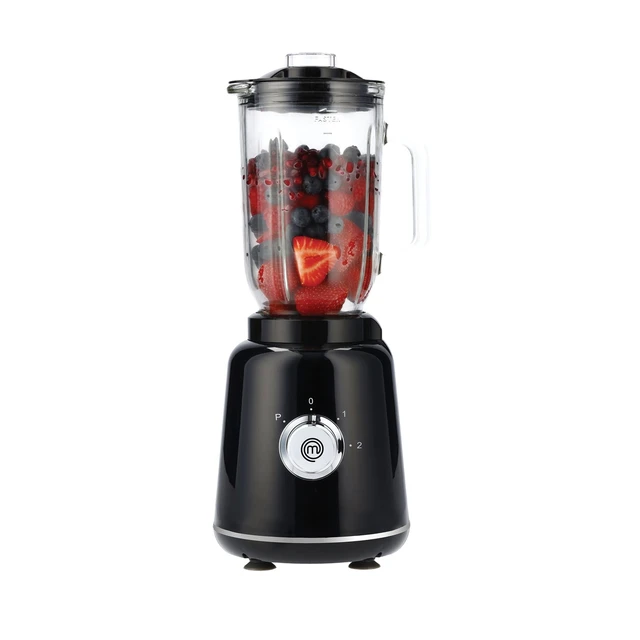
The Margaritaville blender is a popular choice for making delicious and icy margaritas. Whether you’re planning a party or simply craving a refreshing cocktail, the Margaritaville blender can help you create the perfect margarita with ease. In this guide, we will provide step-by-step instructions on how to make a margarita using a Margaritaville blender. From selecting the right ingredients to blending techniques, we will cover everything you need to know to create a delightful, restaurant-quality margarita at home.
How to make margarita in margaritaville blender?
Gather Your Ingredients
1.1. Tequila
Choose a high-quality tequila for the best flavor in your margarita. Silver or blanco tequila is a classic choice, but you can also experiment with reposado or añejo tequilas for added complexity.
1.2. Orange Liqueur
Traditionally, triple sec or Cointreau is used as the orange liqueur in margaritas. These liqueurs add a bright citrus flavor that complements the tequila.
1.3. Lime Juice
Freshly squeezed lime juice is essential for that tangy, zesty flavor in a margarita. Opt for fresh limes and juice them yourself for the best results.
1.4. Simple Syrup
Simple syrup is a mixture of sugar and water, adding sweetness and balance to the margarita. You can either buy premade simple syrup or easily make your own by dissolving equal parts of sugar and water over low heat.
1.5. Ice
Plenty of ice is needed to create the signature frozen consistency of a margarita. Ensure you have enough ice on hand to fill the blender pitcher.
1.6. Optional Additions
If you’re feeling adventurous, you can customize your margarita with additional flavors. Consider adding fresh fruit like strawberries, mangoes, or raspberries for a fruity twist.
Prepare Your Margarita Blender
2.1. Assemble the Blender
Follow the manufacturer’s instructions to properly assemble your Margaritaville blender. Ensure that the pitcher and blade are securely in place before proceeding.
2.2. Pre-Chill the Blender Pitcher
To keep your margarita icy cold, pre-chill the blender pitcher in the freezer for about 20 minutes. This will help maintain the desired frozen consistency throughout the blending process.
Measure and Pour
3.1. Tequila
Using a jigger or measuring cup, measure out the desired amount of tequila. For a single margarita, a standard serving is usually around 2 ounces (60 ml) of tequila.
3.2. Orange Liqueur
Measure out the appropriate amount of orange liqueur, usually around 1 ounce (30 ml) for a single margarita.
3.3. Lime Juice
Squeeze fresh lime juice and measure out approximately 1 ounce (30 ml) per margarita. Adjust the amount to taste, depending on your preference for tanginess.
3.4. Simple Syrup
Measure out the desired amount of simple syrup, typically around 0.5 to 1 ounce (15 to 30 ml) per margarita, depending on your desired level of sweetness.
3.5. Ice
Fill the pre-chilled blender pitcher with enough ice to reach the maximum ice line indicated on the pitcher. This will vary depending on the size of your Margaritaville blender.
3.6. Optional Additions
If you’re incorporating fresh fruit or any other optional additions, add them to the blender pitcher along with the other ingredients.
Blend to Perfection
4.1. Select the Blending Mode
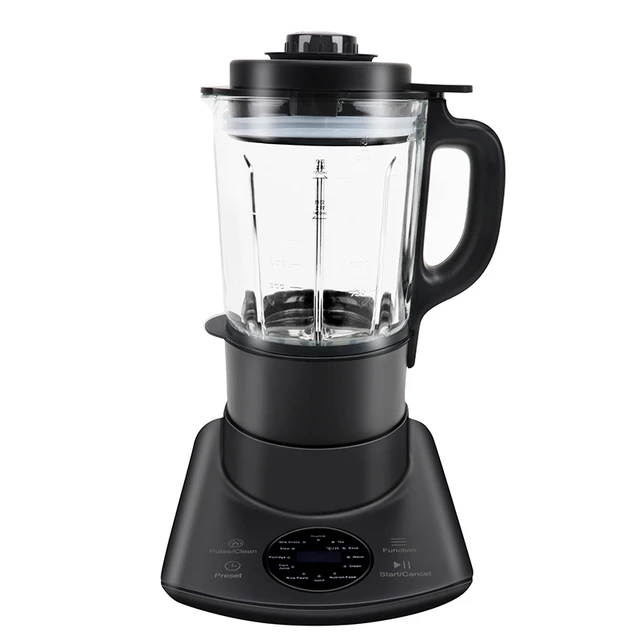
Margaritaville blenders often have different blending modes for various frozen concoctions. Choose the appropriate mode for margaritas, which typically involves crushing and blending the ice to a smooth consistency.
4.2. Start the Blending Process
Secure the blender pitcher onto the base of the Margaritaville blender and start the blending process. Follow the manufacturer’s instructions for blending times and settings specific to your blender model.
4.3. Adjust the Consistency
Monitor the blending process and adjust the consistency as needed. If the margarita is too thick, add small amounts of lime juice or water. If it’s too thin, add more ice to achieve the desired texture.
4.4. Pause and Scrape
Pause the blender occasionally to scrape down the sides of the pitcher using a spatula or spoon. This ensures that all the ingredients are well combined and that there are no lumps or chunks remaining.
4.5. Blend Until Smooth
Continue blending until the margarita reaches a smooth and slushy consistency. Be mindful not to over-blend, as this can result in a watery margarita.
Rim and Serve
5.1. Prepare the Glass
To add an extra touch of flavor and presentation, rim your glasses with salt or sugar. Moisten the rim of each glass with a lime wedge, then dip it into a shallow dish filled with salt or sugar, coating the rim evenly.
5.2. Pour and Garnish
Carefully pour the blended margarita into the rimmed glasses, ensuring an even distribution. Garnish each glass with a fresh lime wedge or a slice of fruit for a vibrant finishing touch.
5.3. Serve and Enjoy
Serve your freshly made margaritas immediately and enjoy them while they’re still icy cold and refreshing. Sip and savor the delightful flavors of your homemade margaritas.
Variations and Customizations
6.1. Flavor Infusions
Experiment with different flavors by infusing your tequila with fruits, herbs, or spices. Create unique margarita variations by using infused tequilas, such as strawberry-infused tequila or jalapeño-infused tequila.
6.2. Frozen Fruit Blends
Blend frozen fruits, such as strawberries, mangoes, or peaches, along with the other ingredients to create delicious fruit-flavored margaritas. Adjust the amount of ice and other ingredients to balance the flavors and consistency.
6.3. Non-Alcoholic Margaritas
For those who prefer non-alcoholic options, you can easily make virgin margaritas by omitting the tequila and increasing the amount of orange liqueur, lime juice, and simple syrup. Adjust the flavors and sweetness to suit your taste.
Cleaning and Maintaining Your Margaritaville Blender
8.1. Rinse the Blender Pitcher
After preparing your margaritas, rinse the blender pitcher with warm water to remove any residue or leftover ingredients. Pay special attention to the blade area, ensuring it is thoroughly cleaned.
8.2. Disassemble and Wash Removable Parts
If your Margaritaville blender has removable parts, such as the blade assembly or lid, disassemble them and wash them separately. Use warm, soapy water and a sponge or brush to clean these parts, ensuring they are free from any residual margarita ingredients.
8.3. Wipe Down the Base
Wipe down the base of the blender with a damp cloth to remove any spills or splatters. Avoid submerging the base in water or using harsh cleaning agents.
8.4. Air Dry and Reassemble
Once all the parts are clean, allow them to air dry completely before reassembling the blender. Ensure that all parts are dry, as moisture can lead to mold or damage.
8.5. Storage
Store your Margaritaville blender in a clean and dry area, away from moisture or extreme temperatures. Keep all the parts together to prevent misplacing them.
8.6. Regular Maintenance
Follow the manufacturer’s guidelines for regular maintenance and care of your Margaritaville blender. This may include periodic deep cleaning or replacing certain parts over time.
Conclusion
With a Margaritaville blender, making margaritas at home has never been easier. By following these step-by-step instructions, you can create restaurant-quality margaritas that are refreshing, flavorful, and perfectly blended. Remember to gather high-quality ingredients, chill the blender pitcher, and adjust the blending process to achieve your desired consistency. Customize your margaritas with variations and personal touches to suit your taste preferences. Whether you’re hosting a party or simply enjoying a relaxing evening at home, your Margaritaville blender will become your go-to appliance for making delicious margaritas. Cheers to enjoying the tropical flavors of a homemade margarita!