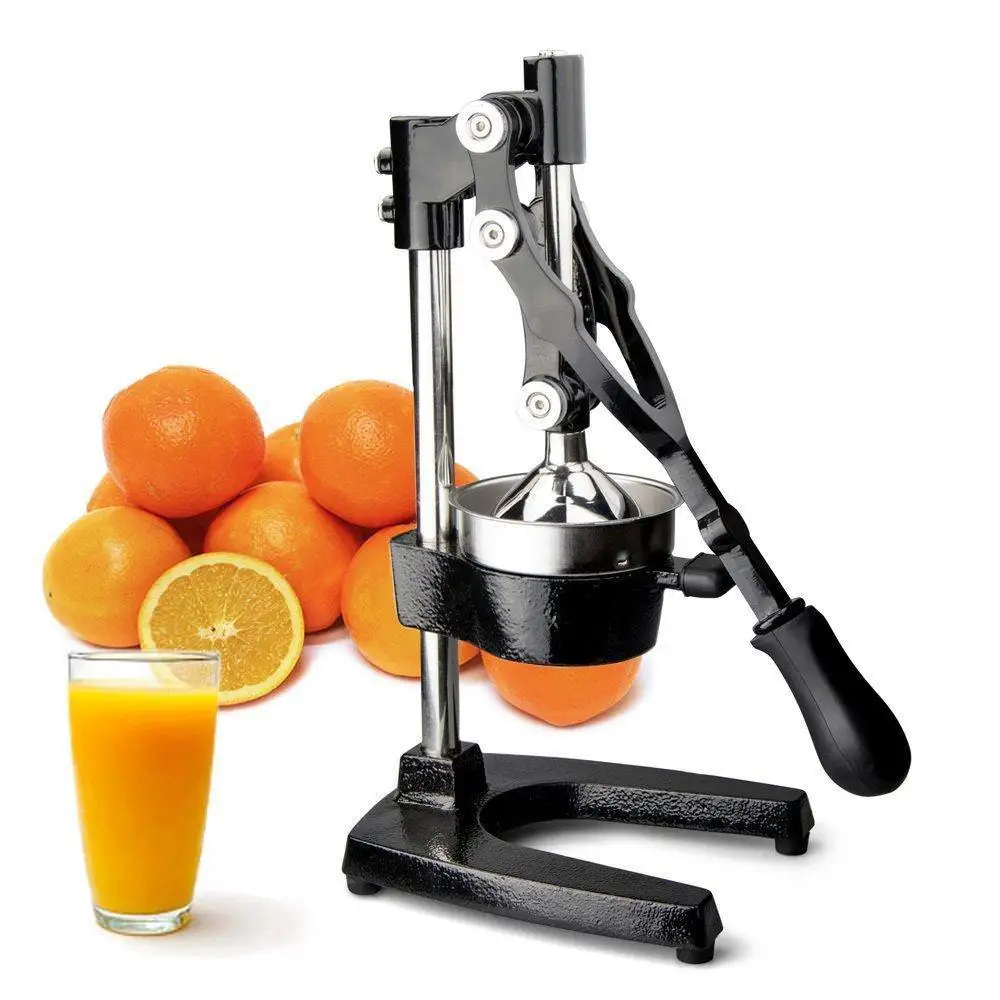
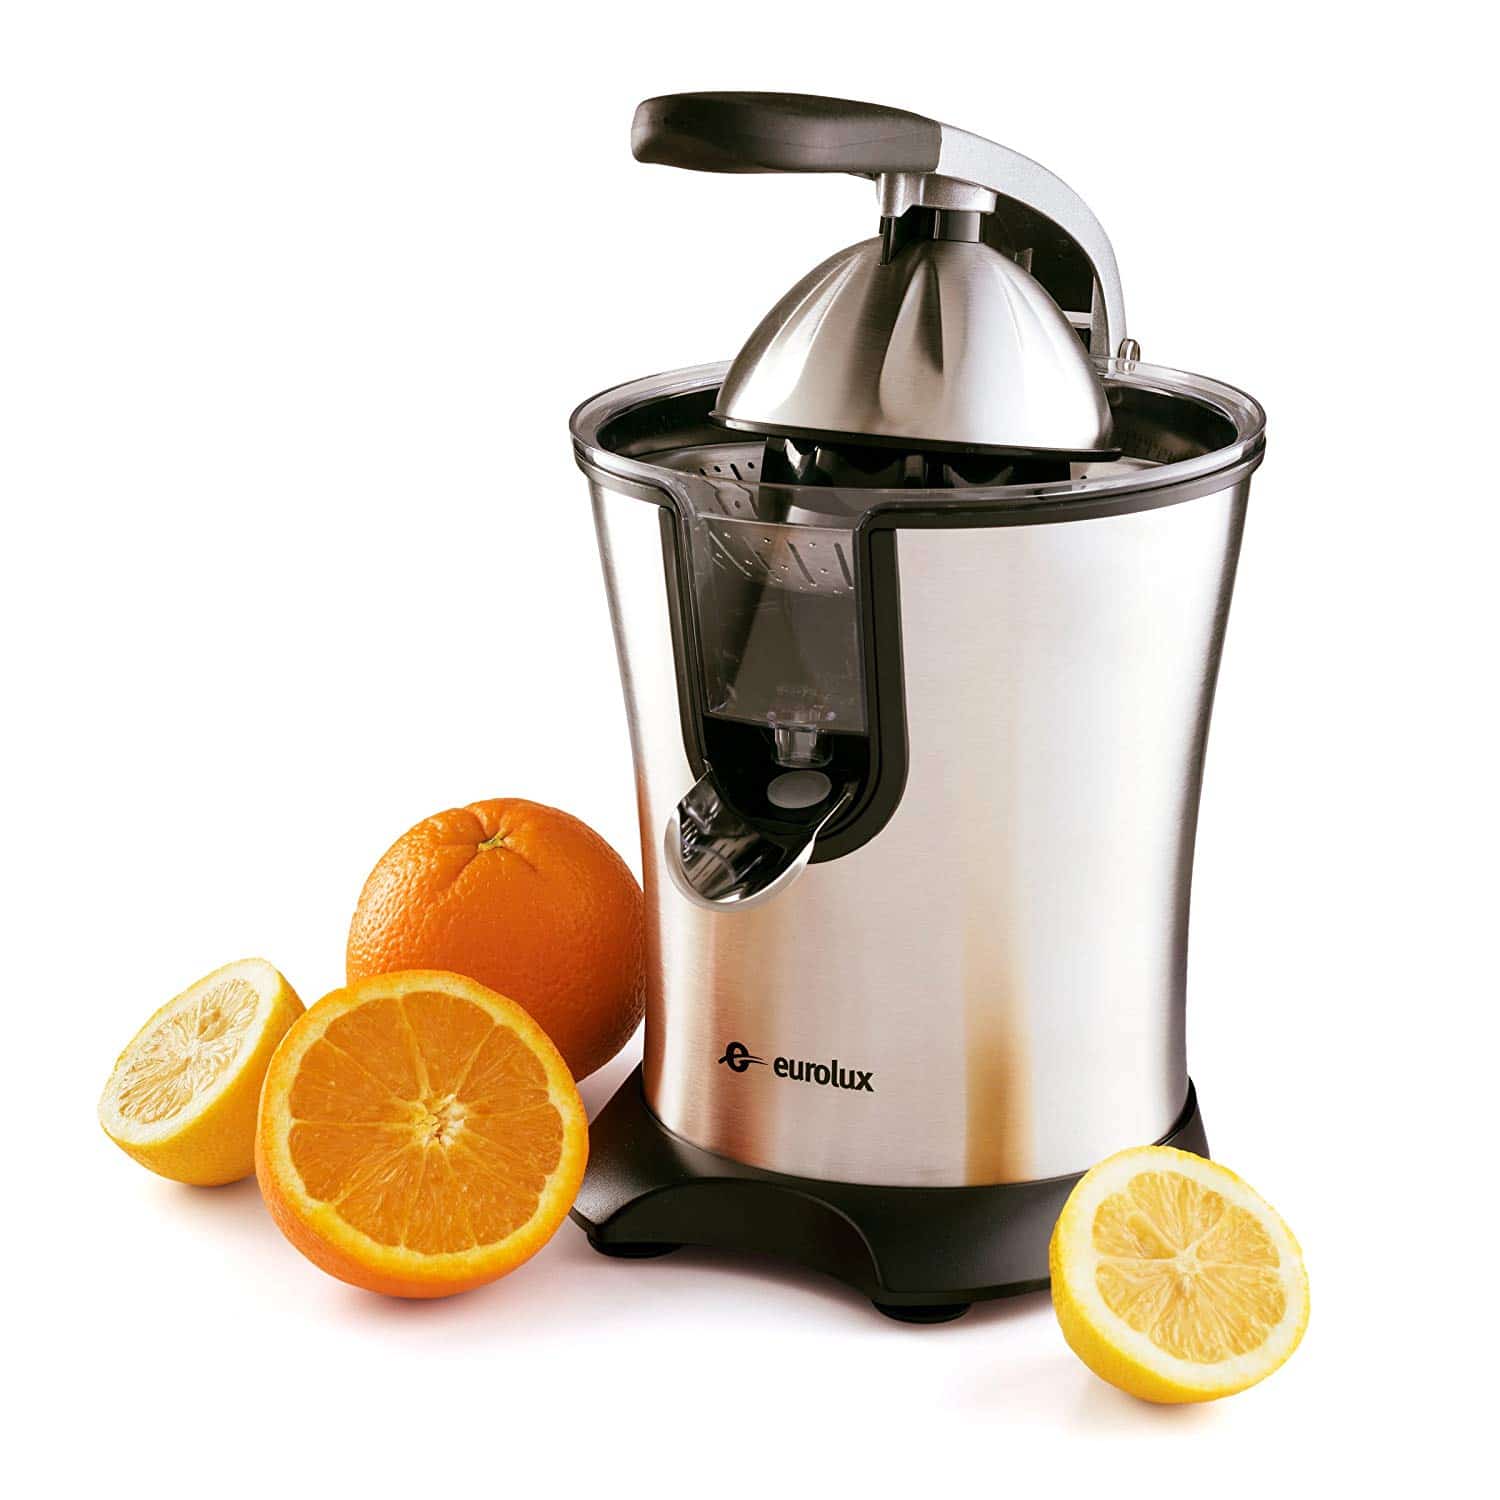
Introduction: The Importance of a Good Orange Juicer
Freshly squeezed orange juice is a delightful and nutritious addition to any breakfast table. However, achieving the perfect juice requires the right tools. The best orange juicer can help you extract maximum flavor while ensuring convenience and efficiency. Yet, with so many options on the market, finding the ideal juicer can be overwhelming. This comprehensive review evaluates the top five orange juicers based on sales, customer feedback, and performance, ensuring you make an informed decision.
 Nutritional Benefits of Fresh Orange Juice
Firstly, one of the primary advantages of using the best orange juicer is its ability to maintain the nutritional integrity of the fruit. In addition, freshly squeezed orange juice is rich in vitamin C, which plays a vital role in boosting the immune system and improving collagen production. Moreover, studies have shown that drinking fresh orange juice can enhance nutrient absorption in the body.
- Vitamin C Focus: A study published in the Journal of Nutrition highlighted that individuals who consumed fresh juices had higher levels of vitamin C in their bloodstream compared to those who drank processed juices.
- Fiber Content: Although juicing removes some fiber from the fruit, a good-quality juicer can retain a portion of the pulp, which contributes to your daily fiber intake. Fiber is essential for digestive health and can help regulate blood sugar levels.
Convenience and Lifestyle Improvements
Firstly, using an orange juicer offers unparalleled convenience that fits seamlessly into busy lifestyles. In addition, here are some of the improvements you can expect:
- Time-Saving: Fresh juice can be prepared quickly, allowing you to enjoy a nutritious drink without lengthy preparation. With a reliable juicer, you can make juice in under 10 minutes, compared to squeezing by hand.
- Family-Friendly: Notably, fresh juice can please adults and children alike, making it a staple in daily nutrition. Moreover, having a juicer at home encourages healthier habits and provides a refreshing alternative to sugary beverages.
- Customizable Flavors: With a quality juicer, you can experiment with different combinations. For example, mix orange juice with other fruits for unique flavors and added health benefits.
 Evaluating the Top Five Orange Juicers
1. Breville 800CPXL Citrus Press
Design and Features:
- Specifically, the Breville 800CPXL is a premium citrus press that features a sleek stainless-steel finish. Additionally, its heavy-duty construction ensures durability, making it a reliable choice for your juicing needs.
Performance:
- Interestingly, users report that its powerful motor provides quick extraction, resulting in an average juicing time of only 10-15 seconds per orange. Therefore, you can enjoy freshly squeezed juice in no time.
Price:
- Positioned around $150, the Breville is on the higher end but is worth the investment for serious juicers.
User Experience:
- As a result, the juice tastes incredibly fresh, thanks to the efficient extraction design that minimizes oxidation. Consequently, you can enjoy a more vibrant flavor in every glass.
Pros and Cons:
- Pros:
- Durable construction.
- Fast juicing capability.
- Cons:
- Higher price point may not suit casual users.
2. Cuisinart CCJ-500 Pulp Control Citrus Juicer
Design and Features:
- This model features a modern look with adjustable pulp control that allows flexibility based on user preference.
Performance:
- The Cuisinart juicer has a cone that rotates in both directions for maximum juice extraction, producing a higher yield compared to some competitors.
Price:
- Priced around $30, it’s an affordable option for those who enjoy occasional fresh orange juice without breaking the bank.
User Experience:
- Many users appreciate the ease of use and cleanup, thanks to its dishwasher-safe parts.
Pros and Cons:
- Pros:
- Affordable with excellent functionality.
- Easy to clean.
- Cons:
- Might not perform as well with larger quantities compared to higher-end models.
3. Hamilton Beach 932 Commercial Citrus Juicer
Design and Features:
- Built for heavy usage, the Hamilton Beach juicer features a sturdy design perfect for cafes or heavy domestic use.
Performance:
- Unlike many models, it features an automatic on/off switch, making juicing seamless. Users can extract juice quickly from various citrus fruits.
Price:
- Generally available for around $70, it offers excellent value for commercial-quality equipment.
User Experience:
- Customers highlight its reliability and powerful performance, even during busy hours.
Pros and Cons:
- Pros:
- Suitable for high-volume juicing.
- Durable and reliable.
- Cons:
- Bulky size may not fit in smaller kitchens.
4. Black+Decker CJ650W 32-Ounce Citrus Juicer
Design and Features:
- The Black+Decker CJ650W is a compact, budget-friendly juicer that boasts a 32-ounce pitcher.
Performance:
- Additionally, it features a pulp strainer, allowing users to customize the juice to their liking.
Price:
- At approximately $25, it’s a great starter juicer for those new to juicing.
User Experience:
- Users find it efficient for smaller jobs, such as making juice for one or two people.
Pros and Cons:
- Pros:
- Inexpensive and easy to use.
- Compact design makes storage simple.
- Cons:
- Limited capacity may not be suited for larger families.
5. Juiceman Citrus Juicer JM450
Design and Features:
- This juicer features a stylish design with a 40-ounce jug, making it a practical choice for creating larger juice quantities.
Performance:
- Moreover, it offers a unique adjustable pulp selector, giving you control over the texture of your juice.
Price:
- Retailing at around $45, it balances performance with price.
User Experience:
- Feedback indicates satisfaction with the ease of juicing and the amount of juice extracted.
Pros and Cons:
- Pros:
- Adjustable pulp control is appealing for diverse preferences.
- Good capacity for larger servings.
- Cons:
- It may be bulky for smaller kitchens.
 User Tips for Using Orange Juicers
Preparation Steps
Before juicing, prepare your oranges properly:
- Wash the Fruit: Always wash your oranges under cold water to remove any residues.
- Room Temperature: Allow your oranges to come to room temperature, as this helps in extracting the maximum juice.
Juicing Techniques
To enhance performance and yield:
- Cut the Oranges: Slice each orange in half to expose the flesh, making it easier for the juicer to extract juice.
- Press Firmly: Apply firm and even pressure while using the juicer to ensure maximum juice extraction.
Addressing Common Problems
- Excess Ice Crystals: If your juice has too many ice crystals, you can increase the egg yolks added (for recipes) or reduce excess moisture during preparation.
- Juice Won’t Freeze: In the event that your juice doesn’t freeze, double-check the freezer temperature settings to ensure it maintains the required temperature. Additionally, verifying these settings can help you achieve the desired freezing results.
Quick Fixes for Issues
- Stuck Fruit: If your juicer jams or gets stuck, unplug the juicer and carefully assess whether any seeds or pulp are blocking the mechanism. Furthermore, cleaning out any residue can help restore proper function.
Affordable Orange Juicer Options
While many high-end juicers boast impressive features, several budget-friendly models perform well without breaking the bank. Here are some highly-rated options:
- Hamilton Beach 932 Commercial Citrus Juicer
- Price Range: 7090
- Features: Specifically, this juicer is designed for high-volume juicing and includes an easy press lever. As a result, it is perfect for quickly juicing multiple oranges.
- Black+Decker CJ650W 32-Ounce Citrus Juicer
- Price Range: 2535
- Features: In particular, this lightweight model provides a convenient option with a 32-ounce pitcher. Consequently, it is excellent for smaller households.
- Cuisinart CCJ-500 Pulp Control Citrus Juicer
- Price Range: 3050
- Features: Offers adjustable pulp control and a sleek design, making it an aesthetic addition to your kitchen.
 Comparison Between Budget and High-End Machines
When evaluating budget vs. high-end juicers, consider the following differences:
- Performance: High-end models often feature superior design elements and more efficient motors, providing quicker juicing times and better extraction rates. However, budget models can still deliver satisfactory results for occasional users.
- Durability: More expensive options are typically built with better quality materials, leading to increased durability and longer lifespan compared to their budget counterparts.
- User Experience: Higher-end juicers often come with enhanced user features such as quieter operation, better pulp management, and more precise adjustments for personal juice preferences.
Maintaining Your Juicer
Cleaning:
- Immediately Clean Parts: After juicing, disassemble the juicer and rinse all components to prevent residue build-up. By doing so, you ensure that your juicer remains clean and functions effectively for future use.
- Use a Brush: Then, Use a soft-bristled brush to clean the filter thoroughly.
Storage:
- Store your juicer in a dry area and keep the parts together to make it easier to use again.
Final Tips for Flavorful Juices
To ensure you’re not stuck with monotonous flavors:
- Combine Flavors: Experiment with various fruits in your juices, such as mixing oranges with berries or apples for flavor diversity.
- Use Fresh Herbs: Then, Adding fresh mint or basil can give your juice an exciting twist.
- Wine Inclusion: For adult beverages, mixing juice with sparkling wine can create refreshing cocktails.
Conclusion: Finding the Best Orange Juicer for You
Choosing the best orange juicer can enhance your juicing experience significantly, whether making fresh juice for breakfast or crafting cocktails for entertaining. As we’ve discussed, models like the Breville 800CPXL and Cuisinart CCJ-500 each offer unique benefits suitable for different needs.
By considering factors such as design, performance, and user feedback, you can make a well-informed decision that aligns with your lifestyle. Ultimately, remember that proper care and smart techniques will yield creamier, more flavorful results every time. Moreover, embrace the joy of fresh juice and explore the wonderful world of orange juicers!

 The Benefits of Juicing Without a Juicer
 Tools You’ll Need for Juicing Without a Juicer
 10 Delicious Juice Recipes Using Budget-Friendly Fruits
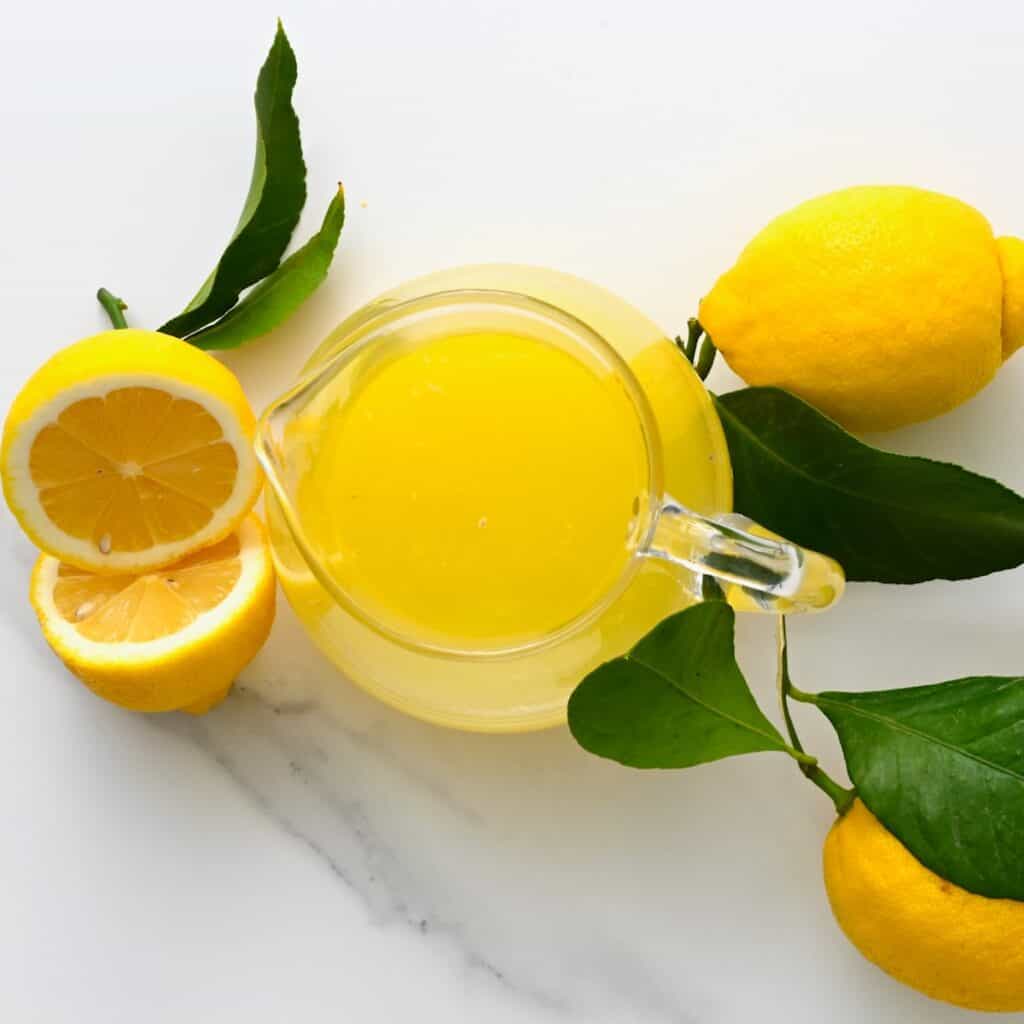 Tips for Successful Juicing Without a Juicer
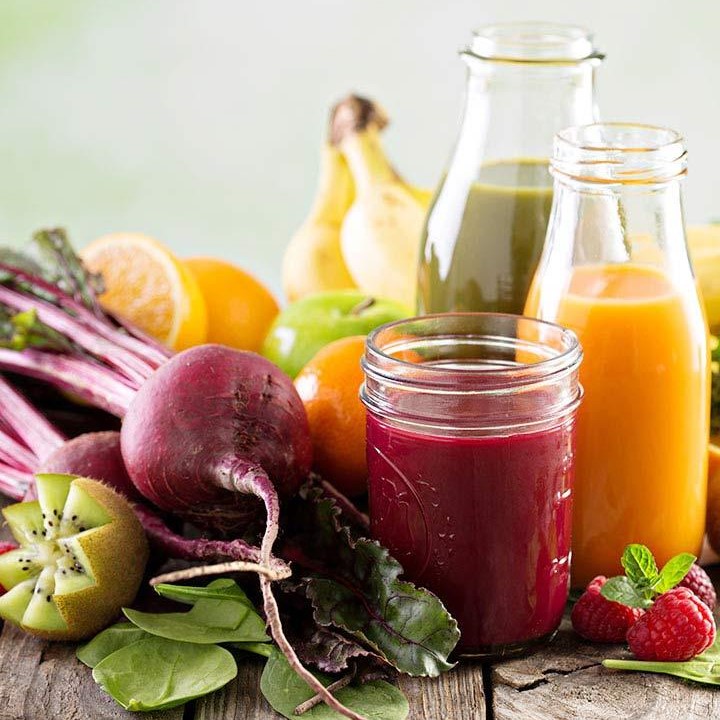
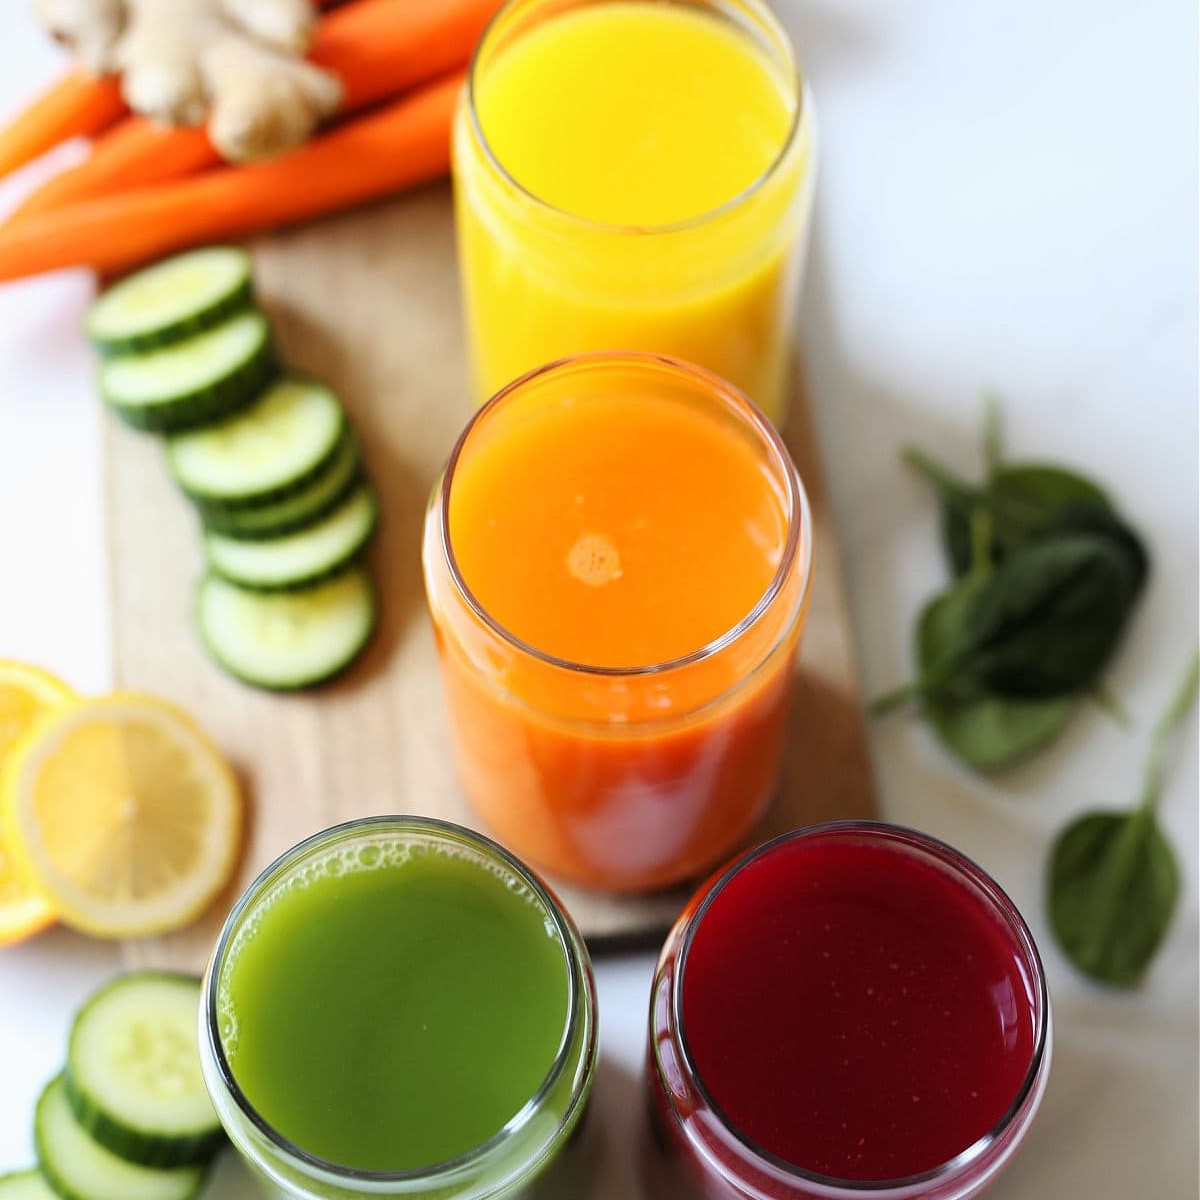 Green Goddess Juice
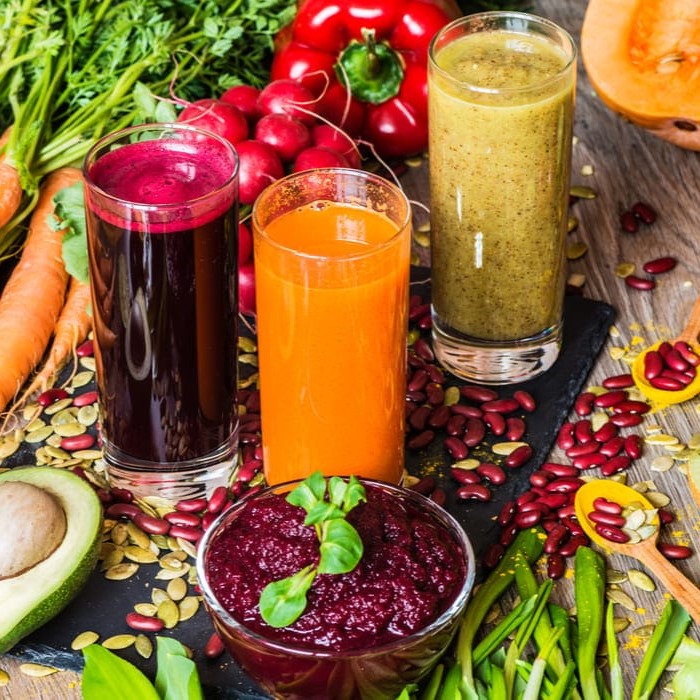 Carrot Citrus Rush
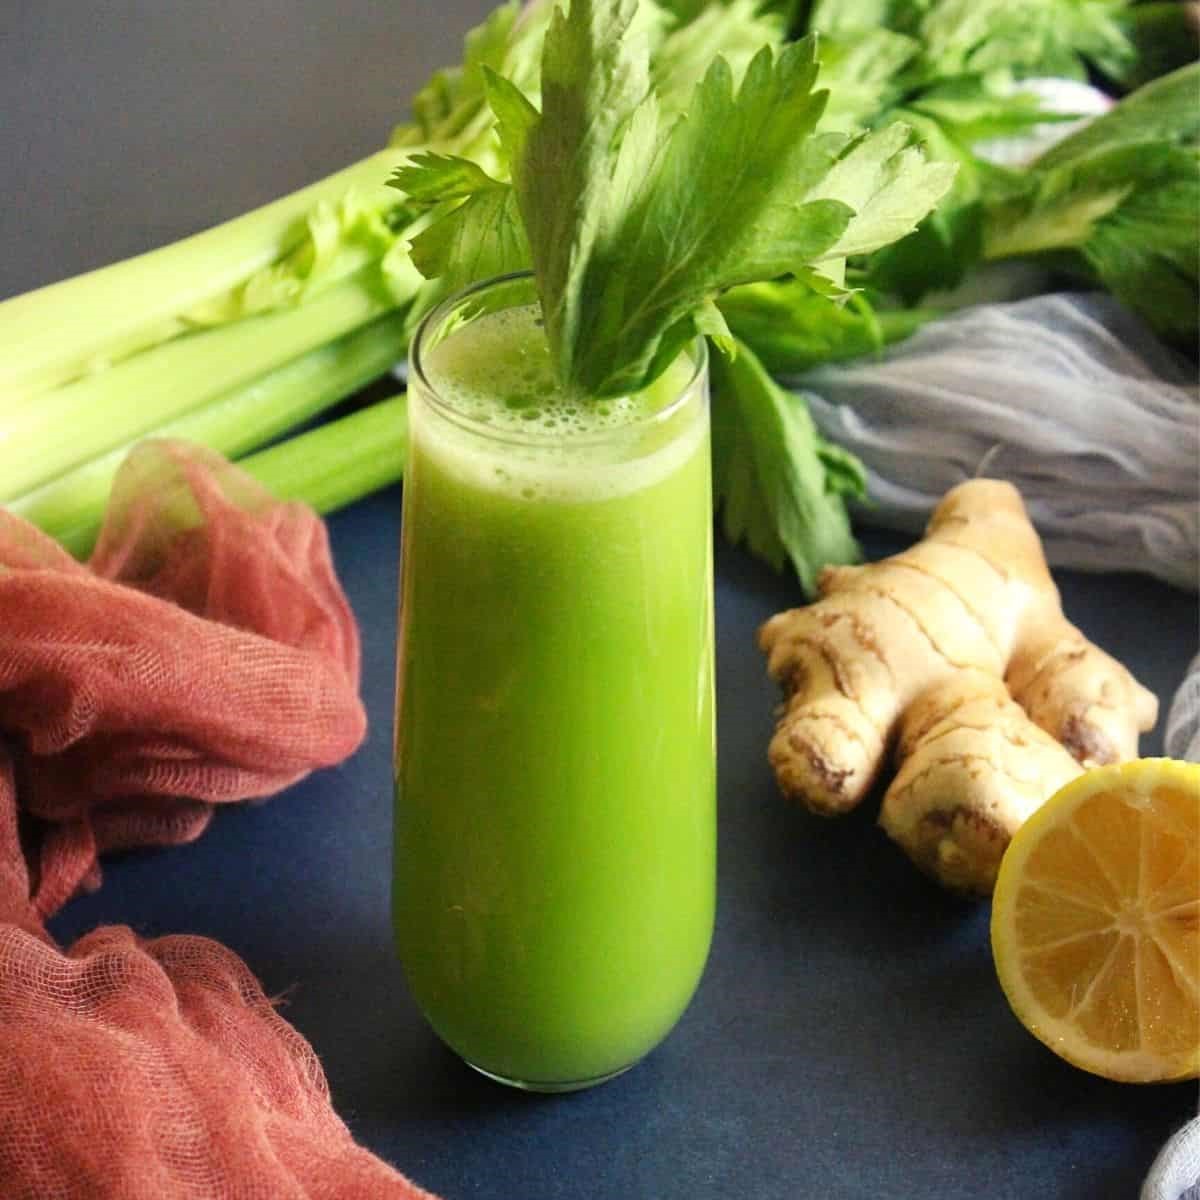 Cucumber Lemonade Detox
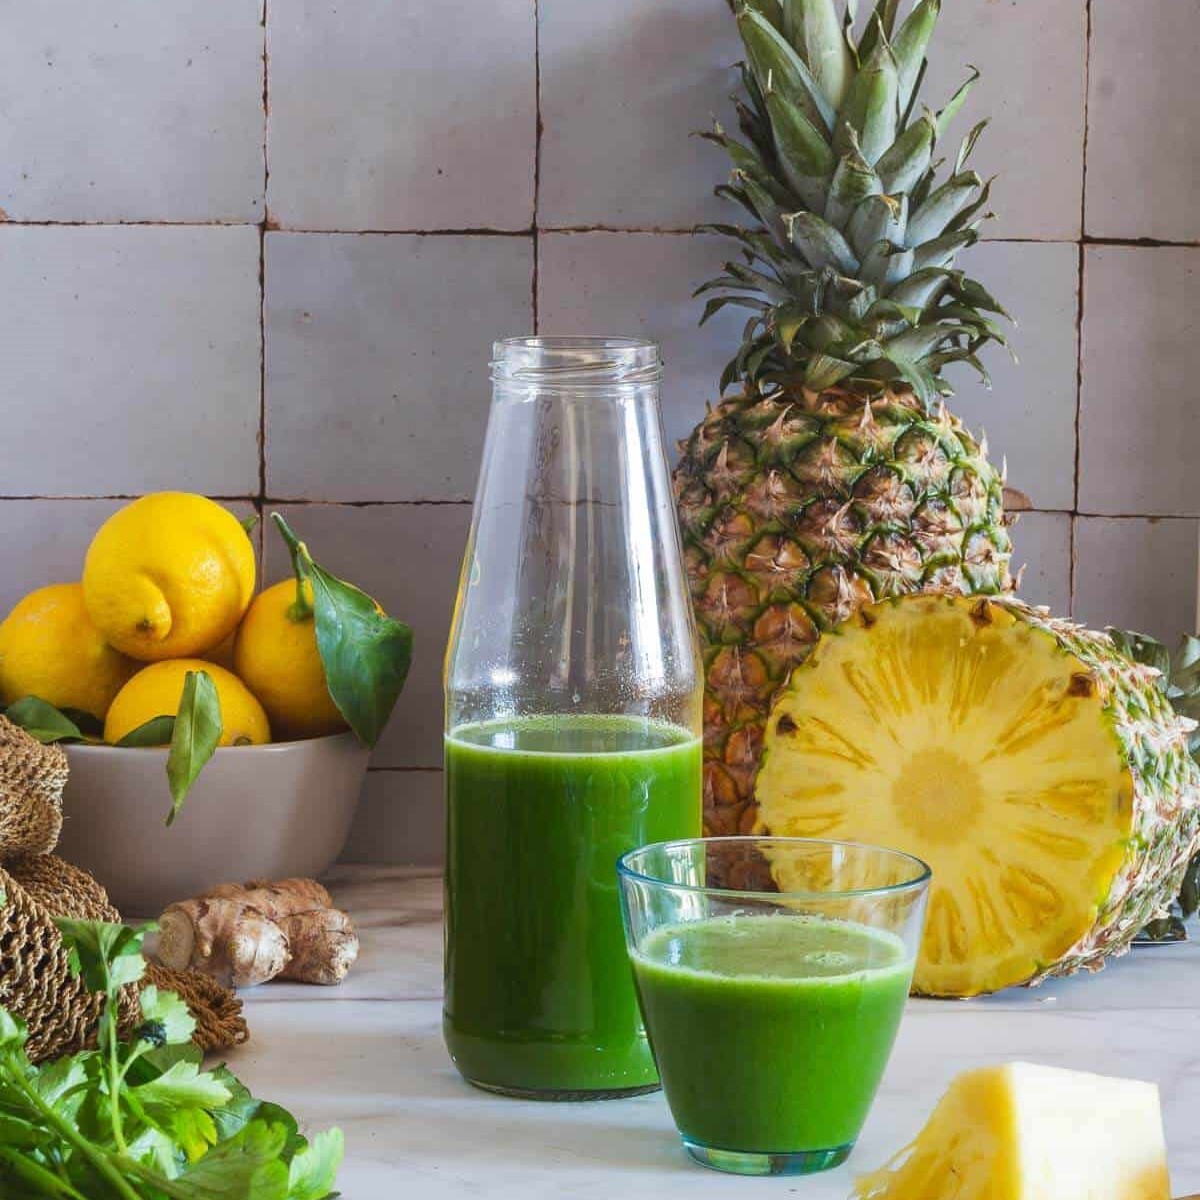 Tips for Using a Juicer
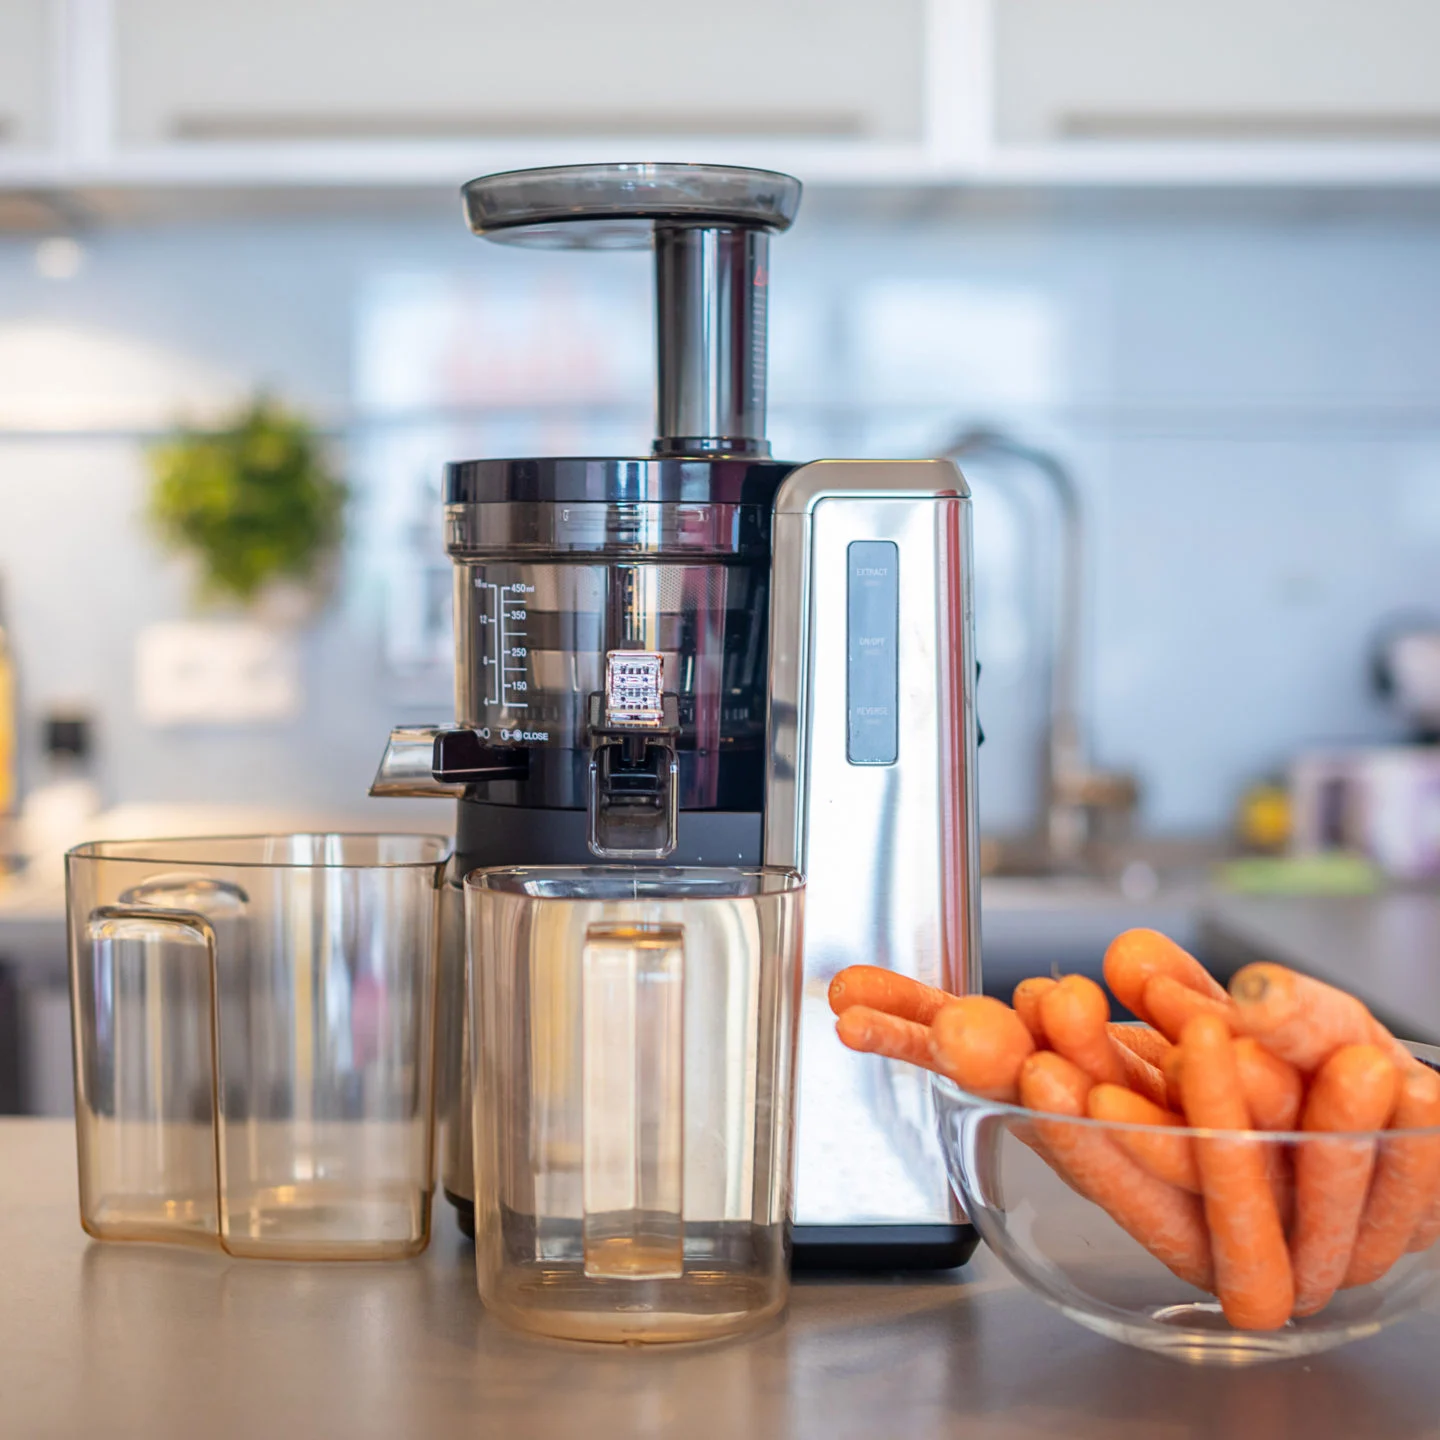 The Nutritional Power of Carrots
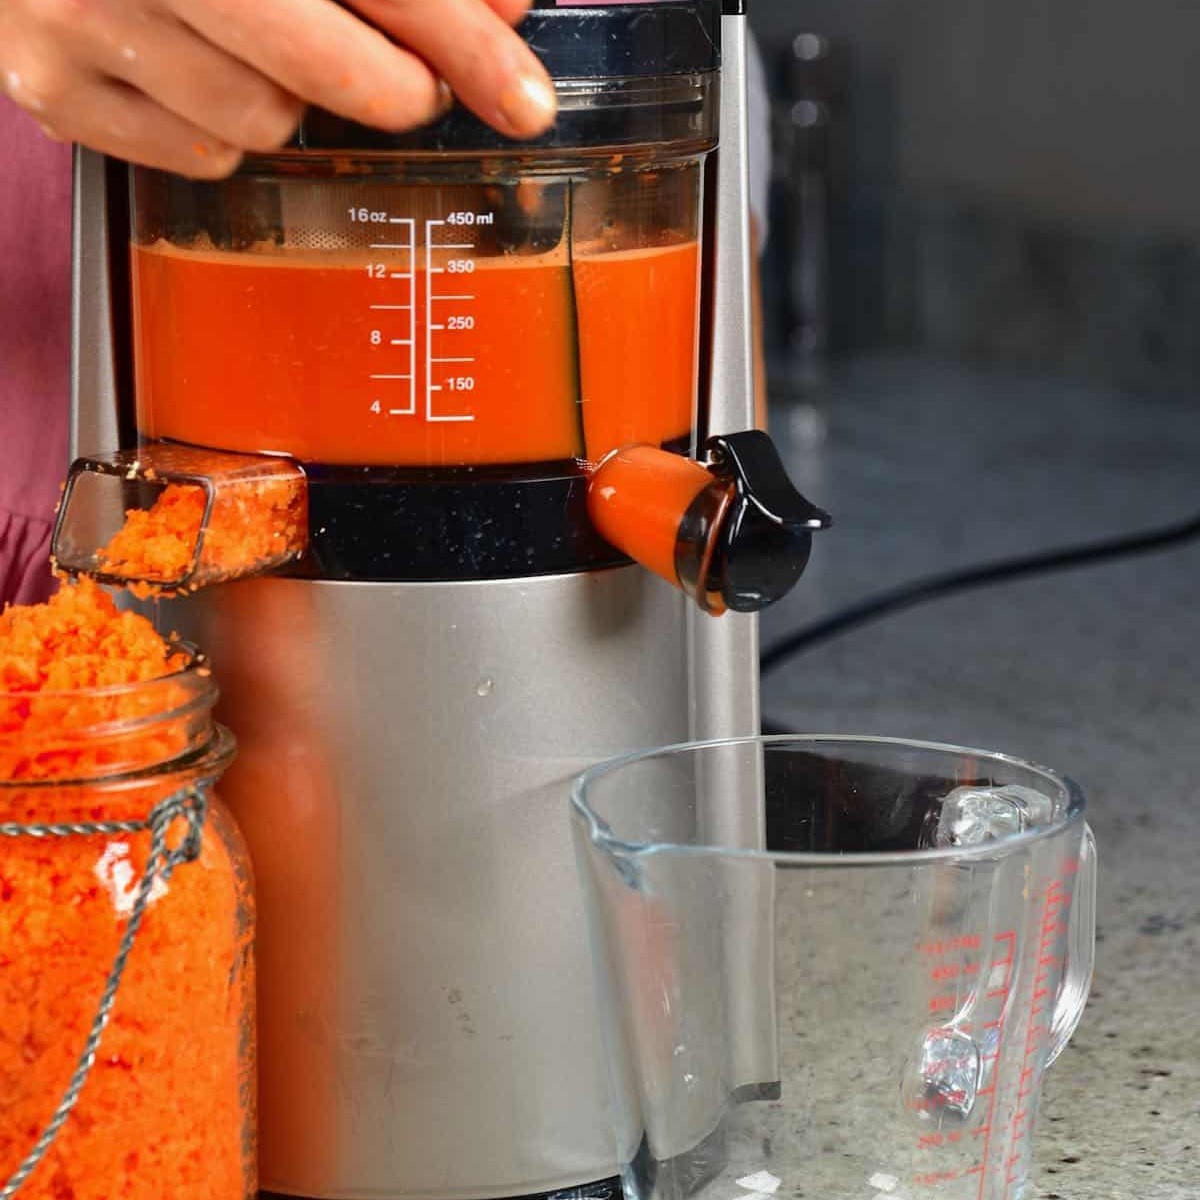 Preparing Carrots for Juicing
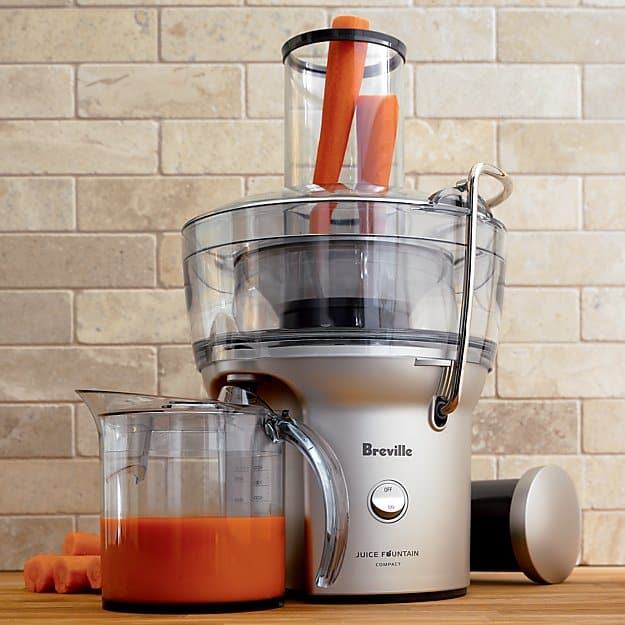 Delicious Carrot Juice Recipes
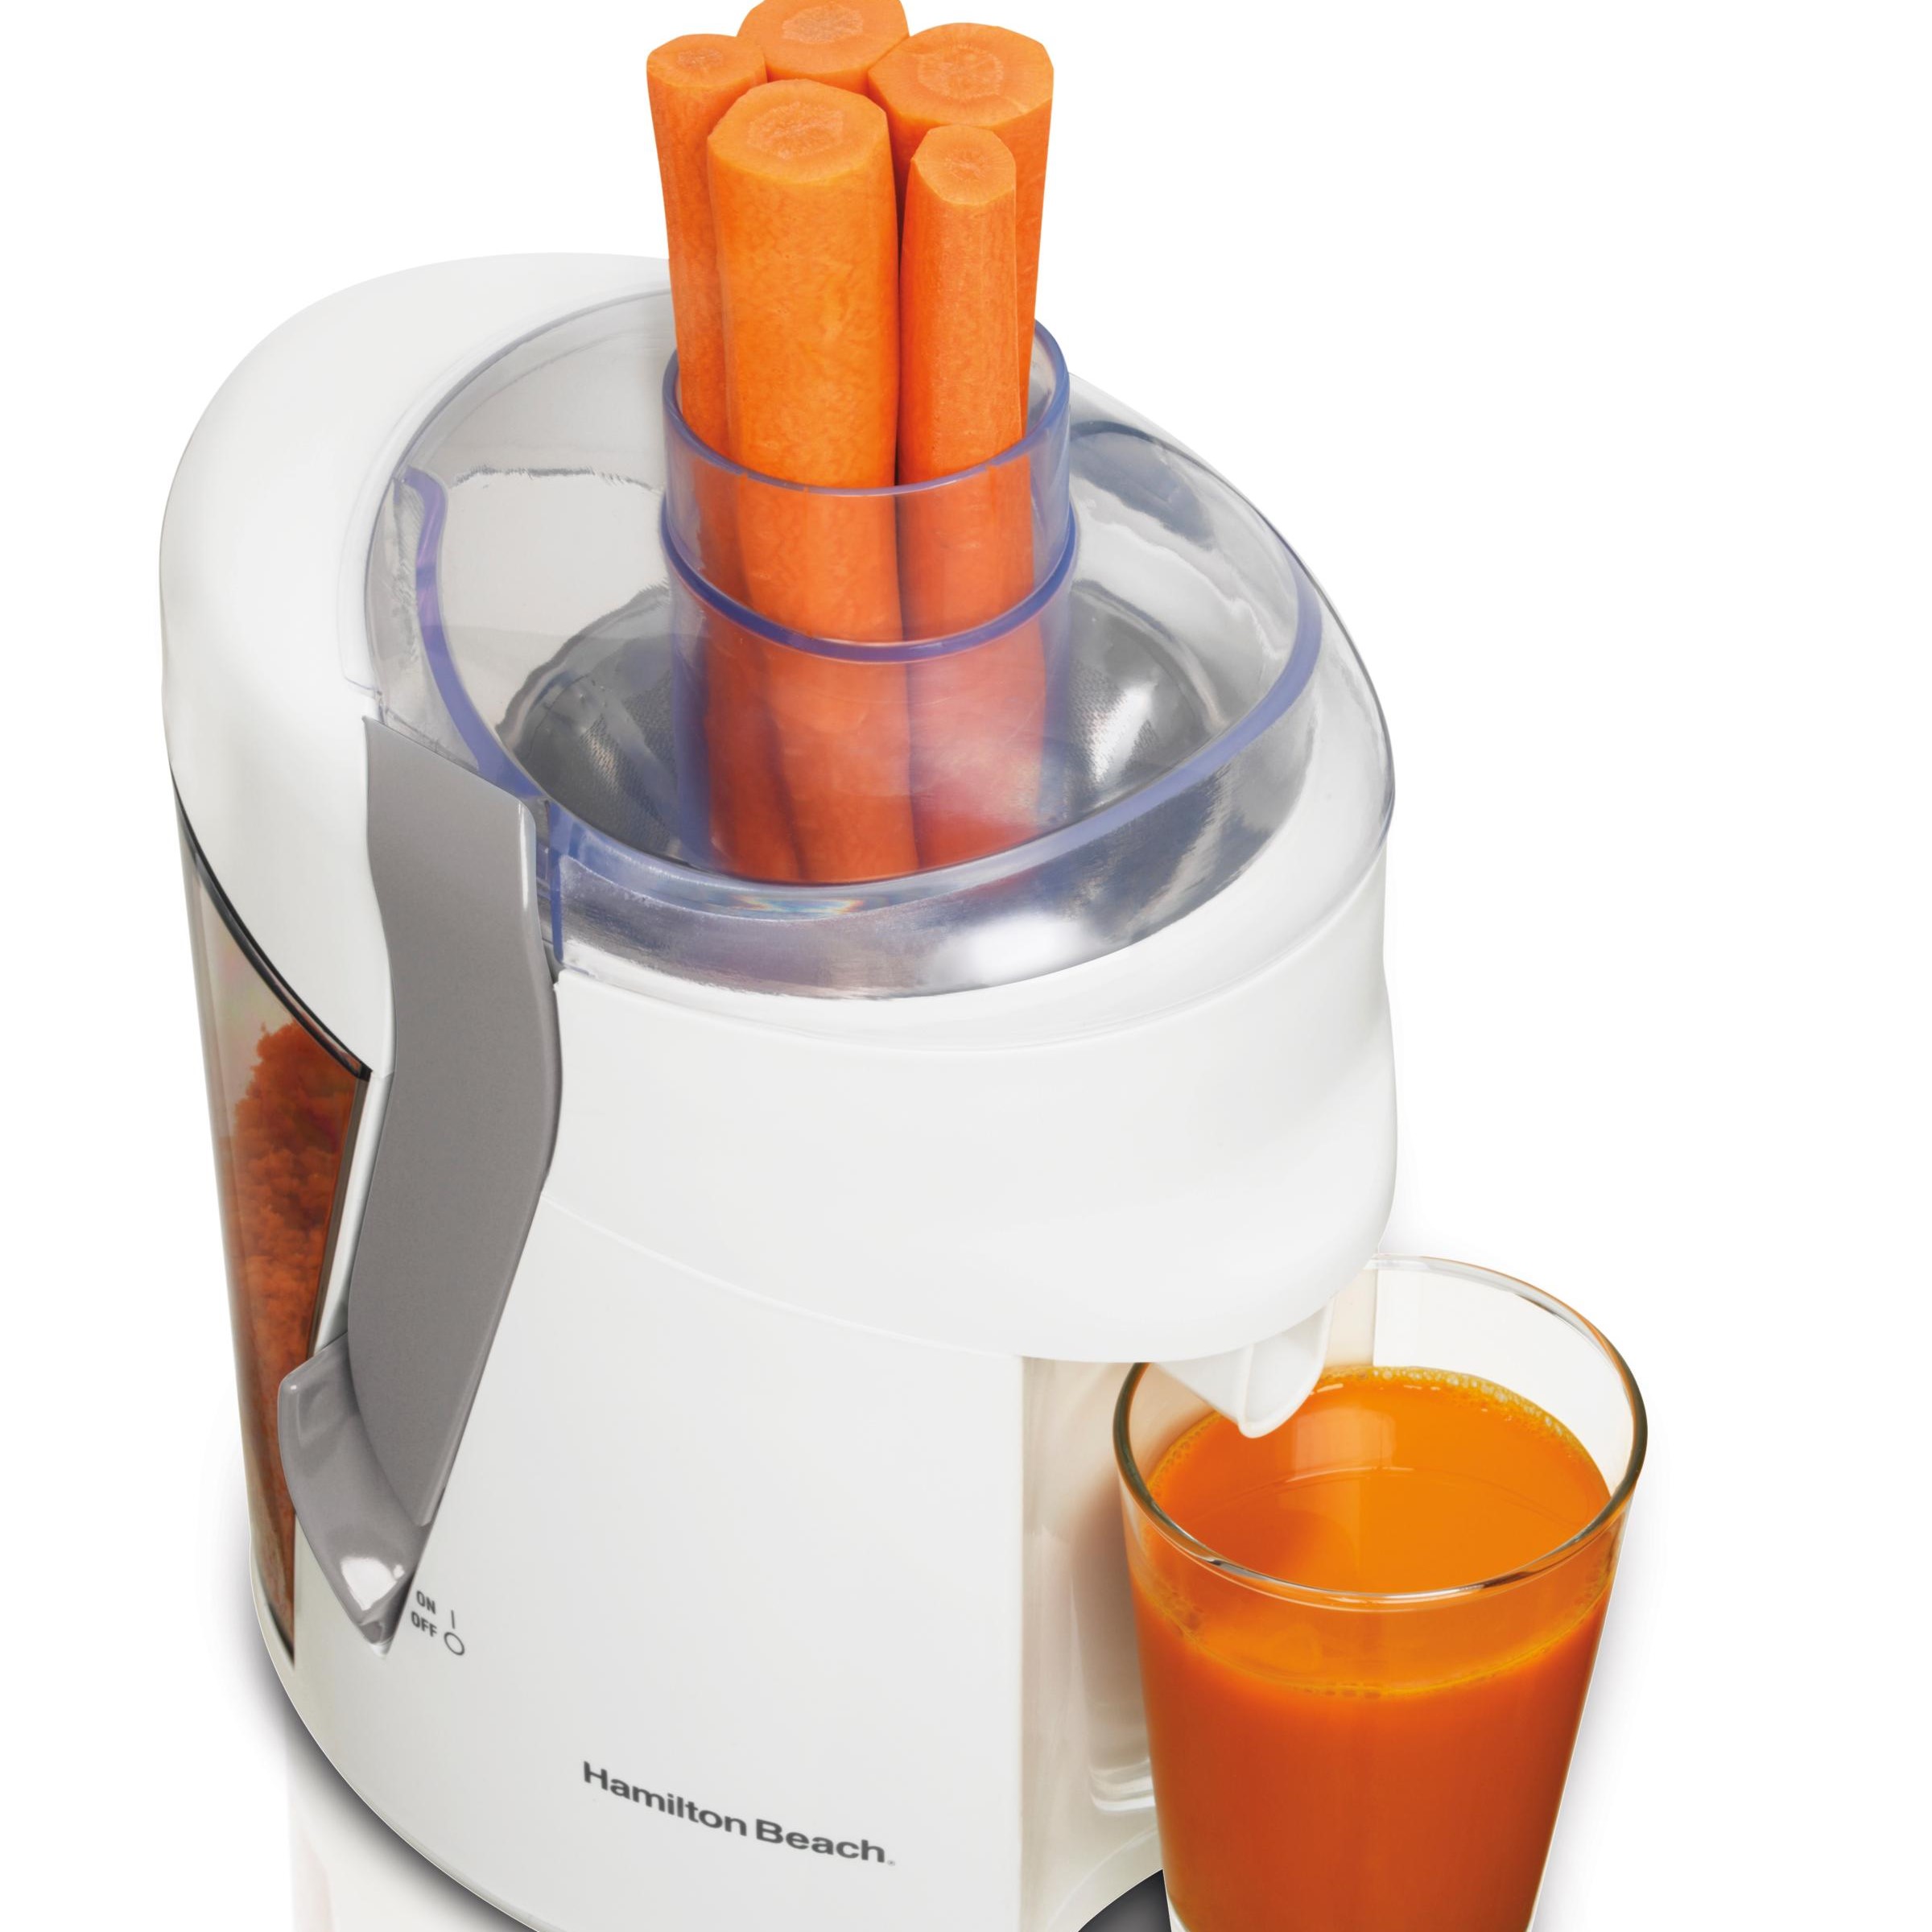 Storing Your Carrot Juice
 What is a Cold Press Juicer?
 Benefits of Using a Cold Press Juicer
 Recommended Recipes for Your Cold Press Juicer
 Tips for Using Your Cold Press Juicer Efficiently
 Understanding the Different Types of Juicers
 Top-Rated Juicers in 2025
 Factors to Consider When Choosing a Juicer
 User Experiences and Testimonials
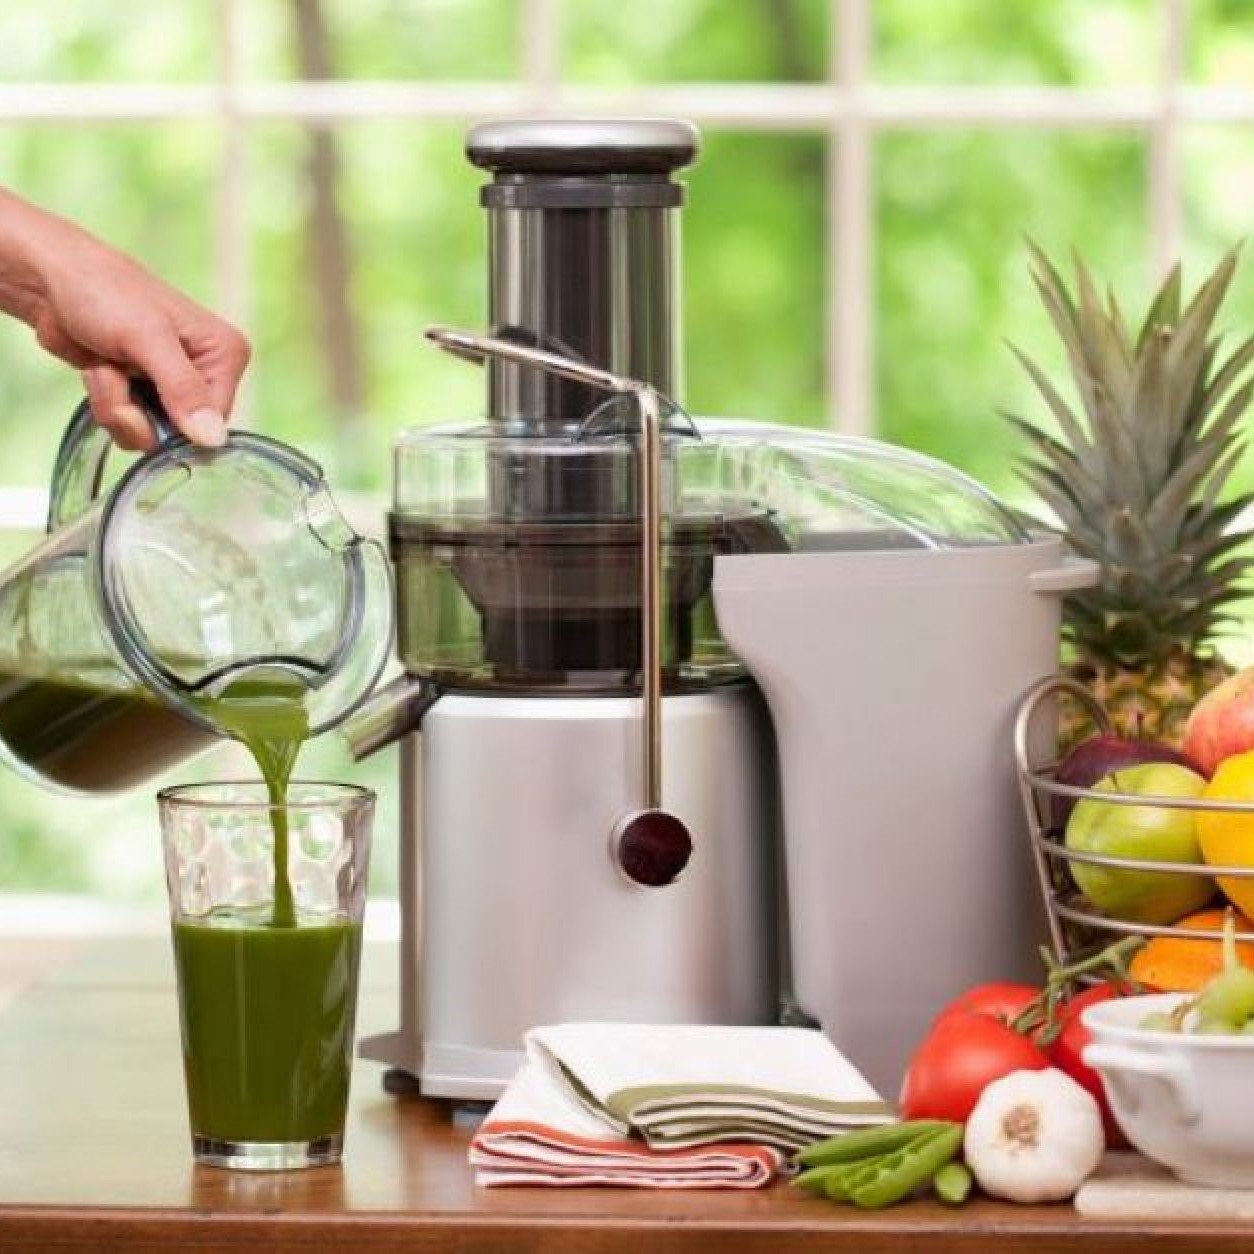
 The Versatility of a Juicer and Blender
 Benefits of Using a Juicer and Blender Regularly
 Tips for Getting the Most Out of Your Juicer and Blender
 How to Incorporate a Juicer and Blender into Your Daily Routine
 Understanding Juicer Machine
 Choosing the Right Juicer Machine
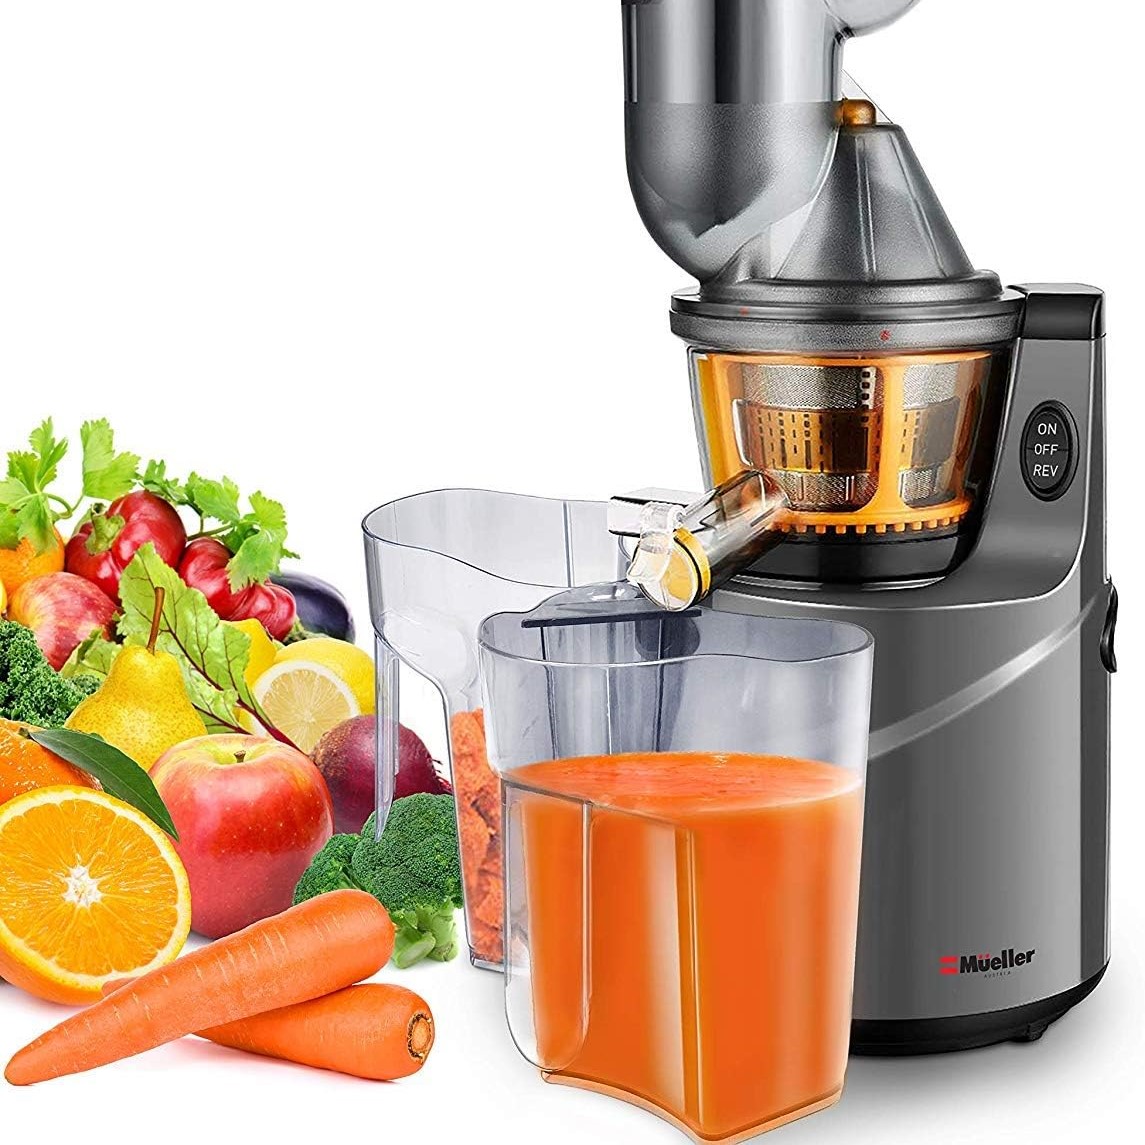 Maximizing the Use of Your Juicer Machine
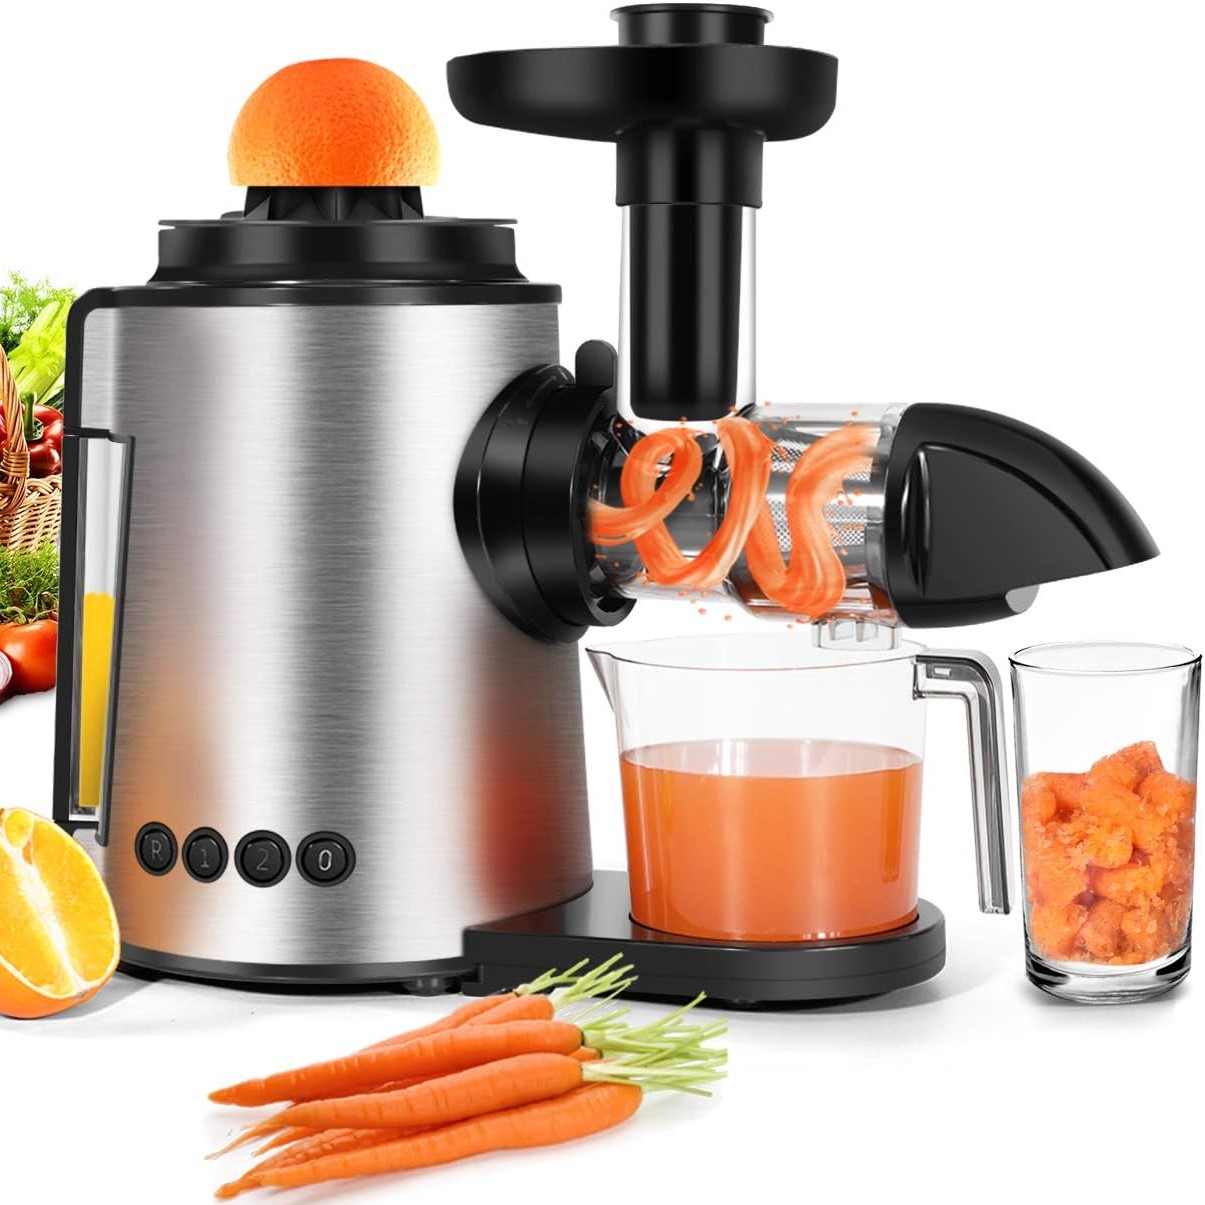 Comparing Leading Juicer in the Market
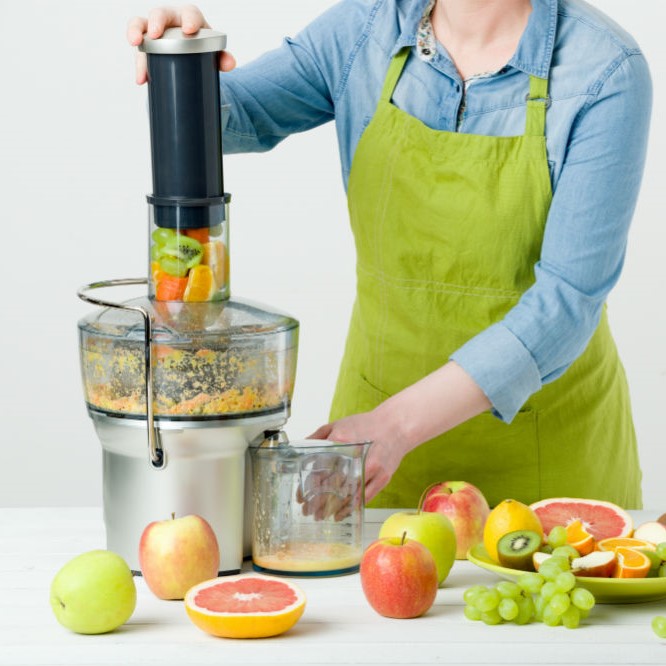
 Choosing the Right Juicer for Your Needs
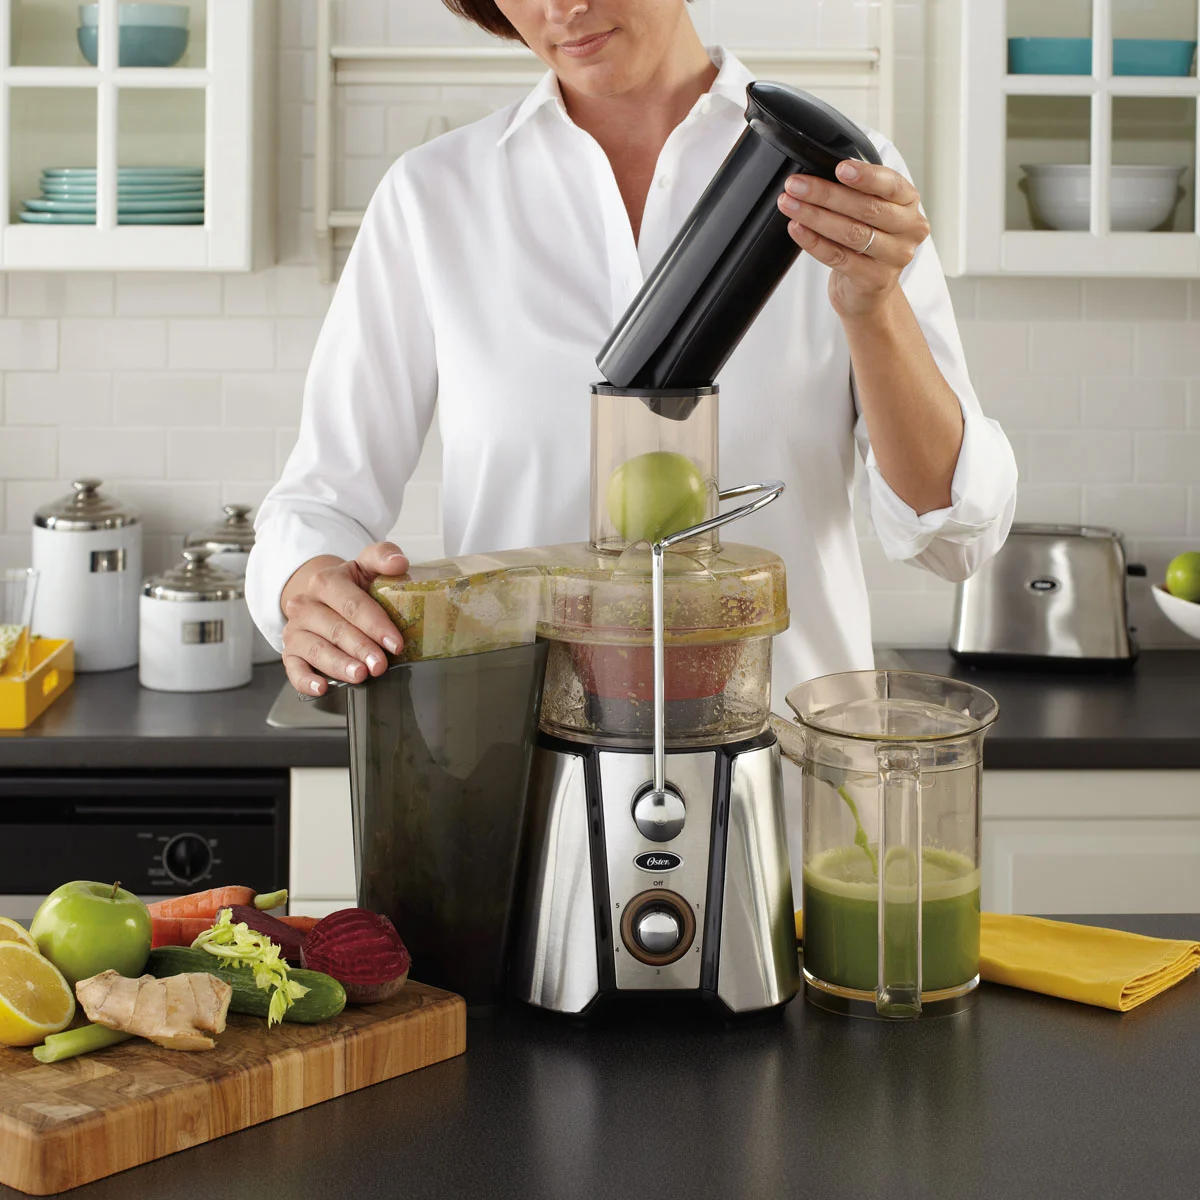 Preparing Your Ingredients for Juicing Success
 Troubleshooting Common Juicer Issues
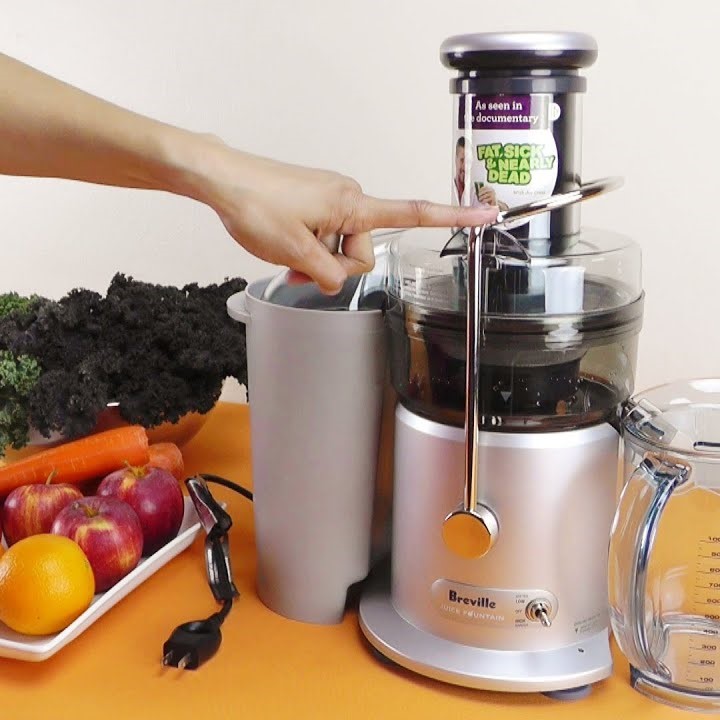 Exploring Advanced Juicing Techniques
 Simple Methods to Juice a Lemon Without a Juicer
 Tips for Maximizing Lemon Juice Extraction
 Creative Uses for Your Fresh Lemon Juice
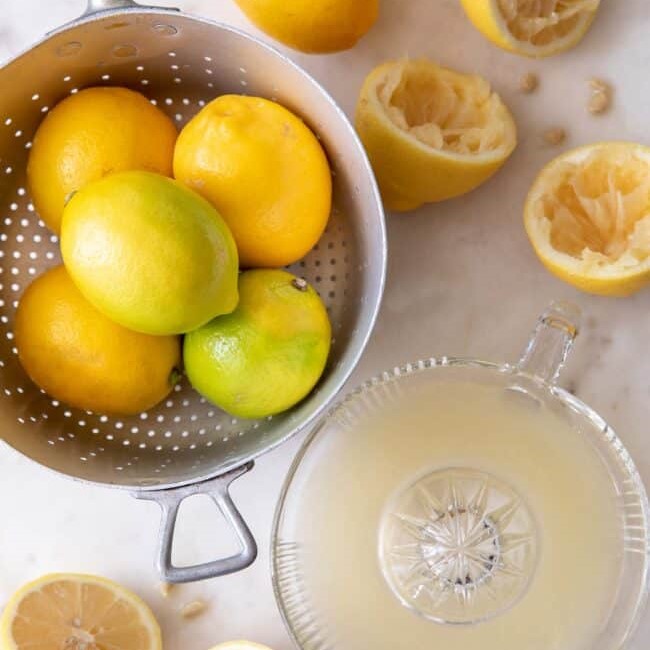 Enhancing Your Lemon Juicing Experience