Introduction: Understanding the Role of a Pastry Blender
A pastry blender is a versatile and indispensable tool in the world of baking. Whether you’re making flaky pie crusts, tender biscuits, or crumbly streusel toppings, a pastry blender plays a crucial role in achieving the desired texture and consistency. In this comprehensive guide, we will delve into the purpose and function of a pastry blender. From its design and construction to the techniques it enables, you’ll gain a deeper understanding of the essential role this tool plays in creating delectable pastries.
A Perfect Blend: The Purpose and Function of a Pastry Blender
-
Breaking Down the Basics: What is a Pastry Blender?
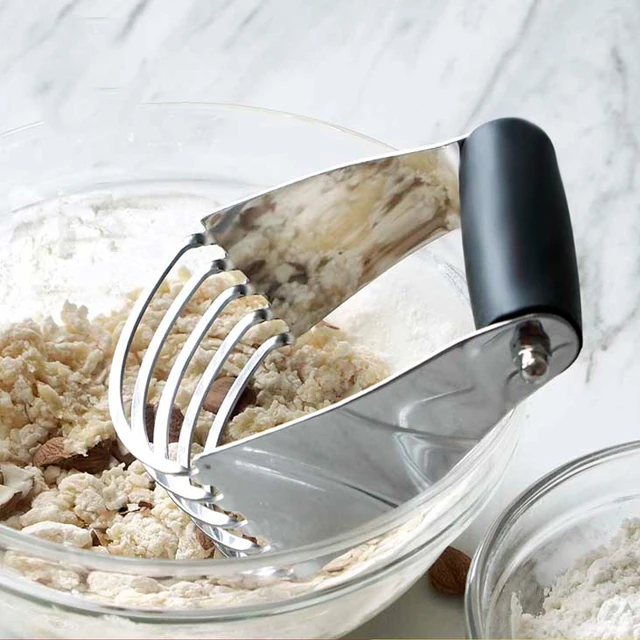
a. Construction and design: A pastry blender typically consists of a handle attached to a series of sturdy metal wires or blades. These wires or blades are curved or looped in a way that allows for efficient cutting, blending, or mixing of ingredients.
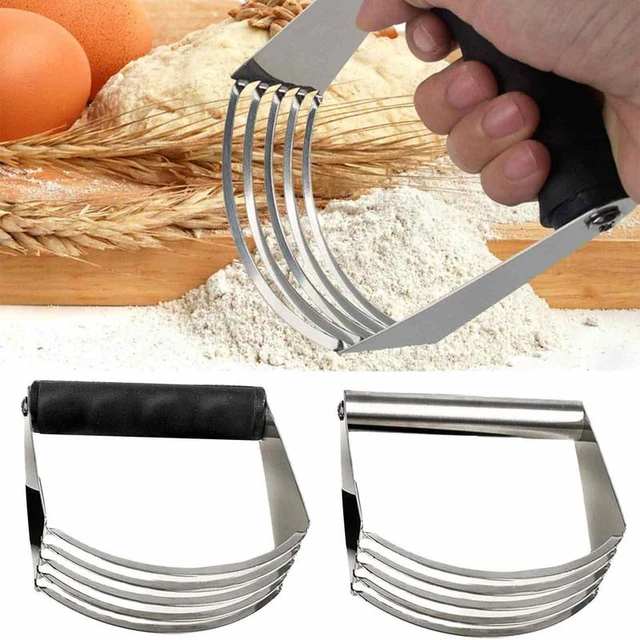
b. Traditional vs. modern designs: While the traditional pastry blenders feature sturdy wires bent into a U shape, modern variations may incorporate flat blades or uniquely shaped wires. Each design offers its own advantages, including increased efficiency, better control, or enhanced ergonomic grip.
-
Main Functions and Applications
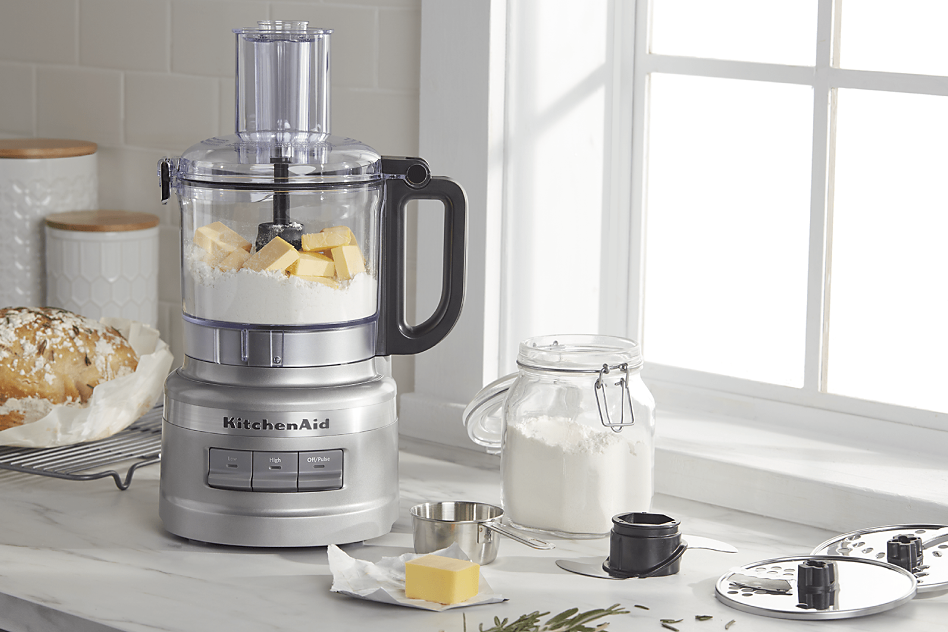
a. Cutting in fat: One of the primary functions of a pastry blender is to cut cold fat into flour. This technique, known as “cutting in,” creates a flaky texture in pastries like pie crusts, scones, or biscuits. The pastry blender effectively breaks down cold butter or lard into smaller chunks distributed throughout the dough, resulting in pockets of fat that melt during baking, creating light and airy layers.
b. Mixing dry ingredients: A pastry blender also facilitates the thorough mixing of dry ingredients, such as flour, sugar, leavening agents, and spices. By using a combination of cutting, blending, and mixing motions, the pastry blender ensures that all ingredients are evenly distributed, eliminating lumps and ensuring consistent flavor throughout the baked good.
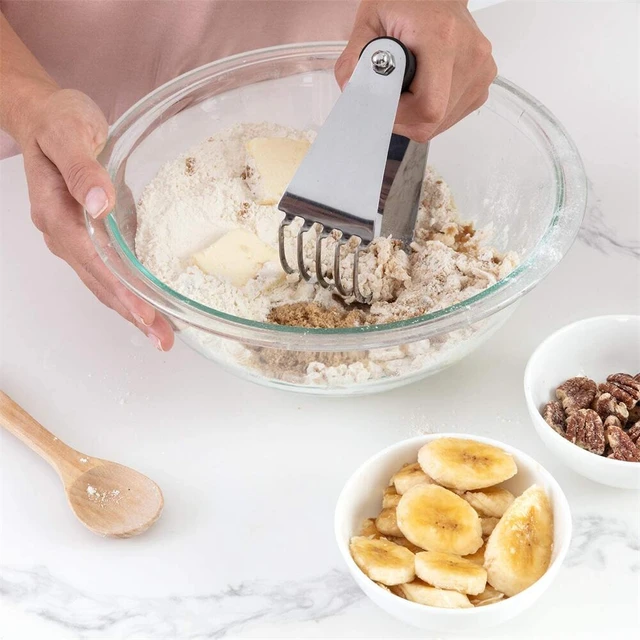
c. Incorporating wet and dry ingredients: When preparing certain recipes, such as crumble toppings, streusel, or quick breads, a pastry blender assists in incorporating wet and dry ingredients. By blending butter or other fats into a mixture of flour, sugar, or oats, the pastry blender helps create a crumbly texture that adds depth and flavor to the finished product.

-
Techniques and Best Practices
a. Proper grip and motion: Hold the pastry blender firmly with a relaxed grip. Use a gentle downward motion, applying even pressure to cut through the ingredients. Lift and rotate the mixture periodically to ensure all ingredients are evenly incorporated.
b. Cold ingredients: For successful pastry blending, it is essential to use cold ingredients. Cold fat, such as chilled butter or shortening, helps maintain its solid state during the mixing process, allowing for proper cutting and blending. Avoid warm or melted fats, which can lead to a greasy dough or an uneven mixture.
c. Consistency and timing: The desired end result of using a pastry blender depends on the recipe and the desired texture. For flaky pastries like pie crusts, aim for pea-sized chunks of fat distributed throughout the flour mixture. For crumbly toppings or streusel, blend the ingredients until a coarse, sandy texture is achieved. Be mindful not to overmix, as this can lead to toughness or a loss of flakiness in the final product.
d. Chilled equipment: To maintain the integrity of the ingredients, chill both the pastry blender and the mixing bowl in the refrigerator beforehand. This helps keep the fat cold during the blending process, resulting in better texture and consistency.
-
Alternative Uses and Advantages
a. Mashing fruits or vegetables: A pastry blender can be utilized to mash or puree soft fruits or cooked vegetables. Its blades or wires are efficient in breaking down the ingredients into a desired texture, making it useful for preparing baby food, sauces, or mashed potatoes.
b. Whipping cream or egg whites: While not its primary function, a pastry blender can aid in whipping cream or egg whites, providing an alternative to a whisk or electric mixer. By vigorously whisking the liquid back and forth with a pastry blender, you can incorporate air into the mixture, resulting in light and fluffy peaks.
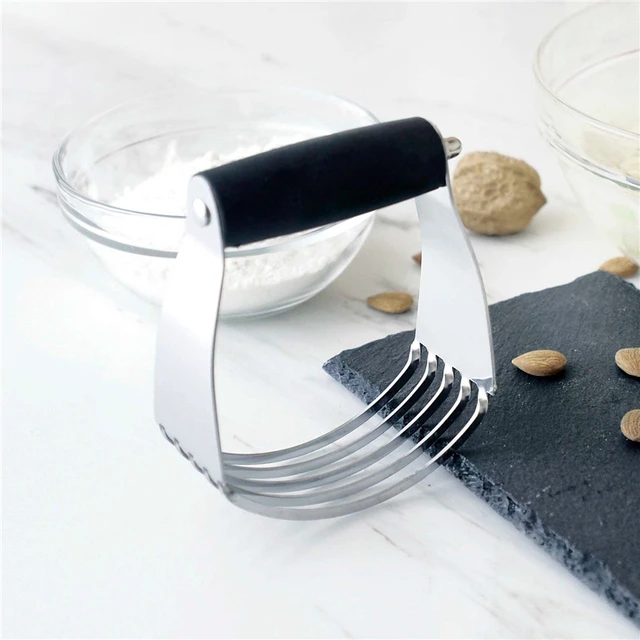
c. Ergonomic handle and grip: Modern pastry blenders often feature ergonomic handles designed for comfortable and secure grip. The comfortable grip ensures precision and control during the blending process, minimizing strain on the hand and wrist.
d. Easy cleanup: Pastry blenders are relatively easy to clean. Most models can be thoroughly washed by hand using warm soapy water. Ensure that all dough or residue is removed from between the blades or wires. Some pastry blenders are also dishwasher safe, further simplifying the cleaning process.
-
Tips and Tricks for Effective Pastry Blending
a. Keep ingredients cold: It’s crucial to maintain cold temperatures not only for the fat but also for other ingredients like flour. This ensures that the fat remains solid and doesn’t melt prematurely, resulting in a less desirable texture. Chill the mixing bowl and ingredients before starting the blending process.
b. Use quick and gentle motions: When using a pastry blender, remember to work quickly and with gentle motions. Avoid overworking the dough or mixture, as this can lead to toughness. Use swift, downward strokes to cut in the fat and blend the ingredients together evenly.
c. Make adjustments as needed: The texture of the final pastry or dough can vary depending on personal preferences and specific recipes. Adjust the blending time and consistency of the mixture to achieve the desired results. Remember that practice and experimentation are key to mastering the art of pastry blending.
d. Experiment with different fats and variations: While butter is the most commonly used fat for pastry blending, consider experimenting with other alternative fats like lard, coconut oil, or vegetable shortening. Each fat brings unique characteristics and flavors to the final product, allowing for creative variations in your baked goods.
-
Choosing the Right Pastry Blender for Your Needs
a. Consider material and durability: Pastry blenders are typically made from stainless steel, which provides durability and resistance to corrosion. Look for a pastry blender with sturdy blades or wires that will stand up to regular use and maintain its shape over time.
b. Evaluate handle design: A comfortable and ergonomic handle is essential for extended periods of pastry blending. Look for a pastry blender with a soft grip handle that fits comfortably in your hand, minimizing strain and allowing for precise control.
c. Versatility and additional features: Some pastry blenders come with additional features, such as detachable blades or wires for easy cleaning or interchangeable blades for different blending purposes. Consider your baking needs and preferences to choose a pastry blender that offers the desired level of versatility and functionality.
d. Check customer reviews and recommendations: To make an informed decision, read customer reviews and recommendations for various pastry blenders. Pay attention to factors such as durability, ease of use, and overall user satisfaction to ensure that you select a reliable and well-regarded product.

Conclusion: Mastering the Art of Blending
A pastry blender is a versatile and essential tool for achieving exceptional baking results. From cutting cold fat into flour to mixing dry ingredients and creating crumbly toppings, a pastry blender plays a pivotal role in the texture, consistency, and overall success of various pastries.
By understanding the purpose and function of a pastry blender, as well as the techniques and best practices associated with its use, you can confidently tackle recipes that require the delicate balance of cutting in fat or blending different ingredients. Embrace the art of blending with a pastry blender and embark on a delicious baking journey full of perfectly flaky crusts, tender biscuits, and mouthwatering pastries.