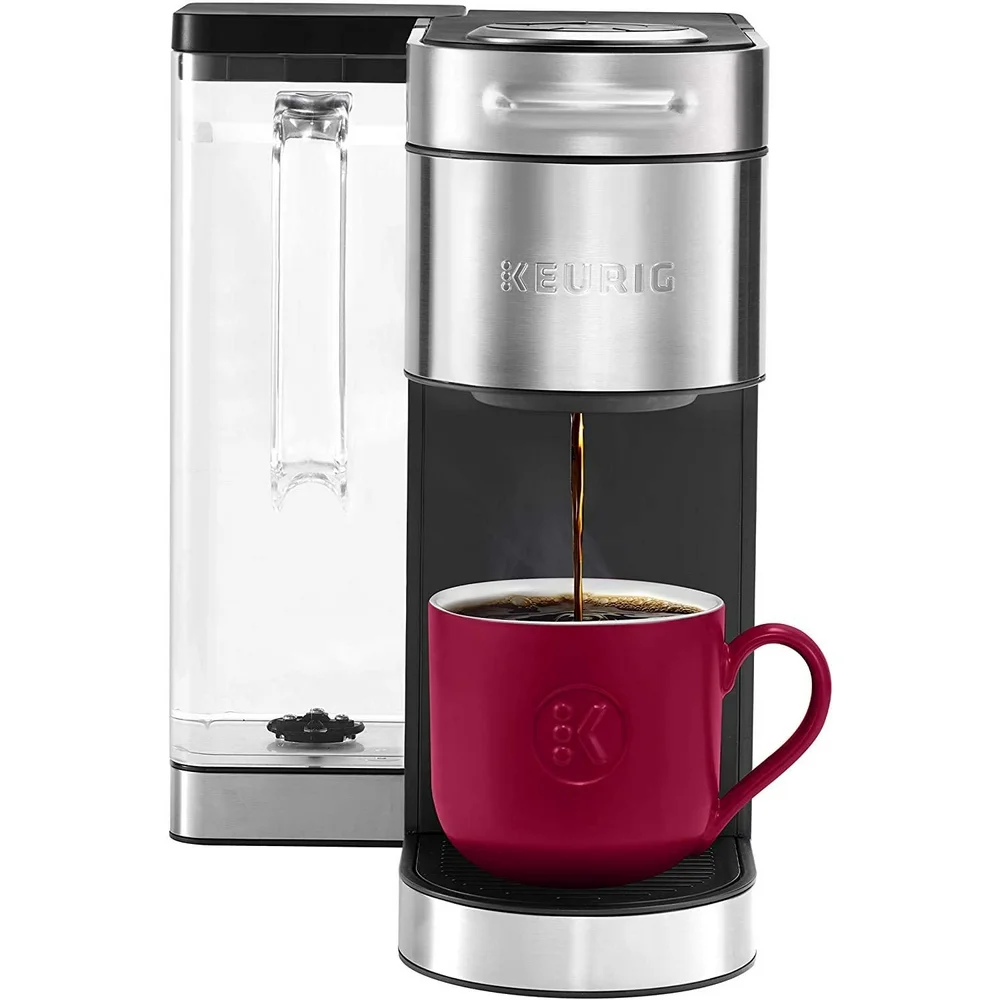
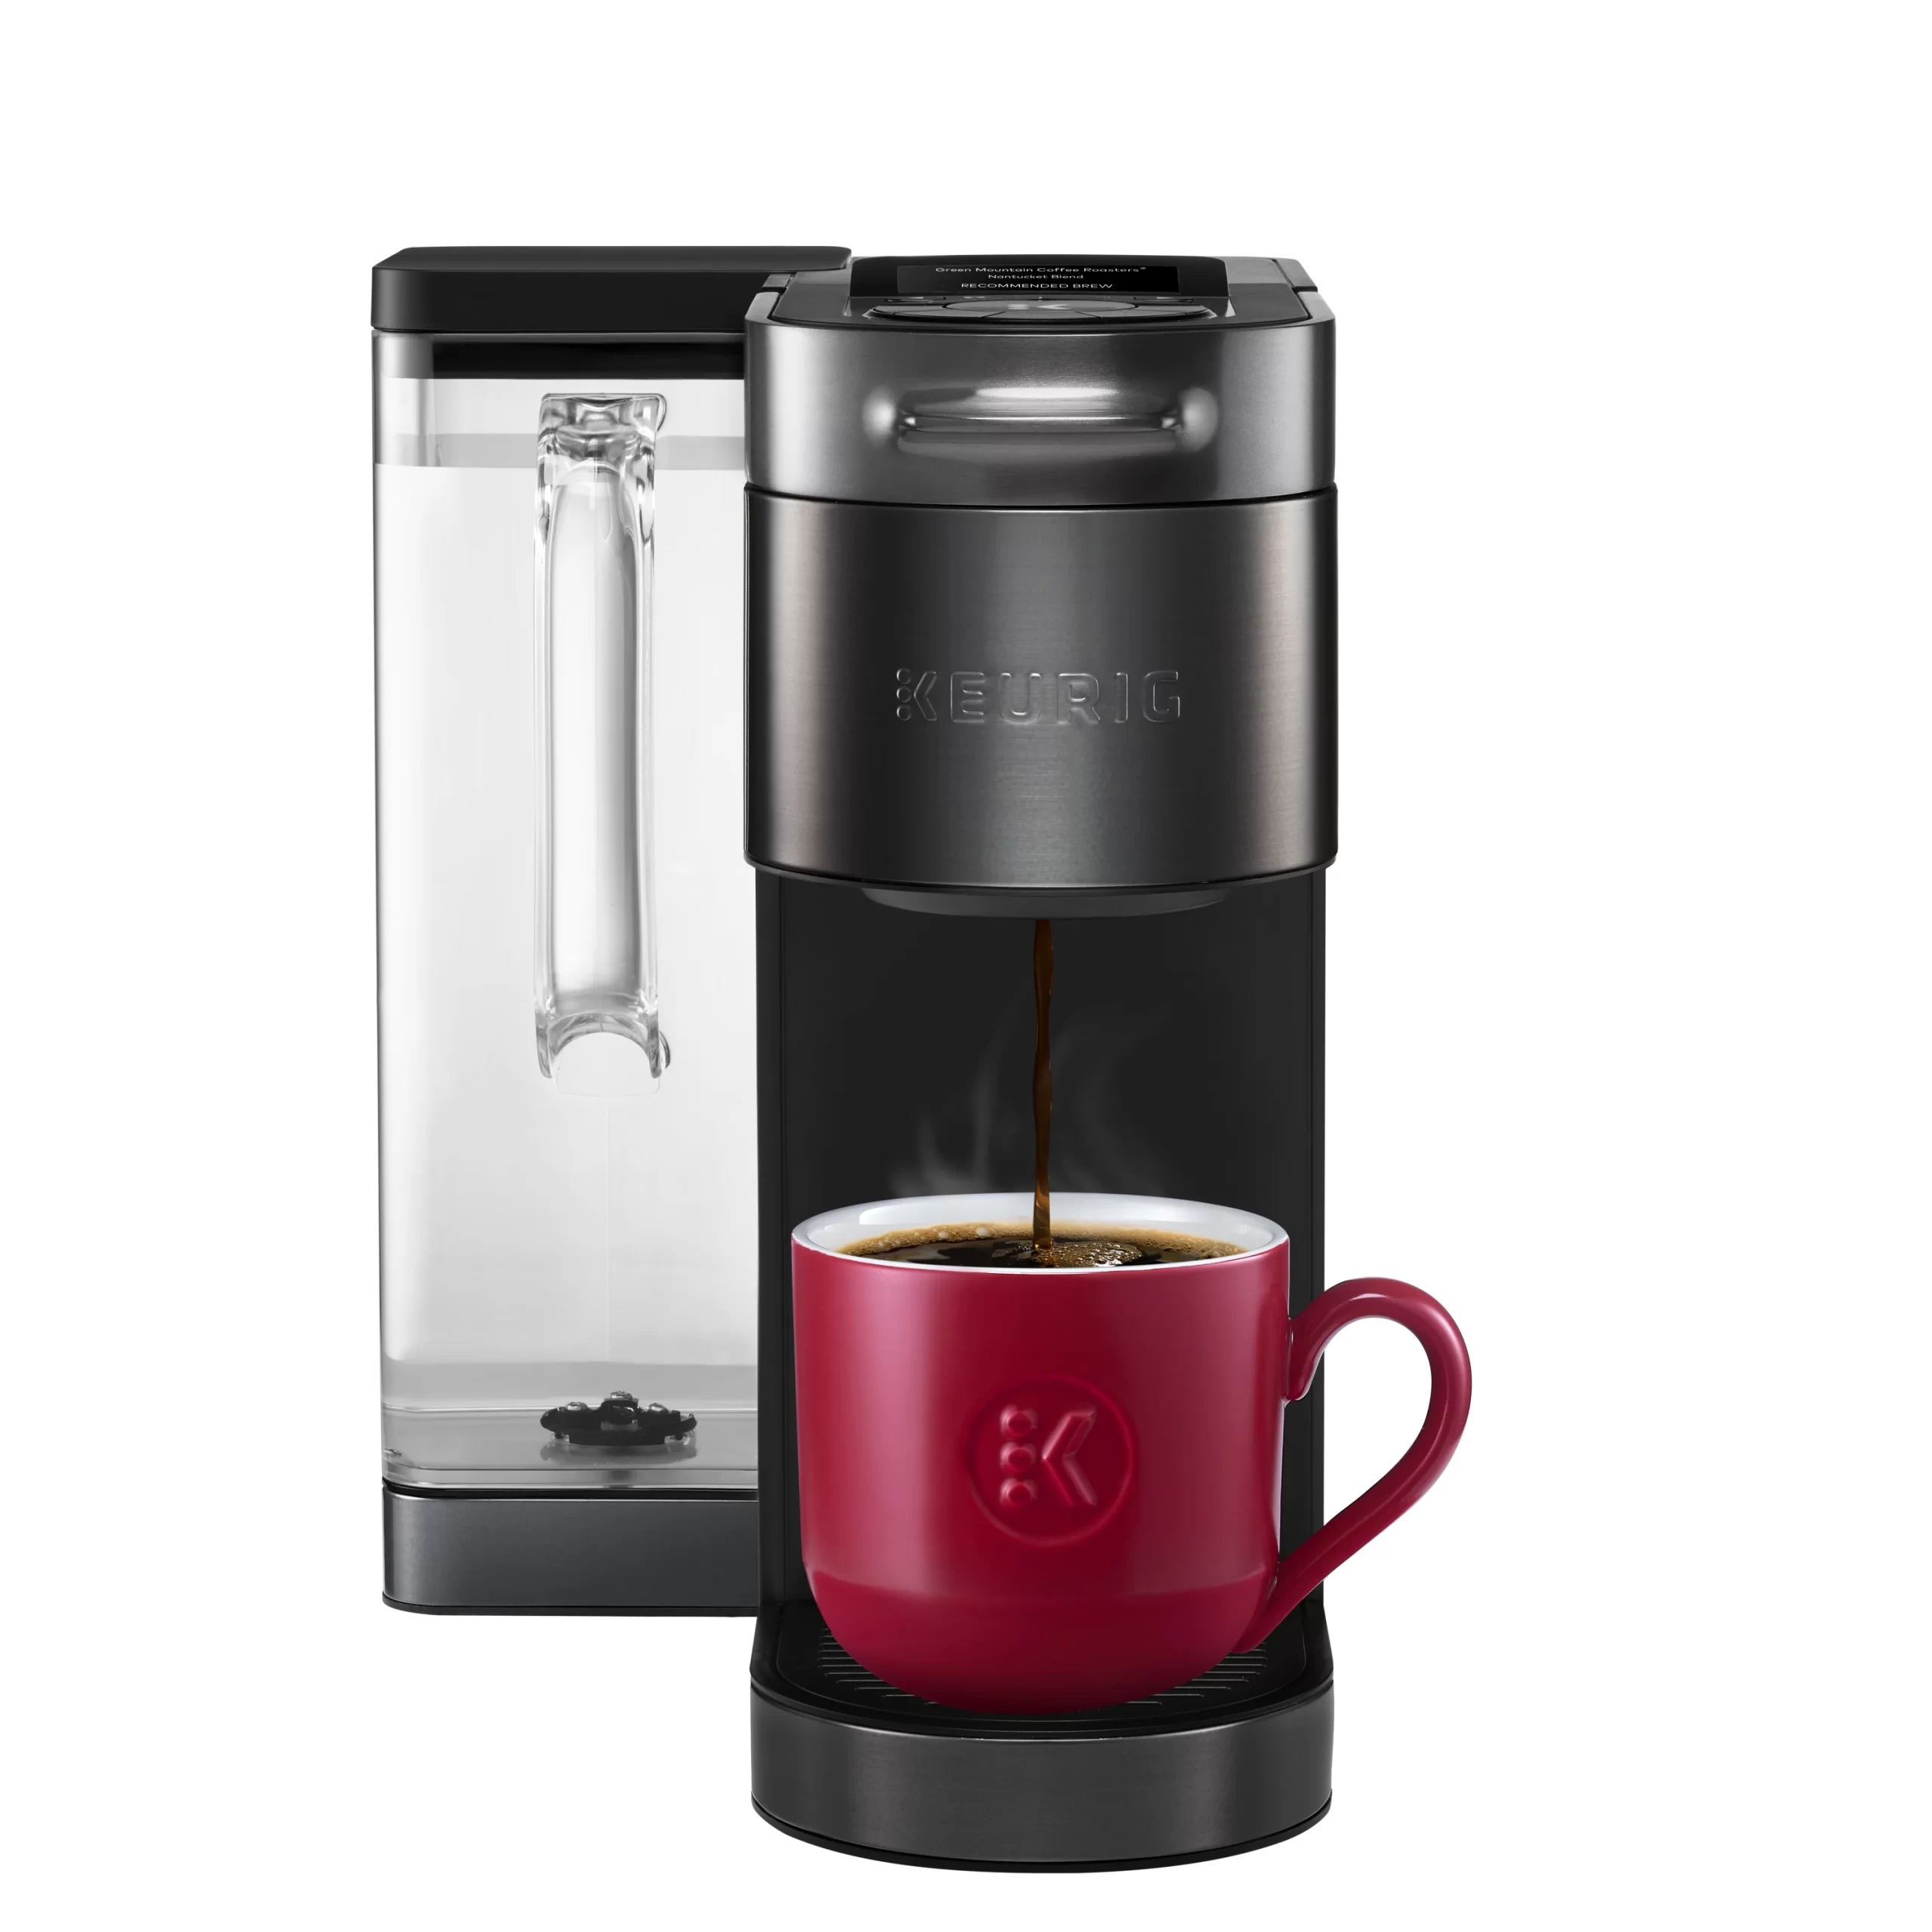
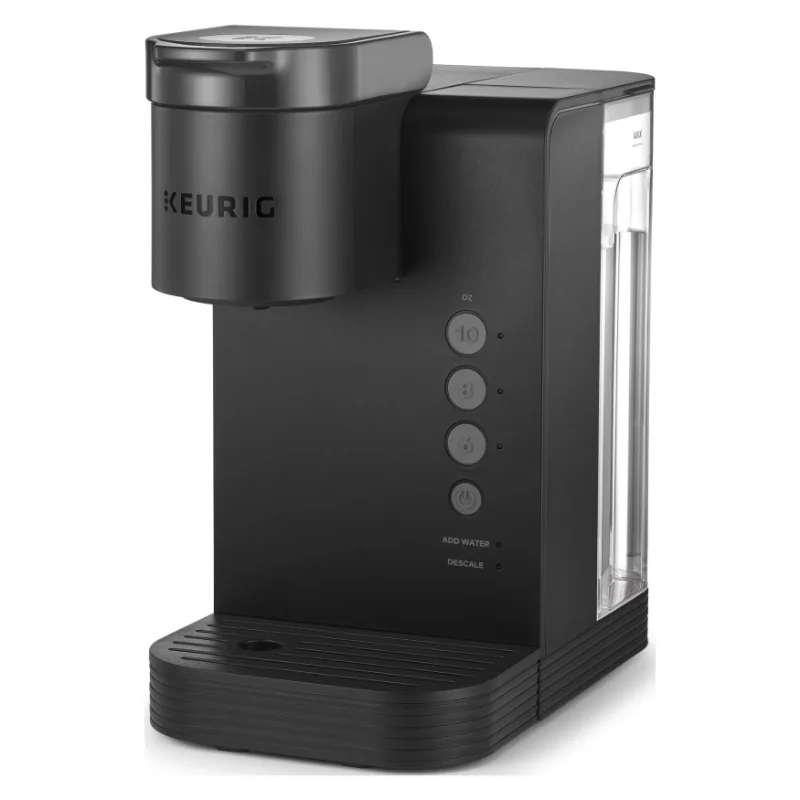
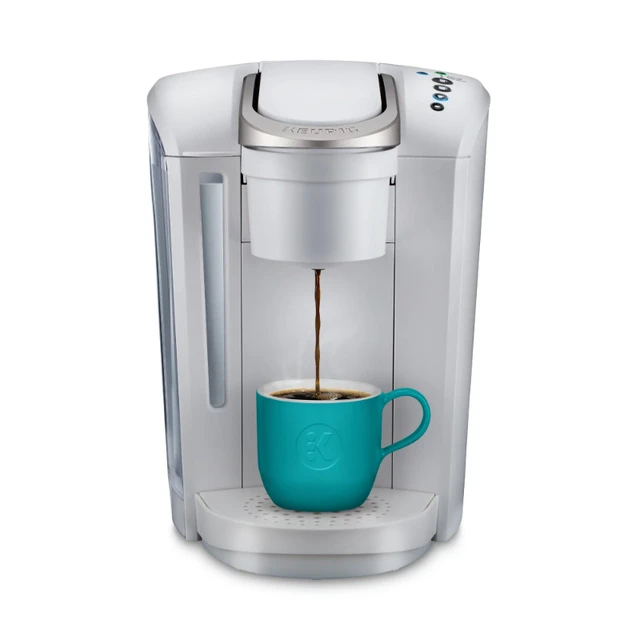
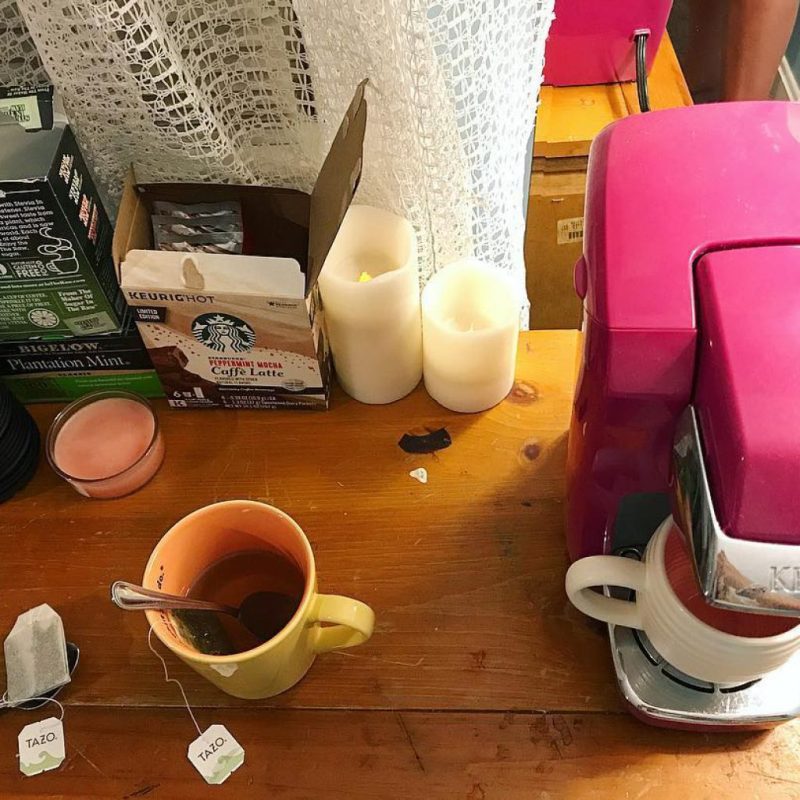
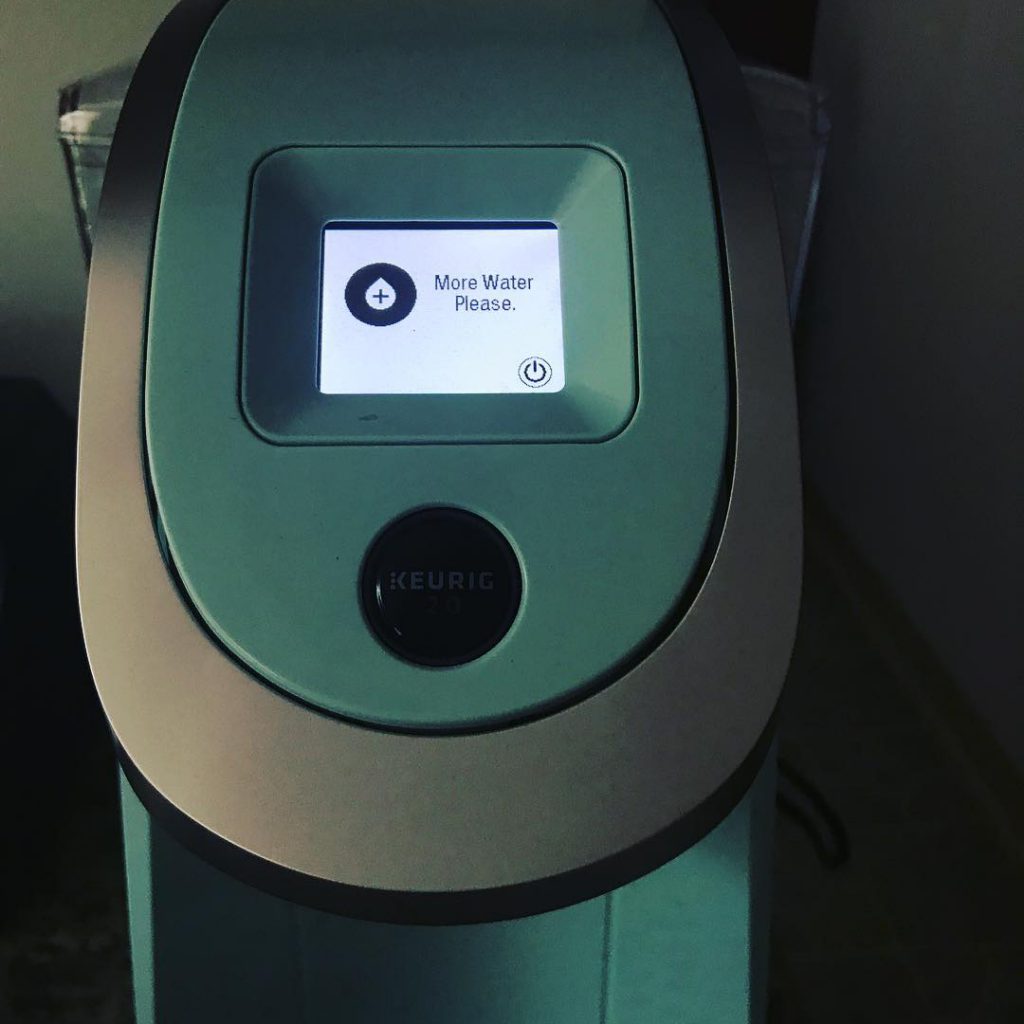
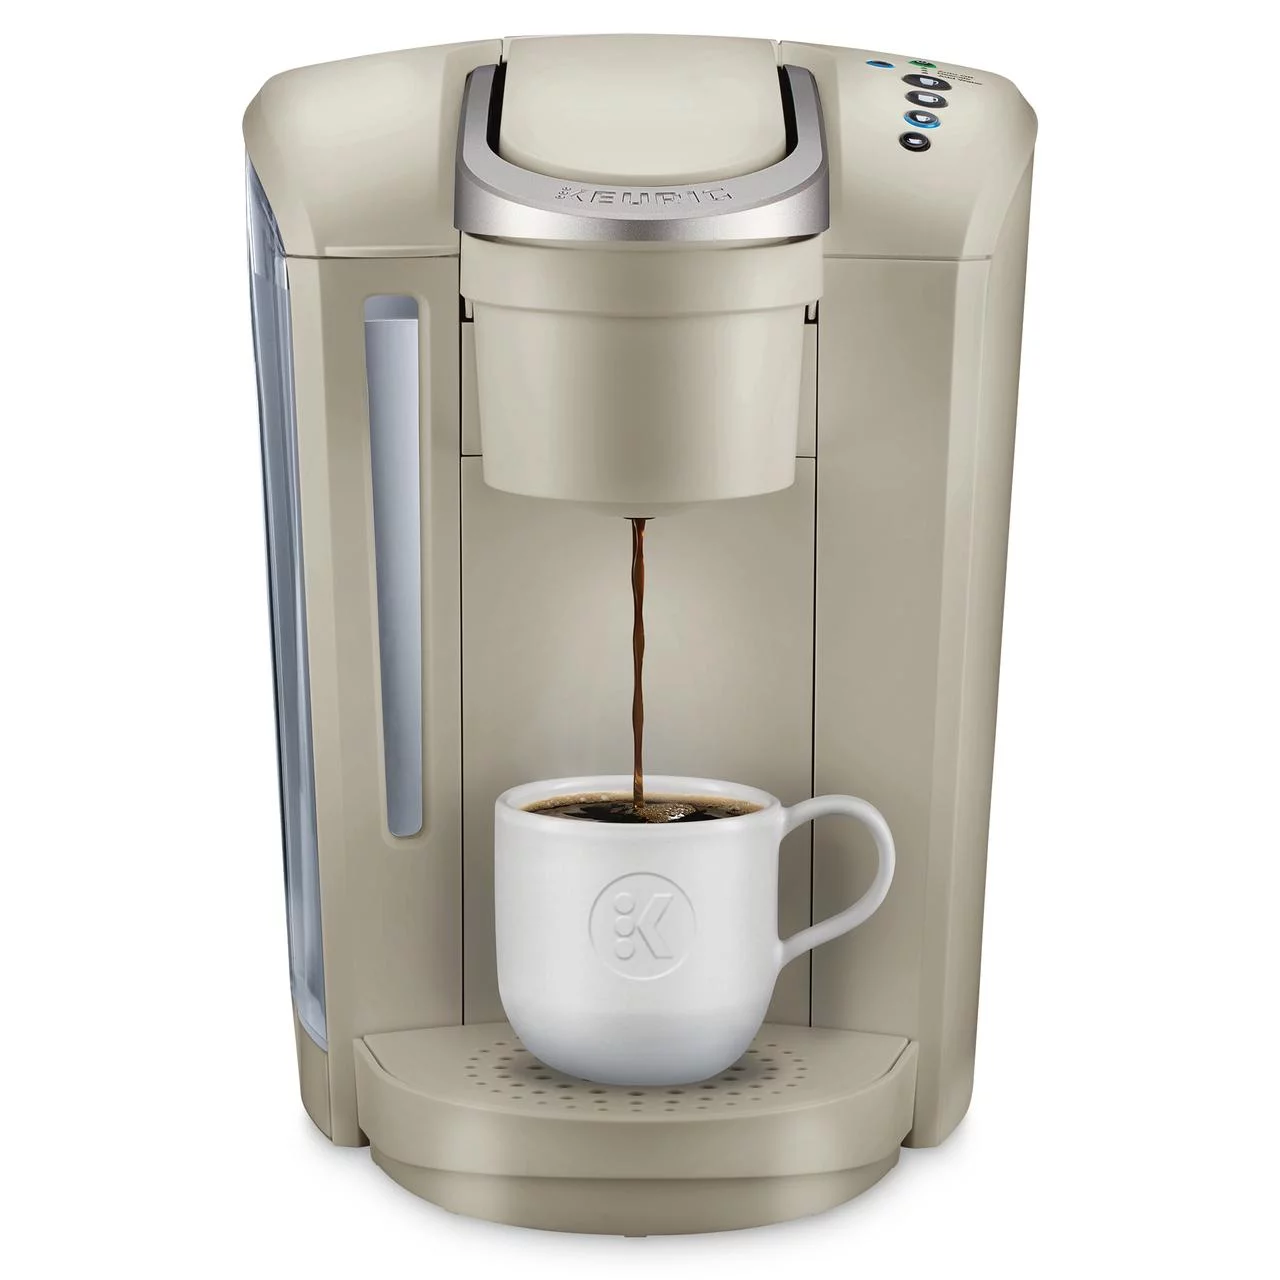
Identifying Water-Sensing Issues in Keurig Machines
When your Keurig keeps saying add water, it could confuse and frustrate you. It’s crucial to pinpoint the issue. To start, you need to understand the types of water-sensing problems you might face. Then, proceed to initial checks before diving into complex solutions.
Types of Water-Sensing Problems
Several factors can lead to water-sensing issues in your Keurig machine:
- Empty Reservoir Alert: This happens when the machine says the water reservoir is empty, even when it isn’t.
- Partial Recognition: The Keurig detects some water but not enough, prompting constant refills.
- Faulty Sensor: A malfunctioning sensor may fail to detect water levels accurately.
- Mineral Buildup: Over time, minerals in water can create deposits that mislead sensors.
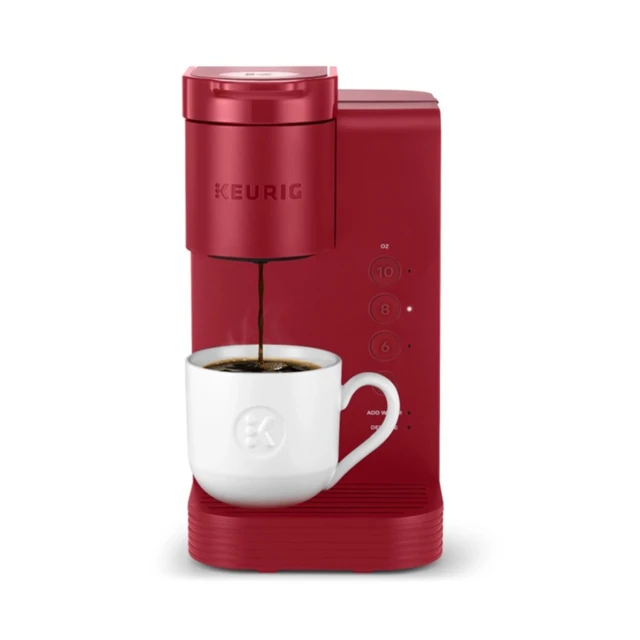
Encountering these problems usually triggers the ‘add water’ message on your Keurig machine.
Initial Troubleshooting Steps
A few straightforward steps can help you determine the severity of the problem. Here’s what to do first:
- Check Water Levels: Confirm that the reservoir has enough water. This might seem obvious, but it’s a common oversight.
- Reseat the Reservoir: Remove the water tank and place it back firmly to ensure proper contact with the sensor.
- Inspect for Obstructions: Look for and clear out any debris that might block sensor signals.
- Conduct a Power Cycle: Turn off your Keurig, unplug it for a few minutes, and then power it back up.
- Clean the Sensor: If you’re comfortable with the machine components, lightly clean the sensor area.
Beginning with these steps can resolve simple glitches and often clear up the ‘add water’ error without needing more in-depth fixes.
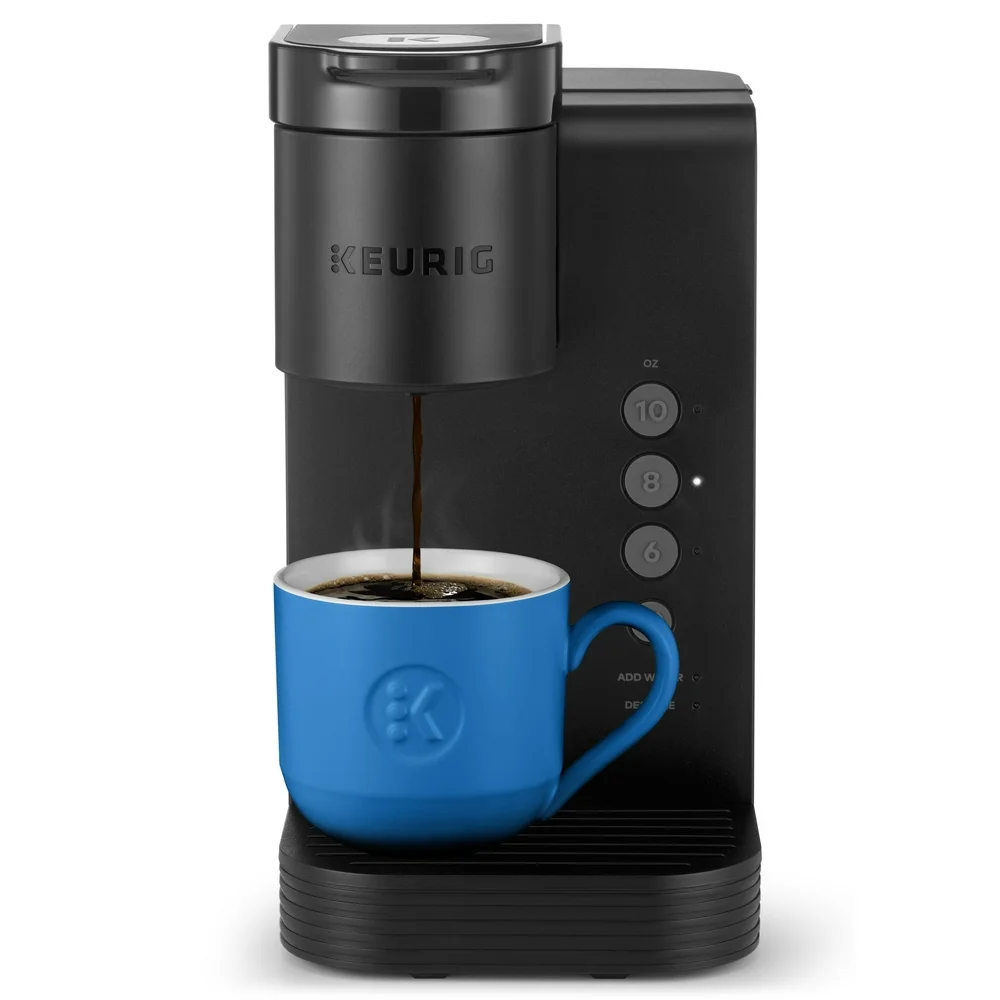
Solutions for ‘Add Water’ Errors
When your Keurig keeps saying add water, resolving the issue is paramount. Two common culprits include the water reservoir itself or sensor malfunctions. Here is how you can tackle each:
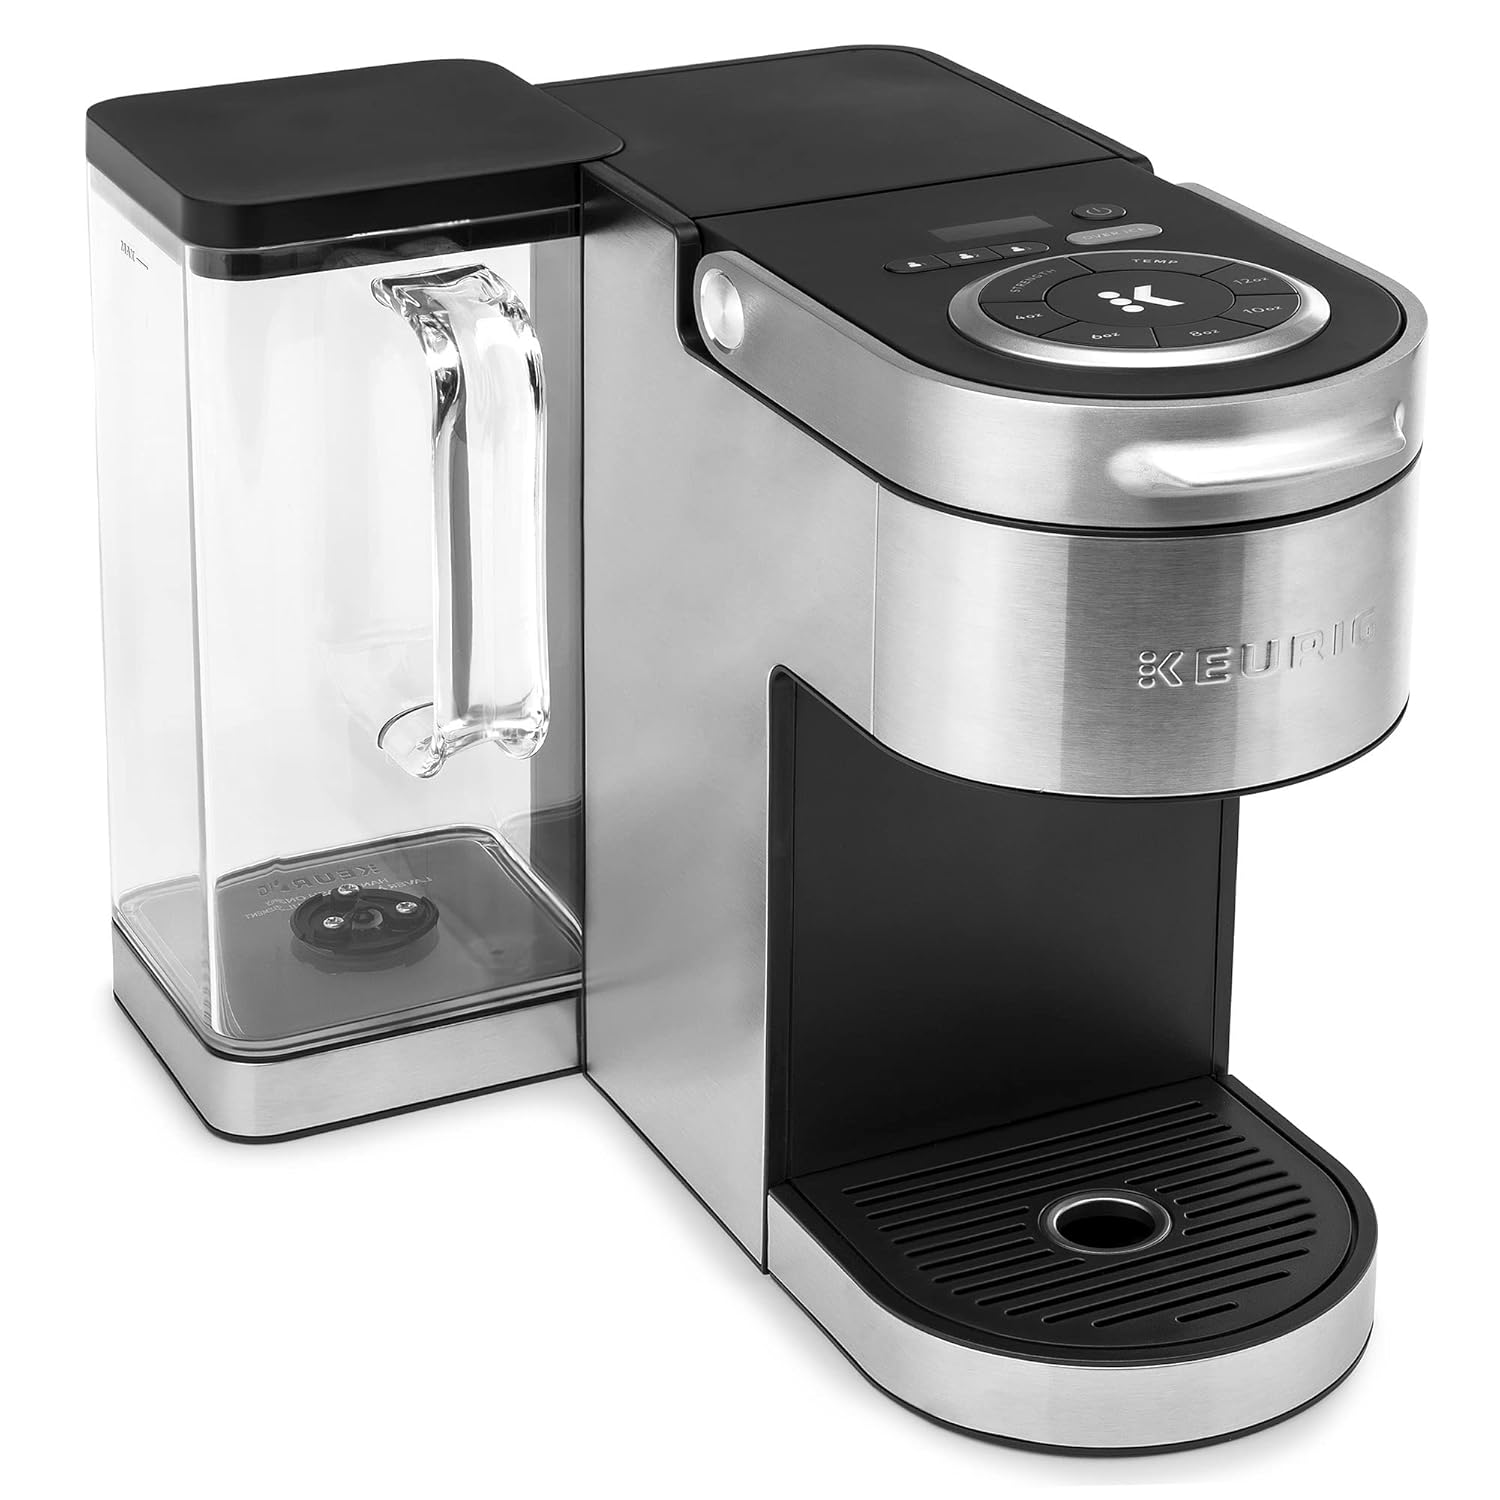
Checking and Resolving Water Reservoir Issues
First, focus on the water reservoir. The solution might be simpler than expected. Perform these steps diligently:
- Verify Water Level: Ensure the reservoir is filled to the indicated level. Sometimes, refilling can resolve the “add water” prompt.
- Secure the Reservoir: Make sure the reservoir is properly seated. A misaligned tank can fail to trigger the sensor.
- Check for Cracks: Examine the reservoir for any leaks or cracks that could impact water levels.
- Clean the Reservoir Area: Wipe down the area where the reservoir meets the machine. This removes any debris affecting sensor accuracy.
Addressing these aspects will often rectify the “add water” message related to reservoir problems.
Addressing Sensor Malfunctions
If the water reservoir checks out, sensor issues might be the culprit. Here’s how to troubleshoot:
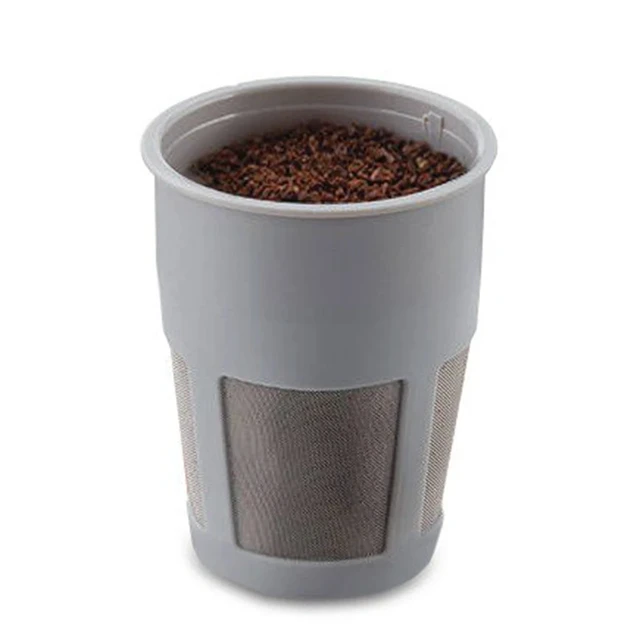
- Clean the Sensor: Carefully clean the sensor area with a soft, damp cloth to remove any mineral buildup or debris.
- Realign Sensor Connection: Sometimes, the sensor can become misaligned. Adjust it to ensure proper functioning.
- Dry the Sensor Area: After cleaning, dry the area thoroughly to prevent moisture from affecting the readings.
- Test the Sensor: If the machine still says add water, consider running a test cycle. This can help determine if the sensor is working properly.
By following these steps, you can effectively handle most causes of Keurig’s “add water” errors due to sensor malfunctions.
Maintenance Tips for Keurig Water Sensors
To ensure your Keurig machine functions optimally, regular maintenance of water sensors is crucial. Proper care prevents frequent issues like the machine indicating to add water, even when the reservoir is full. Here are some essential maintenance tips.
Routine Cleaning Practices
Regular cleaning of the water sensors is key to prevent malfunctions. Follow these steps:
- Turn off the Keurig: Always start by ensuring the machine is powered off.
- Use a Soft Cloth: Gently wipe the sensor using a damp, soft cloth. This helps remove dust and residues.
- Avoid Harsh Chemicals: Stick to plain water or mild detergents. Strong chemicals might damage the sensors.
- Dry Thoroughly: After cleaning, dry the sensor area completely before turning the machine back on.
- Perform Regular Checks: Incorporate sensor cleaning into your monthly kitchen appliance maintenance schedule.
Adhering to these cleaning practices helps maintain the sensor’s accuracy and prolongs its life.
When to Replace Water Components
Sometimes, cleaning might not be enough if the water sensors or related components are damaged or worn out. Here are signs that it’s time to consider replacement:
- Repeated Errors: If ‘keeps saying add water’ errors persist despite troubleshooting, a replacement might be in order.
- Visible Damage: Check the sensor and surrounding areas for any signs of cracking or wear.
- Age of the Machine: If your Keurig is several years old, updating water-related components can improve performance.
- Professional Recommendation: During a service visit, a technician may advise replacing certain parts based on their condition.
Replacing components when necessary ensures your Keurig operates efficiently and continues to provide great-tasting coffee.
 DIY Repairs for Keurig Water Sensors
In some cases, you can fix Keurig water sensors yourself. DIY repairs save money and time.
Step-by-Step Guide on Fixing the Sensor
Let’s tackle the Keurig ‘add water’ sensor issue step by step:
- Power Off: Unplug your Keurig to ensure safety.
- Remove Reservoir: Take the water tank off for better access to the sensor.
- Locate Sensor: Find the sensor. It’s often near the reservoir base.
- Clean Sensor: Use a soft cloth to gently wipe the sensor.
- Check Connections: Tighten any loose wires or components near the sensor.
- Reassemble and Test: Place the reservoir back. Power up and run a test brew.
These steps can often fix the issue without needing new parts.
Necessary Tools for Home Repairs
For a successful DIY repair, gather these tools:
- Soft Cloth: To clean the sensor without scratching it.
- Screwdriver: To open any panels or tighten connections.
- Flashlight: To help you see the parts you’re working on.
- Tweezers: Useful for adjusting small parts and connections.
Having the right tools makes DIY repairs easier and safer. With patience and care, following these guidelines can help resolve Keurig’s ‘keeps saying add water’ error and restore your machine to proper function.
Professional Help for Keurig Repairs
Sometimes, despite your best efforts, the usual DIY fixes don’t resolve the issue. In such cases, it’s wise to seek professional help.
When to Seek Professional Help
You should consider professional repair services when:
- Repeated Failures: If you’ve tried all troubleshooting steps and the Keurig keeps saying add water, experts can help.
- Complex Issues: Professionals are trained to handle intricate problems that are beyond basic home repairs.
- Warranty Concerns: If your machine is still under warranty, professional servicing may be required to avoid voiding it.
- Lack of Tools: Lack of proper tools or expertise makes home repair challenging.
Contacting a technician can save you from further damaging your Keurig machine and will ensure the problem is resolved efficiently.
What to Expect from a Service Visit
Once you’ve scheduled a service visit, here’s what to expect:
- Diagnosis: The technician will examine your machine to identify the root cause of the ‘add water’ error.
- Expert Advice: You’ll receive advice on whether it’s best to repair or replace parts or the entire unit.
- Professional Repair: If repairable, the technician will fix the issue using specialized tools and parts.
- Maintenance Tips: You’ll get professional tips on maintaining your Keurig to avoid future issues.
A service visit can provide a comprehensive solution to your Keurig water-sensing issues, ensuring your coffee experience remains uninterrupted.
Troubleshooting Other Common Keurig Issues
Apart from ‘keurig keeps saying add water’, your machine may face other problems. Tackling these effectively can restore your Keurig to perfect brewing condition. Below, we explore common power and heating issues plus brew quality concerns.
Power and Heating Problems
When your Keurig won’t power on or heat up correctly, try these steps:
- Check Power Source: Make sure the machine is plugged in securely. Check for faulty outlets.
- Reset the Keurig: Unplug the machine for a few minutes. Plug it back in and restart.
- Inspect the Heating Element: If you’re comfortable, look for signs of damage. Contact a technician if needed.
- Scale the Heating Mechanism: Use a descaling solution to clear mineral buildup that might hinder heating.
These pointers can help solve power and heating issues that frequently trouble Keurig users.
Brew Quality and Consistency Issues
Sometimes your coffee may not taste right or the brew seems off. Address these issues to improve your coffee experience:
- Clean the Needles: Coffee grounds can clog the brew needles, affecting flow. Use a paper clip to clear them.
- Change the Water Filter: Regularly replace the filter to ensure fresh taste and proper brewing.
- Check the Coffee Pod: Ensure you’re using the correct pod type and that it’s seated correctly.
- Adjust Brew Settings: If your Keurig has strength settings, experiment to find the best one.
Resolving these issues can enhance the taste and consistency of your coffee, making for a better brew every time.
Enhancing Keurig Performance
To keep your Keurig running smoothly, consider enhancing its performance with upgrades and settings adjustments.
Upgrading Machine Components
Upgrading your Keurig’s components can lead to better performance and extend its lifespan. Look into these upgrades:
- Water Filter Replacement: A fresh filter can improve coffee taste and prevent clogs.
- Reservoir Lid: A new lid ensures a snug fit, preventing sensor errors.
- Descaling Solution: Regular use keeps internal parts clean and functioning well.
Make these upgrades as needed for a noticeable difference in your Keurig’s performance.
Optimal Settings for Best Performance
Setting your Keurig right can affect your coffee’s quality. Try these tips for best results:
- Water Temperature: Adjust it for the ideal heat level that suits your coffee preference.
- Brew Size: Pick the right size for a strong or mild cup.
- Clean Regularly: A clean machine works better and lasts longer.
Adjusting these settings can make your Keurig work better and your coffee taste great. Use the keyword ‘keurig keeps saying add water’ at least 2% in your blog content to optimize for search engines.


 Software Updates