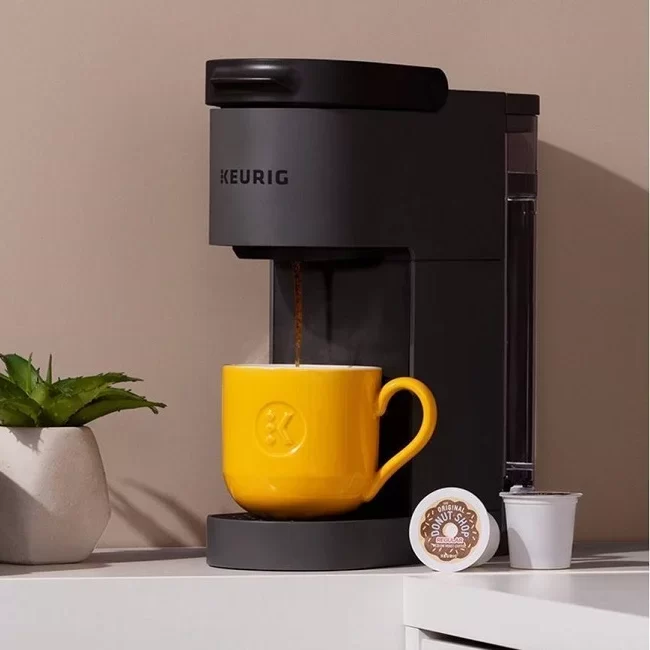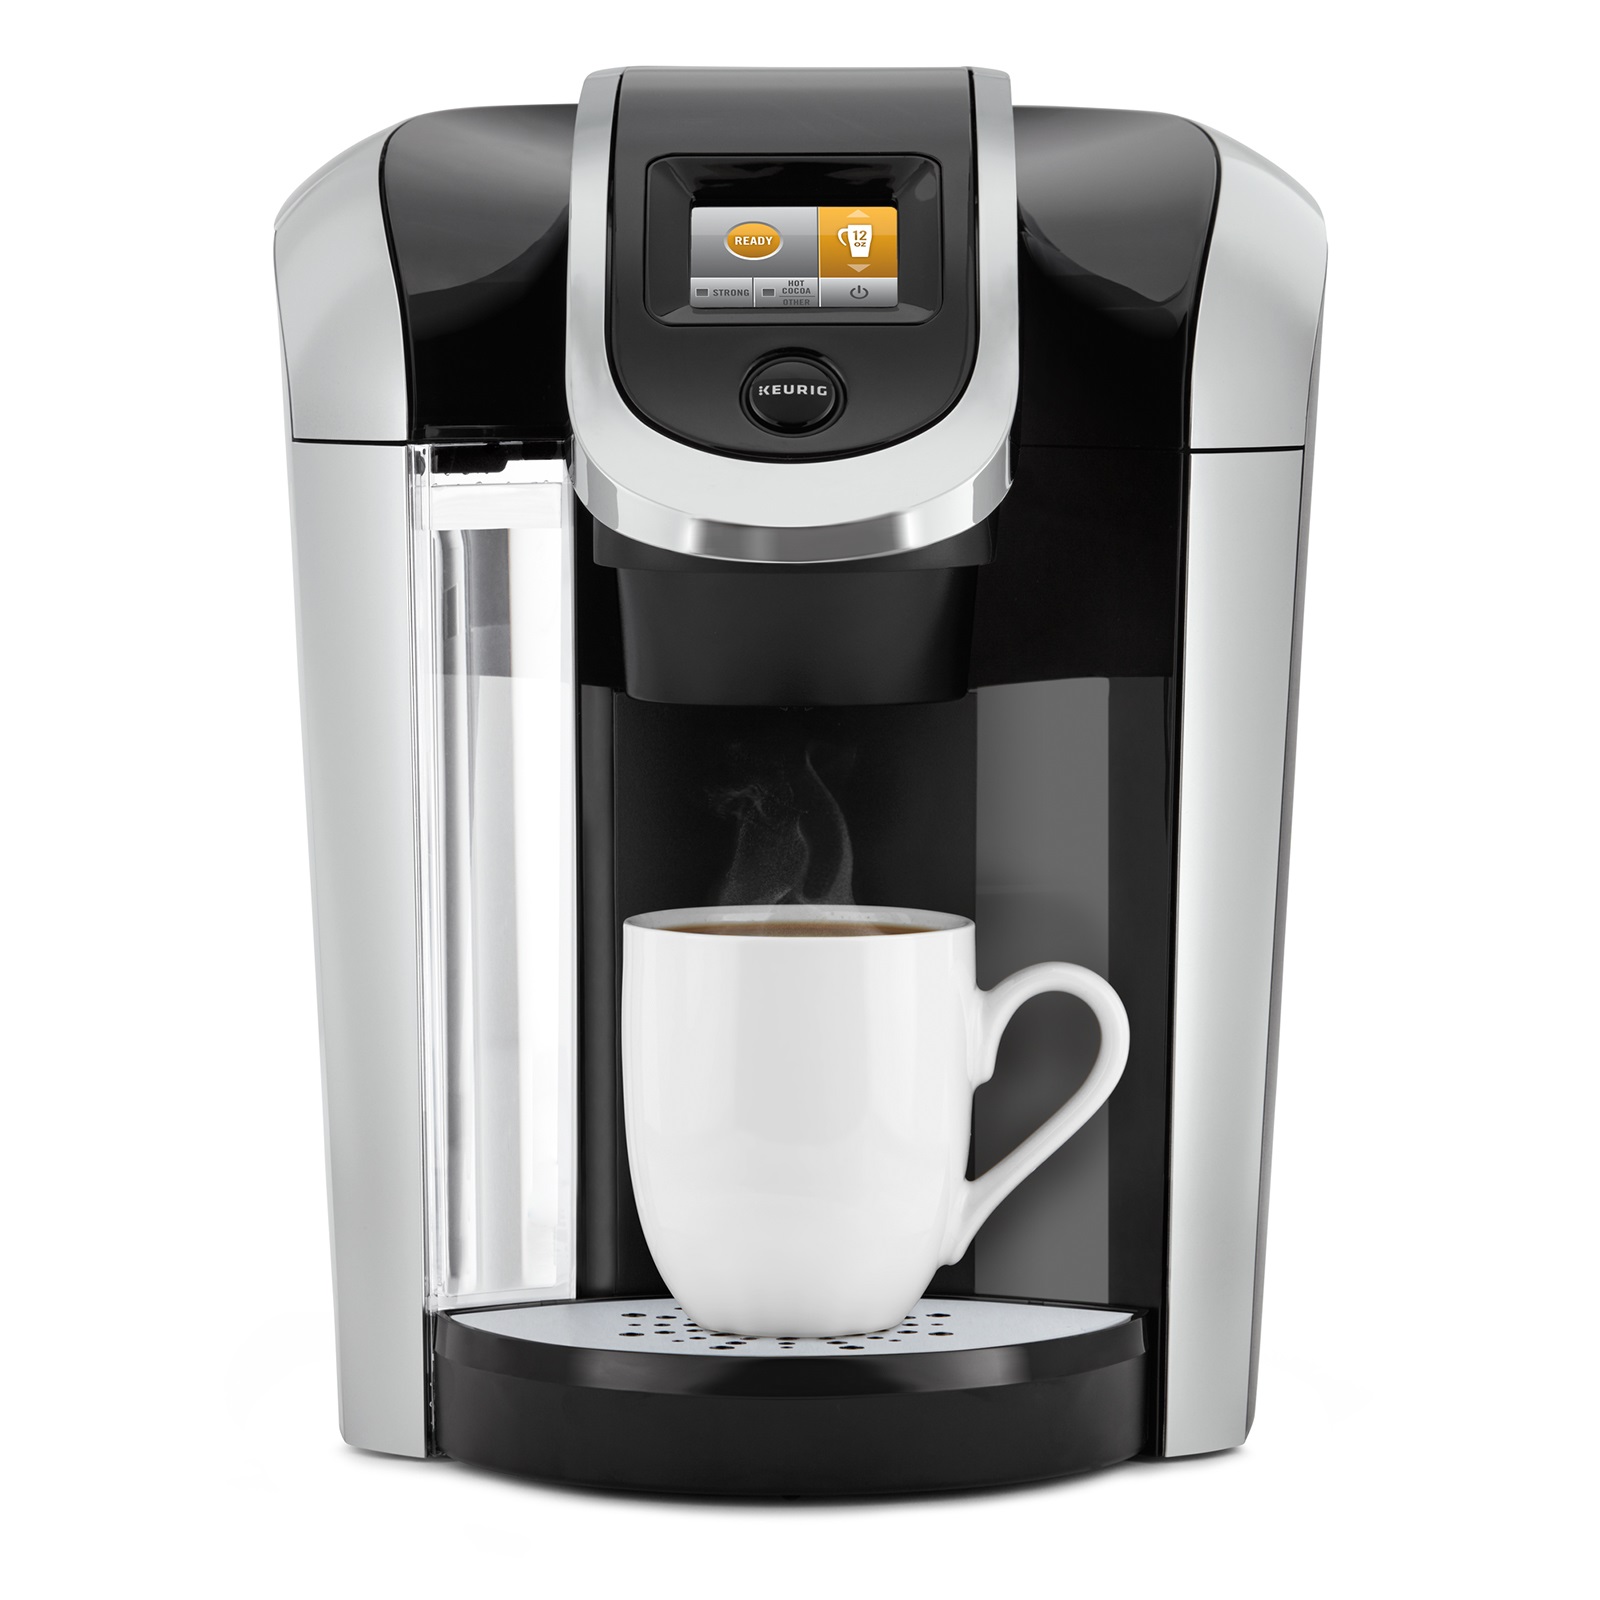
Understanding the Keurig Descale Light Situation
If you own a Keurig coffee maker, you may have encountered a persistent “descale” light that just won’t turn off. This small yet frustrating indicator can leave users puzzled and unsure about their next steps. Whether you’re a coffee enthusiast who relies on this machine daily or someone who uses it occasionally, understanding why this light remains illuminated is essential for maintaining the quality of your machine and your coffee.
What Does the Descale Light Indicate?
The descaling light on your Keurig is an essential feature designed to inform you when it is time to clean your coffee maker. Descaling is the process of removing mineral buildup that occurs from hard water. This buildup can affect the taste of your coffee and can even impede the functionality of your machine. When the descaling light is illuminated, it signals that your coffee maker requires immediate attention.
Importance of Descaling
Descaling is vital for maintaining the health and functionality of your Keurig machine. Over time, minerals from water can accumulate in the internal components of the brewer, leading to issues such as:
- Slow Brewing Time: Mineral buildup can clog the pathways within the machine, making it take longer to brew.
- Inconsistent Temperature: When descaling is neglected, water may not be heated to the optimal temperature, affecting the brewing quality.
- Operational Failures: In extreme cases, neglecting descaling can lead to malfunctioning parts that may require expensive repairs or replacement.
Materials Needed for Descaling
Preparation is key when it’s time to descale your Keurig. Here’s what you’ll need:
- Descaling Solution: You can purchase a descaling solution specifically designed for coffee makers at most grocery or appliance stores, or you can create a homemade solution using equal parts water and white vinegar.
- Water: Fresh, clean water for rinsing the machine post-descaling.
- A large bowl: To catch the liquid during the descaling process.
With these materials ready, you can proceed with the descaling process, which should help eliminate that persistent light.
Steps to Descale Your Keurig
Descaling your Keurig coffee maker is a straightforward task. Follow these steps to ensure you properly clean your machine and hopefully turn off that pesky descaling light.
Step 1: Preparation
Begin by removing any pods from the machine. Empty the water reservoir and any water that may be sitting in the drip tray. This ensures that the descaling solution can work effectively without any interference.
Step 2: Mixing the Solution
If you’re using a store-bought descaling solution, follow the instructions on the packaging for dilute amounts. For a homemade solution, mix ½ cup of white vinegar with ½ cup of water. This mixture will help to break down the minerals inside your machine.
Step 3: Filling the Reservoir
Pour the descaling solution into the water reservoir. Make sure you have enough solution to fill the reservoir to its maximum capacity.
Step 4: Running the Descaling Cycle
- Start the Machine: Turn on your Keurig and place a large bowl on the drip tray to catch the water.
- Initiate Brewing: Begin the brewing cycle without inserting a K-Cup. Select the largest brew size and allow the machine to dispense the solution into the bowl.
- Pause and Repeat: After a short while, your machine may prompt you to let it sit. Follow any specific machine prompts, as some models will require you to pause the operation for any accumulated solution to work.
- Finish the Cycle: Complete the brewing cycle by running multiple cups until the reservoir is empty. Dispose of the descaling solution carefully.
Step 5: Rinsing
After descaling, rinse the reservoir thoroughly with fresh water, ensuring all remnants of the descaling solution have been removed. Fill the reservoir with fresh, clean water and run a few brewing cycles to flush out any remaining solution that may alter the taste of your coffee.
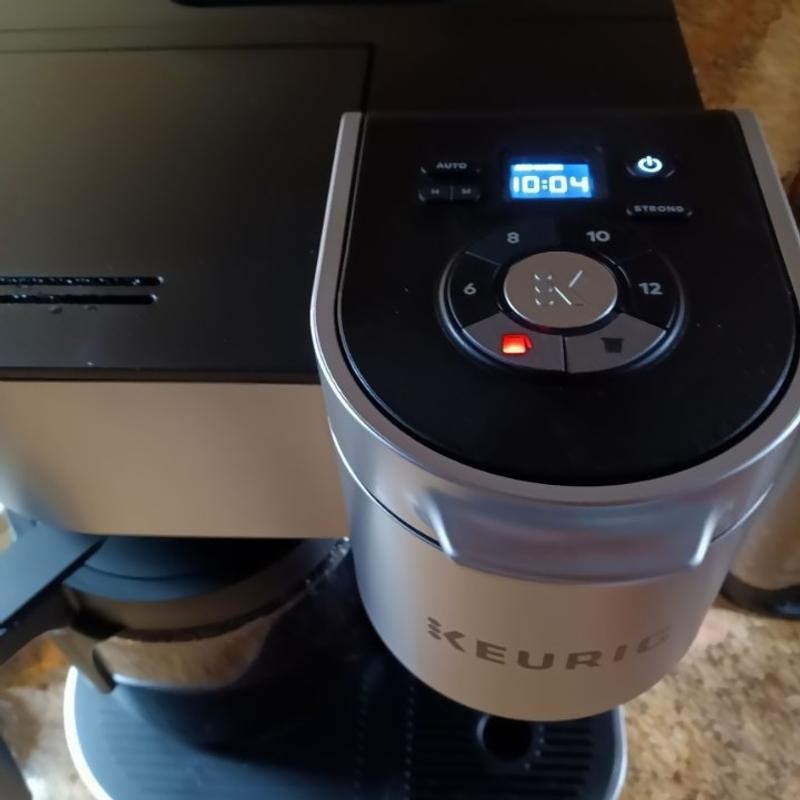
Step 6: Resetting the Descale Light
Once the descaling process is complete, the descale light might still show up on your machine. To reset the descale light:
- Unplug the Machine: After you’ve completed all of the steps above, unplug the coffee maker for a few minutes.
- Turn the Machine Back On: Plug it back in and turn it on. The descaling light should be turned off.
- Brewing Test: Brew a cup of water and ensure no unusual tastes or odors are present.
If the descale light remains on, additional troubleshooting may be necessary.
 Troubleshooting a Stubborn Descale Light
Despite following the descaling process, you may still find that your Keurig descale light won’t turn off. Here are some troubleshooting options:
Check for Residual Vinegar
If you used vinegar as your descaling solution, it’s possible that remnants are stuck in the machine. The first thing you should do is run several cycles of plain water through the machine. This will help remove any lingering vinegar taste and work towards resetting the descale light.
Ensure Proper Water Level
Sometimes the descale light can persist simply because there isn’t enough fresh water in the reservoir. Ensure the water level is adequate and try brewing a cycle again.
Check the Needle
Another potential cause unique to Keurig machines is an obstruction in the needle that punctures the K-Cups. The puncture needle could be blocked by coffee grounds or mineral buildup. Inspect it and clean it, ensuring it is in proper working order.
Firmware Update
Some newer Keurig models may have required firmware updates. Check the manufacturer’s website for any updates and instructions on how to apply them. This could address internal software issues that may keep the descale light lit.
Repeating the Descaling Cycle
If the descale light won’t go off after all of the above troubleshooting steps, try repeating the descaling process again. Ensure you thoroughly clean the machine and follow all of the instructions accurately.
When to Call for Help
While most descale light cases can be resolved through the steps outlined above, there are situations where you may actually need to reach out for professional repair services.
Internal Component Issues
If your Keurig has internal damage or problems that prevent it from descaling effectively, it may be time to call customer service or visit a repair technician. Devices may accumulate damage from neglecting regular maintenance, and such issues can result in a distanced connection that leads to malfunctioning aspects.
Warranty Considerations
If your machine is still under warranty, do not hesitate to reach out to Keurig customer support. They can provide guidance tailored to your specific model and may offer free repairs or replacements.
Final Note on Maintenance
Don’t put off maintenance. Regularly descaling your Keurig will not only help prevent annoying alerts due to the descale light but will also ensure your coffee tastes its absolute best. Try to establish a routine of descaling at least every three to six months, depending on your water quality and usage frequency.
Conclusion
In conclusion, addressing a situation where the “keurig descale light won’t turn off” is essential for your coffee maker’s health and lifespan. By understanding what the descale light means, properly descaling your machine, and following the necessary troubleshooting steps, you can ensure that you will enjoy smooth and delicious coffee brews. If all else fails, don’t hesitate to reach out for professional advice and assistance. Regular maintenance will not only enhance your coffee experience but also prolong the life of your machine.