Posted on

List of Keurig Serial Numbers: Your Brewing Companion

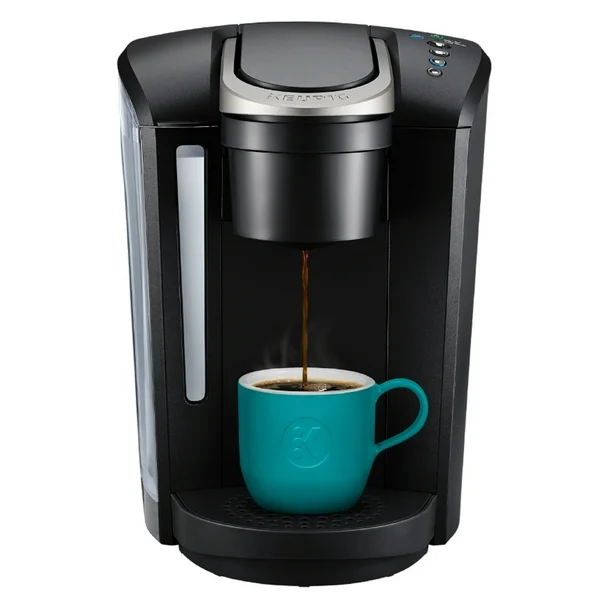
Keurig Coffee Maker

Keurig coffee makers are a cornerstone of convenience in the modern kitchen. Known for their ease of use and ability to deliver a perfect cup of coffee in minutes, these machines are a common sight in households and offices alike. One of the more mysterious aspects of owning a Keurig is understanding its serial numbers. The serial number not only helps identify the model and features of the coffee maker but can also assist in service and warranty claims. In this article, we will delve into the world of Keurig serial numbers, offering a comprehensive guide to understanding what these numbers mean and how to locate them. Additionally, we will provide a list of Keurig serial numbers to aid owners in identifying their machines.

Keurig Coffee Maker

What is a Keurig Serial Number?

A Keurig serial number is a unique identifier assigned to every machine produced by the brand. It typically consists of a combination of letters and numbers and serves multiple functions, including manufacturing details, product specifications, and warranty information. Understanding your Keurig’s serial number can be helpful when troubleshooting issues, seeking replacements, or verifying the authenticity of your machine.

The Importance of Serial Numbers

Serial numbers often serve as the first line of defense in terms of customer service. They can indicate the date of manufacture and model type, which can help users determine the age of their machine and if certain issues are common for that model. When contacting Keurig customer service, providing the serial number can lead to faster assistance and more accurate information related to your model’s performance and quirks.

Warranty Verification

Keurig offers warranties on their products, which can vary by model. Serial numbers are essential for verifying whether your machine is still under warranty. When submitting a warranty claim or contacting customer service, having your serial number handy can speed up the process significantly.

How to Locate Your Keurig Serial Number

Finding the serial number on your Keurig machine may seem daunting, but it’s a straightforward process. Here are some tips on how to locate it:

1. Check the Bottom of the Machine

The most common place to find the serial number is on the bottom of the unit. Many manufacturers, including Keurig, print the serial number on a label located beneath the machine. You may need to flip the machine over to see it clearly.

2. Look Inside the Water Reservoir

Some models have the serial number printed inside the water reservoir. This may not be an easy location to access, but if you’re unable to find it on the bottom, it’s worth checking.

3. User Manual and Packaging

Your Keurig user manual may contain information about the serial number’s location. Additionally, if you have kept the original packaging, you may find the serial number on a label attached to the box or the manual itself.

4. Online Account

If you’ve registered your Keurig machine with your online account on the Keurig website, you may have the option to view your serial number through your account information.

Tips for Maintaining Your Keurig Serial Number

It’s important to keep your serial number accessible for future reference. Write it down and store it in a safe place where you can easily retrieve it when necessary. This practice can often resolve future issues with quicker, more efficient customer service.

Key Models of Keurig Machines and Their Serial Numbers

Keurig has produced numerous coffee machines over the years, each with its unique features. Recognizing the serial numbers associated with different models can help consumers understand which machine they own and how to maintain it.

1. Keurig K-Elite

The K-Elite is known for its sleek design and multiple brewing options. Its serial number typically starts with “KE” followed by a series of numerical digits. Understanding this format can help owners identify their machine more quickly.

2. Keurig K-Select

This model is designed for simplicity and ease of use, catering to those who prefer straightforward brewing. Serial numbers for the K-Select start with “KS” and are followed by series numbers, which may consist of both numbers and letters.

3. Keurig K-Café

For latte and cappuccino lovers, the K-Café offers an integrated milk frother, making it a versatile choice. The serial number for K-Café models usually starts with “KC.” Recognizing this pattern can make identification easier.

4. Keurig K-Mini

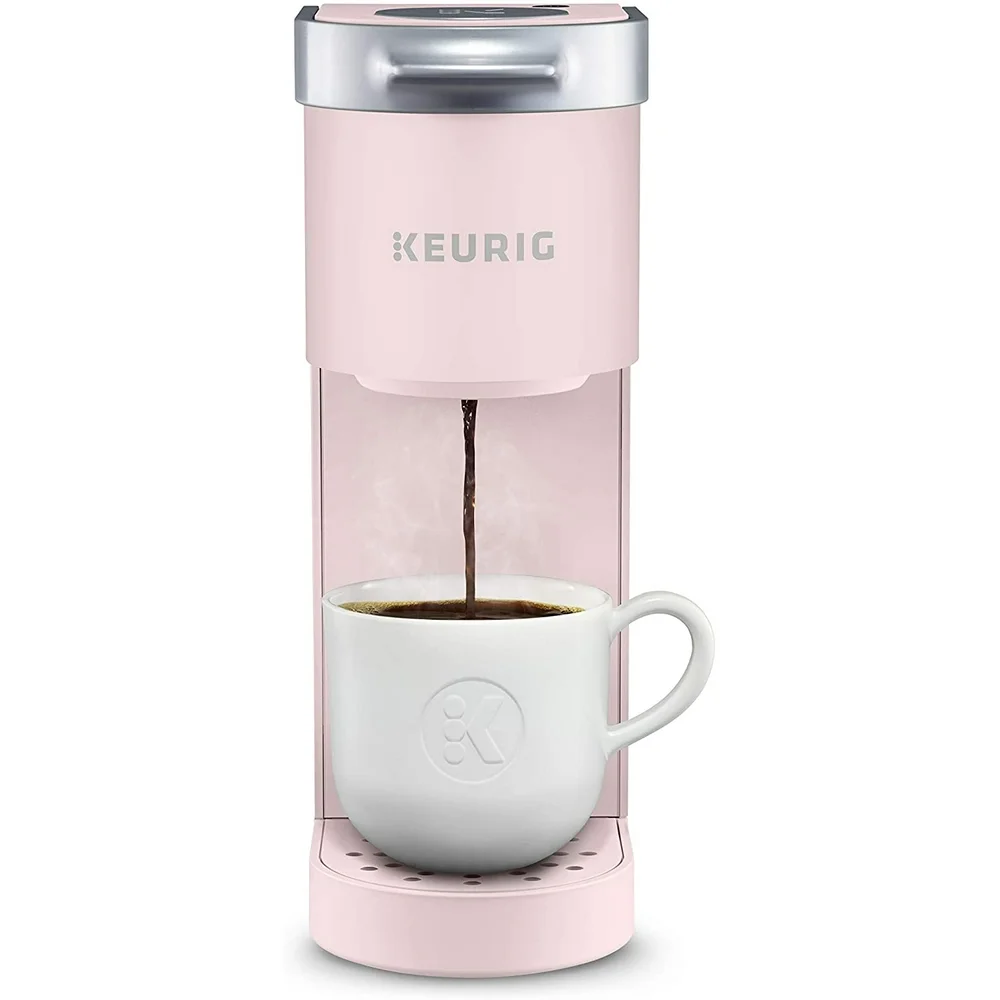
The K-Mini is a compact brewer perfect for small kitchens or offices. Its serial numbers generally begin with “KM” and are followed by alphanumeric characters. Knowing this can help when you need parts or assistance.

5. Keurig Rivo

Though less common today, the Rivo model provides coffee enthusiasts with the experience of espresso and specialty drinks. Its serial number typically starts with “RV” indicating its unique features.

6. Keurig K-Supreme

The K-Supreme includes features like Smart BrewID technology which can tailor the brewing settings based on the coffee pod being used. The serial number format usually starts with “KSU.”

Keurig Coffee Maker

Troubleshooting Common Issues Using Serial Numbers

The ability to identify your Keurig through its serial number can significantly aid in troubleshooting common issues. Different models may exhibit unique problems, and knowing your machine’s serial number can assist in determining if your machine falls within a specific fault bracket.

Coffee Doesn’t Taste Good

If your coffee isn’t tasting as it should, it could be due to mineral buildup or a clogged needle. The serial number can help customer service identify common issues associated with your model for a targeted solution.

Machine Won’t Brew

A common problem can result from a lack of water or a malfunctioning internal component. By providing your serial number when seeking assistance, the customer service team can guide you through troubleshooting specific to your model.

Display Issues

Models with display screens may face issues like flickering or malfunctioning. Referencing your serial number can help customer service provide you with the correct steps to diagnose the problem.

Safety and Servicing

If your Keurig requires servicing or repair, it’s advisable to have the serial number available. Many repair services will require this information to ensure they have the right parts for your specific model.

Keurig Coffee MakerThe Future of Keurig Machines

As technology continues to advance, it seems likely that Keurig will evolve its product line further. New models may have even more features, but they will still rely on short serial numbers for identification. This evolution means that understanding Keurig serial numbers is as important as ever.

Innovations in Brewing Technology

With innovations such as smart technology connectivity and app controls, future models may introduce new serial number designs. Keeping abreast of these changes can help existing and potential customers ensure they are buying the right products.

Community Input

Keurig often listens to consumer feedback in designing its upcoming products. Customers can benefit from staying informed about serial number changes which may correlate with new features offered in newer models.

Conclusion

Understanding the intricacies of Keurig serial numbers is essential for both new and seasoned users of these coffee machines. It ensures quick identification and can greatly improve the assistance you receive from customer service. By knowing how to locate your serial number and identifying your specific model through the provided patterns, you can simplify your brewing experience. Always keep your serial number handy for any future service needs. In summary, the list of Keurig serial numbers plays an important role in your enjoyment of this beloved coffee companion.
Posted on

Effortless Keurig Operating Steps for Beginners

keurig coffee maker

Unboxing and Initial Setup of Your Keurig

Removing Packaging and Inspecting Components

How to operate a keurig? When you first unbox your new Keurig, start by removing all packaging materials. Check each component against the Keurig manual to ensure nothing is missing or damaged. Common components include the main unit, water reservoir, and K-Cup holder. Handle all parts with care during inspection.

keurig coffee maker

Cleaning Before First Use

Before you brew your first cup, it’s important to clean your Keurig. Wipe the machine’s exterior with a soft, damp cloth. For the water reservoir, use warm water and mild dish soap. Rinse it thoroughly to avoid any soap residue in your coffee.

Installing the Charcoal Water Filter

If your model comes with a charcoal water filter, installation is next. Soak the charcoal filter in water for about 5 minutes. Rinse it under cold water for another minute. Place the filter into the water filter holder, then install it inside the reservoir. This helps ensure better-tasting coffee by removing impurities from water.

Powering On and Heating Up Your Keurig

How to operate a keurig? Turning on your Keurig is straightforward. First, make sure it is plugged in. Simply press the power button on your machine. It takes about a minute for the machine to warm up. Some models might take up to three minutes. You will know it’s ready when the heating light turns off.

Understanding Indicator Lights

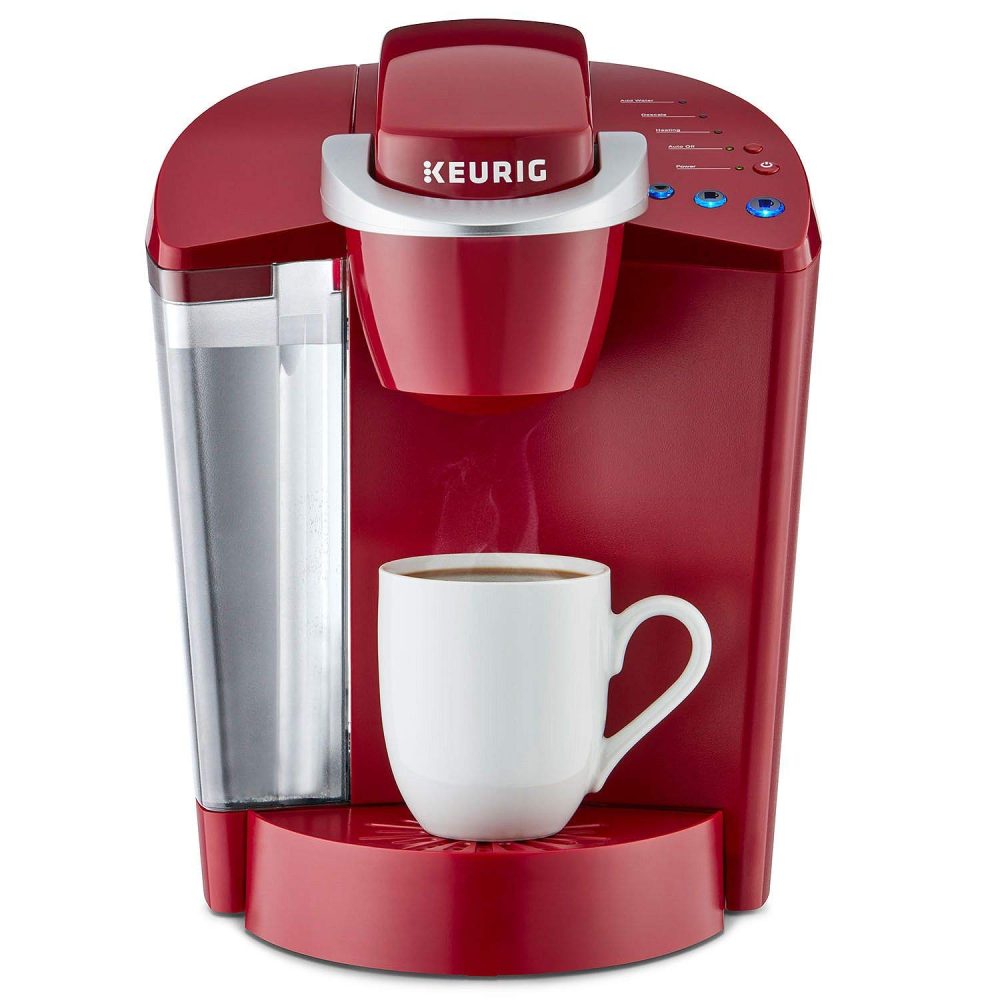
Your Keurig has several indicator lights that are helpful. The ‘Power’ light indicates that the machine is on. The ‘Heating’ light shows that the water is heating up. A ‘Descale’ light warns of limescale build-up and indicates it’s time to descale. The ‘Add Water’ light will illuminate when it’s time to refill the water reservoir. These lights help maintain the machine’s performance and ensure great coffee.

Troubleshooting Power Issues

If your Keurig doesn’t turn on, check if it’s properly plugged in. Ensure the outlet works by plugging in a different device. If the outlet is fine but your Keurig still won’t power on, try resetting the machine by unplugging it for a few minutes. If problems persist, contact Keurig customer service for more help. Always refer to your model’s manual for specific troubleshooting tips.

Navigating Keurig’s Buttons and Functions

After powering on your Keurig, familiarize yourself with its buttons.

Distinguishing Between Various Cup Sizes

Keurig machines often feature different cup size options. These may include 6 oz., 8 oz., and 10 oz. sizes. Cup size buttons may show coffee cups of varying sizes, helping to identify the amount they’ll dispense.

Utilizing Special Features: Iced, Strong, and Temperature Control

Some models have ‘Iced’ for brewing stronger coffee to complement ice. A ‘Strong’ button is available for a more robust flavor. Temperature controls allow you to adjust the heat of your drink.

Benefits of the Auto On/Off Function

The Auto On/Off feature can save energy. It turns the Keurig off when not in use for a set time. This function helps with electricity saving and machine longevity.

keurig coffee makerBrewing Your First Cup of Coffee

Now that your Keurig is ready, let’s brew your first cup.

Inserting the K-Cup and Selecting Brew Size

Open the lid of your Keurig and place the K-Cup into the slot. Choose your desired cup size by pressing one of the cup size buttons. Remember, the image on the button often indicates the size of the brew.

Model-Specific Brewing Techniques

Each Keurig model might have different steps, so check your manual. For instance, some machines auto-determine the cup size based on water added, while others let you pick a size.

Customizing Coffee Strength and Temperature

For a stronger cup, press the ‘Strong’ button if your model has one. To adjust the beverage temperature, use the temperature control feature on models that offer this option. This allows you to enjoy your coffee just the way you like it.

Advanced Keurig Features

Keurig machines aren’t just for single cups of coffee. They offer advanced features for various coffee preferences and situations. Whether you want a full carafe for the family or a specialized drink just for yourself, Keurig has designed models to accommodate all your coffee needs.

Brewing a Carafe with Keurig Duo Models

The Keurig Duo models provide flexibility by allowing you to brew either a single cup or a full carafe. For a carafe, simply use the coffee grounds of your choice. Place a flat-bottom paper filter in the basket, add coffee, and select your desired carafe size (8, 10, or 12 cups). This is great for hosting guests or when you need more coffee at once.

Making Specialty Drinks with the K-Cafe

Do you enjoy lattes or cappuccinos? The K-Cafe model is perfect. This device can create various specialty drinks with ease. First, insert a desired K-Cup, choose the ‘Shot’ option for a coffee shot, and then froth your milk using the milk frother attachment. You can even make iced versions by pressing the ‘Cold’ setting before frothing.

Utilizing Hot Water and Iced Coffee Settings

Some Keurig models go beyond brewing coffee. They provide hot water on demand, useful for tea or instant meals. Additionally, the iced coffee feature strengthens your brew so it can withstand ice dilution, ideal for refreshing iced coffee without compromising flavor.

Maintenance and Care for Your Keurig

Proper maintenance ensures your Keurig brews the best coffee for years to come.

How to Descale and When to Do It

Descaling removes mineral build-up, keep your machine efficient. Descaling every 3 to 6 months is ideal. Use white vinegar or a descaler solution. Fill up the water reservoir with the solution, run brew cycles without a K-cup until empty, and flush with fresh water after.

Regular Cleaning for Optimal Performance

Clean your Keurig regularly for the best taste and performance. Wipe the exterior with a damp cloth weekly. Wash the removable parts, like the water reservoir and drip tray, with soapy water monthly.

Handling and Replacing Water Filters

Change the water filter every 2 months or every 60 tank refills to ensure fresh taste. Soak the new filter in water for 5 minutes, then rinse it under running water for 1 minute before installing.

keurig coffee makerFrequently Asked Questions on Keurig Usage

Navigating your Keurig’s features should be stress-free. Let’s tackle some frequent operation questions.

Addressing Common Operation Concerns

Maybe your machine won’t start, or perhaps it brews slowly. First, ensure it’s plugged in. Check for proper placement of the water reservoir. If issues persist, a descaling might be in order. Your manual will provide tailored troubleshooting steps. For more help, Keurig support is available.

Tips for Auto-Brew Settings

The auto-brew feature is a real morning time-saver. Set your desired brew time through the auto button. Confirm your settings by pressing the blinking brew button. Don’t forget to place a mug on the drip tray overnight. To stop auto-brew, deactivate it according to your model’s instruction manual.

Best Practices for Milk Frothing Attachments

For rich lattes and cappuccinos, follow these tips. Use fresh cold milk for the best froth. Fill to the marked line and hit the froth button. For cold drinks, press the cold setting first. Always clean the frother after each use to maintain performance. Enjoy delightful, creamy beverages every time.

Conclusion: Mastering How to Operate a Keurig

How to operate a keurig? Mastering how to operate a Keurig transforms your coffee-making experience, turning it into a personalized and enjoyable ritual. From initial setup and daily brewing to advanced customization and diligent maintenance, understanding each facet of your Keurig ensures you consistently enjoy delicious coffee tailored to your tastes. Whether you’re a seasoned coffee aficionado or new to single-serve machines, this guide equips you with the knowledge and confidence to make the most of your Keurig. Embrace the convenience and versatility of your Keurig, and savor every perfectly brewed cup that starts your day on the right note.

Posted on

Keurig Descale Light Won’t Turn Off? Here’s a Quick Fix

how to get the descale light off on a keurig

Why the Descale Light Activates on Your Keurig

The descale light on your Keurig serves as a helpful reminder. It alerts you to the presence of scale, which is a buildup of minerals like calcium inside the machine. This buildup can occur over time as you brew coffee, especially if you use hard water. The light ensures you don’t overlook the maintenance your coffee maker needs.

how to get the descale light off on a keurig

Why does this happen, though? Primarily, it’s water quality. Minerals in the water gradually deposit and cause blockages. This can affect the machine’s performance and coffee taste. The descale light might also illuminate if refillable K-cups are packed too tightly. This creates a restriction in water flow, signaling the machine that it’s time for a cleanup.

Ignoring the light can lead to problems. Coffee may not brew properly or at all. In worse cases, it can lead to machine failure, requiring costly repairs or a full replacement. That’s why it’s crucial to take the light seriously and act promptly when it comes on. Regular descaling prevents these issues, keeping your Keurig running smoothly and extending its lifespan.

In summary, the descale light is a built-in reminder that it’s time to remove mineral buildup within your coffee machine. It’s a key part of your Keurig’s maintenance to ensure it continues to brew your perfect cup of coffee every day.

Step-by-Step Guide to Descaling Your Keurig

Descale lights on Keurig machines serve as timely maintenance cues. Here’s how to reset your Keurig when that light won’t turn off.

Removing the Water Filter and Using Solution

First, ensure your Keurig is off and unplugged. Locate and remove the water filter. Then, fill the reservoir with a descaling solution or a mix of white vinegar and water. This softens and dissolves calcium deposits.

Rinse Cycle and Water Reservoir Cleaning

Turn on the Keurig and place a mug to catch the liquid. Run a brewing cycle with no K-cup installed. Dump the hot solution from the mug after each cycle.

Continue until the reservoir is empty. Refill it with fresh water and run more cycles. This removes any solution residue. Do this until the water runs clear.

Troubleshooting Persistent Descale Light Issues

If the descale light remains on despite a full clean, it’s time to troubleshoot further.

Repeating with a Vinegar Solution

Still have scale buildup? Refill the reservoir with a fresh vinegar solution. Let this sit for an hour to break down stubborn deposits. Then, repeat the rinse cycle.

Addressing Potential Obstructions

If the light persists, check for obstructions. Look at pipes and check if using large cups inhibited flow. Clear obstructions to ensure smooth operation.

Cleaning the Keurig Exit Needle

A clogged exit needle can stop your brew. Power off the machine, then use a paperclip to clear the needle at the cup’s bottom.

Optimal Descaling Frequency for Keurig Maintenance

Regular descaling is crucial. Aim to descale every three months or more if you brew often. Use this guide to clear the descale light and maintain your Keurig.

Troubleshooting Persistent Descale Light Issues

When you’ve descaled your Keurig and the light stays on, don’t worry. There are more steps to take. This part of the guide will help you fix lingering issues with the descale light.

Repeating with a Vinegar Solution

If a standard descaling doesn’t clear the light, try again with vinegar. Here’s how:

  1. Turn off and unplug your Keurig.
  2. Fill the reservoir with a mix of vinegar and water.
  3. Let the solution sit for an hour.
  4. Run the brew cycle to clear out the solution.
  5. Rinse with clean water several times.

This process is stronger and can resolve tougher scale buildup.

Addressing Potential Obstructions

Sometimes, the descale light signals other issues. It’s not just scale buildup. You might have obstructions causing the problem. Follow these checks:

  1. Inspect the water lines for blockages.
  2. Check if large cups are affecting water flow.
  3. Make sure the needle is not clogged.

By finding and fixing these issues, your Keurig should work fine and the descale light will turn off. If these steps don’t work, reach out to Keurig support for more help.

how to get the descale light off on a keurigCleaning the Keurig Exit Needle

When your Keurig isn’t brewing, the exit needle may be clogged. This needle pierces the bottom of the K-cup but can get blocked by coffee grounds or debris. Here’s how to clean it efficiently:

  1. Turn off and unplug your Keurig.
  2. Locate the exit needle; it’s typically inside where the K-cup is placed.
  3. Use a paper clip or sewing needle to carefully remove any obstruction.
  4. Run a water-only brew cycle to ensure the blockage is cleared.

Cleaning the exit needle is vital during descaling. It makes sure your Keurig works well and delivers a fresh cup of coffee.

Optimal Descaling Frequency for Keurig Maintenance

To keep your Keurig in top shape, descale it every three months. If you are a heavy user, you might need to do this more often. Regular descaling ensures your coffee tastes great and your machine works well.

  1. Mark your calendar to descale your Keurig each quarter.
  2. If you notice poor performance, consider descaling sooner.
  3. Use the right solution—either Keurig’s own or a homemade vinegar mix.

Remember to change the water filter every two months. This keeps your coffee tasting fresh. Keep up with these simple steps, and enjoy a perfect cup of coffee every time.

Descale Light Still On After Cleaning? Additional Steps to Take

If the descale light of your Keurig stays on after cleaning, it’s time for extra measures. Below are additional steps you might need to try:

  1. Perform another descaling cycle: Sometimes, one cycle is not enough. Repeat the descale process with a new batch of solution.
  2. Let the solution soak longer: Allow the descaling solution to sit in the water reservoir for at least an hour. This helps break down more stubborn calcification.
  3. Use a different descale solution: If vinegar and water aren’t effective, try a commercial Keurig descaling solution.
  4. Check for clogs beyond the exit needle: Inspect other areas like the water line for any obstruction that might not be visible.
  5. Ensure the water filter is replaced or correctly reinstalled: A misplaced or old filter can cause issues.
  6. Reset the Keurig machine: Unplug your Keurig for a few minutes. Then, plug it back in and turn it on. This can sometimes reset the descale sensor.

If none of these steps work, you may need to contact Keurig customer service for more detailed assistance, as persistent issues might suggest a malfunction which simple home fixes won’t solve.

The Role of the Descale Light in Coffee Maker Maintenance

The descale light in your Keurig isn’t just a simple indicator. It plays a vital role in the health and performance of your coffee maker. When it illuminates, it’s alerting you to potential scale buildup that can interfere with the machine’s function. Not only can this affect the taste of your coffee, but it can also cause blockages. These can lead to reduced water flow, incomplete brew cycles, and in some cases, a complete machine shutdown.

Regularly addressing the descale light by performing maintenance ensures that your Keurig works efficiently. This prolongs your machine’s lifespan and guarantees that your coffee stays delicious every time you brew. Please don’t ignore the descale light; it’s a clear sign that your coffee maker requires attention. By keeping on top of descaling, you prevent issues and maintain the quality of your coffee. Remember, a cleaner Keurig means a better-tasting coffee and a more reliable coffee maker long-term.

how to get the descale light off on a keurigFAQs: Addressing Common Descale Light Concerns

When you maintain your Keurig coffee maker, questions about the descale light often arise. Here, we address some of the most common concerns related to this feature.

  • Why does the descale light activate?

The light turns on due to scale buildup from minerals in water or if a K-cup is overpacked.

  • What does it mean if the descale light won’t turn off?

It may signal that scale remains or the machine has a different issue.

  • How can I get the descale light off on a Keurig?

Try descaling again, check for clogs, and ensure proper filter placement.

  • Can I use any descale solution for my Keurig?

Yes, you can use a Keurig brand solution or a homemade mix of vinegar and water.

  • What should I do if none of the solutions work?

Contact Keurig customer service for further assistance as it may suggest a deeper issue.

  • Is it important to clean the exit needle while descaling?

Yes, cleaning the needle ensures your coffee brews correctly without blockage.

These answers should help you understand and resolve issues with the descale light on your Keurig. Remember, maintaining your coffee maker is key to fresh and delicious coffee every time you brew.