Introduction:
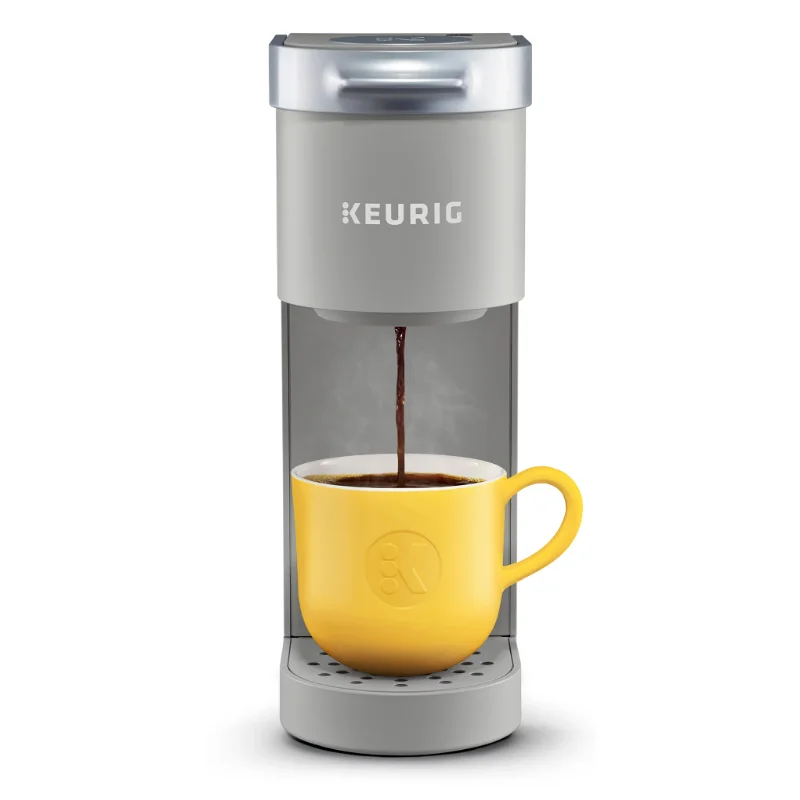
Keurig coffee makers have become a staple in many households, providing the convenience of brewing a quick and easy cup of coffee. However, it’s frustrating when your faithful brewing companion doesn’t deliver a full cup of coffee. This article explores various reasons why your Keurig may fail to make a complete cup and offers troubleshooting tips to get it back to its best brewing performance.
Understanding the Keurig Brewing System
Before diving into troubleshooting, it’s essential to understand how a Keurig coffee maker works. At its core, a Keurig machine heats water and forces it through a coffee pod, extracting the flavors and aromas from the coffee grounds.
Components of the Brewing System
There are several critical components inside a Keurig coffee maker:
- Water Reservoir: This is the tank where you fill water for brewing. It can hold varying capacities depending on the machine model.
- Heating Element: The heating element is responsible for bringing the water to the optimal brewing temperature.
- Pump: This component applies pressure to push water through the coffee pod.
- Coffee Pod Holder: This is where you place your K-Cup or compatible pod.
Understanding these components can help in diagnosing the issue when your Keurig fails to produce a full cup of coffee.
Common Reasons for Insufficient Coffee Volume
In most cases, if your Keurig is not making a full cup, it’s likely due to one of several common issues. Let’s explore these reasons in detail.
Clogged Water Lines
One of the primary reasons for insufficient brewing is clogging in the water lines. Over time, coffee oils, minerals, and other residues can accumulate in the system, hindering water flow.
Identifying a Clogged Water Line
- Weak Coffee Output: If the coffee brews but is significantly less than your usual volume, clogging could be the cause.
- Unusual Sounds: A gurgling or sputtering sound during the brewing process can indicate that water is struggling to flow.
How to Fix Clogged Lines
- Descale Your Keurig: Regular descaling helps prevent mineral buildup. Use a commercial descaling solution or a mixture of equal parts vinegar and water.
- Run a Clean Cycle: After descaling, run at least two clean cycles with just water to flush out any remaining residues.
Incorrect Cup Size Setting
Many Keurig models allow users to select different cup sizes. If the machine isn’t set to the appropriate size, you may end up with less coffee than you expected.
Checking Your Settings
- Cup Size Buttons: Make sure you’re pressing the button meant for your desired cup size. If you selected a smaller size by mistake, you’ll only get a fraction of a full cup.
- User Manual: Refer to your machine’s user manual for specific instructions on changing the cup size settings.
Low Water Level in the Reservoir
It may seem obvious, but a low water level in the reservoir can hinder the amount of coffee brewed. If there’s not enough water, the system won’t yield a full cup.
How to Ensure Proper Water Levels
- Check the Reservoir: Generally, the reservoir needs to be filled to the “MAX” line for optimal brewing.
- Refill Regularly: Make it a habit to refill the water reservoir whenever you make your coffee.
Clogged Coffee Pod Holder
Sometimes the issue could stem from the coffee pod holder itself. Coffee grounds can get stuck, creating blockages that prevent the water from flowing through the pod effectively.
Identifying a Clogged Coffee Pod Holder
- Visual Inspection: Open the coffee pod holder and check for any visible coffee grounds or debris.
- Brewing Issues: If you notice that coffee hasn’t brewed correctly, or if you find residual coffee grounds after brewing, it may be clogged.
Cleaning the Coffee Pod Holder
- Remove the Holder: Most Keurig models allow you to detach the coffee pod holder easily.
- Rinse it: Use warm water to rinse the holder and ensure all coffee grounds and debris are removed.
Air Bubbles in the Water Line
Air bubbles may interrupt the flow of water through the Keurig’s internal system. This can hinder the brewing process and prevent a full cup from being made.
How to Identify Air Bubbles
- Unique Brewing Sounds: Listen for any off sounds during operation, which might suggest changes in water flow.
- Inconsistent Coffee Output: If you notice that only some brews get the desired volume, air bubbles could be to blame.
Eliminating Air Bubbles
- Run Water Through the System: Brew a cycle with just water to help flush out any trapped air.
- Prime the System: If the machine has a prime option, use it to remove trapped air.
Problems with the Heating Element
If your Keurig isn’t heating water properly, it may result in less coffee than desired. A malfunctioning heating element will not allow the water to reach the ideal temperature for brewing.
Identifying Heating Problems
- Cold Coffee: If your coffee isn’t hot, the heating element might not be functioning properly.
- No Noticeable Heating: Run a clean cycle with only water and feel the reservoir afterward. If it’s not warm, the heating element is likely the issue.
What to Do about Heating Problems
- Check Power Supply: Ensure the machine is plugged in properly and there are no issues with the outlet.
- Professional Repair: If the heating element is faulty, consider reaching out to customer service for your specific device to discuss repair or replacement.
 Routine Maintenance for Optimal Performance
To prevent issues like not brewing a full cup of coffee, regular maintenance is essential. Here are some routine tasks to keep your Keurig running smoothly.
Performing Regular Descaling
Descaling your Keurig every three to six months will minimize mineral buildup.
- Use a Descaling Solution: Commercial descaling solutions are specially formulated for coffee machines.
- Follow the Instructions: Ensure you follow the manufacturer’s guidelines for descaling, including brewing cycles with water after applying the solution.
Cleaning the Exterior and Interior
Keeping the exterior clean helps maintain hygiene and device functionality.
- Wipe Down Regularly: Use a damp cloth to clean the exterior, including buttons and surfaces.
- Wash Removable Parts: Every few weeks, remove and wash the reservoir, drip tray, and coffee pod holder.
Checking for Software Updates
Some of the newer Keurig models are equipped with smart technology that may require software updates.
- Connect to Wi-Fi: If applicable, connect your machine to Wi-Fi and check for any available updates.
- Follow On-Screen Instructions: Updates can often enhance the brewing process and resolve existing issues.
When to Seek Professional Help
If you’ve tried all the above solutions and still find yourself asking, “why is my Keurig not making a full cup of coffee?” it may be time to call in a professional.
Warranties and Customer Support
Check whether your Keurig is still under warranty. If so, these support services can provide repairs, replacements, or troubleshooting assistance.
- Contact Customer Service: Have your model number and a description of the issue ready.
- Visit Authorized Service Centers: In some cases, an authorized service center may be your best bet for a thorough examination and repair.
Conclusion
Understanding why your Keurig is not making a full cup of coffee can significantly improve your brewing experience. By recognizing potential issues like clogged water lines, improper settings, and maintenance requirements, you can troubleshoot and resolve the problem effectively. Regular upkeep and attention to the machine’s functionality go a long way in ensuring you keep sipping great coffee from your Keurig machine. If all else fails, don’t hesitate to seek professional support to restore your coffee maker to proper working conditions. By addressing these concerns directly, you can ensure that your mornings remain caffeinated and satisfying.

