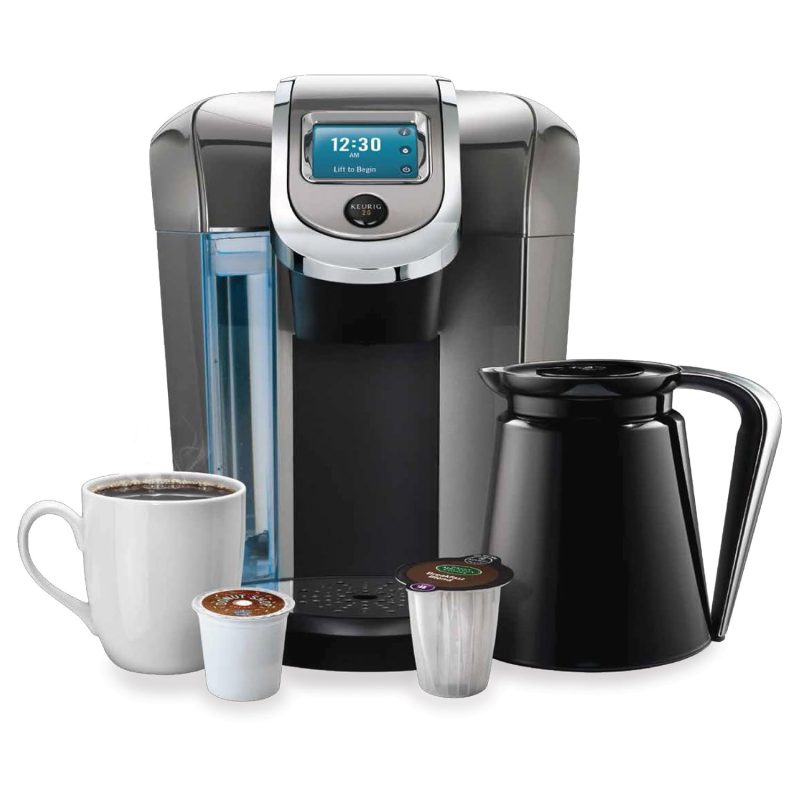
Over time, your trusty Keurig coffee maker can accumulate hard water deposits, which can impede its performance and lead to a less-than-optimal brewing experience. To combat this issue, descaling your Keurig regularly is essential. If you’ve been contemplating how much vinegar to descale your Keurig, you’re in the right place. This article will not only discuss the appropriate amount of vinegar needed but also walk you through the importance of descaling and the process involved in keeping your coffee machine in good working order.
Understanding Descaling
What is Descaling?
Descaling is the process of removing mineral build-up from your coffee maker, particularly calcium and lime deposits that come from hard water. These deposits can negatively affect the performance of your machine, impacting the temperature of your brew and potentially altering the taste of your coffee.
Why is Descaling Important?
Descaling is crucial for various reasons:
- Performance: Over time, mineral deposits can clog the internal parts of your Keurig. This can lead to slower brewing times and inconsistent water flow.
- Taste: Stale water from build-up can infuse your coffee with unwanted flavors, ruining your ideally brewed cup.
- Longevity: Regular maintenance can prolong the lifespan of your coffee maker, saving you money in the long run.
- Efficiency: A well-maintained machine operates more efficiently, consuming less energy and potentially reducing your electricity bill.
How Much Vinegar to Descale a Keurig?
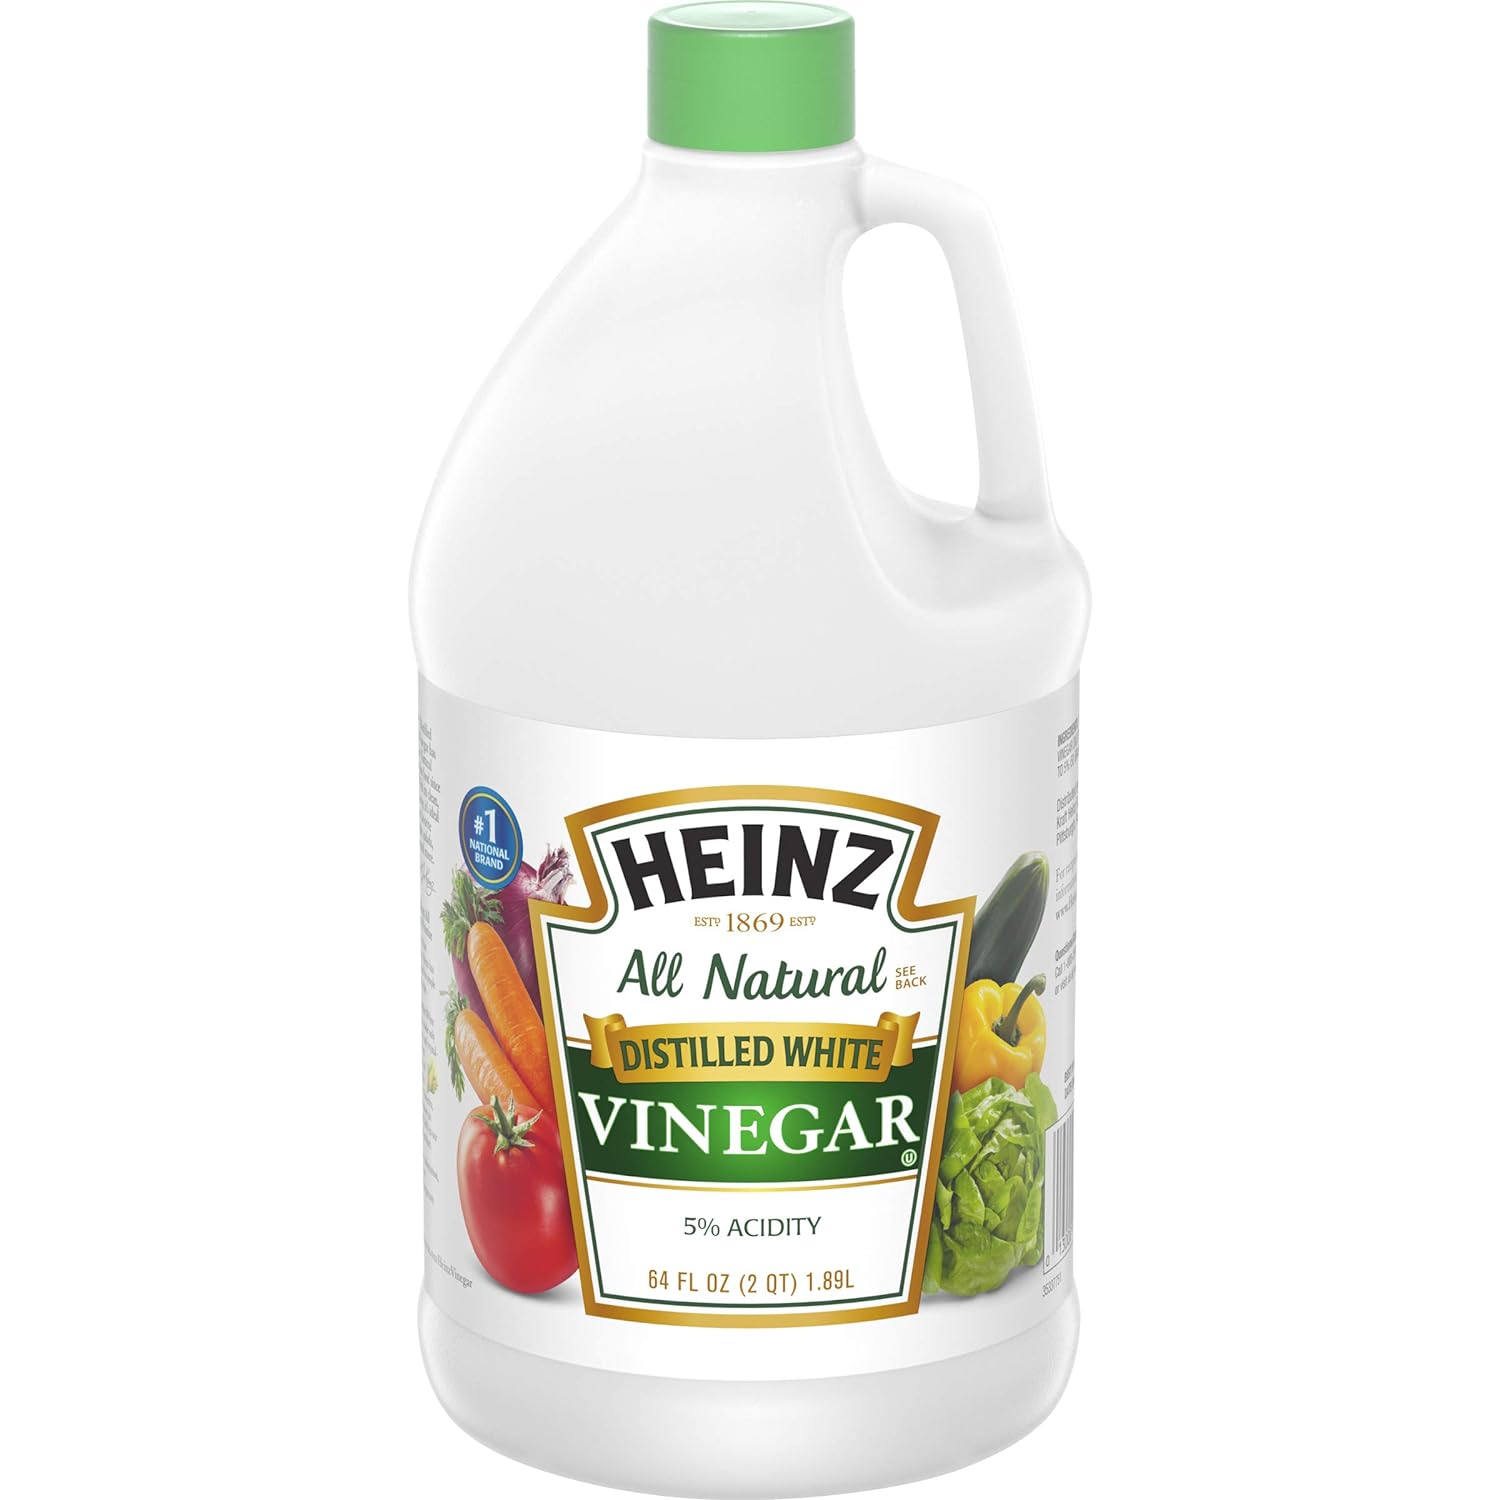
When it comes to descaling a Keurig with vinegar, the general recommendation is to use equal parts vinegar and water. Most coffee enthusiasts find that a solution made from one cup of vinegar and one cup of water will suffice for a standard Keurig model. However, the exact amount can depend on the specific model and how much build-up has occurred.
Choosing the Right Vinegar
You might be wondering whether all types of vinegar work for descaling. Generally, white distilled vinegar is preferred because:
- Acidity Level: It’s effective in breaking down mineral deposits.
- Cost-Effective: White vinegar is typically more affordable than other fancy vinegars like apple cider or balsamic.
- Availability: It is widely available at most grocery stores.
Safety Precautions
Before you dive into descaling, it’s essential to take some safety precautions:
- Turn Off the Machine: Always ensure that your Keurig is turned off and unplugged while you’re preparing the descaling solution.
- Read the Manual: Some models may have specific guidelines about descaling; always refer to your manufacturer’s instructions.
- Use Filtered Water: While vinegar is effective, using filtered water in the rinse cycle can help ensure the best possible results.
The Descaling Process
Now, let’s delve into the step-by-step process of descaling your Keurig using vinegar.
Step 1: Prepare the Vinegar Solution
As mentioned earlier, the standard solution consists of one cup of white distilled vinegar and one cup of water. Measure these quantities and mix them thoroughly.
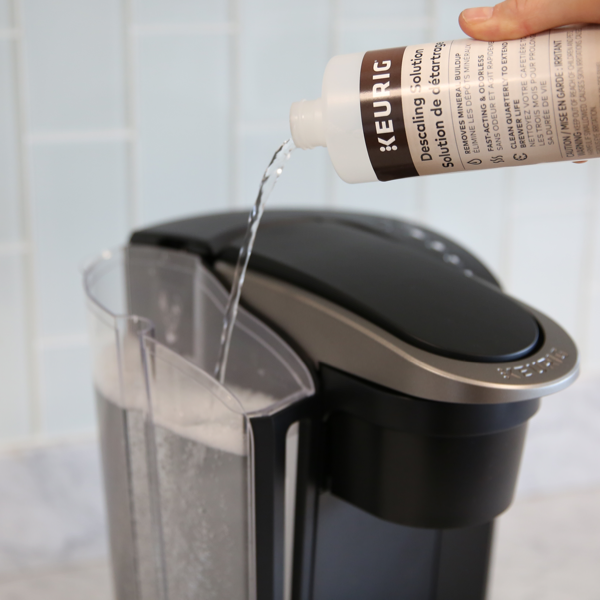
Step 2: Fill the Water Reservoir
Pour the prepared vinegar solution into the water reservoir of your Keurig. Make sure it doesn’t exceed the maximum fill line.
Step 3: Begin the Descaling Cycle
- Power On: Plug in your Keurig and turn it on.
- Select Brew Size: Place a large cup or bowl under the coffee spout to catch the liquid during the descaling process. Select the largest cup size to allow for maximum fluid flow.
- Brew: Start the brewing process without inserting a K-cup. Allow the machine to run the entire vinegar solution through the brewing cycle.
Step 4: Rinse the Machine
Once the vinegar solution has run through completely, it’s time to rinse the machine to remove any remaining vinegar residue.
- Fill with Water: Empty the water reservoir and refill it with fresh water (just plain water).
- Run a Brew Cycle: Similar to the previous step, brew several cycles with just water until you no longer smell the vinegar. This usually takes about 2-3 full tanks of water.
Step 5: Clean the Parts
While descaling effectively removes build-up from the machine, it’s also a good idea to clean removable parts:
- Wash the Water Reservoir: Use a mild soap and warm water to wash the water reservoir. Rinse thoroughly.
- Clean the Drip Tray: Remove and wash the drip tray to remove any coffee residue or spills.
- Wipe Down: Use a damp cloth to wipe down the exterior of the machine.
Step 6: Enjoy Your Coffee
With your Keurig clean and descaled, you can now enjoy fresh-tasting coffee. You’ll likely notice a difference in flavor, and the machine will operate more smoothly.
Frequency of Descaling
The question often arises: how often should I descale my Keurig? The answer varies depending on how frequently you use your machine and the hardness of your water. A good rule of thumb is to descale every three to six months, especially if you use your Keurig daily.
Signs Your Keurig Needs Descaling
Pay attention to some warning signs that indicate your Keurig may need descaling:
- Slower Brew Time: If your coffee is taking longer to brew, it may be time for a cleaning.
- Inconsistent Water Flow: If the water is not flowing properly, it’s likely due to build-up.
- Strange Tastes or Smells: An unusual taste or smell may indicate stale water or build-up in the machine.
Alternative Descaling Options
While vinegar is often the go-to for descaling a Keurig, there are other options available if you prefer not to use vinegar:
Using Commercial Descaling Solutions
Many manufacturers produce specialized descaling solutions designed specifically for coffee machines. These often come with detailed instructions and may be a more straightforward alternative for those hesitant to use vinegar. They typically contain food-safe acids that effectively break down mineral deposits.
Citric Acid Solutions
Citric acid is another excellent natural alternative that is also effective in descaling. You can find citric acid in powdered form, which you can mix with water to create a solution similar to vinegar.
- Mix: Combine two tablespoons of citric acid with a quart of water.
- Follow Descaling Steps: Use it as you would the vinegar solution, pouring it into the reservoir and brewing without a K-cup.
Tips for Maintaining Your Keurig
Use Filtered Water
Using filtered water instead of tap water can significantly reduce scaling. Filters can remove many of the minerals that contribute to hard water, leading to less frequent descaling.
Regular Maintenance
In addition to descaling, make it a habit to clean your machine regularly. This includes taking apart removable parts and washing them in warm soapy water.
Monitor Your Usage
If you often brew multiple cups of coffee in a short time, your machine will require more frequent descaling. Pay attention to how many cups you brew each week and adjust your maintenance schedule accordingly.
Store Properly
If you’re not using your Keurig for an extended period, ensure it’s cleaned and stored properly. Empty the tanks and clean all components to avoid any unpleasant odors or mold buildup.
Conclusion: how much vinegar to descale keurig
Knowing how much vinegar to descale keurig is a vital part of maintaining its efficiency and ensuring a consistently great cup of coffee. Using the right amount of vinegar—typically one cup of vinegar mixed with one cup of water—is essential for this process. Don’t forget to run several rinsing cycles afterward to remove any remaining vinegar aromas. Regular descaling, whether using vinegar, commercial solutions, or citric acid, will help prolong the life of your coffee maker and enhance your coffee experience. So, mark your calendar, create a reminder, and make descaling your Keurig a regular habit—your coffee deserves it!