Posted on

How Can You Make a Protein Shake Without a Blender?

immersion blender

Protein shakes are a convenient and effective way to fuel your body, whether you’re aiming to build muscle, lose weight, or simply maintain a balanced diet. Typically, people rely on blenders to mix their protein powders smoothly with other ingredients. However, what if you don’t have a blender on hand? How can you still enjoy a delicious and creamy protein shake? This article explores various methods and tips for making a protein shake without a blender, ensuring you can maintain your nutritional routine no matter where you are.

The Basics of Protein Shakes

Before exploring alternative mixing methods, it’s crucial to understand the fundamental components of a protein shake. The primary ingredient is, of course, protein powder. Depending on your dietary preferences, this can be whey, casein, plant-based, or another type of protein.

The liquid base is another essential element. Common choices include water, milk (dairy or plant-based), and juice. The choice of liquid can significantly impact the shake’s texture and flavor.

Additional ingredients are often included to enhance flavor, texture, and nutritional value. These might be fruits, nuts, seeds, sweeteners, and flavor extracts. Even without a blender, you can incorporate these elements creatively and effectively.

Understanding these basics will guide you in selecting the appropriate ingredients and methods for making a protein shake without a blender.

Using a Shaker Bottle

One of the simplest and most effective tools for making a protein shake without a blender is a shaker bottle. Designed specifically for mixing protein powders, these bottles usually come with a wire whisk ball or a strainer-style lid.

Start by adding your liquid base to the shaker bottle. This helps prevent the protein powder from sticking to the bottom. Next, add the protein powder and any additional flavorings or supplements.

Ensure the lid is tightly secured to avoid spills. Shake the bottle vigorously for about 30 seconds to a minute. The whisk ball or strainer will help break up clumps and blend the ingredients smoothly.

To enhance flavor and texture, you can add crushed fruits, nut butter, or yogurt. While these additions won’t blend completely, vigorous shaking will incorporate them sufficiently to enjoy their benefits.

A shaker bottle is a convenient and portable solution, making it perfect for on-the-go protein shakes, whether at the gym, office, or home.

immersion blender

Using a Mason Jar or Sealable Jar

If you don’t have a shaker bottle, a mason jar or any sealable jar can be an excellent alternative for mixing a protein shake without a blender.

Start by adding your chosen liquid base to the jar. Following this, add your protein powder and any additional flavorings or supplements. Ensure the jar is only filled two-thirds full to allow enough room for shaking.

Securely close the lid to avoid leaks. Shake the jar vigorously for 30 seconds to a minute. The shaking motion should be enough to mix the protein powder with the liquid, creating a smooth shake.

To make the shake more flavorful and nutritious, consider adding ingredients like honey, cinnamon, or chia seeds. Although these won’t blend perfectly, they will disperse sufficiently through shaking.

Using a mason jar is an easy and effective method, offering flexibility and convenience. It’s also an excellent option for preparing your shake in advance and storing it for later use.

Stirring with a Whisk or Fork

In the absence of any sealable container or shaker bottle, a whisk or even a fork can do the job of creating a protein shake without a blender.

Begin by pouring your liquid base into a mixing bowl. Follow this by adding the protein powder. Using a small hand whisk or fork, stir the mixture rapidly. Make circular motions with the whisk or fork, ensuring you scrape the sides and bottom of the bowl to break up any clumps.

This method might require a bit more effort, so be prepared to whisk vigorously for a couple of minutes. As you whisk, the protein powder should dissolve into the liquid, creating a smooth consistency.

To enhance the shake, you can add ground ingredients like cocoa powder or cinnamon, which will blend more easily with the liquid. Using a whisk or fork might not result in the perfectly smooth texture a blender or shaker bottle offers, but it effectively mixes the primary ingredients.

Stirring with a whisk or fork is a practical solution, especially in a pinch. It’s easy to clean up afterward, making it a hassle-free option for quick protein shakes.

immersion blender

Combining Dry and Liquid Ingredients First

A helpful tip for preventing clumps when making a protein shake without a blender is to mix dry ingredients separately before adding the liquid base. This method ensures smoother incorporation and minimizes the chance of undissolved lumps.

In a separate bowl, combine the protein powder with any other dry ingredients like cocoa powder, matcha, or spices. Stir or shake them in a sealed bag to mix evenly.

Next, add the liquid to your mixing container (shaker bottle, jar, or bowl). Slowly pour in the dry mixture, continually stirring or shaking. This gradual combination prevents large clumps from forming.

If using a jar or shaker bottle, shake vigorously after adding the dry mixture. If using a whisk or fork, continue to stir until the powder is fully dissolved.

Combining dry and liquid ingredients method provides a smoother texture and consistent flavor, especially without access to a blender.

Using Instant Protein Powder

One of the advantages of instant protein powder is its ease of mixing, making it particularly suitable for creating protein shakes without a blender.

Instant protein powders are designed to dissolve quickly and smoothly in liquid. They often contain smaller particles and additional ingredients to aid in quick mixing.

Simply add your instant protein powder to your chosen liquid base. This process can be done in a shaker bottle, jar, or even a glass. Stir, shake, or whisk vigorously for a few seconds. The powder should dissolve easily, creating a smooth shake.

Instant protein powders come in various flavors, making it easy to enjoy a tasty shake without needing extra ingredients. If you prefer more variety, you can still add elements like sweeteners or spices, which will blend seamlessly with the extra particles.

Using instant protein powder is a convenient and practical solution, providing a quick way to enjoy a nutritious protein shake with minimal effort.

immersion blender

Pre-Mixed Protein Shakes

For those times when convenience is paramount, pre-mixed protein shakes offer a straightforward solution that eliminates the need for mixing altogether.

Pre-mixed protein shakes come in ready-to-drink bottles or cartons. These shakes are formulated with the right balance of protein, carbohydrates, fats, and other essential nutrients. You only need to shake the container gently before opening it to ensure the contents are well mixed.

These pre-mixed options are particularly useful for people with busy lifestyles, providing immediate access to a protein-rich beverage. They are available in various flavors and formulations, catering to different dietary preferences and needs.

While pre-mixed shakes might be more expensive than homemade versions, they offer unparalleled convenience and ensure you can meet your protein intake goals even when on the go.

Switching to pre-mixed protein shakes can be excellent for people who prioritize convenience and need a quick, nutritious solution.

Considering Nutrient Additions

Just because you are making a protein shake without a blender doesn’t mean you have to compromise on nutrition. Several ingredients can enhance the shake’s nutritional profile without requiring blending.

Ground flaxseeds or chia seeds are excellent additions. They can easily be mixed into the shake, providing a boost of omega-3 fatty acids and fiber.

Nut butter or seed butter can also be a healthy addition. While these won’t blend smoothly, a good stir or shake can integrate them sufficiently to add flavor and healthy fats.

Adding a splash of unsweetened cocoa powder can provide antioxidants, while cinnamon or turmeric offers anti-inflammatory benefits. Liquid supplements and extracts, like vanilla or almond, are also easy to incorporate, enhancing flavor without requiring blending.

These nutrient additions ensure your protein shake is balanced and nutritionally robust, supporting overall health and fitness goals.

Conclusion

Learning how to make a protein shake without a blender opens up flexibility and convenience, ensuring you never miss out on your nutritional intake regardless of the situation. From using a shaker bottle or mason jar to exploring various ingredients and creative toppings, there are numerous ways to mix up a smooth, enjoyable protein shake. Each method and tip aims to maximize flavor and consistency, ensuring that your shake is both delicious and nutritious. By understanding these techniques and addressing potential issues, you can create satisfying protein shakes anywhere, anytime, maintaining your fitness and nutrition goals effortlessly.
Posted on

Can You Make Whipped Cream with an Immersion Blender?

immersion blender

Introduction:

Making whipped cream is a delightful and versatile addition to various desserts and beverages. While traditional methods typically involve using a stand mixer or handheld electric mixer, an immersion blender (also known as a stick blender) can be a surprisingly effective tool for this task. This comprehensive guide will walk you through the step-by-step process of making whipped cream with an immersion blender, along with tips, common mistakes to avoid, and creative uses for your homemade whipped cream.

immersion blender

Can You Make Whipped Cream with an Immersion Blender:

What Is the Step-by-Step Process?

Understanding the Basics:

Why Use an Immersion Blender for Whipped Cream?

Using an immersion blender comes with several advantages that can make the process of whipping cream quicker and more convenient.

Advantages of an Immersion Blender:

Speed and Convenience:

Quick Whipping: An immersion blender can whip heavy cream into fluffy peaks quite rapidly, often within a minute or two. This speed is highly beneficial when you need whipped cream in a hurry.

Ease of Use: Immersion blenders are typically lightweight and easy to handle, allowing for more control during the whipping process compared to larger mixers.

Minimal Cleanup:

Less Mess:

Streamlined Cleaning: An immersion blender typically has fewer parts to clean than a stand mixer or even a handheld electric mixer. Most models allow you to detach the blade attachment, making cleanup a breeze.

Direct Whipping: You can whip the cream directly in the serving dish or a smaller container, reducing the number of dishes used and simplifying the cleanup process.

Equipment Needed:

How Do You Prepare Your Tools and Ingredients?

Setting up correctly ensures a smooth and efficient whipping process.

Essential Tools:

Gather Your Devices:

Immersion Blender: Ensure your immersion blender is clean and fully functional. Check the blade attachment to ensure it’s securely in place, as a loose attachment can compromise the whipping process.

Mixing Container: Use a deep, narrow container to minimize splashing. A tall mixing cup or a deep bowl works best. Some immersion blenders come with a specially designed beaker that is ideal for this task.

immersion blender

Ingredients:

High-Quality Choices:

Cold Heavy Cream: Use heavy cream or heavy whipping cream with at least 35% fat content. The higher the fat content, the easier it is to whip the cream into stiff peaks. Ensure the cream is thoroughly chilled, as cold cream whips more efficiently and holds its shape better.

Sweeteners and Flavorings: Prepare any sweeteners (such as powdered sugar or granulated sugar) and flavorings (like vanilla extract, almond extract, or cocoa powder) you wish to add. These should be measured out and ready to incorporate.

Step-by-Step Process:

How Can You Make Whipped Cream Using an Immersion Blender?

Following a clear, step-by-step process will help you achieve the perfect consistency and flavor for your whipped cream.

Chill the Equipment:

Ensure Optimal Conditions:

Pre-Chill: For best results, chill the mixing container and the immersion blender attachment in the freezer for about 10 to 15 minutes before starting. Cold equipment helps the cream whip faster and achieve better volume.

immersion blender

Measure the Cream:

Accurate Quantities:

Pour Cream: Pour the desired amount of cold heavy cream into the chilled mixing container. A typical recipe uses one cup of heavy cream, which yields about two cups of whipped cream.

Begin Whipping:

Initial Blending:

Immerse and Blend: Place the immersion blender into the cream, ensuring the blade attachment is fully submerged. Start the blender on a low speed to avoid splashing and gradually increase to a medium speed.

Move Consistently: Move the blender up and down in a consistent motion, ensuring you reach the cream at the bottom and bring it to the top. This helps incorporate air evenly, which is crucial for achieving a fluffy texture.

Add Sweeteners and Flavorings:

Incorporate Delicious Additions:

Gradual Addition: Slowly add any sweeteners or flavorings once the cream begins to thicken. For example, add about one to two tablespoons of powdered sugar and one teaspoon of vanilla extract per cup of cream. If using granulated sugar or other flavorings, ensure they are evenly dispersed by adding them gradually while blending.

Continue Blending:

Achieving Desired Consistency:

Watch for Peaks: Continue blending until the cream forms soft or stiff peaks, depending on your preference. Soft peaks will have a smoother, more fluid texture, ideal for topping desserts lightly. Stiff peaks stand firmly on their own and are better for piping or more structured presentations.

Check Regularly: Be careful not to overwhip, as this can turn the whipped cream into butter. Regularly lift the immersion blender and check the consistency of the cream. It’s done when it holds its shape but is still smooth and creamy.

Common Mistakes:

What Should You Avoid When Making Whipped Cream with an Immersion Blender?

Avoiding common mistakes ensures a better final product and a smoother process.

Using Warm Cream:

Maintain Chill:

Cold Essentials: Always use cream that is thoroughly chilled. Warm or room temperature cream does not whip effectively and may result in a runny texture, preventing it from reaching the desired peaks.

Incorrect Speed:

Speed Control:

Gradual Increase: Starting the immersion blender at high speed can lead to splashing and uneven whipping. Begin at a low speed and gradually increase to medium. This controlled approach helps incorporate air more effectively and reduces mess.

Overwhipping:

Watch Closely:

Signs to Stop: Overwhipping turns the cream into butter. Stop blending as soon as you reach the desired peak. If you notice the cream starting to look grainy, you’ve gone too far. At this point, it’s best to stop and use the whipped cream as is or re-incorporate a bit of heavy cream to restore smoothness.

Improper Container:

Avoiding Spills:

Right Shape: Using a shallow or wide container can cause excessive splashing. Opt for a deep and narrow container that allows the immersion blender to work efficiently and contain the cream.

Storing and Serving:

How Can You Best Store and Use Homemade Whipped Cream?

Proper storage and timely serving ensure your whipped cream maintains its texture and flavor.

Immediate Use:

Serve Fresh:

Best Timing: Freshly whipped cream is at its best immediately after preparation. Use it to top desserts like pies, cakes, or hot beverages while it’s still fluffy and fresh.

immersion blender

Refrigeration:

Short-Term Storage:

Proper Storage: If you need to store whipped cream, transfer it to an airtight container and refrigerate. It can usually last for up to 24 hours without deflating too much.

Reviving Texture: If the whipped cream deflates slightly before serving, give it a quick whisk with a spoon or a few pulses with the immersion blender to revive its texture.

Freezing:

Extended Preservation:

Long-Term Use: For longer storage, whipped cream can be frozen. Place small dollops of whipped cream on a baking sheet lined with parchment paper and freeze until solid. Once frozen, transfer the dollops to an airtight container or freezer bag.

Usage Tips: Frozen whipped cream dollops can be placed directly on hot chocolate or coffee as they will gradually melt into the beverage. They can also be used to top desserts, thawing quickly at room temperature.

Creative Applications:

How Can You Use Homemade Whipped Cream in Recipes?

Whipped cream is incredibly versatile and can be used in a variety of recipes, enhancing both sweetness and texture.

Dessert Toppings:

Enhance Sweets:

Classic Pairings: Use whipped cream to top classic desserts like pies, cakes, and ice cream. Its light and airy texture complements rich and dense desserts, adding balance and visual appeal.

Fresh Fruit: Pair whipped cream with fresh berries or fruit salad for a light and refreshing treat. The cream’s sweetness enhances the natural flavors of the fruit.

Beverage Enhancements:

Elevate Drinks:

Hot Beverages: Add a dollop of whipped cream to hot beverages like hot chocolate, coffee, or lattes. The cream will melt into the drink, adding richness and a touch of sweetness.

Cold Drinks: Top milkshakes, iced coffee, or smoothies with a swirl of whipped cream. It provides an extra layer of indulgence and can be garnished with chocolate shavings or sprinkles.

Incorporating into Recipes:

Creative Mix-Ins:

Frosting Alternative: Use whipped cream as a lighter alternative to traditional frosting on cakes and cupcakes. Combine it with powdered sugar and vanilla extract for a sweet and flavorful icing.

Mousse and Parfait: Fold whipped cream into chocolate ganache or fruit purees to create light and fluffy mousses. Layer whipped cream with granola and fruit in parfait glasses for a visually appealing and delicious dessert.

immersion blender

Additional Tips and Variations:

How Can You Customize and Enhance Whipped Cream?

Experimenting with different flavors and techniques can add variety to your whipped cream creations.

Flavor Additions:

Unique Tastes:

Extracts and Zests: Add different extracts like almond, mint, or lemon to flavor the whipped cream uniquely. A small amount of citrus zest can also add a refreshing zing to the cream.

Infused Cream: Infuse the heavy cream with herbs like lavender or rosemary by heating the cream with the herbs and then chilling it thoroughly before whipping. This method imparts a subtle, aromatic flavor to the whipped cream.

Sweetener Choices:

Diversify Sweetness:

Alternative Sugars: Experiment with different sweeteners like honey, maple syrup, or agave nectar for unique flavors. Adjust the quantity to taste, ensuring the sweetener is well incorporated.

Sugar-Free: For a sugar-free version, use sweeteners like stevia or monk fruit sweetener. These alternatives can provide the desired sweetness without the added sugar.

Textural Variations:

Adjusting Consistency:

Thicker Cream: For a heavier and thicker whipped cream, use a chilled mixing bowl and whip the cream longer until it reaches a denser consistency. This texture is ideal for frosting.

Thinner Cream: For a softer, more fluid whipped cream, whip the cream to soft peaks and stop before it thickens fully. This variation works well as a drizzle over desserts.

Conclusion

Yes, you can make whipped cream with an immersion blender, and it’s a quick, convenient method that often yields excellent results. By understanding the basic principles, gathering the right tools and ingredients, and following a step-by-step process, you can achieve perfectly whipped cream in a matter of minutes. Avoiding common mistakes, storing correctly, and creatively using your homemade whipped cream can enhance your culinary experiences. Whether topping desserts, elevating beverages, or incorporating into recipes, freshly made whipped cream can add a luxurious touch to your creations. Experiment with flavor variations and enjoy the versatility and simplicity of making whipped cream with an immersion blender.

Posted on

The Versatile Tool: Exploring the Uses of an Immersion Blender

blender

Introduction

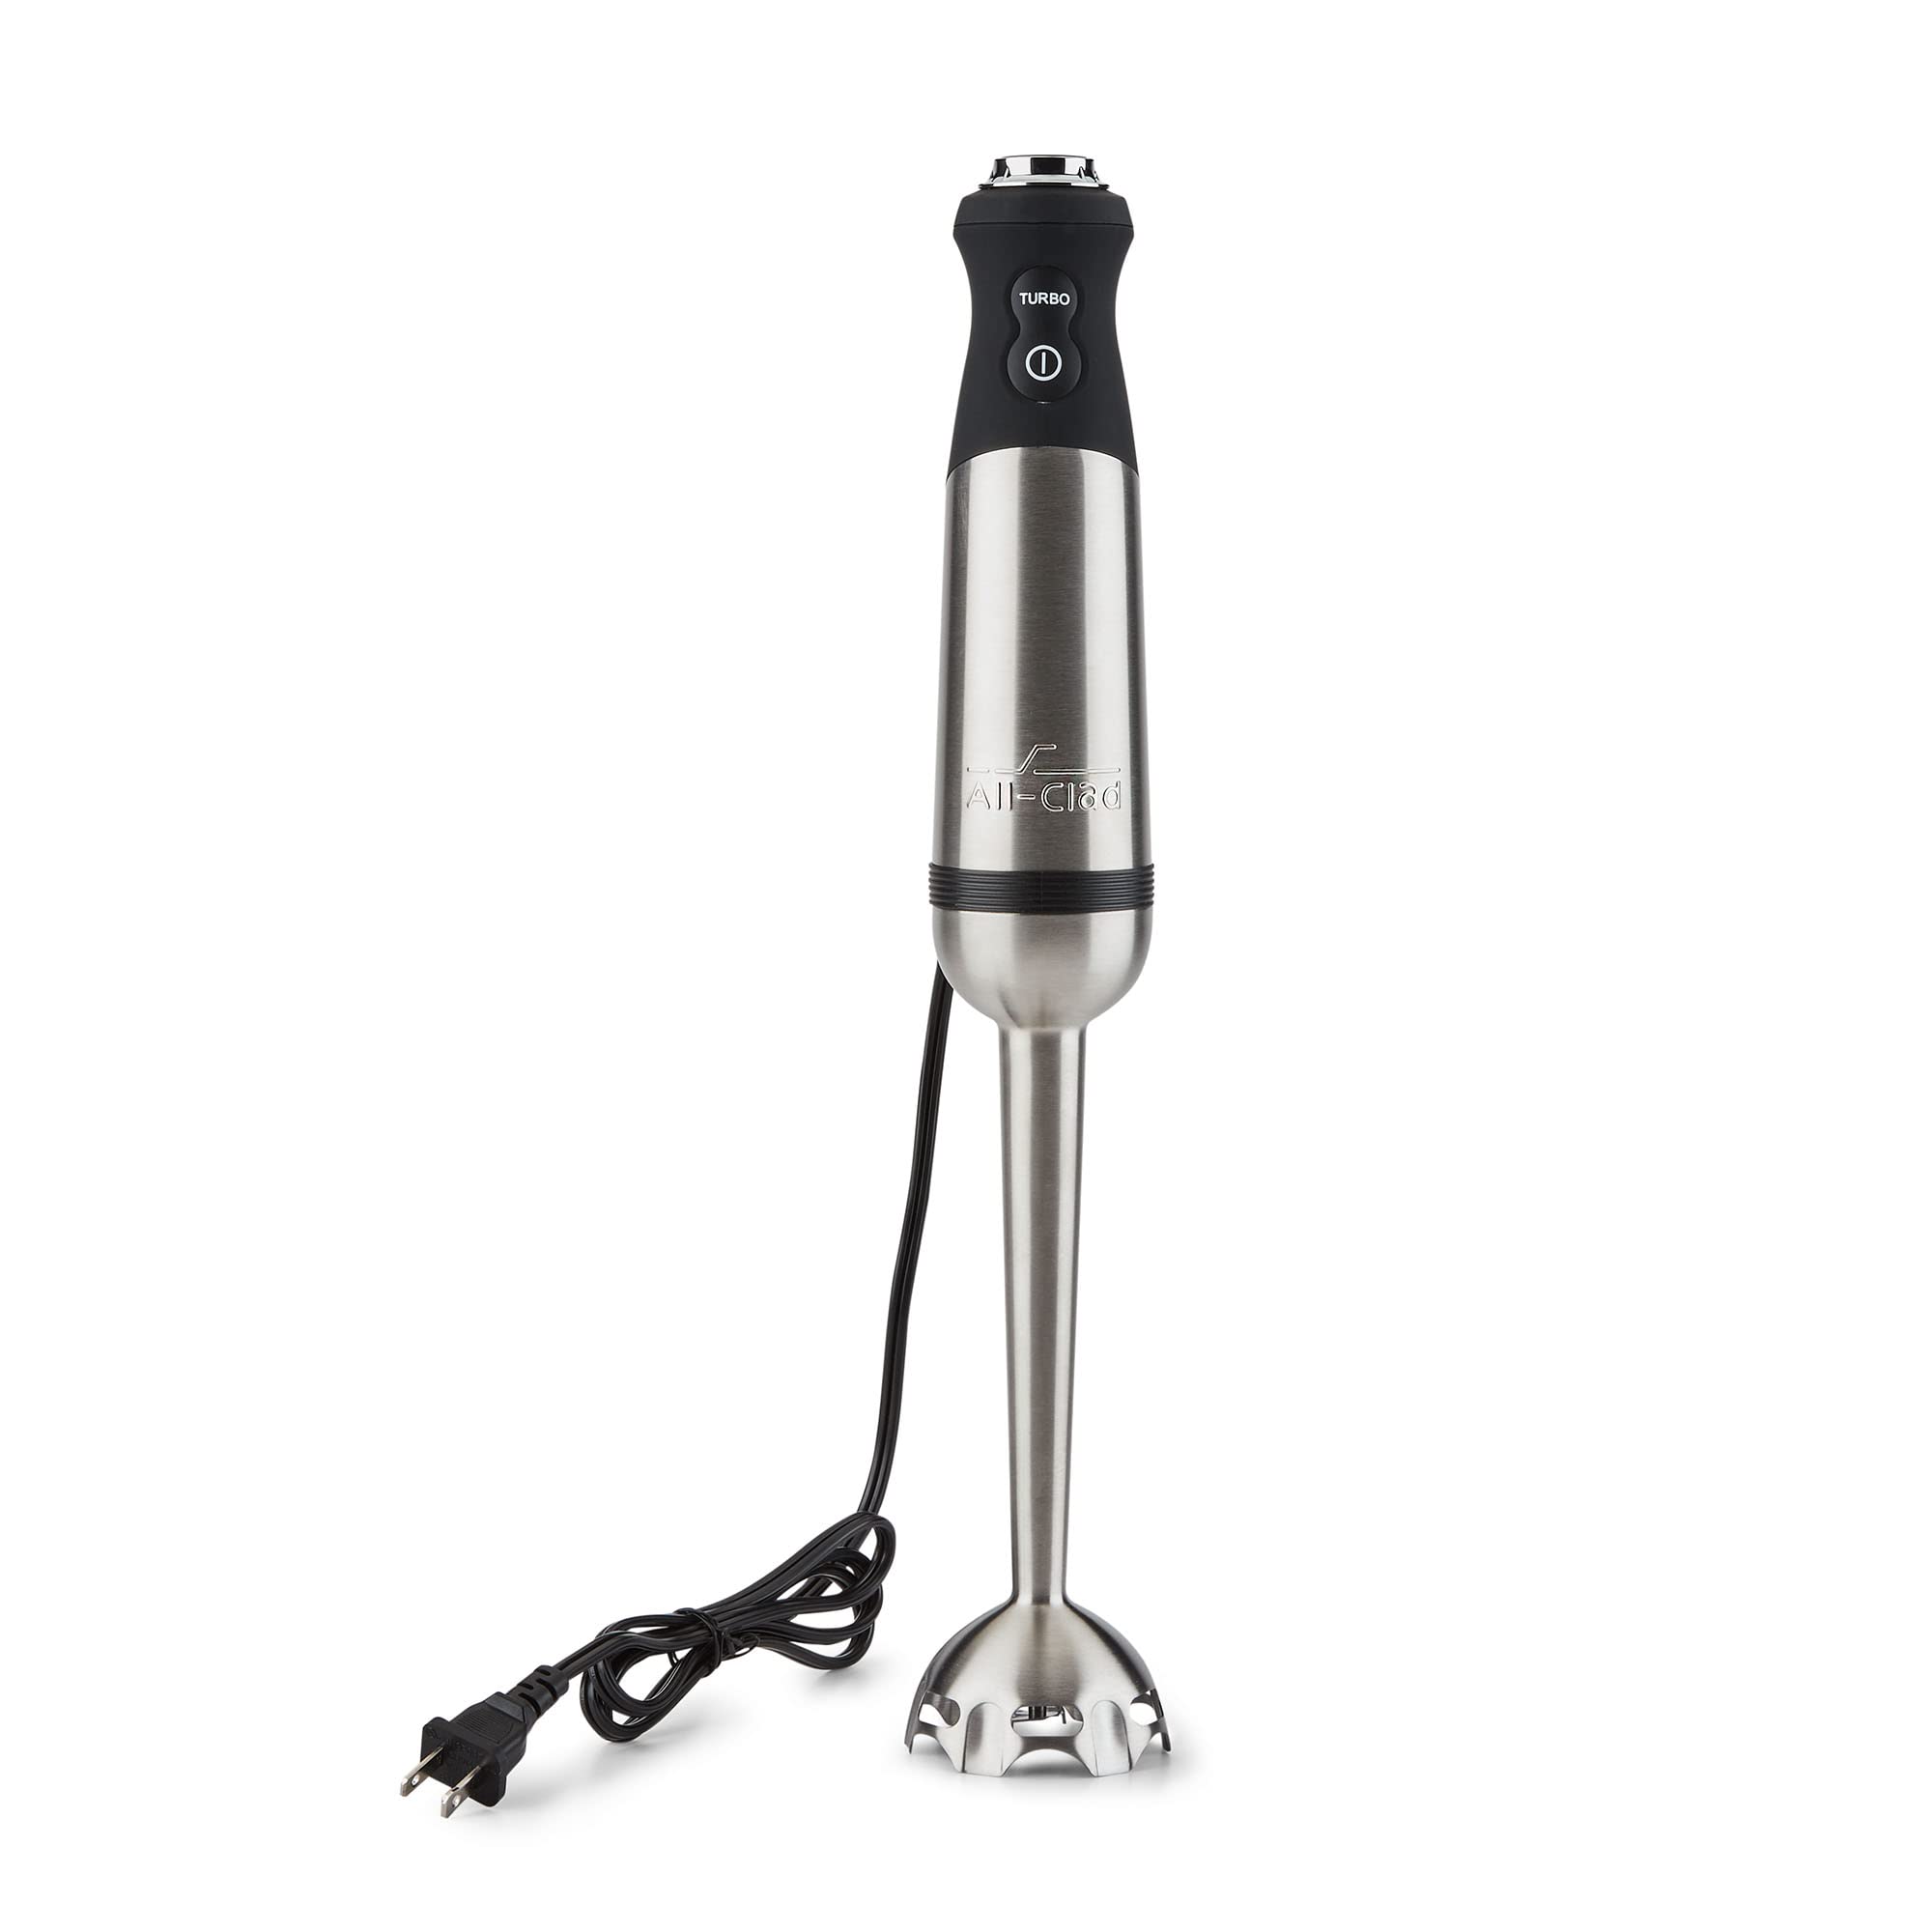
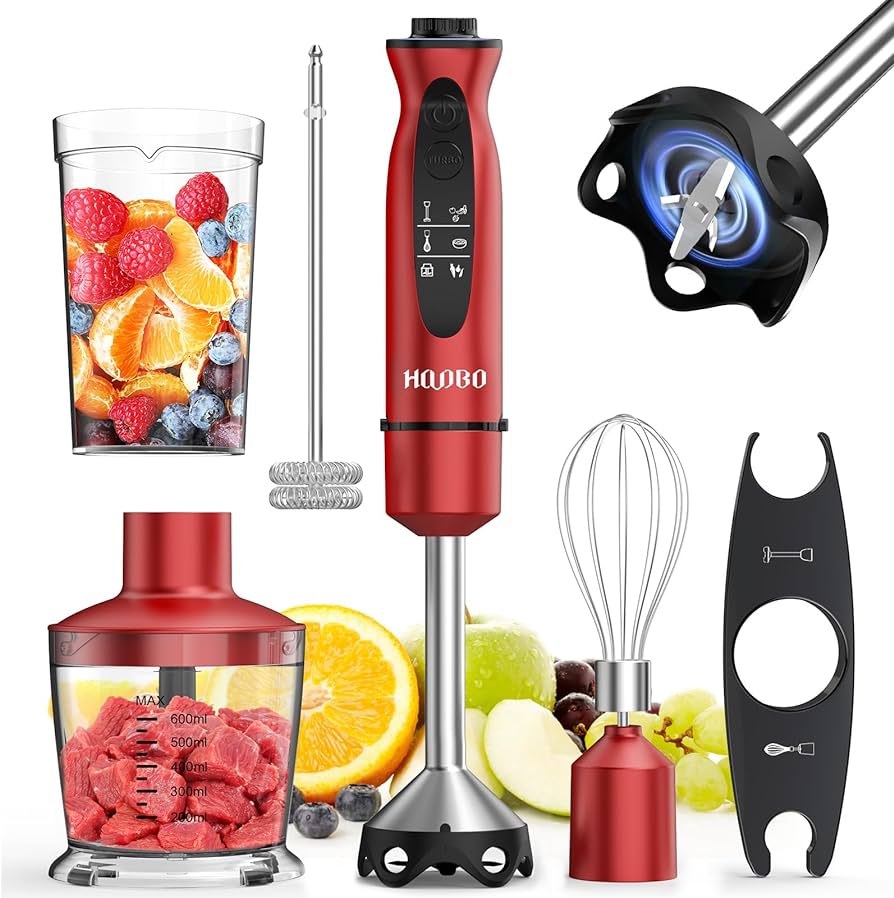
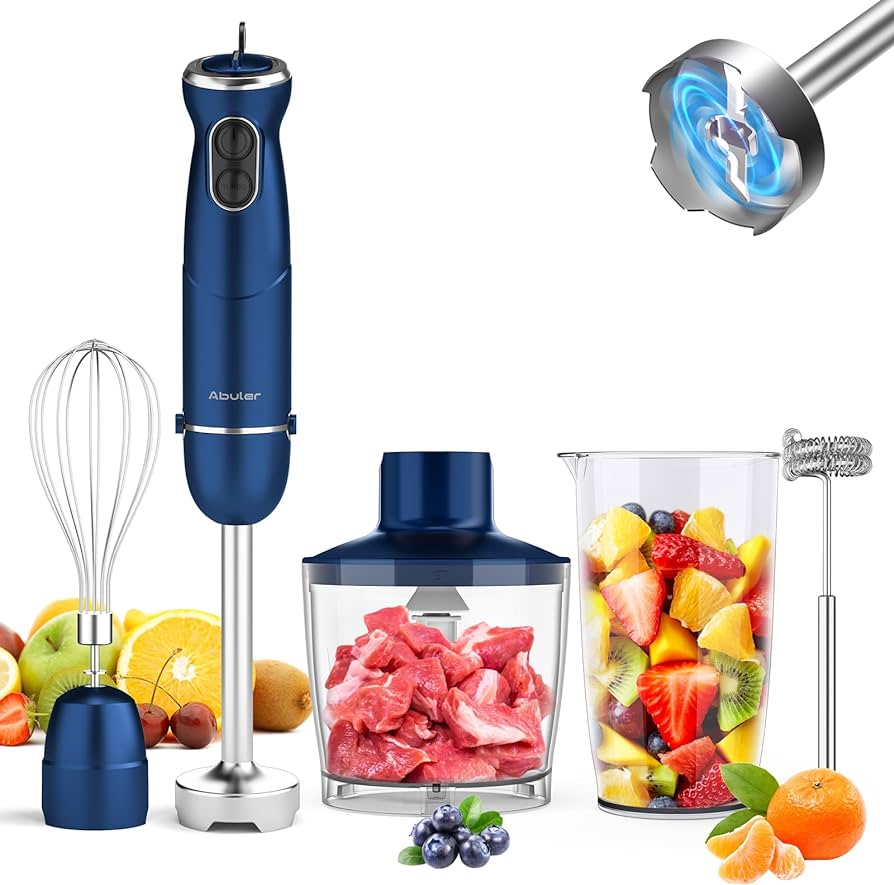
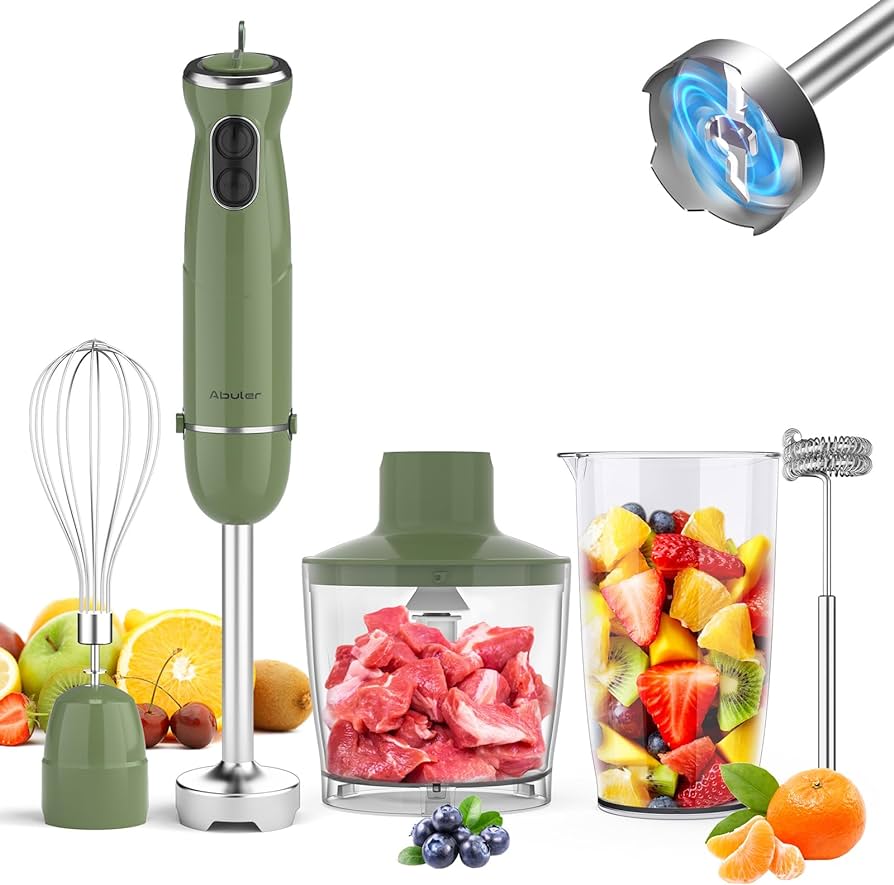
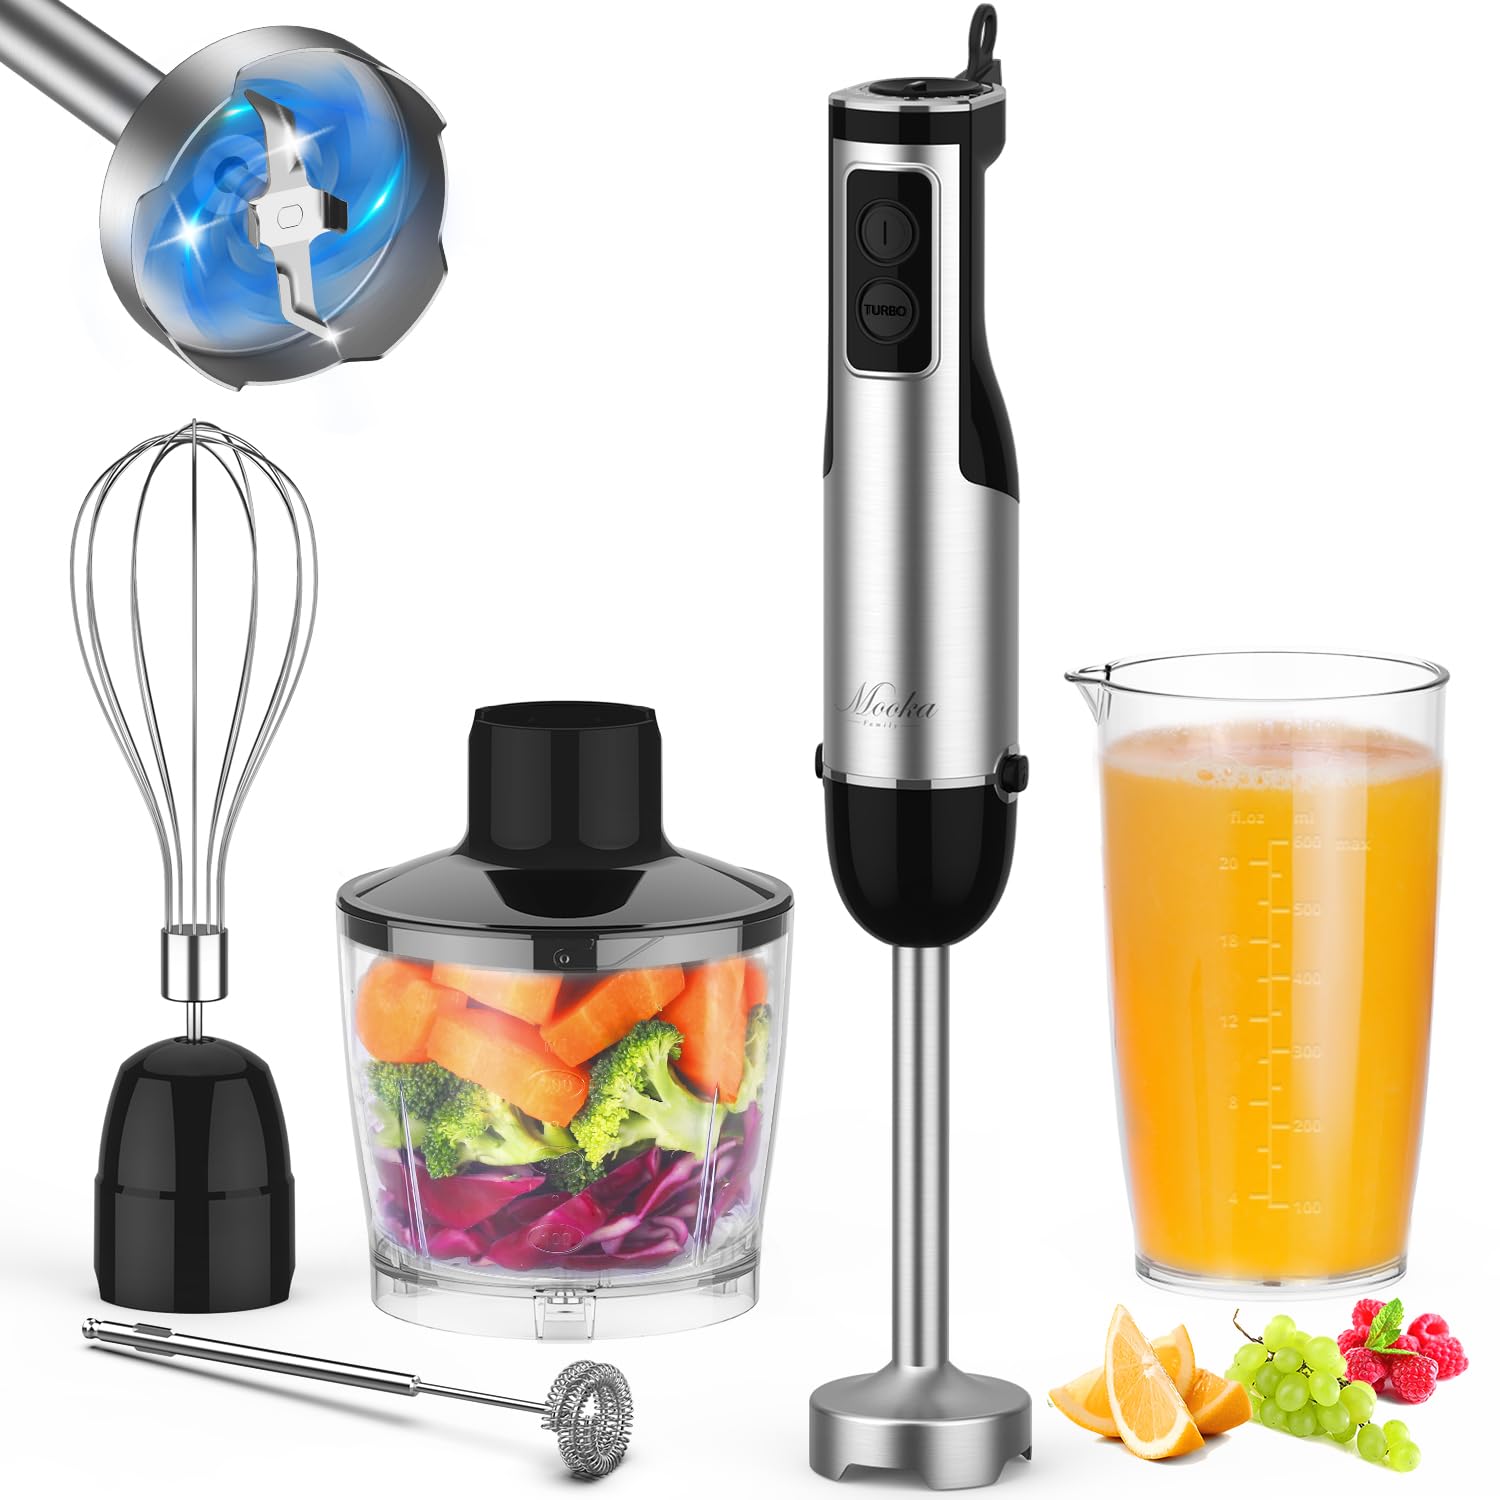
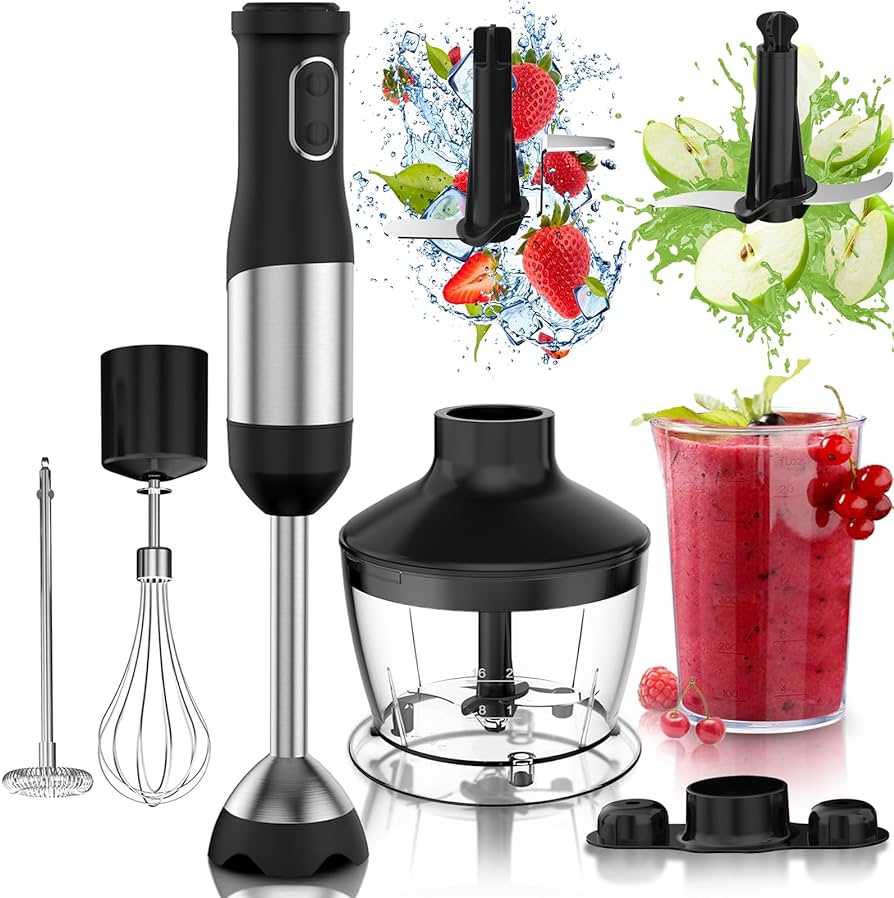
An immersion blender, also known as a hand blender or stick blender, is a versatile kitchen appliance that can simplify many cooking tasks. Its compact design and convenient handheld operation make it a popular choice among home cooks. In this comprehensive guide, we will explore the various uses of an immersion blender. From blending soups and sauces to creating smoothies and whipped cream, we will delve into the specifics of how this versatile tool can enhance your culinary adventures.

blender

The Versatile Kitchen Tool: Exploring the Uses of an Immersion Blender

I. Blending Soups and Sauces

  1. Creating Smooth Textures:

  • Immersion blenders are highly effective for pureeing soups and sauces to a smooth and velvety consistency. With its powerful motor and sharp blades, an immersion blender can effortlessly blend cooked ingredients directly in the pot or saucepan.
  1. Avoiding Mess and Transfers:

  • Blending soups and sauces with an immersion blender eliminates the need for transferring hot liquids to a traditional countertop blender. This saves time and minimizes the risk of accidental spills or burns.
  1. Blending Hot and Cold:

  • Immersion blenders handle both hot and cold liquids, allowing you to easily blend a variety of soups, from warm tomato bisque to chilled gazpacho.

blender

II. Making Homemade Smoothies and Shakes

  1. Blending Fruits and Vegetables:

  • Immersion blenders are excellent for creating creamy and nutritious smoothies. They can effortlessly blend fresh or frozen fruits and vegetables, ensuring a consistent texture without any chunks.
  1. Customizing Flavors:

  • Whether you prefer a classic strawberry-banana smoothie or want to experiment with unique flavor combinations, an immersion blender enables you to customize your smoothies to your taste while maintaining a smooth and even blend.
  1. Portable Blender Cup Option:

  • Some immersion blenders come with additional accessories, such as portable blender cups with lids. These cups allow you to blend and enjoy your smoothie on the go, without the need for a separate blender container.

III. Crafting Salsas, Dips, and Dressings

  1. Chunky or Smooth Salsas:

  • Immersion blenders are perfect for preparing salsas, allowing you to control the texture according to your preference. Blend some ingredients completely for a smoother salsa, while leaving others partially blended for a chunkier texture.
  1. Creamy Dips and Dressings:

  • Immersion blenders are useful for creating creamy dips and dressings, such as hummus, guacamole, or Caesar dressing. By blending ingredients directly in a bowl or container, you can achieve a smooth and cohesive texture.
  1. Efficient Emulsification:

  • Emulsifying dressings like mayonnaise or vinaigrettes becomes effortless with an immersion blender. The blade’s continuous motion helps incorporate oil into the mixture gradually and evenly, resulting in a stable and well-emulsified dressing.

blender

IV. Whipping Cream and Beating Eggs

  1. Whipped Cream:

  • Immersion blenders can be used to whip cream quickly and easily. With the appropriate attachment, this versatile tool saves time and effort. It ensures a fluffy and smooth consistency, ideal for topping desserts or adding richness to beverages.
  1. Beating Eggs and Batters:

  • Immersion blenders come with attachments that allow you to beat eggs and mix batters efficiently. This is especially useful for small batches or when you don’t want to bring out a larger stand mixer.

V. Crushing Ice and Making Crushed Ice Drinks

  1. Crushing Ice with Ease:

  • Immersion blenders equipped with powerful motors and sturdy blades can handle the task of crushing ice effortlessly. This feature is especially useful for making frozen cocktails, slushies, or crushed ice desserts.
  1. Convenient for Small Quantities:

  • Immersion blenders excel when you need to crush ice in small quantities. Rather than struggling with a larger appliance, simply immerse the blender into the container with the ice and allow it to crush it quickly and efficiently.

blender

VII. Chopping Nuts, Herbs, and Vegetables

  1. Efficient and Controlled Chopping:

  • With the help of a chopping attachment or the blender’s blade, immersion blenders can swiftly chop nuts, herbs, and vegetables. This functionality is particularly beneficial when you need finely chopped ingredients for recipes like pesto, salsa, or garnishes.
  1. Customizing Chop Sizes:

  • Depending on your preference, you can control the texture of the chopped ingredients by adjusting the blending time. Pulse the immersion blender for a shorter duration for coarser chops or blend for longer to achieve finer results.

VIII. Whisking Eggs and Batters

  1. Easy Egg Whisking:

  • Immersion blenders equipped with a whisk attachment simplify the process of whisking eggs for omelets, scrambled eggs, or batters. The rapid motion of the whisk ensures efficient and thorough mixing.
  1. Homogenous Batters:

  • When making pancake batter, cake batter, or muffin batter, using an immersion blender with the whisk attachment guarantees a smooth and well-combined mixture. This eliminates the risk of lumps and results in even baking.

IX. Creating Homemade Baby Food

  1. Puréeing for Baby Food:

  • Making your own baby food allows you to ensure the quality and freshness of ingredients. An immersion blender is a handy tool for puréeing soft fruits, vegetables, and meats to create nutritious and customized meals for your little one.
  1. Quick and Convenient:

  • With its handheld design, an immersion blender simplifies the process of making homemade baby food. Simply blend steamed or cooked ingredients directly in a bowl or container, adjust the consistency as needed, and serve.

X. Mixing Beverages and Cocktails

  1. Creating Frothy Beverages:

  • Immersion blenders are excellent for mixing beverages, creating frothy goodness. Whether you’re whipping up a hot chocolate, homemade milkshakes, or protein shakes, the immersion blender ensures a smooth and creamy texture.
  1. Blending Cocktails:

  • When making cocktails that require thorough blending, an immersion blender helps incorporate different ingredients seamlessly. It saves time and effort compared to using a traditional blender or a cocktail shaker.

XI. Cleaning and Maintenance

  1. Detachable Parts:

  • Immersion blenders usually come with detachable blending attachments or blades, making cleaning a breeze. These parts can be easily disassembled after use for thorough cleaning and dried before storage.
  1. Dishwasher Safety:

  • Verify whether the blender attachments are dishwasher safe, as some models allow for hassle-free cleaning in the dishwasher. Always follow the manufacturer’s cleaning instructions for the specific model you own.

blender

VI. Conclusion: Versatility at Your Fingertips

The immersion blender is a highly versatile kitchen tool with numerous applications. From blending soups and sauces to creating smoothies and whipped cream, it simplifies many culinary tasks. Its compact size, portable options, and easy operation make it a practical choice for any kitchen.

Embrace the convenience and functionality of an immersion blender as you experiment with a wide range of recipes. Whether you’re looking to achieve smooth textures, prepare dips and dressings, or whip up creamy delights, an immersion blender will be your trusty companion. Explore the possibilities and let your creativity flourish with this versatile kitchen tool.