Introduction
Descaling your Keurig 2.0 using vinegar is a cost-effective and straightforward method to remove mineral deposits and restore your machine’s performance. Over time, mineral buildup can occur in the internal components of your Keurig, affecting the taste and quality of your brewed beverages. In this comprehensive guide, we will take you through a step-by-step process to descale your Keurig 2.0 using vinegar, discuss the benefits of descaling, and provide tips for a successful descaling experience. Get ready to rejuvenate your Keurig 2.0 and enjoy better-tasting coffee and tea.
Effective Descaling Guide: Using Vinegar to Descale Your Keurig 2.0
I. Importance of Descaling
Discover the significance of descaling your Keurig 2.0 machine:
-
Removes Mineral Deposits:
- Descaling eliminates mineral deposits, such as calcium and limescale, that can accumulate in the water reservoir and internal components of your Keurig 2.0. These deposits can affect the taste, quality, and performance of your brewed beverages.
-
Restores Brewing Efficiency:
- Regular descaling helps restore your Keurig’s brewing efficiency by unclogging water lines, ensuring a smooth and consistent flow of water, and producing better-tasting coffee and tea.
-
Prolongs Machine Lifespan:
- By removing mineral deposits, descaling helps maintain the optimal functioning of your Keurig 2.0. This leads to a longer lifespan for your machine, reducing the need for expensive repairs or replacement.
-
Preserves Flavor Profiles:
- Descaling ensures that your coffee and tea retain their intended flavors, free from any unwanted mineral taste caused by buildup in the machine. It allows you to fully enjoy the rich and authentic flavors of your favorite beverages.
II. Understanding Vinegar as a Descaling Agent
Explore why vinegar is a popular choice for descaling Keurig 2.0 machines:
-
Acidic Properties:
- Vinegar, particularly white distilled vinegar or apple cider vinegar, contains acetic acid, which effectively breaks down mineral deposits and limescale buildup.
-
Natural and Safe:
- Vinegar is a natural and food-safe option for descaling your Keurig. It does not contain harsh chemicals that may be harmful to you or your machine.
-
Cost-Effective:
- Compared to commercial descaling solutions, vinegar is an inexpensive alternative that can effectively remove mineral deposits and restore your Keurig’s performance.
III. Steps to Descale Your Keurig 2.0 with Vinegar
Follow these steps to descale your Keurig 2.0 using vinegar:
-
Gather Supplies:
- Before you begin, gather the necessary supplies, including white distilled vinegar or apple cider vinegar, fresh water, a ceramic mug or bowl, and a clean, lint-free cloth.
-
Empty the Water Reservoir:
- Ensure the water reservoir is empty. If there is water in the reservoir, carefully empty it into the sink or a container.
-
Prepare the Vinegar Mixture:
- Fill the water reservoir halfway with vinegar. For a standard 48-ounce water reservoir, use around 24 ounces of vinegar. You can adjust the amount of vinegar depending on the size of your machine.
-
Run Brewing Cycle(s):
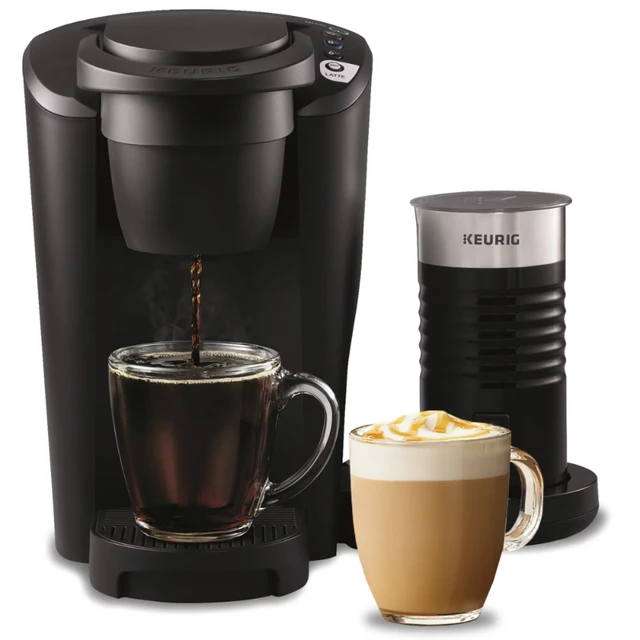
- Place a ceramic mug or bowl on the drip tray to catch the vinegar solution. Start a regular brewing cycle without inserting a K-Cup. Allow the vinegar mixture to flow through the system until the reservoir is empty. Repeat this step if necessary.
-
Soak and Clean Removable Parts:
- While the machine is off and unplugged, detach the removable parts, such as the water reservoir, the lid, and the drip tray. Soak these parts in a mixture of warm water and a few drops of dish soap. Rinse them thoroughly and wipe them dry with a clean cloth.
-
Rinse with Fresh Water:
- Fill the water reservoir with fresh water, ensuring it is properly positioned and fully inserted. Run multiple brewing cycles without a K-Cup to flush out any remaining vinegar residue or taste. Repeat this step until there is no vinegar odor or taste.
-
Clean and Reinstall Removable Parts:
- Clean the exterior of the machine with a damp, clean cloth. Reinstall the removable parts, such as the water reservoir, drip tray, and lid, ensuring they are securely in place.
IV. Tips for Successful Descaling
Consider the following tips to enhance your descaling experience:
-
Vinegar Dilution:
- If you find the smell or taste of vinegar too strong, you can dilute the vinegar with an equal amount of water. This will help lessen the odor and make the rinsing process quicker.
-
Use Distilled or Filtered Water:
- To minimize future mineral buildup, consider using distilled or filtered water in your Keurig as it contains fewer minerals that can contribute to scaling.
-
Regular Descaling Schedule:
- Establish a descaling schedule based on the level of mineral hardness in your water supply. If your water is particularly hard, you may need to descale every three to six months. For softer water, descaling every six to twelve months may be sufficient.
VI. Alternative Descaling Solutions
If you prefer to use an alternative to vinegar, several commercial descaling solutions are available that are specifically formulated for Keurig machines. These solutions are designed to effectively remove mineral deposits and limescale buildup. Follow the instructions provided on the descaling solution packaging for best results.
VII. Important Safety Considerations
Keep the following safety considerations in mind while descaling your Keurig:
-
Ventilation:
- Ensure proper ventilation in the area where you are descaling your Keurig. Vinegar has a strong smell, so opening windows or turning on a fan can help dissipate the odor.
-
Protect Surfaces:
- While descaling, be cautious as vinegar or descaling solution may drip or spill. Place a towel or protective surface underneath your Keurig to catch any liquid.
-
Rinse Thoroughly:
- After descaling, make sure to rinse your Keurig thoroughly to remove any remaining vinegar or descaling solution. This step is crucial to prevent vinegar or descaling solution from mixing with your brewed beverages.
VIII. Maintenance Tips for Preventing Buildup
To minimize mineral deposits and prolong the effectiveness of your Keurig descaling, consider the following maintenance tips:
-
Regularly Clean Removable Parts:
- Clean the removable parts, such as the water reservoir, lid, and drip tray, every one to two weeks to prevent any buildup or residue. Wiping them with warm, soapy water or running them through the dishwasher can help maintain their cleanliness.
-
Clean the Needle:
- Regularly clean the entrance needle of your Keurig 2.0 to prevent any clogs or blockages. Use a paperclip or the Keurig cleaning tool to gently clear any debris from the needle.
V. Conclusion: Revive Your Keurig with Vinegar Descaling
Regular descaling is an essential maintenance task to keep your Keurig 2.0 running smoothly and producing great-tasting coffee and tea. By using vinegar as a natural and cost-effective descaling agent, you can effectively remove mineral deposits and revive your machine’s performance.
Remember to follow each step diligently, from emptying the water reservoir to cleaning and reinstalling removable parts. Implement a regular descaling schedule to prevent scale buildup and maintain the optimal functioning of your Keurig 2.0.
With a little care and the power of vinegar, you can enjoy cup after cup of deliciously brewed beverages from your freshly descaled Keurig 2.0.