If you rely on your Keurig for that perfect cup of coffee each morning, discovering that it won’t brew can be a rude awakening. You might find yourself staring at the unresponsive machine, wondering what could be causing the issue. The good news is that many of the problems can be fixed with some simple troubleshooting steps. In the following sections, we’ll explore the potential reasons why your Keurig won’t brew and provide practical solutions to get your machine up and running again.
Checking the Water Reservoir
Sometimes, the simplest issues can cause the biggest headaches.
Proper Attachment
Ensure that the water reservoir is properly attached. A common reason why your Keurig won’t brew is that the water reservoir isn’t seated correctly. When it’s not in place, the machine can’t draw water, leading to brewing issues. Simply remove the reservoir and reattach it carefully, making sure you hear a click indicating it’s securely in place.
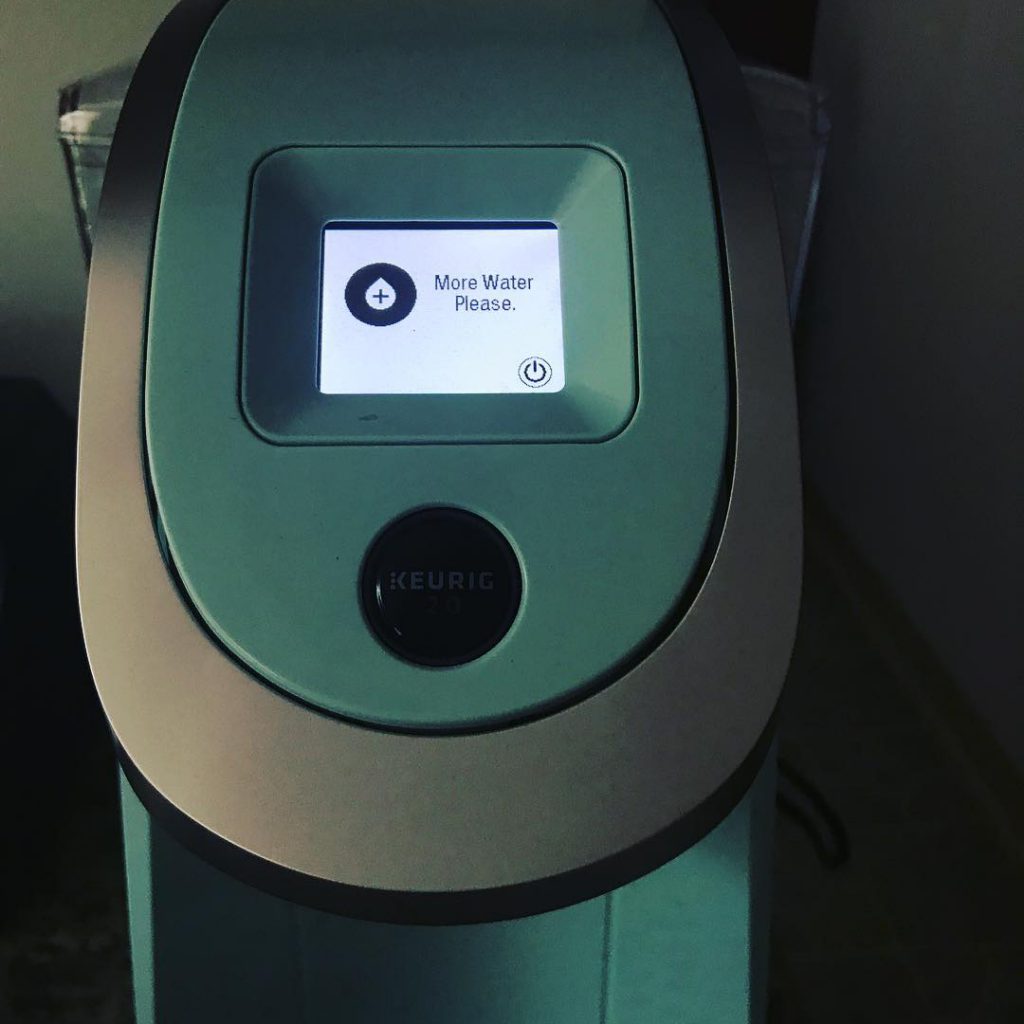
Adequate Water Level
Another obvious yet often overlooked issue is the water level in the reservoir. If the water level is too low, the Keurig won’t be able to brew. Make sure to fill the reservoir to the minimum fill line. This simple check can save you a lot of frustration.
Inspecting the K-Cup Holder
Sometimes the K-Cup holder can be the culprit behind a non-brewing Keurig.
Clogging Issues
Remove the K-Cup holder and inspect it for any clogs or blockages. Coffee grounds, foil pieces from the K-Cup, or mineral deposits can obstruct the flow of water. Rinse the holder under warm running water and use a small brush or a paper clip to clear out any debris. This can often resolve the issue and allow for a smooth brewing process.
Needle Cleaning
The needles that puncture the K-Cup can also become clogged. These needles are essential as they allow water to flow through the pod and brew your coffee. Carefully clean the needles using a paper clip to remove any obstructions. Be cautious as the needles are sharp. Keeping these needles clear ensures uninterrupted water flow and a perfect brew.
Power Supply and Settings
Sometimes the issue may be related to the machine’s power supply or settings.
Checking the Plug
First, make sure your Keurig is properly plugged in. It might seem elementary, but sometimes the plug can get loose or disconnected. Ensure that the machine is plugged securely into a working power outlet. If the machine still doesn’t turn on, try using a different outlet to rule out any electrical issues.
Power Button and Settings
Make sure you’ve pressed the power button and the machine is turned on. Check that all the settings are correctly adjusted for brewing. Sometimes, a simple adjustment to the settings can resolve the brewing issue. Familiarize yourself with the machine’s controls to ensure everything is set up correctly.
Descaling Your Keurig
Mineral build-up can significantly affect your Keurig’s performance.
Importance of Descaling
Over time, minerals from your water supply can accumulate inside the Keurig, leading to clogs and affecting the machine’s ability to brew. Regular descaling is crucial to maintain optimal performance. The descaling process involves using a descaling solution or a mixture of white vinegar and water to remove these deposits.
Descaling Process
Fill the water reservoir with the descaling solution or a vinegar-water mix. Run several cycles without a K-Cup until the reservoir is empty. Afterward, rinse the reservoir thoroughly and run several cycles with clean water to remove any residue. Descaling your Keurig every three to six months can prevent common brewing issues and extend the lifespan of your machine.
Resetting Your Keurig
Sometimes, a simple reset can resolve many issues.
Basic Reset Steps
Turn off your Keurig, unplug it from the power source, and leave it unplugged for about 15 minutes. During this time, you can also remove and reattach the water reservoir. Plug the machine back in, turn it on, and attempt to brew a cup. This basic reset can often resolve minor glitches and get your machine working again.
Addressing Air Bubbles in the Water Line
Air bubbles can disrupt the flow of water, causing your Keurig not to brew.
Removing Air
To remove trapped air bubbles, turn off your Keurig and disconnect it from the power source. Remove the water reservoir. Hold the machine upside down and gently tap the base to encourage the bubbles to move. Once done, reattach the reservoir, plug in the machine, and turn it on. This simple method can restore proper water flow and resolve brewing issues.
Cleaning Additional Components
Other parts of the Keurig can also cause problems if not properly maintained.
Drip Tray and Water Filter
Empty and clean the drip tray regularly to prevent overflow and bacteria build-up. If your model has a water filter, ensure it is cleaned and replaced as recommended. Filters often need replacement every two months or after 60 tank refills. Proper maintenance of these components can significantly impact the machine’s performance.
Pod Holder Funnel
Inspect the pod holder funnel for any blockages or debris. Clean it thoroughly with warm, soapy water and a brush. This ensures that water flows correctly through the machine and prevents any interruptions during brewing.
Investigating Software and Firmware Problems
In some cases, the issue might be related to the software or firmware of your Keurig.
Updating Firmware
Some of the more advanced Keurig models have firmware that can be updated. Check the manufacturer’s website for any available updates. Follow the provided instructions to update the firmware, which can resolve various functional issues and improve performance.
Consulting Customer Support
When all else fails, it might be time to consult professional help.
Manufacturer Support
Contact Keurig customer support for guidance. They can provide specific troubleshooting steps tailored to your model. Often, customer support can identify less obvious issues that may be causing the problem.
Warranty and Repairs
If your Keurig is still under warranty, consider sending it in for repair or replacement. Ensure you have all necessary documentation and purchase information when contacting support. This professional maintenance can resolve deeper issues that at-home troubleshooting might miss.
Preventing Future Issues
Taking preventive measures can save you from future headaches.
Regular Maintenance
Regular maintenance, including daily, weekly, and monthly tasks, keeps your Keurig running smoothly. Follow the manufacturer’s guidelines for cleaning and maintenance. Consistency in upkeep ensures fewer issues and prolongs the lifespan of your machine.
Use Filtered Water
Using filtered water can significantly reduce mineral build-up inside your Keurig. This preventive measure can help maintain optimal performance and improve the taste of your coffee.
Exploring Alternative Brewing Methods
In case your Keurig remains unresponsive, consider alternative brewing methods.
Manual Brewing Options
Explore manual brewing options like pour-over, French press, or drip coffee makers. These methods can offer different flavors and experiences, giving you a chance to enjoy your coffee in new ways.
Temporary Solutions
Until your Keurig is back in working order, consider using instant coffee or visiting your local coffee shop. While not ideal, these temporary solutions ensure you still get your caffeine fix.
Leveraging Replacement Parts
Sometimes, replacing specific parts can resolve the issue.
Purchasing Replacement Parts
If a component is broken or worn out, purchasing a replacement part might be the solution. Parts like the water reservoir, K-Cup holder, or drip tray are often replaceable. Consult the manufacturer’s website for compatible parts for your Keurig model.
DIY Replacements
For those comfortable with minor repairs, some parts can be replaced at home with basic tools and instructions. However, always consider the warranty implications before attempting any DIY repairs.
Summarizing the Insights: Keurig Troubleshooting
So, why won’t your Keurig brew? By thoroughly checking the water reservoir, K-Cup holder, power supply, and performing regular descaling, you can often identify and resolve the issue. Simple resets, removing air bubbles, and maintaining clean components also play a crucial role. When all else fails, consulting customer support or considering alternative brewing methods can save the day. Consistent maintenance and using filtered water are preventive measures that can save you from future hassles, ensuring your Keurig continues to brew your favorite cup of coffee without interruptions.