Posted on

Understanding Why Does My Keurig Say Descale

why does my keurig say descale

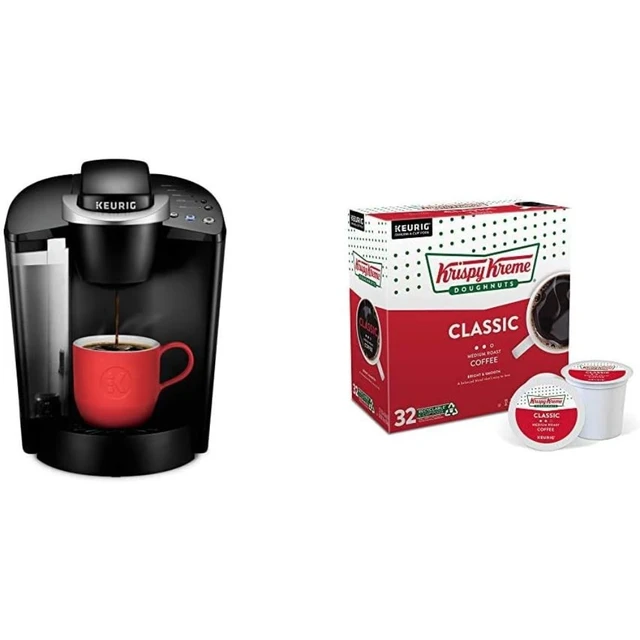
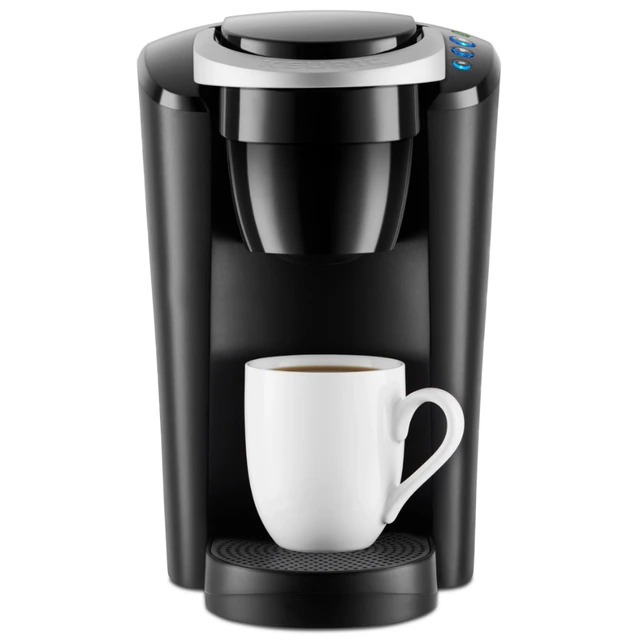
If you own a Keurig coffee maker, you may have encountered the “Descale” warning on its display. This signal is part of the machine’s maintenance protocol and, if ignored, can eventually lead to performance issues. Descaling is a crucial part of keeping your coffee maker in optimal condition. In this guide, we’ll delve into what the “Descale” feature means, why it’s important, how to descale your machine, and tips for preventing future scale buildup.

What is Descaling?

Descaling is the process of removing mineral buildup from your coffee maker. This buildup, primarily composed of calcium and magnesium, occurs naturally when you use water to brew your coffee. Over time, minerals can accumulate in the machine’s internal components, affecting its performance and the quality of your brewed coffee.

Why Does Scale Build-Up Occur?

Water is the main ingredient in coffee, and its chemical composition can vary significantly depending on the source. Hard water contains high levels of minerals, which can lead to scale buildup. The process of heating water within your coffee maker can accelerate this buildup, especially if you frequently use your machine.

What Happens if You Ignore the Descale Warning?

Ignoring the descale warning can lead to several problems:

  1. Reduced Brewing Efficiency: Scale can block water flow through the machine, resulting in longer brew times and weaker coffee.
  2. Unpleasant Taste: Mineral buildup can affect the flavor of your coffee, resulting in a less enjoyable experience.
  3. Potential Damage: Over time, the scale can cause internal damage to heating elements and other components, leading to costly repairs or replacements.

Recognizing the Descale Warning

Keurig coffee makers come equipped with a built-in feature that alerts users when it’s time to descale. The warning can appear as a message on the display, often accompanied by a light indicator.

When Should You Descale?

The frequency of descaling largely depends on your water quality. If you use hard water, it is advisable to descale every three to six months. Some models will alert you after a certain number of brews or time intervals, so it’s essential to stay attentive to your machine’s signals.

Signs Your Keurig May Need Descaling

  • Slow or inefficient brewing
  • A decrease in coffee temperature
  • A strange or off taste in your coffee
  • Error messages or blinking lights

why does my keurig say descale

Preparing for the Descaling Process

Before you begin the descaling process, you’ll need a few items to ensure a smooth experience.

Items Needed

  1. Descaling Solution: You can buy a commercial descaling solution specifically made for Keurig machines or use a mixture of equal parts white vinegar and water.
  2. Water: Fresh water will be required to rinse the machine after descaling.
  3. Container: A large, empty container that can hold at least 10 ounces of liquid to catch runoff during the descaling process.

Safety Precautions

It’s essential to follow some safety measures to avoid any mishaps while descaling your coffee maker:

  • Ensure the machine is unplugged before starting any maintenance.
  • Avoid using abrasive materials that may scratch the surface.
  • Use protective gear if necessary—gloves can be helpful when using strong chemicals.

why does my keurig say descale

Step-by-Step Guide to Descaling Your Keurig

Now that you’ve gathered your supplies, it’s time to descale your Keurig. Follow these steps carefully for effective results:

Step 1: Empty the Water Reservoir

Start by removing any remaining water from the reservoir. This helps ensure that the descaling solution works efficiently and isn’t diluted.

Step 2: Add the Descaling Solution

If you’re using a commercial descaler, follow the instructions on the packaging. Typically, you will pour the solution into the reservoir and fill it with water to the maximum fill line. If using vinegar, fill the reservoir halfway with vinegar and the remaining half with water.

Step 3: Begin the Descaling Cycle

  • Turn on the Machine: Plug it back in and power it up.
  • Run a Brew Cycle: Place a large container under the brewer and select the largest cup size. Run a brew cycle without inserting a K-Cup. Continue this process until the water reservoir is empty.

Step 4: Let it Sit

Once the reservoir is empty, turn off your Keurig and allow the remaining solution to sit in the machine for about 30 minutes. This waiting period helps the solution break down any mineral deposits effectively.

Step 5: Rinse

After 30 minutes, refill the reservoir with fresh water and run several brew cycles (without K-Cups) until the water runs clear. This step ensures that all the descaling solution is removed from the machine.

Step 6: Cleaning the Exterior

While you wait for the descaling process to complete, take a moment to clean the machine’s exterior. Wipe down surfaces with a damp cloth and mild soap, paying special attention to the area around the brew head.

Post-Descaling Maintenance

After descaling, it’s essential to incorporate some post-maintenance habits to keep your Keurig running smoothly.

Regular Cleaning

To prevent future scale buildup and keep your coffee tasting fresh, clean your coffee maker regularly. Aim to perform a thorough cleaning every month, which includes:

  • Emptying the Water Reservoir: Always pour out any remaining water and clean the reservoir with warm, soapy water.
  • Cleaning the K-Cup Holder: Remove and clean the K-Cup holder to avoid clogs and keep the flavor intact.
  • Wiping Down: Regularly wipe the machine’s exterior to remove dust and spills.

Use Filtered Water

One of the best ways to prevent hard water mineral buildup is to use filtered or bottled water for brewing. If you can’t avoid using tap water, consider investing in a water softener to reduce mineral content.

Monitor Your Machine

Keep an eye on your Keurig for any signs that it may need maintenance. If you notice any odd noises, changes in brew times, or flavors, it may be time to perform both descaling and general cleaning.

why does my keurig say descaleFrequently Asked Questions (FAQs)

What type of descaling solution should I use?

Keurig offers its own descaling solution, but you can also use equal parts white vinegar and water. Just ensure that the solution is safe for use in coffee makers.

Can I descale my Keurig too often?

While it’s essential to follow a regular descaling routine, doing it too often may not cause harm but may be unnecessary unless you have significantly hard water. Generally, a frequency of every 3-6 months is adequate.

What if my machine still has issues after descaling?

If you’ve descaled your Keurig and continue to have issues, consider contacting customer support. It may be possible there are other underlying problems that require professional attention.

Is descaling safe for all Keurig models?

Yes, descaling is safe for all Keurig models. However, always refer to your model’s specific user manual for any model-specific instructions.

Troubleshooting Common Issues

What If the Descale Warning Doesn’t Go Away?

Sometimes, the warning may persist even after you’ve completed the descaling process. Here are a few steps to troubleshoot:

  1. Run Additional Rinses: If you followed the descaling and rinsing instructions and the warning remains, you may need to run several additional cycles of plain water to clear any remaining solution.
  2. Check for Clogs: Inspect the needle and brew basket for blockages.
  3. Factory Reset: For some models, a factory reset may remove persistent warning indicators.
  4. Consult Manual: When in doubt, refer to your Keurig’s user manual for model-specific instructions.

Conclusion

Descaling your Keurig is essential for maintaining the health of your coffee maker and ensuring a high-quality brew. You might wonder, “Why does my Keurig say descale?” This warning indicates that mineral buildup has occurred, and it’s time for maintenance. Addressing this alert promptly can help you avoid performance issues and prolong the life of your machine. Regular upkeep, such as using filtered water and responding to your coffee maker’s signals, contributes to a better coffee experience. So, when that descaling message appears, don’t disregard it—take action to continue enjoying your delicious coffee at the touch of a button.

Posted on

How to Get the Descale Light Off Your Keurig?

how to get descale light off keurig

Keurig coffee makers are a beloved staple in many kitchens due to their convenience, speed, and ability to brew a fresh cup of coffee at the touch of a button. However, like all appliances, they require regular maintenance to perform at their best. One common issue Keurig owners face is the persistent “Descale” light on their machine. This light indicates that it’s time to clean out the mineral build-up, which can affect the taste of your coffee and the machine’s performance. This comprehensive guide will provide you with everything you need to know to get the descale light off your Keurig and keep your machine in top condition.

Understanding the Descale Light on Your Keurig

Why Descale Your Keurig?

Descaling is a critical maintenance step for any coffee maker, including Keurig machines. The process involves removing mineral deposits, also known as scale, that accumulate inside the coffee maker over time, particularly if you’re using hard water. These deposits can clog the machine, affect the flavor of your coffee, and ultimately reduce the lifespan of the appliance. Regular descaling enhances the functionality and longevity of your machine, ensuring every cup of coffee is as good as the first.

What Causes the Descale Light to Illuminate?

The descale light on a Keurig operates as a warning system, triggered by an internal sensor that detects the build-up of minerals inside the machine. When the sensor identifies a certain level of scale, it activates the descale light to alert you that it’s time to clean the machine. Ignoring this signal can lead to several problems, such as slower brewing times, less efficient heating, and a decrease in overall coffee quality.

how to get descale light off keurig

Preparing to Descale Your Keurig

Gathering Supplies

Before you begin descaling your machine, you’ll need to gather a few supplies:

  • Descaling solution: You can use Keurig’s official descaling solution or a mixture of white vinegar and water if you prefer a more natural approach.
  • Water: Ensure you have access to clean water to rinse the machine thoroughly after descaling.
  • A large mug: This will collect the descaling solution during the cleaning cycle.
  • A paperclip: For clearing out the exit needle, which can sometimes become clogged with coffee grounds or mineral deposits.

Safety Precautions

Descaling involves running a cleaning solution through your coffee maker, so it’s important to take a few safety precautions. First, ensure that your machine is turned off and unplugged before you start. This reduces the risk of electrical shock. Additionally, handle the descaling solution with care, as it can be irritating to the skin and eyes.

how to get descale light off keurig

The Descaling Process

Step-by-Step Guide

Step 1: Empty the Machine

Start by emptying any water currently in the reservoir. If your machine has a water filter, remove it as well. It’s best to begin the process with an empty and clean machine.

Step 2: Add Descaling Solution

Pour the descaling solution into the water reservoir. If you’re using vinegar, mix one part white vinegar with one part water and fill the reservoir with this mixture.

Step 3: Run the Descaling Cycle

Turn on your Keurig and place a large mug on the drip tray. Open and close the brewer handle without adding a pod, and select the largest cup size. Run this brewing process until the machine indicates that the water reservoir is empty. Depending on your machine model, this may require multiple cycles.

Step 4: Allow the Solution to Sit

Once the descaling solution has cycled through the machine, let it sit for at least 30 minutes. This allows the solution to break down any remaining mineral deposits inside the machine.

Step 5: Rinse Thoroughly

After the waiting period, remove the water reservoir and rinse it thoroughly. Refill it with fresh water and place it back on the machine. Run multiple brewing cycles with just water (no coffee pod) to flush out any remaining descaling solution. Continue this process until the water reservoir is empty, and you no longer detect the scent of vinegar or the descaling solution.

Step 6: Clean the Exit Needle

Using a paperclip, carefully clean the exit needle to ensure it’s free of any debris. You can do this by inserting the paperclip into the needle to dislodge any particles. Be gentle to avoid damaging the machine.

Specifics for Different Keurig Models

While the basic descaling process is relatively consistent across different Keurig models, some models may have specific steps or additional features. For instance:

  • Keurig 2.0 Series: Ensure that you follow the on-screen instructions, and be aware that these models may have a more complex descaling procedure.
  • Keurig K-Classic: This model is straightforward and follows the basic steps outlined above.
  • Keurig K-Supreme: This model features a descaling mode that simplifies the process; refer to your user manual for specific instructions.

Post-Descale Procedures

Resetting the Descale Light

After you’ve completed the descaling process and thoroughly rinsed your machine, you’ll need to reset the descale light. The method to do this varies depending on your Keurig model:

  • For Keurig Classic Models: Typically, unplugging the machine for a few minutes and then plugging it back in will reset the light.
  • For Keurig 2.0 Models: You may need to perform a specific sequence, such as pressing and holding certain buttons; refer to your user manual.
  • For Keurig K-Elite: Press and hold the 8oz and 10oz buttons simultaneously for 3 seconds to reset the descale light.

how to get descale light off keurigRegular Maintenance Tips

Regular maintenance can help prevent the descale light from coming on too frequently:

  • Use Filtered Water: Using filtered or bottled water can reduce mineral build-up compared to tap water.
  • Empty the Water Reservoir: If you won’t be using the coffee maker for a few days, empty the water reservoir to prevent standing water from contributing to scale build-up.
  • Clean the Machine Regularly: Apart from descaling, regularly clean your Keurig’s exterior and removable parts, such as the drip tray and K-cup holder, to maintain overall hygiene.

When to Seek Professional Help

If you’ve followed all the steps and the descale light remains on, or if you notice any malfunctioning of your machine, it might be time to seek professional help. Contact Keurig customer support or consult a certified technician to diagnose and resolve any underlying issues.

Troubleshooting Common Descaling Issues

Sometimes, the descale process doesn’t go as smoothly as planned. Here are solutions to common descaling problems.

Persistent Descale Light

If the descale light remains on after you’ve completed the descaling process, ensure that you’ve followed all steps correctly. Running another descaling cycle might be necessary. If the problem persists, consult your Keurig’s user manual or contact customer support.

Unpleasant Taste or Odor

If you notice a lingering taste or smell of descaling solution or vinegar, it’s crucial to rinse the machine thoroughly. Repeat the rinse cycle with fresh water more than the recommended number of times if needed. Use filtered water for brewing to see if the taste improves.

Slow or Incomplete Brewing

Slow or incomplete brewing after descaling may result from residual deposits or air trapped within the machine. Run several water-only brew cycles to flush out any leftover deposits. Ensure the water reservoir is correctly seated and filled.

Conclusion

By understanding how to properly descale your coffee maker and regularly maintaining it, you can keep your machine in top condition. Regular maintenance, including the use of filtered water and periodic cleaning, can help prolong the life of your coffee maker. Should you encounter persistent issues with the descale light or any other problems, don’t hesitate to seek professional assistance to ensure your beloved Keurig continues to deliver that perfect cup of coffee each morning.