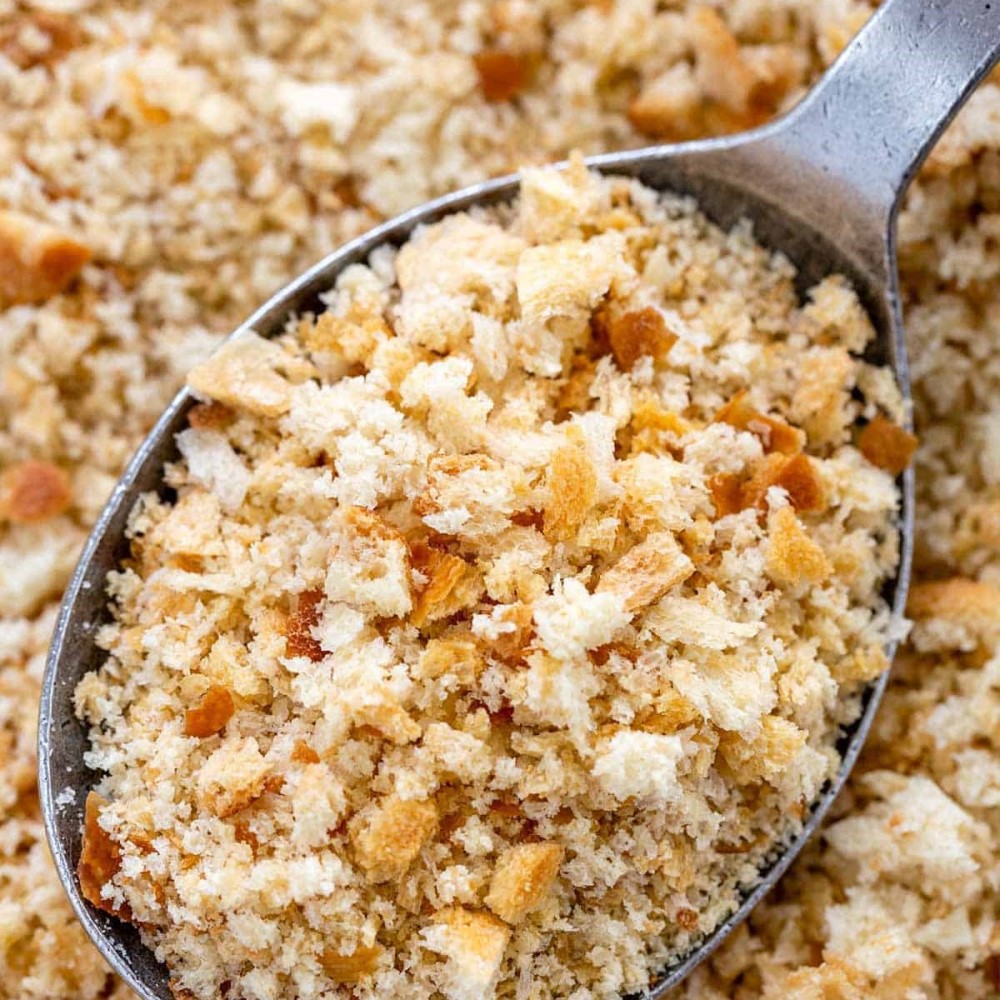
Introduction to Breadcrumb Alternatives
In cooking, breadcrumbs often add crunch and texture to dishes. But what if you lack a food processor? Don’t worry. You can still make breadcrumbs without a food processor. This guide will explore several techniques that are just as effective. We will discuss methods from rolling pins to hand crushing. The aim is to help you create the perfect breadcrumb consistency for your recipes. Whether you’re coating chicken schnitzel or topping a homemade casserole, these alternatives have you covered. So let’s learn the art of making breadcrumbs without the high-tech gadgets!
Tools and Materials You Will Need
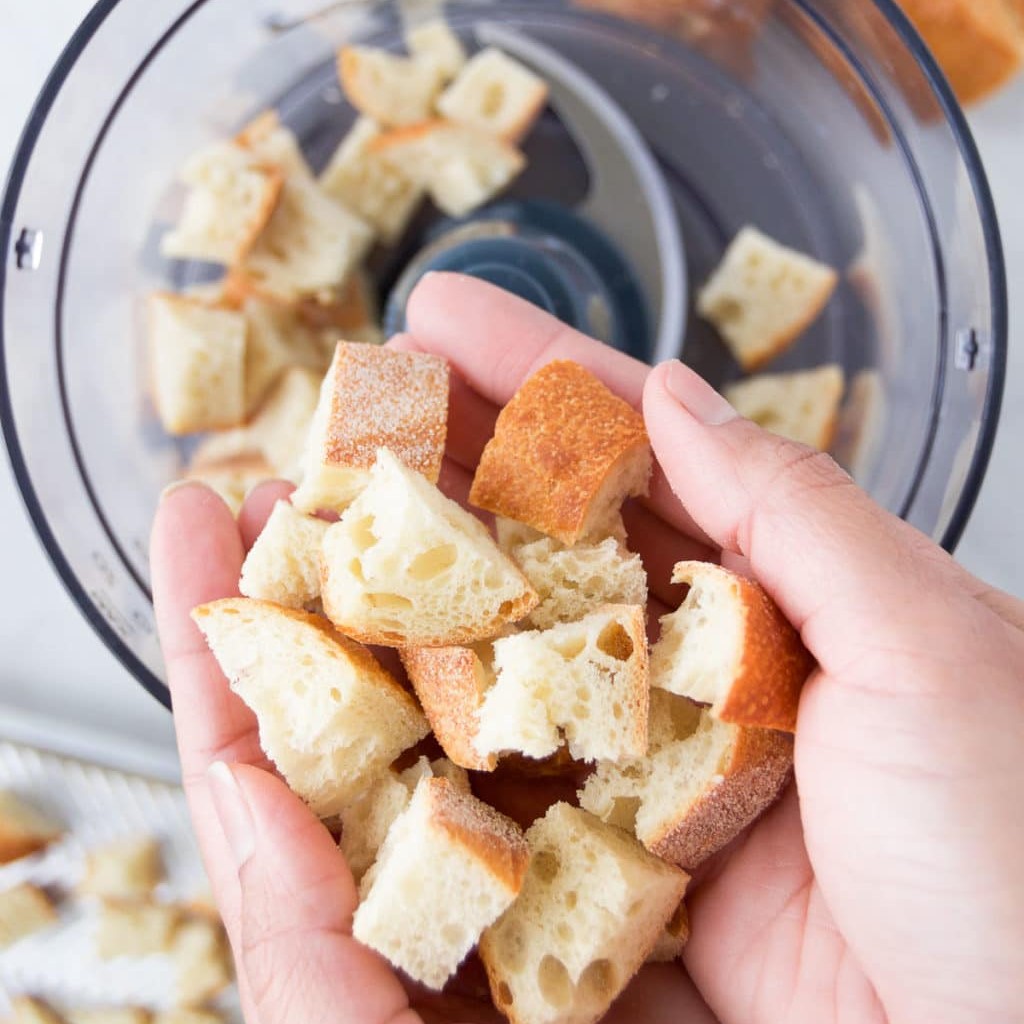
To make breadcrumbs without a food processor, you need simple tools and materials. First, gather fresh or slightly stale bread. Stale bread grinds down more easily. Choose a loaf with a good crust and dense texture for optimal results. Next, find a rolling pin for crushing the bread. If one is not available, a wine bottle can also serve the purpose. You’ll also need a large plastic bag or two for containing the bread as you crush it. A fine-mesh sieve helps to separate larger chunks from finer crumbs. A baking sheet comes in handy, especially if you plan to oven-dry the bread.
For storage, prepare airtight containers or zipper bags. If you wish to season your breadcrumbs, get your favorite herbs and spices ready. With these tools and materials, you can craft perfect breadcrumbs at home. They are the first step towards crunchy, delightful dishes!
The Traditional Rolling Pin Method
For those without a food processor, the rolling pin method is both simple and effective for making breadcrumbs. Begin by tearing your fresh or slightly stale bread into smaller chunks. This will make the process easier.
Place the bread pieces inside a large plastic bag. Seal the bag, leaving a bit of air inside to allow for movement. Then, take your rolling pin and roll it over the bag, applying firm pressure to crush the bread. Continue rolling and crushing until you reach the desired crumb size.
To ensure an even consistency, you can shake the bag occasionally. This helps redistribute the bread pieces for uniform crushing. If you find any large pieces, you can remove them for further processing or save them for a different use.
After reaching the ideal crumb texture, pour the contents into a fine-mesh sieve over a bowl. Shake the sieve gently to separate the fine crumbs from any remaining large chunks. What passes through is ready to use, while larger pieces can go back into the bag for another round.
This rolling pin technique is not only practical but also gives you control over the crumb size. You can turn out coarse or fine breadcrumbs depending on how long you roll them. Now, you’re ready to add these homemade breadcrumbs to your recipes for that extra crunch and texture.
Utilizing a Blender or Mixer
If a rolling pin isn’t your style, a blender or a hand mixer can be a great alternative to a food processor for making breadcrumbs. These kitchen gadgets might not offer the same fine control as the rolling pin, but they can certainly do the job quickly and efficiently.
Here’s how to use them:
First, break your bread into chunks small enough to fit comfortably in your blender or mixer’s jar. Fresh or slightly stale bread works best as it’s less likely to wrap around the blades.
Next, pulse the bread in short bursts. This helps to avoid over-processing and ensures that the bread doesn’t turn into dough instead of crumbs. With each pulse, check the consistency. You’re aiming for an even crumb size, similar to what you’d get from a food processor. If there are large pieces left, you can sift them out and pulse again.
It’s important to avoid overloading your blender or mixer. Work in batches if necessary. This prevents the motor from straining and ensures all the bread is evenly processed.
Remember to frequently tap the jar or bowl. This keeps the crumbs moving and averts the risk of creating bread paste at the bottom.
In essence, using a blender or mixer is a swift way to make breadcrumbs without a food processor. It’s an excellent method for when you need breadcrumbs in a hurry and want to avoid the more manual methods.
 Oven-Drying Bread for Homemade Breadcrumbs
Once you have your bread crumbs from a rolling pin or blender, oven-drying is next. This step will ensure they’re crisp and perfect for cooking. Here’s a simple process to oven-dry your breadcrumbs:
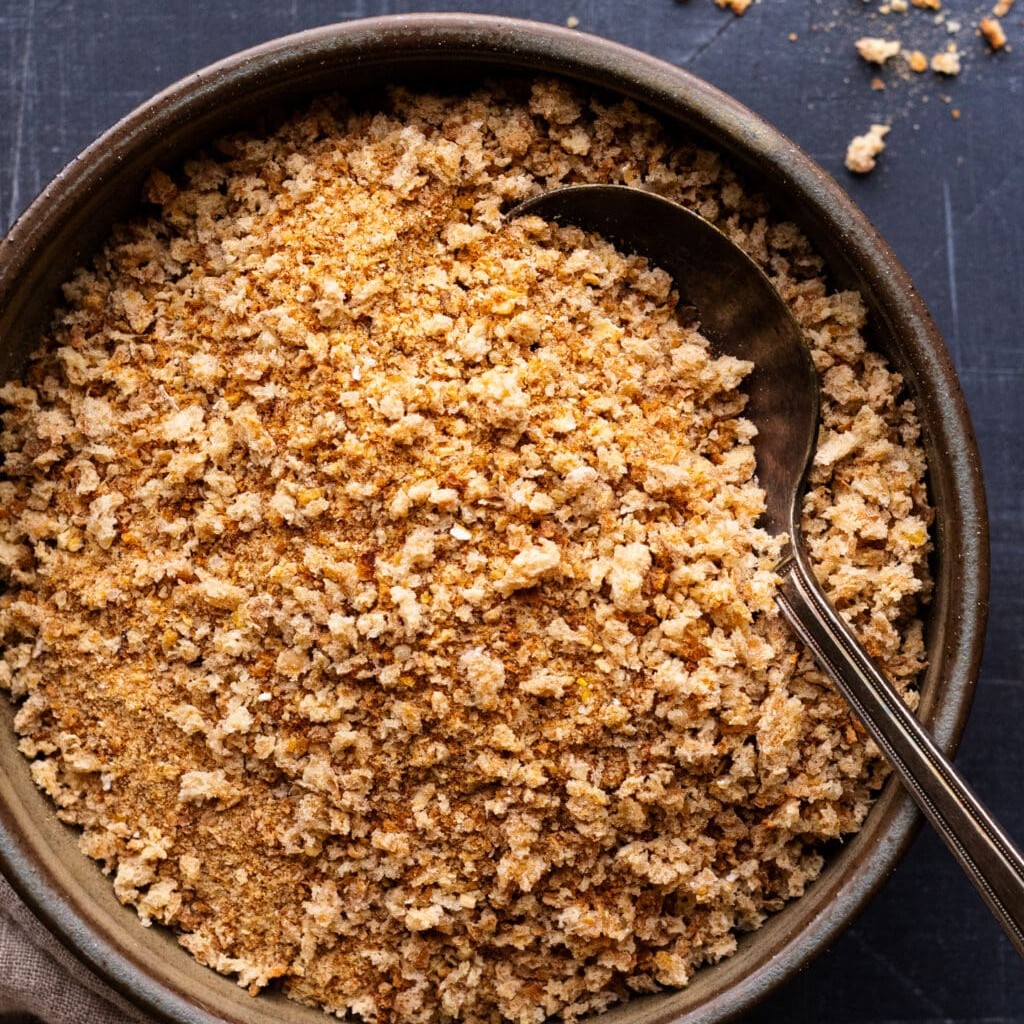
Start by preheating your oven to a low temperature – around 300 degrees Fahrenheit is ideal. Spread your fresh breadcrumbs out in a single layer on a baking sheet. For even drying, make sure they don’t clump together. Place the baking sheet in the oven. Bake for about 10-15 minutes, checking occasionally. The goal is a golden color, not browned or burnt. Once they’re dry and crisp, remove from the oven. Allow the breadcrumbs to cool completely before use or storage.
Oven-drying not only dries the breadcrumbs but can also enhance their flavor. If you prefer, toss them with a little olive oil and your choice of seasonings. This step adds a delightful touch to any dish you make breadcrumbs without a food processor. After cooling, these homemade breadcrumbs are ready for recipes or can go straight into storage.
Crushing Bread by Hand for Rustic Breadcrumbs
For a hands-on approach to make breadcrumbs without a food processor, try crushing by hand. This method gives a rustic, artisanal texture that can elevate any dish.
To start, choose bread that’s a day old or slightly dried out. This makes it easier to crumble. Tear the bread into small, even pieces. Then, take each piece and rub it between your hands. You can also use a mortar and pestle for a more refined result.
Work over a large bowl to catch all the crumbs. Keep crushing until you reach your preferred consistency. For a coarse texture, stop when the pieces are still a bit chunky. If you want finer breadcrumbs, simply crush them more.
Hand-crushed breadcrumbs are perfect for breading meats or adding a crunchy topping to pastas and casseroles. Their uneven texture absorbs sauces beautifully, creating a delightful mouthfeel. Plus, there’s something satisfying about making breadcrumbs with your own two hands.
Remember, no high-tech kitchen tools are required to achieve wonderful, homemade breadcrumbs ready to enhance your dishes with their hearty crunch.
Seasoning Your Breadcrumbs for Enhanced Flavor
Once you’ve learned to make breadcrumbs without a food processor, you can spice things up. Seasoning breadcrumbs adds depth to their flavor and a personal touch to your dishes.
Here’s how you can turn plain crumbs into seasoned perfection:
- Choose Your Seasonings: Start by selecting your favorite herbs and spices. Classic choices include dried oregano, basil, thyme, and parsley. For a kick, add paprika, black pepper, or crushed red pepper flakes.
- Mix Evenly: In a bowl, combine your breadcrumbs with the chosen seasonings. Aim for a consistent mix to make sure every crumb gets an even coat of flavor.
- Add Salt Wisely: Salt enhances flavor, but too much can overpower your breadcrumbs. Add it to taste, keeping in mind that a little goes a long way.
- Incorporate Fats: For a richer taste, consider stirring in melted butter or olive oil. This also helps the breadcrumbs brown nicely when cooked.
- Experiment with Cheese: Grated Parmesan or Romano cheese can add a delightful savory note. Just sprinkle some in and mix well with the breadcrumbs and other seasonings.
- Consider Sweet Options: If you’re making a sweet dish, think about cinnamon or vanilla sugar. A touch of sweetness can create a tantalizing contrast in desserts.
Remember, you control the flavor of your homemade breadcrumbs. Start with a few spices and build from there. Feel free to taste and adjust seasoning as you go. This way, you can craft the perfect breadcrumbs to elevate your cooking without needing a food processor.
 Storing Homemade Breadcrumbs
After you make breadcrumbs without a food processor and season them to your liking, proper storage is key to keeping them fresh and usable. Here’s a straightforward approach to storing your homemade breadcrumbs:
- Use Airtight Containers: To keep your breadcrumbs free from moisture and pests, use containers with tight-fitting lids.
- Label Them: Don’t forget to label your containers with the date and contents. This helps track freshness and identify the crumbs quickly.
- Keep in a Cool, Dry Place: Store your containers in a pantry or cupboard away from heat and light. These can spoil the breadcrumbs faster.
- Freezing Is an Option: For long-term storage, consider freezing your breadcrumbs. Use freezer bags to save space and maintain quality.
- Check for Freshness: Before use, give your breadcrumbs a quick check. If they smell off or look discolored, it’s best to toss them out.
By following these storage tips, you ensure your homemade breadcrumbs remain ready for your next culinary adventure. They add that special crunch and flavor to your meals, all easily crafted without a food processor.
 Creating Healthy Meals with a Food Processor