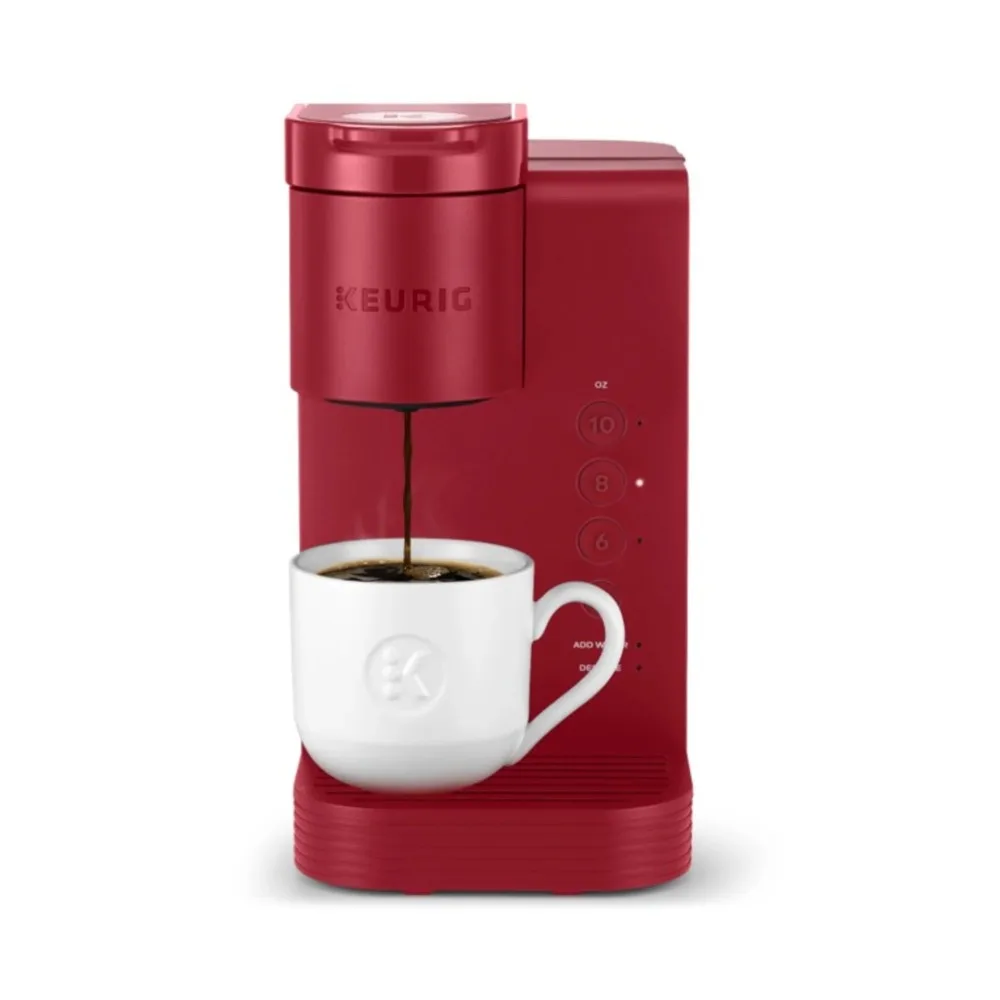
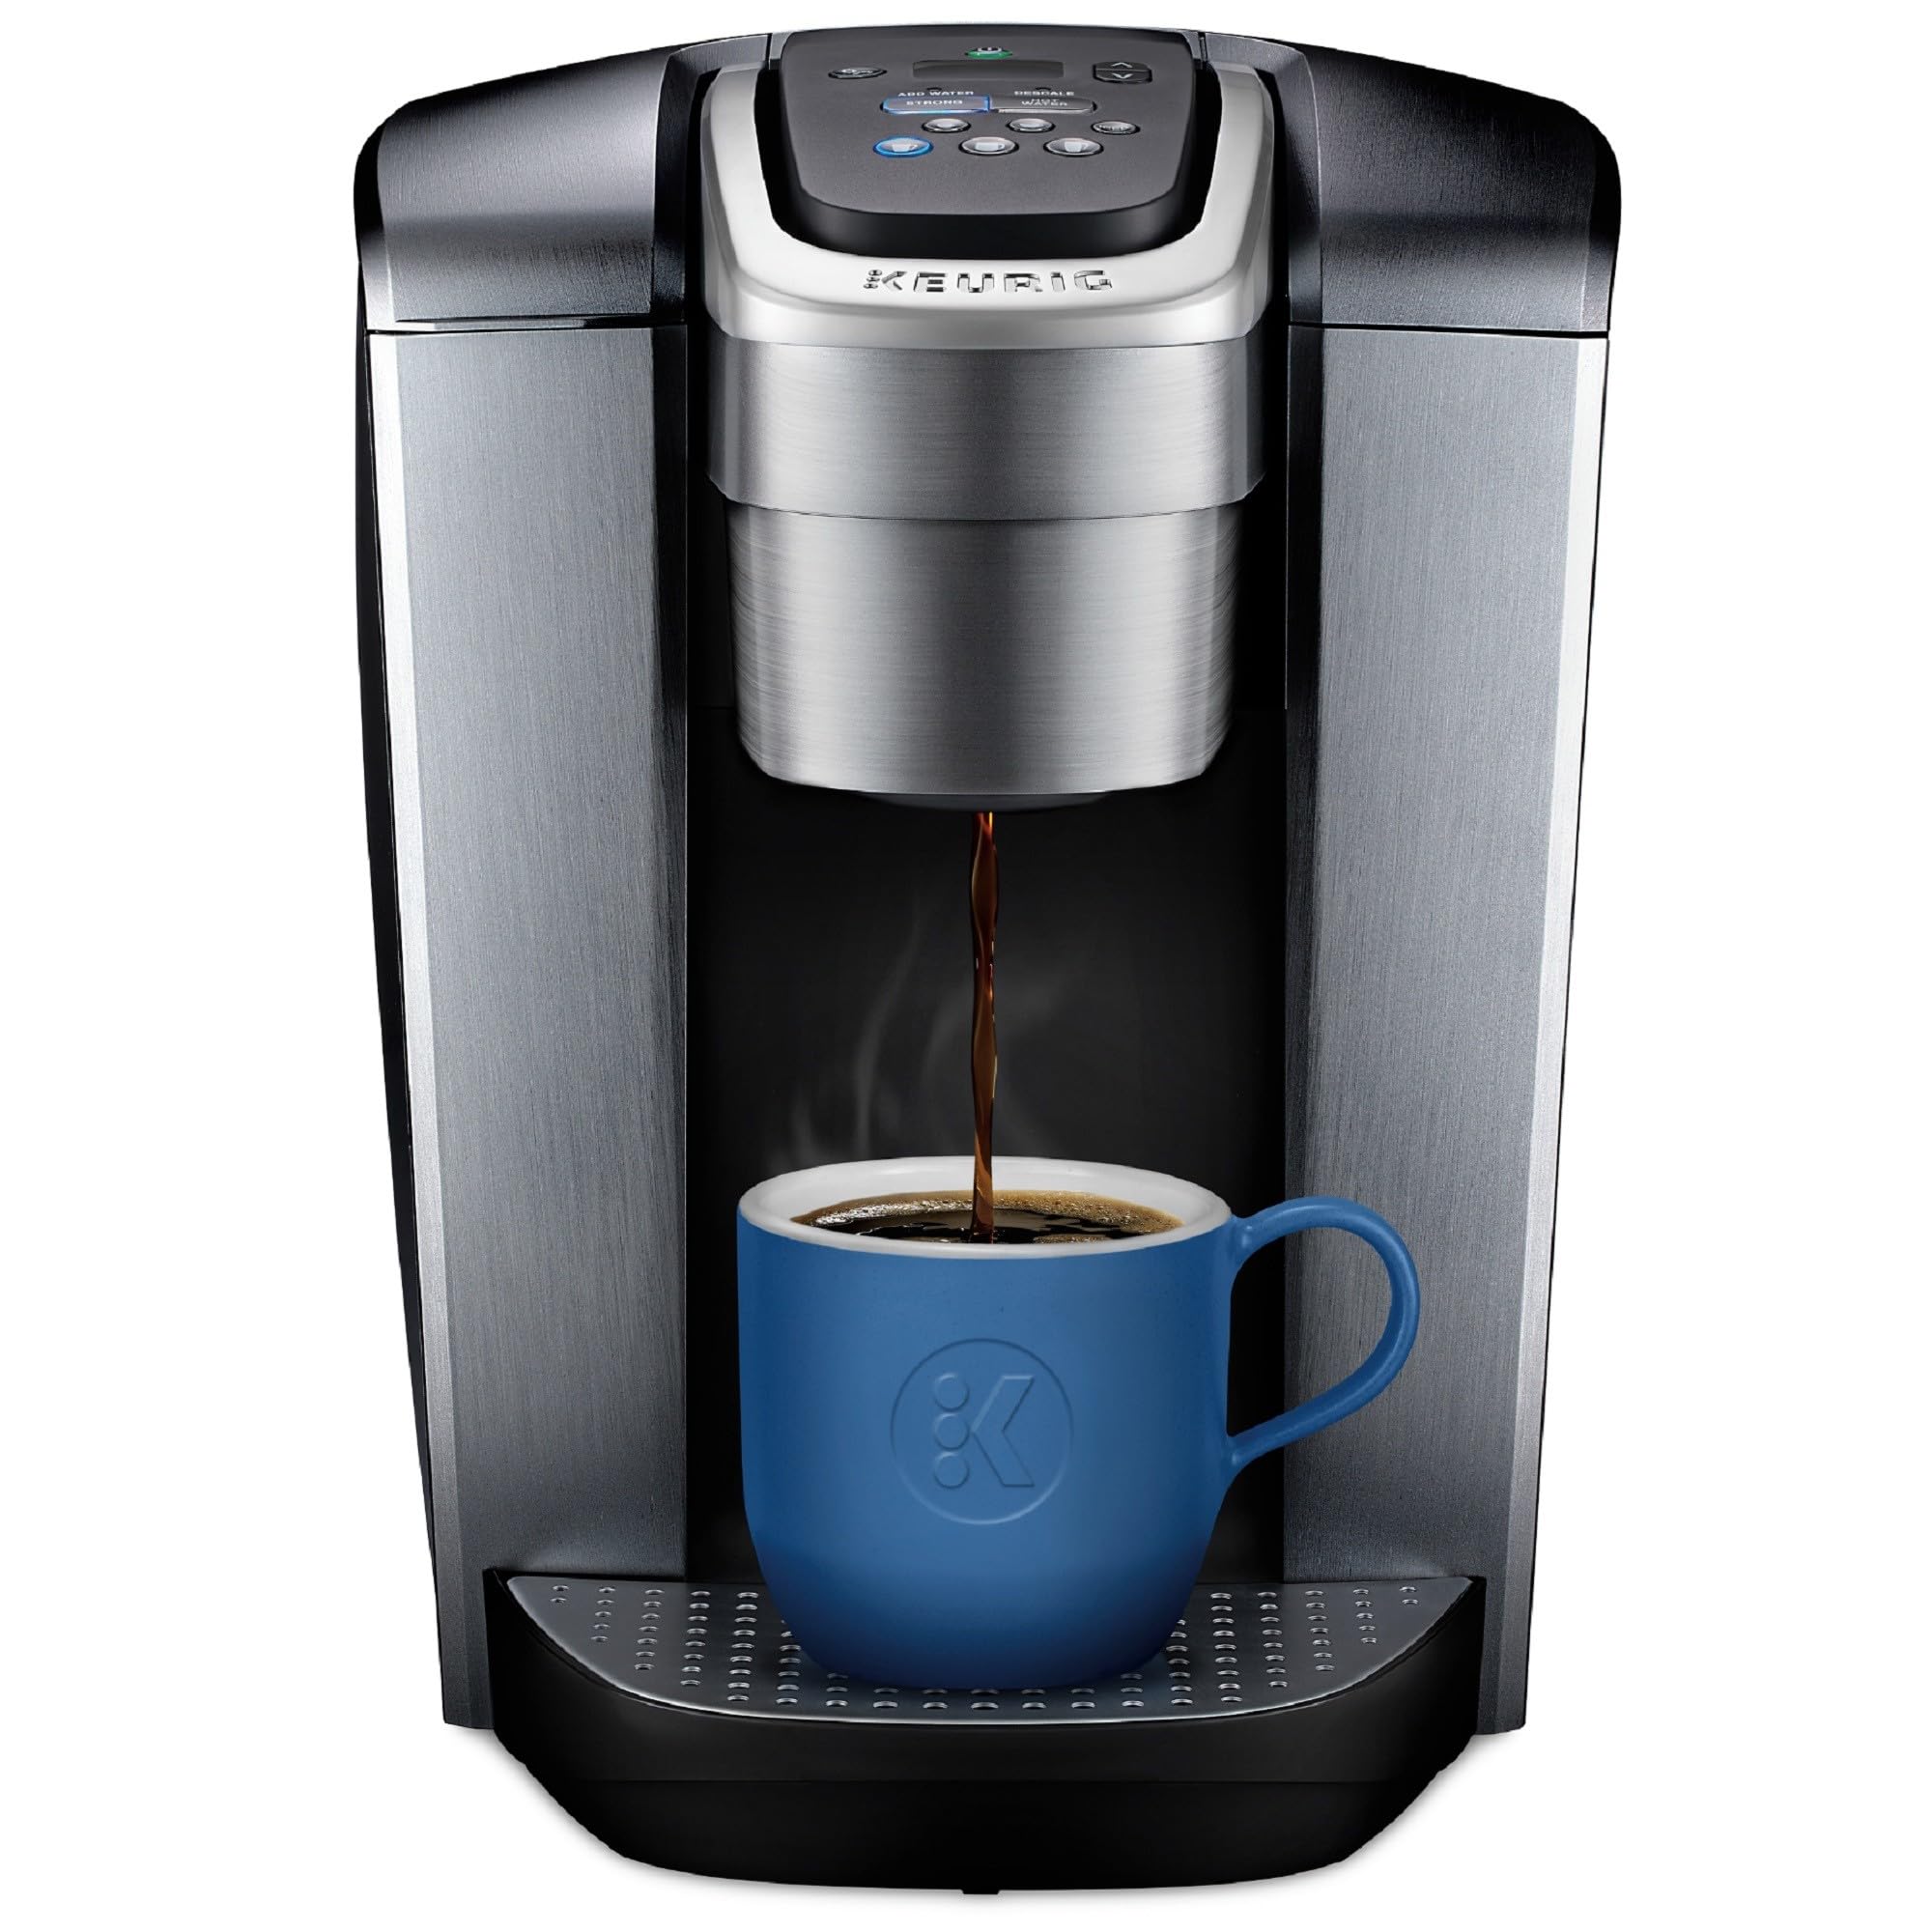
Introduction to How do I descale my keurig with vinegar
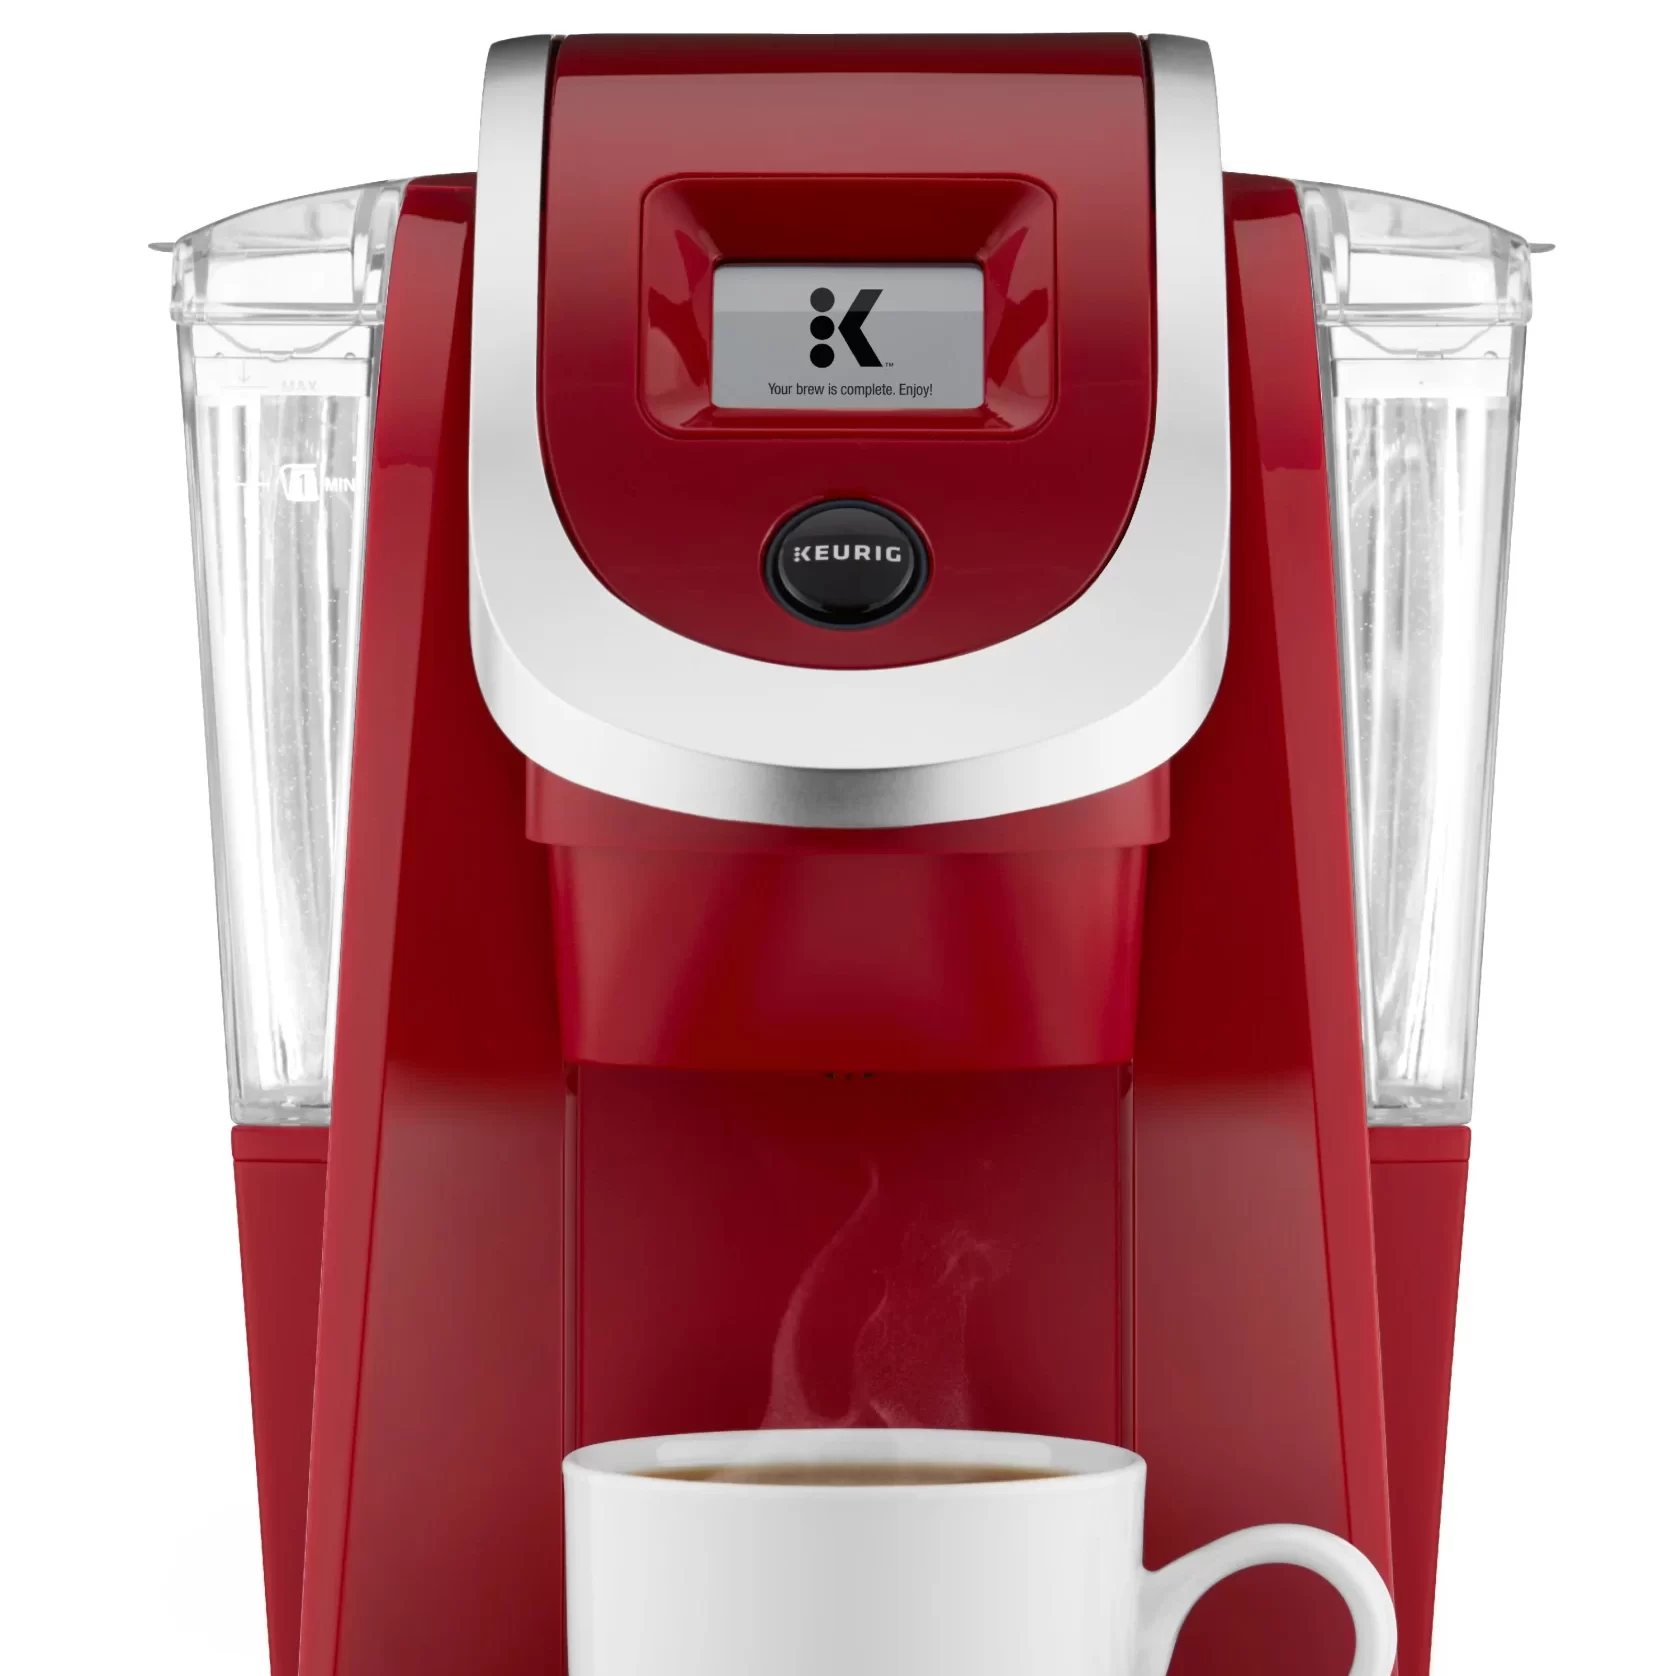
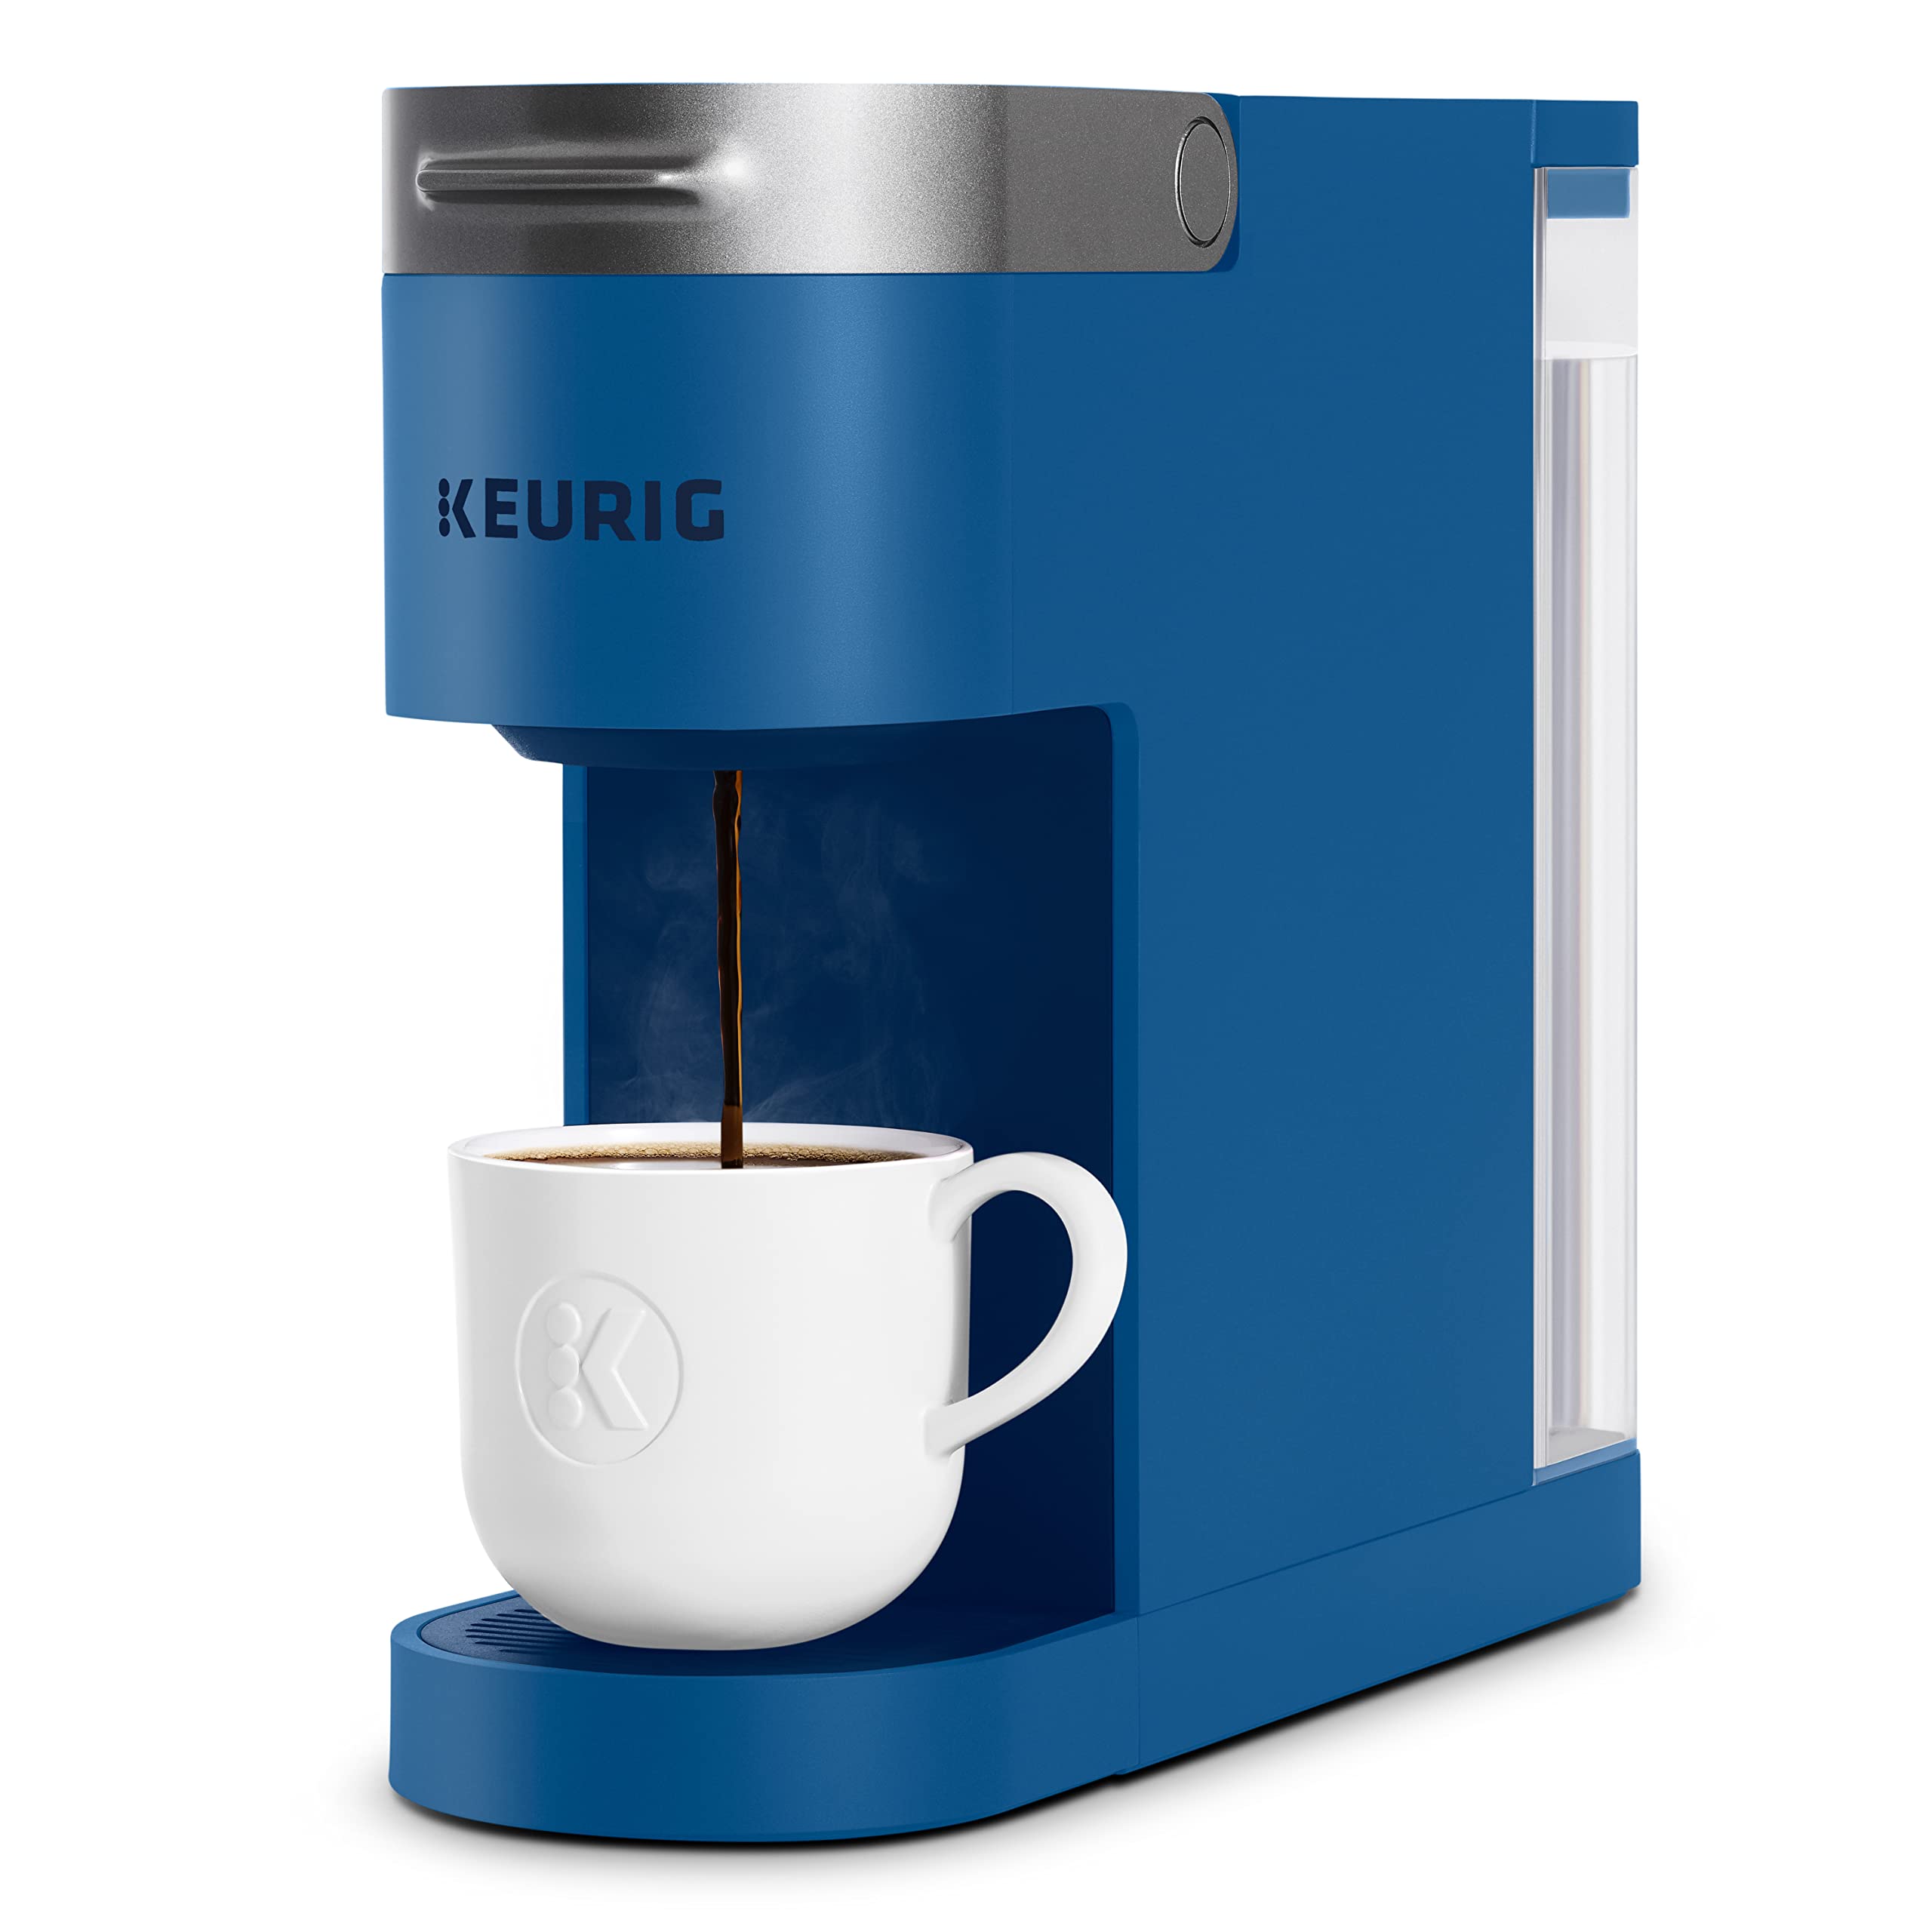
How do I descale my keurig with vinegar? Descaling your Keurig is a crucial task to ensure great-tasting coffee and the long life of your machine. Over time, the water you use can deposit minerals and scale inside your coffee maker. This not just affects the flavor of your coffee, but can also block the water flow and damage the heating elements. Vinegar, a common household item, is one of the most effective agents for descaling your Keurig. In this guide, we’ll walk you through the reasons vinegar works well, what you need to get started, and a simple, step-by-step process to descale your coffee maker. We’ll also provide tips for maintenance to prevent future scale build-up, mistakes to avoid, and advice on alternative descaling agents if you prefer not to use vinegar. Regular maintenance is key, and with these straightforward steps, your Keurig will keep brewing perfect cups of coffee.
Why Vinegar is an Effective Descaling Agent
Vinegar is a powerful, natural cleaner. Its acidity breaks down mineral deposits, such as limescale, that can accumulate in your Keurig. Here’s why it’s a favored descaling agent:
- Natural and Non-Toxic: Unlike some chemical cleaners, vinegar is safe to use. It does not release harmful fumes or leave toxic residues.
- Accessible and Affordable: Vinegar is a staple in most kitchens, making it readily available. It’s also cheaper than most specialized descaling solutions.
- Effective at Removing Scale: The acetic acid in vinegar is strong enough to dissolve scale but gentle on the machine’s components.
- Easy to Rinse Away: After descaling, vinegar can be flushed out with water, leaving no taste behind.
Remember to dilute the vinegar with water before using it as a descaling agent. This ensures a balance between effectiveness and protecting the inner workings of your Keurig. After the descaling process, always do several rinsing cycles with plain water to ensure all vinegar is out of the system.
Preparing Your Keurig for Descaling
Before starting, it’s important to prepare your Keurig properly for descaling. This ensures safety and efficiency during the cleaning process.
Safety Precautions before Starting
Always unplug your Keurig before attempting any cleaning or maintenance. This avoids any risk of electrical shock. Ensure the machine is cool to avoid burns, especially if you’ve just brewed coffee. Moving the Keurig away from electrical outlets and other appliances is also a good idea to prevent any accidental spillages from reaching them.
Items Needed for Descaling
For a thorough descale, you will need a few basic items:
- White vinegar: This will be mixed with water to create your descaling solution.
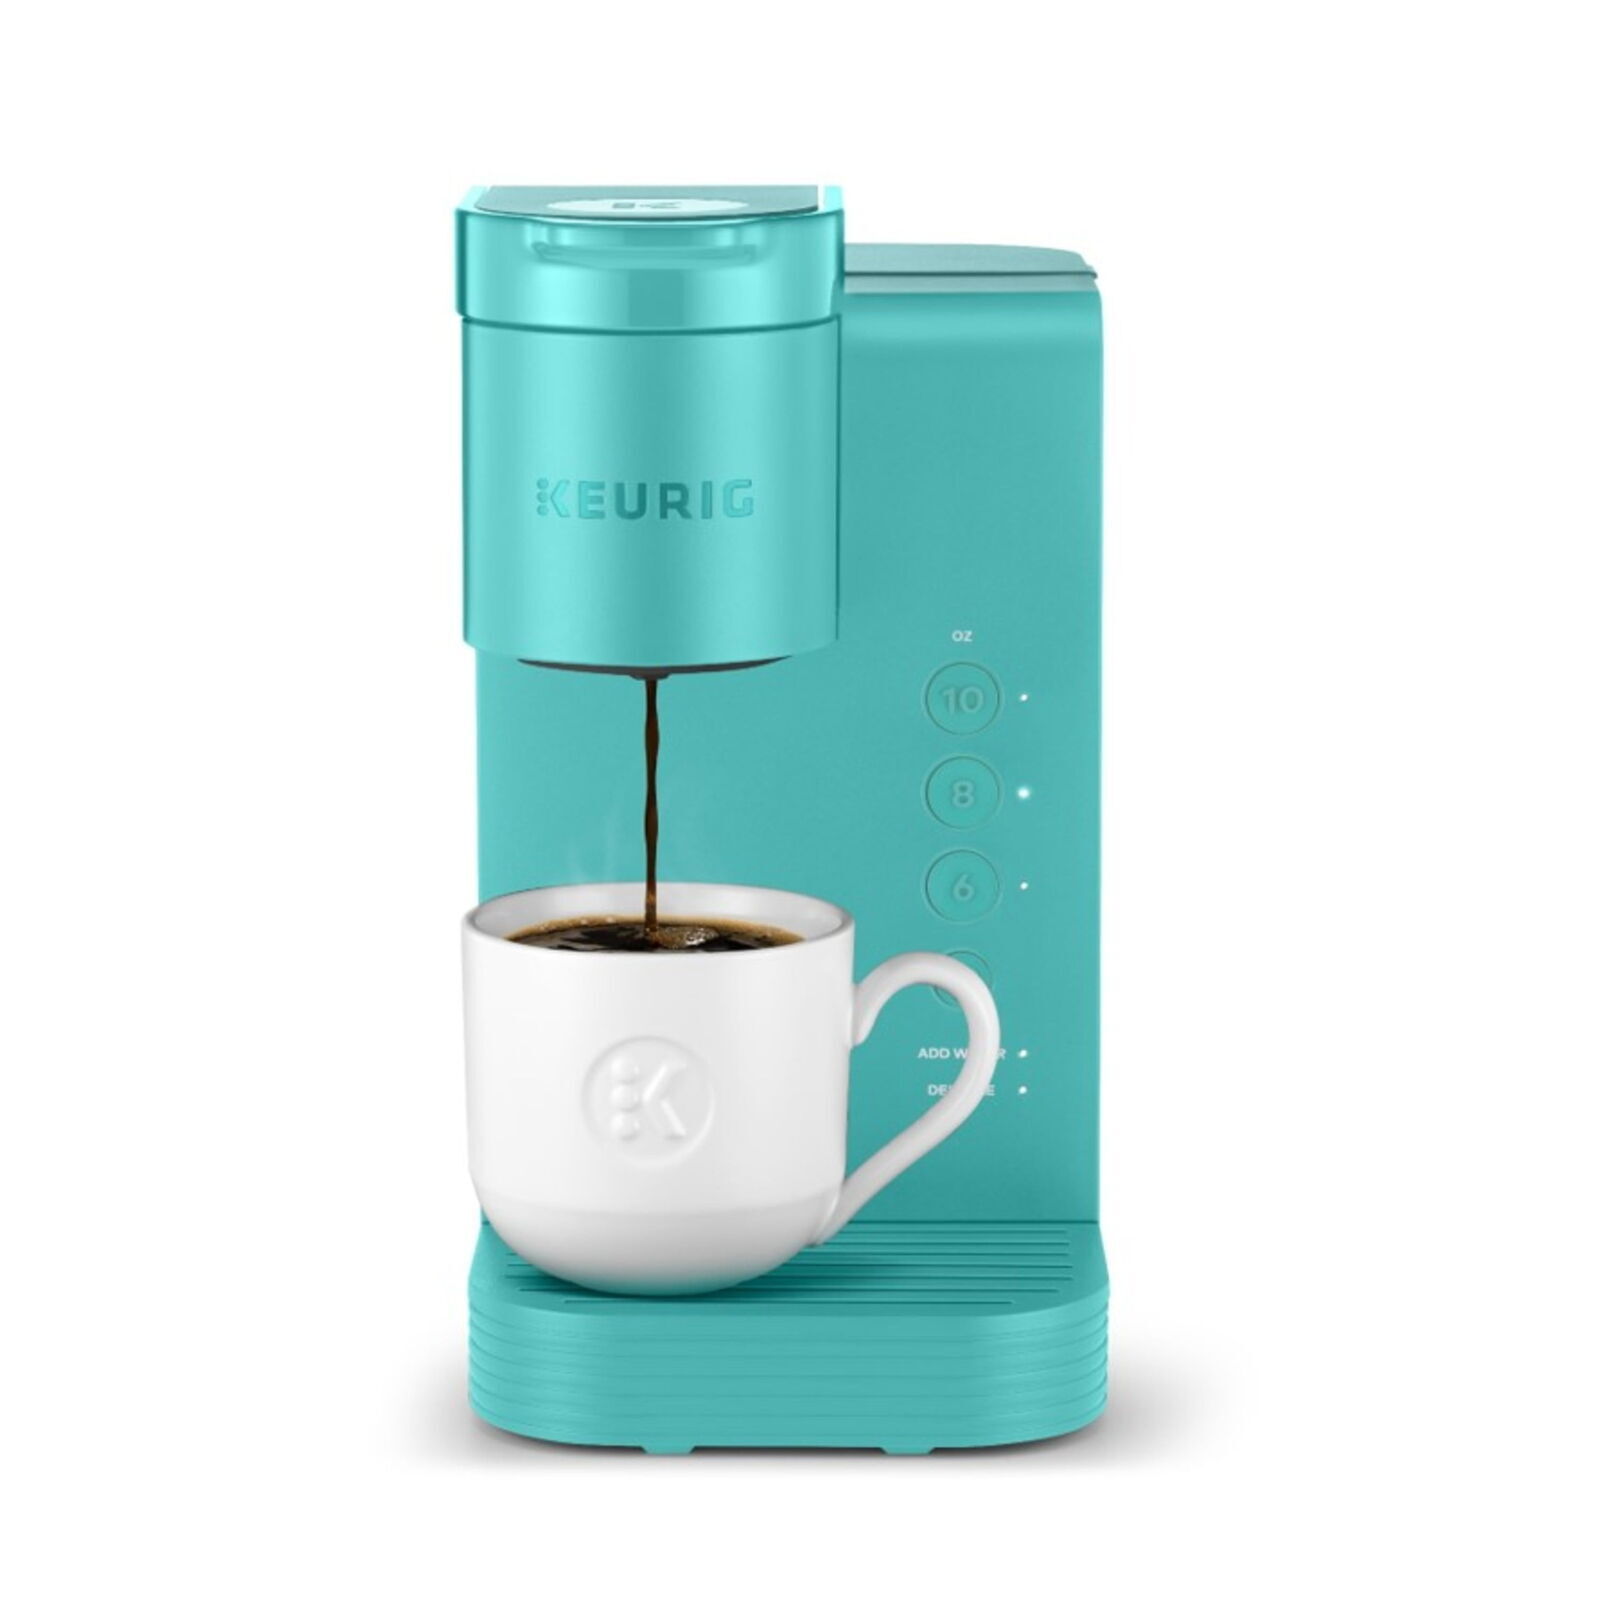
- A large ceramic mug: This catches the solution during the descaling cycle.
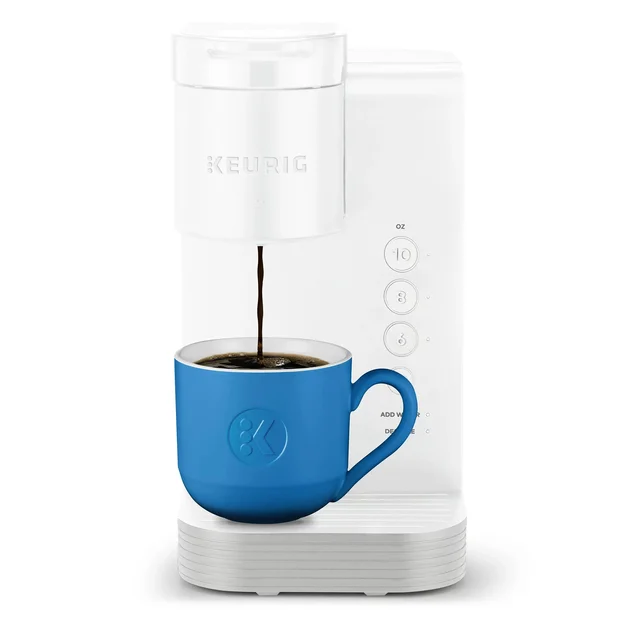
- Fresh water: For mixing with the vinegar and for rinsing after the descaling cycle.
Ensure to gather all these materials before you start the descaling process. This makes the process smoother and quicker.
Step-by-Step Descaling Process
Proper descaling of your Keurig ensures it runs smoothly and your coffee tastes its best.
Mixing the Vinegar Solution
Fill the water reservoir with a mix of half white vinegar and half water. This diluted vinegar solution is strong enough to break down mineral deposits without harming your Keurig.
Running the Descaling Cycle
Start the descaling cycle by placing a large mug under the brew spout. Use the brew cycle to run the vinegar solution through your Keurig. Empty the mug as needed and repeat until the reservoir is almost empty.
Rinsing and Flushing the System
Once the descaling cycle is complete, fill the reservoir with fresh water. Run this water through several brew cycles to flush out any remaining vinegar solution. Repeat until the water runs clear, and you can’t smell vinegar anymore.
Doing these steps regularly helps maintain your Keurig and ensures it brews perfect coffee every time.
Care and Maintenance After Descaling
After descaling your Keurig with vinegar, proper care and maintenance are key. Here’s what to do:
Keep it Dry and Clean
Always wipe your Keurig after use. Dry all parts to prevent mold.
Regular Cleaning Schedule
Set reminders to clean your Keurig’s detachable parts. Do this at least monthly.
Use Fresh Water
Always brew with fresh water. Replace water if sitting in the reservoir too long.
Check for Residue Regularly
Inspect your Keurig for coffee grounds or residue. Clean these areas as needed.
Store Properly
If not using your Keurig for a while, empty the water reservoir. This prevents mold.
By following these simple steps, you extend your Keurig’s life and ensure great tasting coffee.
Common Mistakes to Avoid During Descaling
When descaling your Keurig with vinegar, avoid these common errors to ensure a successful clean:
- Skipping the Rinse: Always run several cycles with fresh water after using vinegar. This prevents any lingering vinegar taste in your coffee.
- Using Full-strength Vinegar: Never pour pure vinegar into your Keurig. Always dilute it with equal parts of water to protect the machine’s interior.
- Ignoring Instructions: Follow your Keurig’s manual for descaling steps. Some models have specific instructions.
- Forgetting to Remove Parts: Always remove any detachable parts like the drip tray and K-cup holder. Clean them separately.
- Leaving Water in the Reservoir: Do not leave descaling solution or water in the reservoir after cleaning. This can cause bacteria growth.
- Descale Only When There are Issues: Regular descaling is a must. Don’t wait until your coffee tastes bad or the machine acts up.
- Neglecting the Exterior: Wipe down the outside of your Keurig as well. Spills and smudges can affect performance over time.
By being mindful of these pitfalls, you’ll maintain a clean, efficient Keurig and enjoy better-tasting coffee every day.
Alternative Descaling Solutions and When to Use Them
When vinegar is not your preferred option or unavailable, consider alternative descaling agents. These alternatives can be as effective as vinegar but might be preferable for different reasons.
Commercial Descale Solutions
Pre-made descale solutions are available for purchase. These are specifically formulated for coffee makers and easy to use. Follow the instructions on the label. Use them if you dislike vinegar’s smell or need a quick, no-mix solution.
Lemon Juice
Lemon juice, like vinegar, is acidic and can break down scale. Mix equal parts of lemon juice and water. Use this mixture if you prefer a fresher scent than vinegar.
Baking Soda
Baking soda, while not acidic, can help clean your Keurig. Dissolve a quarter cup of baking soda in water. Run this solution through your machine if you need a mild, odorless cleaner.
Descaling with Water Softeners
If you have hard water, use water softeners to slow scale buildup. They won’t clean existing scale but will reduce future deposits. Use these regularly as a preventive measure.
Remember, after using any descaling agent, perform several rinse cycles with fresh water. This ensures your Keurig is free of cleaning solutions and ready to brew a perfect cup of coffee.
Conclusion: How Do I Descale My Keurig with Vinegar?
In conclusion, descaling your Keurig with vinegar is an effective way to maintain your coffee maker’s performance and enhance the quality of your brews. By following the detailed steps outlined in this article, you can easily restore your machine and prolong its longevity. It is essential to integrate regular maintenance, such as descaling and cleaning, into your coffee-making routine to ensure your Keurig serves you delicious, hot coffee for years to come. Doing so will not only contribute to the machine’s efficiency but also enhance the overall taste and enjoyment of your favorite morning beverage. Always ask, “How do I descale my Keurig with vinegar?” before letting any scale build up, and you will be prepared to tackle it with ease. Happy brewing!

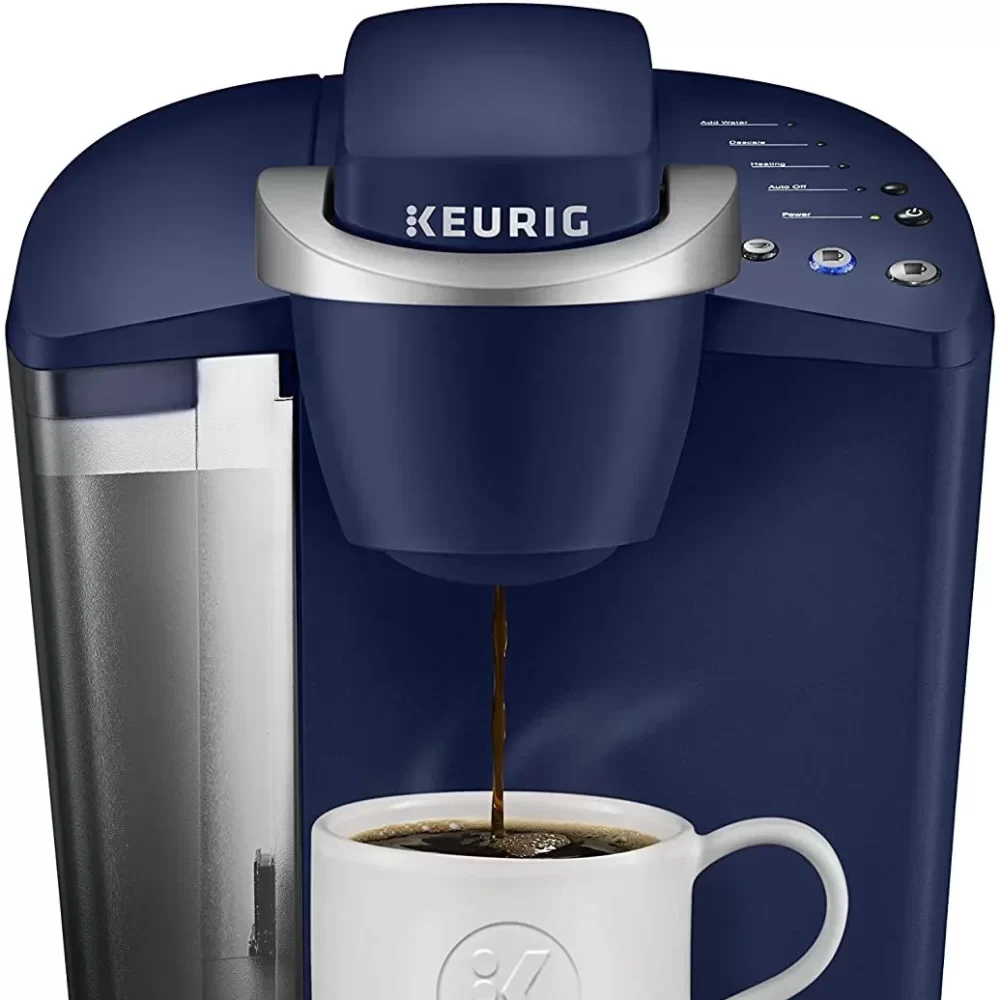
 Using Vinegar as a Natural Descale Solution
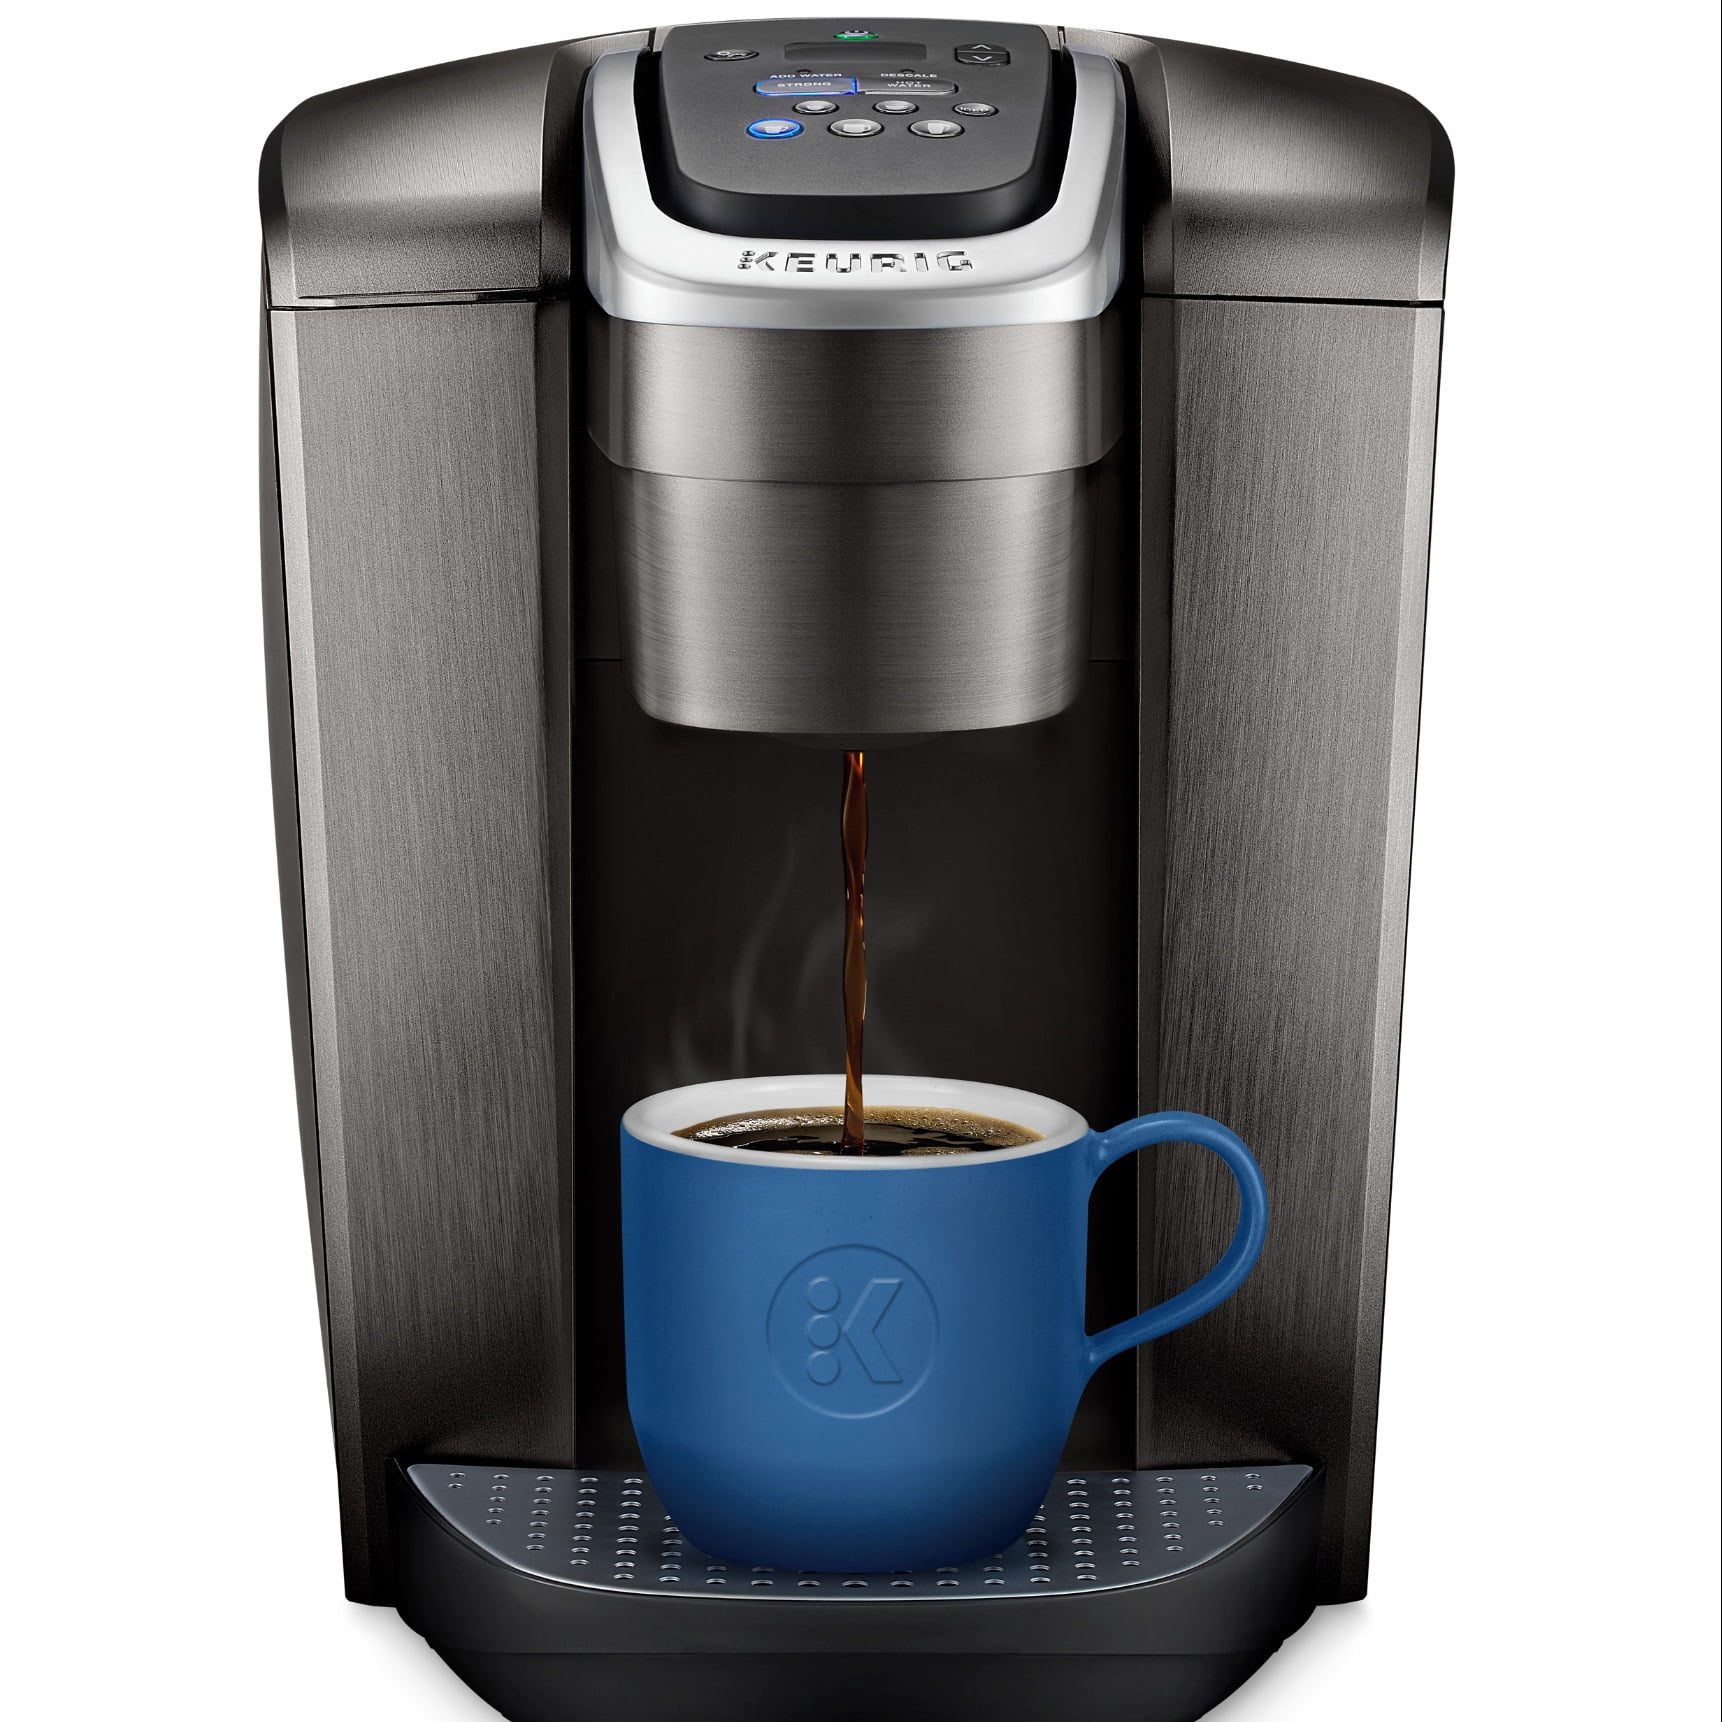
 Troubleshooting Persistent Descale Light Issues
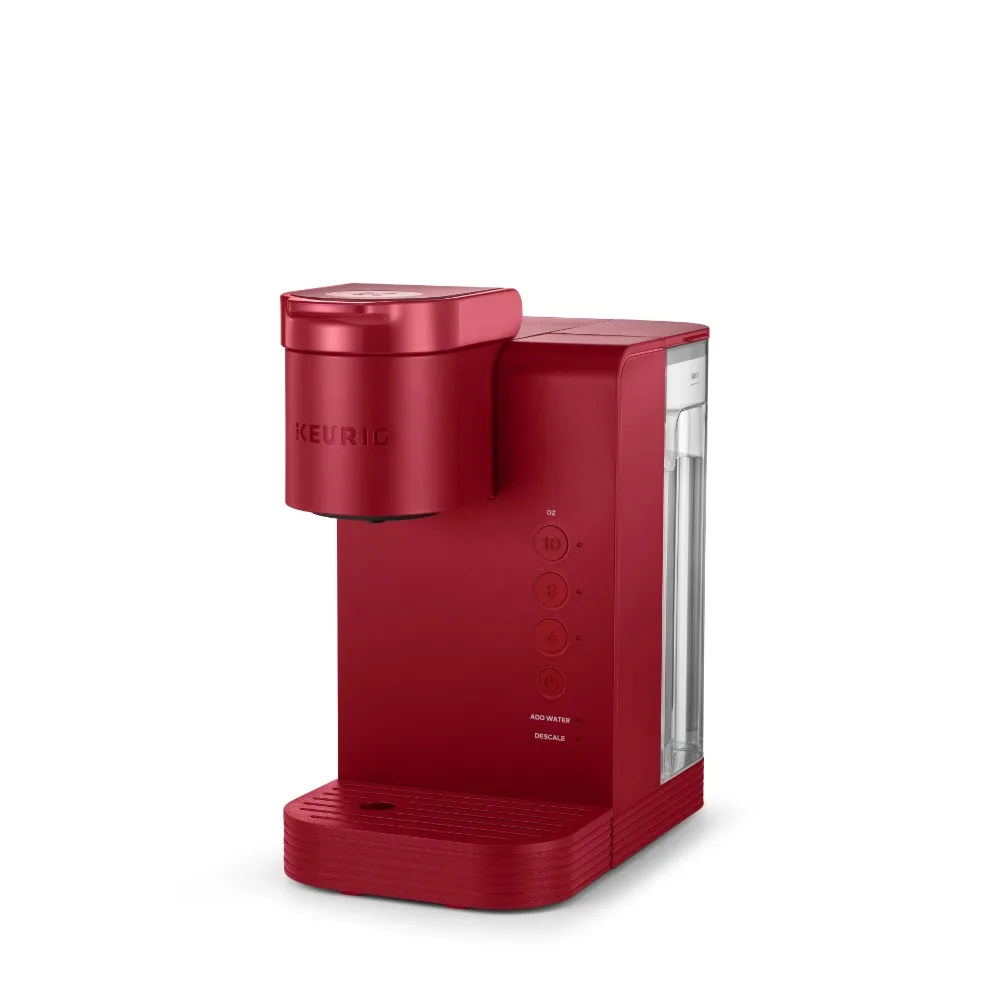
 The Importance of the Serial Number for Warranty
 Alternative Methods: Descaling with Citric Acid and Baking Soda
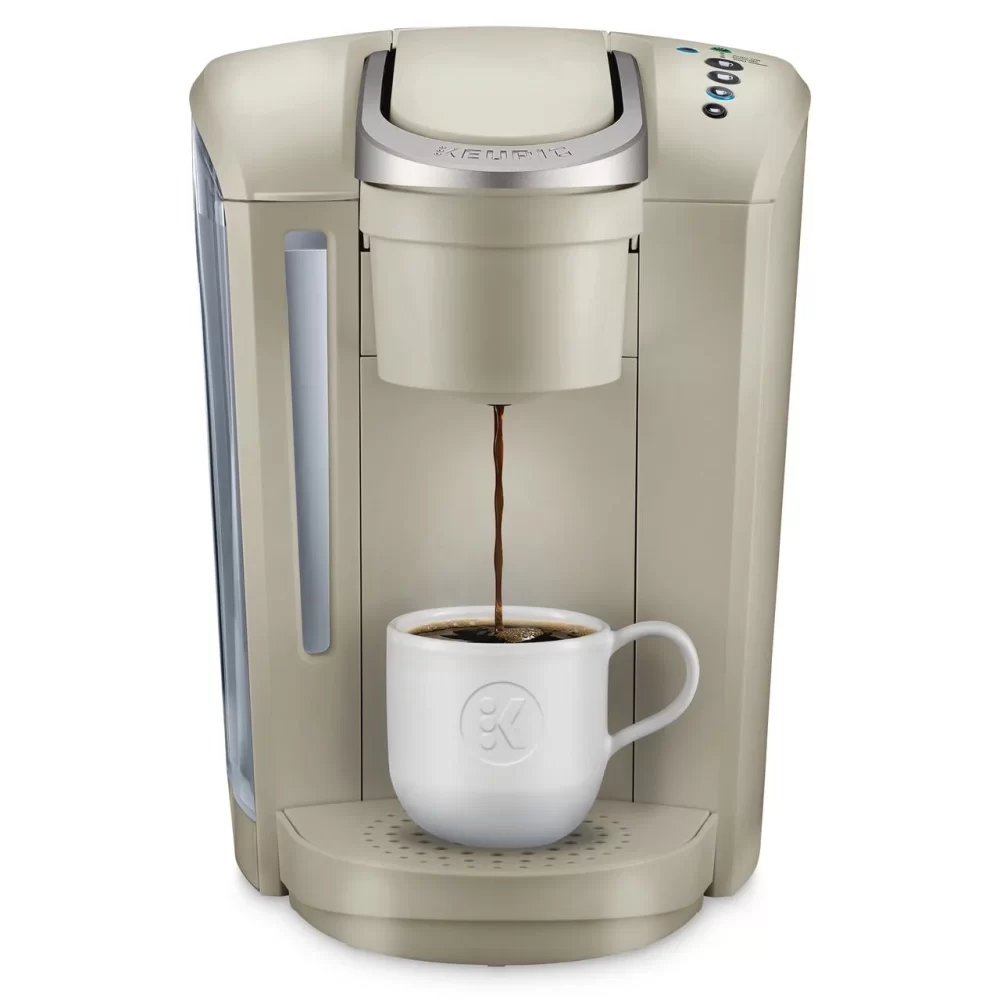
 Cleaning the Keurig Exit Needle
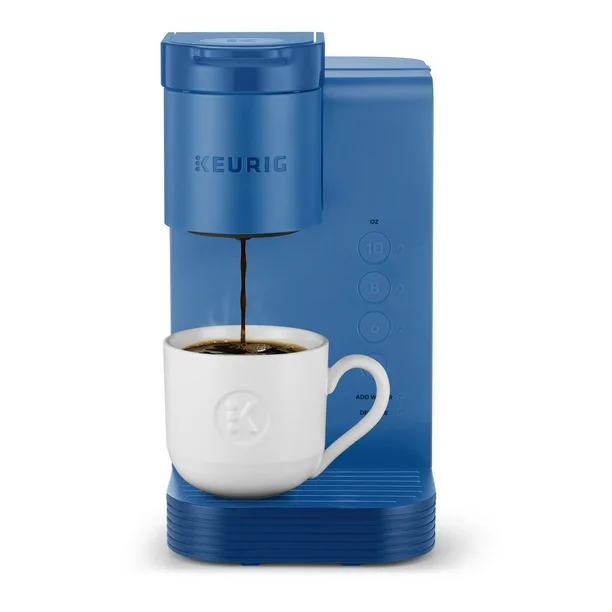
 Rinse Cycle: Cleaning Out the Descaling Solution
 Step-by-Step Descaling Process