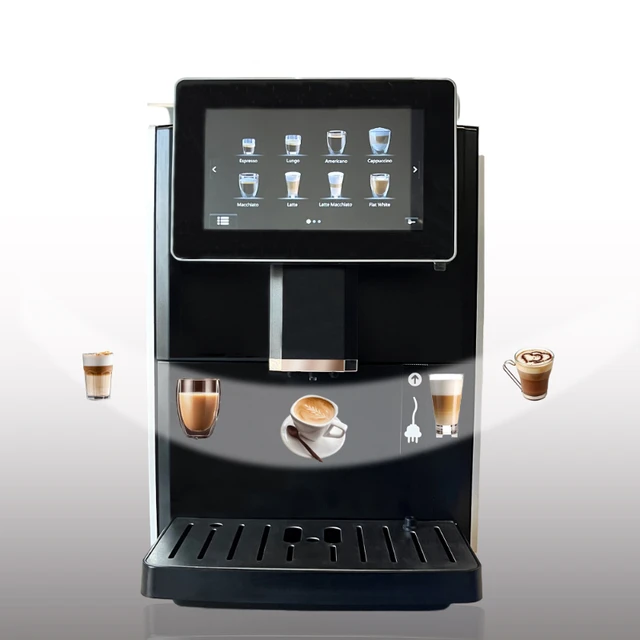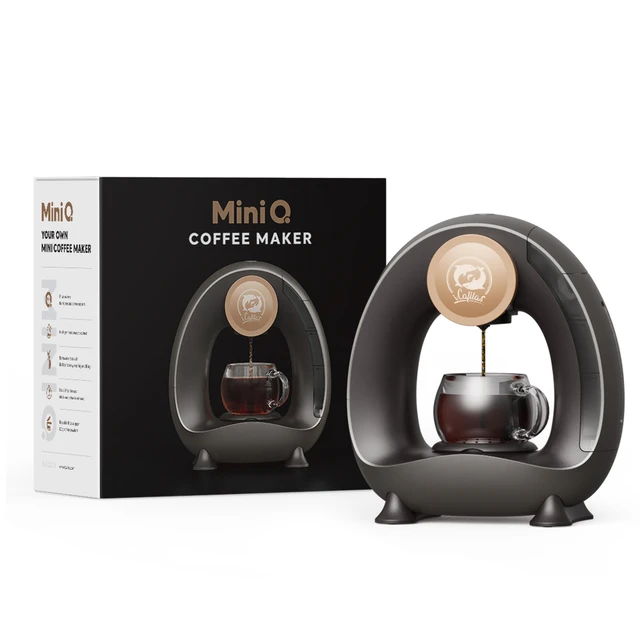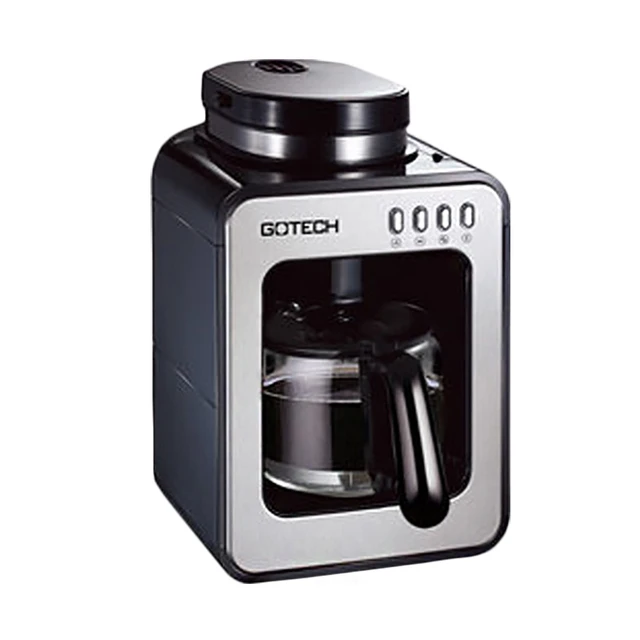
Posted on Leave a comment

How does a basic coffee machine work?

Coffee machine

Introduction

How to use a coffee maker? A basic coffee machine is a popular appliance used to brew coffee quickly and conveniently. While the design and features may vary among different models, the fundamental principles of how a basic coffee machine works remain consistent. In this article, we will delve into the specific workings of a basic coffee machine, providing step-by-step details on how it brews coffee and delivers it to your cup.
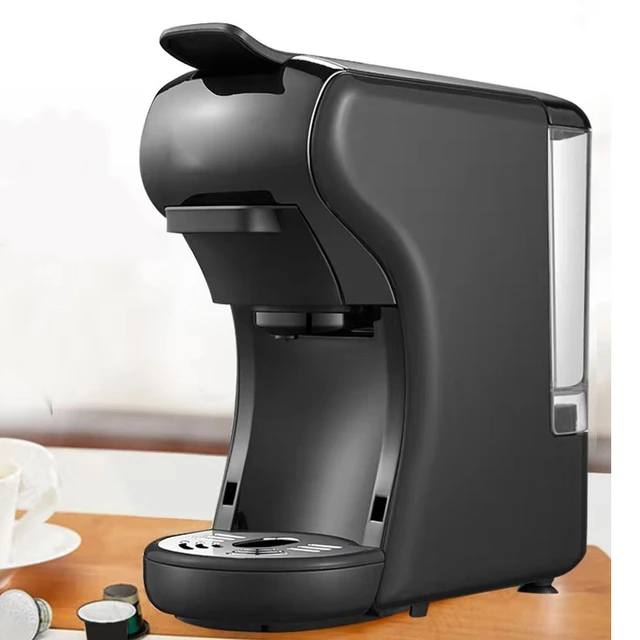
Coffee machine

How does coffee machine work?

Water Reservoir

One of the primary components of a coffee machine is the water reservoir. The reservoir is usually located at the back or side of the machine and is designed to hold a specific amount of water. The capacity varies depending on the size and model of the coffee machine.

When preparing to brew coffee, the user fills the water reservoir with clean, filtered water. The reservoir typically includes a maximum fill line to prevent overfilling and ensure proper brewing conditions.

Heating Element

The heating element in a coffee machine plays a crucial role in the brewing process. When the machine is turned on and the brewing process begins, the heating element is activated to heat the water in the reservoir.

The heating element operates on an electrical circuit, converting electrical energy into heat energy. As the heating element warms up, it transfers heat to the water, gradually raising its temperature to the desired brewing temperature, typically between 195-205°F (90-96°C).

Brew Basket or Portafilter

A basic coffee machine features a brew basket or portafilter, which holds the coffee grounds during the brewing process.

The brew basket or portafilter may include a filter or accommodate paper filters that prevent the coffee grounds from entering the brewed coffee. These filters ensure that only the liquid coffee passes through, filtering out any solid particles or residue.

Ground Coffee

To prepare coffee for brewing, the user adds the desired amount of ground coffee to the brew basket or portafilter. The amount of coffee used can vary based on personal preference and the strength of coffee desired. The coffee grounds should be of the appropriate grind size suitable for the brewing method used by the coffee machine.

Brewing Process

Once the water is heated and the coffee grounds are in place, the brewing process begins. The basic steps of the brewing process include the following:

Water Dispersion: The coffee machine uses a pump or gravity to disperse the heated water from the water reservoir. The water is released in a controlled manner, ensuring that it comes into contact with the coffee grounds evenly.

Extraction: As the heated water passes through the coffee grounds in the brew basket or portafilter, the soluble compounds within the coffee grounds are extracted. These compounds include the desirable flavors, oils, and aromas that give coffee its distinct taste.

Drip or Flow: The brewed coffee then flows from the brew basket or portafilter into a carafe or cup. The coffee may pass through a drip system or flow directly through the portafilter’s spout, depending on the type of coffee machine.

Water Flow Control: Basic coffee machines often feature a one-way valve or control mechanism that regulates the flow of water through the coffee grounds. This ensures that the water passes through the coffee grounds at an appropriate rate to optimize flavor extraction.

Brewing Time: The brewing time varies depending on the coffee machine and the desired strength of the coffee. It typically takes a few minutes for the water to pass through the coffee grounds, allowing for proper extraction and flavor development.
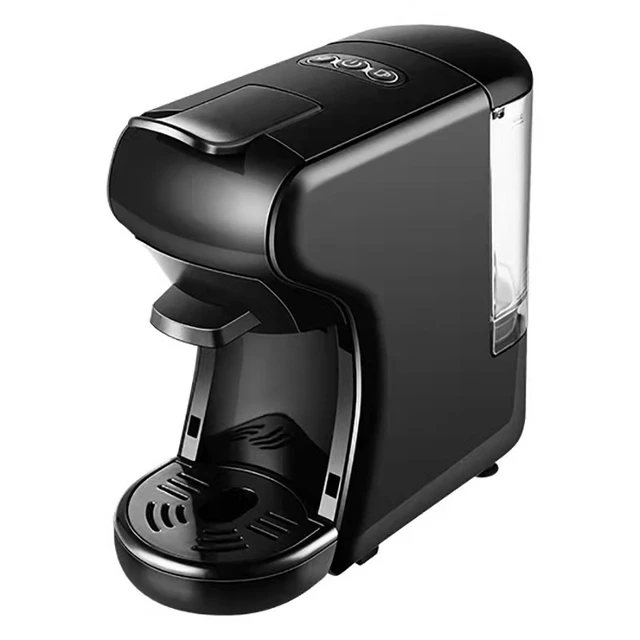
Coffee machine

Care of a coffee maker

Carafe or Cup

As the brewed coffee flows from the brew basket or portafilter, it collects in a carafe or cup. The carafe or cup is positioned beneath the machine’s spout to catch the brewed coffee.

How to use a coffee maker? Safety Features

Auto Shut-off: This feature automatically powers off the coffee machine after a certain period of inactivity. It prevents accidents and conserves energy.

Overheat Protection: Basic coffee machines often incorporate overheat protection mechanisms to prevent damage or fire hazards in case of excessive heating.

How to use a coffee maker? Cleaning and Maintenance

After each use, it is important to clean and maintain the coffee machine to ensure optimal performance and longevity. Specific cleaning instructions can vary depending on the model, so refer to the user manual for detailed guidance. Regular cleaning typically involves rinsing the brew basket or portafilter, emptying and cleaning the carafe or cup, and descaling the machine periodically to remove mineral buildup.
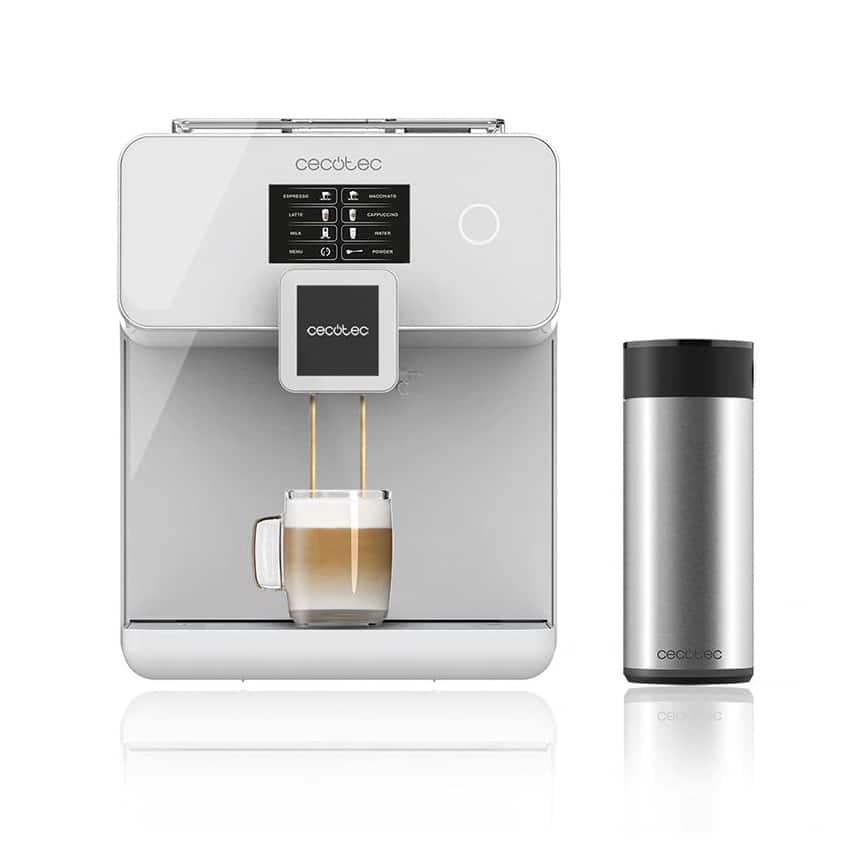
Coffee machine

How to use a coffee maker? Variations in Brewing Methods

While the basic principles of how a coffee machine works remain consistent, it’s important to note that there are variations in brewing methods among different types of coffee machines. Here are a few examples:

Drip Coffee Machines: Drip coffee machines typically feature a water reservoir at the back or side, a brew basket, and a heating element.

Single-Serve Machines: Single-serve coffee machines, such as pod or capsule-based systems, operate differently.

French Press: While not technically a coffee machine, the French press is a popular manual brewing method. It consists of a cylindrical carafe with a plunger and a metal mesh filter.

Considerations for Brewing Coffee

To achieve the best results when using a coffee machine, consider the following factors:

Grind Size: The grind size of the coffee beans affects the extraction process and, consequently, the taste of the brewed coffee.

Water Quality: Using clean, filtered water can enhance the taste of your coffee. Water that is too hard or has a strong mineral content can negatively impact the flavor and performance of your coffee machine.

Brewing Time: The brewing time can affect the strength and extraction of your coffee. Follow the recommended brewing time for your specific machine and adjust it based on your taste preferences.

Cleaning and Maintenance: Regular cleaning and maintenance are crucial for keeping your coffee machine in optimal working condition. Refer to the user manual for specific instructions on cleaning and descaling the machine, and follow the recommended maintenance schedule.
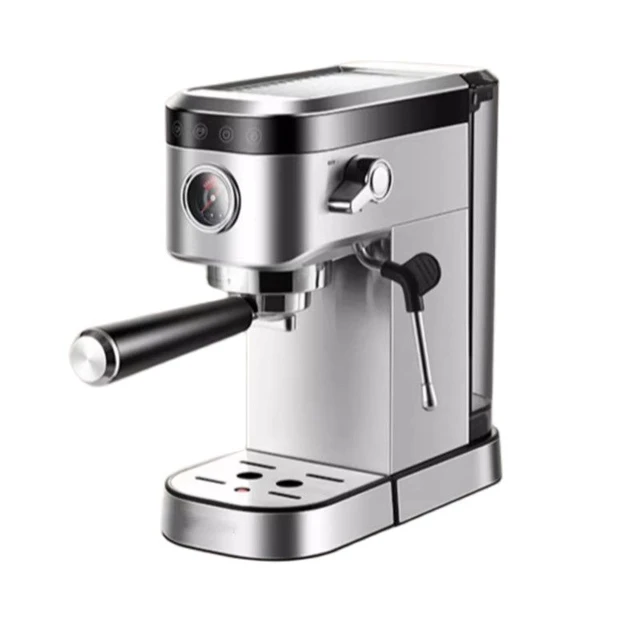
Coffee machine

How to use a coffee maker? The Key Components of a Coffee Machine

Every basic coffee machine consists of several integral components working together to brew the perfect cup of coffee. Therefore, understanding these components is crucial.

Water Reservoir

The water reservoir is the starting point for the brewing process. It is where you pour the water that will eventually turn into coffee. Most basic coffee machines have a removable or built-in water reservoir. This part needs regular cleaning to ensure the purity and taste of your coffee. Consequently, using filtered water in the reservoir can significantly improve the coffee’s flavor. Therefore, recognizing the importance of the water reservoir is essential for optimal coffee brewing.

Heating Element

The heating element is another critical component. Located usually at the base of the machine, it heats the water to the ideal brewing temperature. This element typically consists of a metal coil that heats up when electricity flows through it. The heated water then passes through a tube towards the coffee grounds. Therefore, the heating element’s efficiency is vital for achieving the perfect cup of coffee. Consequently, maintaining it can ensure your coffee machine’s longevity and performance.

How to use a coffee maker? The Brewing Process

The brewing process involves several steps that transform water and coffee grounds into a delicious beverage. Therefore, understanding this process offers valuable insights.

Water Heating

Once the machine is turned on, the heating element activates to heat the water in the reservoir. The temperature typically reaches around 90-96 degrees Celsius, ideal for coffee extraction. As the water heats up, it creates steam, which increases pressure within the machine. This pressure forces the hot water through a tube, directing it towards the coffee grounds. Therefore, heating is the first crucial step in the brewing process that ensures coffee grounds are optimally extracted.
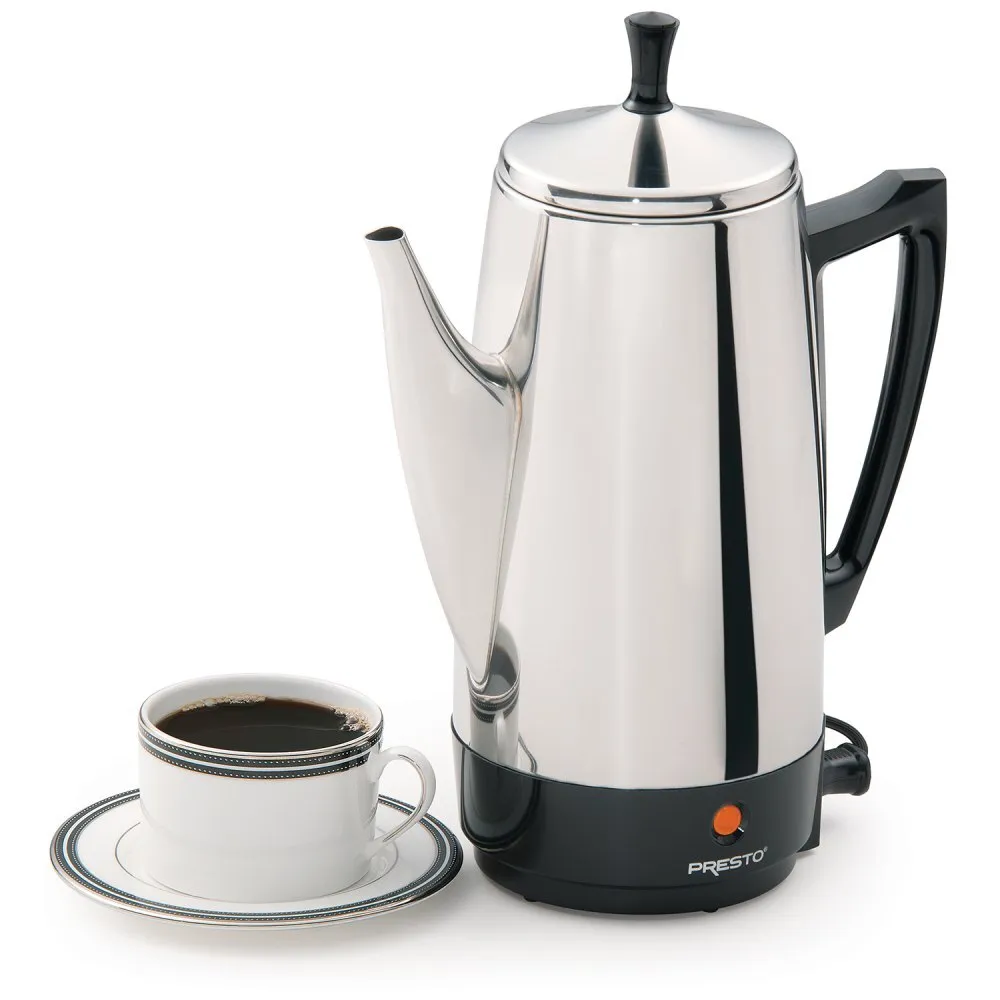
Coffee Machine

Water Dispersion

After heating, the hot water travels through a tube to the showerhead, which is a perforated disk above the coffee grounds. The showerhead evenly disperses the hot water over the coffee grounds, ensuring uniform extraction. Even dispersion is crucial for extracting the full flavor and aroma of the coffee. Consequently, any malfunction in the showerhead can lead to uneven brewing and a suboptimal cup of coffee. Therefore, understanding water dispersion highlights its importance in the brewing process.

Conclusion

Understanding how a basic coffee machine works is essential for achieving the best results when brewing coffee at home. From the water reservoir and heating element to the brew basket or portafilter, each component plays a vital role in the brewing process. By following the steps of adding water, preparing the coffee grounds, and activating the brewing process, the machine delivers freshly brewed coffee to your cup or carafe. Regular cleaning and maintenance ensure the machine’s longevity and continued brewing excellence. With this knowledge, you can confidently operate a basic coffee machine and enjoy your favorite cup of coffee at home in 2024.
Posted on Leave a comment

Scale-Free Brewing: Descaling Your Keurig Coffee Maker

keurig coffee maker

Introduction

Regular descaling is essential for the optimal performance and longevity of your Keurig coffee maker. Over time, mineral deposits from water, known as scale or limescale, can build up inside the machine, affecting its efficiency and the taste of your brewed coffee. In this comprehensive guide, we will explore various methods for descaling your Keurig coffee maker, discuss the importance of descaling, provide step-by-step instructions, and share tips for maintaining a scale-free brewing experience. Let’s dive into the world of descaling and ensure the deliciousness of every cup of coffee.

keurig coffee maker

Scale-Free Brewing: Descaling Your Keurig Coffee Maker

I. Understanding the Importance of Descaling

  1. Scale Buildup Impact:

  • Scale buildup can clog the water reservoir, impede water flow, and affect the temperature and brewing process. This can lead to issues such as incomplete brewing, slow brewing, or even machine malfunction.
  1. Taste and Aroma:

  • Descaling ensures the removal of mineral deposits that can negatively impact the taste and aroma of your coffee. Regular descaling helps maintain the true flavor profile of your brewed beverages.
  1. Prolonging Appliance Lifespan:

  • Proper descaling enhances the longevity of your Keurig coffee maker by reducing the strain on internal components and preventing potential damage caused by scale buildup.

II. Determining Your Descale Frequency

  1. Water Hardness:

  • The hardness of your water supply influences how quickly scale accumulates in your coffee maker. Refer to your local water provider or use water testing kits to determine the hardness of your water.
  1. Manufacturer’s Recommendations:

  • Check the user manual or the manufacturer’s website for specific descaling guidelines and recommended descale frequency for your Keurig coffee maker model.
  1. Descale Indicators:

  • Some Keurig models have descale indicators that illuminate or display a notification when it’s time to descale the machine. Follow the indications provided by the machine to ensure timely descaling.

keurig coffee maker

III. Selecting a Descale Solution

  1. Manufacturer-Recommended Solutions:

  • Keurig offers descaling solutions specifically designed for their coffee makers. These solutions are formulated to effectively remove scale buildup and ensure the best performance of the machine.
  1. DIY Descaling Solutions:

  • You can also make a descaling solution at home using white vinegar or citric acid. These natural alternatives can be just as effective in descaling your Keurig coffee maker.

IV. Descaling Step-by-Step Guide

  1. Empty and Clean the Water Reservoir:

  • Start by emptying the water reservoir and removing any water filters or cartridges, if applicable. Discard any remaining water and clean the reservoir using warm, soapy water and a gentle brush or sponge. Rinse thoroughly.
  1. Prepare the Descale Solution:

  • Follow the instructions provided with the manufacturer-recommended descaling solution or measure the DIY descaling solution. Mix the solution with the appropriate amount of clean water, ensuring the solution ratio is as recommended.
  1. Fill the Water Reservoir:

  • Pour the descale solution into the water reservoir of your Keurig coffee maker. Fill the reservoir to the maximum capacity indicated. Do not exceed the maximum fill line.
  1. Start the Brewing Cycle:

  • Place a large ceramic mug or a cup on the drip tray of the machine. Start a brewing cycle without inserting a K-Cup pod. Select the largest brew size available to maximize the descaling effectiveness.
  1. Complete the Descaling Process:

  • Allow the machine to fully complete the brewing cycle, which involves heating and dispensing the descale solution. Depending on your Keurig model, this process may take several minutes. Do not interrupt it.

keurig coffee maker

  1. Discard the Solution and Rinse:

  • After the brewing cycle is complete, carefully remove the mug and discard the descale solution. Rinse the mug thoroughly, and then place it back onto the drip tray.
  1. Rinse the Water Reservoir:

  • Rinse the water reservoir with clean water several times to remove any traces of the descale solution. This ensures that there won’t be any residual taste or odor in your brewed beverages.
  1. Repeat the Rinse Cycle:

  • Fill the water reservoir with fresh water and start a brewing cycle without a K-Cup pod. Repeat this process multiple times to thoroughly rinse the internal components of the coffee maker.
  1. Clean External Parts:

  • While descaling the internal components, take the opportunity to wipe down the external surfaces of your Keurig coffee maker using a damp cloth or sponge. Ensure the machine is unplugged during this process.

V. Tips for Ongoing Maintenance

  1. Regular Water Reservoir Cleaning:

  • To prevent bacterial growth and maintain the cleanliness of your coffee maker, clean the water reservoir regularly with warm, soapy water. Rinse it thoroughly before refilling.
  1. Change Water Frequently:

  • For optimal taste and quality, avoid using stagnant water that has been sitting in the water reservoir for an extended period. Always use fresh water when brewing your beverages.
  1. Remove and Clean Removable Parts:

  • Depending on your Keurig model, there may be removable parts such as drip trays and K-Cup holders. Regularly remove them and clean them with warm, soapy water to prevent debris buildup.
  1. Check and Replace Water Filters:

  • If your Keurig coffee maker is equipped with a water filter, follow the manufacturer’s recommendations for checking and replacing the filters regularly. This helps maintain the quality of your brewed beverages.
  1. Follow Descale Frequency Guidelines:

  • Adhere to the descale frequency guidelines provided by the manufacturer for your specific Keurig model. Regular descaling, even if not indicated by a descale indicator, helps ensure optimal performance.

keurig coffee maker

VI. Troubleshooting and Additional Considerations

  1. Keurig Error Messages:

  • If your Keurig displays error messages related to scale or descaling, consult the user manual or Keurig’s customer support for guidance on troubleshooting and addressing the issue.
  1. Vinegar Odor Removal:

  • If you experience residual vinegar odor after descaling with vinegar, run additional brewing cycles with fresh water to minimize and eliminate the scent.
  1. Water Hardness Management:

  • If you live in an area with particularly hard water, consider using a water filter, either in the coffee maker or at the point of water entry into your home, to reduce the scale buildup.
  1. Follow Manufacturer Instructions:

  • Always refer to the manufacturer’s instructions and guidelines for descaling, as different Keurig models may have specific steps or requirements.

keurig coffee maker

VII. Conclusion: Scale-Free Brewing Delight

Descaling your Keurig coffee maker is essential to ensure the longevity of the machine and the quality of your brews. By understanding why descaling is important, selecting the right descale solution, following the step-by-step guide for descaling, and maintaining ongoing maintenance, you can enjoy scale-free brewing and consistently delicious cups of coffee.

Remember to regularly check for descale indicators, consider water hardness in your area, and adhere to the manufacturer’s recommendations for descaling frequency. Embrace the process of descaling as an integral part of your coffee-making routine and relish the flavorful results it yields.

Posted on Leave a comment

How long does a Keurig take to brew?

Coffee machine

Introduction

Keurig coffee makers have gained popularity for their convenience and speed in brewing coffee. When it comes to brewing time, several factors can influence how long it takes for a Keurig machine to brew a cup of coffee. In this guide, we will explore the factors affecting brewing time and provide an overview of the typical brewing times for Keurig machines, including potential variations.

Coffee machine

How long does a Keurig take to brew?

Factors Affecting Brewing Time

Keurig Model and Generation

Different Keurig models and generations may vary in their brewing times. Newer Keurig models often come with improved technology and faster brewing capabilities. For example, Keurig 2.0 introduced features like a larger water reservoir and enhanced brewing systems, resulting in quicker brewing times compared to earlier models.

Cup Size Selection

The selected cup size plays a significant role in brewing time. Keurig machines typically offer multiple cup size options, such as 6 ounces, 8 ounces, and 10 ounces. The larger the cup size selected, the longer the brewing time may be. This is because the machine needs to dispense a greater volume of water to fill the larger cup size.

Water Temperature

The time it takes for a Keurig machine to heat water to the desired brewing temperature can affect the overall brewing time. Keurig machines are designed to heat water quickly, usually taking less than a minute to reach the optimal temperature range of 195°F to 205°F (90°C to 96°C). However, variations in ambient room temperature and machine performance can influence the heating time.

Preheating and Warm-Up Time

Some Keurig models require a preheating or warm-up time before initiating the brewing process. This duration can range from a few seconds to a minute or more, depending on the specific machine. During the preheating or warm-up phase, the machine heats the internal components and the water reservoir to ensure optimal brewing conditions.

Coffee Strength or Brew Setting

Certain Keurig models offer options to adjust the coffee strength or brew setting, such as regular or strong brew. The chosen strength or setting can affect brewing time as it may involve a longer contact time between water and coffee grounds or a slower water flow rate.

Typical Brewing Times for Keurig Machines

While brewing times vary depending on the factors mentioned above, the following are general ranges for the brewing times of Keurig machines:

Single Cup Brewing: On average, it takes approximately 1 to 3 minutes for a Keurig machine to brew a single cup of coffee. This includes the time for water heating, preheating, and dispensing the desired cup size of coffee.

Multiple Cup Brewing: If you are brewing multiple cups of coffee consecutively, it is important to note that Keurig machines need some time to reheat water between each brew. This can add a few extra seconds or minutes to the overall brewing time, depending on the specific model and the number of cups being brewed.

Variations in Brewing Times

In addition to the factors mentioned above, several other factors may cause variations in Keurig brewing times:

Machine Maintenance and Cleaning

Regular maintenance, such as descaling and cleaning, is crucial for optimal Keurig machine performance. A machine that hasn’t been properly maintained may experience slower brewing times. Mineral deposits or clogs in the water line, needles, or internal components can affect water flow and heating efficiency, resulting in longer brewing times.

Water Quality and Filter Usage

Water quality can impact brewing times, especially if it contains high mineral content. Hard water can lead to scale buildup and clogs within the machine, which can affect water flow and heating efficiency. Using a water filter or descaling the machine regularly can help mitigate these issues and maintain consistent brewing times.

Room Temperature and Environment

The ambient temperature and overall environment in which the Keurig machine is located can influence brewing times. Extremely low or high temperatures can affect the machine’s performance, including water heating, and may result in longer brewing times.

Coffee Pod Characteristics

Different coffee pods or K-Cups may have varying characteristics that affect brewing times. For instance, certain coffee blends or roasts may require more contact time with water for optimal extraction, leading to longer brewing times. Additionally, if the coffee pod is not properly punctured or positioned in the brew chamber, it can impact water flow and result in slower brewing.

Conclusion

The brewing time of a Keurig machine can vary depending on several factors, including the Keurig model, cup size selected, water temperature, preheating or warm-up time, coffee strength or brew setting, machine maintenance, water quality, room temperature, and coffee pod characteristics. On average, it takes approximately 1 to 3 minutes for a Keurig machine to brew a single cup of coffee. However, it is important to remember that these times are general estimates, and variations can occur based on the specific circumstances. By understanding these factors and considering their impact, you can better anticipate and manage the brewing time of your Keurig machine to enjoy a perfect cup of coffee.