Keurig coffee makers are a cornerstone of convenience in the modern kitchen. Known for their ease of use and ability to deliver a perfect cup of coffee in minutes, these machines are a common sight in households and offices alike. One of the more mysterious aspects of owning a Keurig is understanding its serial numbers. The serial number not only helps identify the model and features of the coffee maker but can also assist in service and warranty claims. In this article, we will delve into the world of Keurig serial numbers, offering a comprehensive guide to understanding what these numbers mean and how to locate them. Additionally, we will provide a list of Keurig serial numbers to aid owners in identifying their machines.
What is a Keurig Serial Number?
A Keurig serial number is a unique identifier assigned to every machine produced by the brand. It typically consists of a combination of letters and numbers and serves multiple functions, including manufacturing details, product specifications, and warranty information. Understanding your Keurig’s serial number can be helpful when troubleshooting issues, seeking replacements, or verifying the authenticity of your machine.
The Importance of Serial Numbers
Serial numbers often serve as the first line of defense in terms of customer service. They can indicate the date of manufacture and model type, which can help users determine the age of their machine and if certain issues are common for that model. When contacting Keurig customer service, providing the serial number can lead to faster assistance and more accurate information related to your model’s performance and quirks.
Warranty Verification
Keurig offers warranties on their products, which can vary by model. Serial numbers are essential for verifying whether your machine is still under warranty. When submitting a warranty claim or contacting customer service, having your serial number handy can speed up the process significantly.
How to Locate Your Keurig Serial Number
Finding the serial number on your Keurig machine may seem daunting, but it’s a straightforward process. Here are some tips on how to locate it:
1. Check the Bottom of the Machine
The most common place to find the serial number is on the bottom of the unit. Many manufacturers, including Keurig, print the serial number on a label located beneath the machine. You may need to flip the machine over to see it clearly.
2. Look Inside the Water Reservoir
Some models have the serial number printed inside the water reservoir. This may not be an easy location to access, but if you’re unable to find it on the bottom, it’s worth checking.
3. User Manual and Packaging
Your Keurig user manual may contain information about the serial number’s location. Additionally, if you have kept the original packaging, you may find the serial number on a label attached to the box or the manual itself.
4. Online Account
If you’ve registered your Keurig machine with your online account on the Keurig website, you may have the option to view your serial number through your account information.
Tips for Maintaining Your Keurig Serial Number
It’s important to keep your serial number accessible for future reference. Write it down and store it in a safe place where you can easily retrieve it when necessary. This practice can often resolve future issues with quicker, more efficient customer service.
Key Models of Keurig Machines and Their Serial Numbers
Keurig has produced numerous coffee machines over the years, each with its unique features. Recognizing the serial numbers associated with different models can help consumers understand which machine they own and how to maintain it.
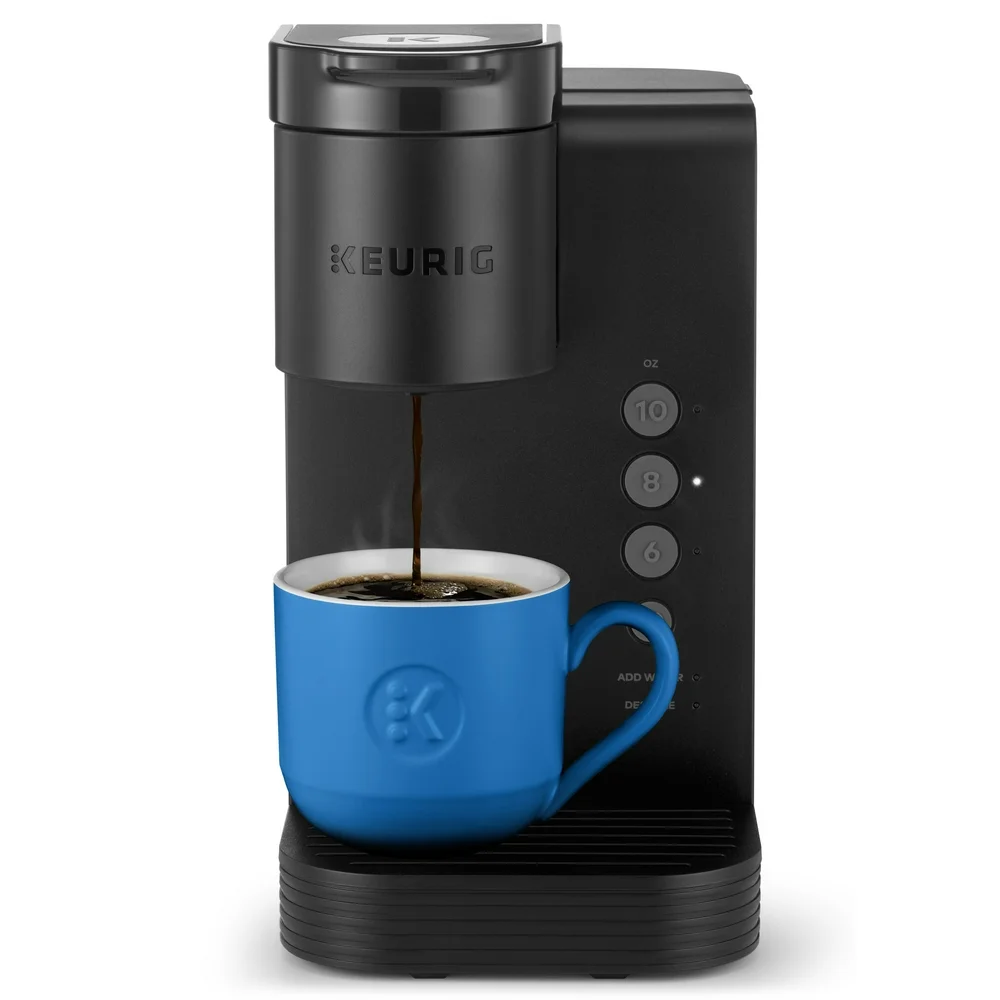
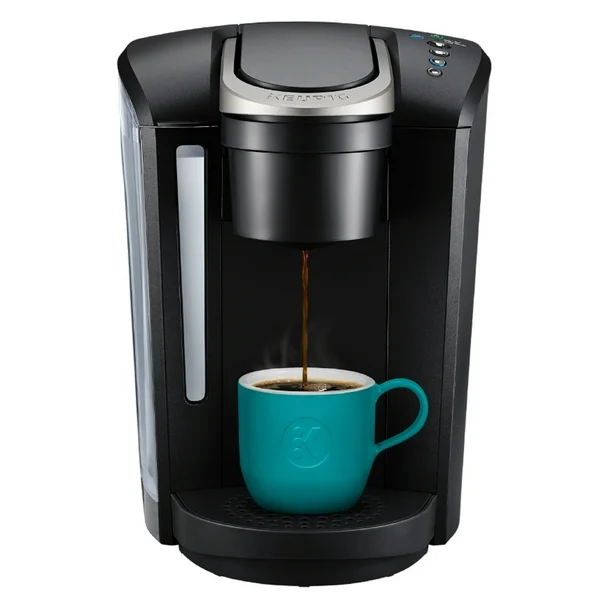
1. Keurig K-Elite
The K-Elite is known for its sleek design and multiple brewing options. Its serial number typically starts with “KE” followed by a series of numerical digits. Understanding this format can help owners identify their machine more quickly.
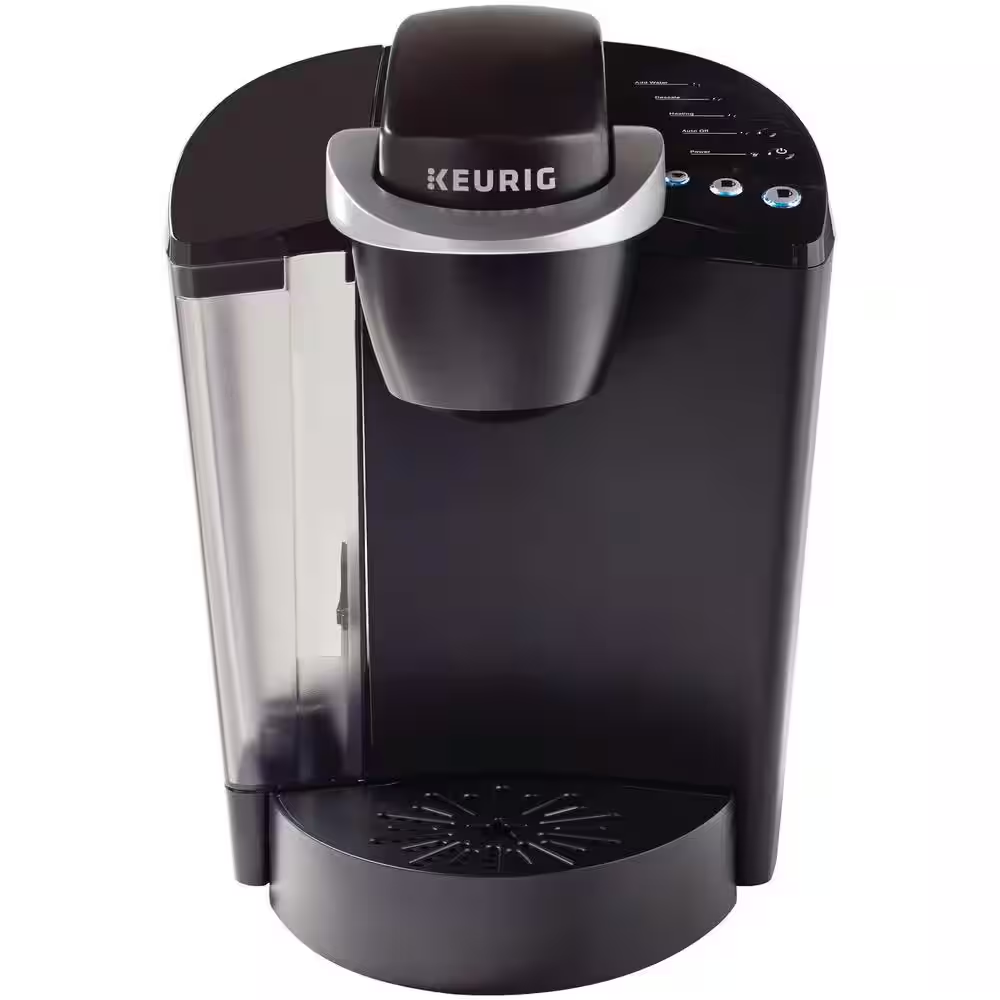
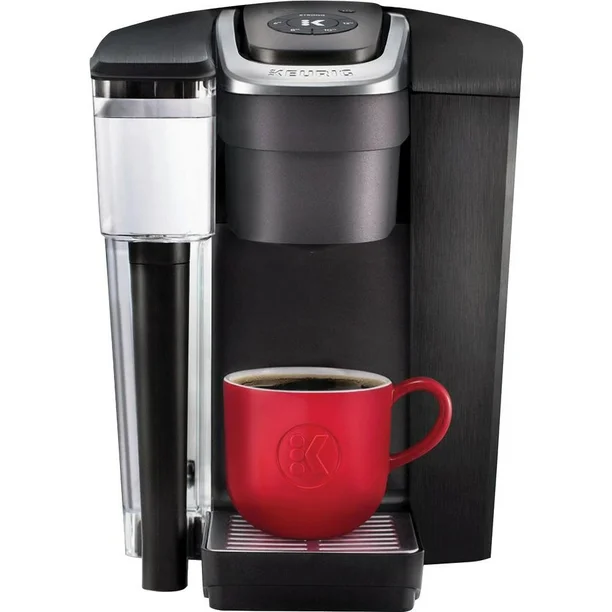
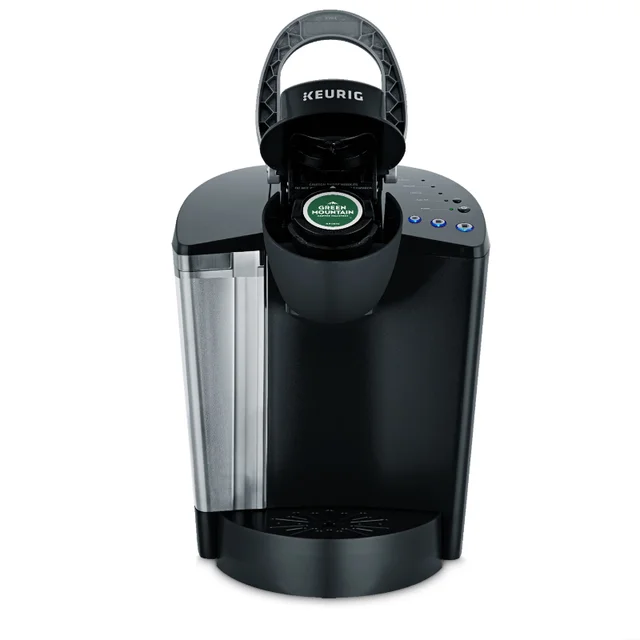
2. Keurig K-Select
This model is designed for simplicity and ease of use, catering to those who prefer straightforward brewing. Serial numbers for the K-Select start with “KS” and are followed by series numbers, which may consist of both numbers and letters.
3. Keurig K-Café
For latte and cappuccino lovers, the K-Café offers an integrated milk frother, making it a versatile choice. The serial number for K-Café models usually starts with “KC.” Recognizing this pattern can make identification easier.
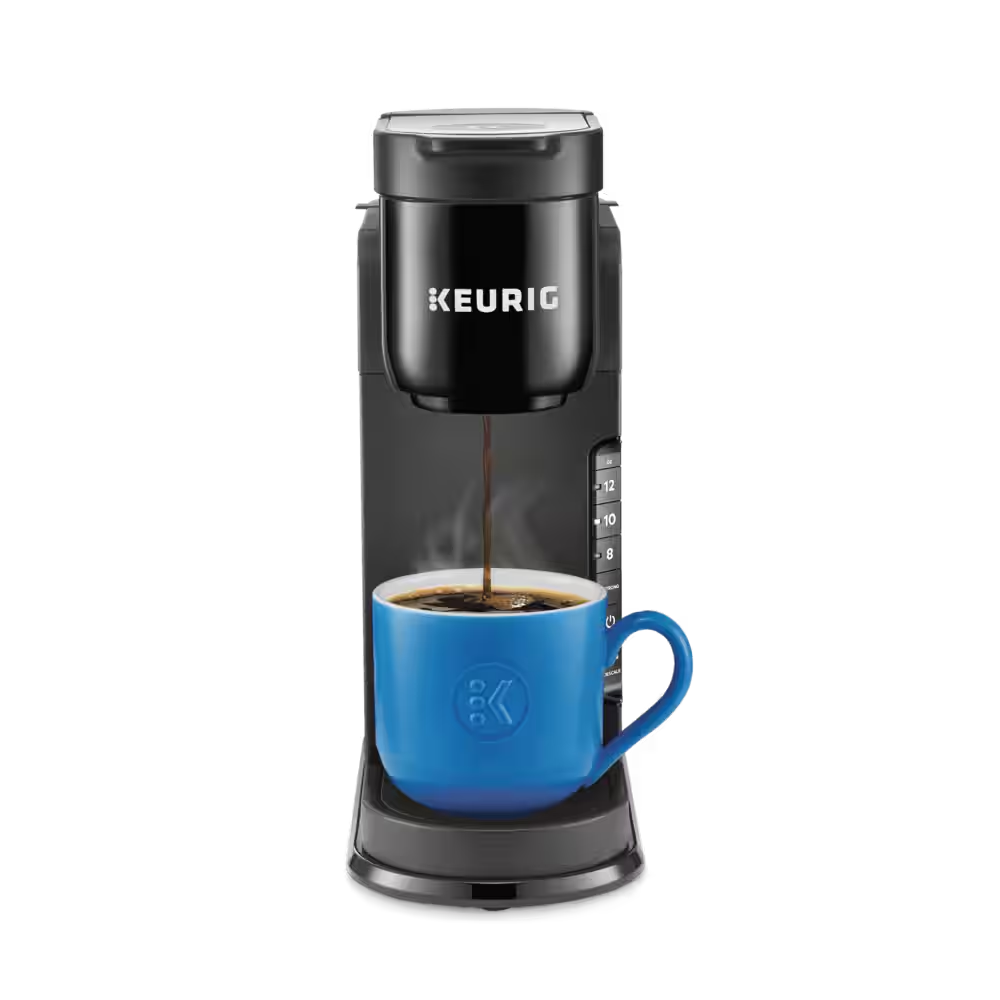
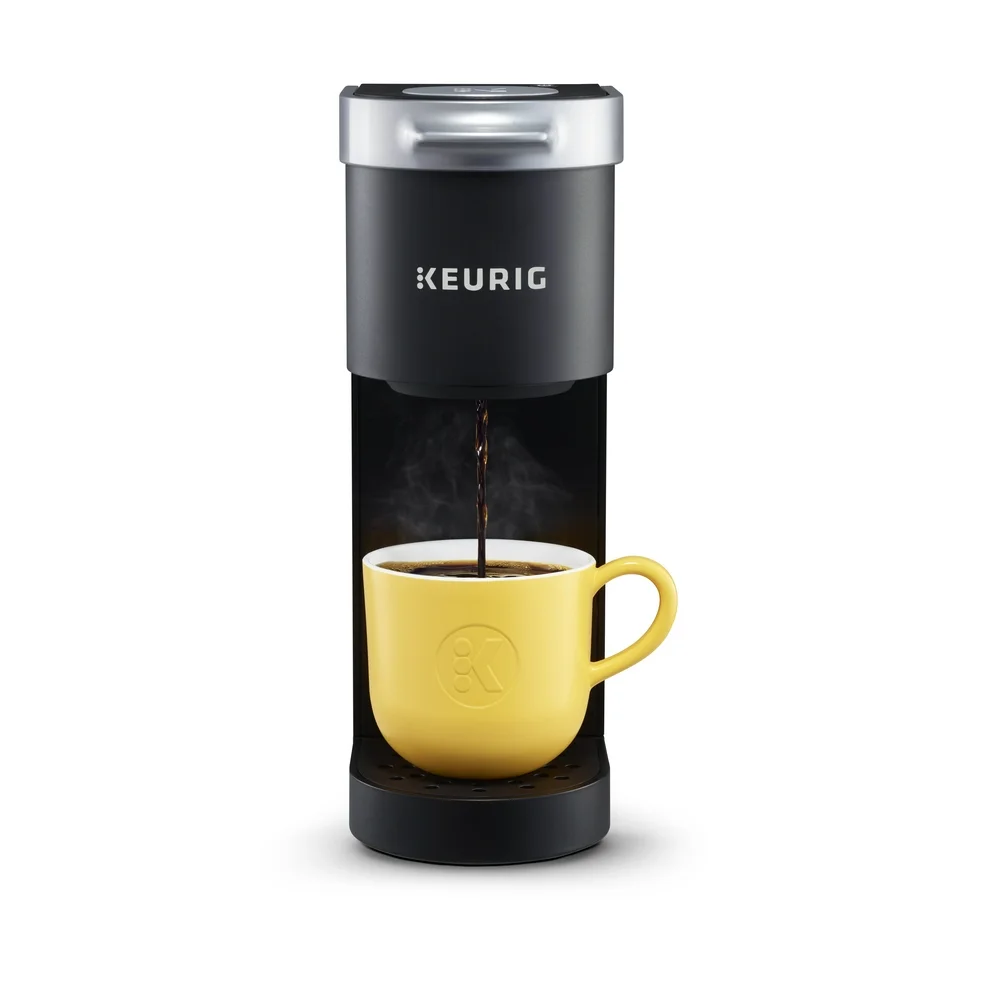
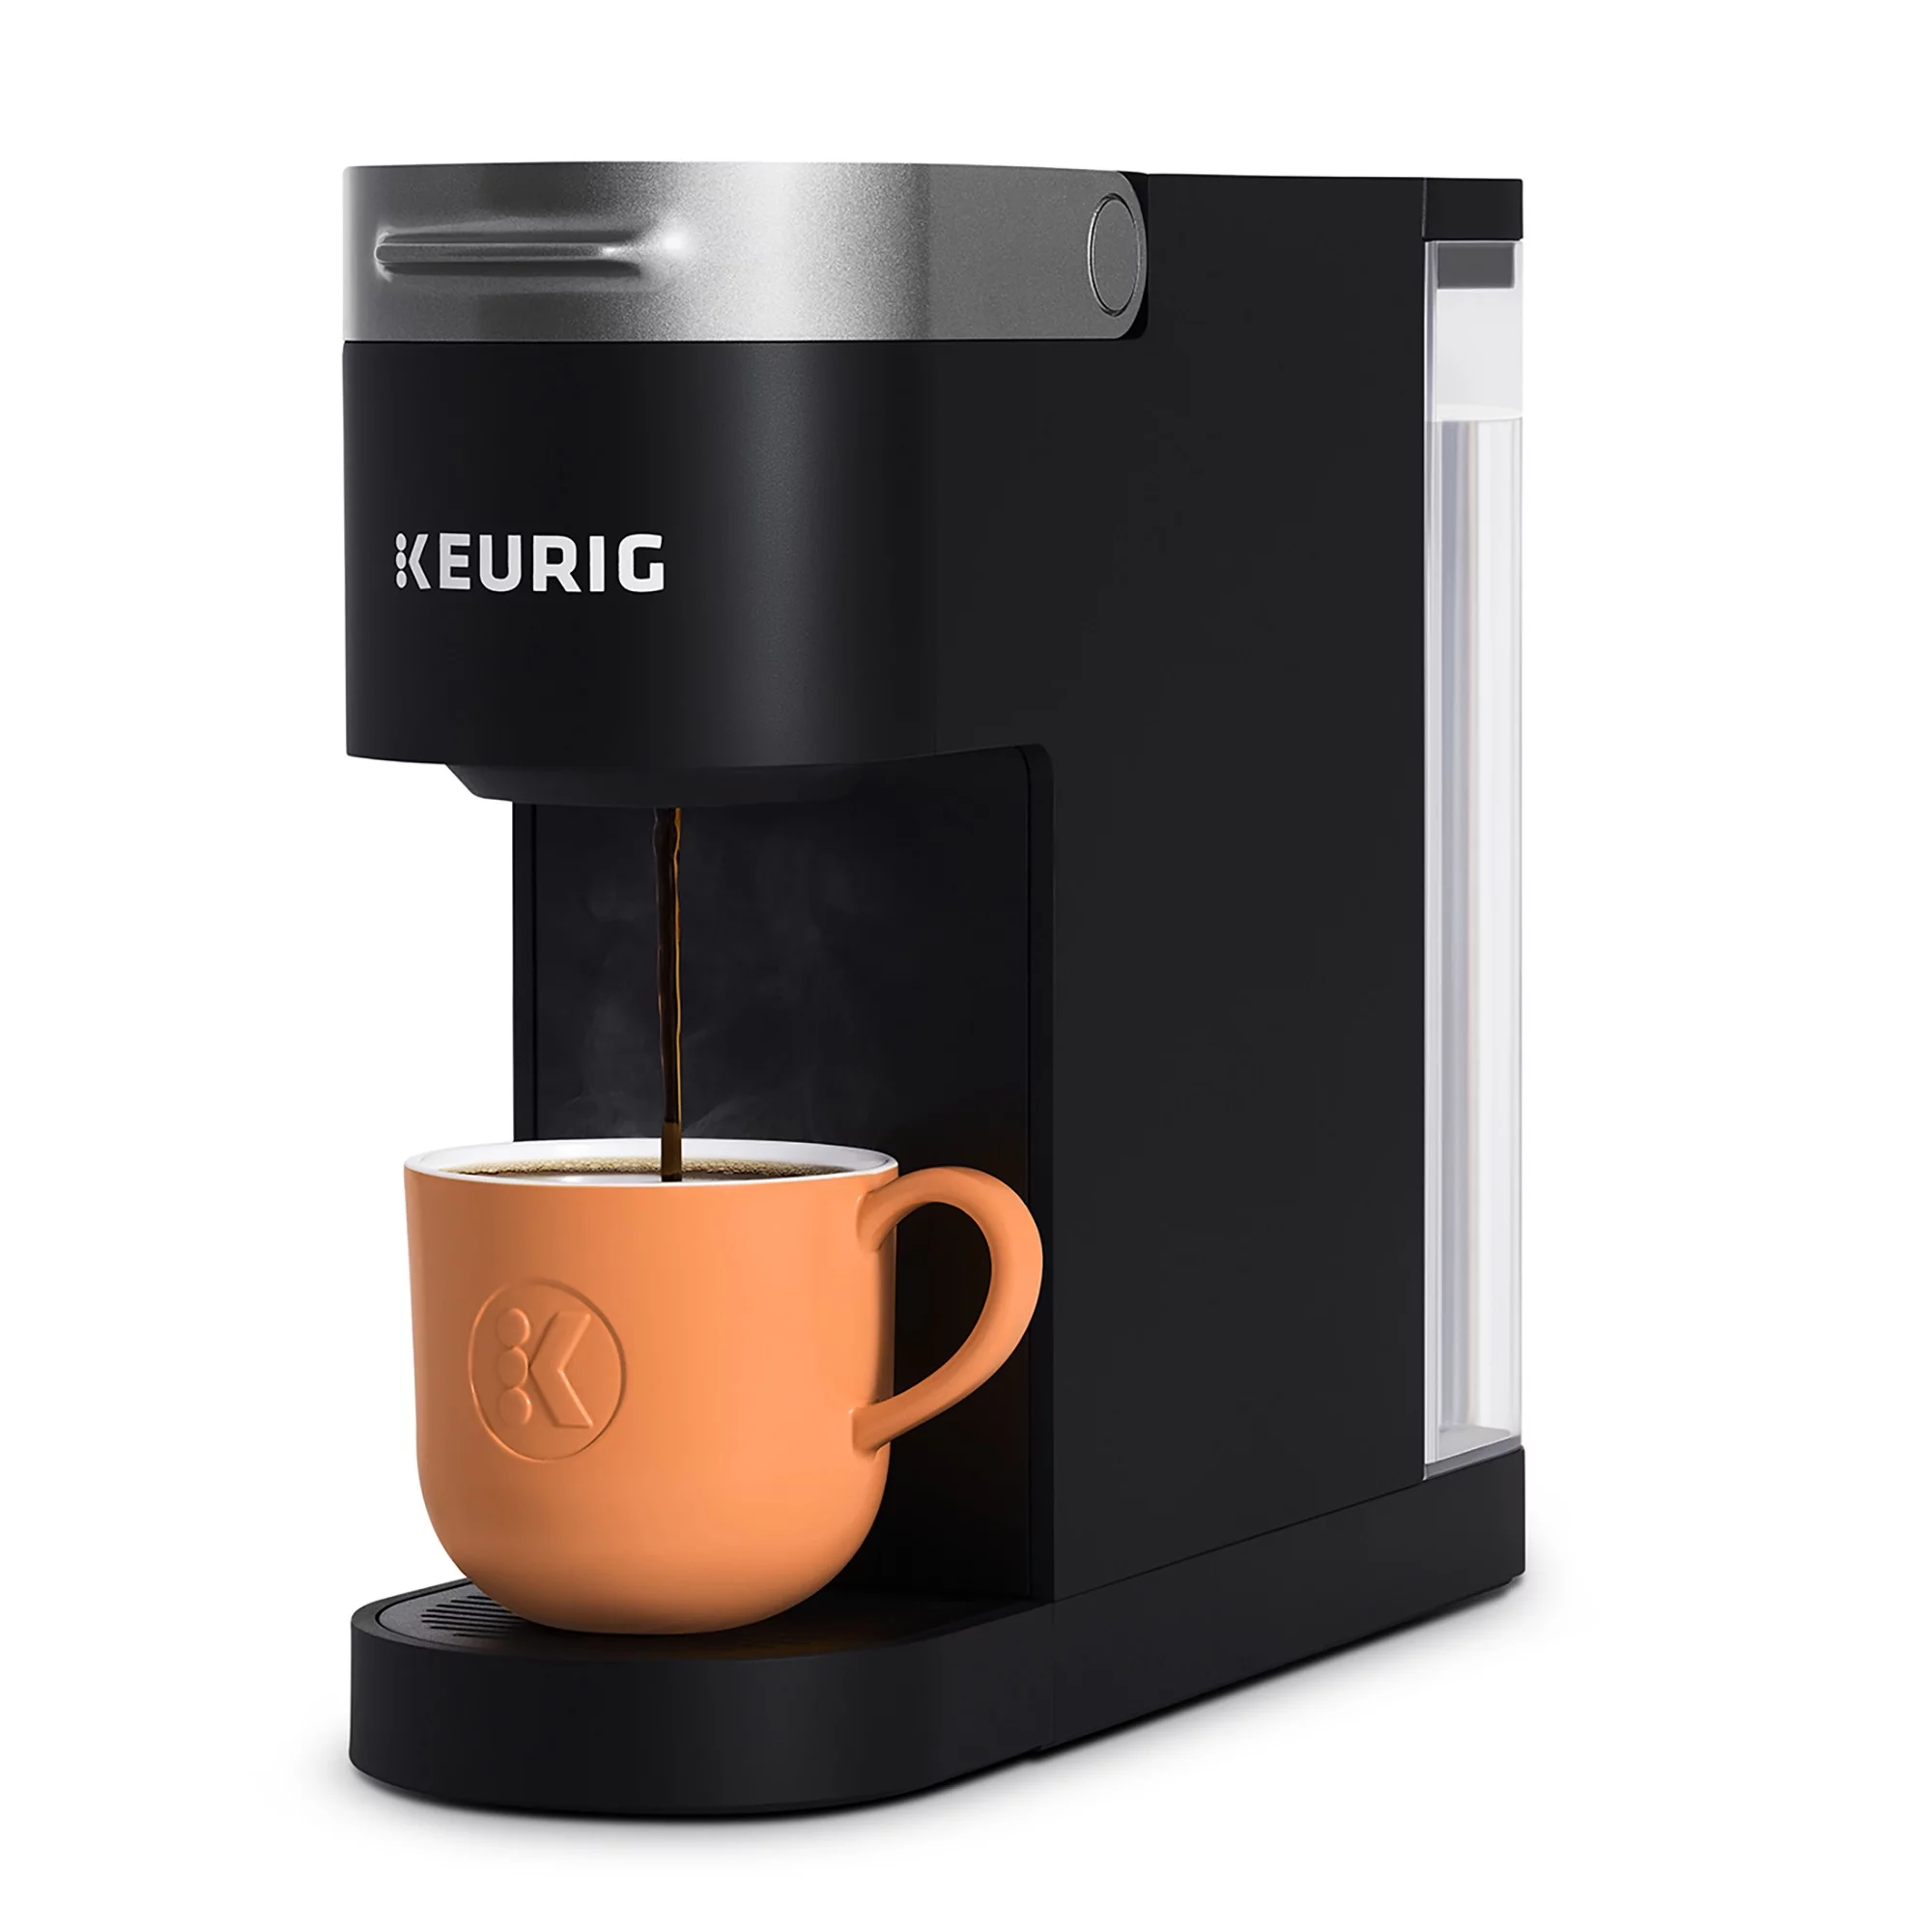
4. Keurig K-Mini
The K-Mini is a compact brewer perfect for small kitchens or offices. Its serial numbers generally begin with “KM” and are followed by alphanumeric characters. Knowing this can help when you need parts or assistance.
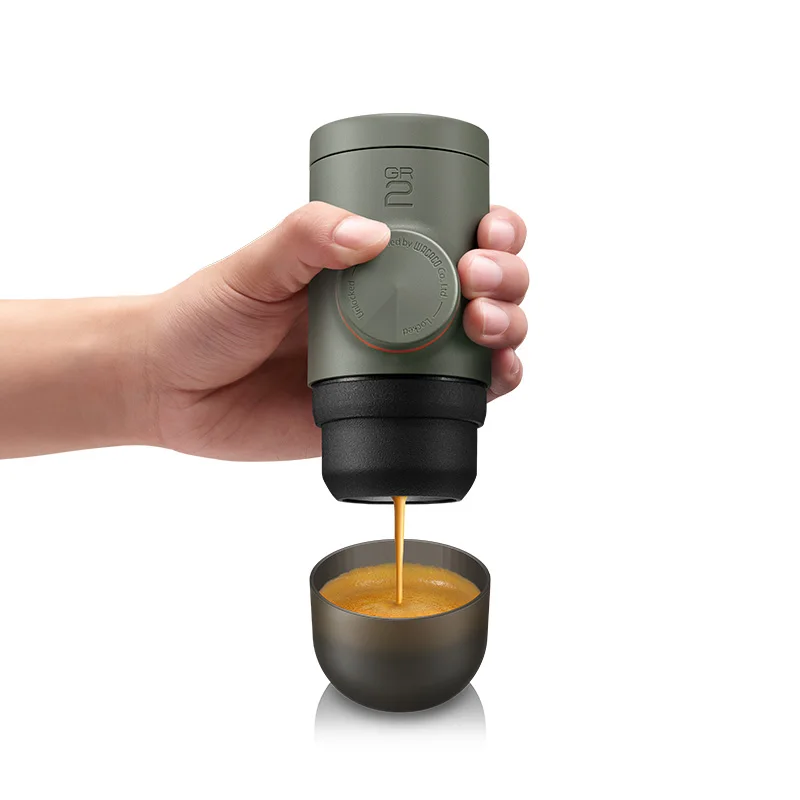
5. Keurig Rivo
Though less common today, the Rivo model provides coffee enthusiasts with the experience of espresso and specialty drinks. Its serial number typically starts with “RV” indicating its unique features.
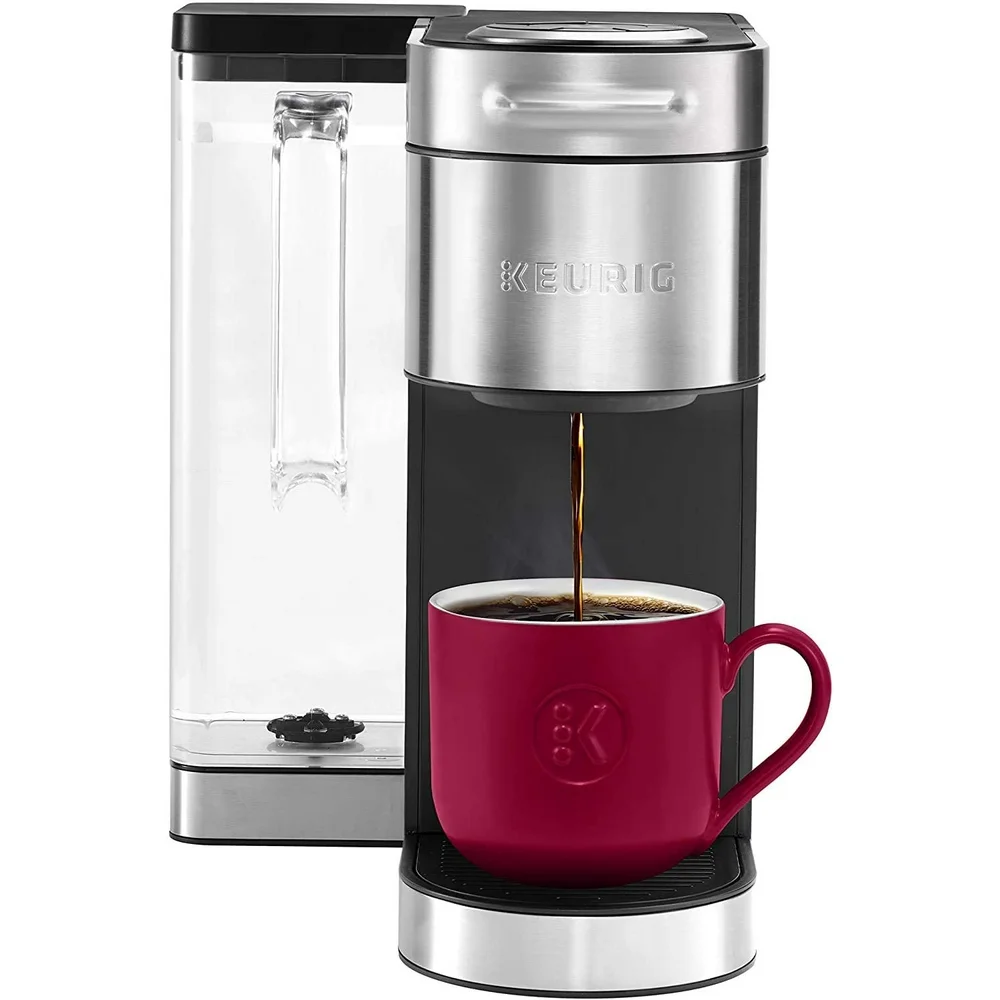
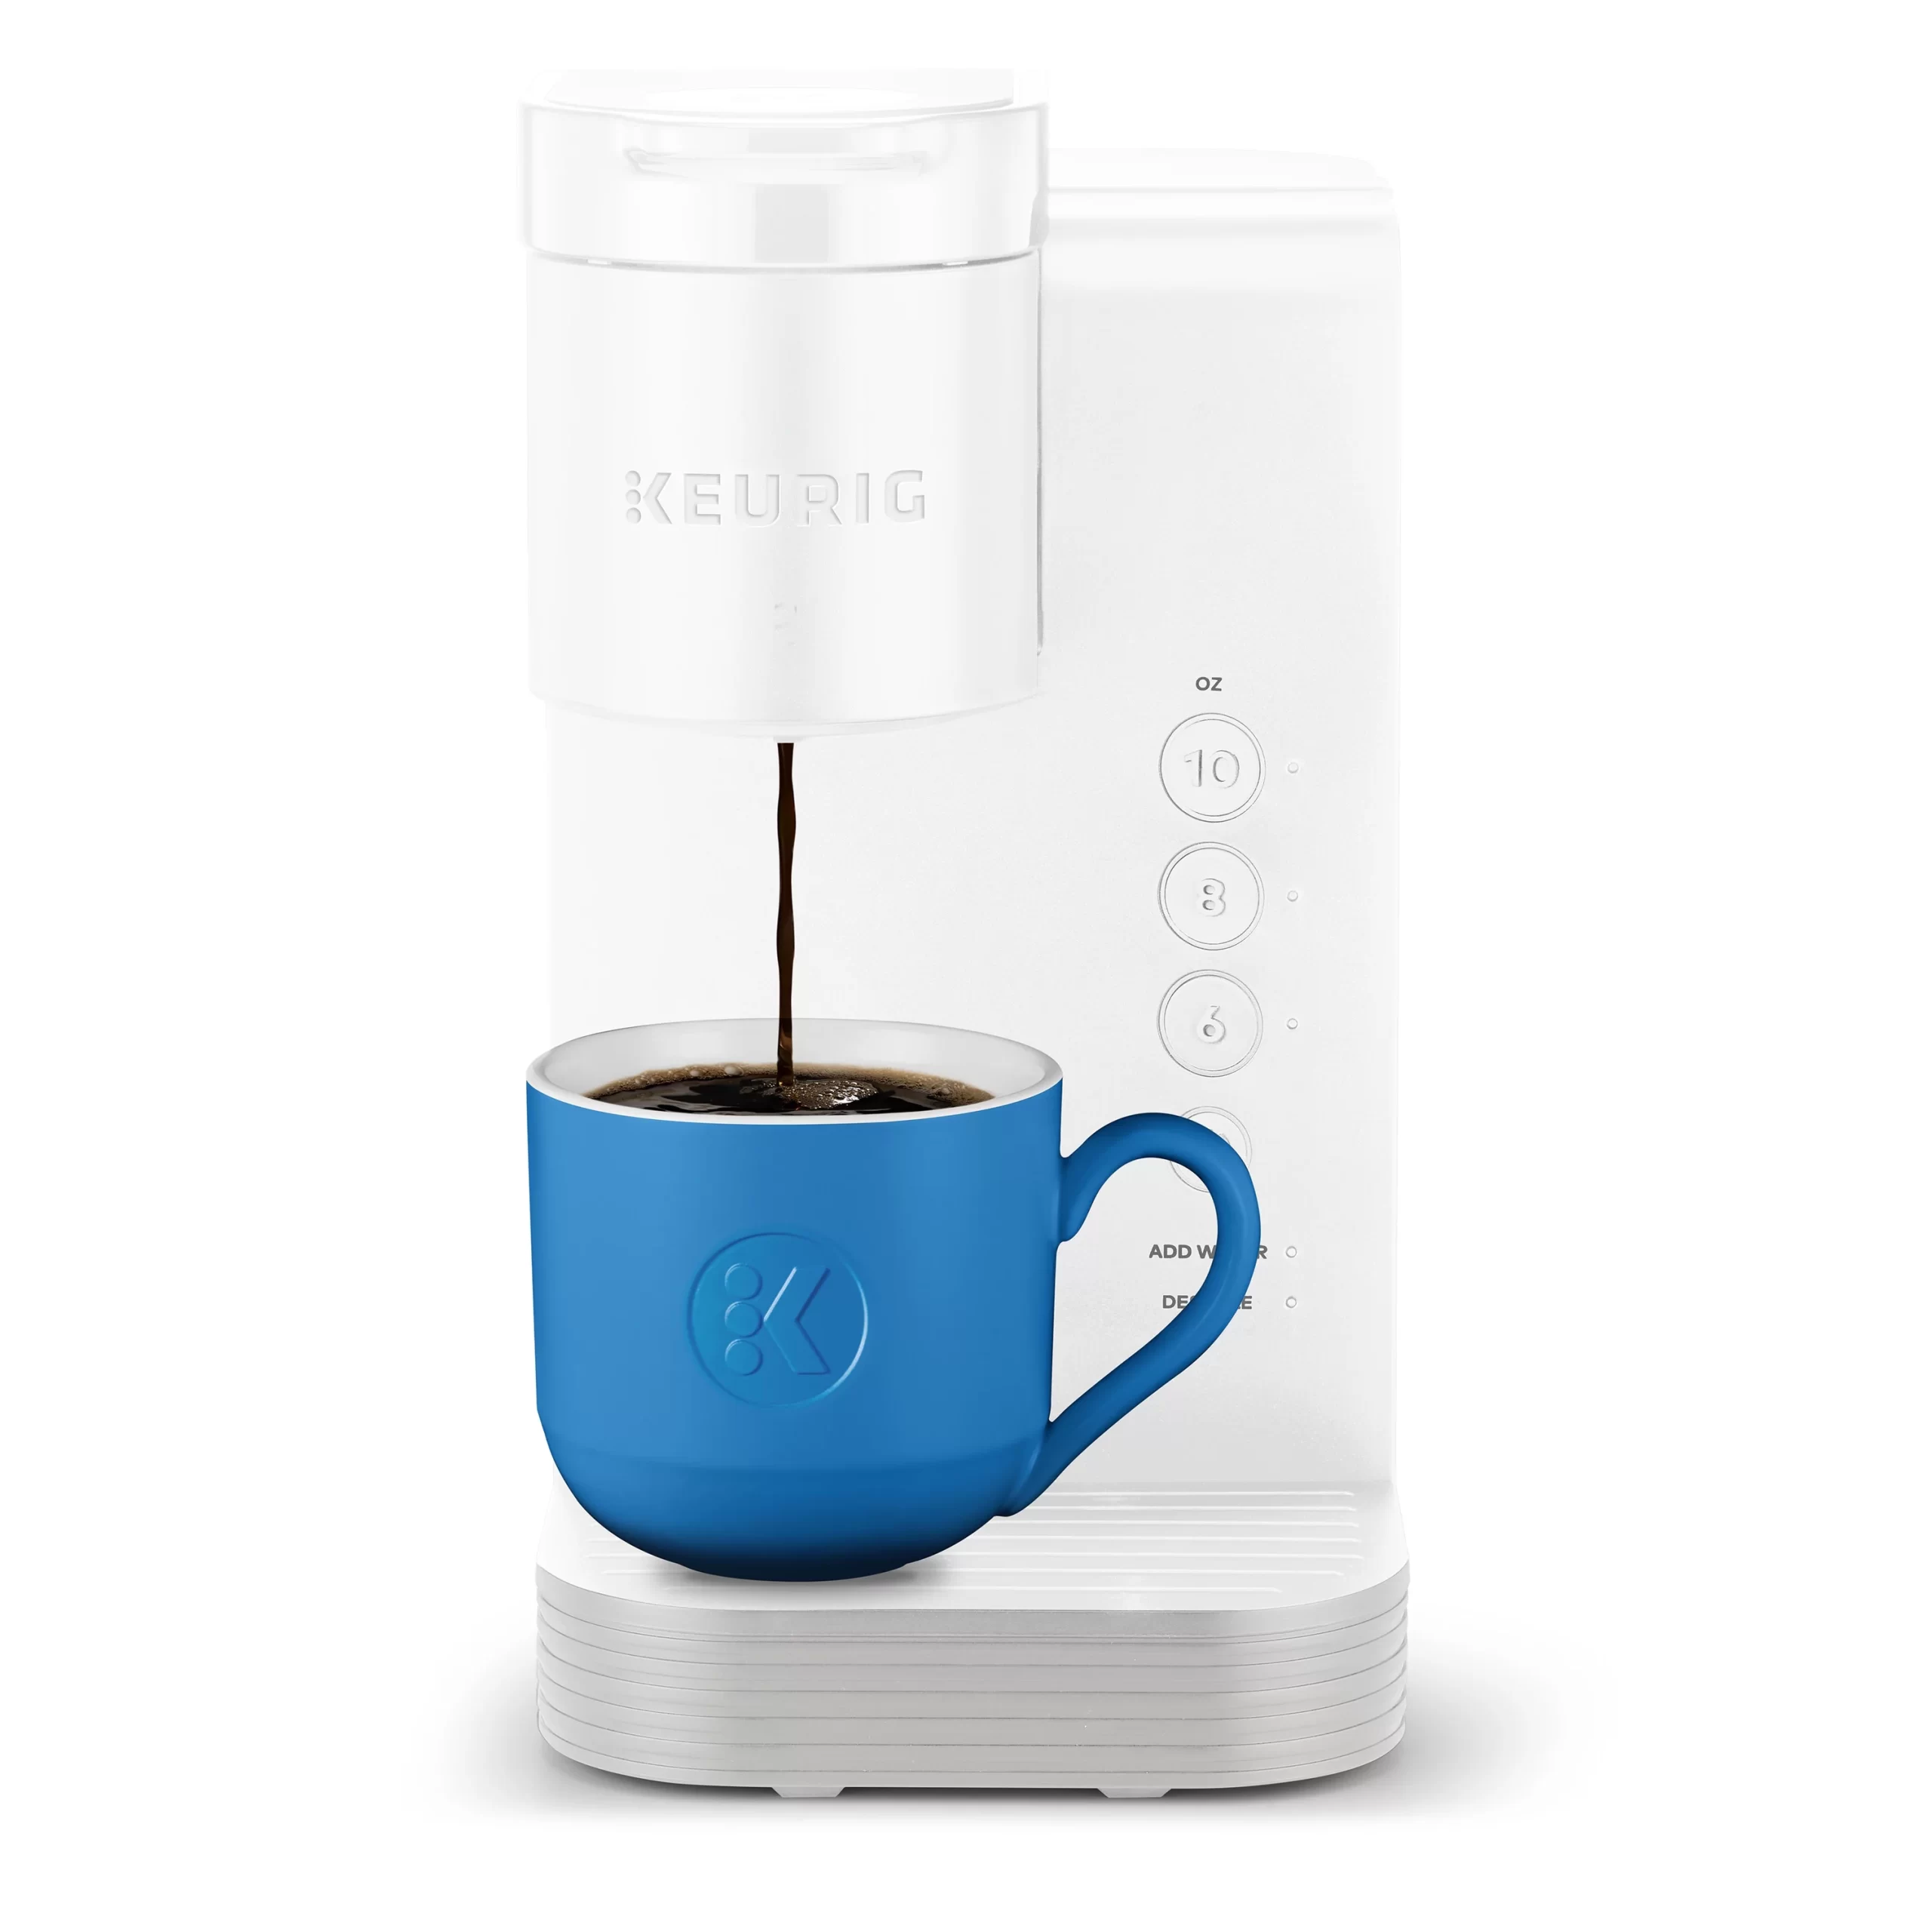
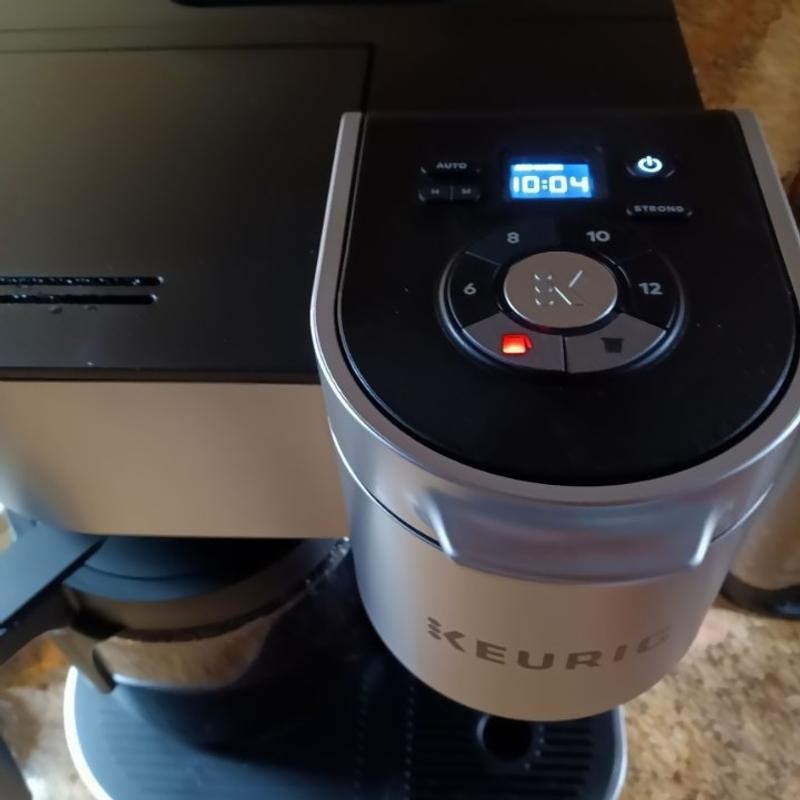
6. Keurig K-Supreme
The K-Supreme includes features like Smart BrewID technology which can tailor the brewing settings based on the coffee pod being used. The serial number format usually starts with “KSU.”
Troubleshooting Common Issues Using Serial Numbers
The ability to identify your Keurig through its serial number can significantly aid in troubleshooting common issues. Different models may exhibit unique problems, and knowing your machine’s serial number can assist in determining if your machine falls within a specific fault bracket.
Coffee Doesn’t Taste Good
If your coffee isn’t tasting as it should, it could be due to mineral buildup or a clogged needle. The serial number can help customer service identify common issues associated with your model for a targeted solution.
Machine Won’t Brew
A common problem can result from a lack of water or a malfunctioning internal component. By providing your serial number when seeking assistance, the customer service team can guide you through troubleshooting specific to your model.
Display Issues
Models with display screens may face issues like flickering or malfunctioning. Referencing your serial number can help customer service provide you with the correct steps to diagnose the problem.
Safety and Servicing
If your Keurig requires servicing or repair, it’s advisable to have the serial number available. Many repair services will require this information to ensure they have the right parts for your specific model.
The Future of Keurig Machines
As technology continues to advance, it seems likely that Keurig will evolve its product line further. New models may have even more features, but they will still rely on short serial numbers for identification. This evolution means that understanding Keurig serial numbers is as important as ever.
Innovations in Brewing Technology
With innovations such as smart technology connectivity and app controls, future models may introduce new serial number designs. Keeping abreast of these changes can help existing and potential customers ensure they are buying the right products.
Community Input
Keurig often listens to consumer feedback in designing its upcoming products. Customers can benefit from staying informed about serial number changes which may correlate with new features offered in newer models.
Conclusion
Understanding the intricacies of Keurig serial numbers is essential for both new and seasoned users of these coffee machines. It ensures quick identification and can greatly improve the assistance you receive from customer service. By knowing how to locate your serial number and identifying your specific model through the provided patterns, you can simplify your brewing experience. Always keep your serial number handy for any future service needs. In summary, the list of Keurig serial numbers plays an important role in your enjoyment of this beloved coffee companion.
 What to Do When Standard Descaling Doesn’t Work
 Troubleshooting a Stubborn Descale Light