Introduction:
Making whipped cream is a delightful and versatile addition to various desserts and beverages. While traditional methods typically involve using a stand mixer or handheld electric mixer, an immersion blender (also known as a stick blender) can be a surprisingly effective tool for this task. This comprehensive guide will walk you through the step-by-step process of making whipped cream with an immersion blender, along with tips, common mistakes to avoid, and creative uses for your homemade whipped cream.
Can You Make Whipped Cream with an Immersion Blender:
What Is the Step-by-Step Process?
Understanding the Basics:
Why Use an Immersion Blender for Whipped Cream?
Using an immersion blender comes with several advantages that can make the process of whipping cream quicker and more convenient.
Advantages of an Immersion Blender:
Speed and Convenience:
Quick Whipping: An immersion blender can whip heavy cream into fluffy peaks quite rapidly, often within a minute or two. This speed is highly beneficial when you need whipped cream in a hurry.
Ease of Use: Immersion blenders are typically lightweight and easy to handle, allowing for more control during the whipping process compared to larger mixers.
Minimal Cleanup:
Less Mess:
Streamlined Cleaning: An immersion blender typically has fewer parts to clean than a stand mixer or even a handheld electric mixer. Most models allow you to detach the blade attachment, making cleanup a breeze.
Direct Whipping: You can whip the cream directly in the serving dish or a smaller container, reducing the number of dishes used and simplifying the cleanup process.
Equipment Needed:
How Do You Prepare Your Tools and Ingredients?
Setting up correctly ensures a smooth and efficient whipping process.
Essential Tools:
Gather Your Devices:
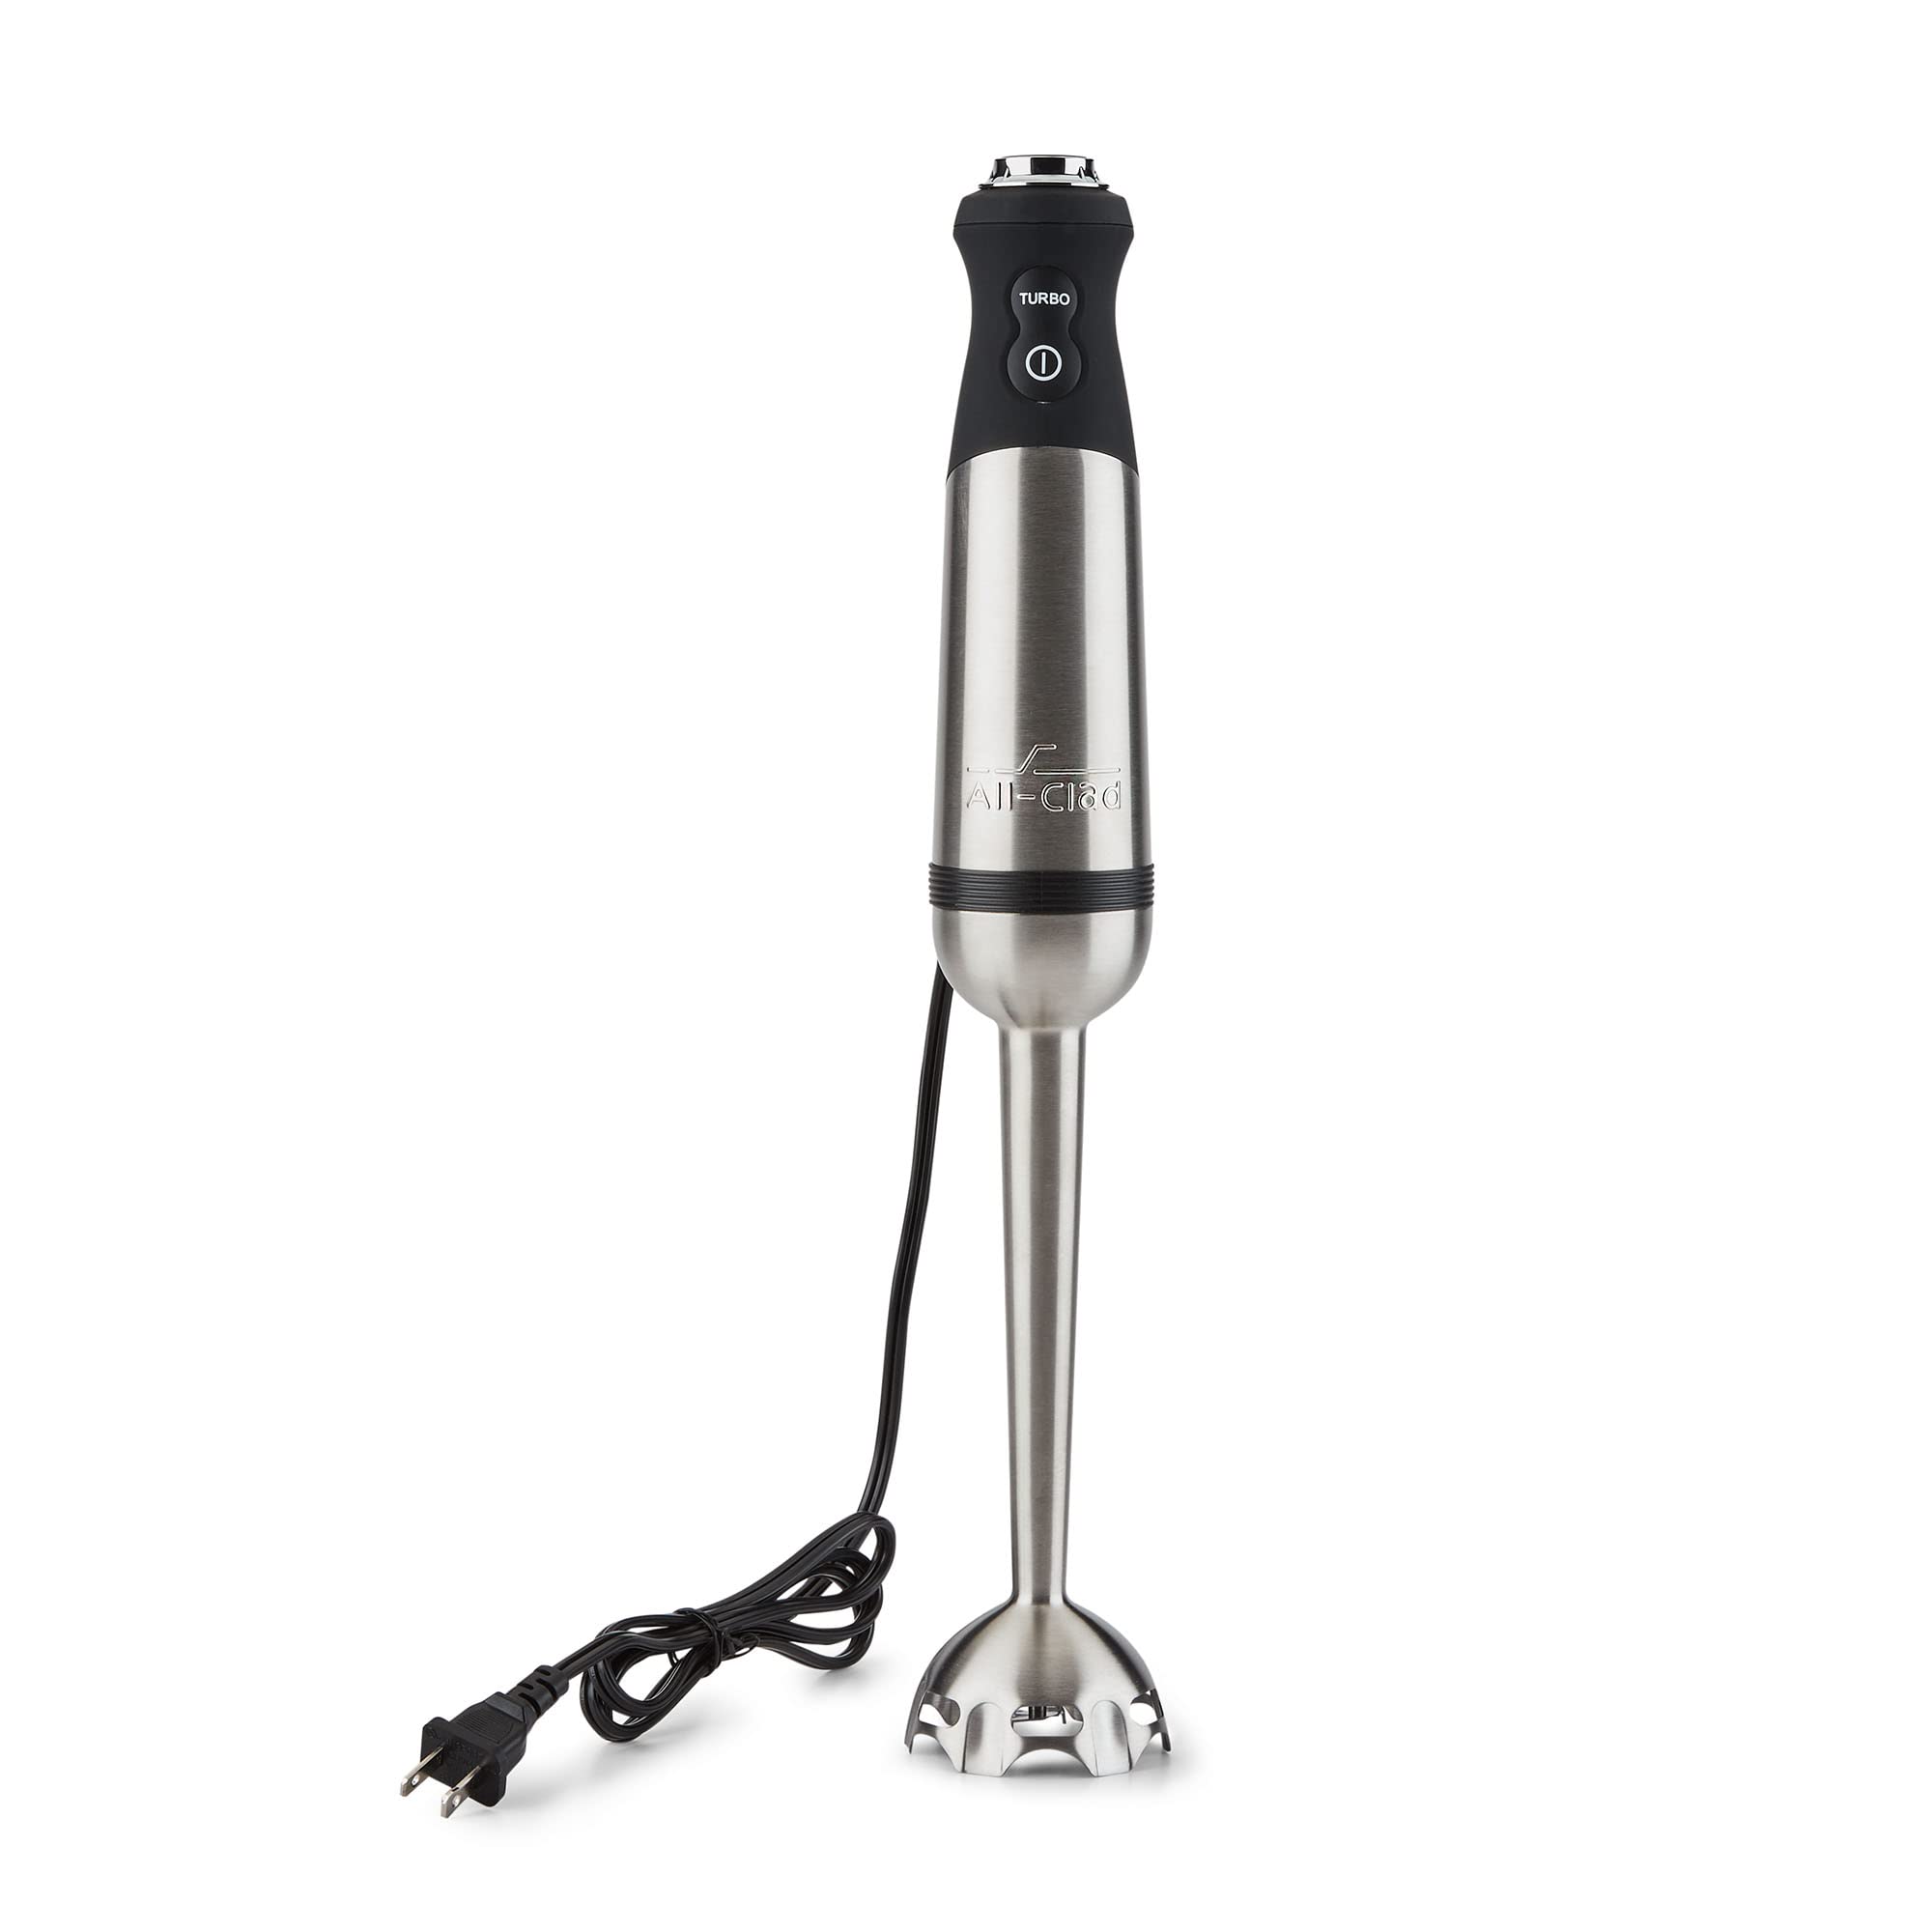
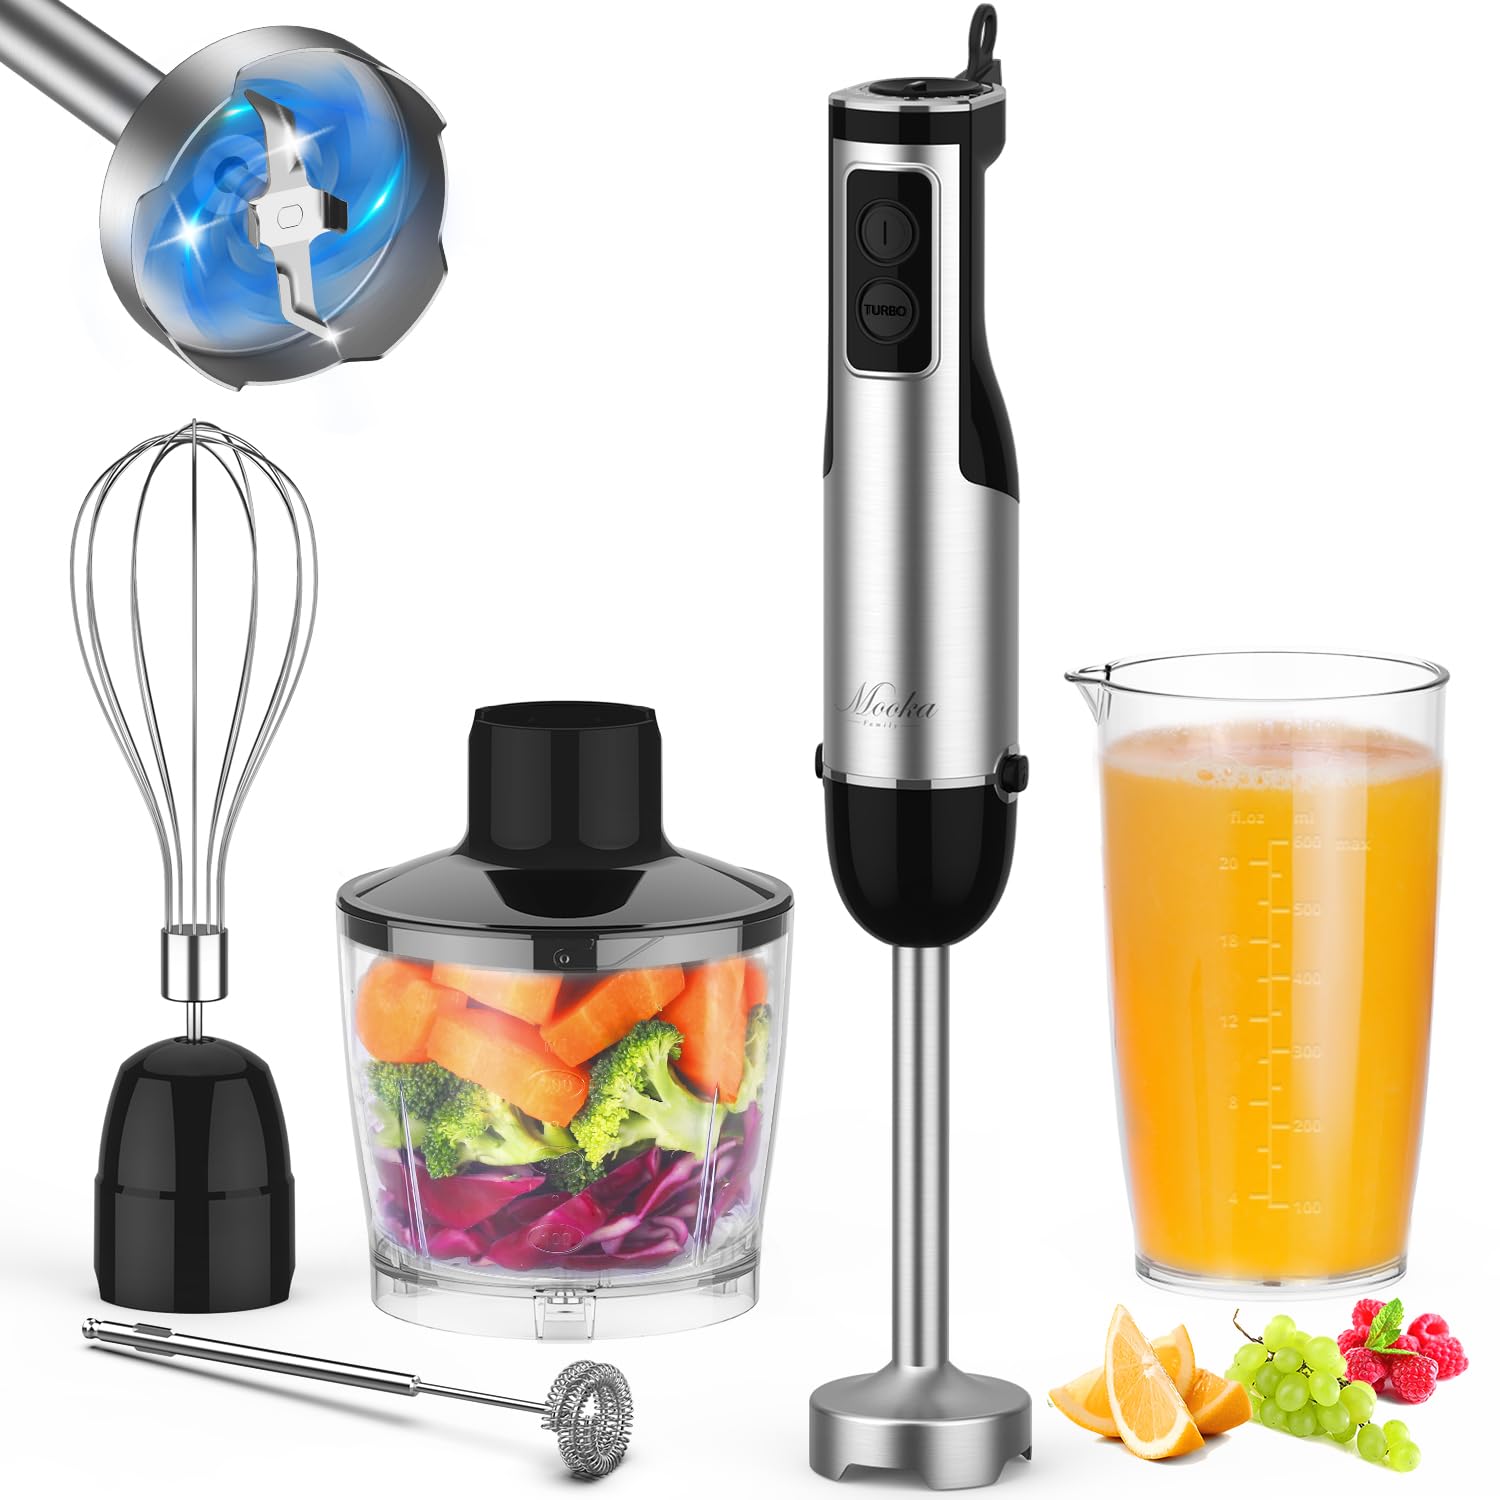
Immersion Blender: Ensure your immersion blender is clean and fully functional. Check the blade attachment to ensure it’s securely in place, as a loose attachment can compromise the whipping process.
Mixing Container: Use a deep, narrow container to minimize splashing. A tall mixing cup or a deep bowl works best. Some immersion blenders come with a specially designed beaker that is ideal for this task.
Ingredients:
High-Quality Choices:
Cold Heavy Cream: Use heavy cream or heavy whipping cream with at least 35% fat content. The higher the fat content, the easier it is to whip the cream into stiff peaks. Ensure the cream is thoroughly chilled, as cold cream whips more efficiently and holds its shape better.
Sweeteners and Flavorings: Prepare any sweeteners (such as powdered sugar or granulated sugar) and flavorings (like vanilla extract, almond extract, or cocoa powder) you wish to add. These should be measured out and ready to incorporate.
Step-by-Step Process:
How Can You Make Whipped Cream Using an Immersion Blender?
Following a clear, step-by-step process will help you achieve the perfect consistency and flavor for your whipped cream.
Chill the Equipment:
Ensure Optimal Conditions:
Pre-Chill: For best results, chill the mixing container and the immersion blender attachment in the freezer for about 10 to 15 minutes before starting. Cold equipment helps the cream whip faster and achieve better volume.
Measure the Cream:
Accurate Quantities:
Pour Cream: Pour the desired amount of cold heavy cream into the chilled mixing container. A typical recipe uses one cup of heavy cream, which yields about two cups of whipped cream.
Begin Whipping:
Initial Blending:
Immerse and Blend: Place the immersion blender into the cream, ensuring the blade attachment is fully submerged. Start the blender on a low speed to avoid splashing and gradually increase to a medium speed.
Move Consistently: Move the blender up and down in a consistent motion, ensuring you reach the cream at the bottom and bring it to the top. This helps incorporate air evenly, which is crucial for achieving a fluffy texture.
Add Sweeteners and Flavorings:
Incorporate Delicious Additions:
Gradual Addition: Slowly add any sweeteners or flavorings once the cream begins to thicken. For example, add about one to two tablespoons of powdered sugar and one teaspoon of vanilla extract per cup of cream. If using granulated sugar or other flavorings, ensure they are evenly dispersed by adding them gradually while blending.
Continue Blending:
Achieving Desired Consistency:
Watch for Peaks: Continue blending until the cream forms soft or stiff peaks, depending on your preference. Soft peaks will have a smoother, more fluid texture, ideal for topping desserts lightly. Stiff peaks stand firmly on their own and are better for piping or more structured presentations.
Check Regularly: Be careful not to overwhip, as this can turn the whipped cream into butter. Regularly lift the immersion blender and check the consistency of the cream. It’s done when it holds its shape but is still smooth and creamy.
Common Mistakes:
What Should You Avoid When Making Whipped Cream with an Immersion Blender?
Avoiding common mistakes ensures a better final product and a smoother process.
Using Warm Cream:
Maintain Chill:
Cold Essentials: Always use cream that is thoroughly chilled. Warm or room temperature cream does not whip effectively and may result in a runny texture, preventing it from reaching the desired peaks.
Incorrect Speed:
Speed Control:
Gradual Increase: Starting the immersion blender at high speed can lead to splashing and uneven whipping. Begin at a low speed and gradually increase to medium. This controlled approach helps incorporate air more effectively and reduces mess.
Overwhipping:
Watch Closely:
Signs to Stop: Overwhipping turns the cream into butter. Stop blending as soon as you reach the desired peak. If you notice the cream starting to look grainy, you’ve gone too far. At this point, it’s best to stop and use the whipped cream as is or re-incorporate a bit of heavy cream to restore smoothness.
Improper Container:
Avoiding Spills:
Right Shape: Using a shallow or wide container can cause excessive splashing. Opt for a deep and narrow container that allows the immersion blender to work efficiently and contain the cream.
Storing and Serving:
How Can You Best Store and Use Homemade Whipped Cream?
Proper storage and timely serving ensure your whipped cream maintains its texture and flavor.
Immediate Use:
Serve Fresh:
Best Timing: Freshly whipped cream is at its best immediately after preparation. Use it to top desserts like pies, cakes, or hot beverages while it’s still fluffy and fresh.
Refrigeration:
Short-Term Storage:
Proper Storage: If you need to store whipped cream, transfer it to an airtight container and refrigerate. It can usually last for up to 24 hours without deflating too much.
Reviving Texture: If the whipped cream deflates slightly before serving, give it a quick whisk with a spoon or a few pulses with the immersion blender to revive its texture.
Freezing:
Extended Preservation:
Long-Term Use: For longer storage, whipped cream can be frozen. Place small dollops of whipped cream on a baking sheet lined with parchment paper and freeze until solid. Once frozen, transfer the dollops to an airtight container or freezer bag.
Usage Tips: Frozen whipped cream dollops can be placed directly on hot chocolate or coffee as they will gradually melt into the beverage. They can also be used to top desserts, thawing quickly at room temperature.
Creative Applications:
How Can You Use Homemade Whipped Cream in Recipes?
Whipped cream is incredibly versatile and can be used in a variety of recipes, enhancing both sweetness and texture.
Dessert Toppings:
Enhance Sweets:
Classic Pairings: Use whipped cream to top classic desserts like pies, cakes, and ice cream. Its light and airy texture complements rich and dense desserts, adding balance and visual appeal.
Fresh Fruit: Pair whipped cream with fresh berries or fruit salad for a light and refreshing treat. The cream’s sweetness enhances the natural flavors of the fruit.
Beverage Enhancements:
Elevate Drinks:
Hot Beverages: Add a dollop of whipped cream to hot beverages like hot chocolate, coffee, or lattes. The cream will melt into the drink, adding richness and a touch of sweetness.
Cold Drinks: Top milkshakes, iced coffee, or smoothies with a swirl of whipped cream. It provides an extra layer of indulgence and can be garnished with chocolate shavings or sprinkles.
Incorporating into Recipes:
Creative Mix-Ins:
Frosting Alternative: Use whipped cream as a lighter alternative to traditional frosting on cakes and cupcakes. Combine it with powdered sugar and vanilla extract for a sweet and flavorful icing.
Mousse and Parfait: Fold whipped cream into chocolate ganache or fruit purees to create light and fluffy mousses. Layer whipped cream with granola and fruit in parfait glasses for a visually appealing and delicious dessert.
Additional Tips and Variations:
How Can You Customize and Enhance Whipped Cream?
Experimenting with different flavors and techniques can add variety to your whipped cream creations.
Flavor Additions:
Unique Tastes:
Extracts and Zests: Add different extracts like almond, mint, or lemon to flavor the whipped cream uniquely. A small amount of citrus zest can also add a refreshing zing to the cream.
Infused Cream: Infuse the heavy cream with herbs like lavender or rosemary by heating the cream with the herbs and then chilling it thoroughly before whipping. This method imparts a subtle, aromatic flavor to the whipped cream.
Sweetener Choices:
Diversify Sweetness:
Alternative Sugars: Experiment with different sweeteners like honey, maple syrup, or agave nectar for unique flavors. Adjust the quantity to taste, ensuring the sweetener is well incorporated.
Sugar-Free: For a sugar-free version, use sweeteners like stevia or monk fruit sweetener. These alternatives can provide the desired sweetness without the added sugar.
Textural Variations:
Adjusting Consistency:
Thicker Cream: For a heavier and thicker whipped cream, use a chilled mixing bowl and whip the cream longer until it reaches a denser consistency. This texture is ideal for frosting.
Thinner Cream: For a softer, more fluid whipped cream, whip the cream to soft peaks and stop before it thickens fully. This variation works well as a drizzle over desserts.
Conclusion
Yes, you can make whipped cream with an immersion blender, and it’s a quick, convenient method that often yields excellent results. By understanding the basic principles, gathering the right tools and ingredients, and following a step-by-step process, you can achieve perfectly whipped cream in a matter of minutes. Avoiding common mistakes, storing correctly, and creatively using your homemade whipped cream can enhance your culinary experiences. Whether topping desserts, elevating beverages, or incorporating into recipes, freshly made whipped cream can add a luxurious touch to your creations. Experiment with flavor variations and enjoy the versatility and simplicity of making whipped cream with an immersion blender.