Introduction
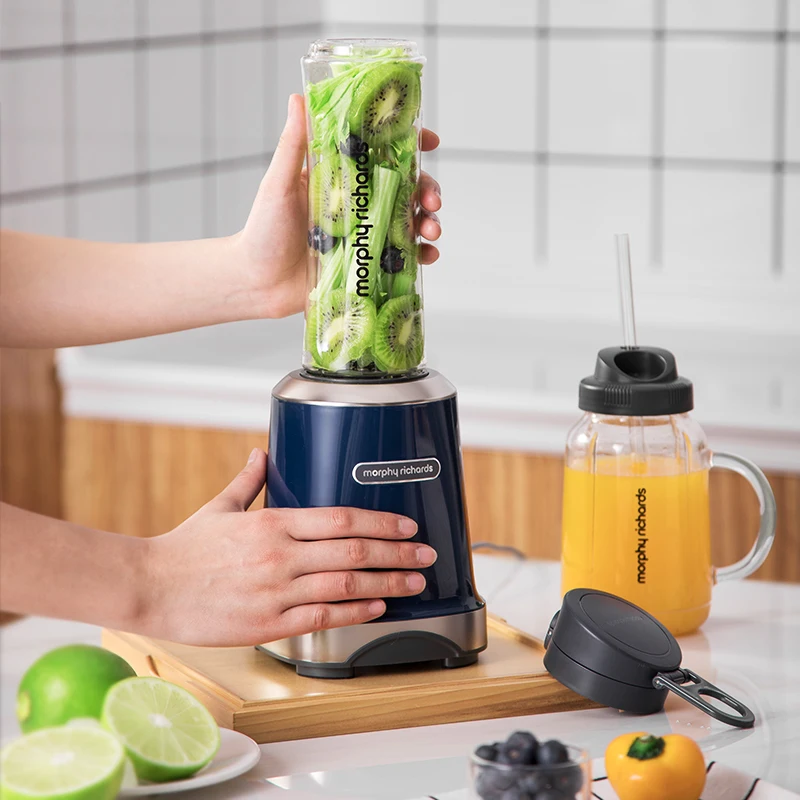
Blenders are not just limited to creating smoothies and purees; they can also be used to make delicious and nutritious homemade juices. With the right ingredients and techniques, you can create a wide variety of juices using a blender. In this comprehensive guide, we will explore the process of making juice in a blender. From selecting the fruits and vegetables to preparing, blending, and straining the ingredients, we will provide you with detailed instructions to ensure successful juice-making experiences.
Making Juice in a Blender: A Versatile and Efficient Process
I. Advantages of Making Juice in a Blender
-
Retaining Fiber:
- Unlike traditional juicers that extract only the juice, blenders blend the entire fruit or vegetable, including the fiber-rich pulp. This allows you to consume the valuable fiber present in the ingredients, promoting better digestion and gut health.
-
Versatility and Flexibility:
- Blenders offer more versatility compared to juicers, as they can handle a wider range of ingredients. You have the option to include not only fruits but also vegetables, herbs, and other nutritious additions in your juice blends.
-
Cost and Time Efficiency:
- Blenders are generally more affordable than juicers, making them a more accessible option for individuals looking to make their own fresh juices at home. Additionally, cleaning a blender is typically quicker and easier compared to disassembling and cleaning a juicer.
II. Selecting the Right Ingredients
-
Fresh and Ripe Produce:
- Choose fresh, ripe, and locally sourced fruits and vegetables for the best flavor and nutritional value. Quality ingredients will ensure a delicious and vibrant juice.
-
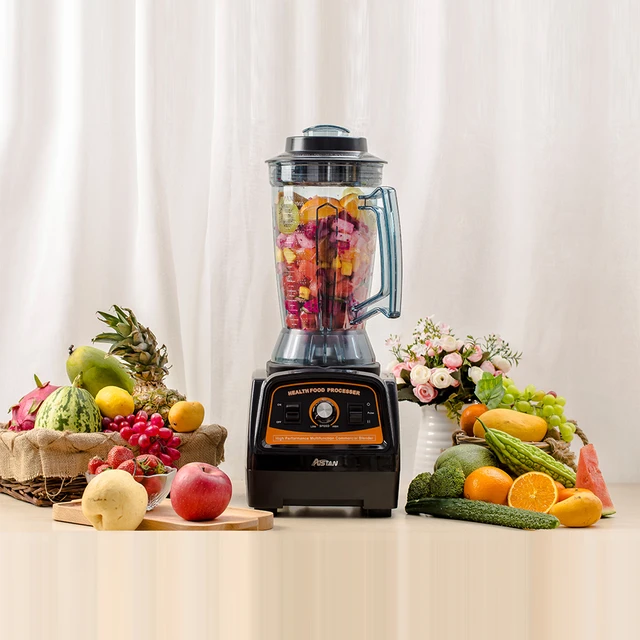
Variety of Fruits and Vegetables:
- Experiment with different combinations of fruits and vegetables to create unique flavor profiles. Some popular choices include oranges, apples, carrots, kale, spinach, cucumber, and berries.
-
Organic Options:
- Whenever possible, opt for organic produce to minimize exposure to harmful pesticides and chemicals. If organic is not available, ensure you wash and scrub the ingredients thoroughly before blending.
III. Preparing Ingredients for Blending
-
Washing Produce:
- Rinse all fruits and vegetables under cold running water to remove any dirt or debris. Use a produce brush to gently scrub the skins of items with tougher exteriors, such as carrots or cucumbers.
-
Peeling and Deseeding:
- Depending on personal preference and the type of produce you are using, you may need to peel and deseed certain fruits or vegetables. For instance, remove the skin and seeds from oranges, but keep the skin intact on apples for added nutrients.
-
Chopping into Manageable Pieces:
- Cut larger fruits and vegetables into smaller, manageable pieces to ensure smooth blending and to prevent strain on the blender’s motor. Aim for uniform size and thickness to promote even blending.
IV. Blending Process
-
Adding Liquid:
- Before adding the ingredients, pour a small amount of liquid into the blender. Options include water, coconut water, almond milk, or any other liquid of your choice. Start with around 1/4 cup and adjust to achieve your desired consistency.
-
Layering Ingredients:
- Begin by adding the leafy greens or softer ingredients to the blender first, followed by the harder ingredients and liquids. This layering technique ensures efficient blending and prevents ingredients from getting stuck under the blades.
-
Blending in Stages:
- Start blending on a low speed to break down the ingredients, gradually increasing the speed as needed. Blend until the mixture reaches a smooth and homogeneous texture, with no visible chunks or pieces.
-
Adjusting Consistency:
- Depending on your preference, you can add more liquid to achieve a thinner juice or less liquid for a thicker smoothie-like consistency. Pause the blending process, add the desired amount of extra liquid, and blend again until well incorporated.
V. Straining the Juice (Optional)
-
Assessing the Pulp:
- Once the blending process is complete, assess the consistency of your juice. If you prefer a pulp-free juice, or if the texture is not to your liking, straining becomes a key step.
-
Straining Options:
- To strain the juice, place a fine-mesh strainer, cheesecloth, or nut milk bag over a bowl or pitcher. Pour the blended mixture into the strainer, allowing the juice to pass through while trapping the pulp.
-
Straining Method:
- Use a spatula or the back of a spoon to gently press down on the pulp, encouraging the juice to strain through. Continue pressing until most of the juice has strained, leaving behind a relatively dry pulp.
VI. Serving and Storing Fresh Juice
-
Immediate Consumption:
- Once strained, you can pour the freshly made juice into a glass, stirring well to combine any settled pulp. Drink the juice immediately for maximum freshness and flavor.
-
Chilled and Refreshing:
- If desired, serve the juice over ice for a refreshing twist. Alternatively, refrigerate the juice for a short time before serving to enhance its crispness and coolness.
-
Storage Duration:
- Freshly made juice can be stored in an airtight container in the refrigerator for up to 48 hours. However, for optimal nutrition and taste, it is best to consume the juice as soon as possible after making it.
VII. Cleaning and Maintenance
-
Immediate Cleanup:
- Rinse the blender jar and blade assembly under warm water immediately after making the juice to prevent residue from drying and becoming difficult to remove.
-
Disassembling for Thorough Cleaning:
- To clean the blender more thoroughly, disassemble the removable parts, including the blade assembly and the lid or top cap. Wash these components with warm soapy water, ensuring to remove any traces of fruit or vegetable residue.
-
Base Cleaning:
- Wipe the base of the blender with a clean, damp cloth to remove any spills, drips, or leftover liquid. Be cautious around the electrical components and avoid submerging the base in water.
VIII. Tips and Suggestions
-
Flavor Enhancements:
- Enhance the flavor of your juice by incorporating natural sweeteners like honey, agave nectar, or maple syrup. Additionally, you can add a squeeze of citrus juice, a sprinkle of spices like cinnamon or nutmeg, or a handful of herbs like mint or basil for added freshness.
-
Freezing Juice:
- If you have leftover juice or want to prepare juice in advance, pour it into ice cube trays to freeze. These juice cubes can later be used in smoothies or as a refreshing addition to water.
-
Experiment and Customize:
- Don’t be afraid to experiment with different fruits, vegetables, and flavor combinations. Get creative and unleash your taste buds to discover new and exciting juice recipes that suit your preferences and dietary needs.
IX. Conclusion: Fresh and Flavorful Juice at Your Fingertips
Making juice in a blender opens up a world of possibilities, allowing you to enjoy fresh, flavorful, and nutrient-packed beverages right in your own kitchen. By carefully selecting quality ingredients, preparing them for blending, and following the appropriate blending and straining techniques, you can create a wide range of delicious juices tailored to your taste and preference.
Embrace the versatility and convenience of blending and savor the benefits of fiber-rich juices that promote overall health and well-being. Start experimenting with flavors, textures, and combinations to craft your perfect homemade juices and enjoy the vibrant flavors and nutritional benefits of freshly made juice at any time.