Introduction:
Exploring the Possibility of Making Butter in a Blender
Butter is a versatile ingredient that adds richness and flavor to various dishes. While traditionally made using cream and a churn, you may wonder if it’s possible to make butter in a blender. In this comprehensive guide, we will delve into the process of making butter in a blender. By following these steps, you can enjoy the satisfaction of homemade butter without the need for specialized equipment.
Making Butter in a Blender: The Ultimate Guide
-
Understanding the Science behind Butter Making
a. The science of cream: Butter is made by separating the fat globules from the liquid in cream. When the cream is agitated, the fat globules stick together, forming butter, while the remaining liquid is known as buttermilk.
b. The role of cold temperature: Cold cream is more conducive to butter formation. The low temperature helps solidify the fat, facilitating the agglomeration of the fat globules.
-
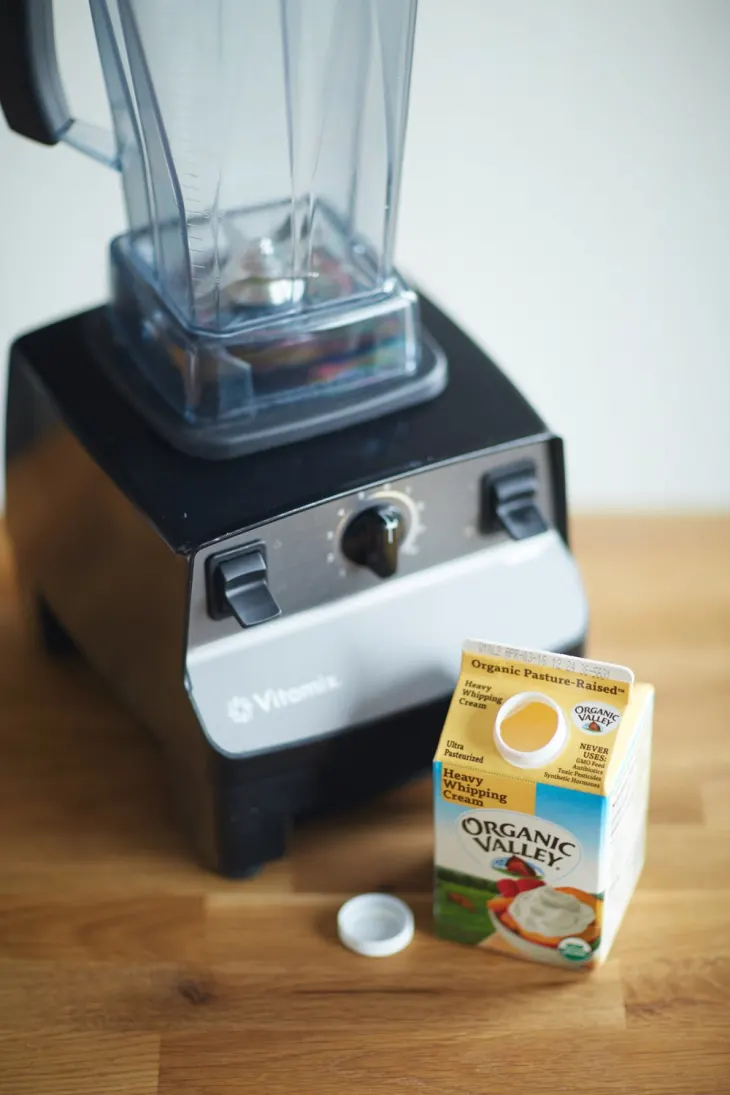
Choosing the Right Blender
a. Blender capacity: Opt for a blender with a capacity that allows ample space for the cream to be agitated. This prevents overflow and ensures efficient butter formation.
b. Motor power: Ensure that the blender you choose has a motor powerful enough to handle the task of blending cream into butter. A high-powered blender with sturdy blades provides better results.
c. Speed settings: Look for a blender with variable speed settings, including a low speed option. This allows for better control and prevents overmixing the cream.
-
Gathering the Ingredients
a. Fresh heavy cream: Start with fresh, high-quality heavy cream. Cream with a higher fat content generally yields better butter results.
b. Salt (optional): Gather salt if you prefer salted butter. It can be added during the blending process or incorporated later when shaping the butter.
-
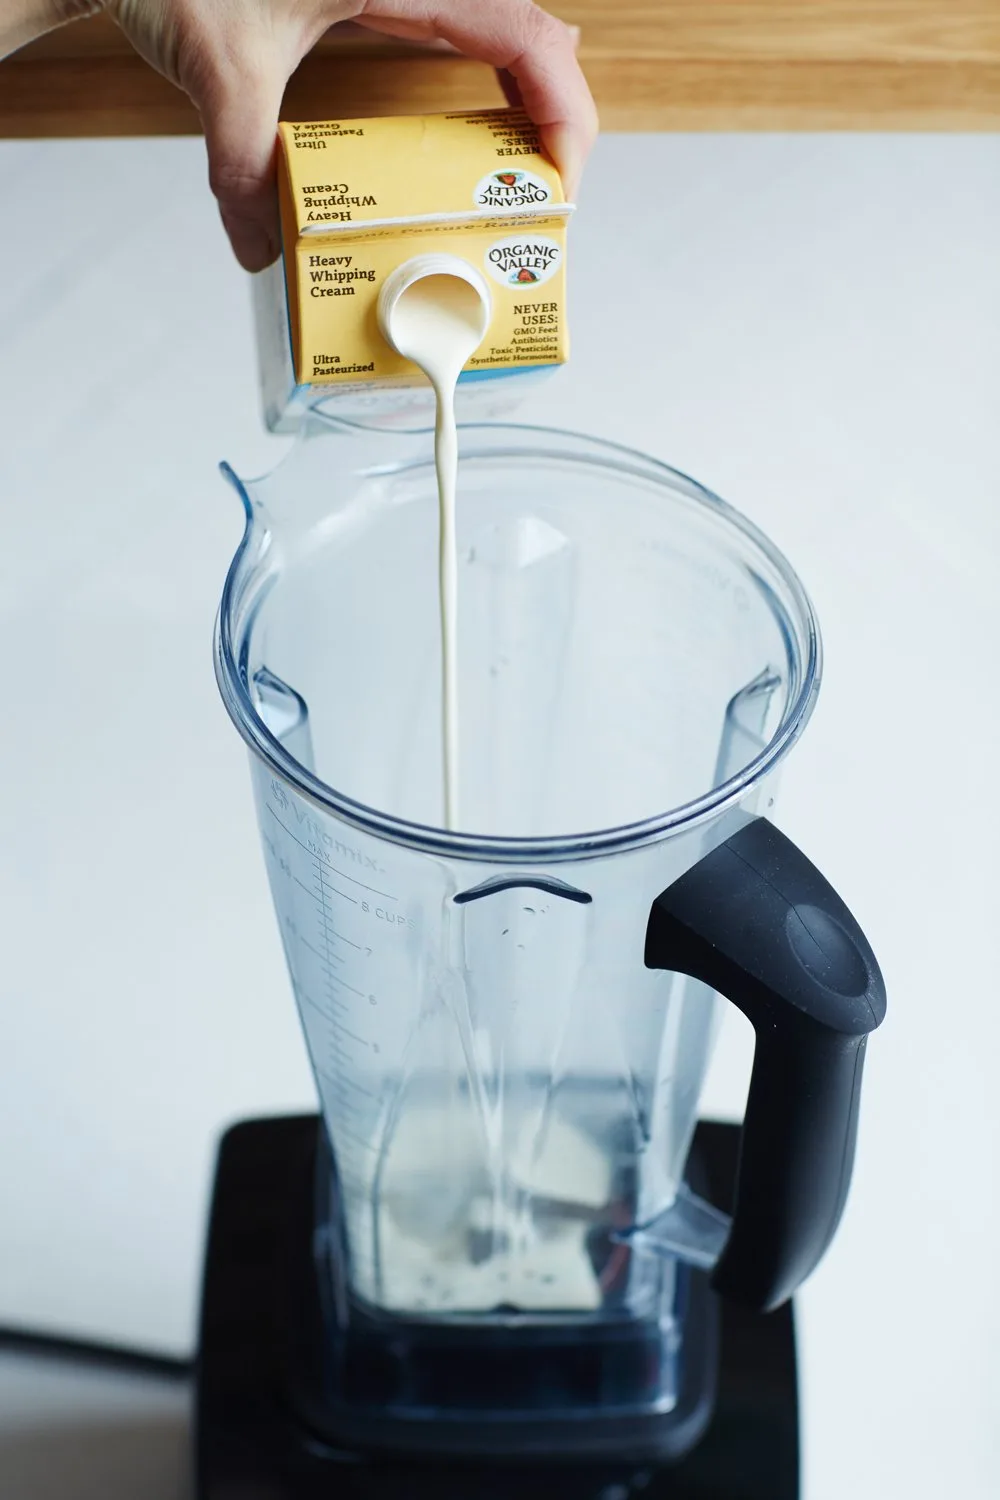
Preparing the Blender and Cream
a. Blender preparation: Ensure that the blender and all its components are clean and dry before use. This prevents any unwanted flavors or contamination.
b. Chilling the cream: Refrigerate the cream for several hours or overnight to achieve the necessary cold temperature. The colder the cream, the easier it is to form butter.
-
Blending the Cream
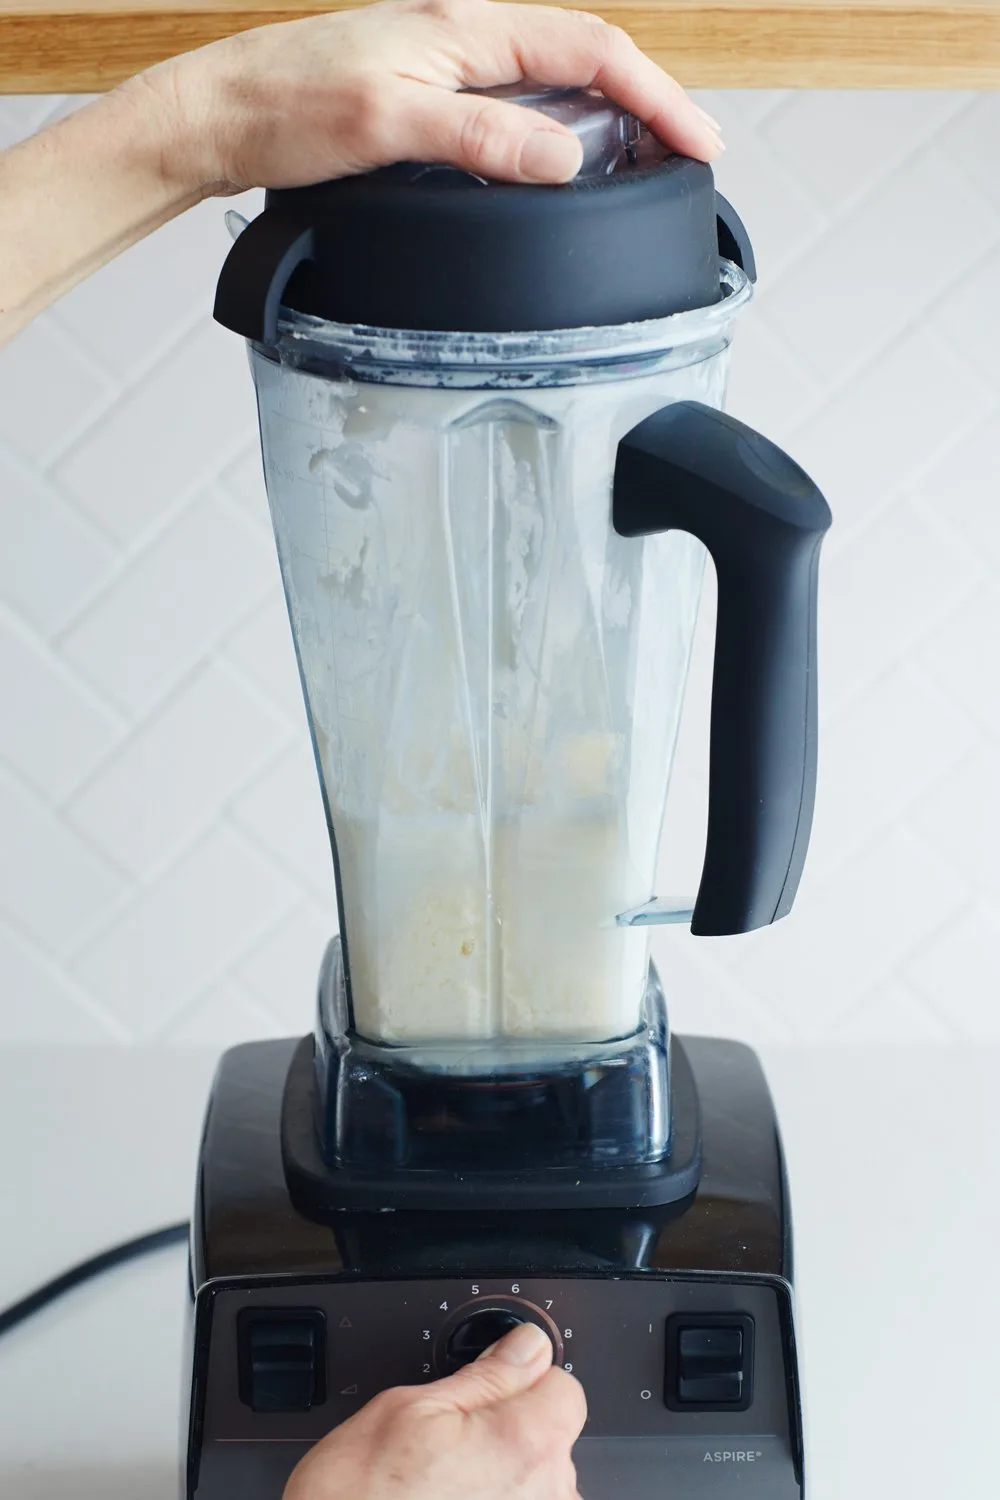
a. Pour the cream into the blender: Pour the chilled cream into the blender, ensuring not to overfill it. Leaving some space allows movement and proper aeration.
b. Start on low speed: Begin blending on the lowest speed setting to prevent splattering and ensure even blending. Gradually increase the speed as the cream starts to thicken.
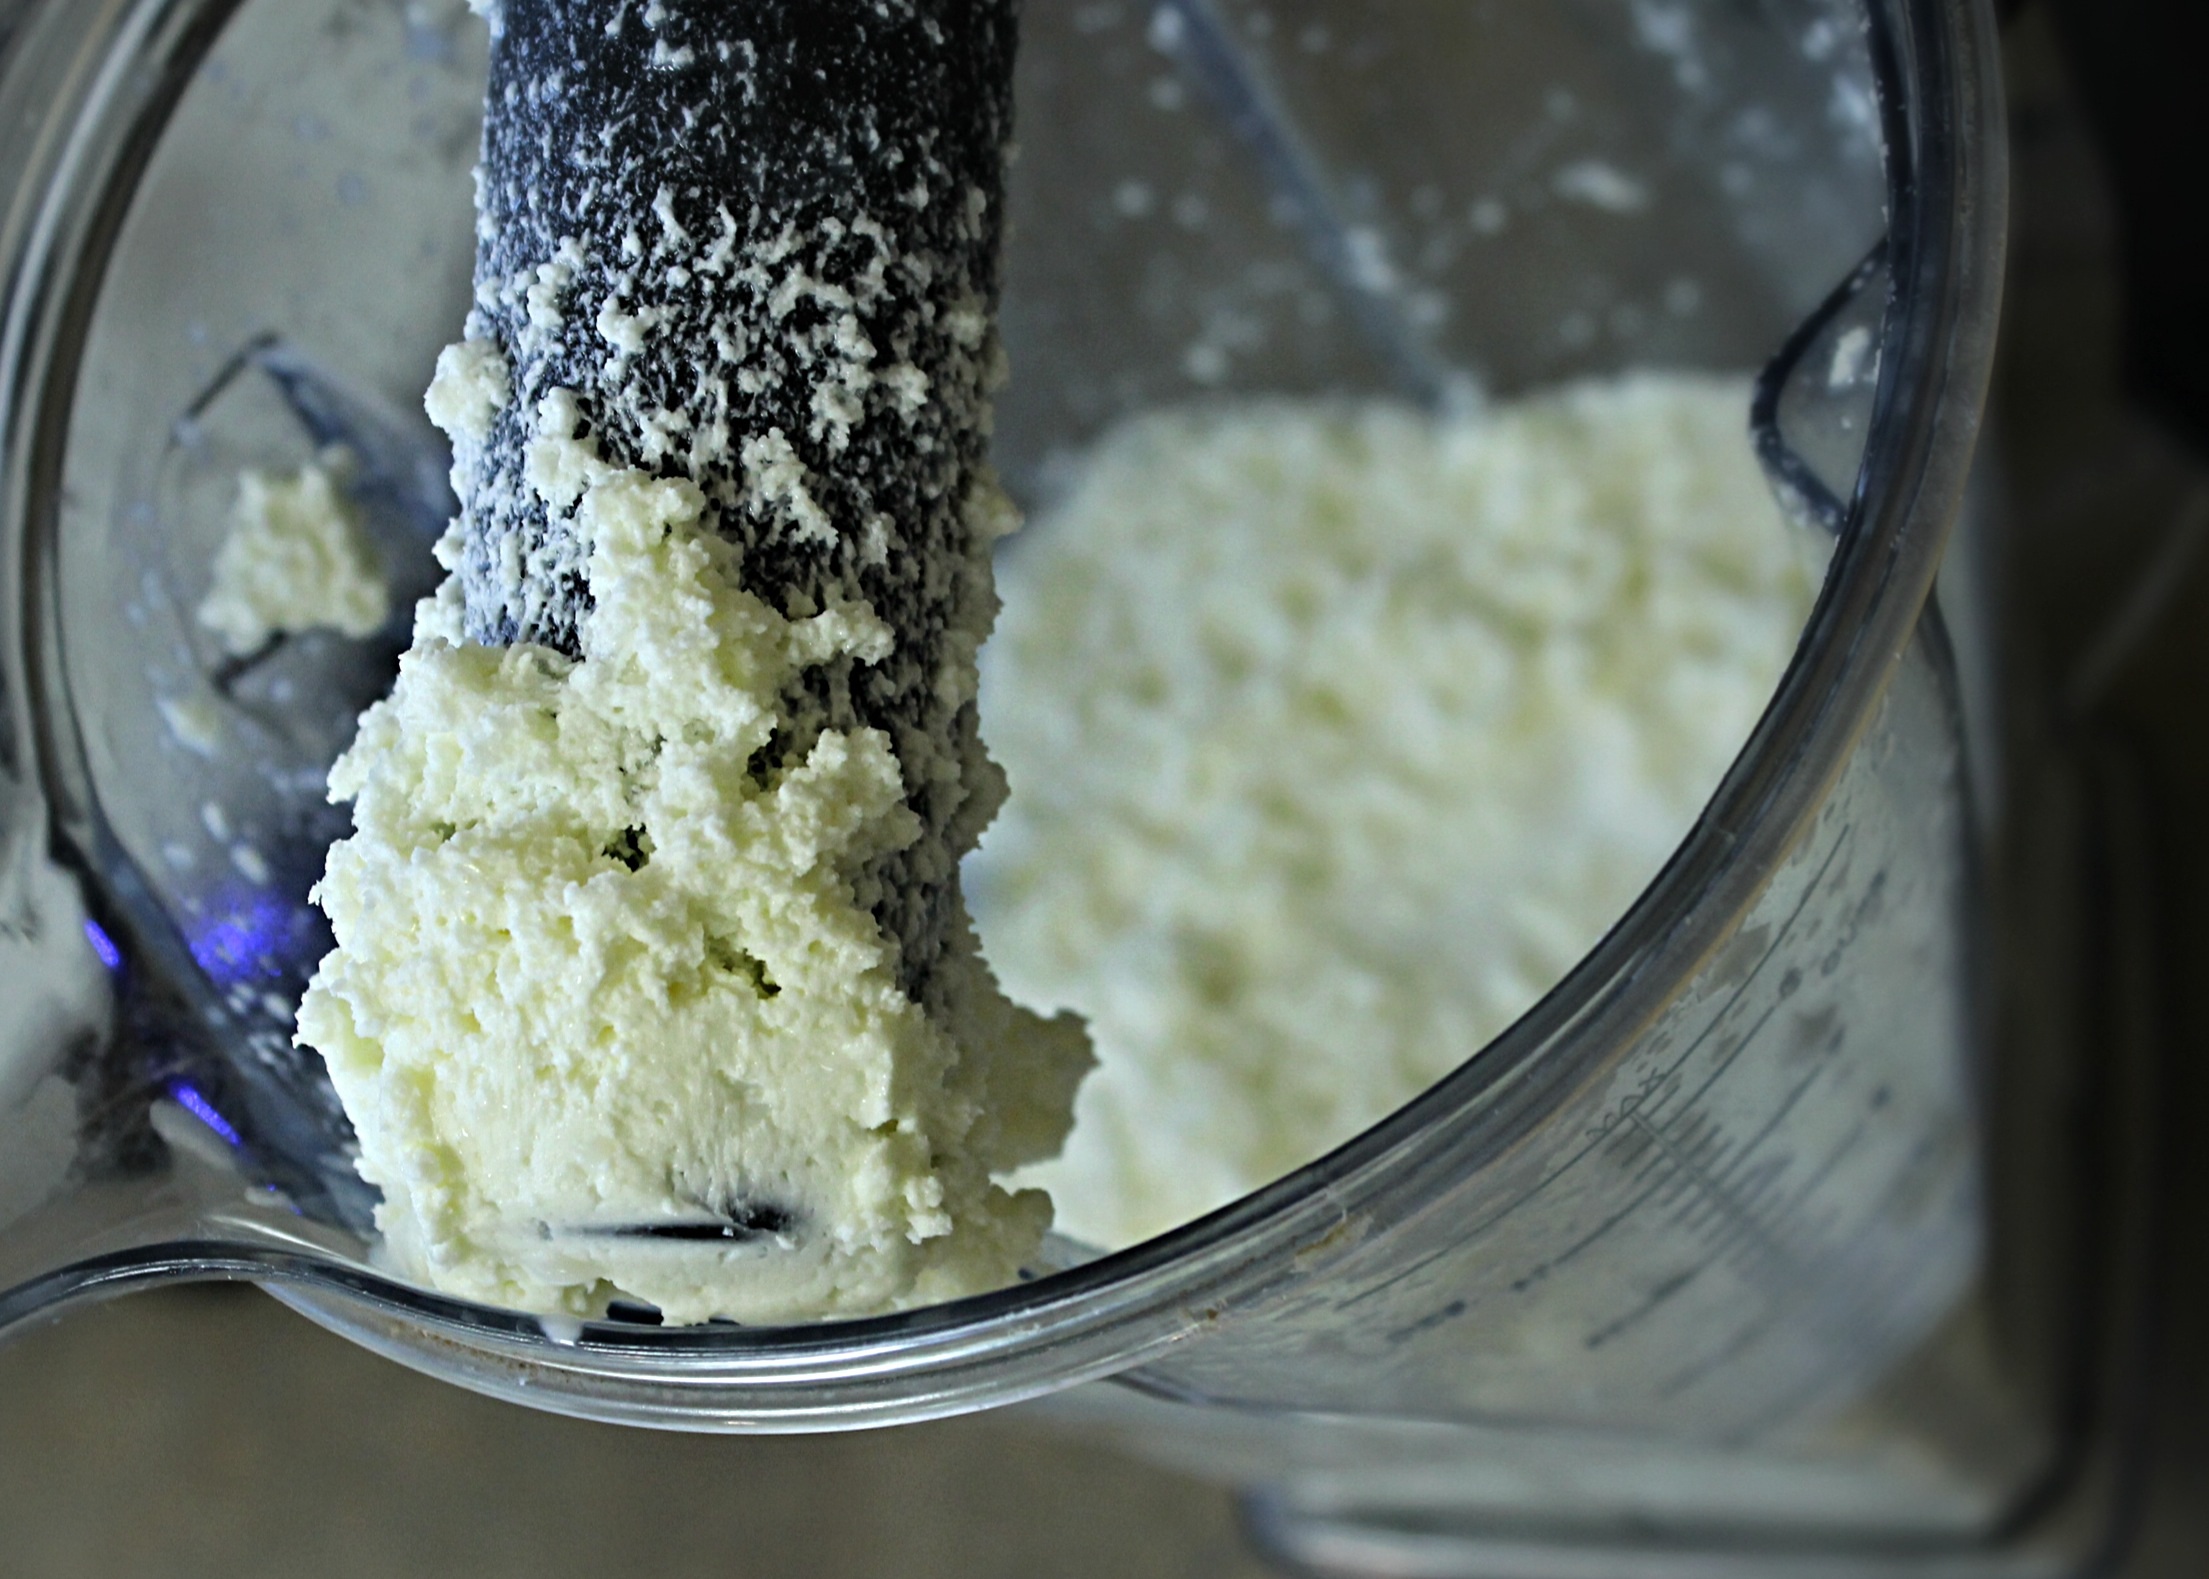
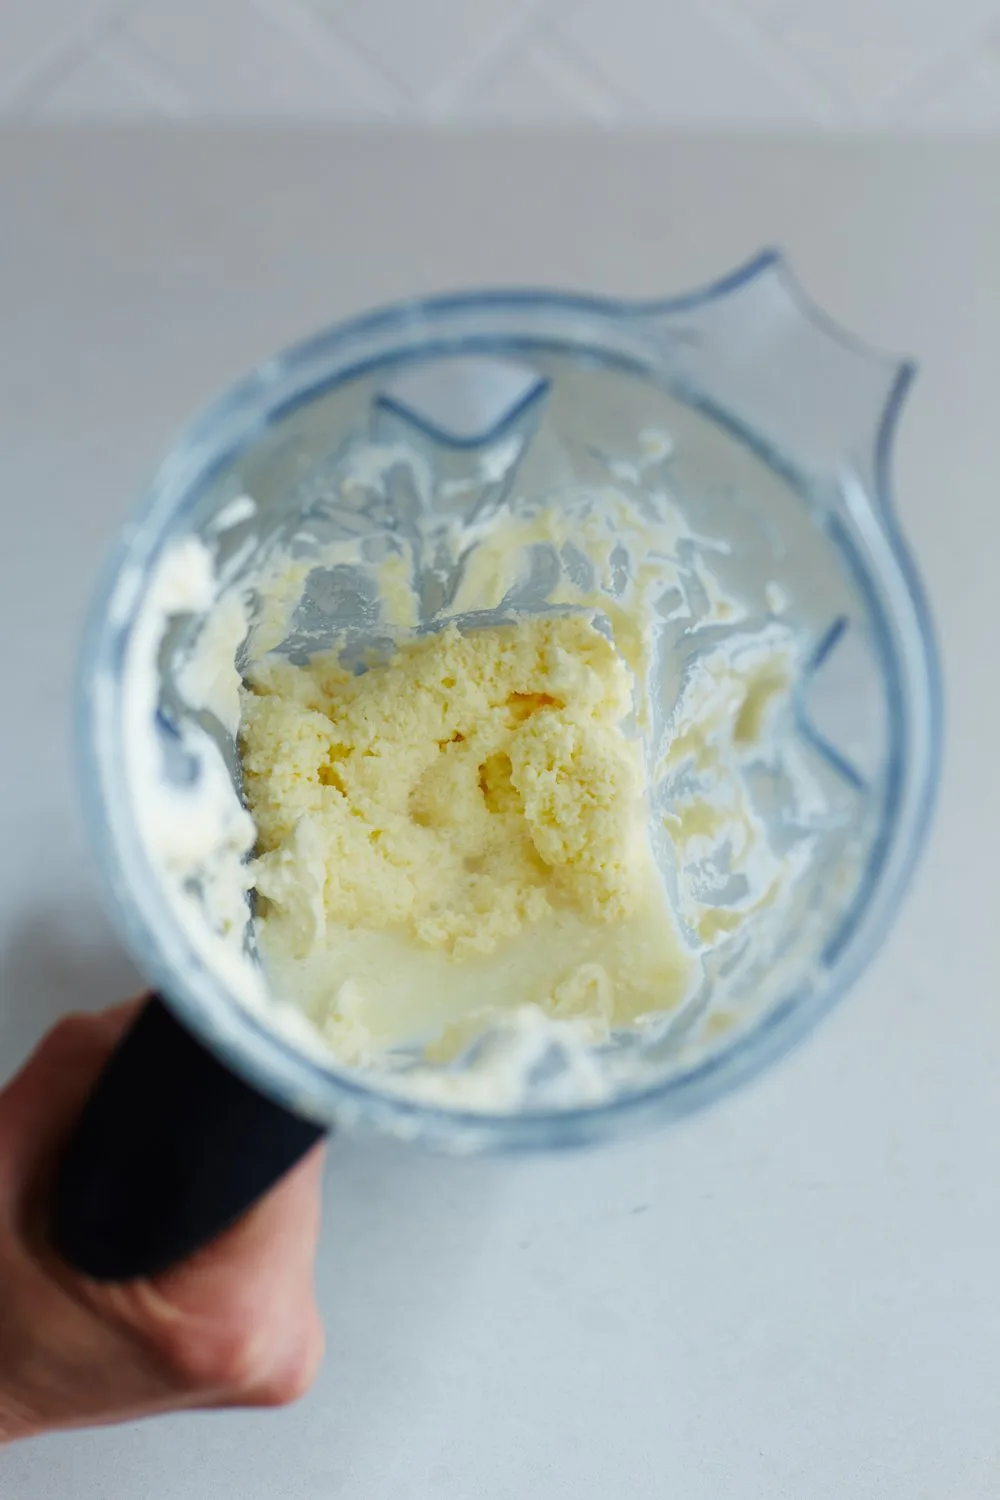
c. Monitor the blending progress: Watch the cream closely as it thickens. You will notice the formation of whipped cream followed by lumps beginning to separate from the liquid.
d. Scraping down the sides: Pause blending occasionally to scrape down the sides of the blender with a spatula. This ensures that all the cream is incorporated into the butter.
e. Adjusting the speed: If necessary, adjust the speed of the blender to maintain the ideal consistency and prevent overmixing. Be cautious not to overwork the cream, as this can result in a grainy texture.
-
Forming and Shaping the Butter
a. Separating the buttermilk: Once the butter has formed and separated from the liquid, known as buttermilk, stop blending. Pour off the buttermilk, which can be saved for other culinary uses.
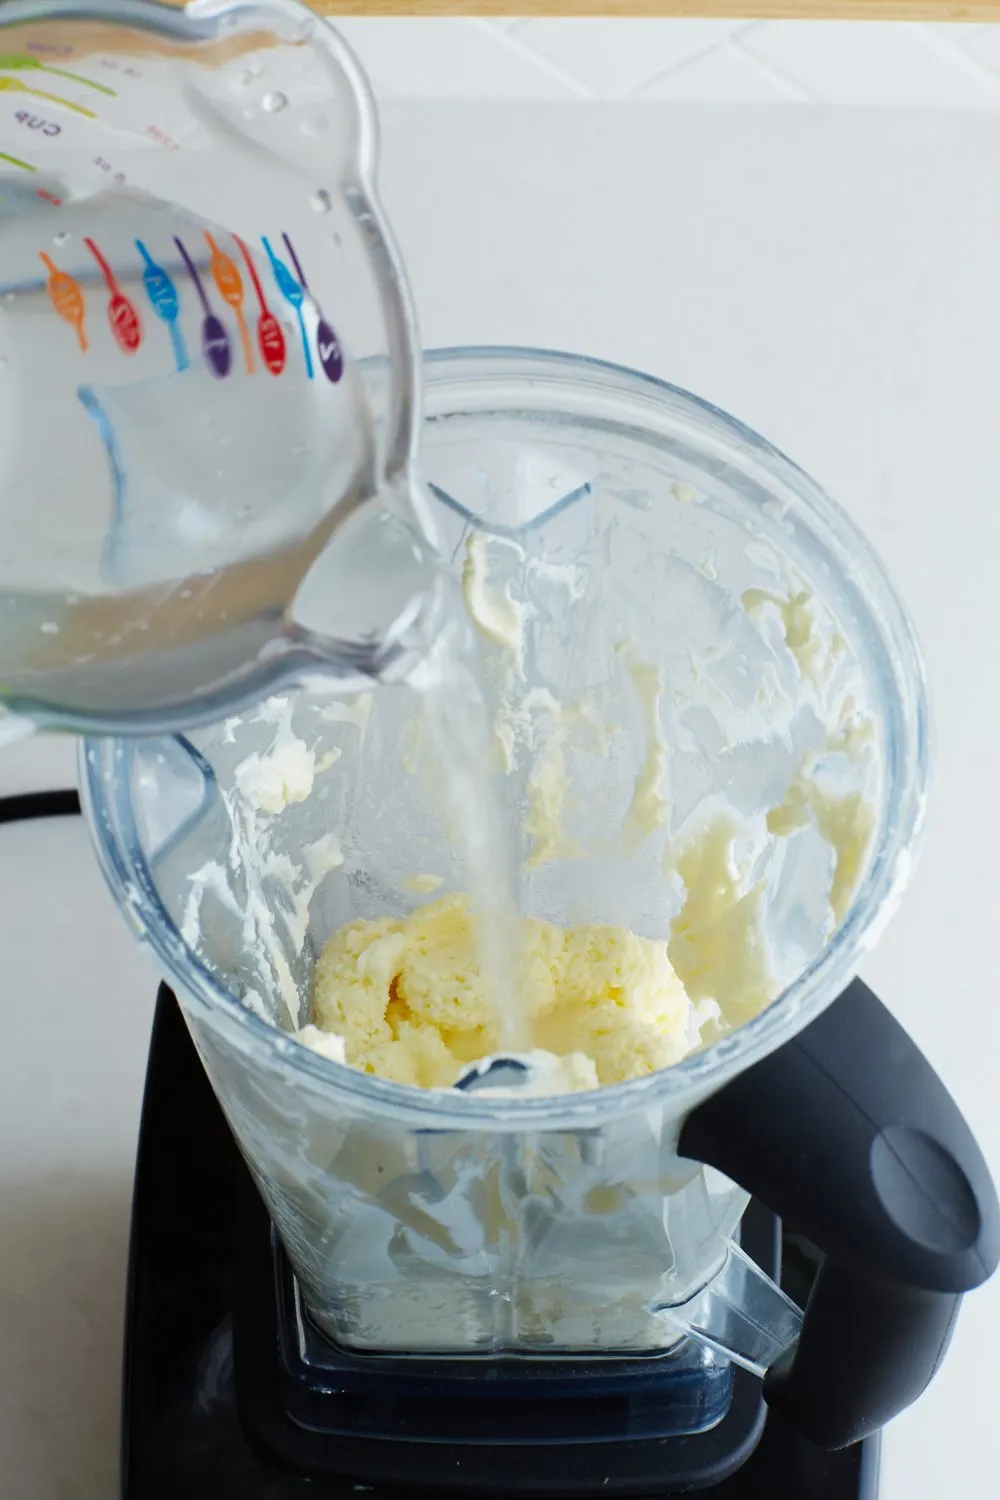
b. Washing the butter: Place the butter in a bowl of ice water and gently knead it with your hands or a spatula. This helps remove any remaining buttermilk and ensures a longer shelf life for the butter.
c. Adding salt (optional): If desired, incorporate salt into the butter during the kneading process. Start with a small amount and gradually increase to taste.
d. Shaping the butter: Shape the butter into a desired form, such as a log, pats, or a mold. Wrap it tightly in plastic wrap or parchment paper to maintain freshness and shape.
-
Storing and Enjoying Homemade Butter
a. Refrigerating the butter: Store the homemade butter in an airtight container in the refrigerator. This ensures freshness and extends the shelf life for several weeks.
b. Exploring flavor variations: Homemade butter offers the opportunity to experiment with flavor variations. Consider adding herbs, spices, or other ingredients to infuse your butter with unique tastes.
c. Incorporating homemade butter into recipes: Use your homemade butter in your favorite recipes that call for butter. Enjoy the rich flavor and satisfaction of using your own creation.
-
Troubleshooting and Tips for Successful Blender Butter Making
a. Cream not thickening: If the cream doesn’t seem to be thickening properly, double-check that it’s chilled enough. You can also try increasing the blending speed slightly or using a blender with more power. Additionally, be cautious not to blend for too long, as that can lead to a grainy texture.
b. Grainy texture: If your butter ends up with a grainy texture, it might be due to overmixing or not adequately draining the buttermilk. Ensure that you knead the butter in ice water to remove any remaining buttermilk, which can cause graininess.
c. Flavor variations: Besides adding salt, you can experiment with other flavor variations to enhance your butter. Some options include incorporating minced garlic or herbs like rosemary or thyme. Mix in these additional ingredients during the kneading process to infuse your butter with delightful flavors.
d. Softening homemade butter: If you need softened butter, remove your homemade butter from the refrigerator and let it sit at room temperature for a few minutes. Adjust this time based on ambient temperatures and desired softness.
e. Using unsalted cream: If you prefer unsalted butter, start with unsalted heavy cream. This allows you to control the amount of salt added, or you can choose to omit it altogether.
Conclusion: Homemade Butter Made Easy
While making butter traditionally may involve specialized equipment, crafting your own butter in a blender is an achievable and enjoyable process. By following the steps outlined in this comprehensive guide, you can create delicious homemade butter without the need for a churn. Take pride in your homemade creation and savor the superior flavor and quality of homemade butter, customized to your preferences. Whether spread on toast, used in baking, or incorporated into savory dishes, your blender-made butter will elevate your culinary creations and add a touch of satisfaction to your meals.