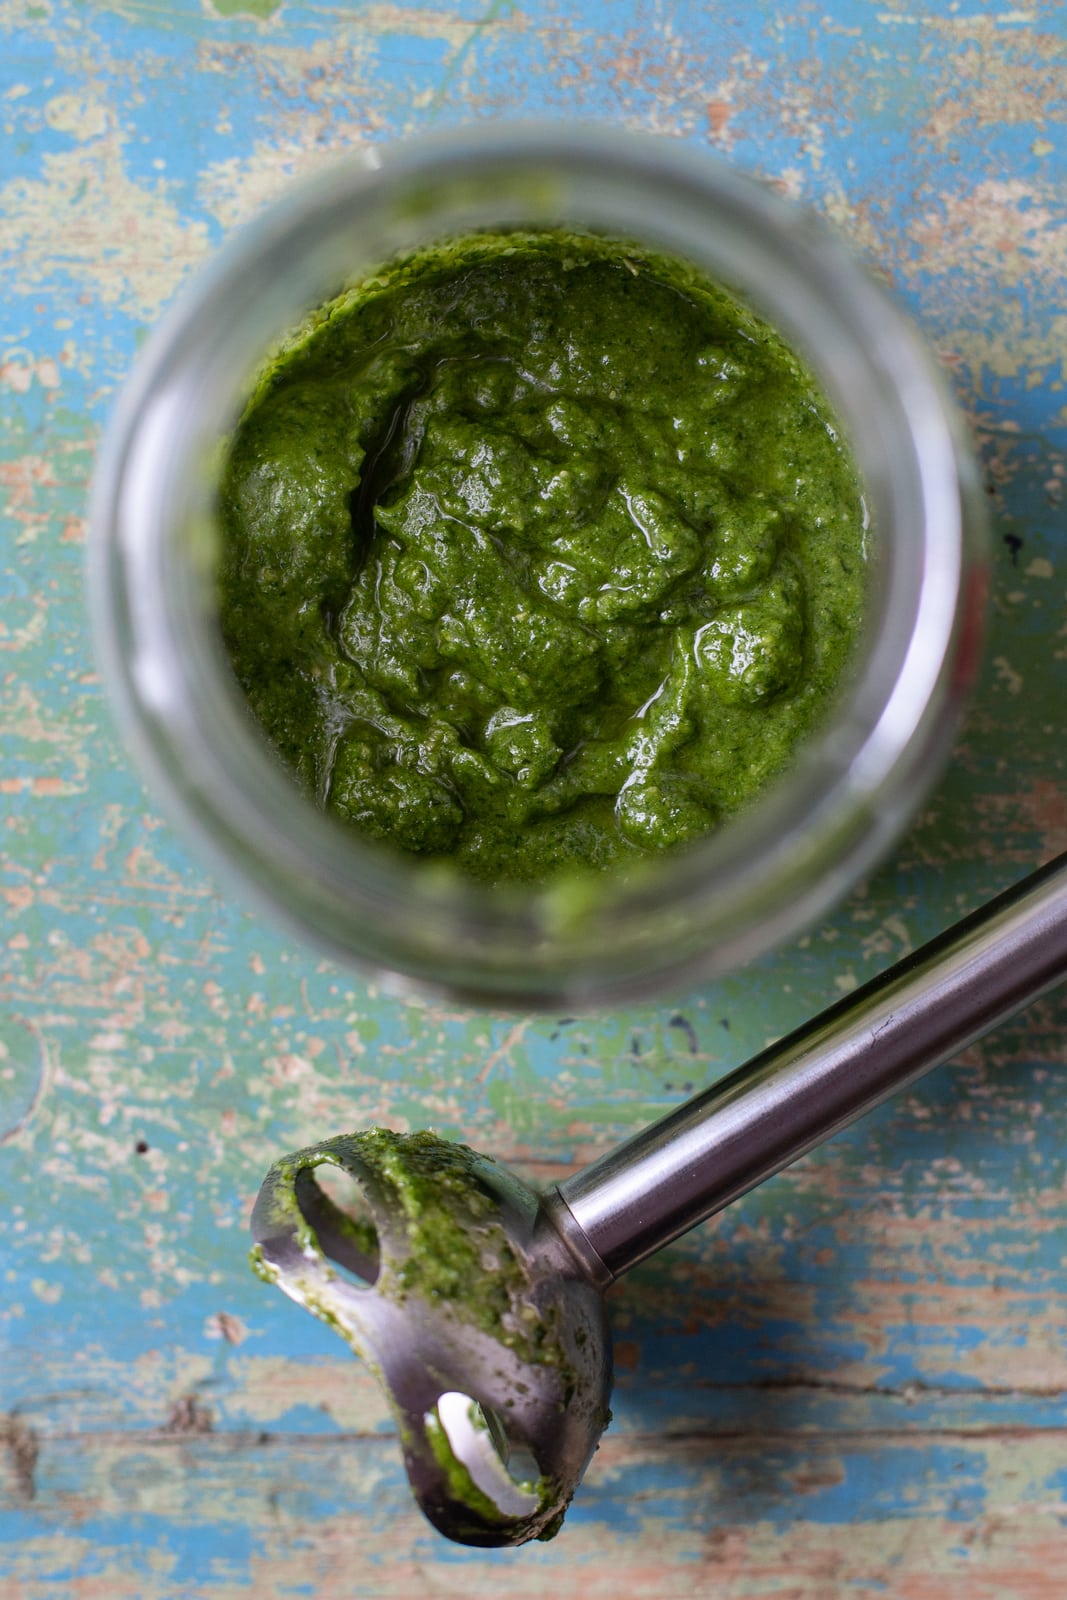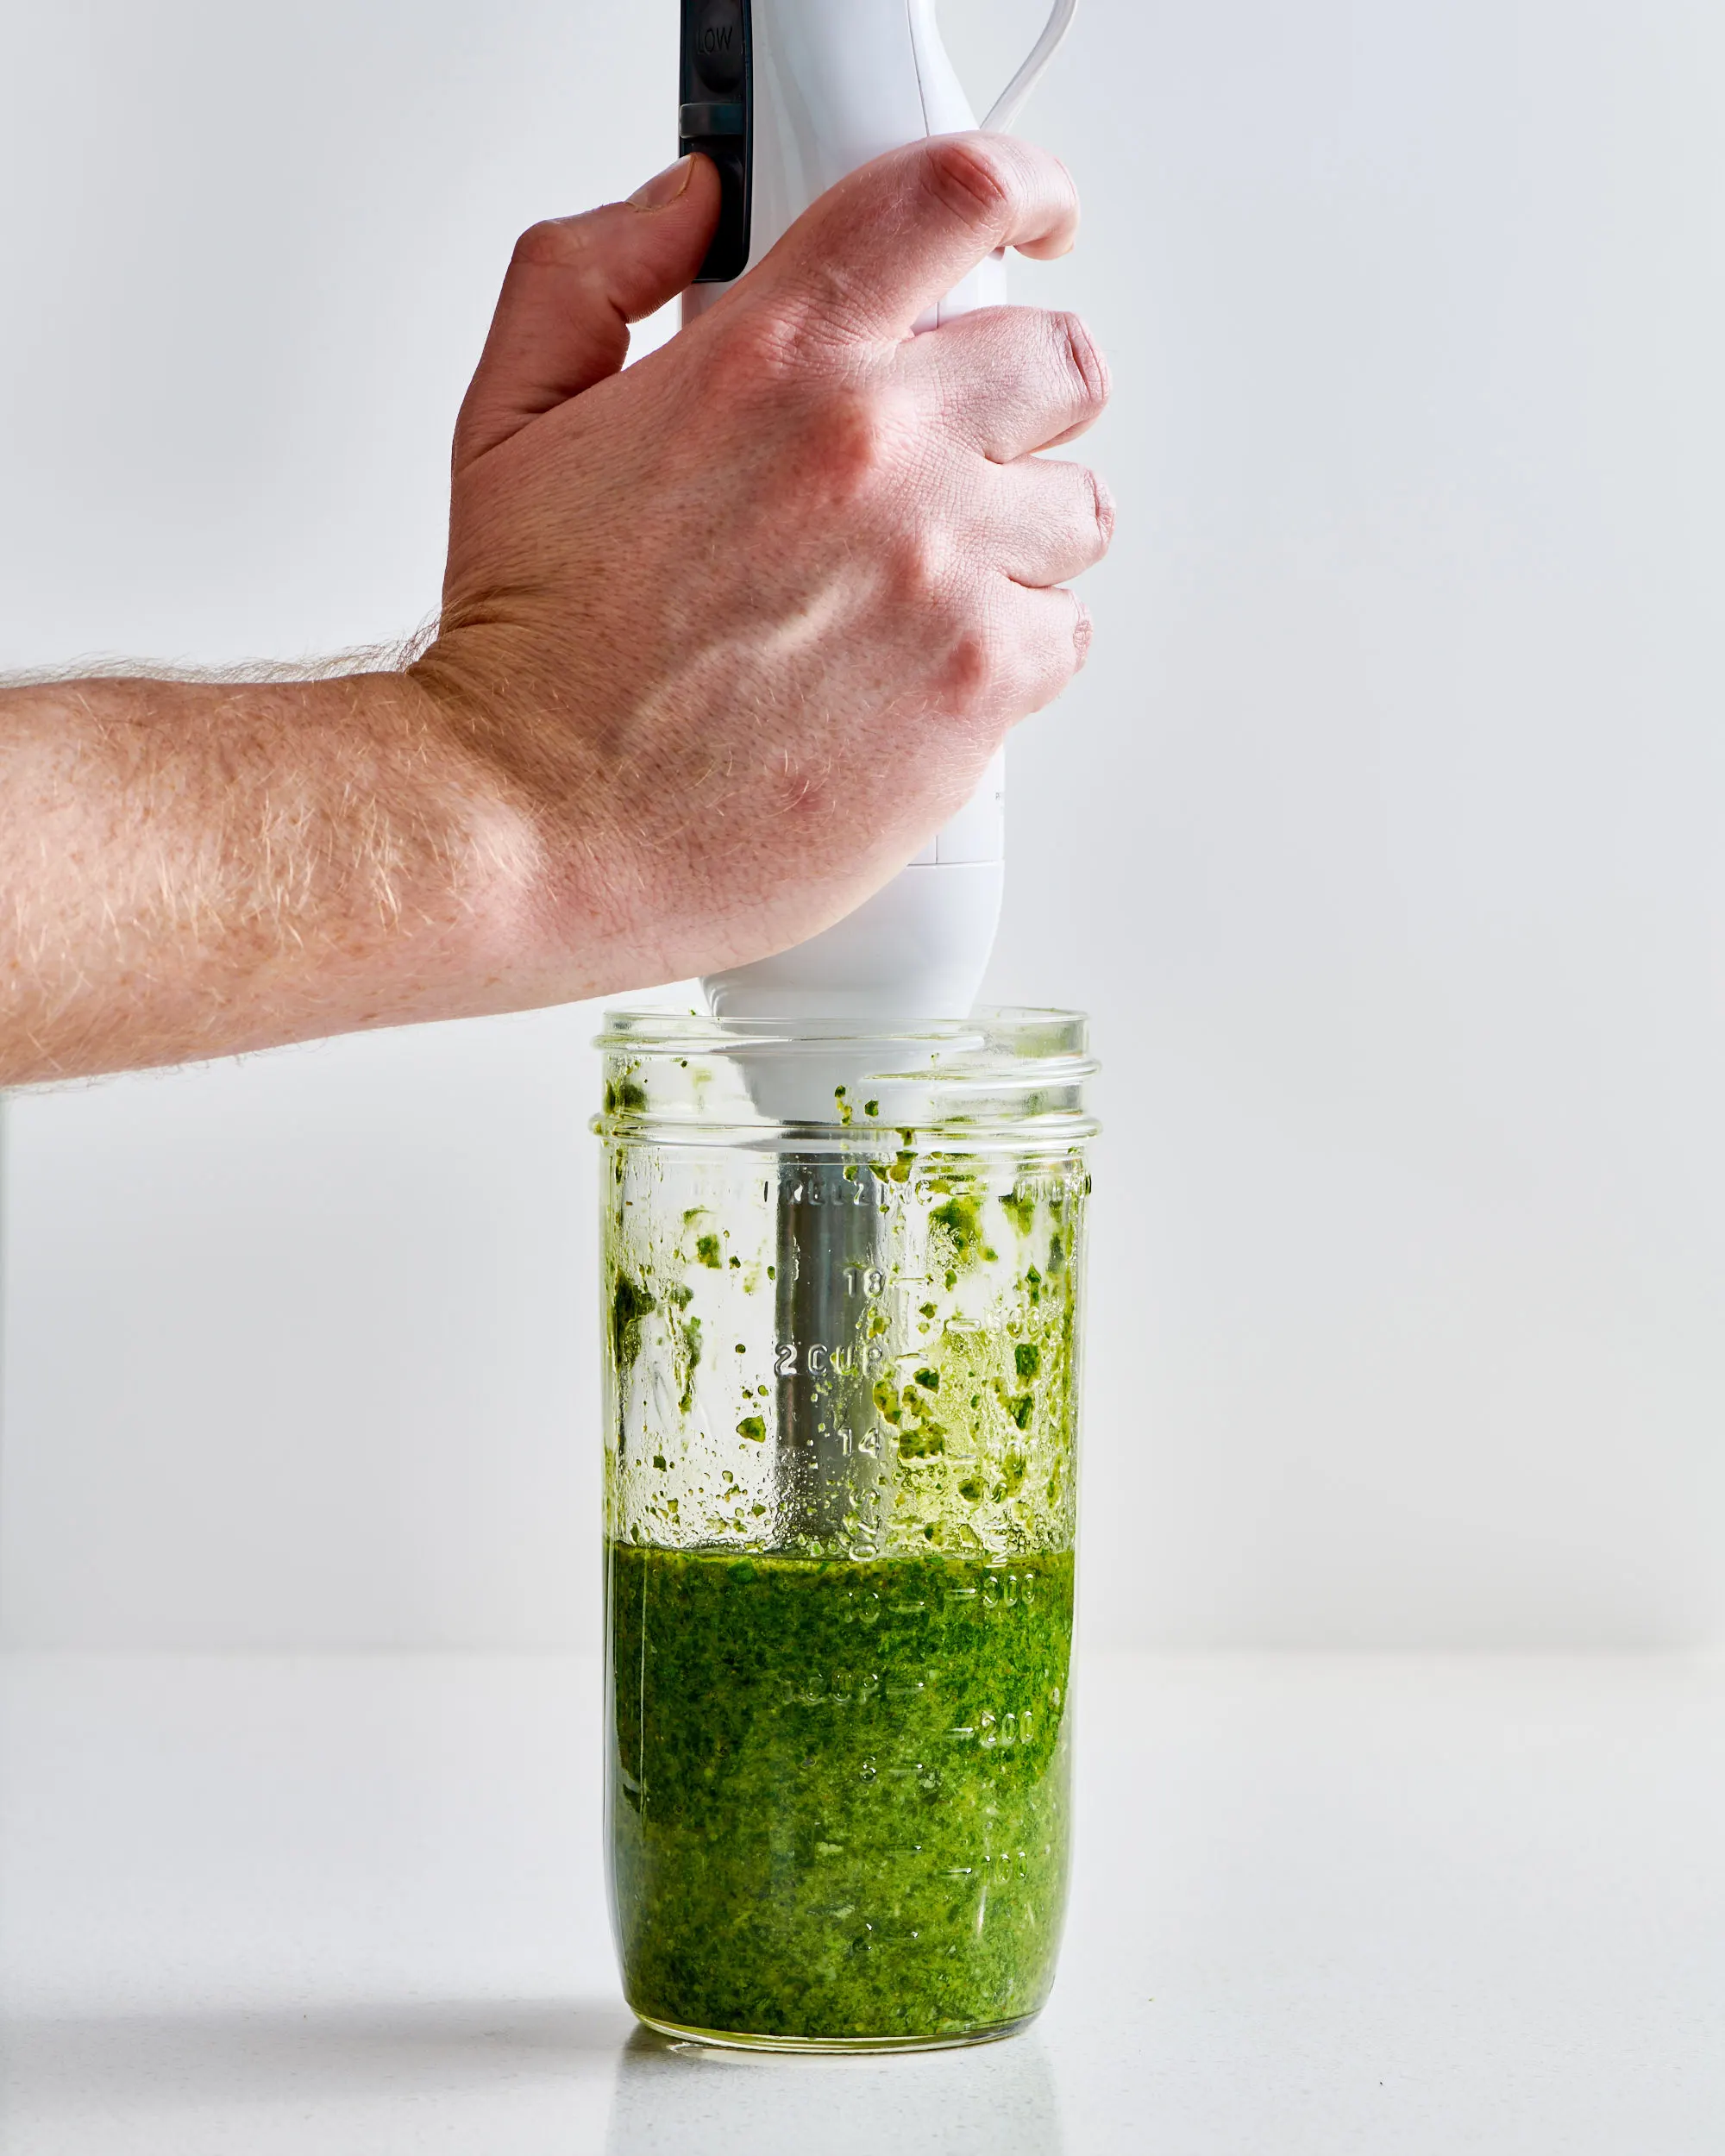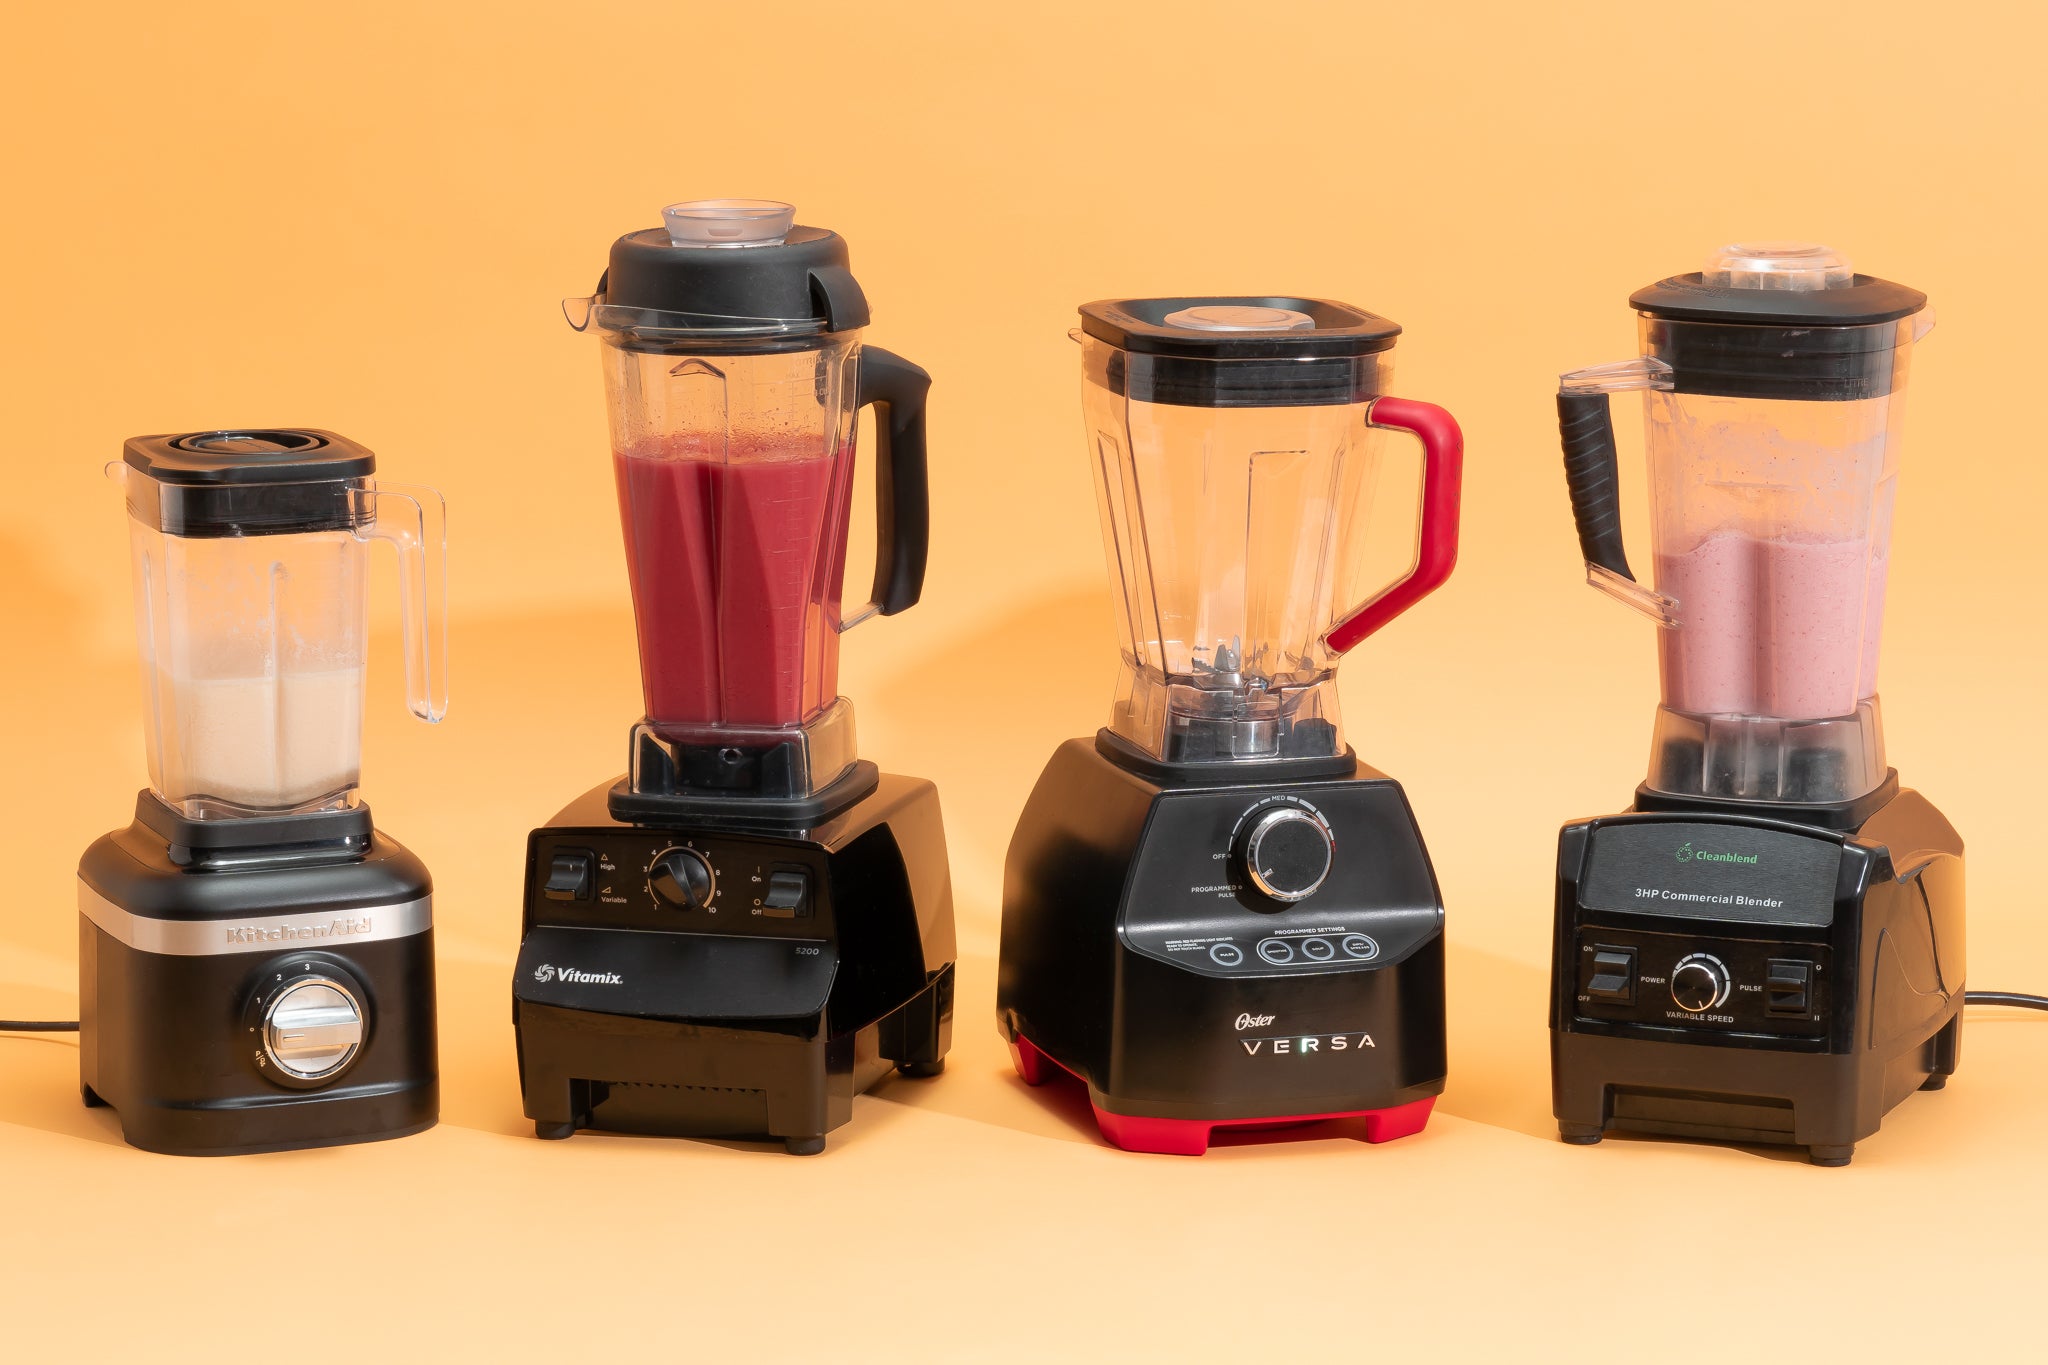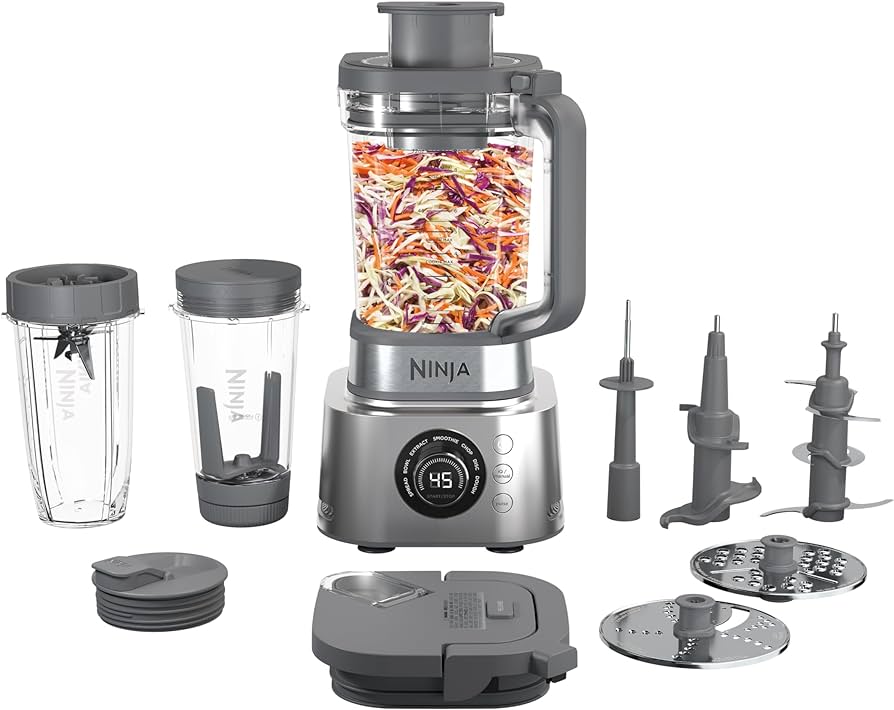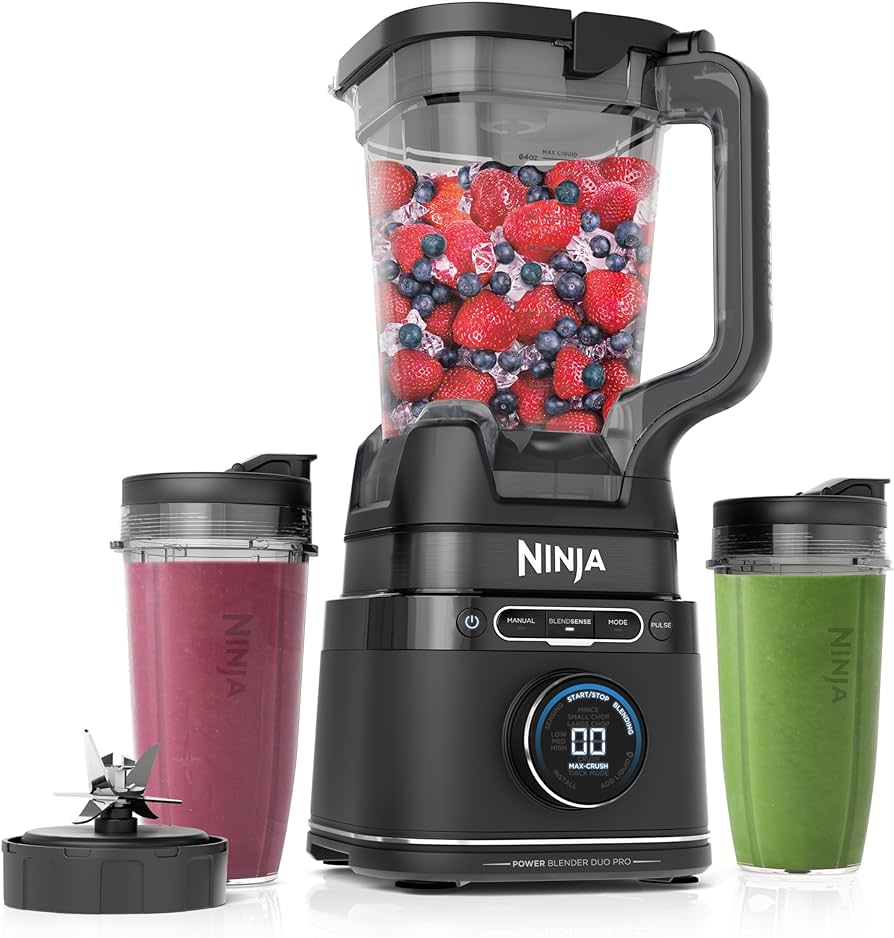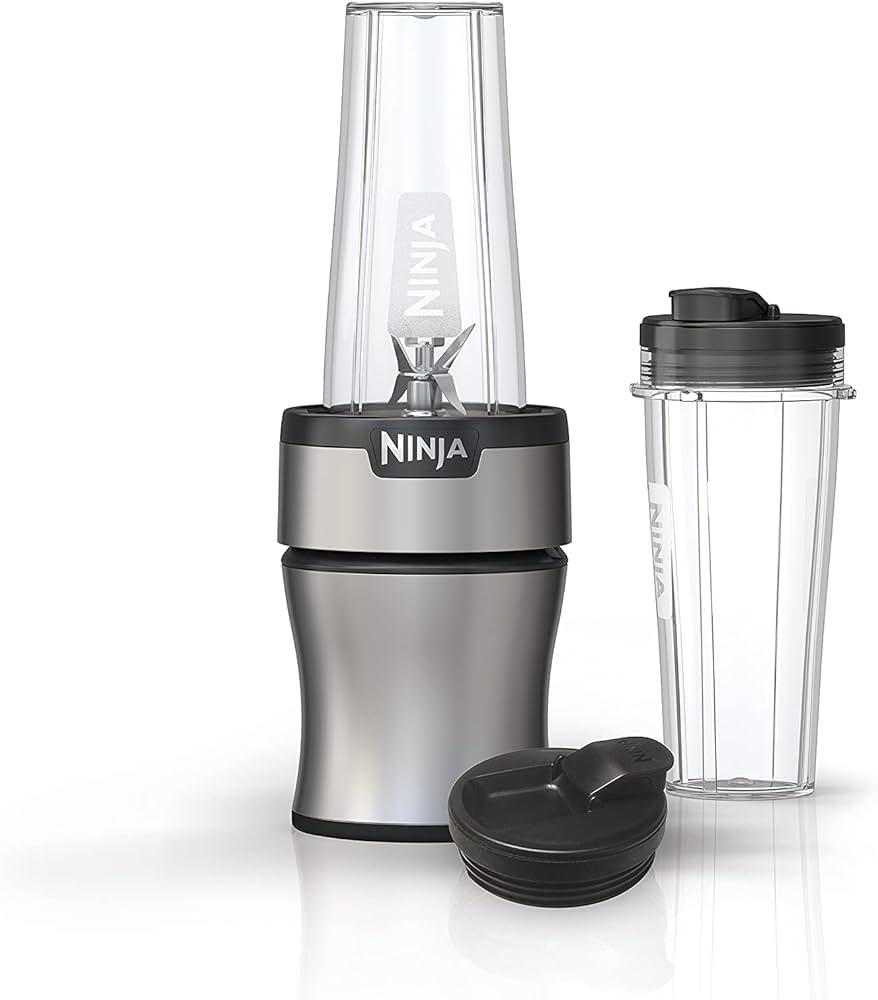
Introduction: Understanding the dishwasher compatibility of blenders
Blenders have become an indispensable tool in the kitchen, making tasks like blending, pureeing, and crushing ingredients a breeze. After using a blender, cleaning can sometimes be a tedious task. Many wonder whether it is safe and convenient to clean their blender by putting it in the dishwasher. In this comprehensive guide, we will explore the dishwasher compatibility of blenders, providing insight into the factors to consider, potential risks, and alternative cleaning methods. By understanding the compatibility of your blender with the dishwasher, you can ensure a safe and efficient cleaning process while prolonging the lifespan of your blender.
Is it safe to put a blender in the dishwasher?
-
Reviewing the blender’s dishwasher compatibility
a. Consult the manufacturer’s instructions: The first step is to refer to the blender’s manual or instructions. There, you will find specific guidance on whether the blender is dishwasher-safe or not. Manufacturers usually provide clear instructions regarding dishwasher compatibility.
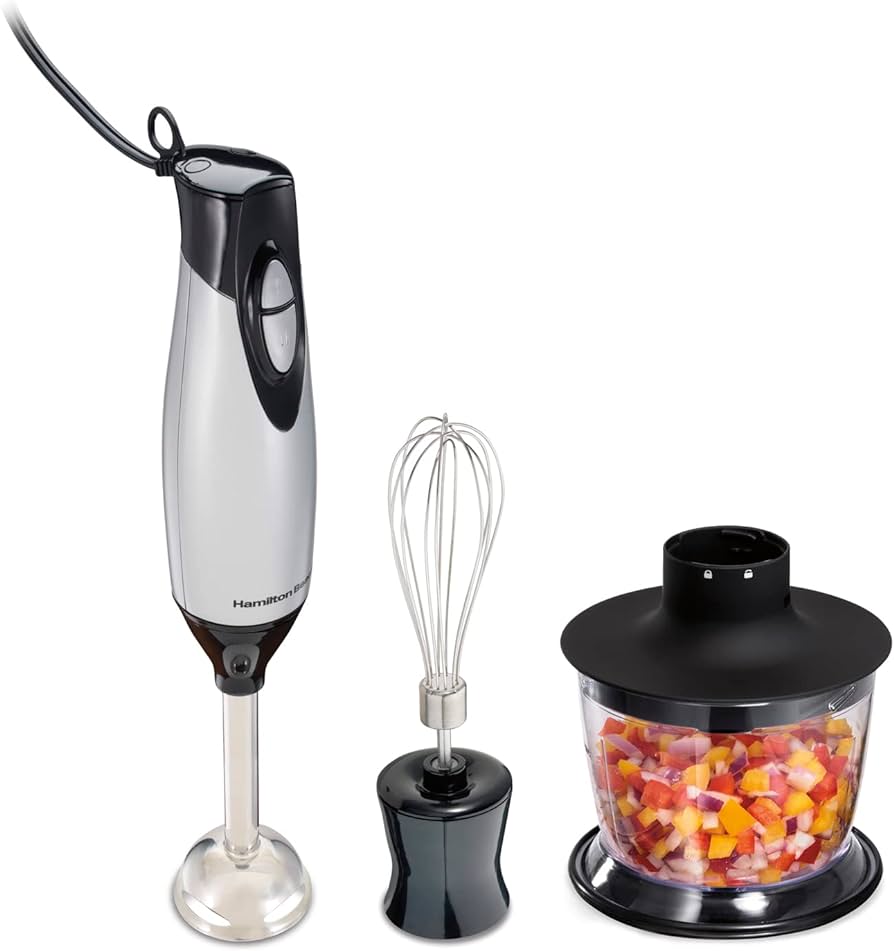
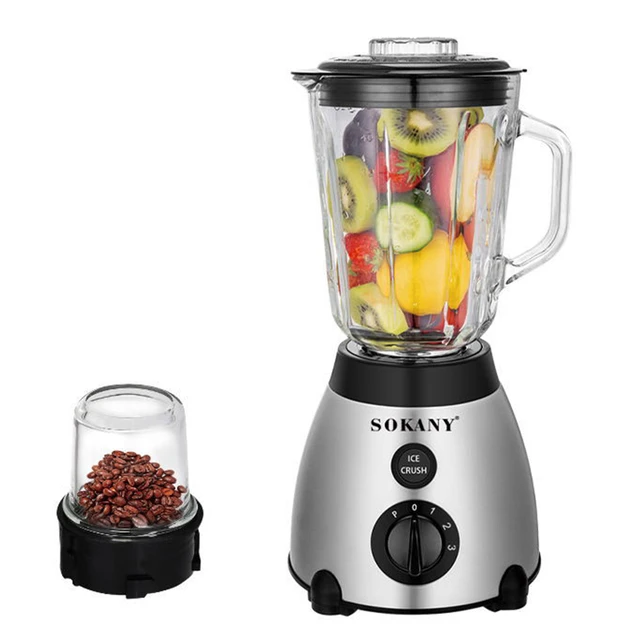
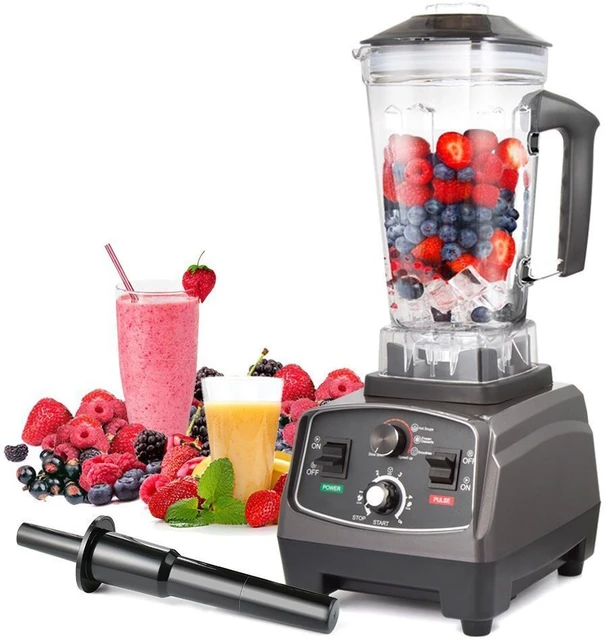
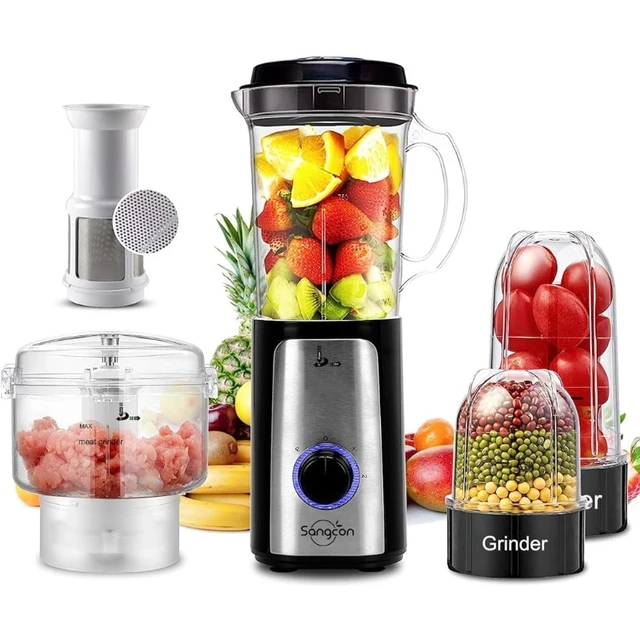
b. Check for dishwasher-safe components: Even if the blender is labeled as dishwasher-safe, it is important to verify which parts can safely be placed in the dishwasher. Some blenders may have removable blades, lids, or containers that are dishwasher-safe, while other components may need to be hand-washed.
-
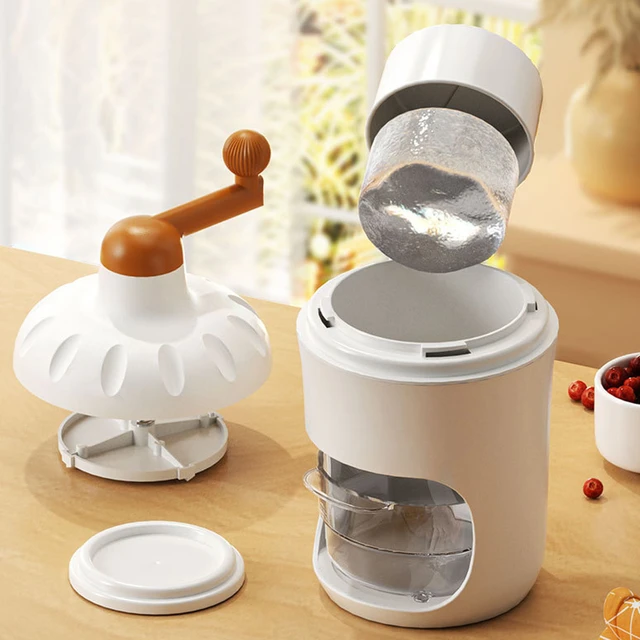
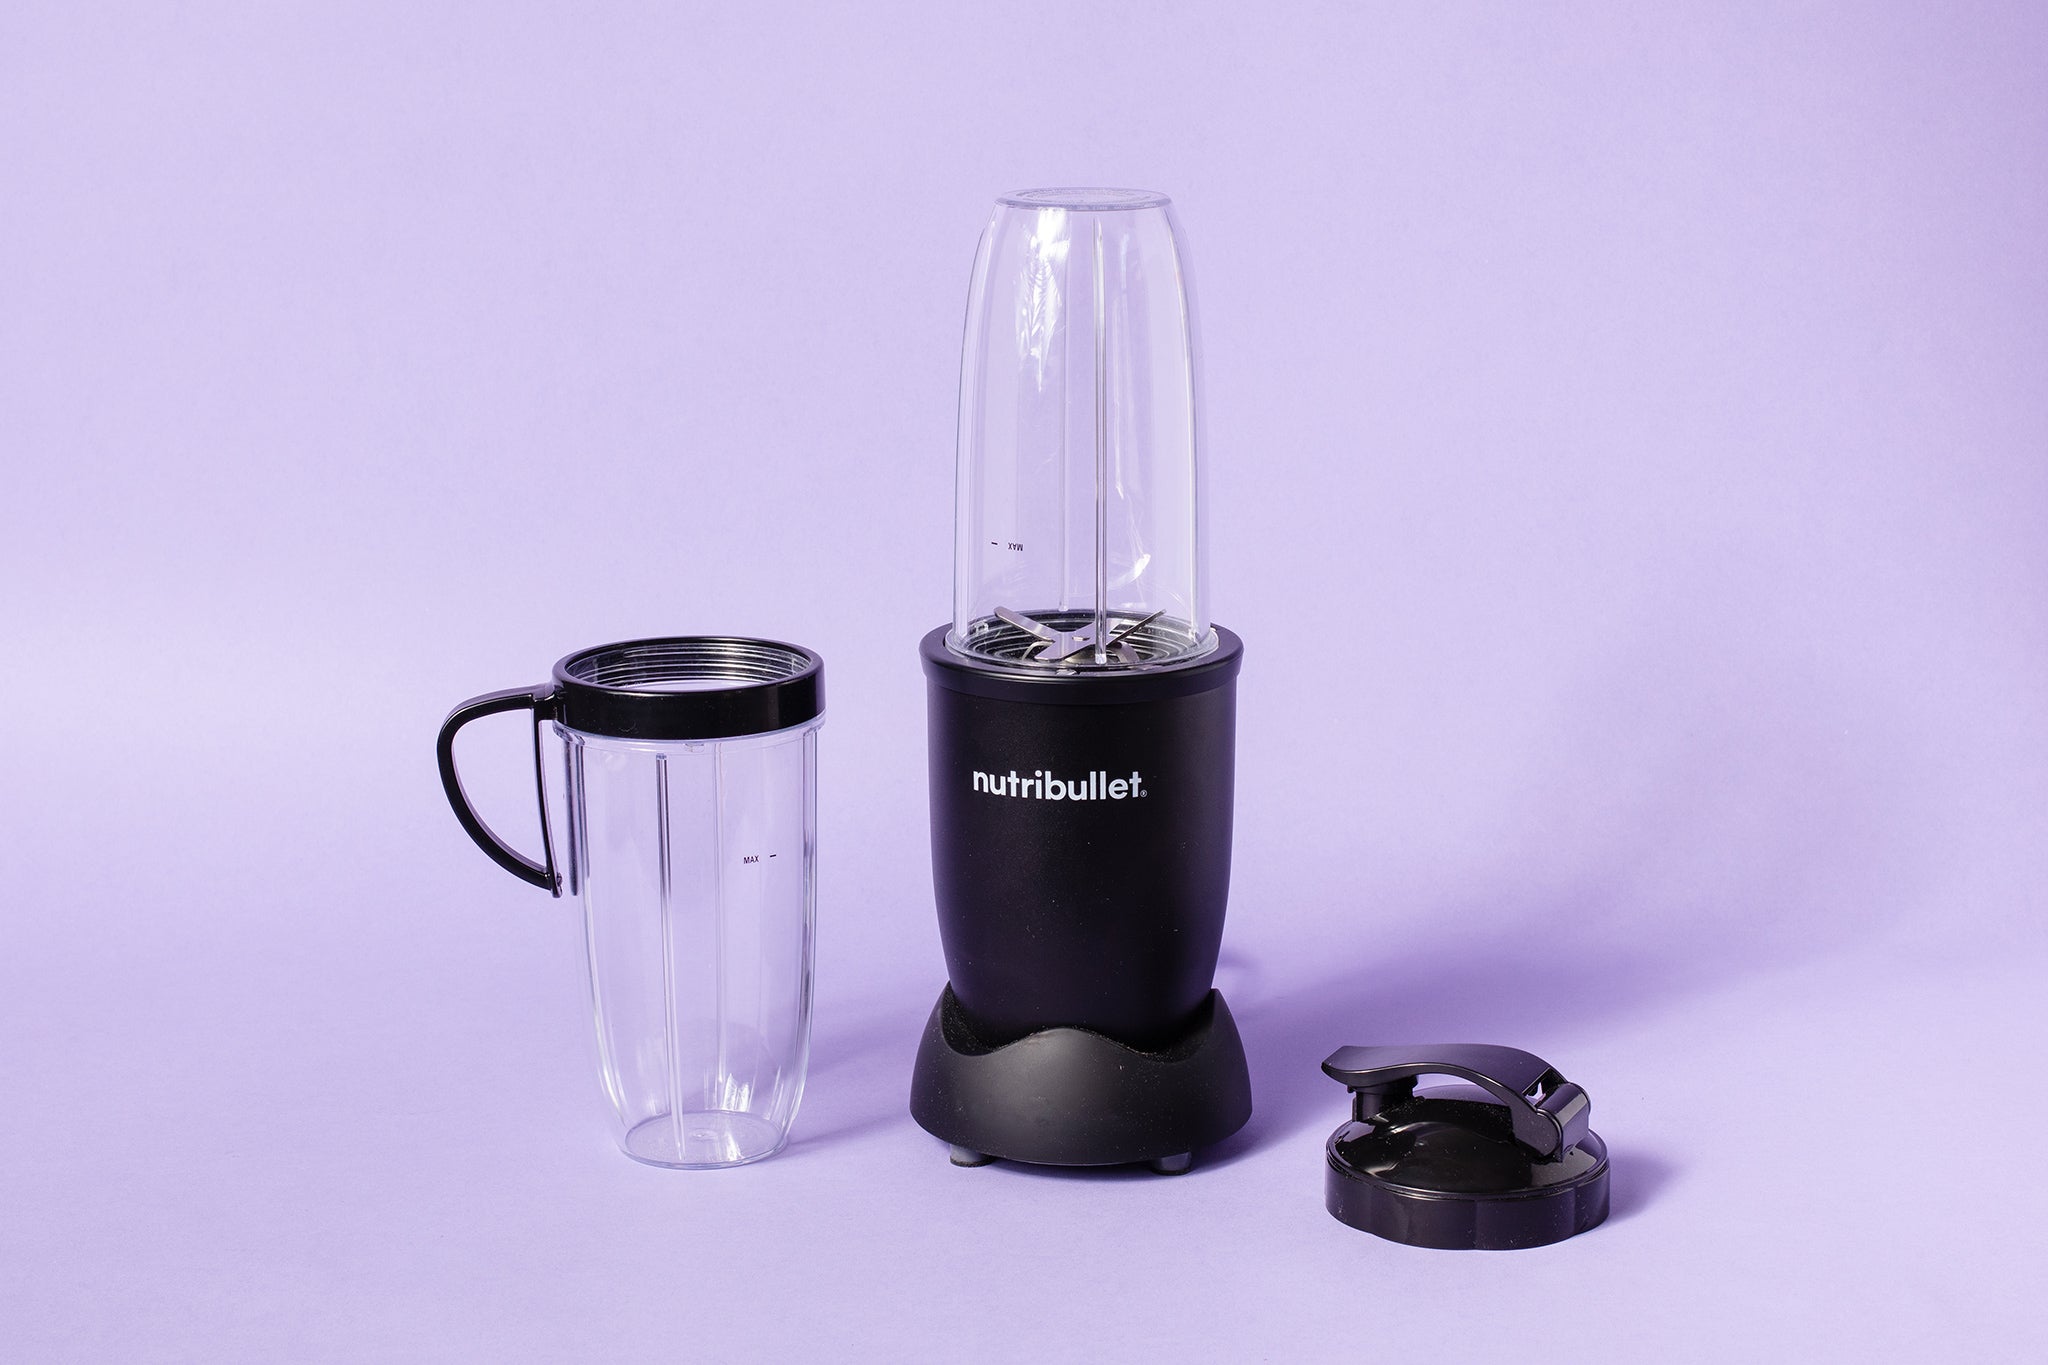
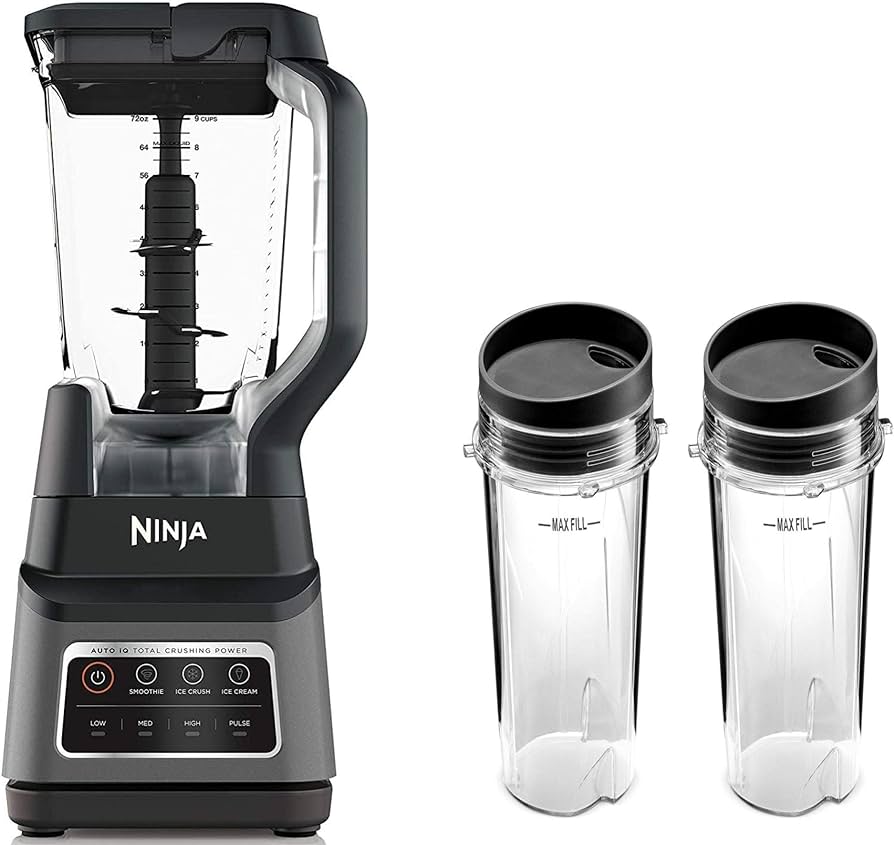
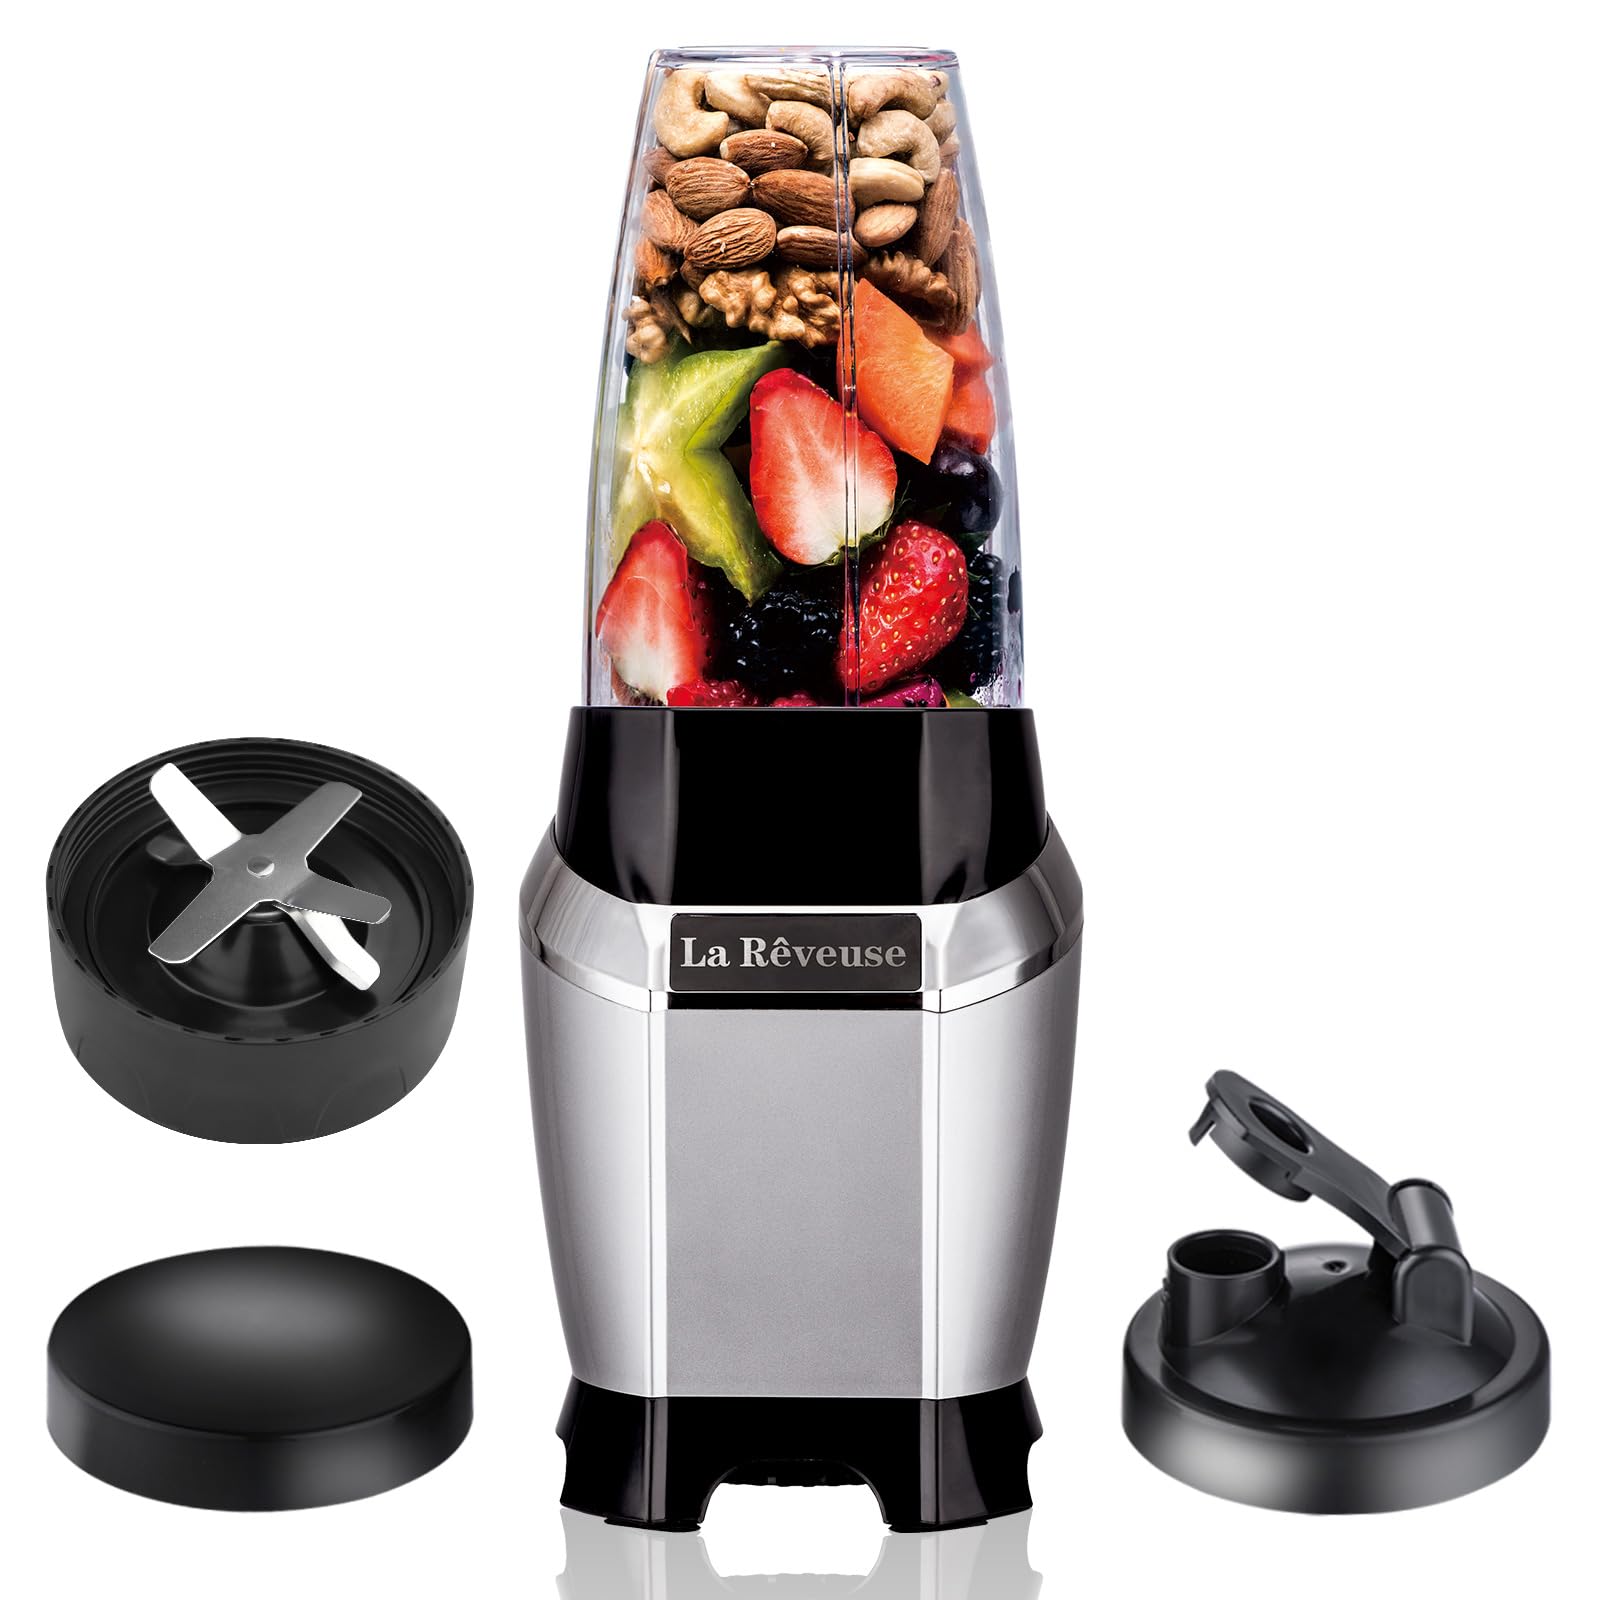
Disassembling the blender
a. Separating removable components: Before cleaning your blender, disassemble it by removing the blades, lid, and any other detachable parts. This allows for a more thorough cleaning and prevents any potential damage during the dishwasher cycle.
b. Examining non-removable components: Take note of any components that cannot be removed, such as the base or electrical elements. These parts should not be submerged in water or placed in the dishwasher due to the risk of damage.
-
Hand-washing for optimal care
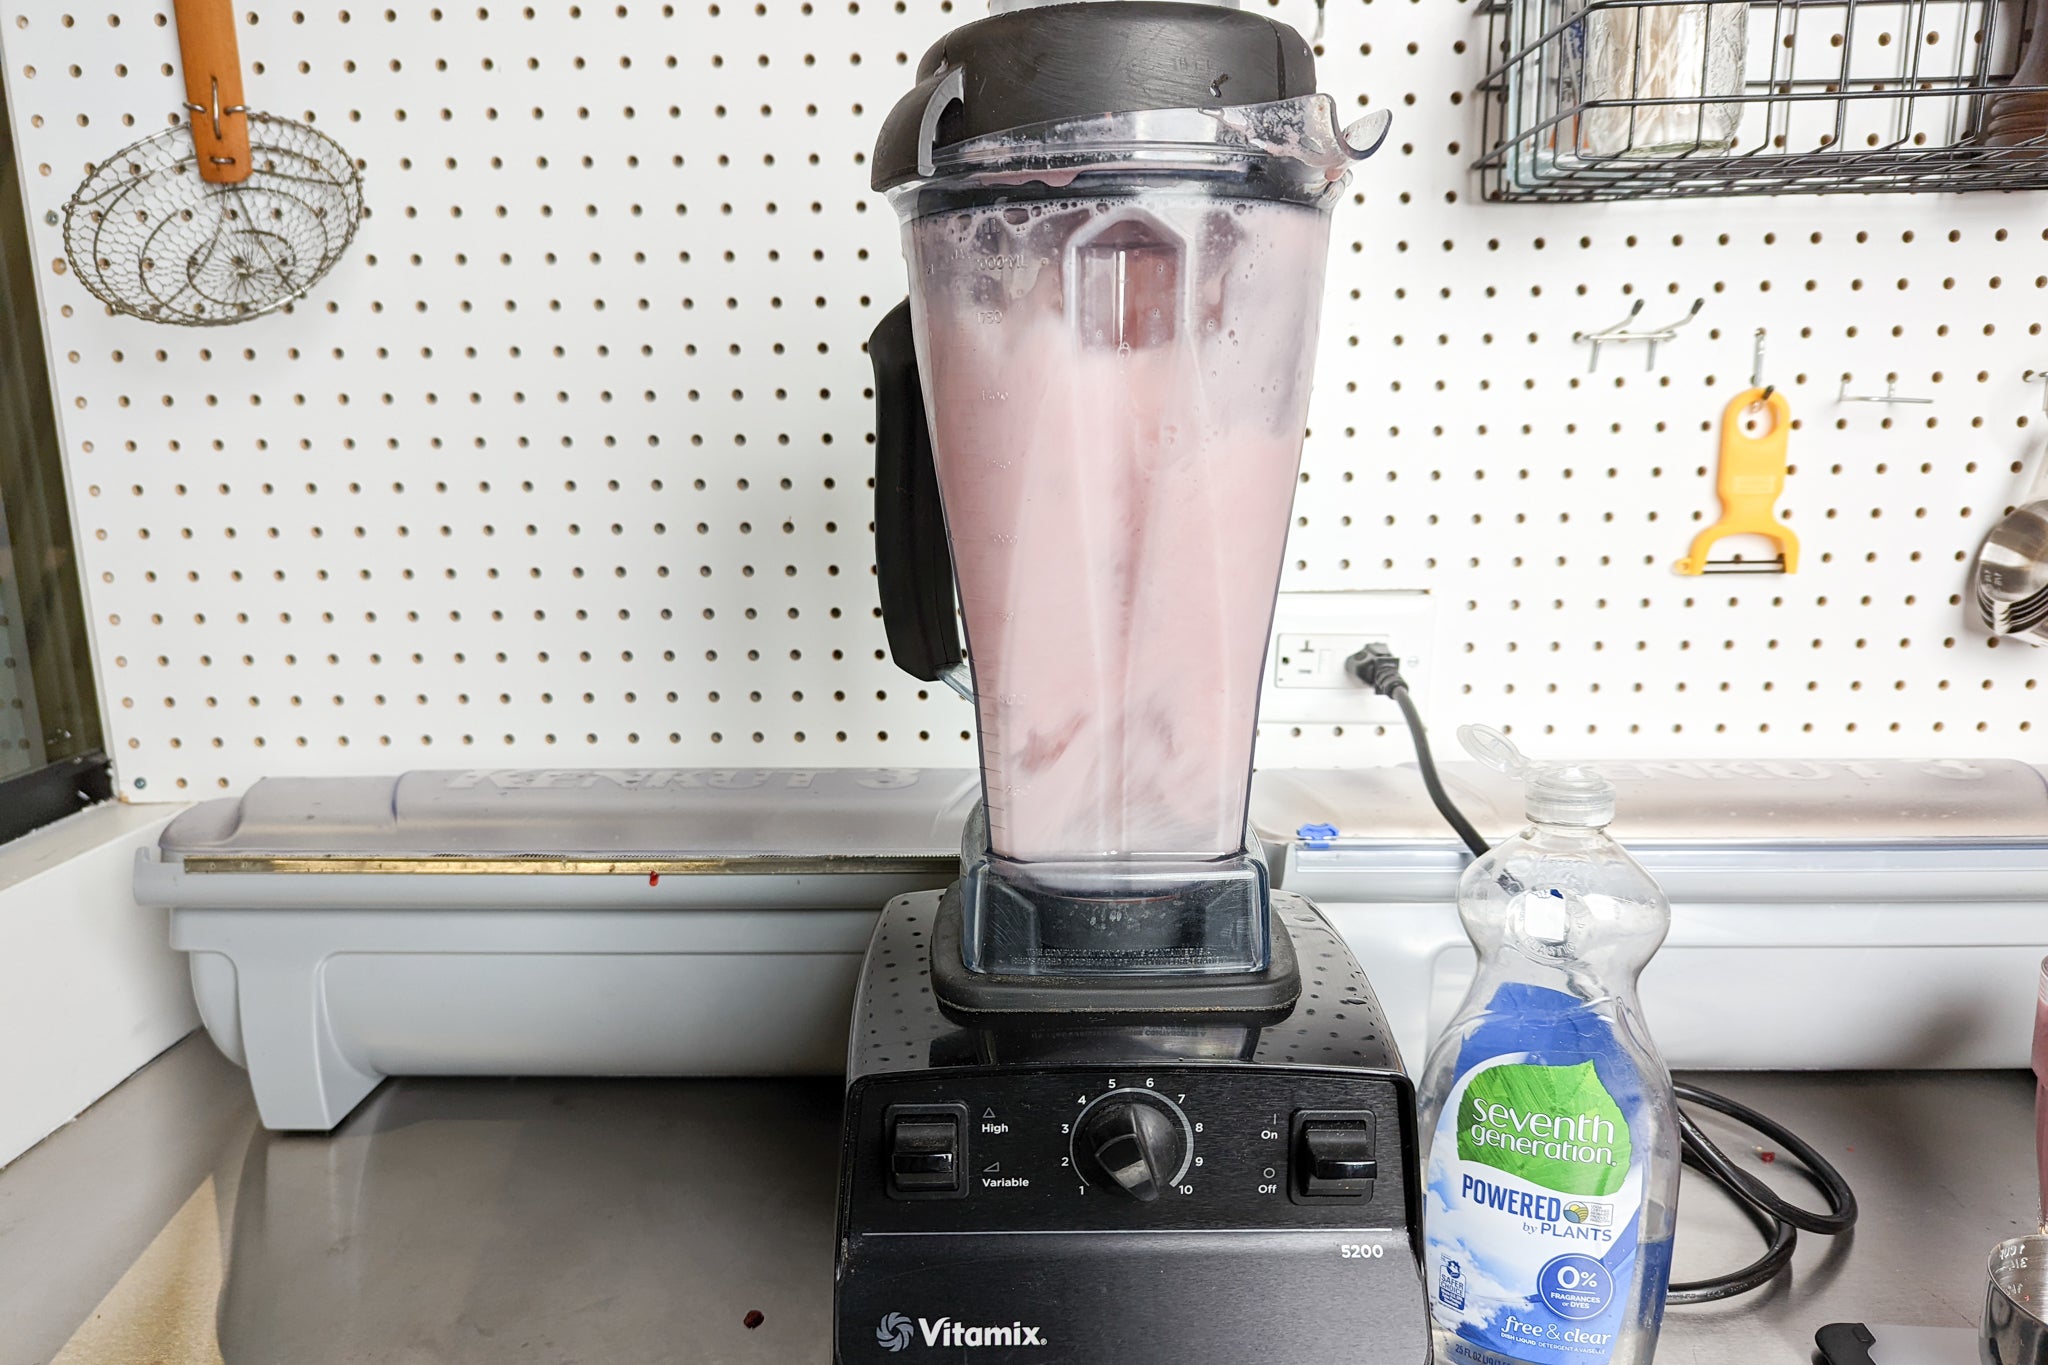
a. Cleaning non-dishwasher-safe components: If your blender has non-dishwasher-safe components, it is necessary to hand-wash them. Fill a sink or basin with warm, soapy water and use a sponge or brush to gently clean these parts, ensuring they are thoroughly rinsed and dried afterward.
b. Being cautious with electronic elements: Components like the base, control panel, and electrical cords should never be submerged in water or exposed to excessive moisture. Dampen a cloth with a mild cleaning solution and carefully wipe these parts clean.
-
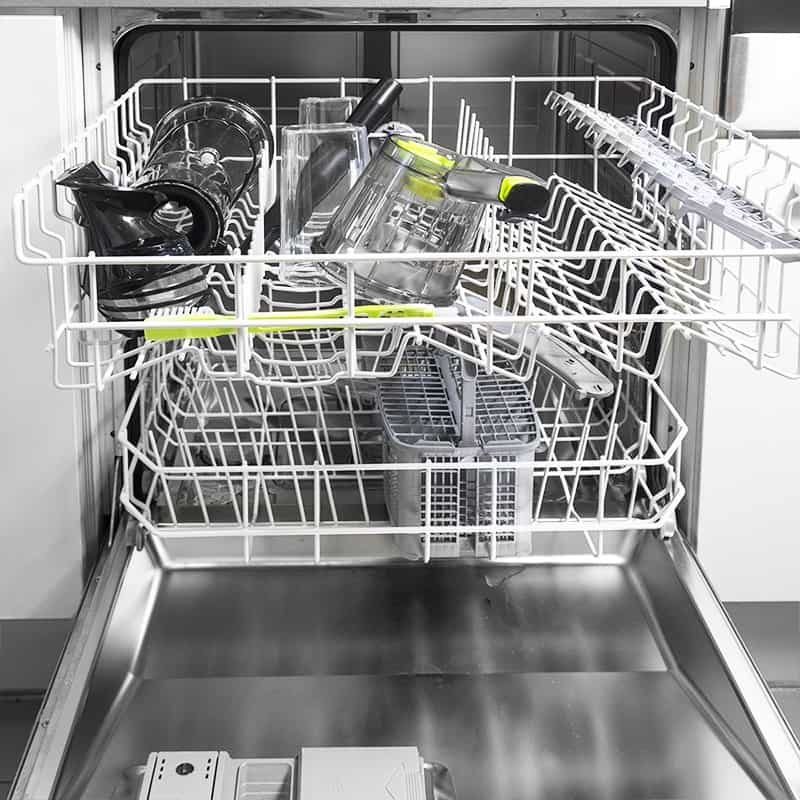
Dishwasher cleaning precautions
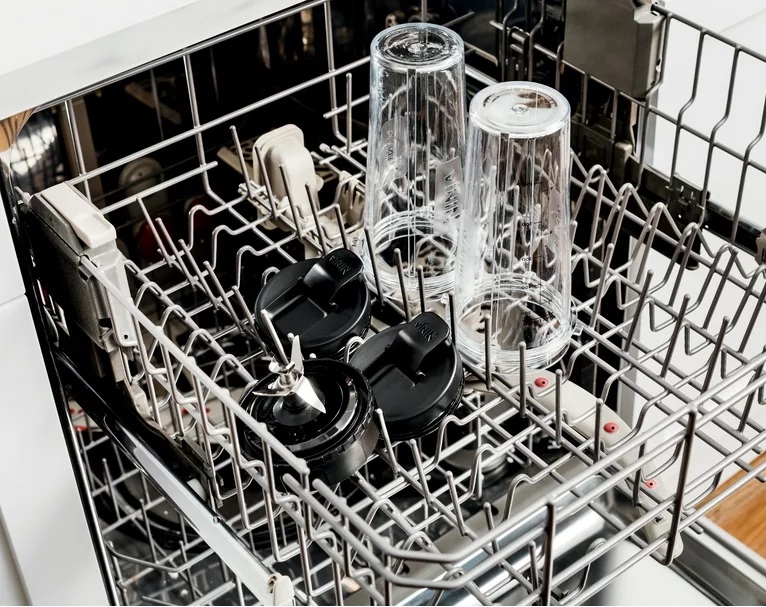
a. Assessing dishwasher capacity: Verify whether your dishwasher has the capacity to accommodate the size and shape of your blender components. Ensuring there is ample space prevents overcrowding, which can hinder the effectiveness of the cleaning process.
b. Choosing a dishwasher cycle: Opt for a gentle or delicate cycle when cleaning blender components in the dishwasher. This reduces the risk of damage to delicate parts like blades or seals.
c. Placement of dishwasher-safe components: Arrange the dishwasher-safe blender components securely in the dishwasher’s utensil basket or on the top rack. Avoid placing the components near heating elements, such as the dishwasher’s heating coil.
-
Potential risks and considerations
a. Heat and plastic components: Dishwasher cycles can expose plastic blender components to high temperatures, potentially causing warping, melting, or degradation. Assess the material composition of your blender parts and exercise caution accordingly.
b. Blade exposure: Improperly placed blender blades in the dishwasher can pose a safety risk to the user. Ensure blades are securely attached to their respective components or wrap them separately in a protective container or mesh bag to prevent any potential accidents.
-
Alternative cleaning methods
a. Immediate hand-washing: Clean your blender immediately after use by filling it with warm, soapy water and blending for a few seconds. This helps remove debris and makes subsequent hand-washing easier.
b. Soaking and scrubbing: For tougher residues or stains, soak blender components in warm, soapy water to loosen the debris before hand-washing. Use a brush or sponge to gently scrub away any remaining residue.
c. Vinegar solution for odors: To combat lingering odors in blender components, soak them in a solution of equal parts water and white vinegar. Rinse thoroughly afterward to eliminate any vinegar smell.
-
Maintaining your blender’s longevity
a. Preserving blade sharpness: Hand-washing the blender blades allows for greater control and minimizes the risk of dulling or chipping them. Gently clean the blades by running a sponge or brush along their edges, taking care to avoid direct contact with sharp blades.
b. Drying thoroughly: After hand-washing or dishwasher cleaning, ensure that all blender components are thoroughly dried before reassembling them. Moisture trapped in crevices can lead to the growth of mold or mildew, affecting both the blender’s performance and hygiene.
c. Regular cleaning routine: Establish a regular cleaning routine to prevent residue buildup and maintain optimal blender functionality. Regular cleaning also extends the lifespan of your blender and ensures that each use results in a fresh and hygienic blend.
-
Additional tips for blender maintenance
a. Avoiding abrasive cleaning tools: When hand-washing blender components, use gentle sponges, brushes, or cloths to prevent scratches or damage to the surfaces. Avoid metal scouring pads or abrasive cleaners that can mar the finish.
b. Wiping the base: Regularly wipe the base of the blender with a damp cloth to remove any spills, splatters, or food residues that may have accumulated during use. This keeps the exterior clean and prevents the development of odors.
c. Storing with care: After cleaning and drying, store the blender in a dry, well-ventilated area. Make sure all components are properly assembled or stored together to prevent misplacement or damage.
Conclusion: Understanding the dishwasher compatibility of blenders
Determining whether your blender is dishwasher-safe requires careful examination of the manufacturer’s instructions and individual components. While some blenders can safely handle the dishwasher environment, others may have specific limitations that require hand-washing for optimal care. Take into account the dishwasher’s capacity, the materials of the blender’s components, and any potential risks associated with heat or blade exposure. When in doubt, err on the side of caution and opt for alternate cleaning methods like immediate hand-washing, soaking, or vinegar solutions. By understanding the compatibility between your blender and the dishwasher, you can maintain the cleanliness and performance of your blender while ensuring a safe and efficient cleaning process.