Introduction:
Making carrot juice with a blender is a simple and effective way to enjoy a healthy beverage without needing a dedicated juicer. This comprehensive guide provides detailed instructions and useful tips for preparing, blending, straining, and enhancing carrot juice, ensuring a delicious and nutrient-rich result. By following these steps, you can create fresh carrot juice at home with ease and confidence.
How to Make Carrot Juice with a Blender:
What Are the Steps for a Fresh and Nutritious Drink?
Selecting and Preparing Carrots:
How Do You Choose and Prepare Carrots for Juicing?
The quality of your carrot juice depends significantly on the freshness and preparation of your carrots.
Choosing Fresh Carrots:
Selecting the Best Produce:
Look for Freshness: Choose carrots that are firm, smooth, and brightly colored. Avoid carrots that are wilted, cracked, or have green tops, as these can indicate age and less flavor.
Organic Option: Opt for organic carrots if possible. Organic produce is free from pesticides and other chemicals, making it a healthier choice for your juice.
Washing and Peeling:
Cleaning for Safety:
Thorough Washing: Wash the carrots thoroughly under running water to remove dirt and any pesticide residues. Use a vegetable brush to scrub the surface clean.
Peel or Not to Peel: Peeling is optional. If you prefer a cleaner taste and texture, peel the carrots. If you choose not to peel them, ensure they are scrubbed well to remove any dirt and bacteria.
Cutting into Pieces:
Easier Blending:
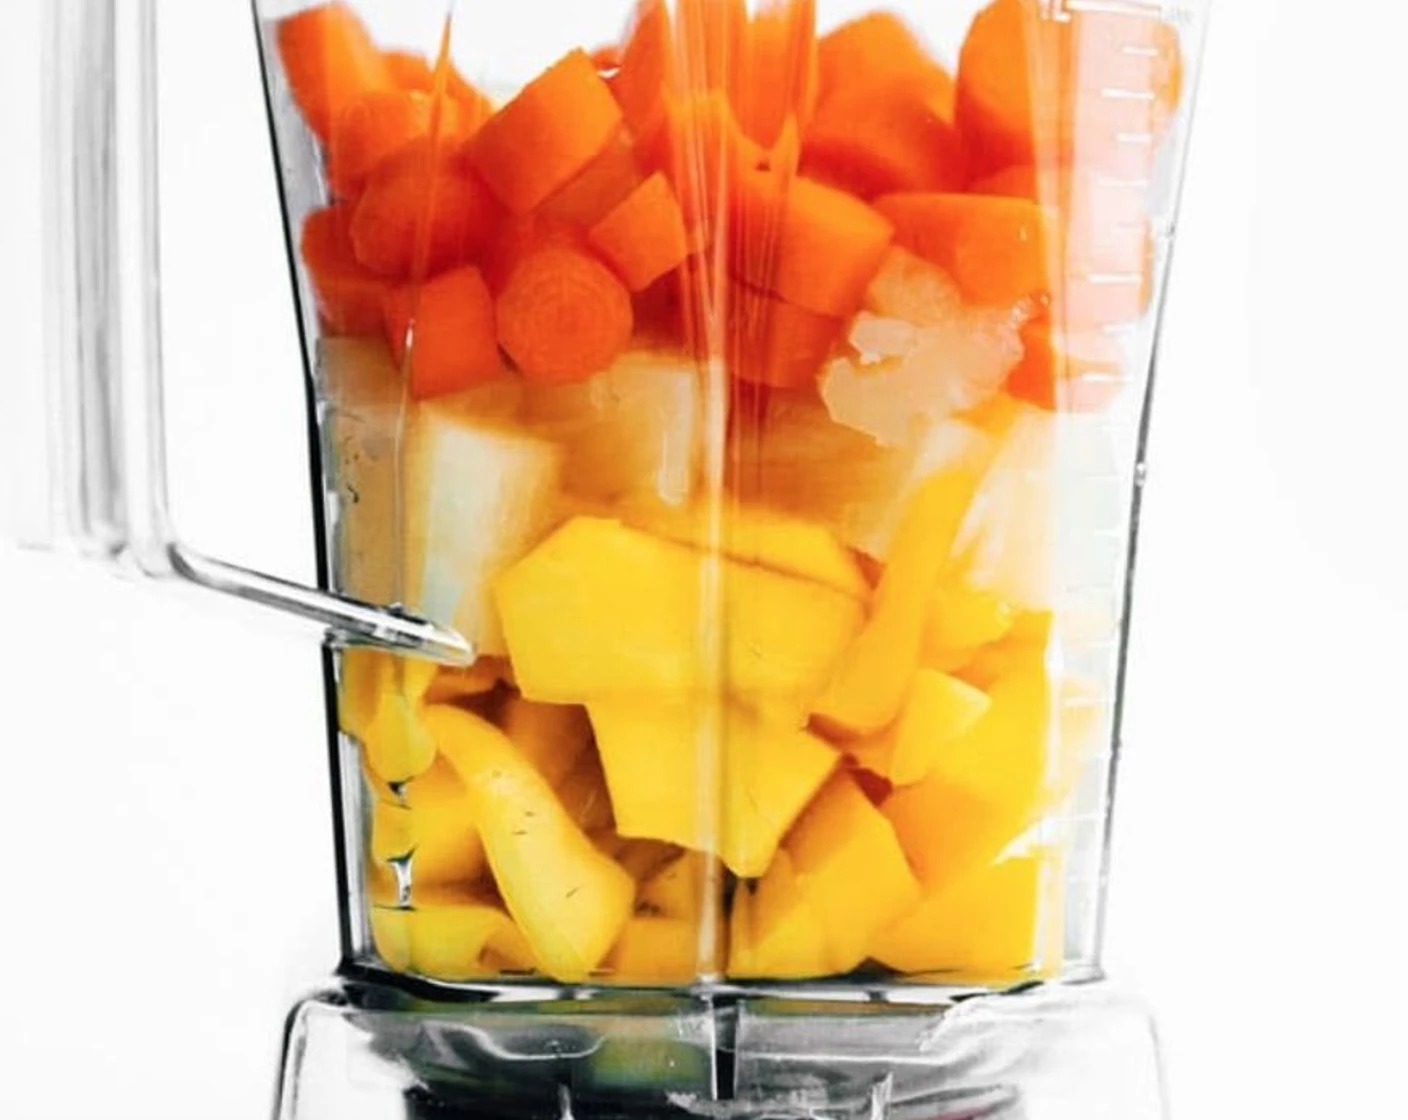
Chop Into Segments: Cut the carrots into smaller pieces, roughly 1-2 inches long. Smaller pieces are easier to blend and help achieve a smoother texture.
Uniform Size: Ensure the pieces are of uniform size to promote even blending, reducing the risk of uneven chunks in your juice.
 Blending Carrots:
How Do You Blend Carrots for Juice?
Blending carrots properly is crucial for creating a smooth, drinkable juice.
Using the Right Blender:
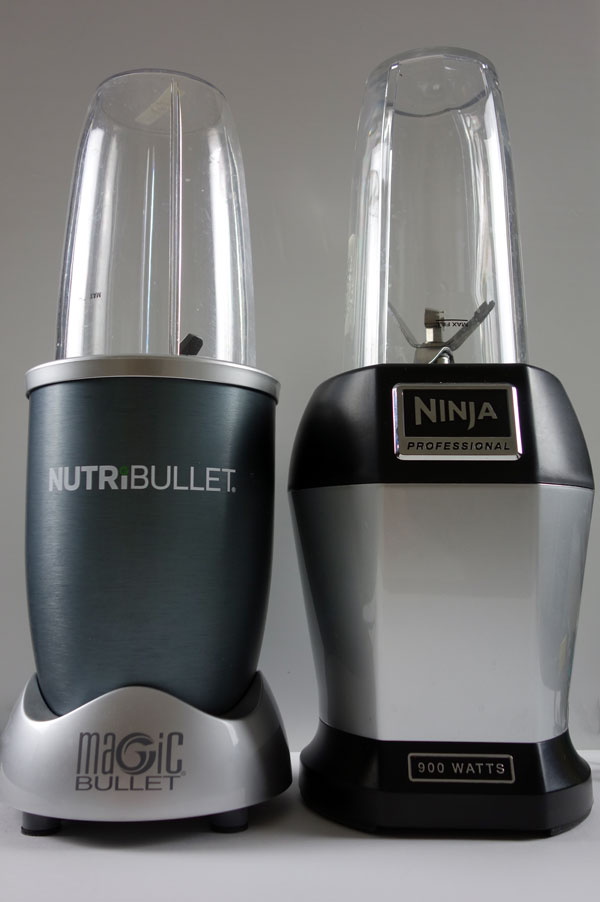
Blender Selection:
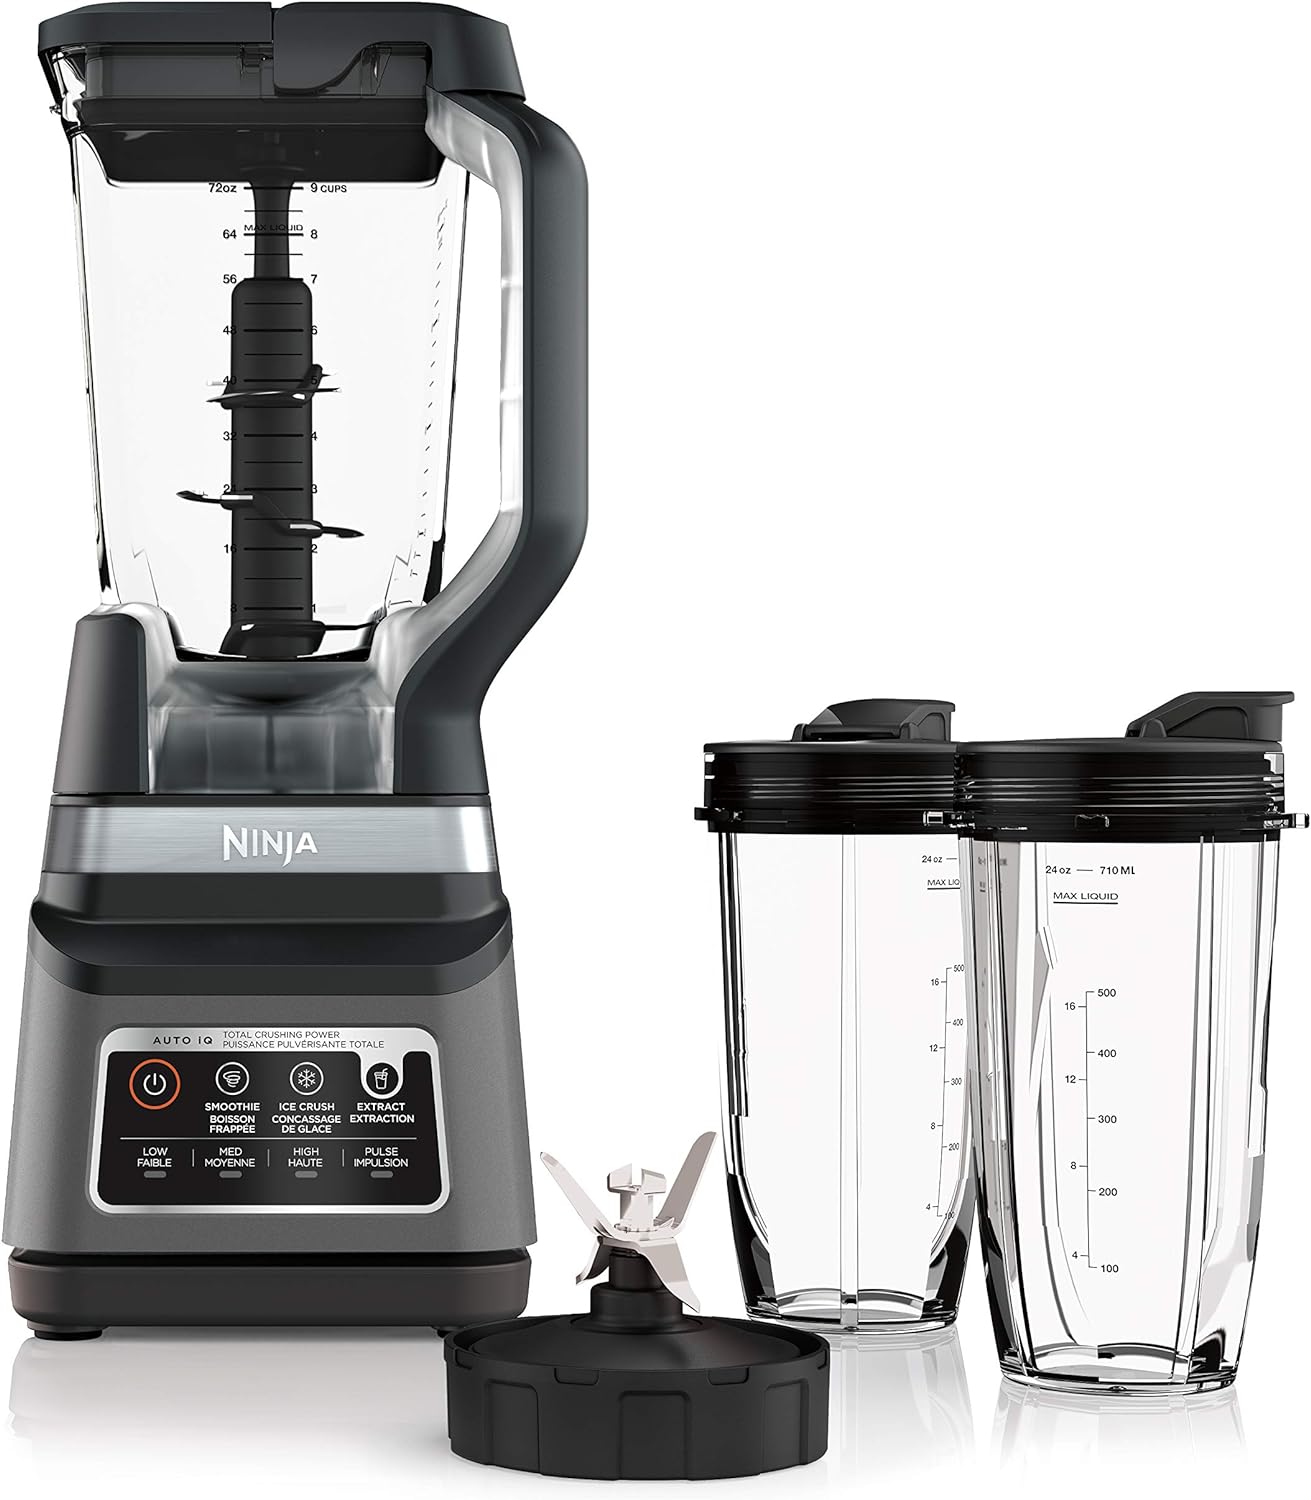
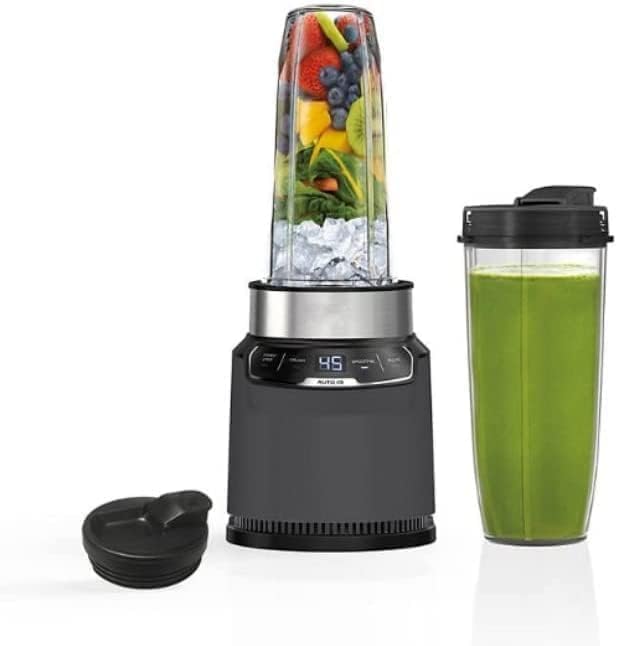
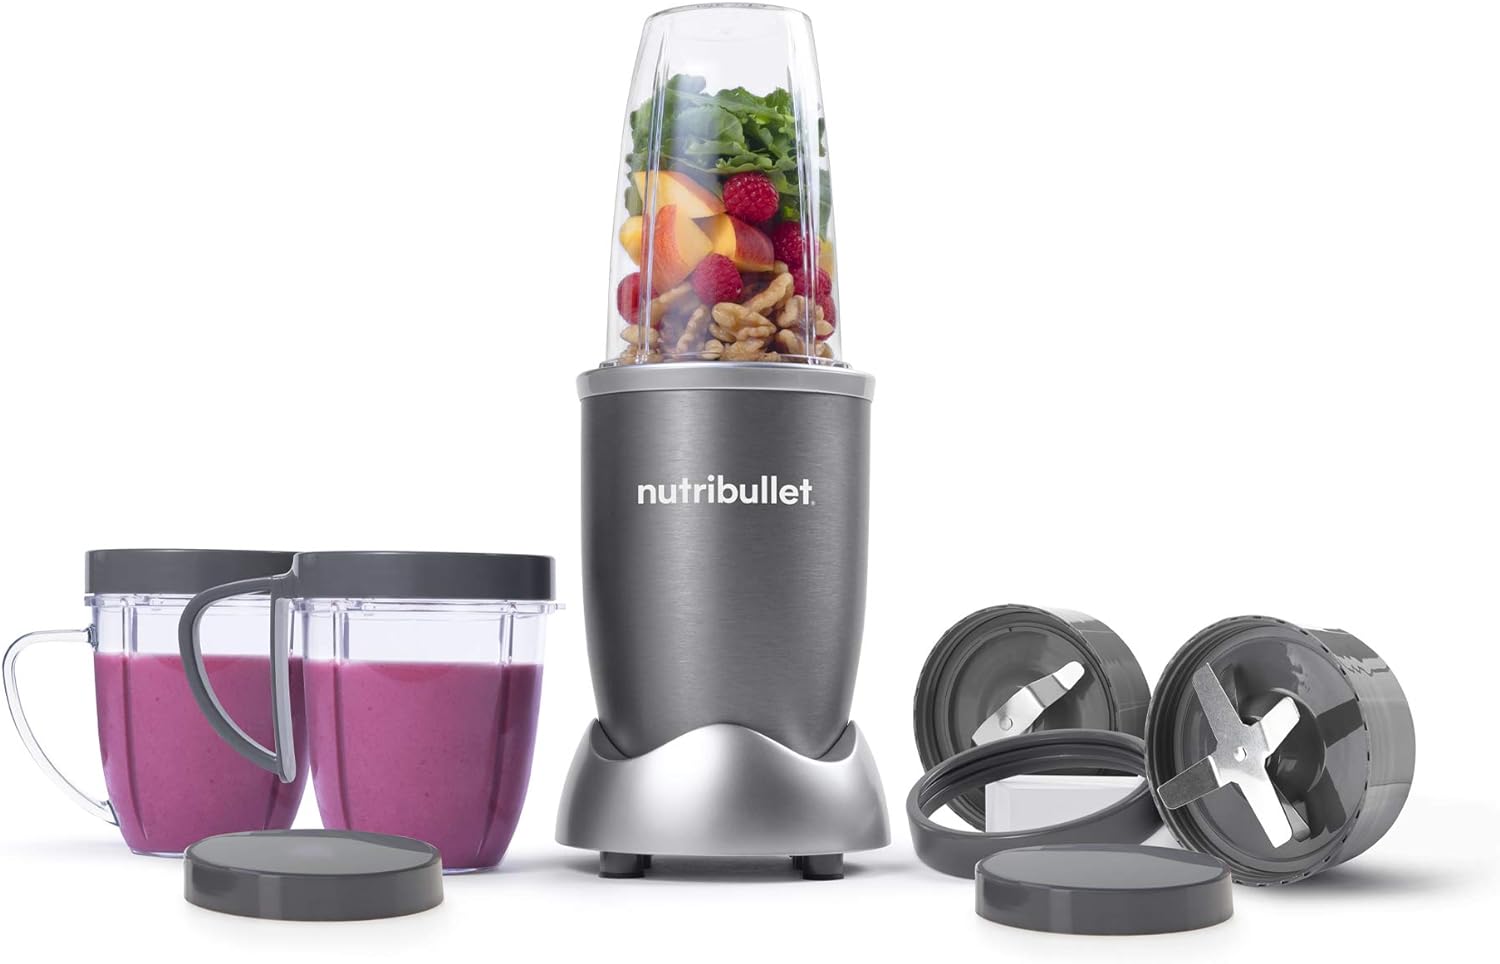
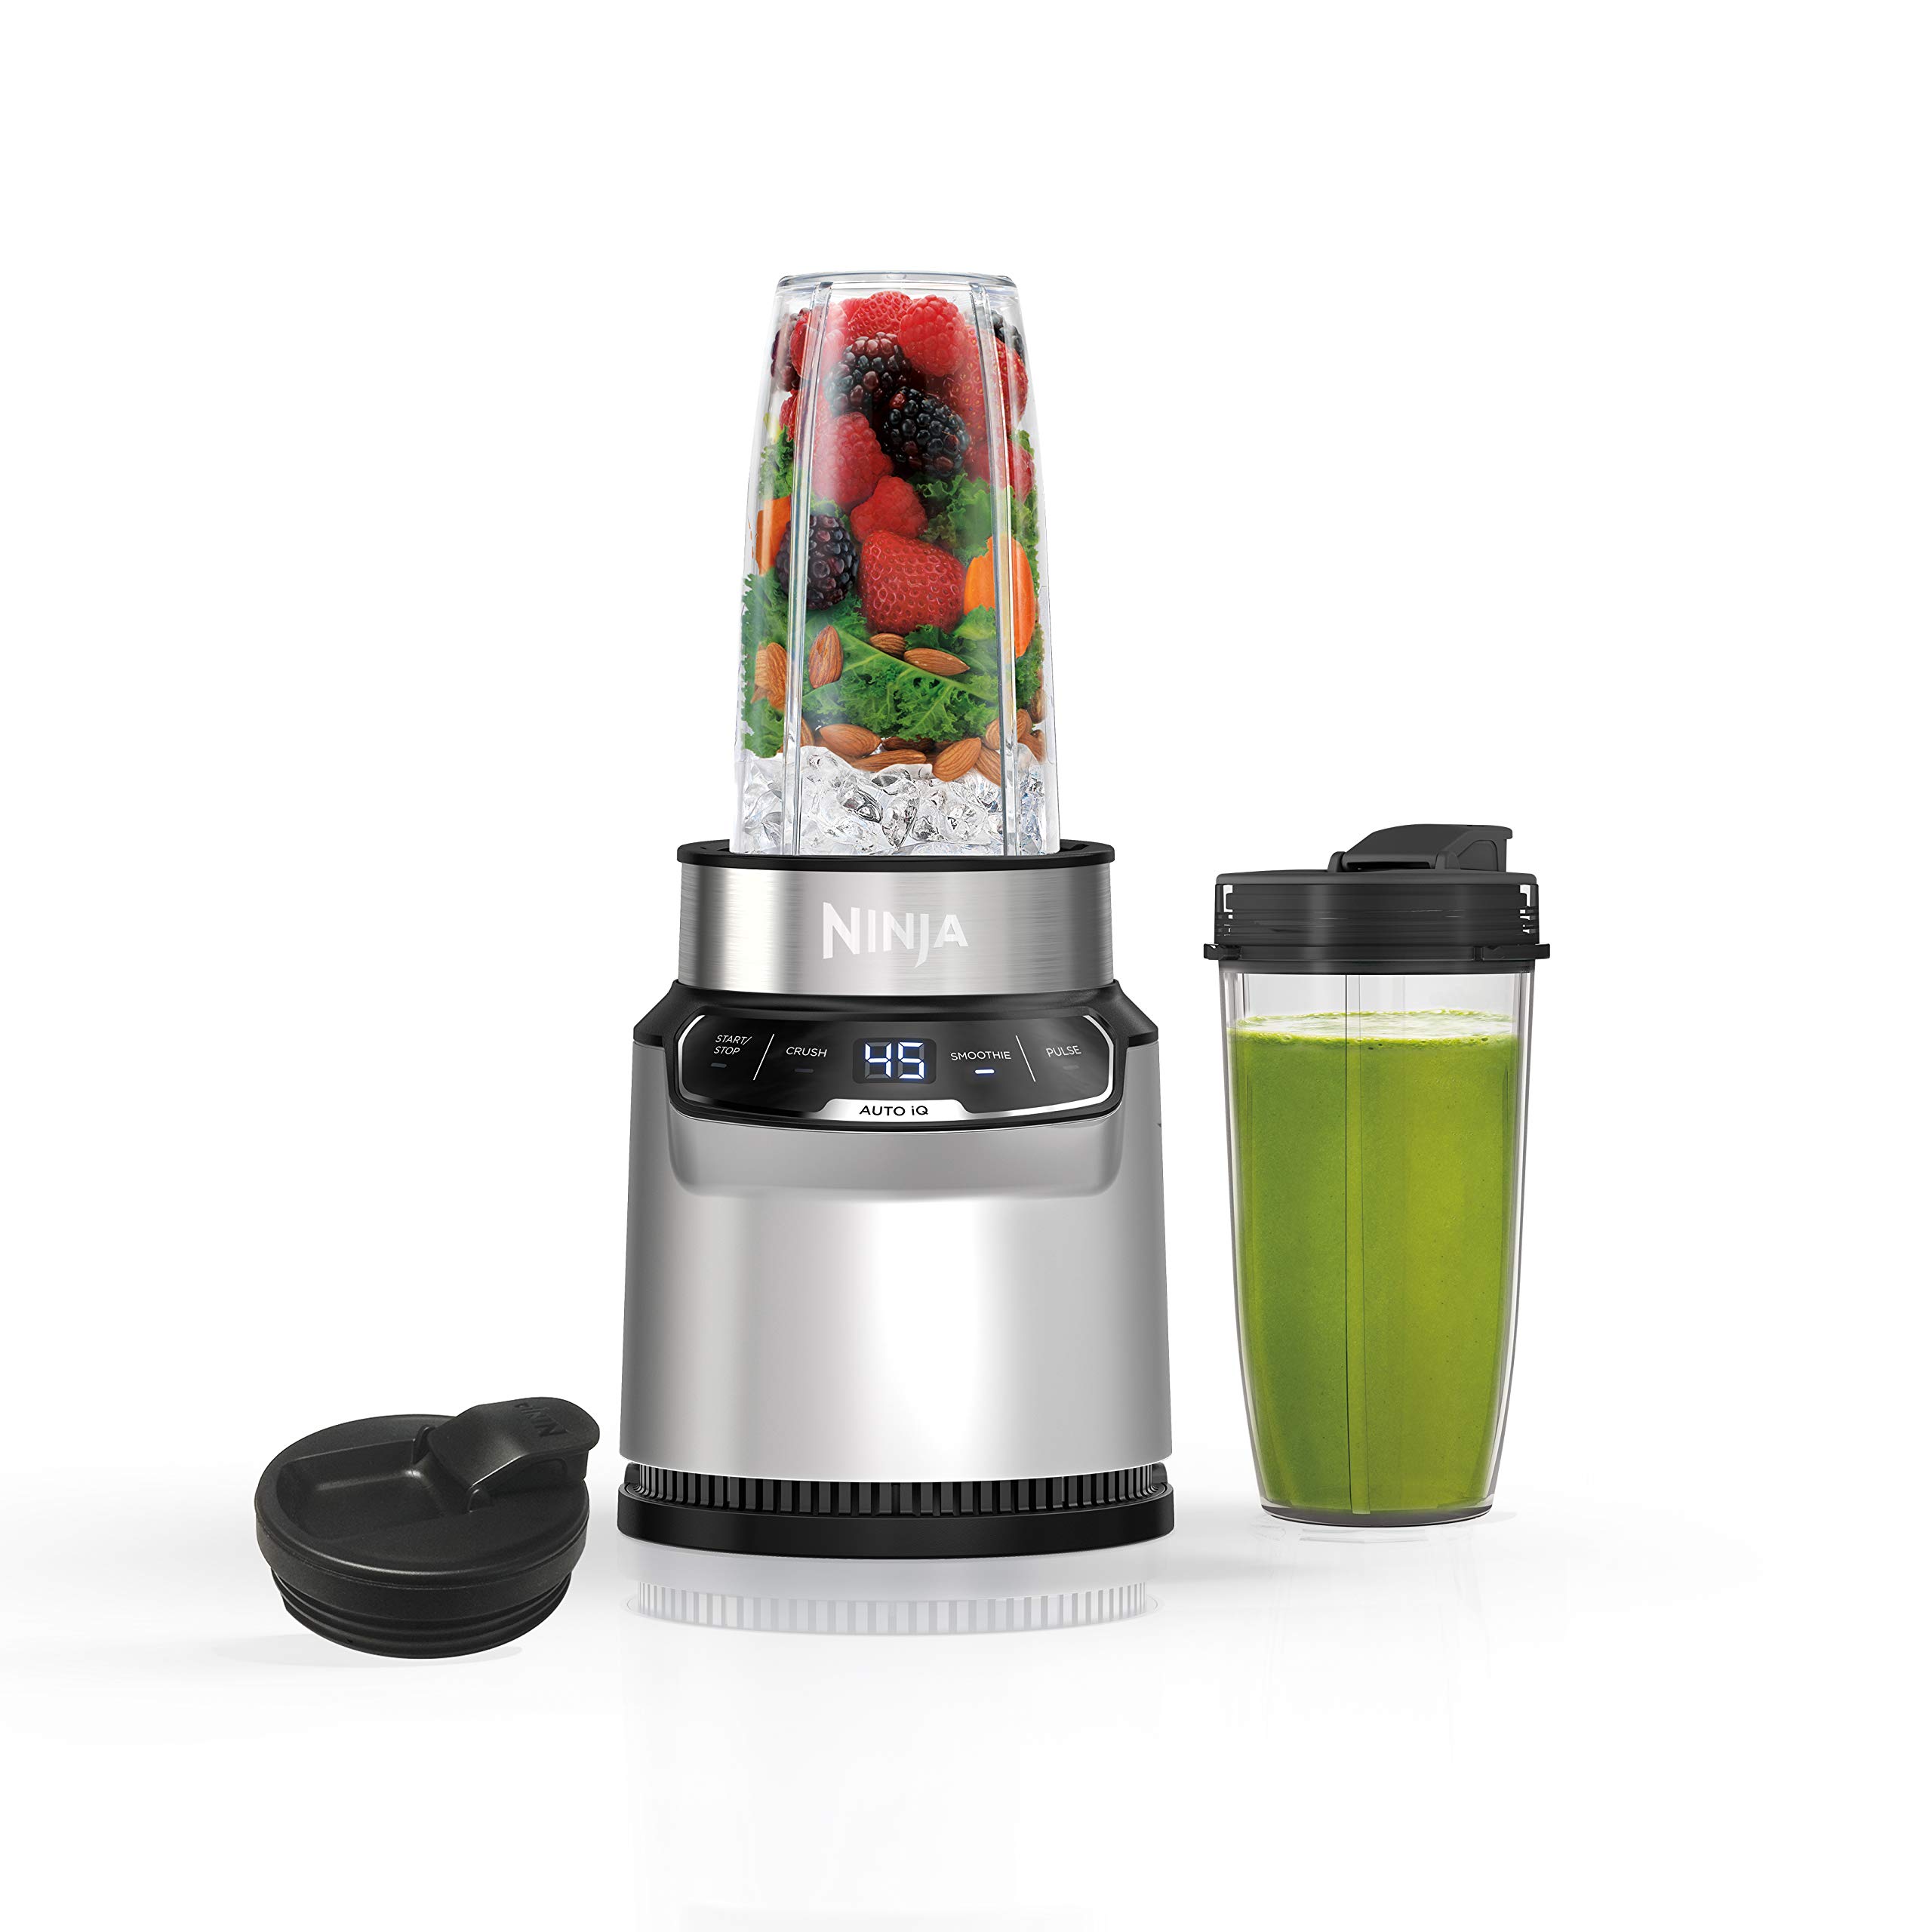
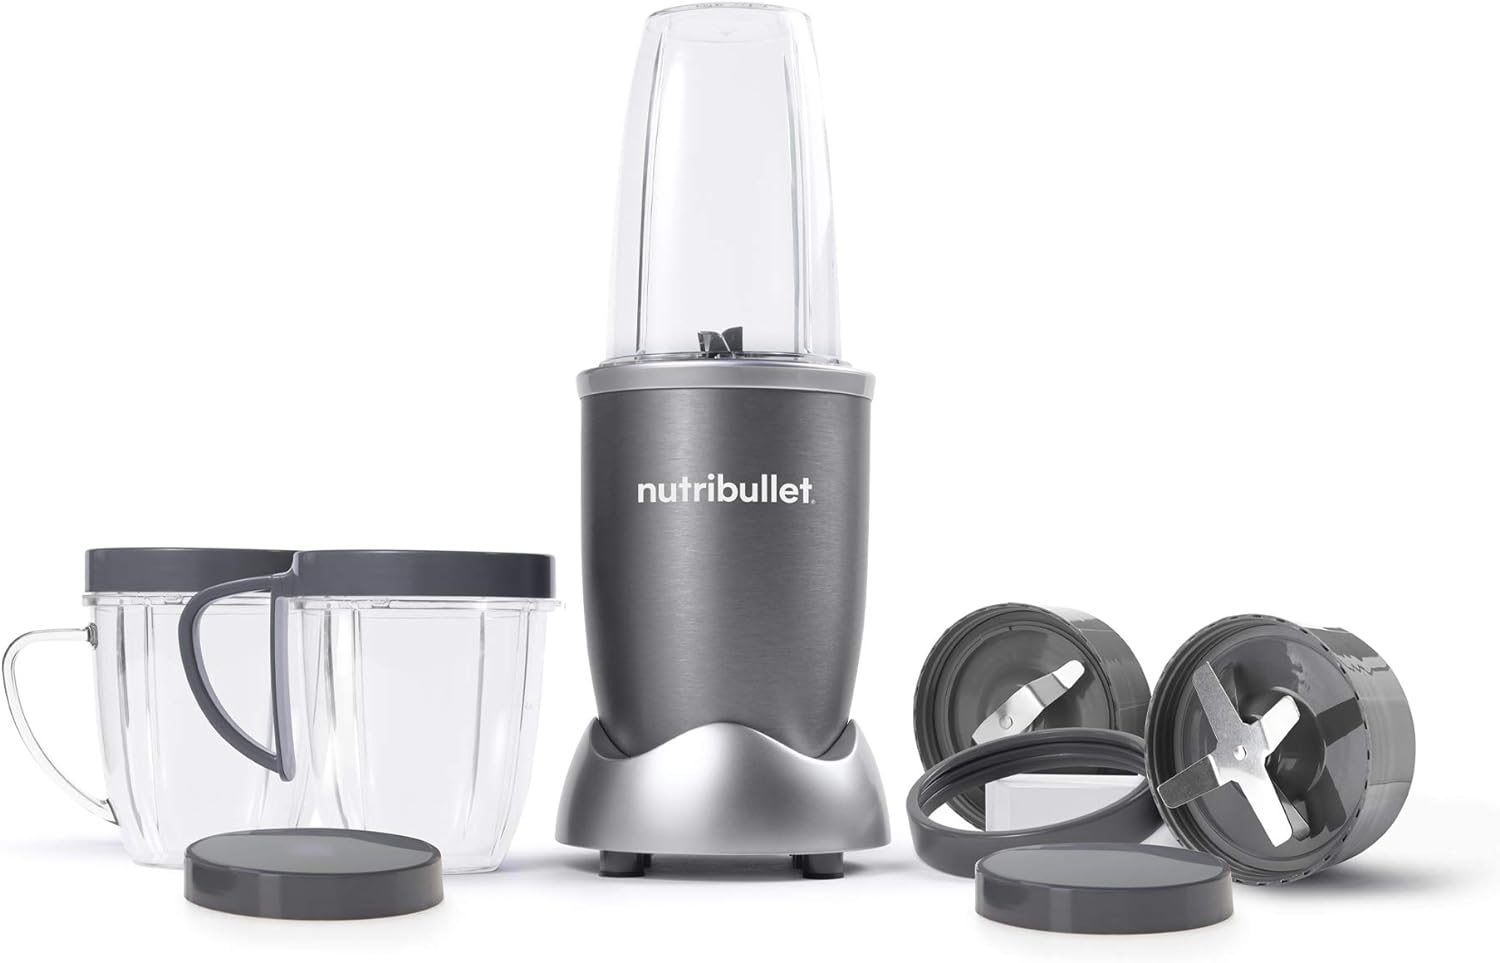
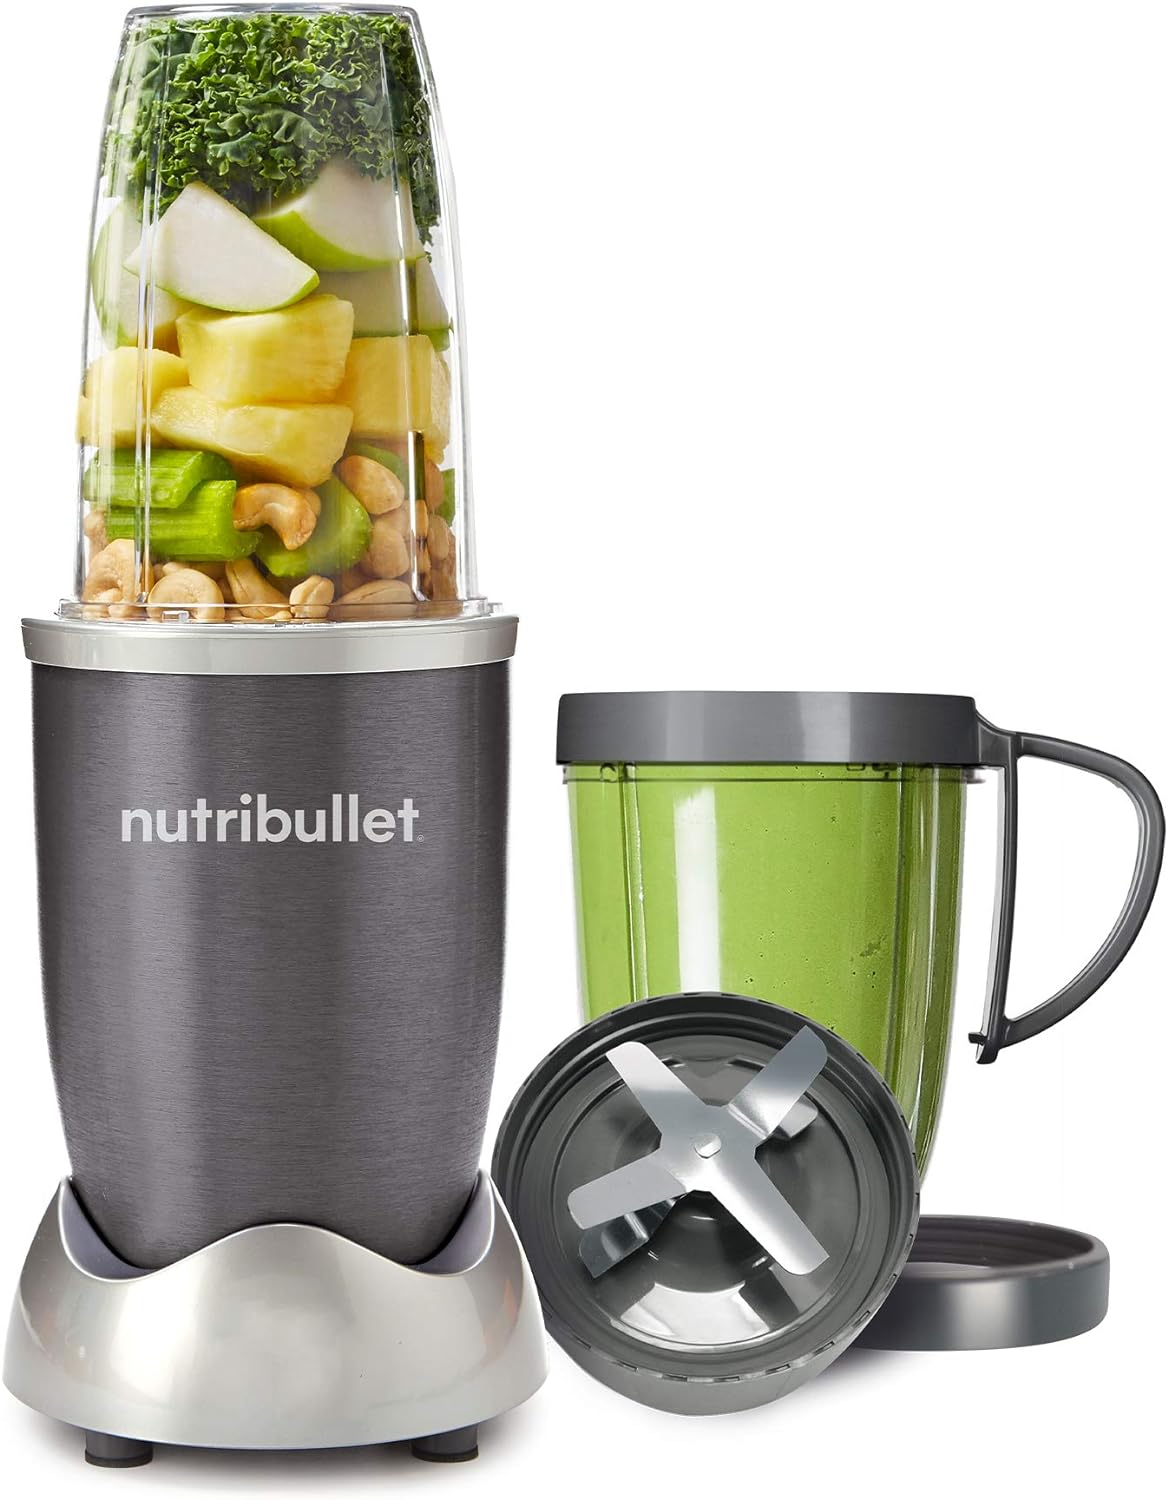
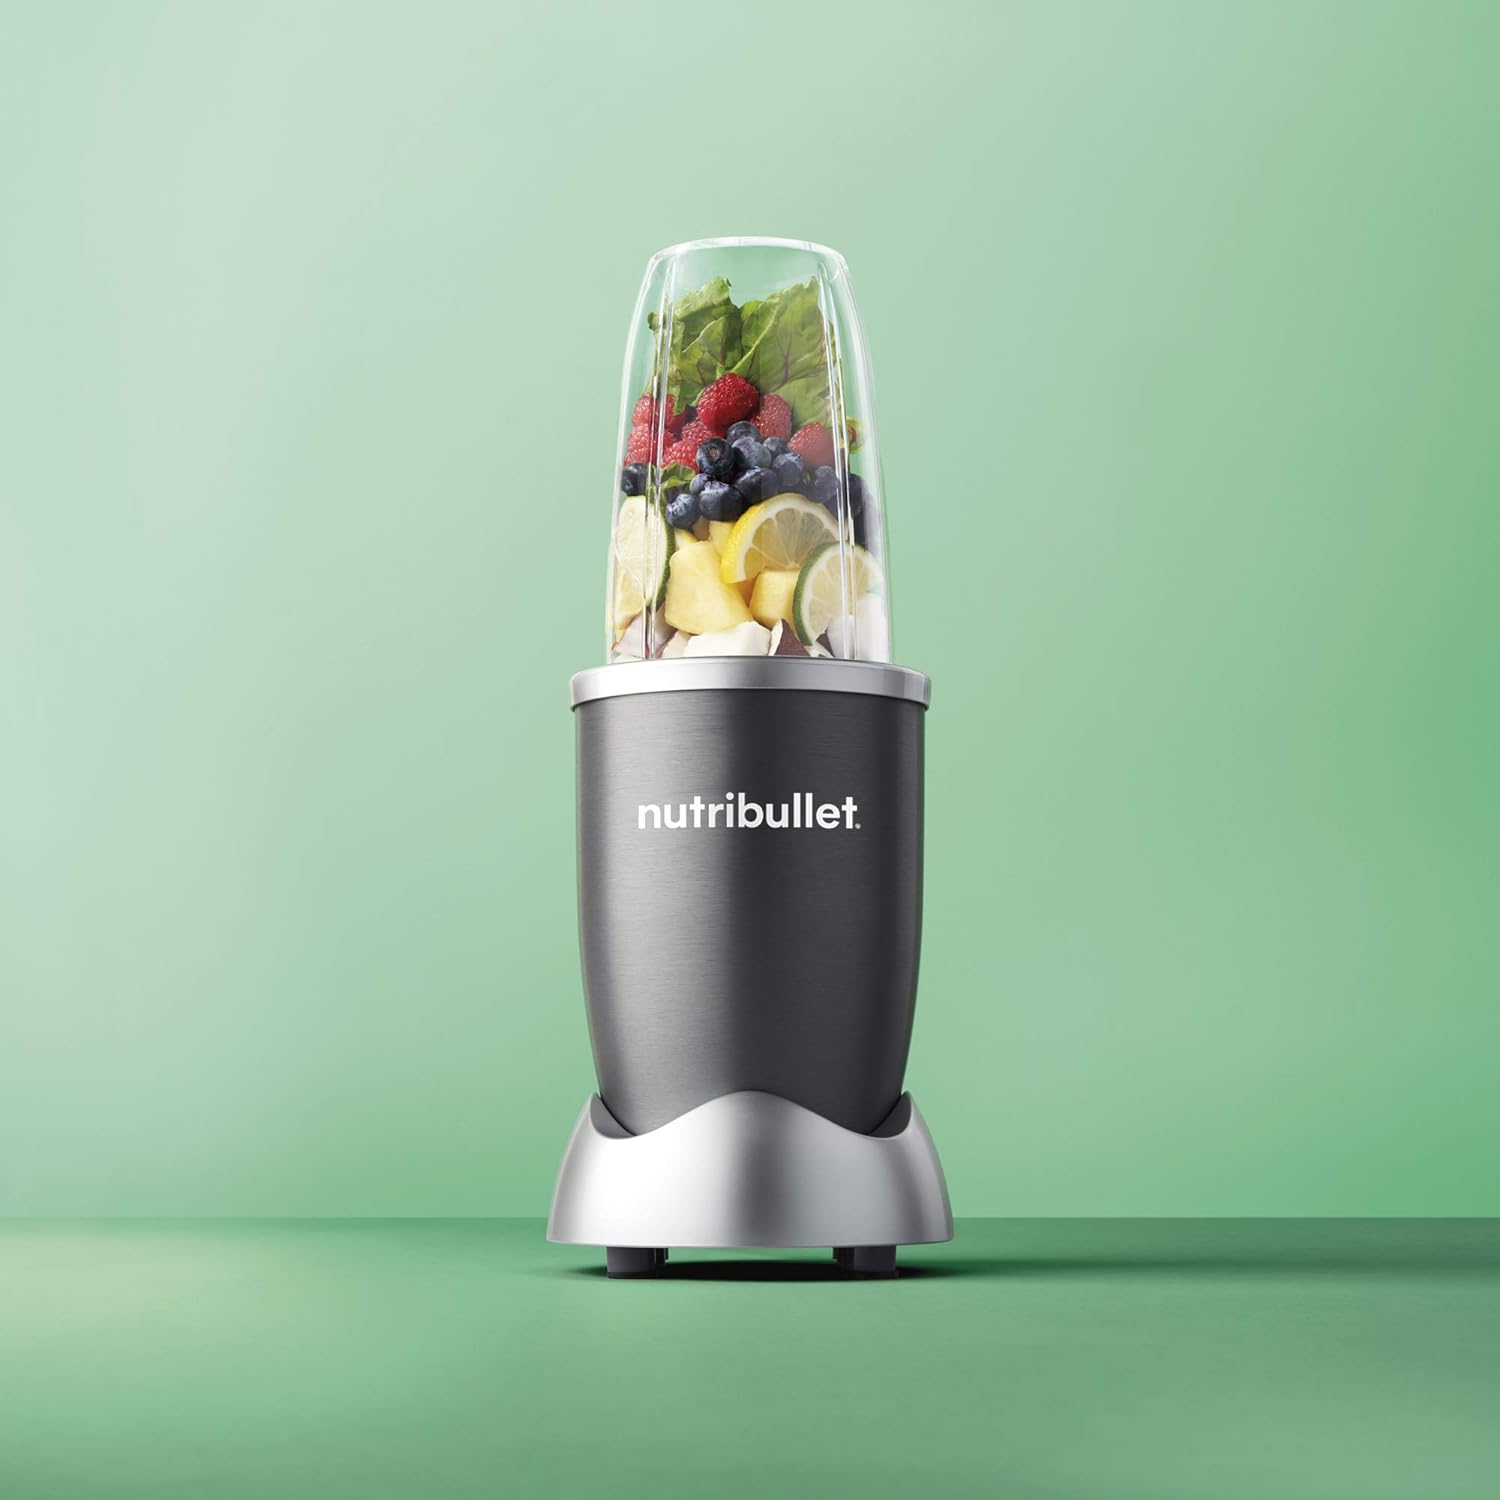
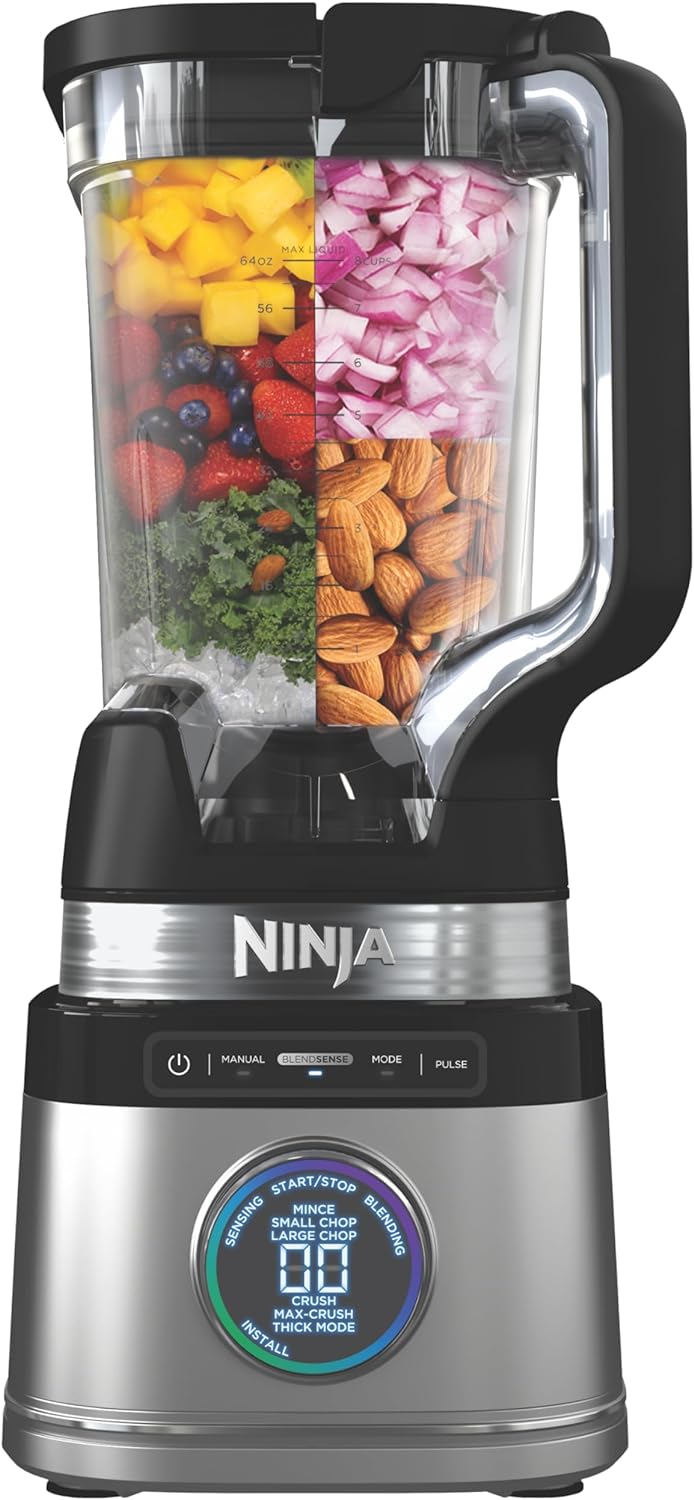
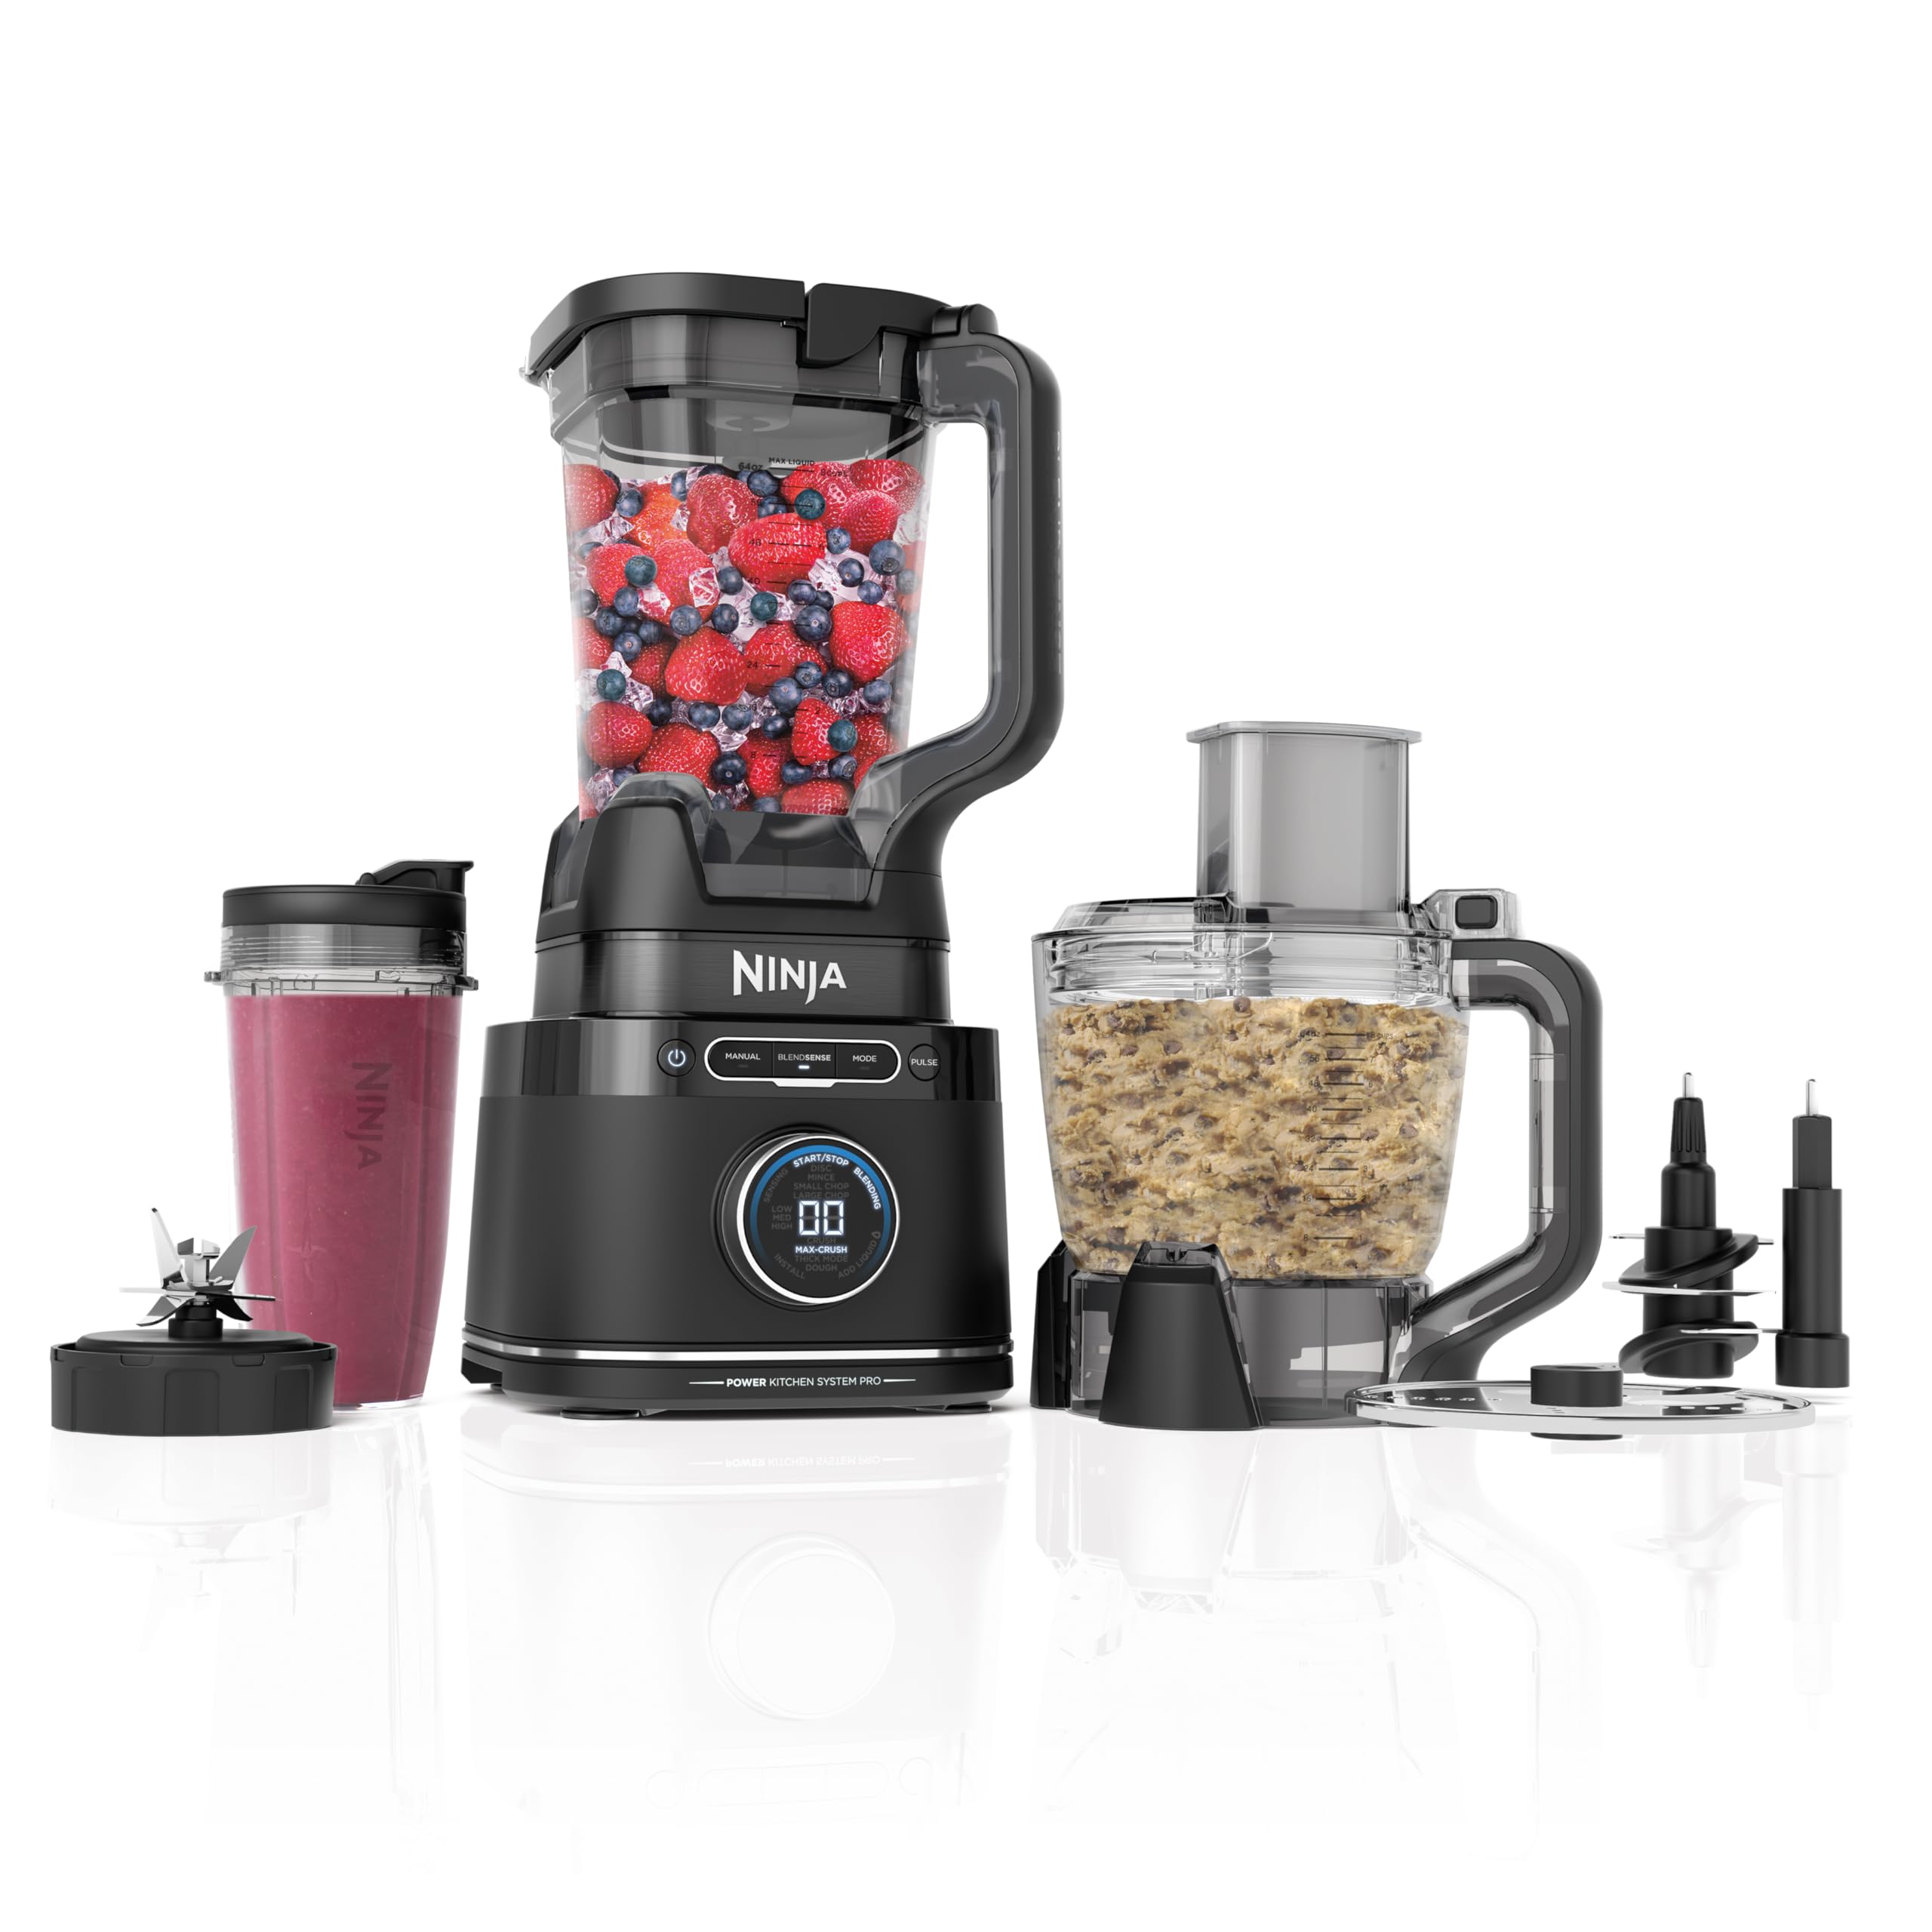
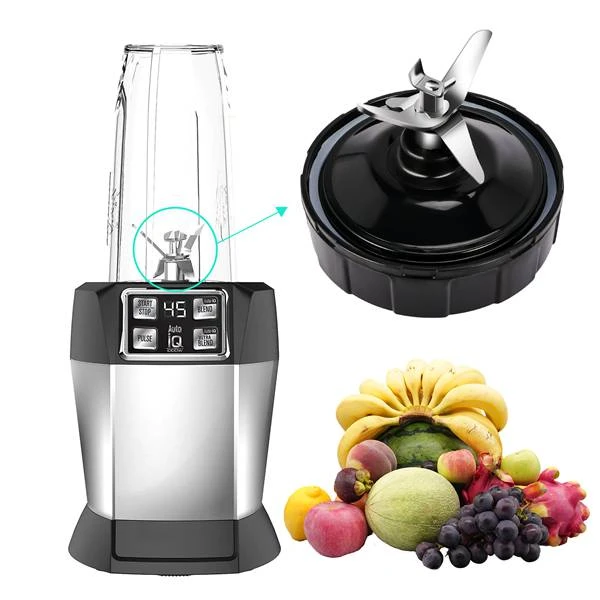
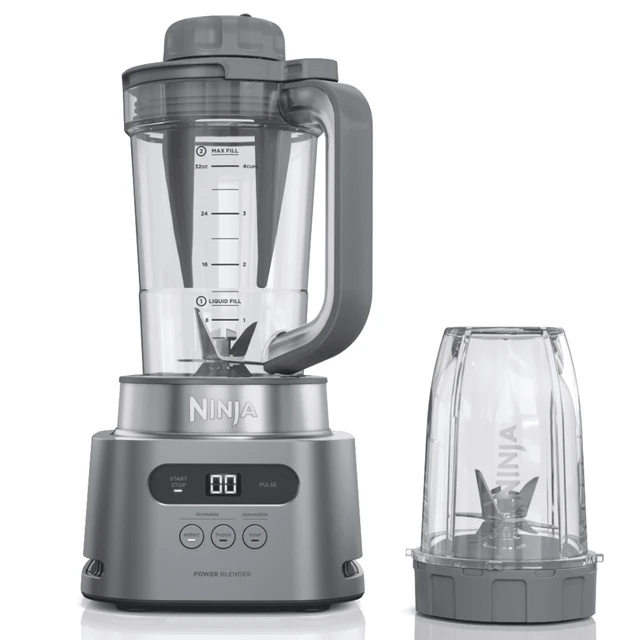
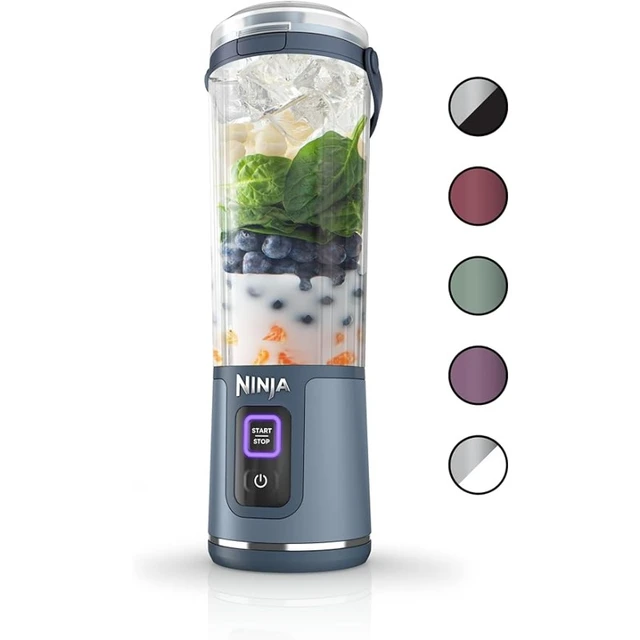
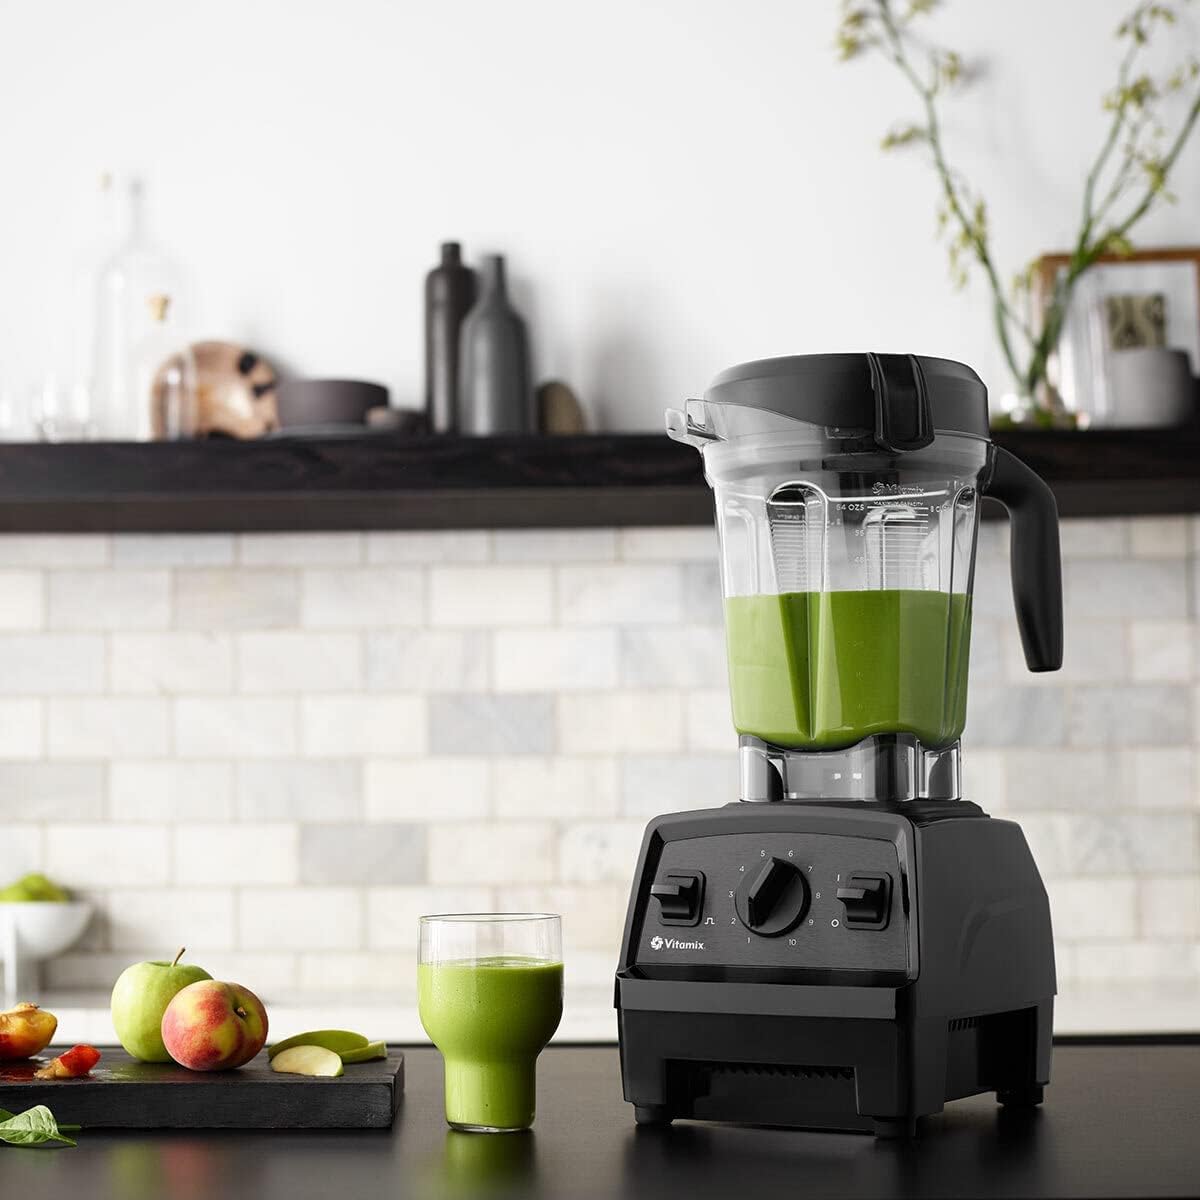
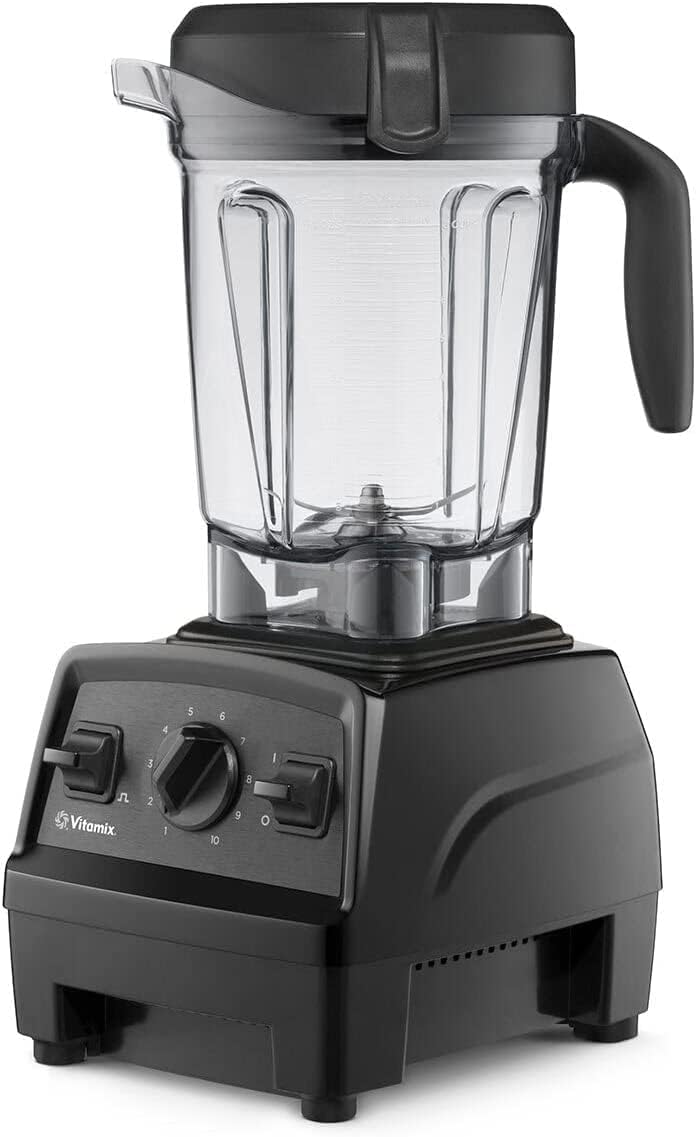
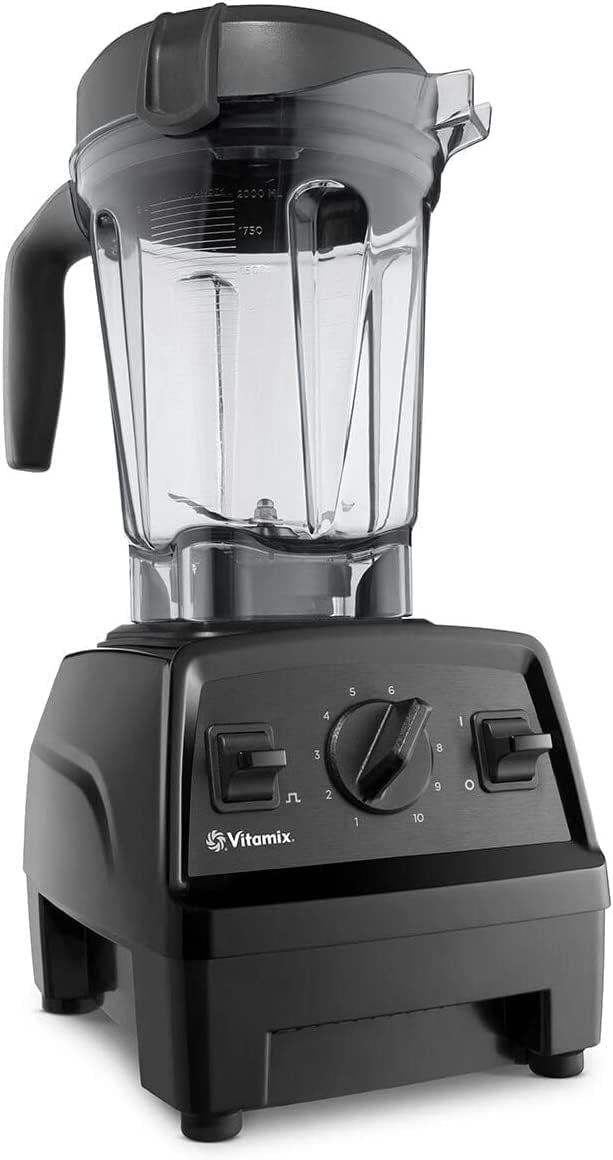
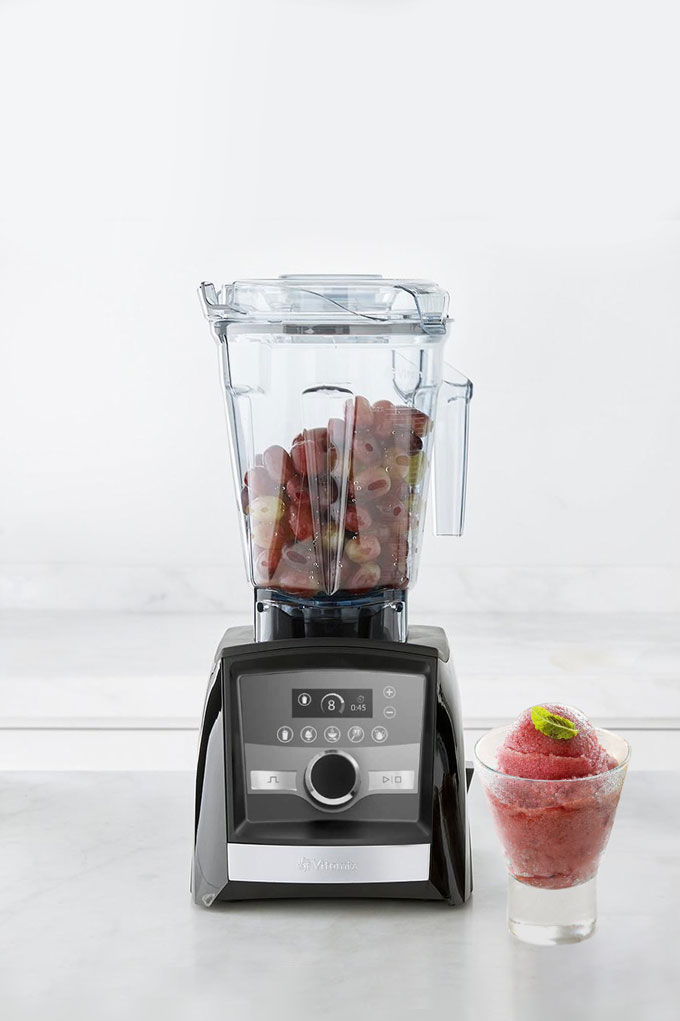
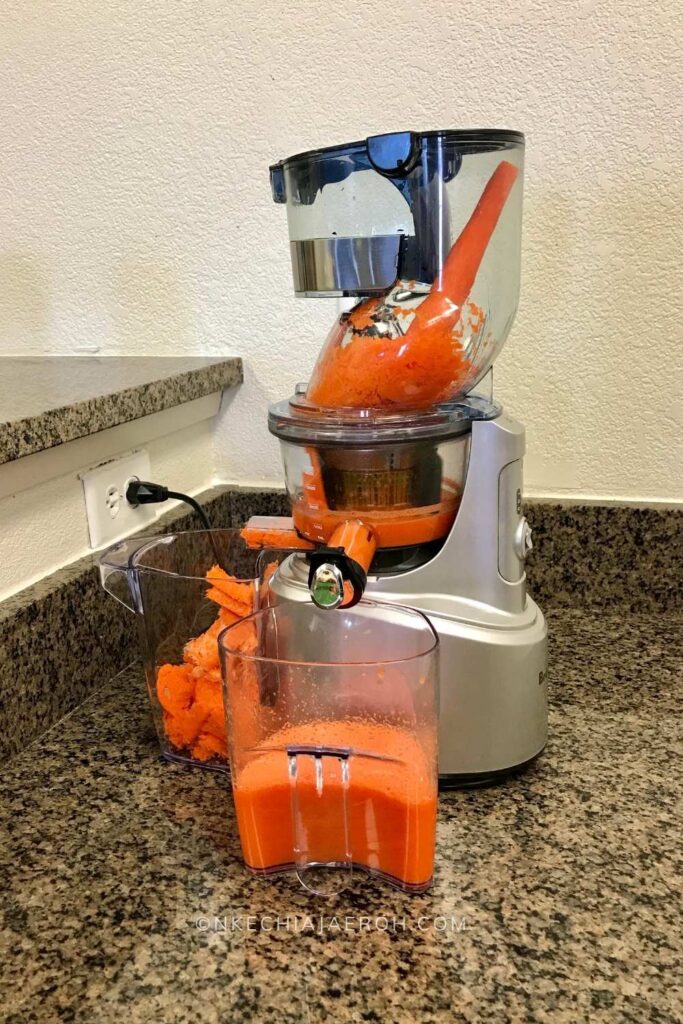
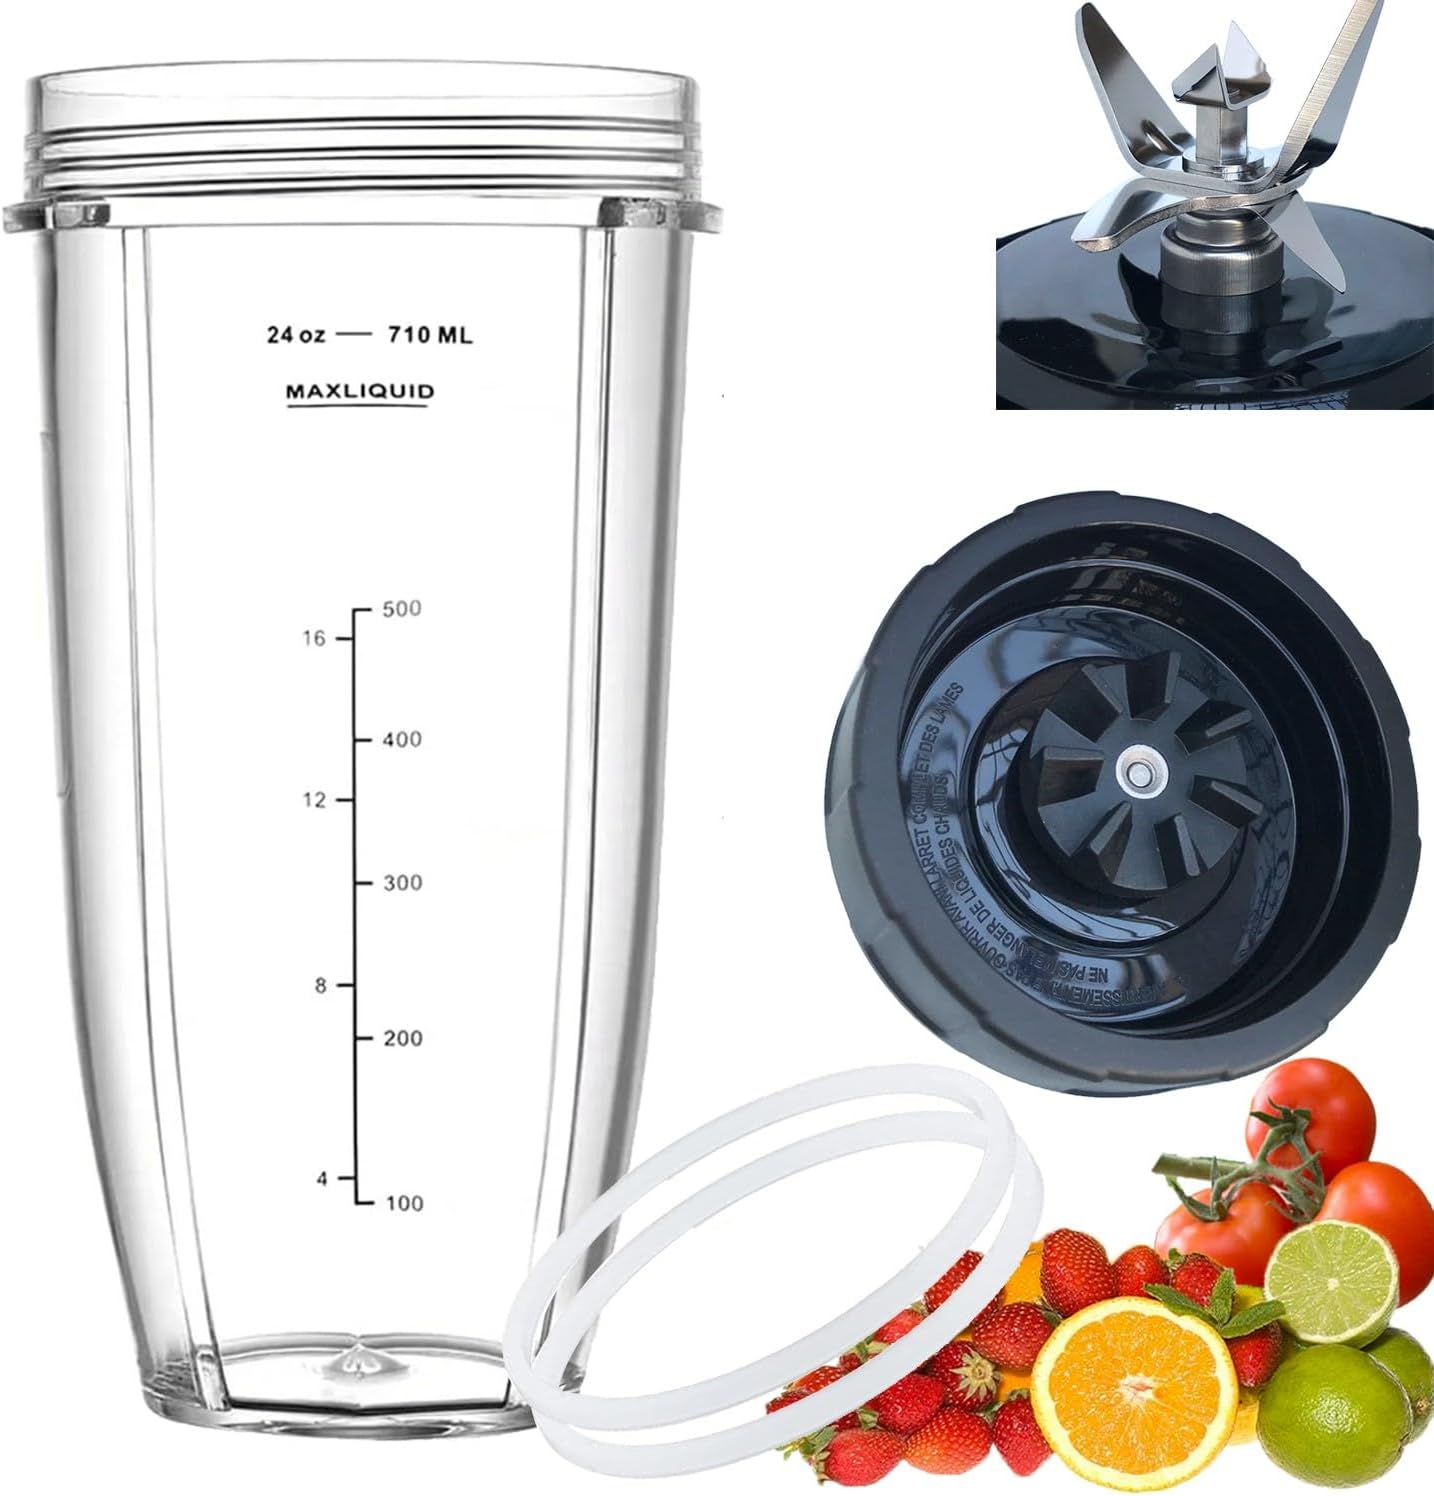
High-Powered Blender: A high-powered blender is ideal for making carrot juice. It efficiently breaks down the tough fibers and produces a smoother blend. However, a standard blender can also work; you may just need to blend longer.
Blender Capacity: Ensure your blender has enough capacity to handle the volume of carrots you are using. Overfilling the blender can result in an uneven blend.
Adding Liquid:
Aiding the Blending Process:
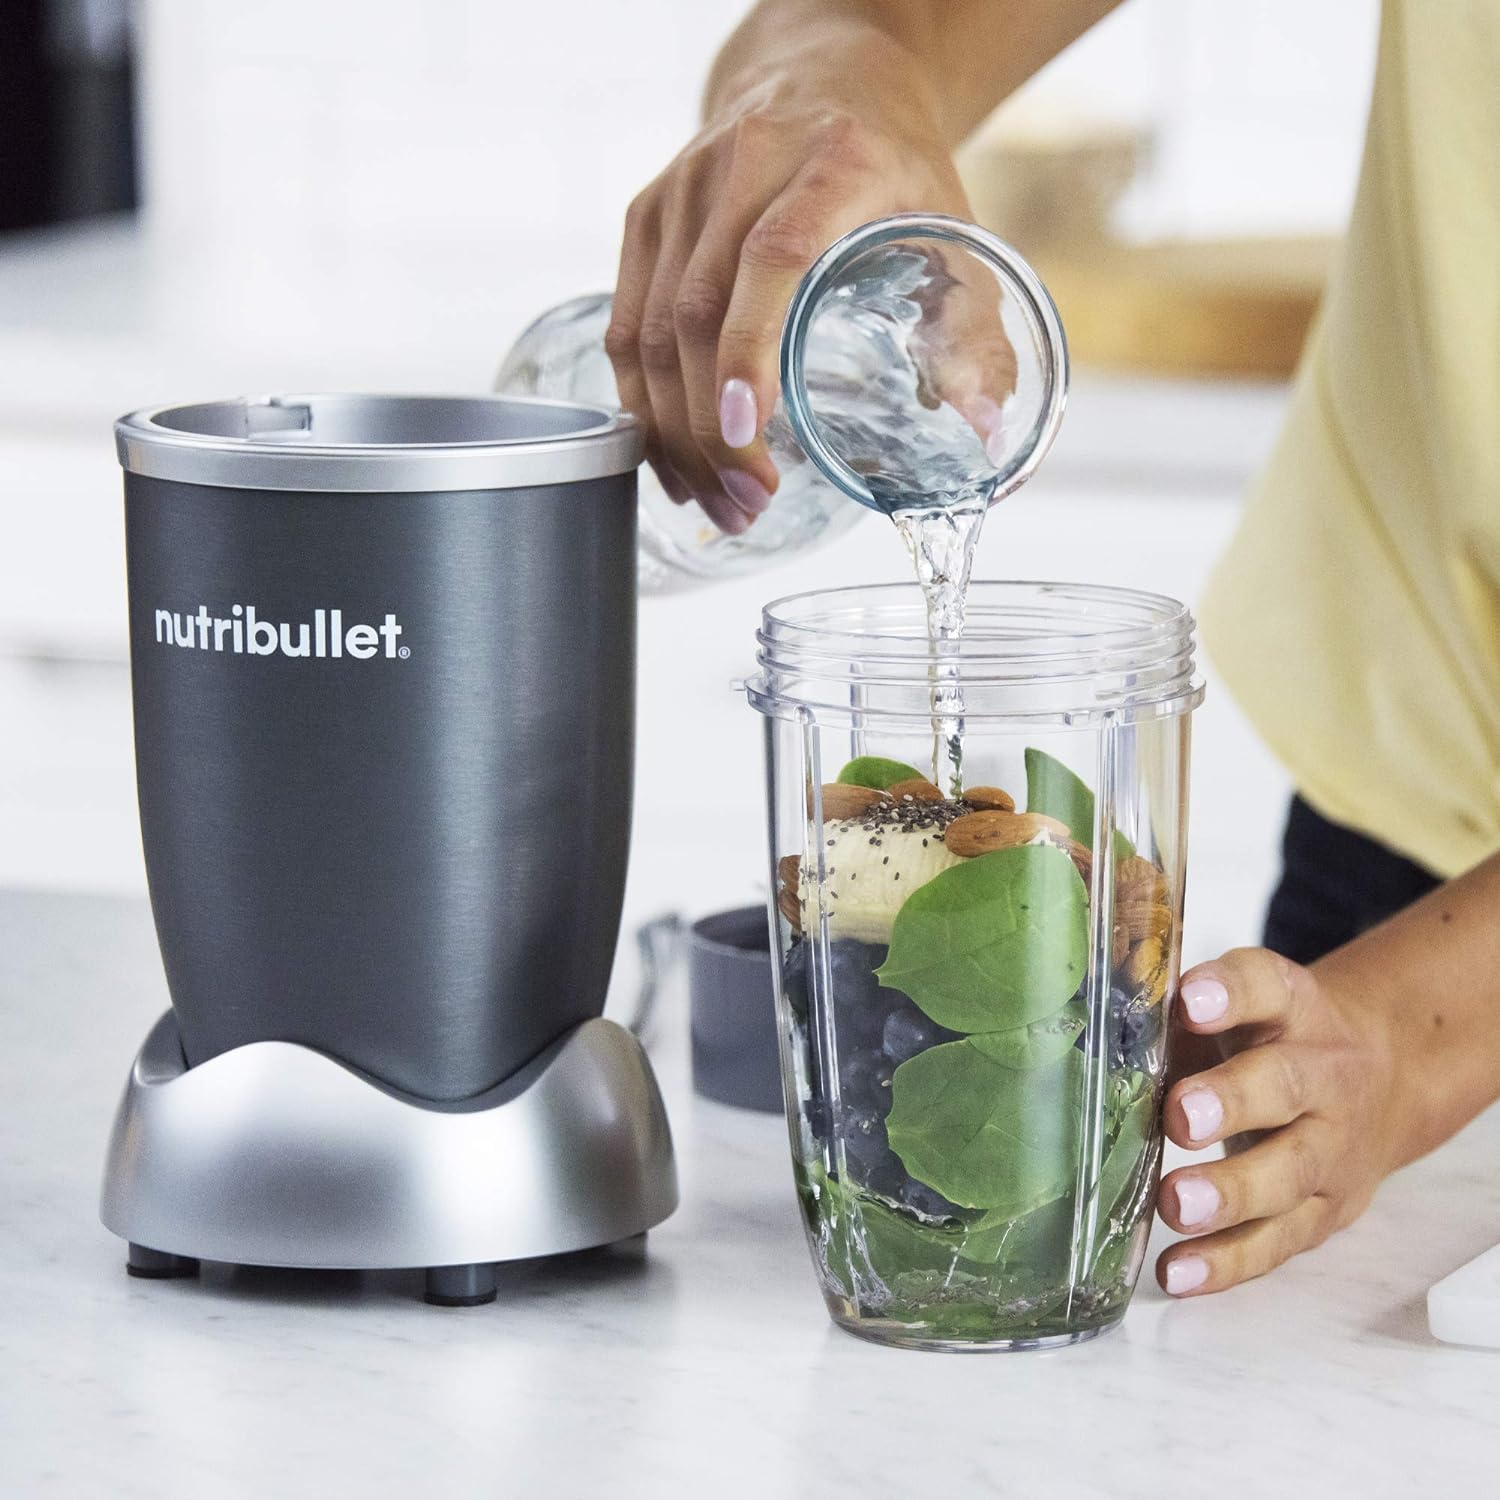
Water or Juice: Add a small amount of liquid to the blender to help the blending process. Water is a common choice, but you can also use apple juice, orange juice, or coconut water for added flavor and nutrients.
Ratio: Start with about 1 cup of liquid for every 2-4 carrots. You can adjust the amount depending on your desired juice consistency.
Blending Process:
Achieving Smoothness:
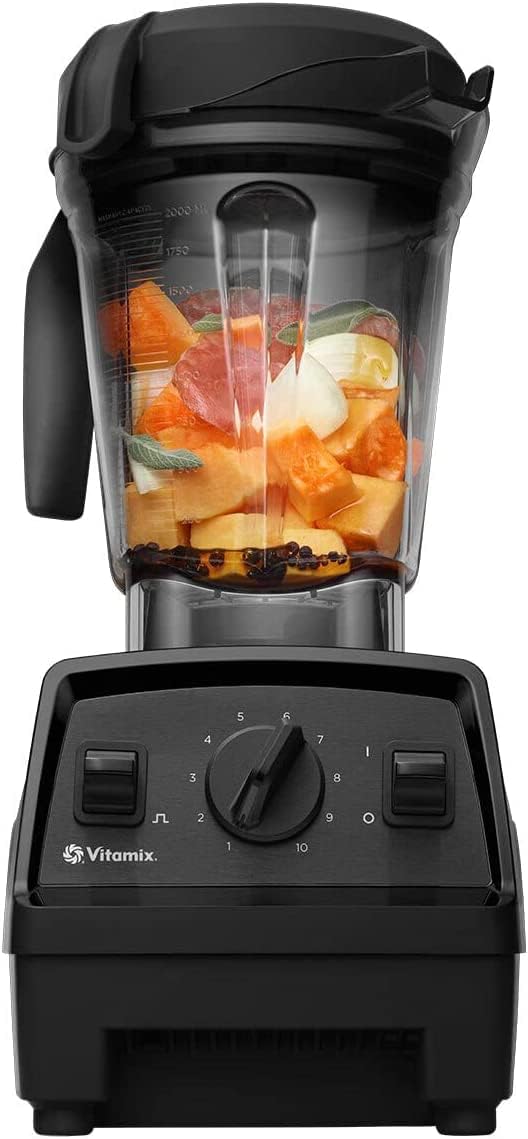
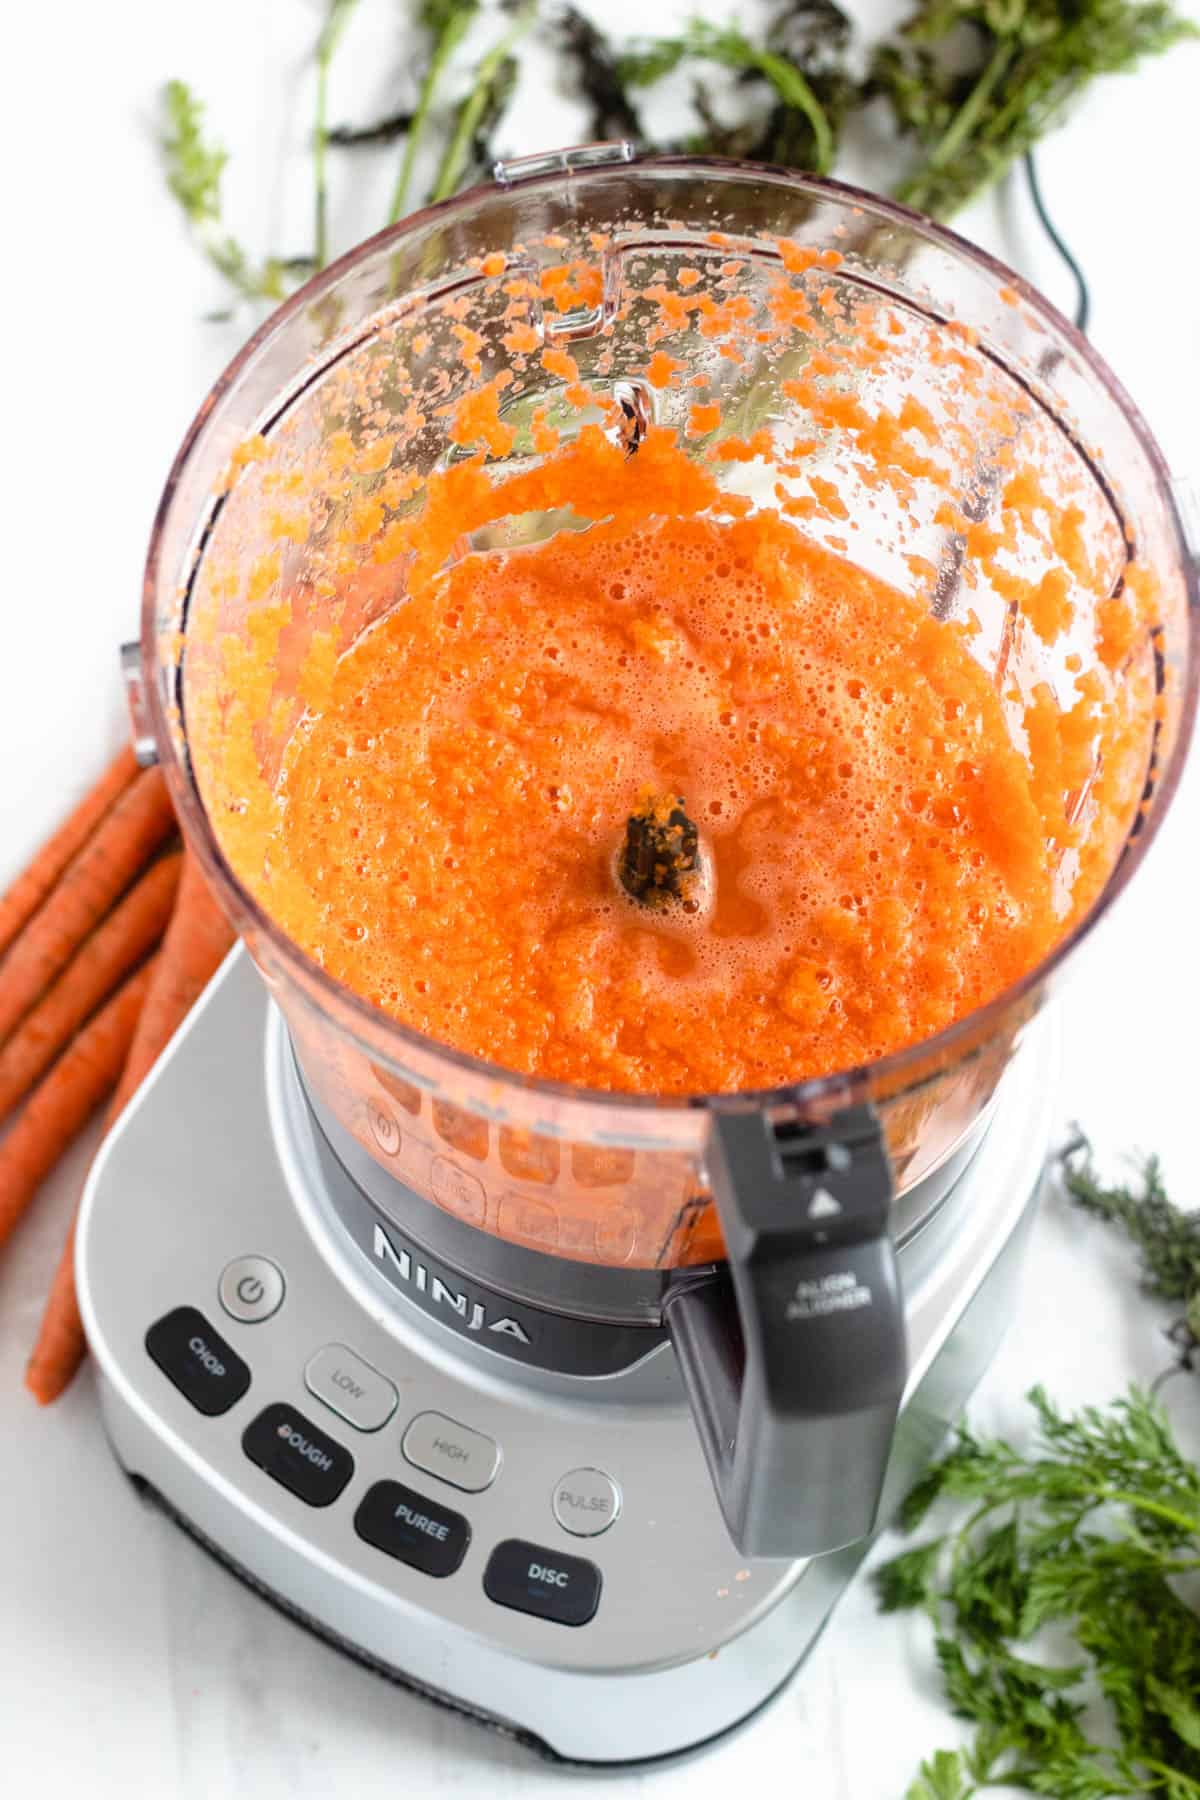
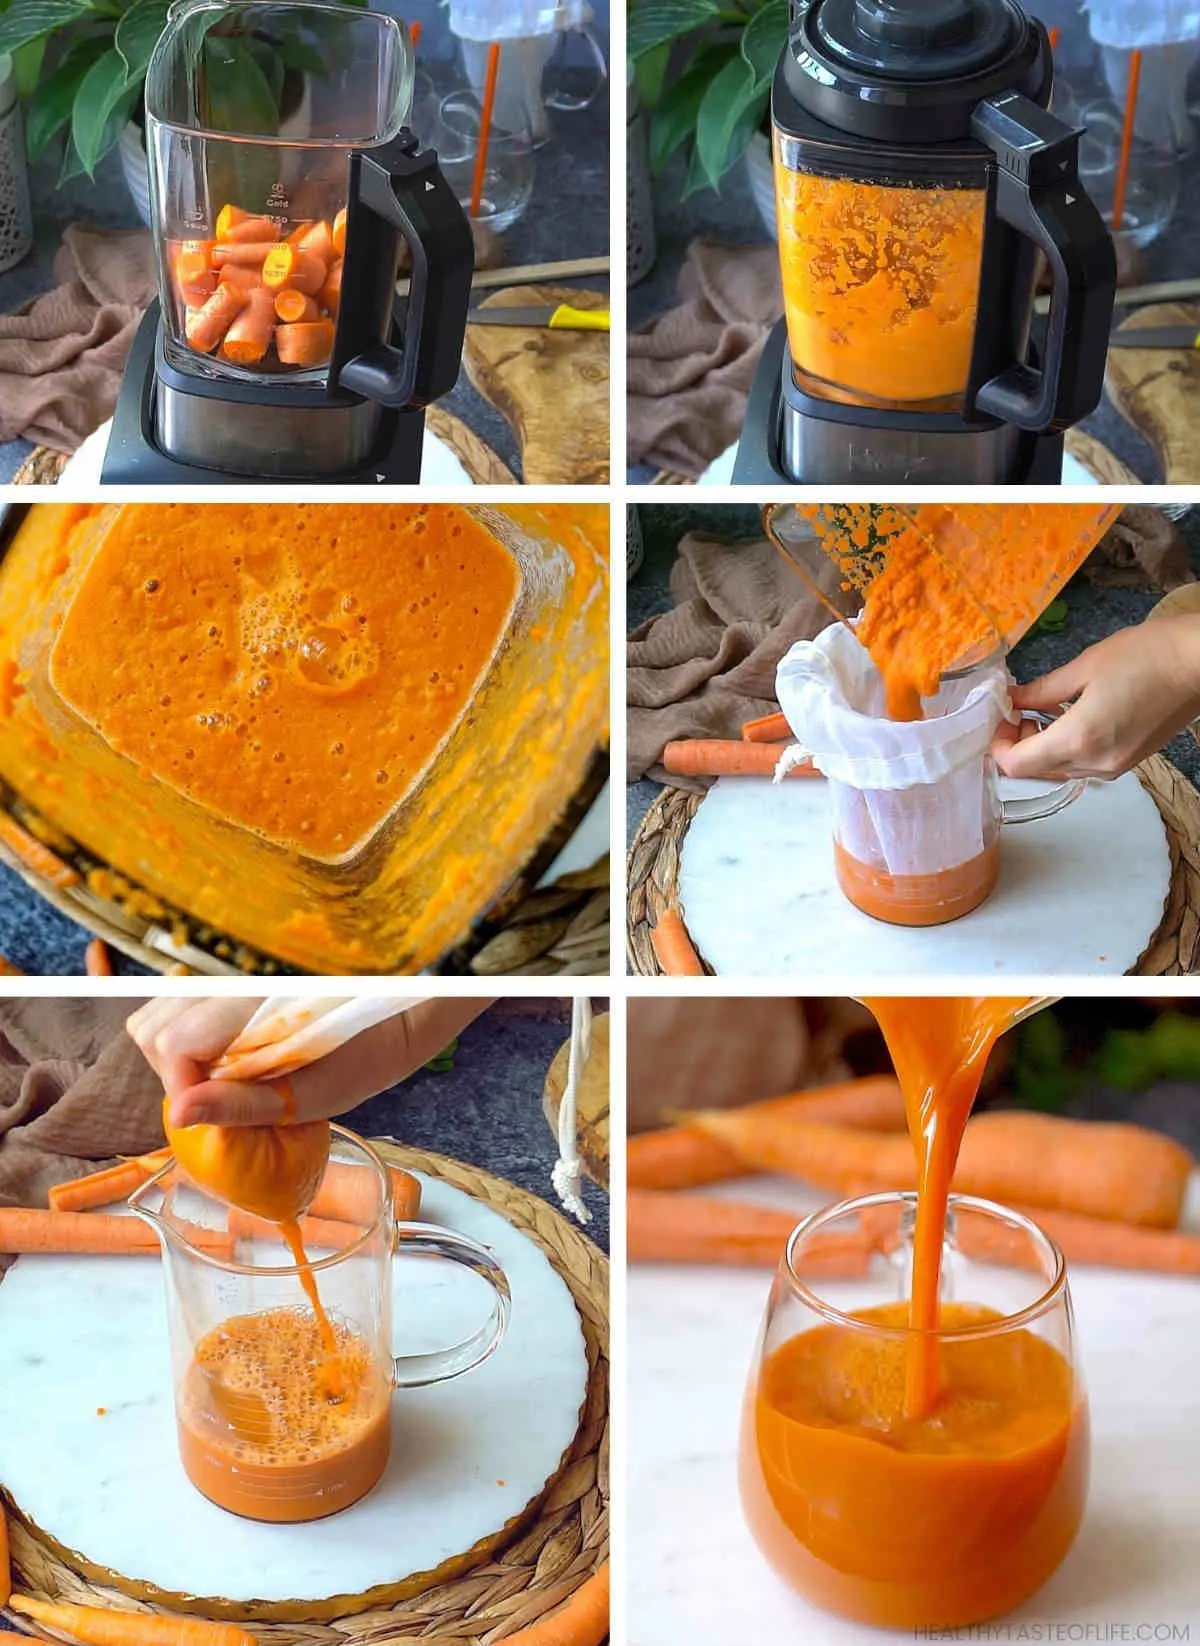
Gradual Blending: Blend in stages. Start on a low setting to break down the carrots and gradually increase to a higher setting for a smoother consistency.
Blending Time: Blend for about 2-3 minutes, or until the mixture is smooth and free of large chunks. You may need to pause and scrape down the sides of the blender to ensure all pieces are evenly blended.
Straining the Juice:
How Do You Strain the Juice to Remove Pulp?
Straining the blended carrot mixture is essential for a smooth, pulp-free juice.
Using a Fine Mesh Strainer:
Straining Tools:
Strainer or Sieve: Place a fine mesh strainer or sieve over a large bowl or pitcher. This will catch the pulp while allowing the juice to pass through.
Cheesecloth Option: You can also use cheesecloth or a nut milk bag for a finer strain. These options can help produce a smoother juice by capturing smaller particles of pulp.
 Straining Process:
Extracting the Juice:
Pouring and Pressing: Pour the blended carrot mixture into the strainer. Use the back of a spoon or a rubber spatula to press and stir the pulp, helping to extract as much juice as possible.
Squeezing the Pulp: If using cheesecloth or a nut milk bag, gather the edges and twist, squeezing the pulp to extract the juice. This method ensures you get the maximum amount of liquid from the pulp.
Handling Pulp:
Dealing with Leftovers:
Pulp Uses: The leftover pulp can be used in various recipes, such as soups, stews, or even baked goods like muffins and cakes. Composting is also an environmentally friendly option for dealing with the pulp.
Disposal: If you don’t plan to use the pulp, dispose of it properly. Avoid washing large amounts of pulp down the drain to prevent clogs.
Enhancing Flavor:
How Can You Enhance the Flavor and Nutrient Content of Carrot Juice?
Adding complementary ingredients can boost the flavor and nutritional value of your carrot juice.
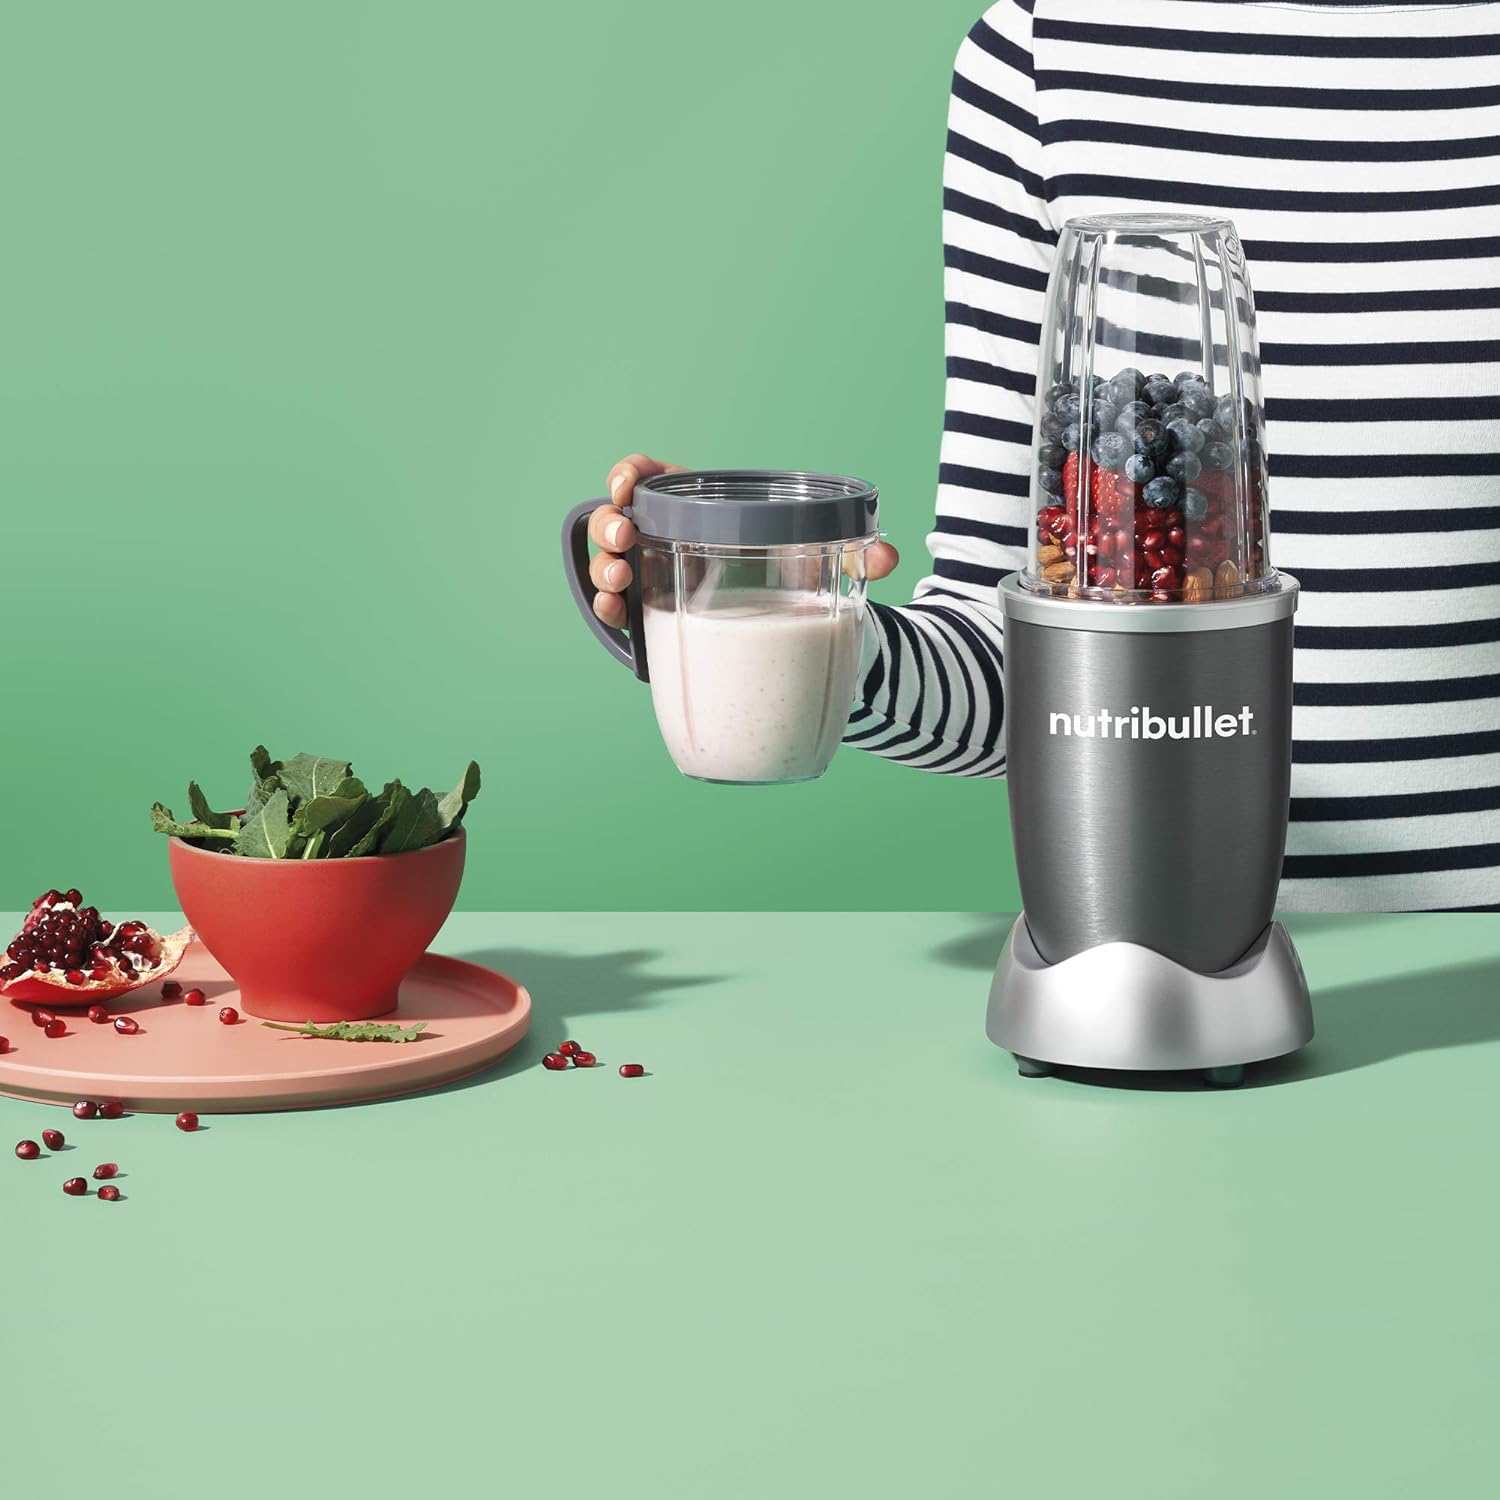
Adding Fruits:
Flavor and Sweetness:
Citrus Fruits: Add fruits like oranges, lemons, or limes to enhance the flavor with a citrusy kick. Citrus fruits also boost the vitamin C content of your juice.
Apples and Pineapple: Incorporating apples or pineapple can add natural sweetness and additional nutrients like antioxidants and vitamins.
Incorporating Vegetables:
Boosting Nutrition:
Greens: Add leafy greens such as spinach, kale, or parsley to your carrot juice. Greens increase the nutrient density with vitamins A, C, K, and minerals like iron and calcium.
Beets and Cucumber: Beets add a sweet, earthy flavor and are rich in folate and manganese. Cucumbers add a refreshing taste and hydration due to their high water content.
Spices and Herbs:
Enhancing Taste:
Ginger: Adding fresh ginger gives the juice a spicy kick and has anti-inflammatory and digestive benefits.
Turmeric: Turmeric enhances flavor and adds health benefits due to its anti-inflammatory and antioxidant properties. A pinch of black pepper can increase turmeric’s bioavailability.
Sweeteners and Other Enhancements:
Balancing Flavors:
Natural Sweeteners: If you prefer a sweeter juice, consider adding natural sweeteners like honey, agave syrup, or maple syrup. Start with a small amount and adjust to taste.
Ice and Chilling: Serve the carrot juice over ice or chill it in the refrigerator for a refreshing drink. Adding ice can dilute the juice slightly, making it more palatable if it’s too concentrated.
Serving and Storing:
How Should You Serve and Store Carrot Juice?
Correct serving and storage practices ensure your carrot juice remains fresh and delicious.
Serving Options:
Presentation:
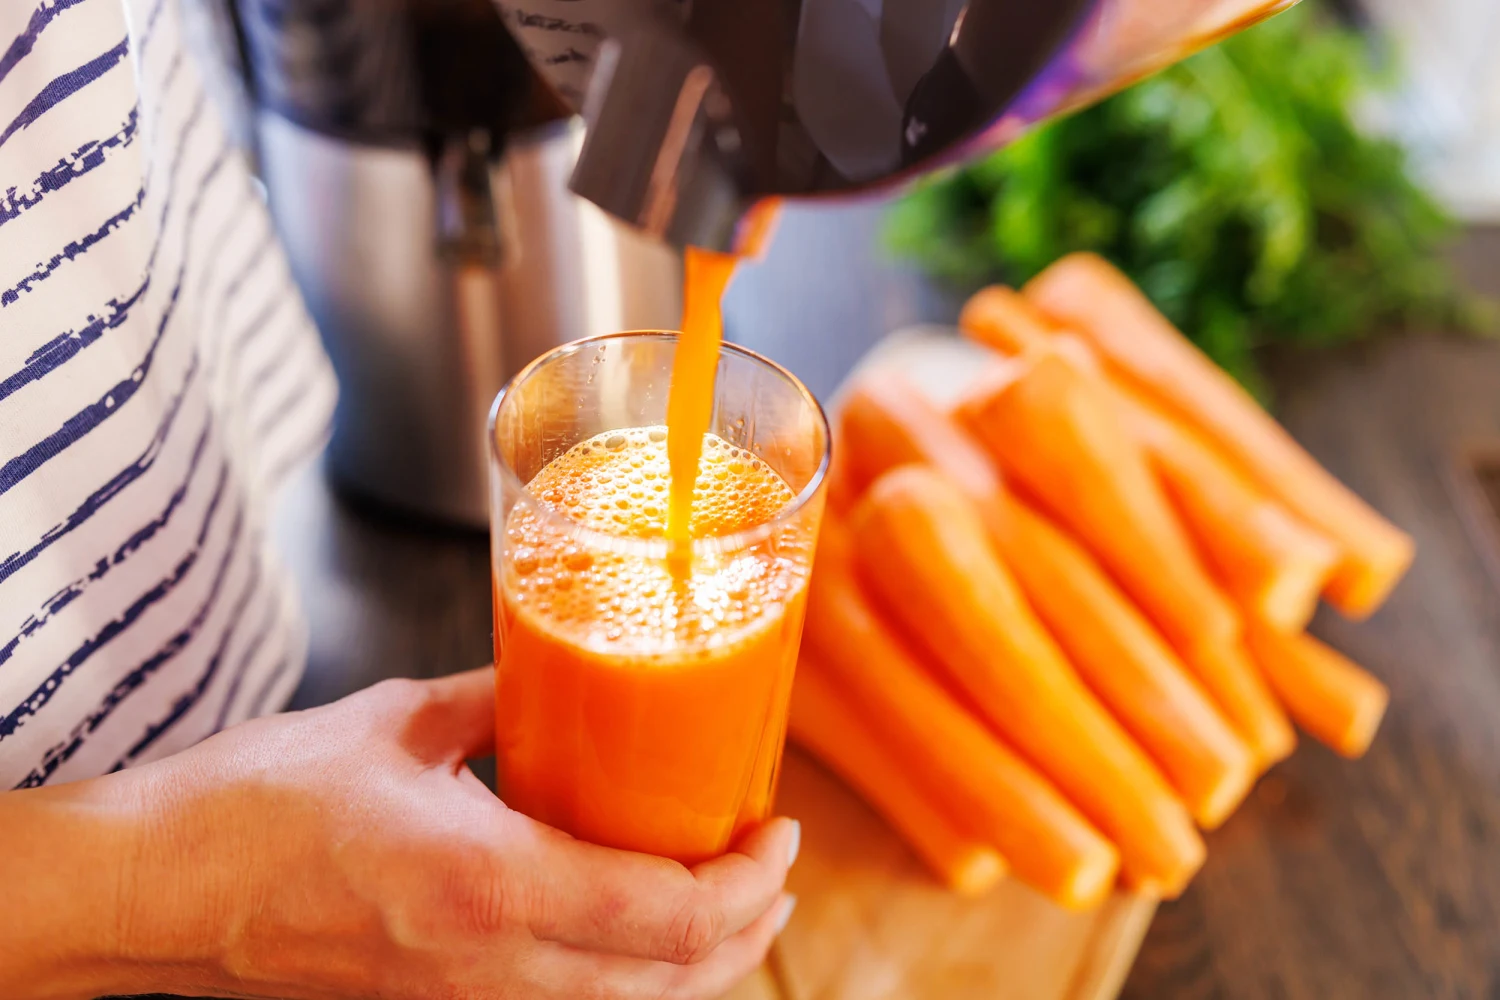
Immediate Consumption: For the best taste and nutritional value, consume the carrot juice immediately after preparation. Fresh juice is at its peak in flavor and nutrient content.
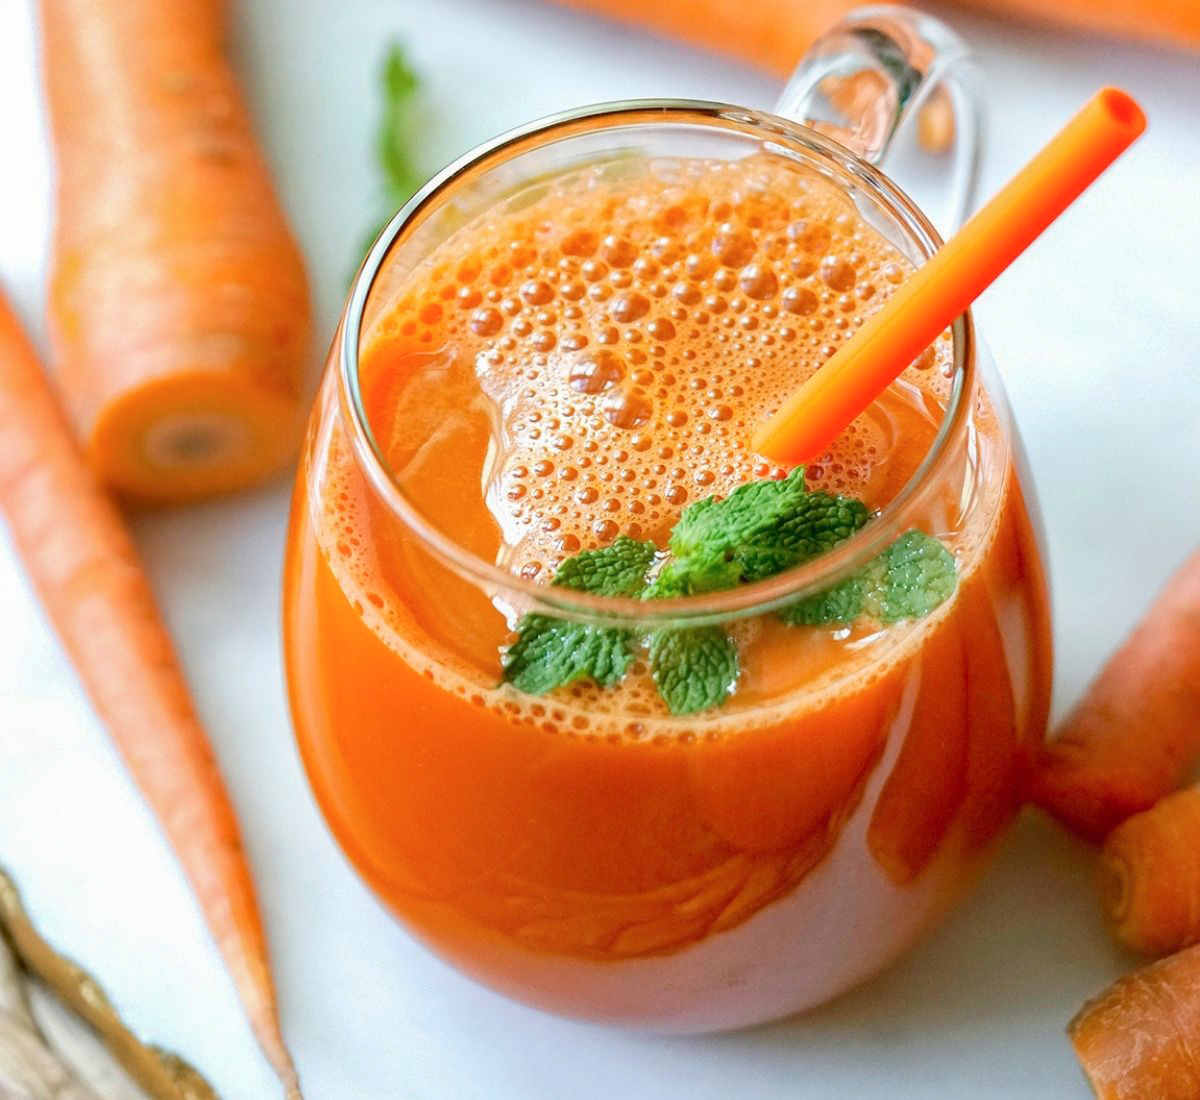
Garnishes: Consider garnishing your carrot juice with a slice of citrus, a sprig of mint, or a light sprinkle of ground spices like cinnamon or nutmeg for an appealing presentation.
 Storing Juice:
Maintaining Freshness:
Refrigeration: If you need to store the juice, pour it into an airtight container and refrigerate. Carrot juice can typically be stored in the refrigerator for up to 48 hours.
Optimal Containers: Glass containers with tight-fitting lids are ideal for storing juice, as they do not retain flavors or chemicals that could alter the taste and quality.
Freezing Juice:
Long-Term Storage:
Freezing Technique: For longer storage, you can freeze carrot juice in ice cube trays or freezer-safe containers. Once frozen, transfer the juice cubes to a freezer bag for easy use.
Defrosting: To defrost, place the frozen juice in the refrigerator overnight or use the defrost setting on your microwave. Consume thawed juice within a day for the best taste and nutritional value.
Health Benefits:
What Are the Nutritional Benefits of Carrot Juice?
Carrot juice is not only delicious but also packed with numerous health benefits.
High in Vitamins and Minerals:
Nutrient-Rich:
Vitamin A: Carrots are an excellent source of beta-carotene, which is converted to vitamin A in the body. Vitamin A is crucial for eye health, immune function, and skin health.
Other Nutrients: Carrot juice also provides vitamins C, K, and B6, along with minerals like potassium, calcium, and phosphorus, contributing to overall health and well-being.
 Antioxidant Properties:
Fighting Free Radicals:
Beta-Carotene: Beta-carotene acts as a powerful antioxidant, helping to neutralize free radicals and reduce the risk of chronic diseases such as heart disease and cancer.
Additional Antioxidants: Carrot juice contains other antioxidants like lutein and zeaxanthin, which are beneficial for eye health and may protect against age-related macular degeneration.
Digestive Health:
Supporting Digestion:
Fiber Content: Although carrot juice contains less fiber than whole carrots, it still provides some soluble fiber that aids in digestion and promotes a healthy gut.
Digestive Enzymes: Carrot juice can stimulate the production of digestive enzymes, improving nutrient absorption and supporting overall digestive health.
Immune System Boost:
Enhancing Immunity:
Vitamin C: The vitamin C in carrot juice boosts the immune system by stimulating white blood cell production, which helps fight infections.
Antimicrobial Properties: Carrots have natural antimicrobial properties that can help protect the body against harmful bacteria and pathogens.
Conclusion
Making carrot juice with a blender is a simple and effective way to enjoy a nutritious and delicious beverage. Properly selecting and preparing fresh carrots, using the right blending techniques, and straining the juice to remove pulp ensures a smooth and enjoyable drink. Enhancing the flavor with additional fruits, vegetables, spices, and sweeteners provides variety and boosts the nutritional content of your juice. Serving immediately for maximum freshness, or storing correctly for later consumption maintains the quality of your homemade carrot juice. Understanding the numerous health benefits, such as high vitamin and mineral content, antioxidant properties, digestive support, and immune system enhancement, underscores the value of incorporating carrot juice into your diet. By following these detailed steps and tips, you can create fresh, homemade carrot juice with ease, making it a regular part of your healthy lifestyle.
 Ease of Use:
  Performance Comparison:
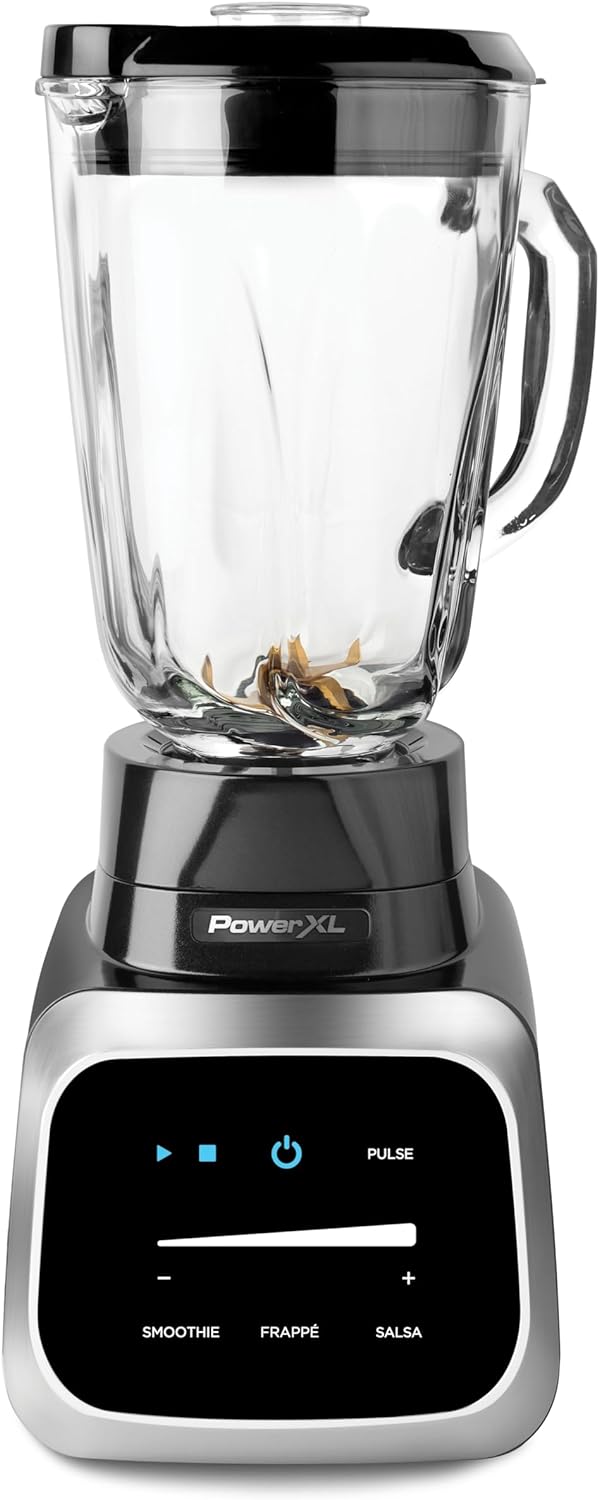
  Health Benefits:
  Customer Support and Warranty: