Introduction to Food Processors and Blenders
In the bustling world of kitchen gadgets, two appliances often spark debate: food processors and blenders. At times, these tools may seem similar but they serve distinct purposes.
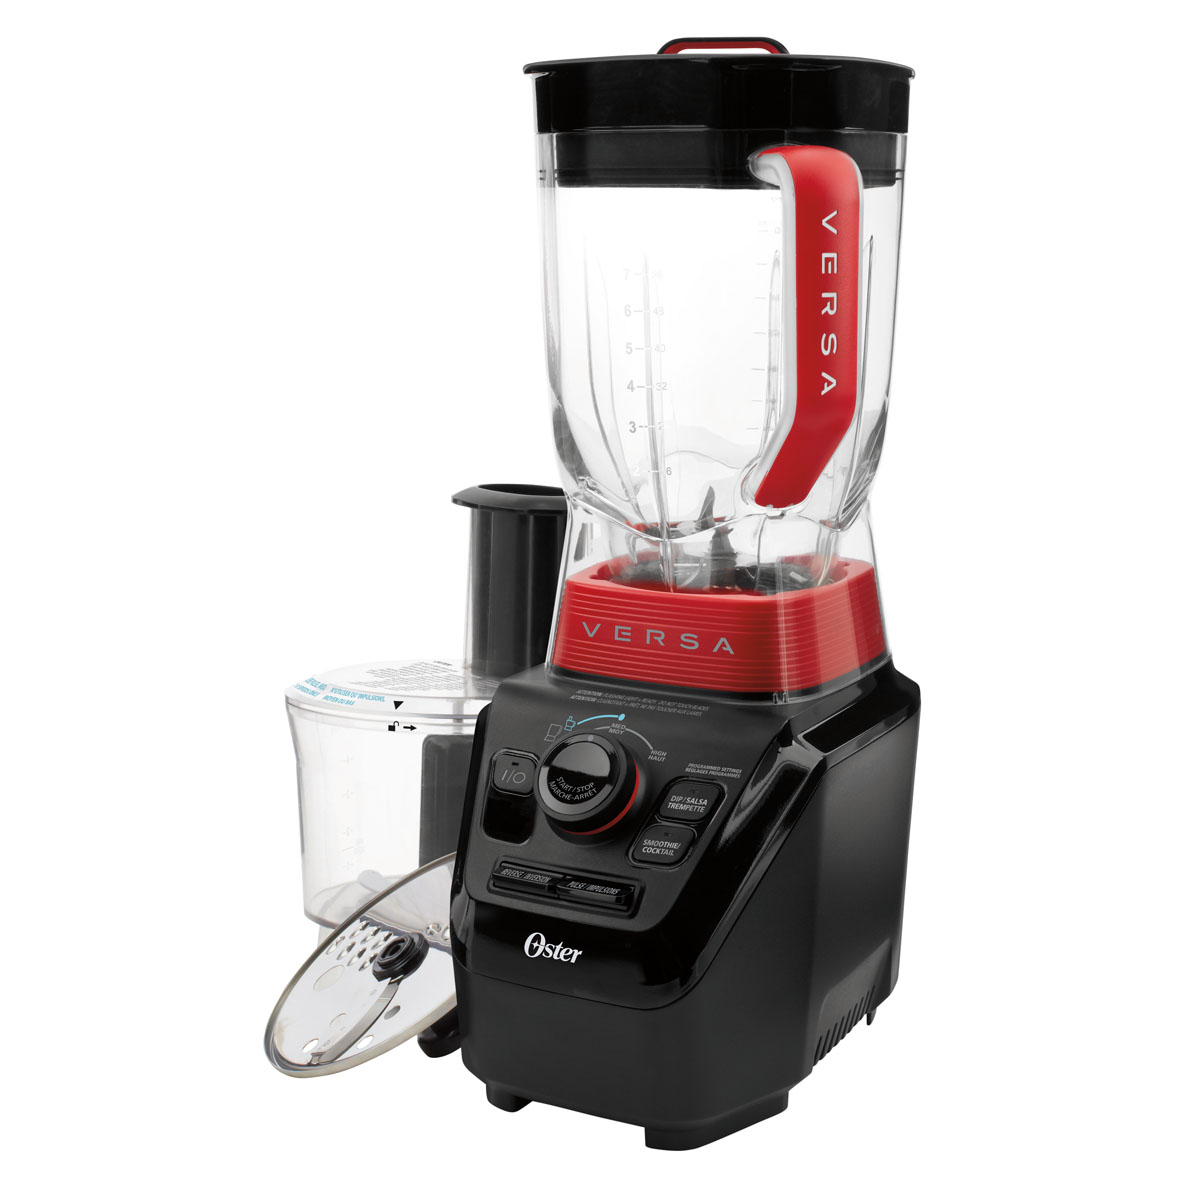
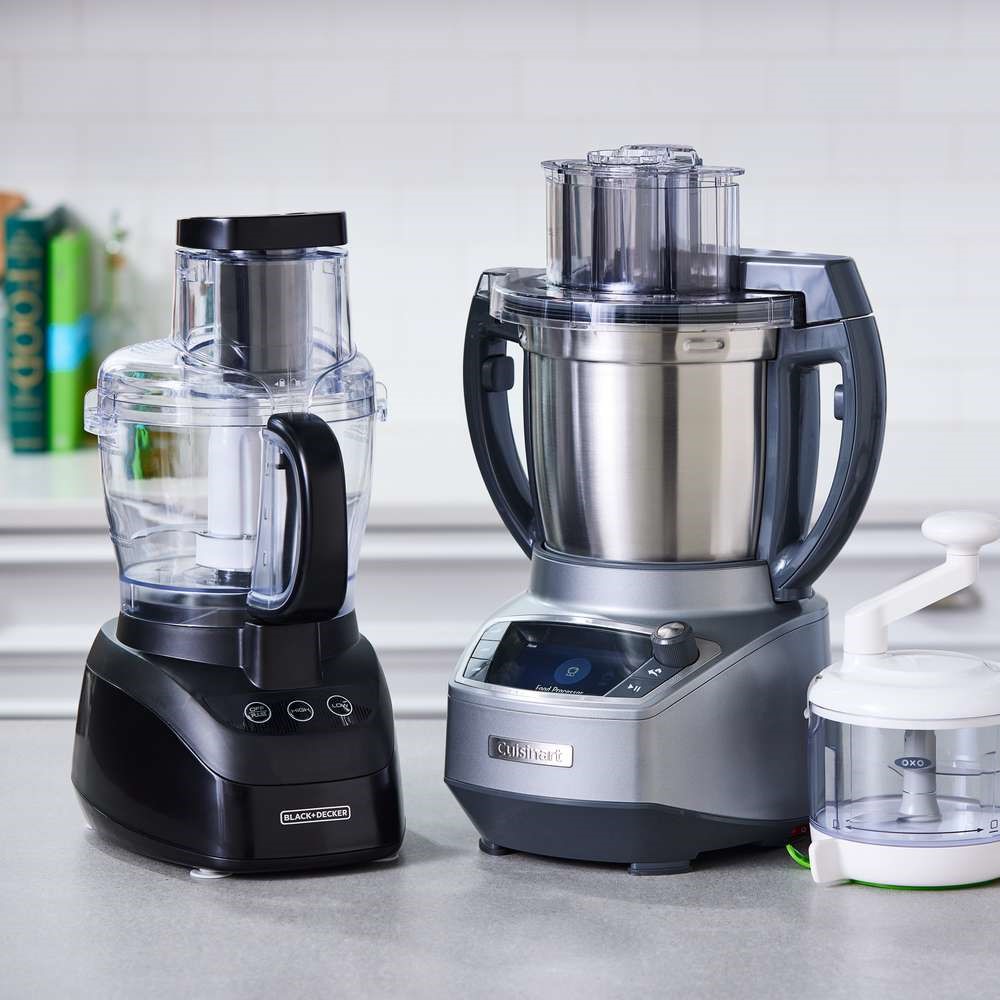
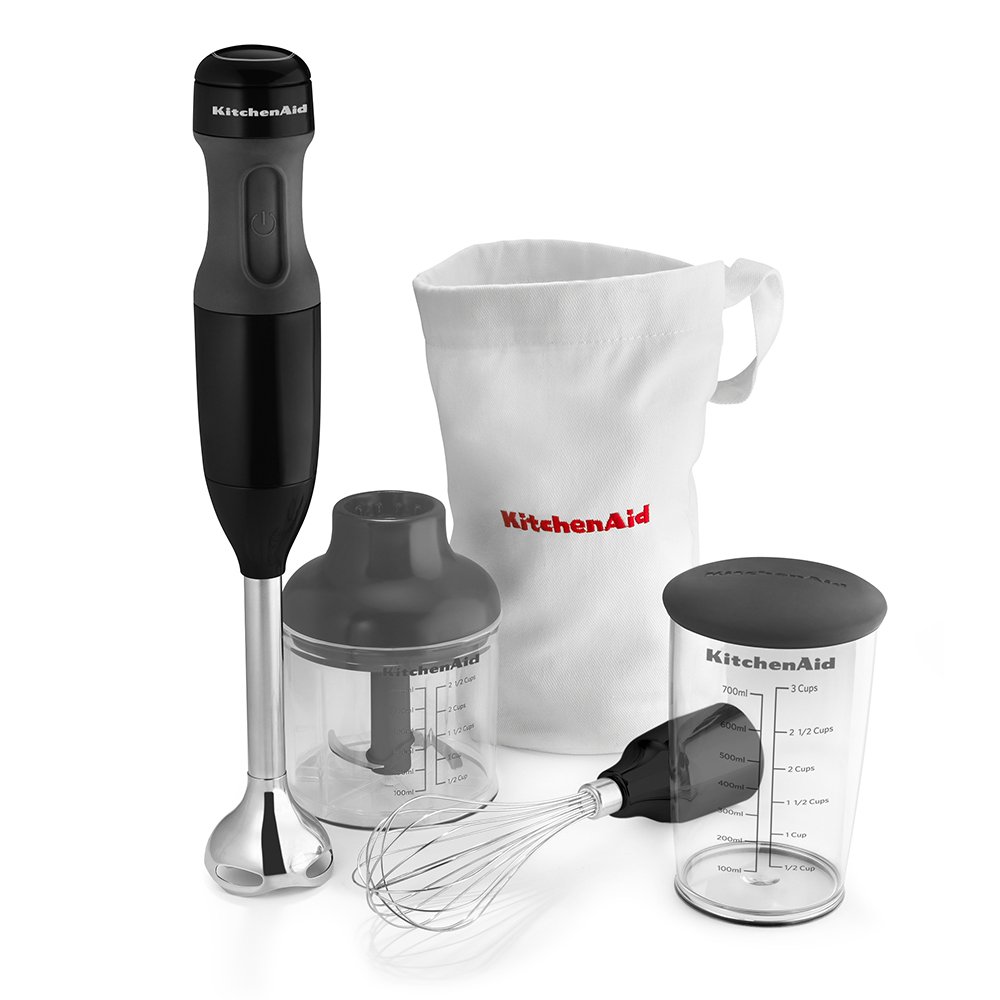
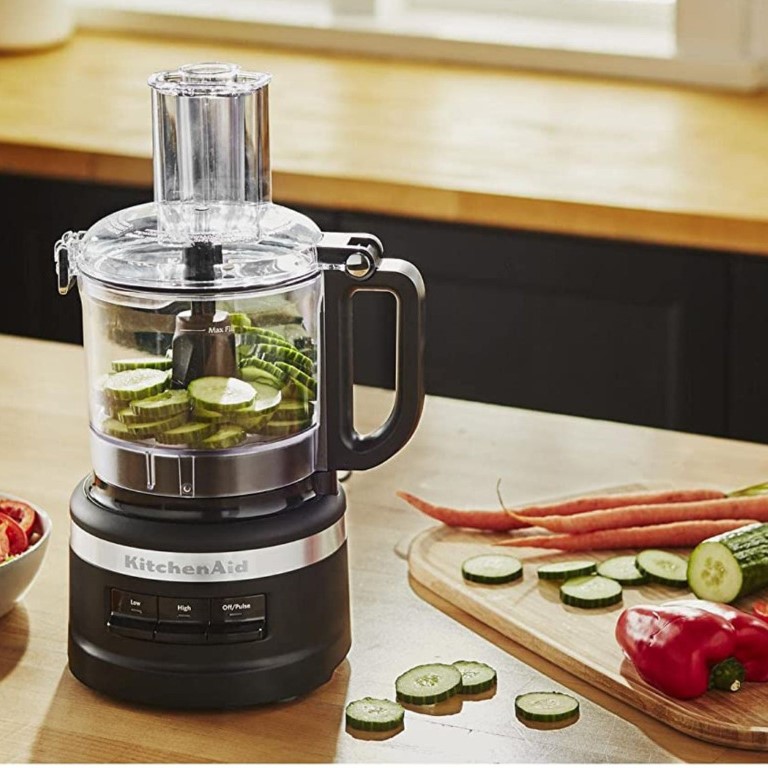
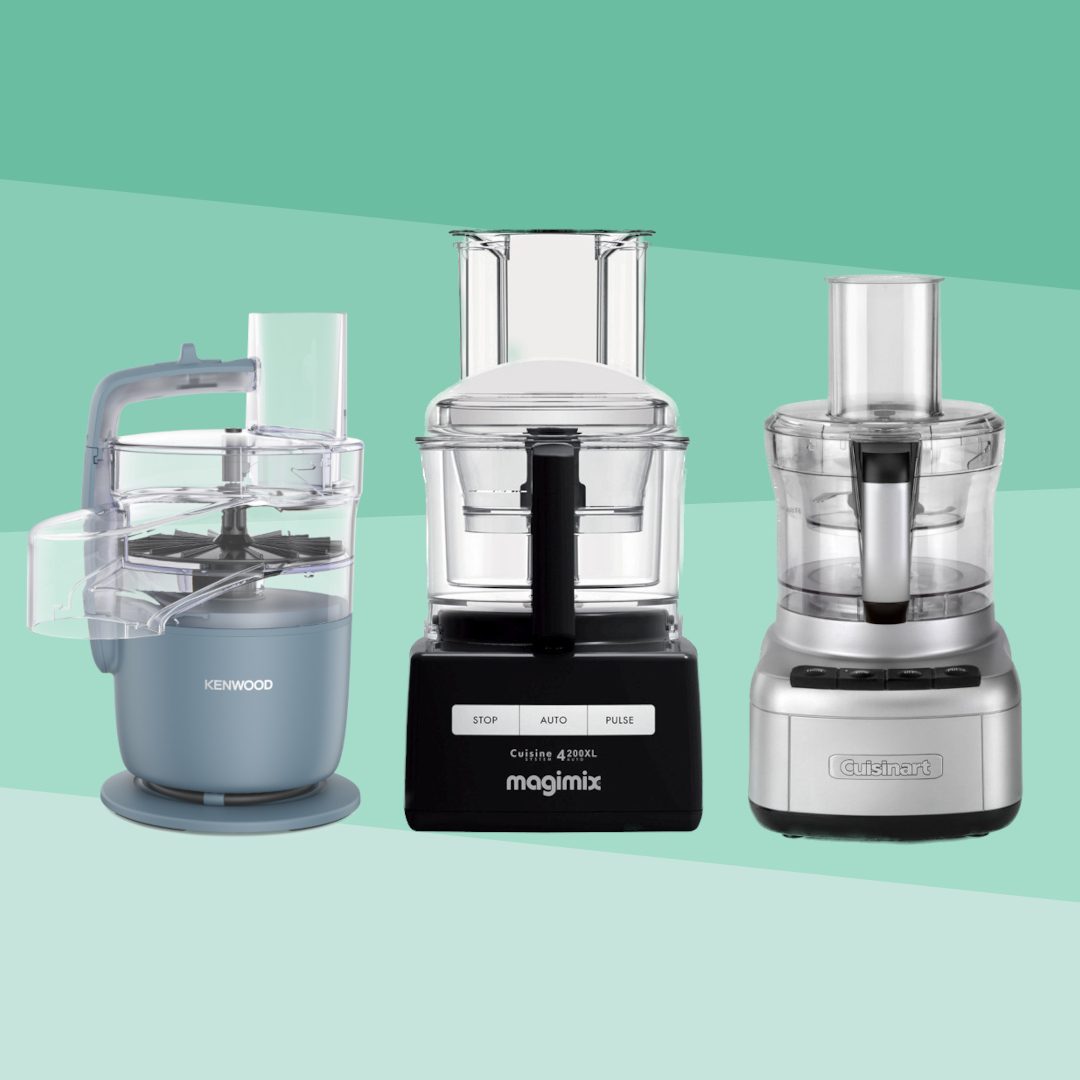
A food processor is a versatile assistant in meal preparation. It can slice, dice, chop, grate, and even knead dough, making it a go-to for a plethora of kitchen tasks. Ideal for solid foods, food processors excel in crafting textured dishes and speeding up prep work.
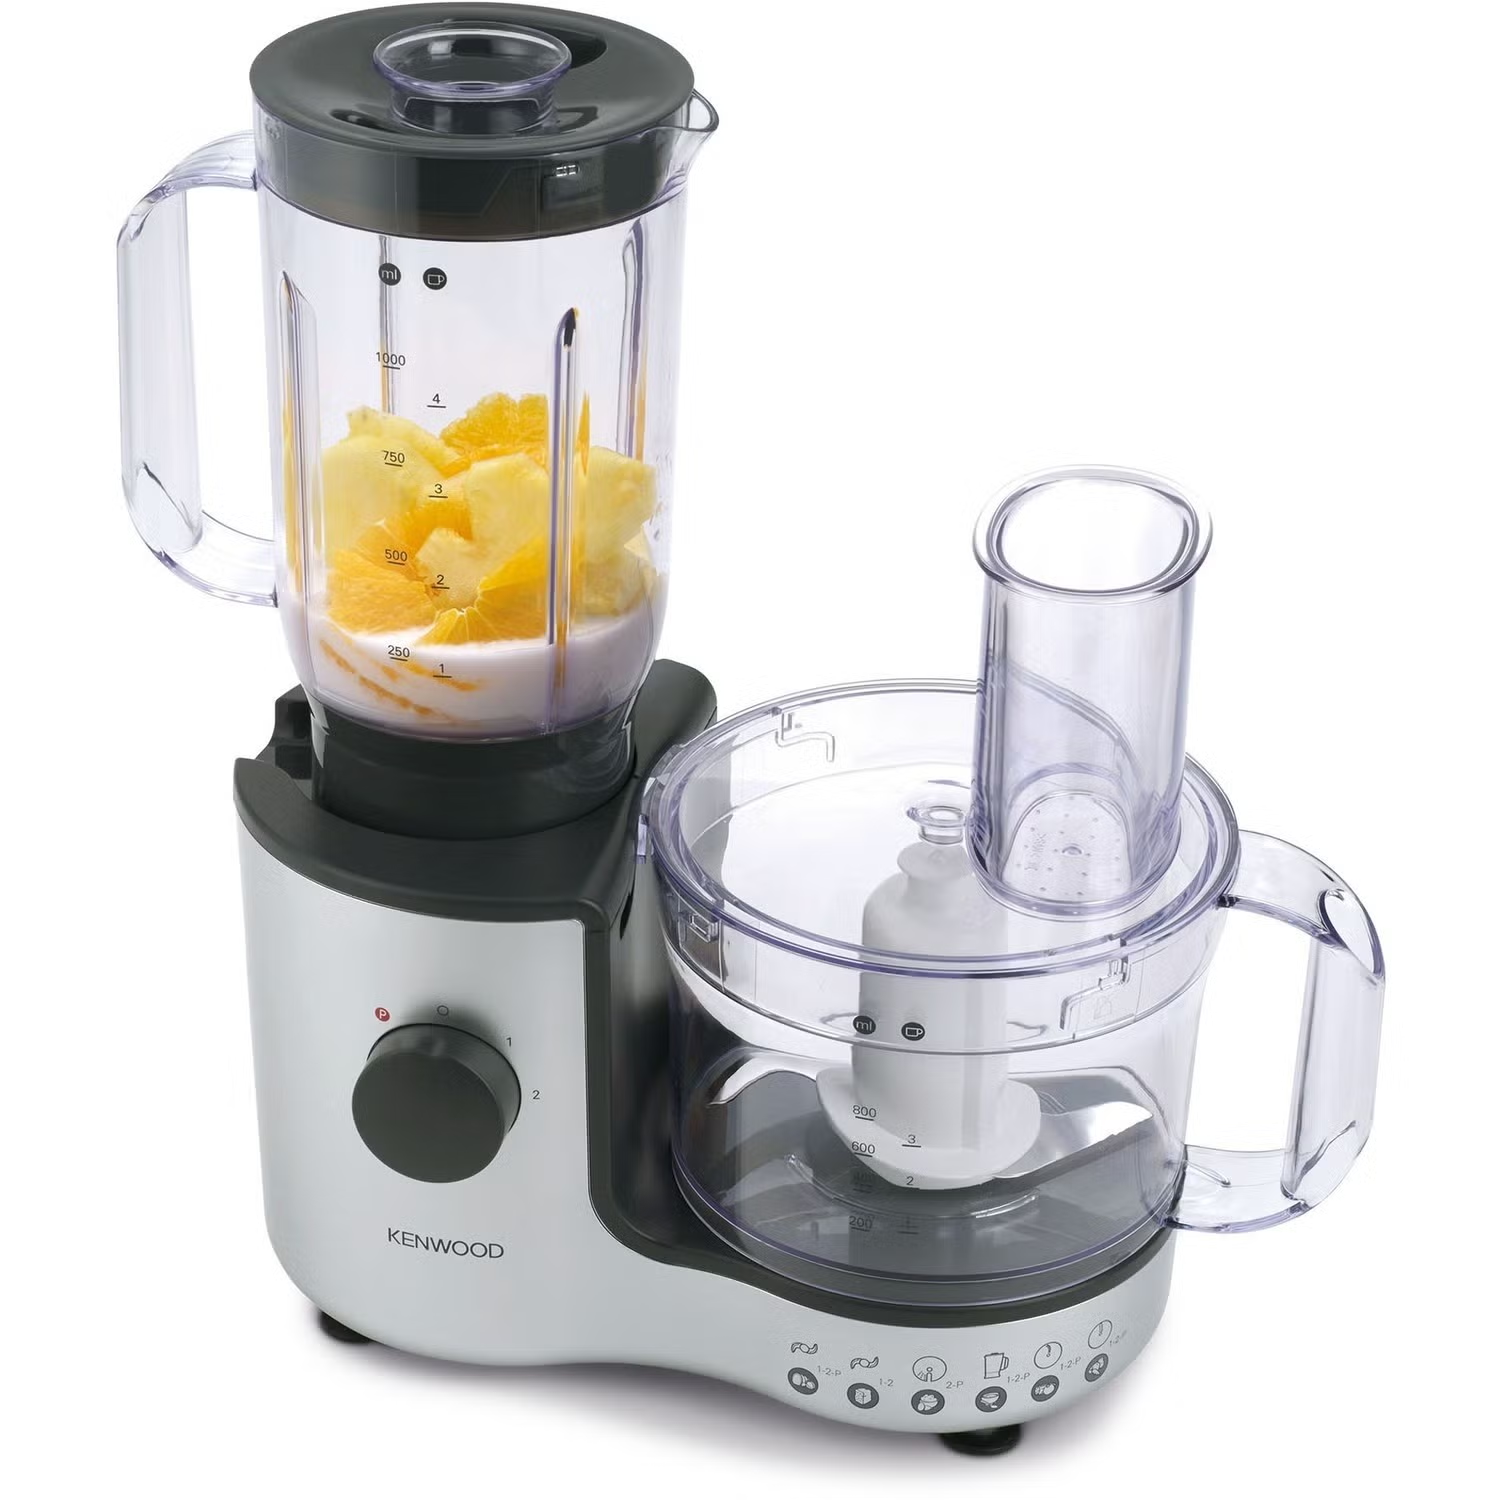
Blenders, on the other hand, are the wizards of smoothness. They blend and puree, creating perfect liquids, smoothies, and pureed soups. Their tall jars and powerful motors crush ice and turn the toughest of ingredients into silky smooth concoctions.
So, is a food processor the same as a blender? Not quite. While both appliances wield blades and reduce whole foods into more manageable forms, each shines differently. Food processors are your best bet for solid food prep, whereas blenders handle liquids with finesse.
Understanding their unique strengths is key to choosing the right tool for your culinary ventures. Whether you’re prepping a salad or blending a creamy shake, recognizing the differences can elevate your cooking game.
As we delve further into their characteristics and uses, we’ll help unveil which appliance might be the best addition to your kitchen arsenal.
Core Differences Between Food Processors and Blenders
When choosing kitchen appliances, understanding the core differences is crucial. Here, we brief their main uses.
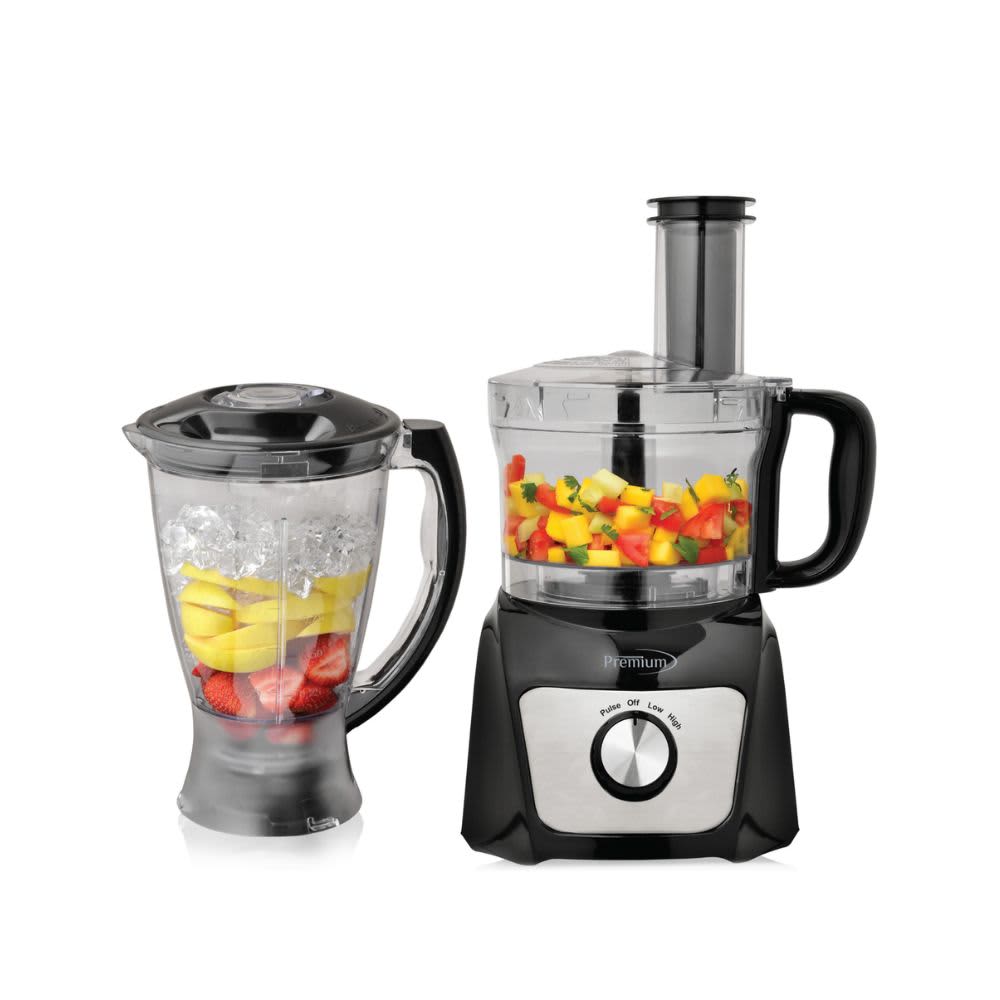
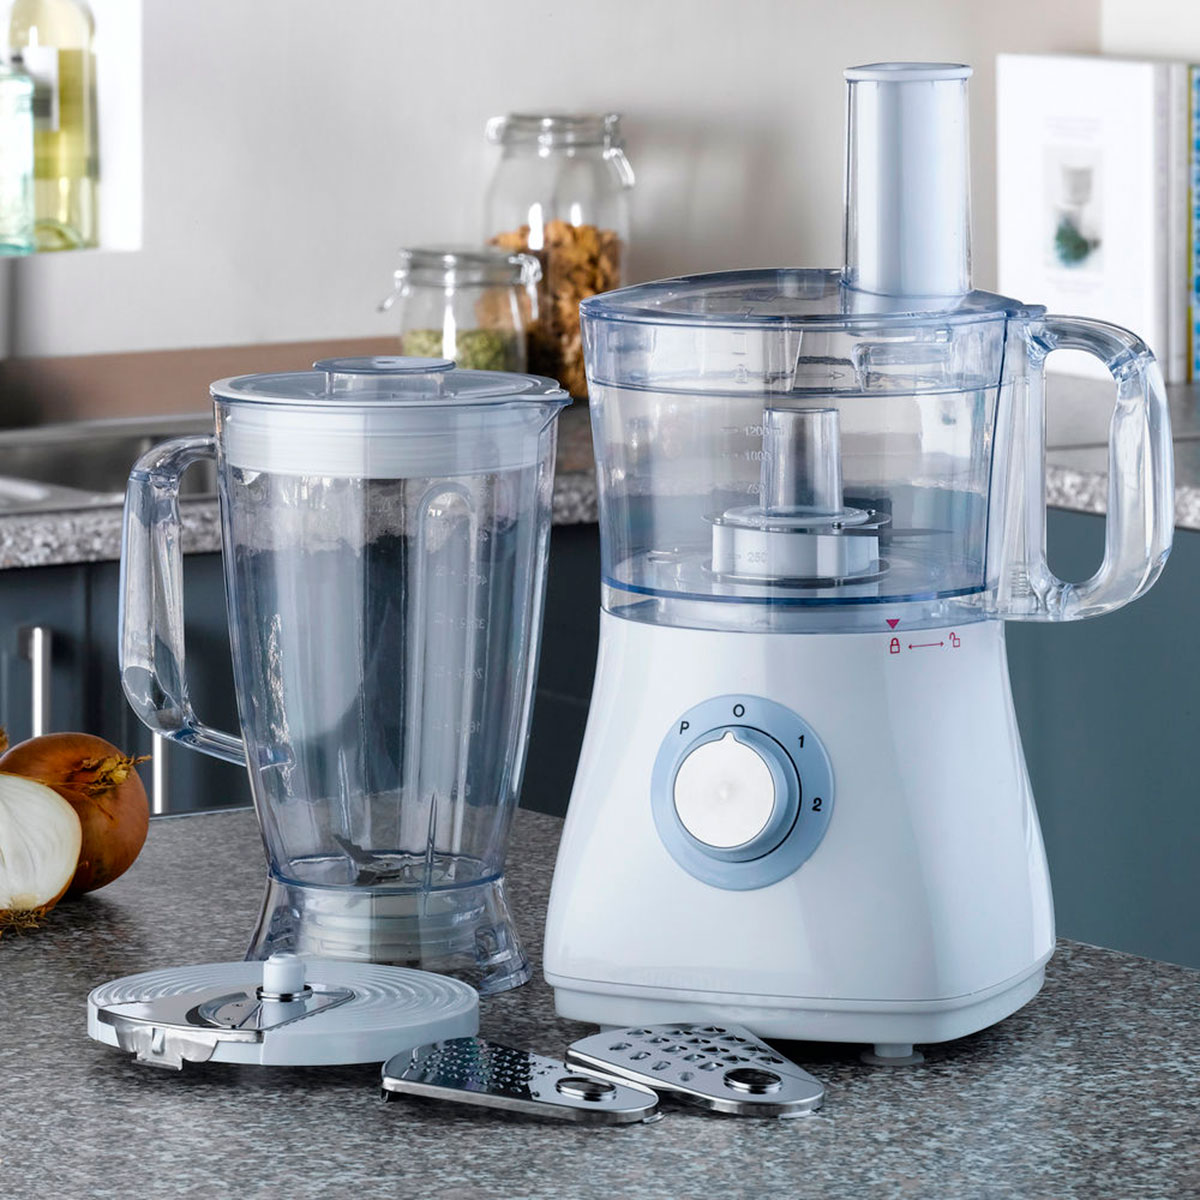
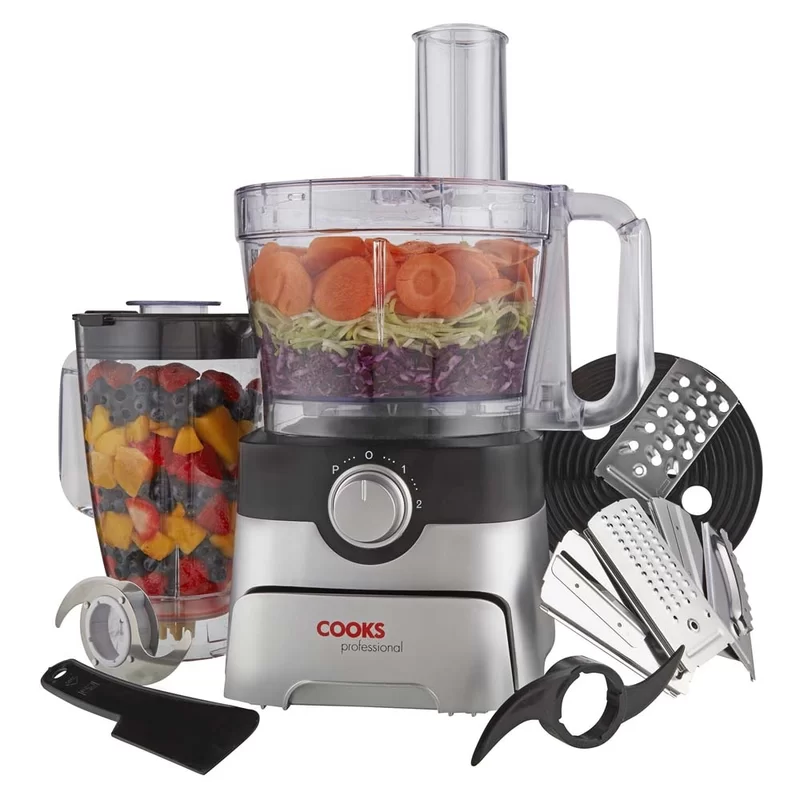
Food processors are designed for a variety of tasks. These include chopping, slicing, dicing, and even kneading dough. They have wide bowls and multiple blade options. Such versatility makes them ideal for solid foods preparation.
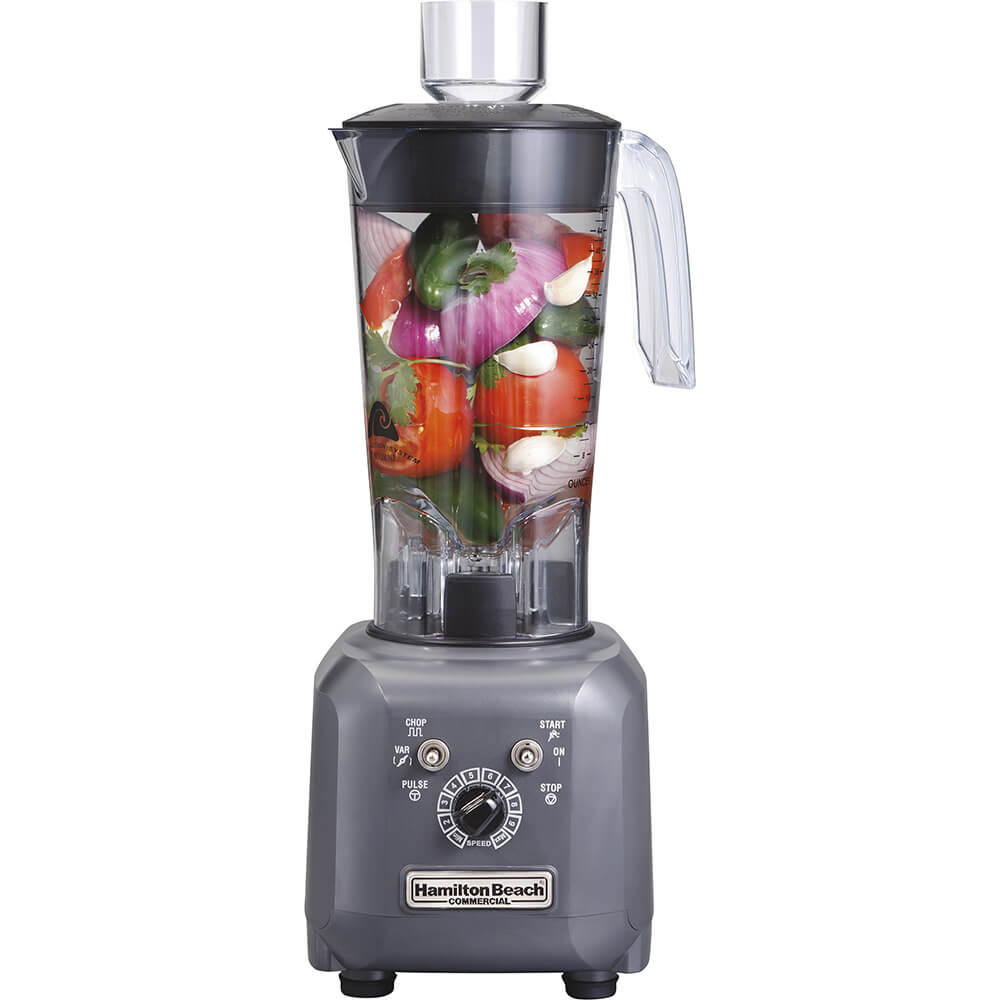
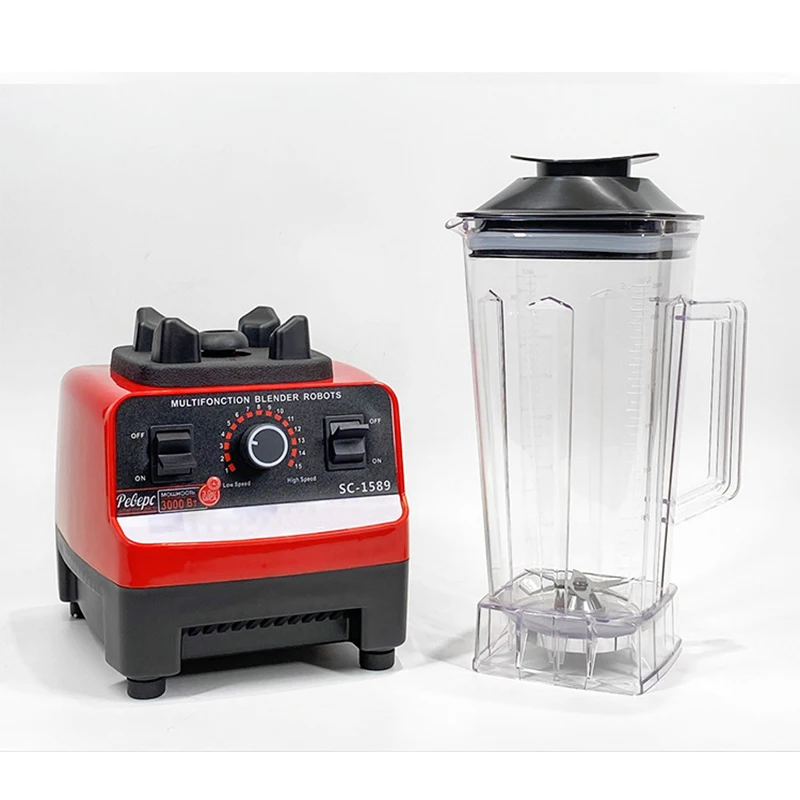
Blenders focus on creating smooth, liquid-based mixtures. They have tall jars and powerful blades. These help blend ingredients into liquids like smoothies and soups. Blenders perform best when adding some liquid.
In simple terms:
- Blenders excel at turning ingredients into smooth liquids.
- Food processors handle solid food prep, from slicing to kneading.
- Blenders need liquid to blend well.
- Food processors come with attachments for various tasks.
To decide which one you need, think about what you prepare more often. If you blend drinks and soups, a blender fits best. If you do a lot of chopping and dough making, go for the food processor.
Both are valuable, but they cater to different aspects of cooking.
The Versatility of Food Processors in Meal Prep
The food processor is a true kitchen multitasker. It quickly and easily handles a variety of jobs. With it, you can chop veggies, puree beans, and even make dough. It comes with several attachments. These help in tasks like shredding cheese or slicing potatoes. The wide bowl and sharp blades cut prep time. They work through tough tasks without a fuss.
Food processors shine when it comes to solid foods. They can chop hard veggies like carrots or nuts with ease. Need to grate cheese for pizza? The food processor does it fast. You can also make breadcrumbs, a task blenders can’t do well.
For those who bake, the food processor is a friend. It kneads dough swiftly and effectively. This makes it ideal for baking bread or pizza at home.
In short, a food processor is like having an extra pair of hands. It saves time and effort, letting you focus on getting creative with your meals.
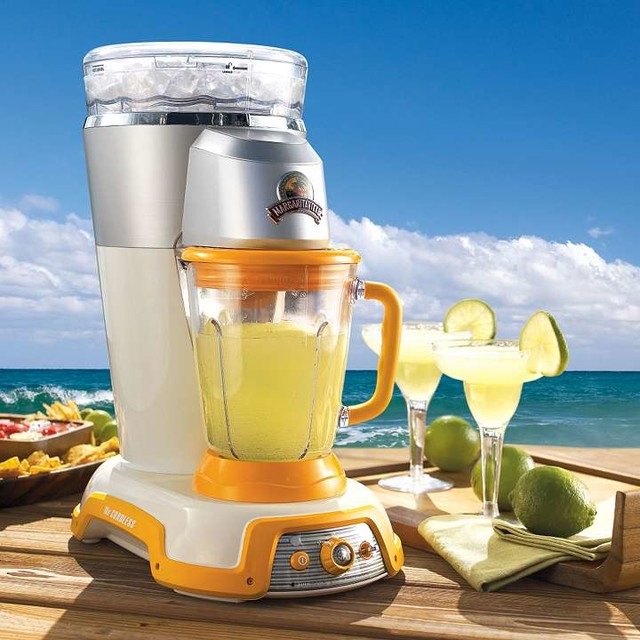
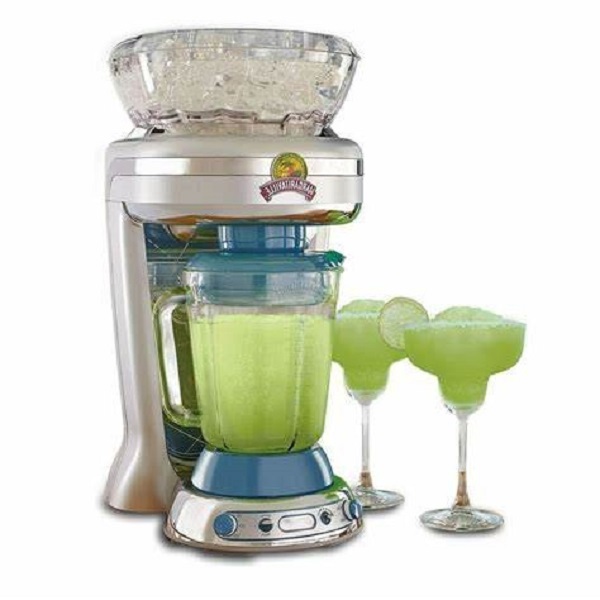
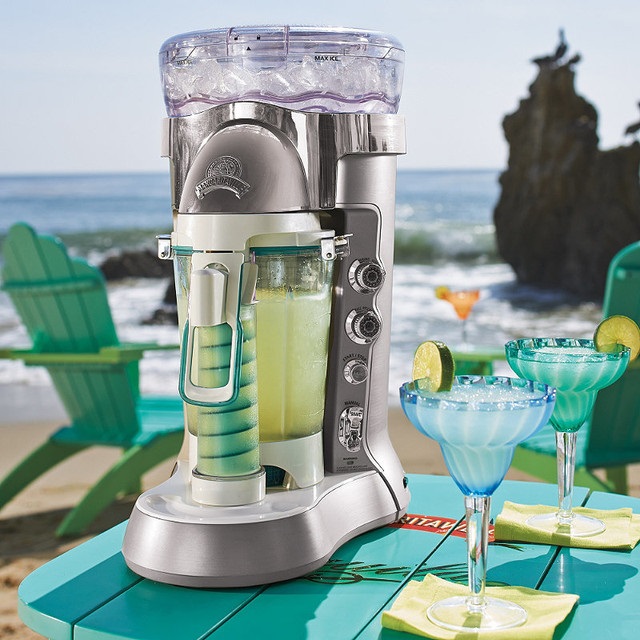
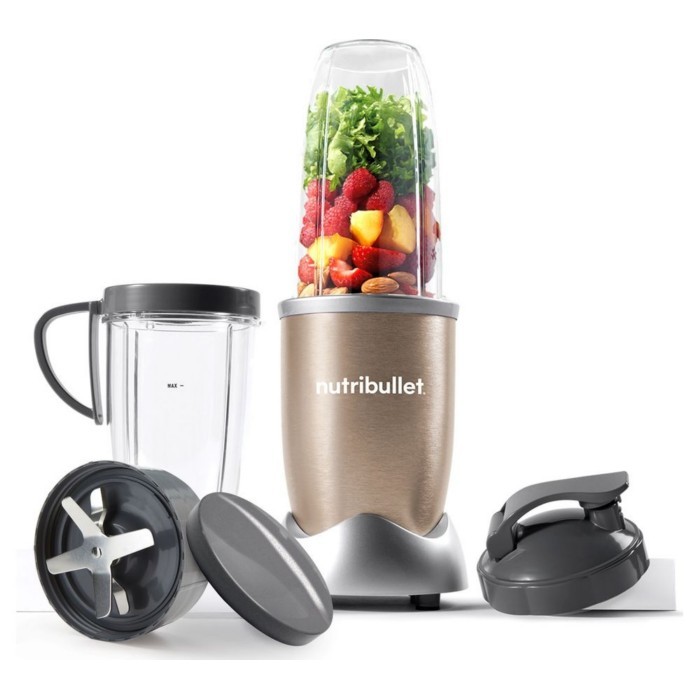
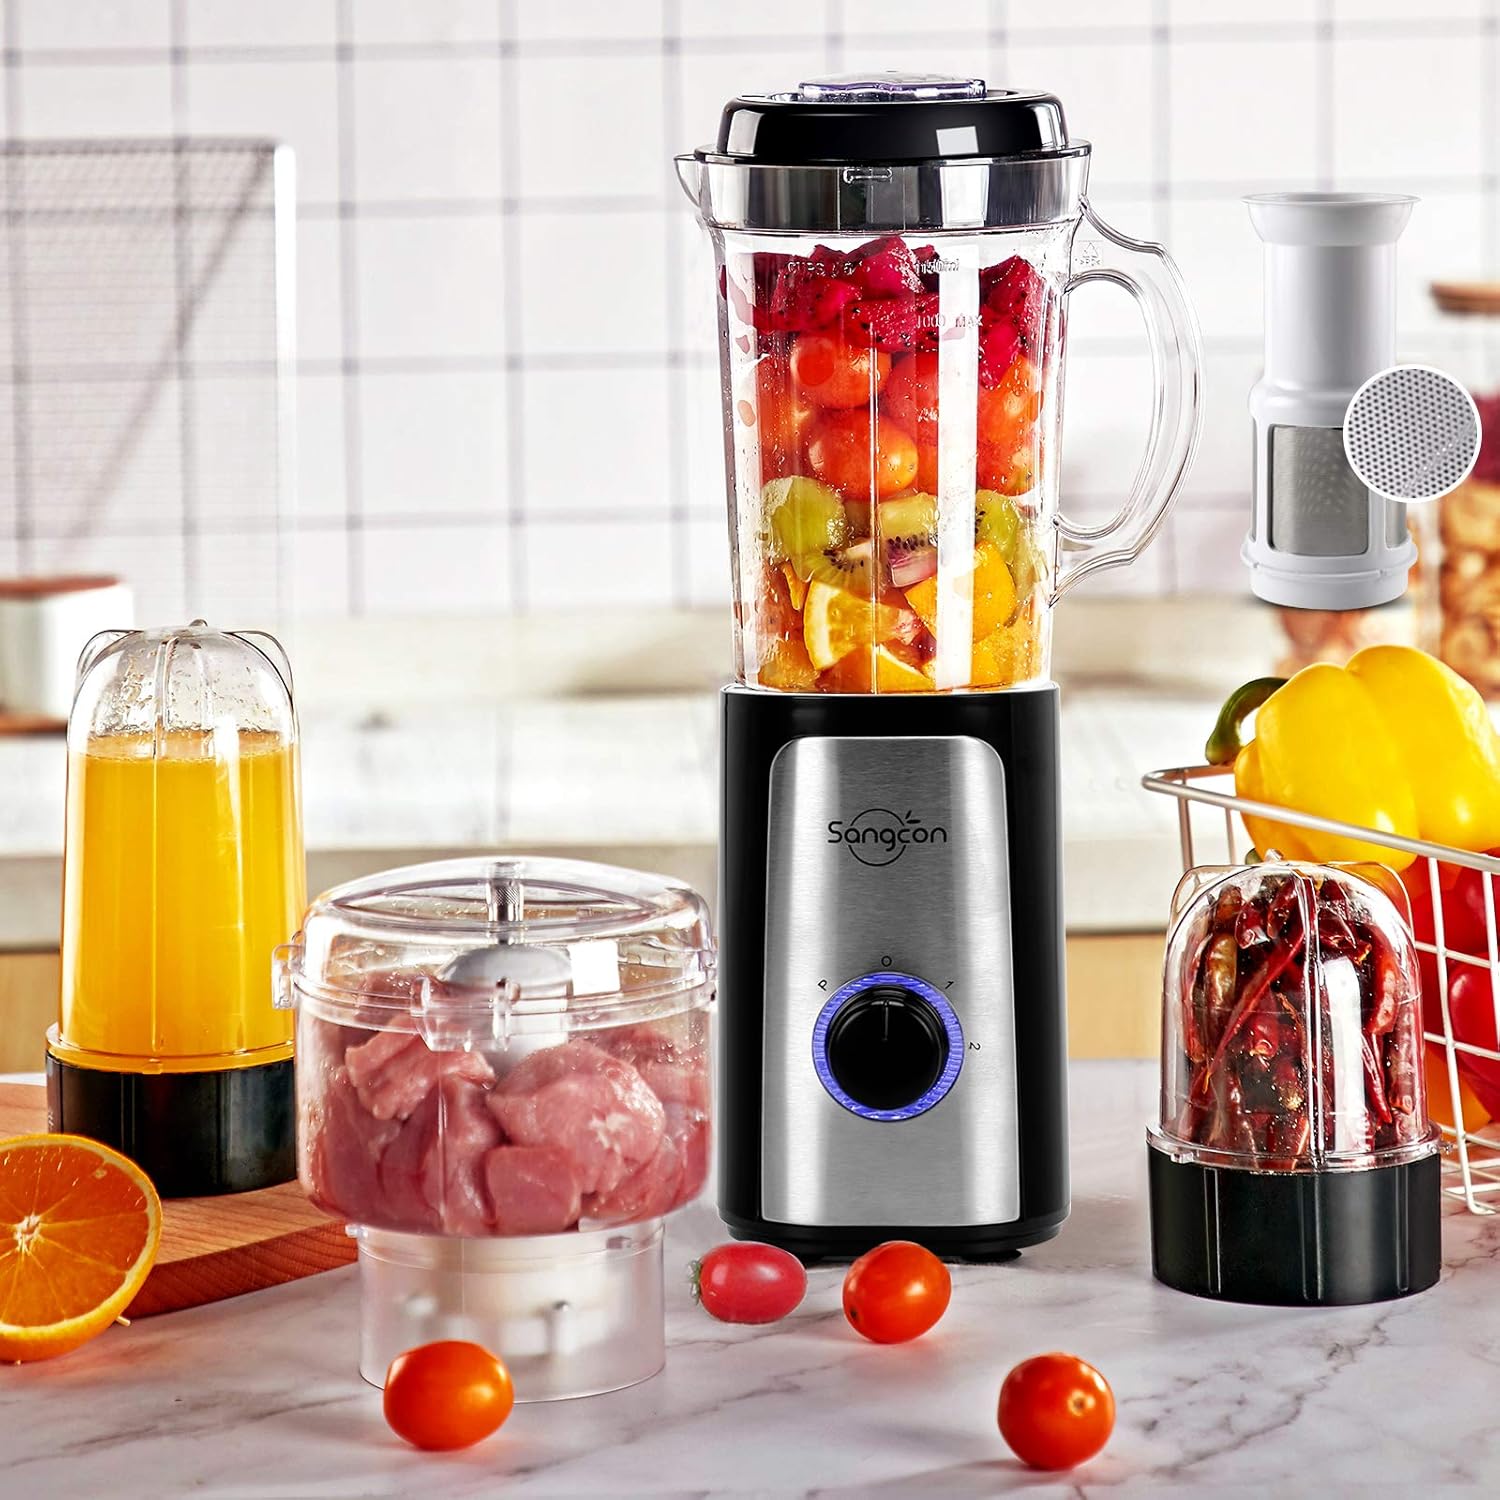
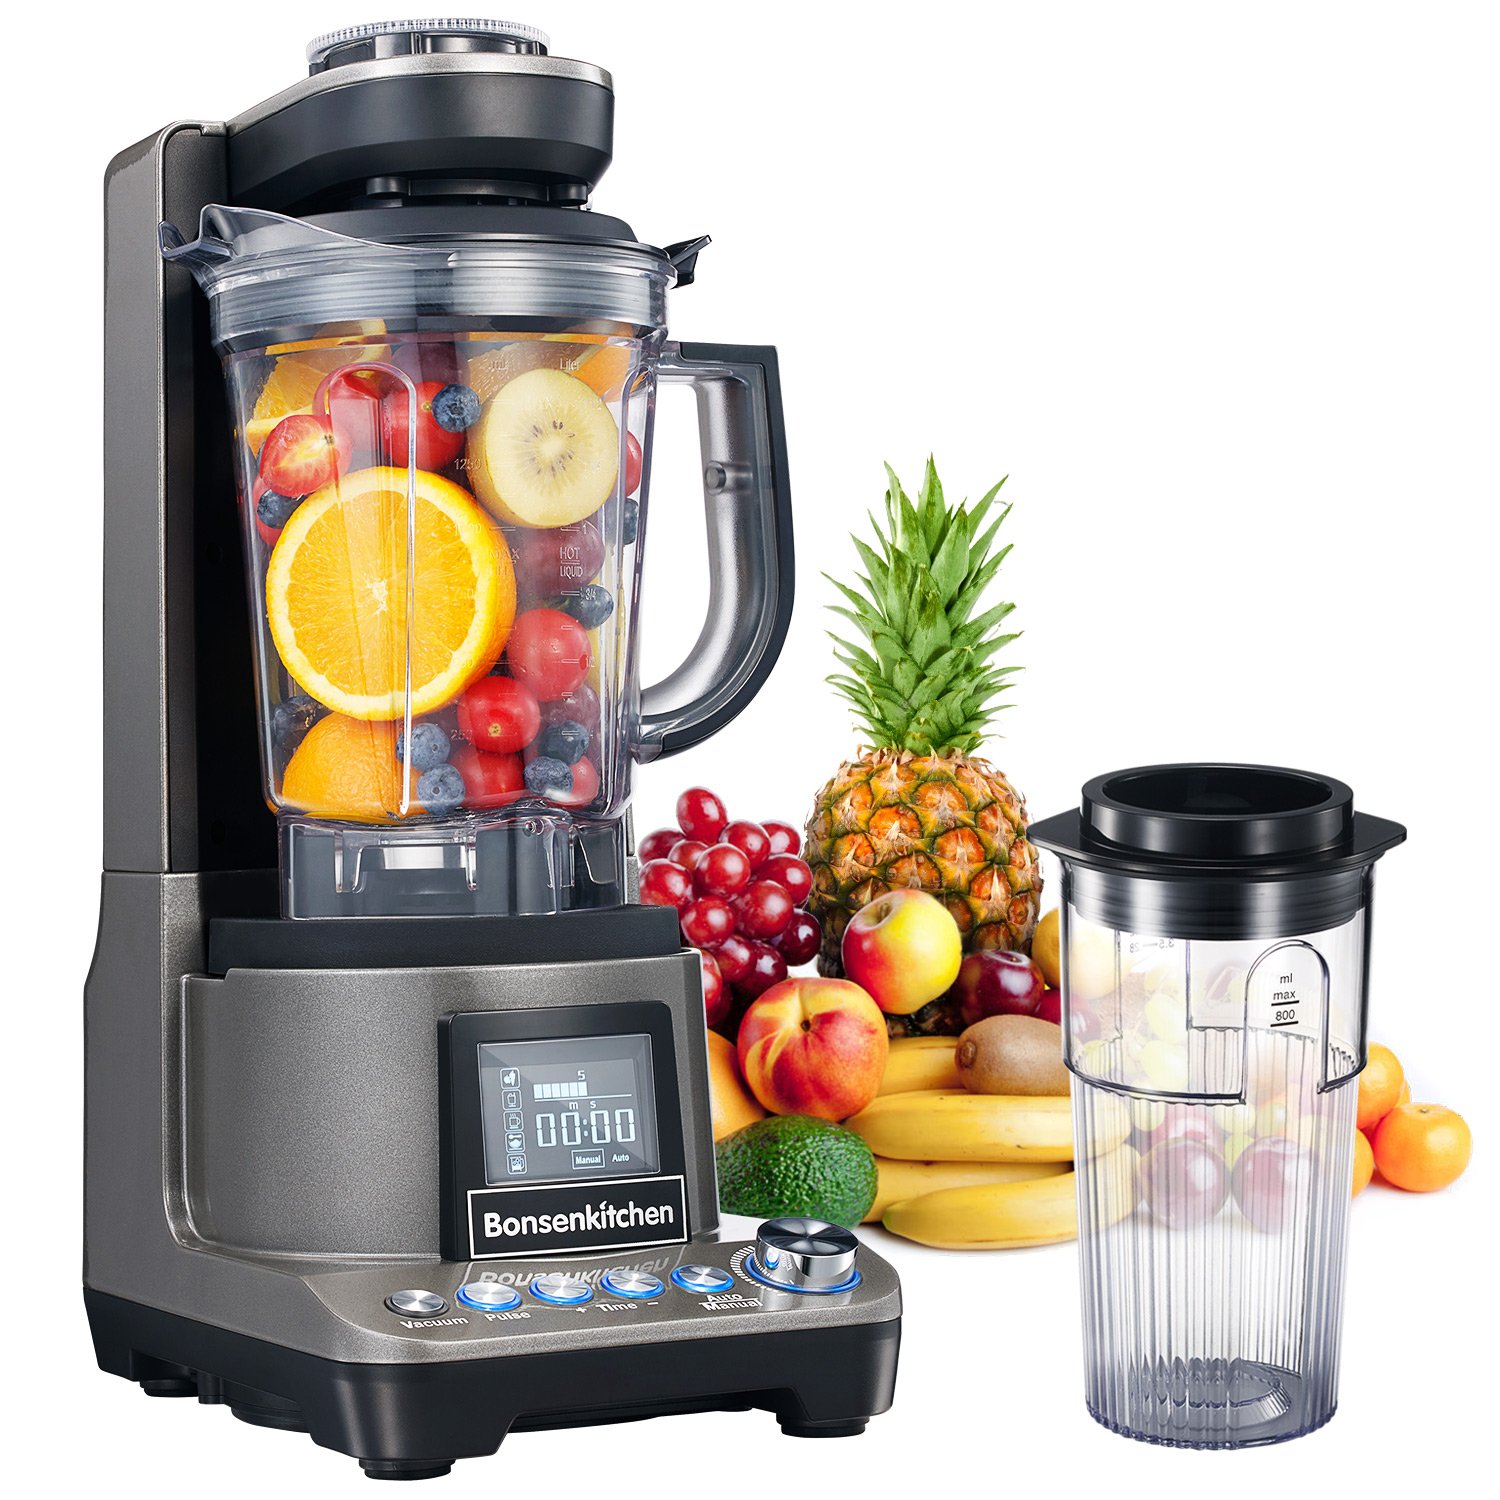
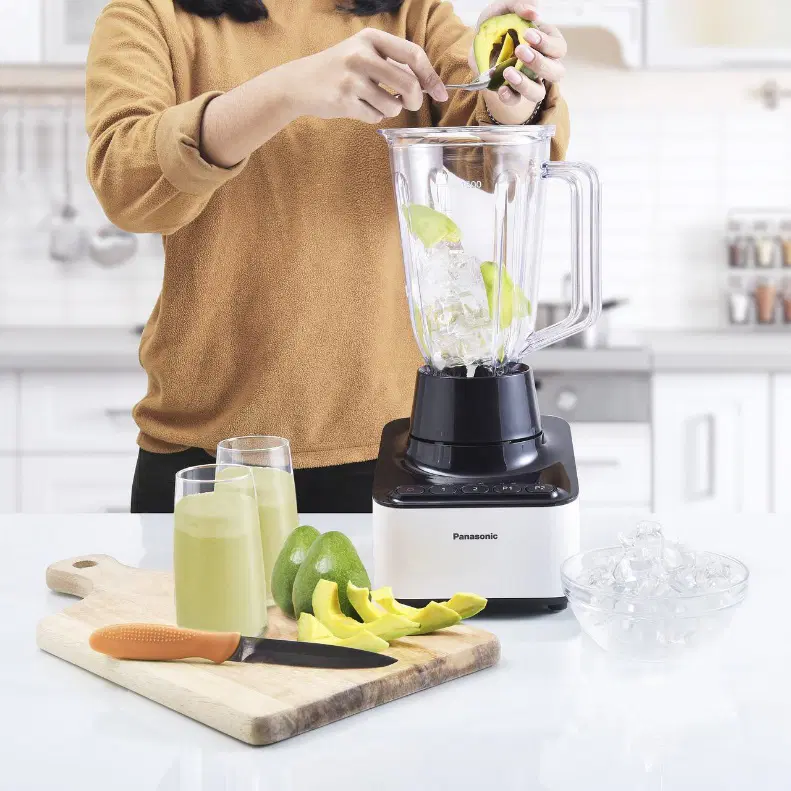
Blenders: Masters of Smooth Mixtures and Liquids
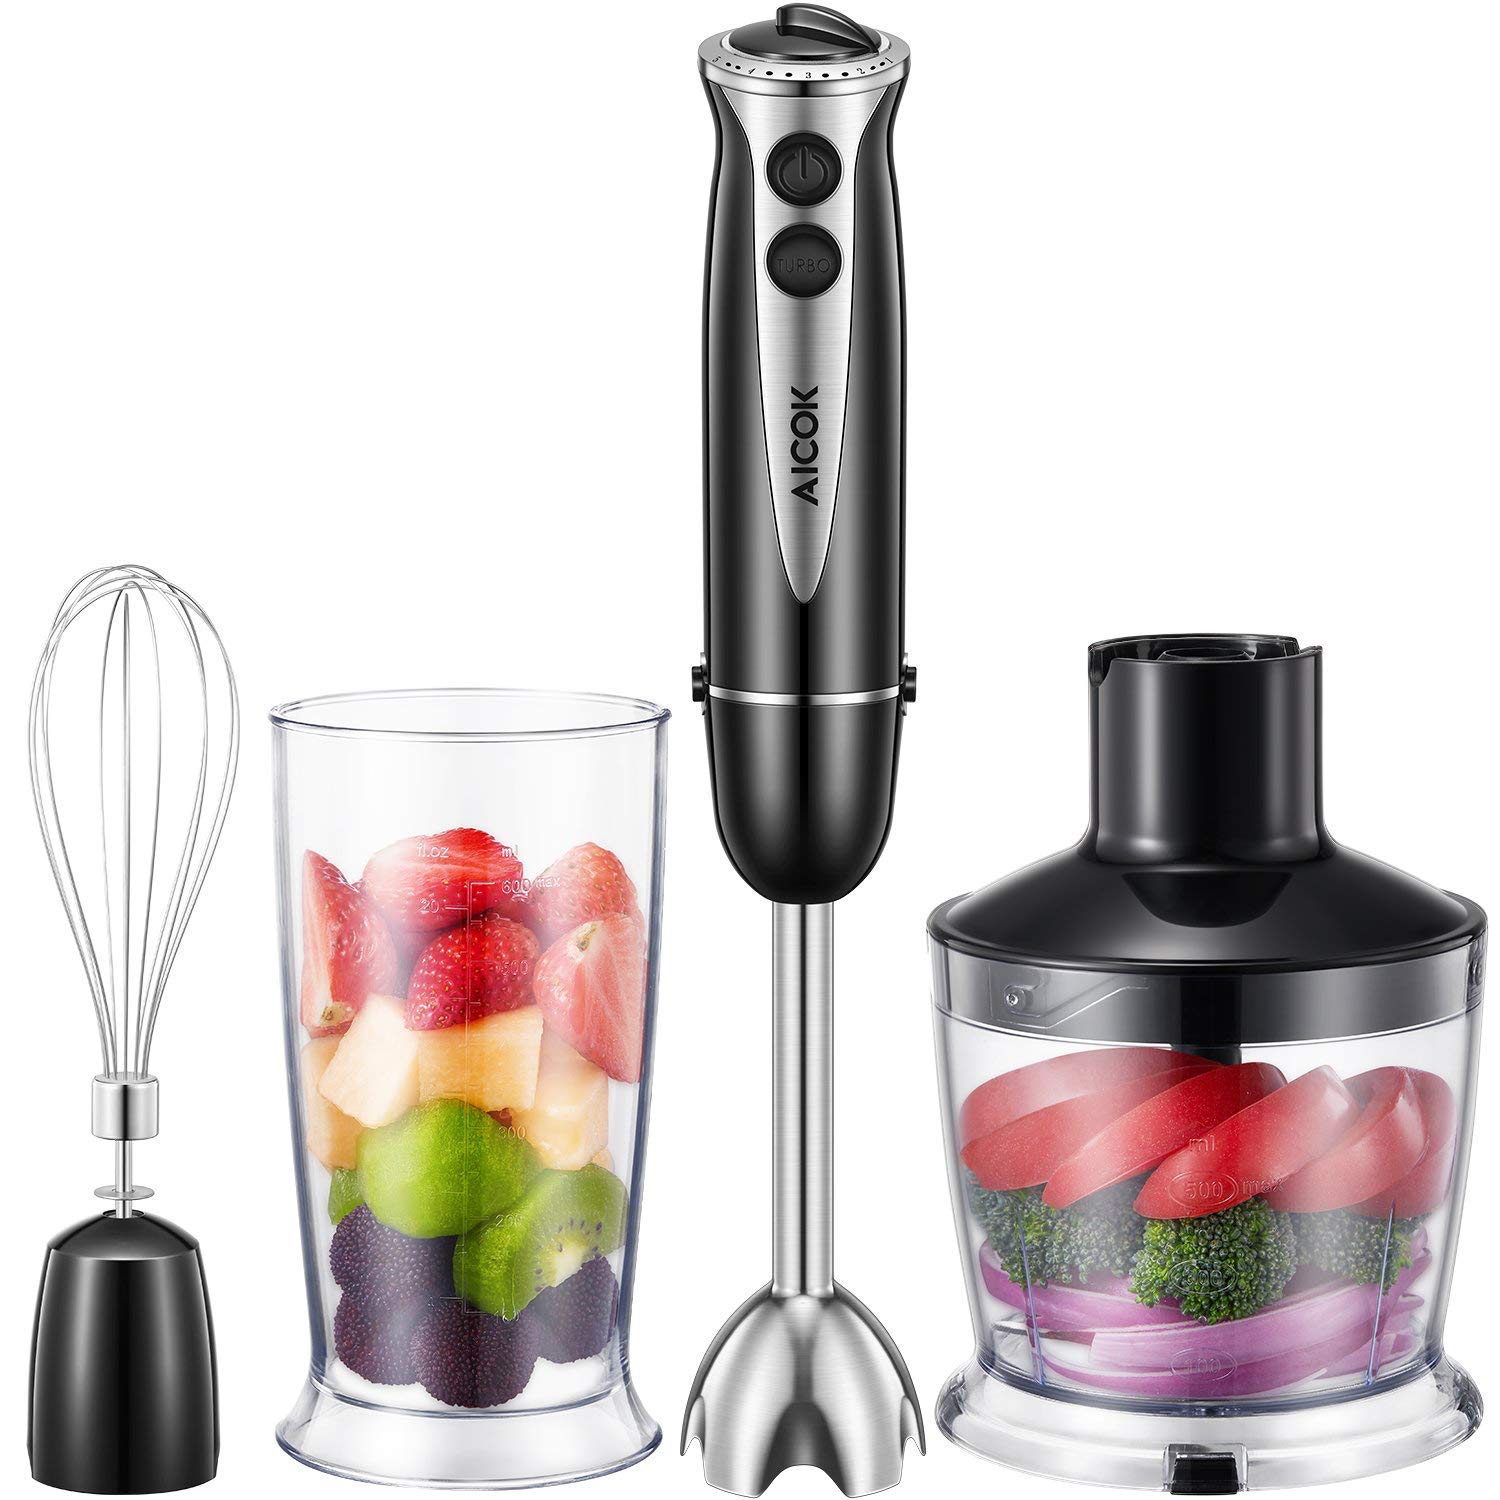
Blenders excel in creating smooth textures. They are perfect for turning whole ingredients into fine liquids. With their tall jars and strong blades, they blend fruits and veggies into smoothies with ease. Most need some liquid to work best. They make quick work of ice, crushing it for cold drinks and desserts.
Blenders are not just for drinks. They can also puree soups to a silky texture. You can use them to mix batter for pancakes or crepes. If you love sauces and dips, a blender can mix them to the right smoothness.
For a health kick, blend greens and fruit for a nutrient-packed smoothie. Busy cooks appreciate how fast and easy blenders are to use. They are simple to clean, with fewer parts than food processors.
Choose a blender for smoothness. If you need to puree, liquidize, or blend, a strong blender is your best tool. It’s a must-have for creamy concoctions and smooth liquid treats.
Key Considerations for Choosing Between a Food Processor and Blender
When picking between a food processor and a blender, think about what you make more often. If you often chop, slice, dice, and knead, a food processor is ideal. It has multiple blades and discs for different tasks. It’s great for tasks like slicing vegetables or making dough.
If you mostly make smoothies, soups, and pureed foods, go for a blender. Blenders need liquid to work best. Their tall jars and powerful blades turn ingredients into smooth liquids.
Consider these points:
- Task Efficiency: A food processor quickly handles varied food prep tasks. A blender specializes in smooth textures.
- Type of Tasks: Food processors are for solid foods and chopping duties. Blenders excel with liquids and pureeing.
- Attachment Variety: Food processors come with many attachments for diverse uses. Blenders usually have a fixed blade.
- Recipe Types: Think about what you cook. Doughs and solid foods suggest a food processor. Drinks and soups point to a blender.
- Space and Ease of Use: Food processors are larger and need more space. Blenders are often easier to store and clean.
- Versatility: A food processor can perform more tasks overall. A blender focuses on liquids and might struggle with dry or thick mixtures without added liquid.
Your choice should match your cooking habits and kitchen needs. Both appliances save time but in different ways.
 Recipe Ideas: Best Uses for Food Processors
When making meals, food processors are a big help. Let’s explore some recipes best suited for them.
Best for Chopping Veggies
Chop onions, carrots, and peppers fast. No tears or fuss, just quick, even cuts.
Perfect for Making Dough
Making bread or pizza dough? A food processor does this quickly. Just add ingredients and pulse.
Terrific for Grating Cheese
Need shredded cheese? Use the processor’s grating attachment for perfect results, saving time and energy.
Ideal for Making Breadcrumbs
Blend stale bread into fine crumbs. Great for coating or topping casseroles and meats.
Suitable for Crafting Nut Butters
Process nuts into creamy butter. Add oil and sweeteners as you like.
Excellent for Preparing Dips
Whip up hummus or guacamole. Blend chickpeas or avocados smoothly, add spices for flavor.
Helpful for Puréeing Beans
Purée beans for soups or spreads. A food processor delivers a smooth, creamy texture.
These ideas show a food processor can handle multiple tasks in the kitchen. It’s great for preparing various components of a meal, from the main dish to sides and toppings.
Recipe Ideas: Best Uses for Blenders
Blenders shine when it comes to liquid creations. Here are ideas for when to reach for your blender.
Smoothies and Juices
Blend fruits and veggies for healthy drinks. Add protein powders or seeds for a nutrition boost.
Soups and Purées
Create smooth soups with ease. Cook vegetables, then blend with broth or cream.
Frozen Desserts
Whip up ice creams or sorbets. Combine frozen fruits and sweeteners for a cool treat.
Sauces and Dressings
Mix salad dressings and pasta sauces. A blender makes them smooth and well-emulsified.
Batter and Doughs
Make pancake or waffle batter quickly. Blend to get a consistent, lump-free mixture.
Cocktails
Craft delicious frozen cocktails. Crush ice and mix with your favorite drink ingredients.
A blender is essential for silky textures. It’s your go-to for blended drinks, smooth sauces, and creamy soups.
FAQs: Addressing Common Questions About Food Processors and Blenders
Addressing common queries can help clarify which kitchen tool – food processor or blender – suits your needs.
Is a food processor the same as a blender?
No, they differ. A food processor is more for solid food prep. A blender excels at smooth liquids.
Can I chop vegetables in a blender?
Yes, but not ideally. Blenders are best for smoothies and liquid recipes, not chopping.
Can a blender do everything a food processor can?
No, food processors handle tasks like kneading dough and slicing veggies, which blenders can’t do well.
Is a blender or food processor better for making smoothies?
A blender is better as it creates smooth, liquid blends perfect for smoothies.
Can I make dough in a blender?
Not recommended. Food processors have the right tools for making dough quickly.
Which is easier to clean, a food processor or a blender?
Blenders often have fewer parts and can be easier and quicker to clean.
Should I buy a food processor or a blender?
Consider what you make more. For chopping and dough, choose a processor. For liquids and purees, a blender.
 Factors to Consider When Choosing Between a Food Processor and Blender
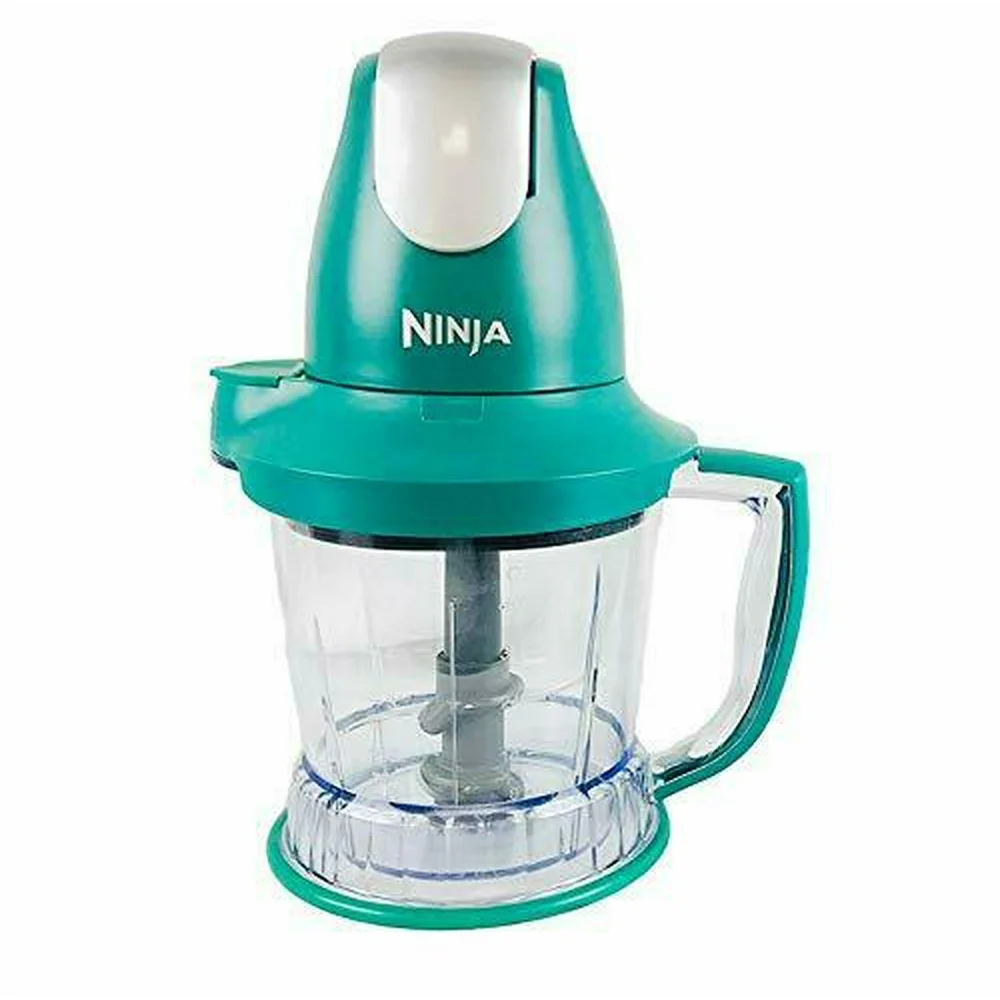 Conclusion: Making the Right Choice for Your Kitchen Needs
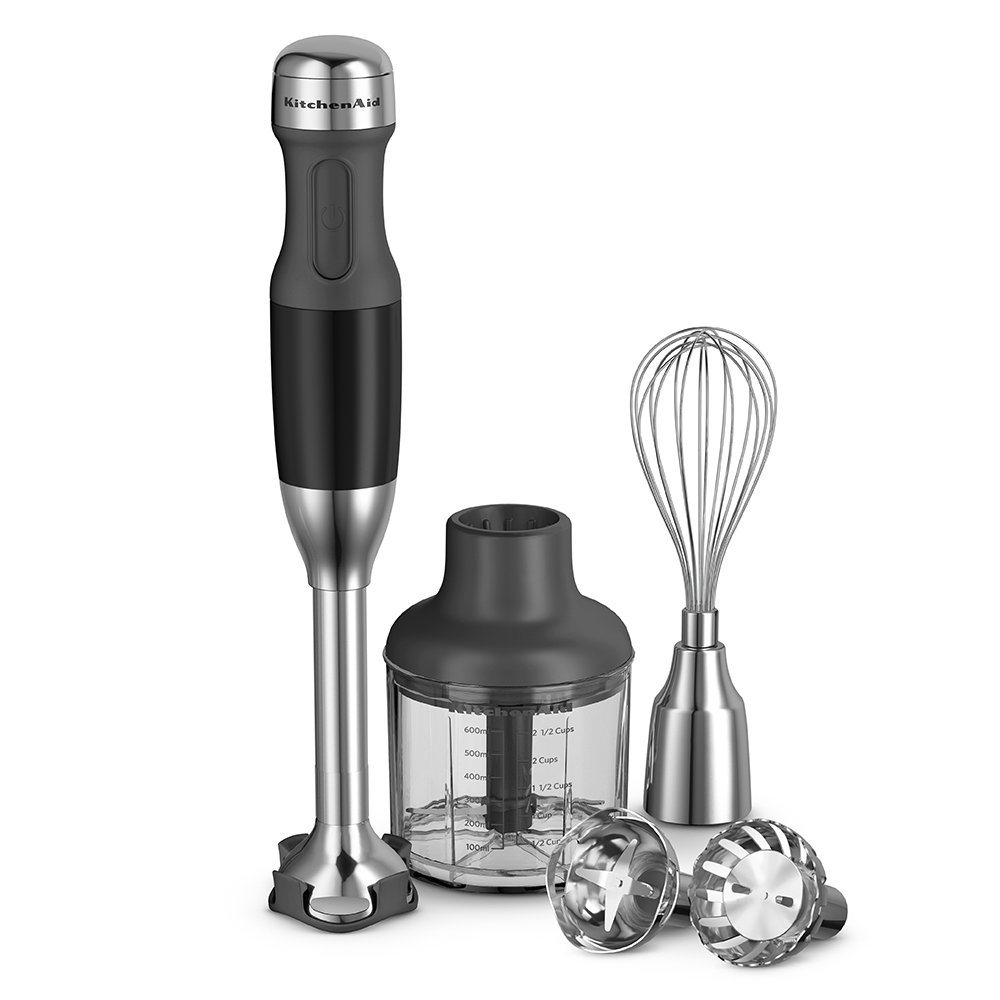
 Tips for Maintaining and Cleaning Your Hybrid Appliance
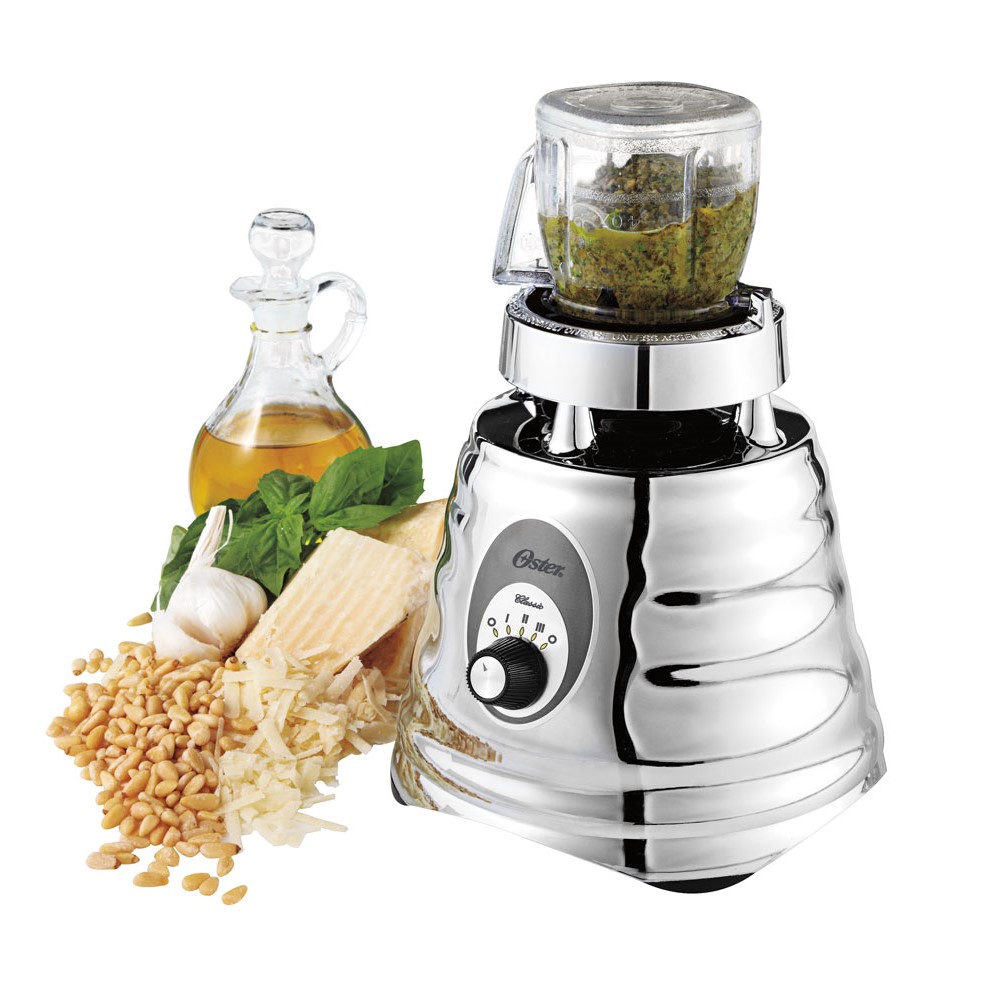
 Practical Uses and Recipes
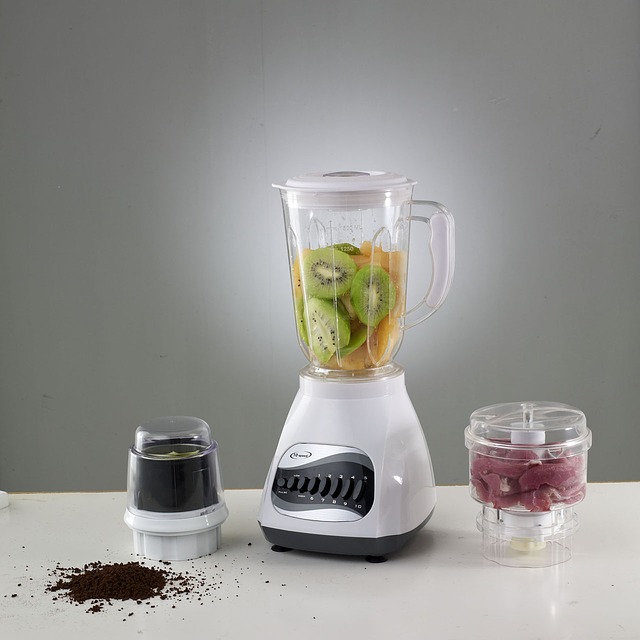


 How to Use a Blender Food Processor Combo for Different Recipes