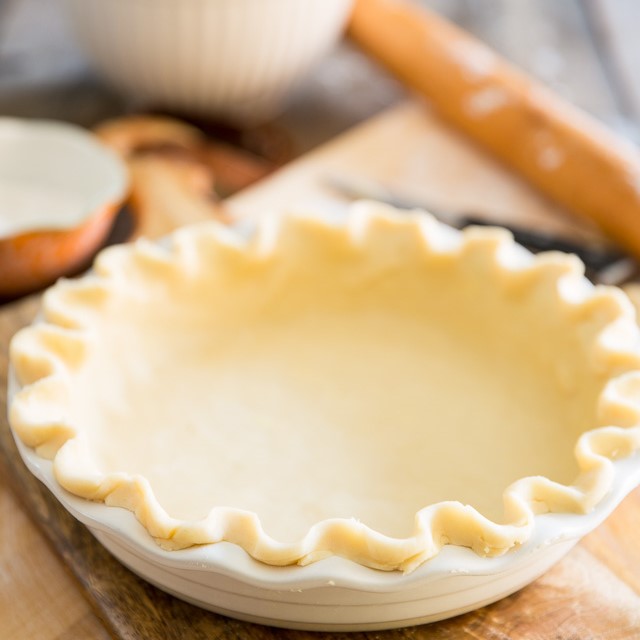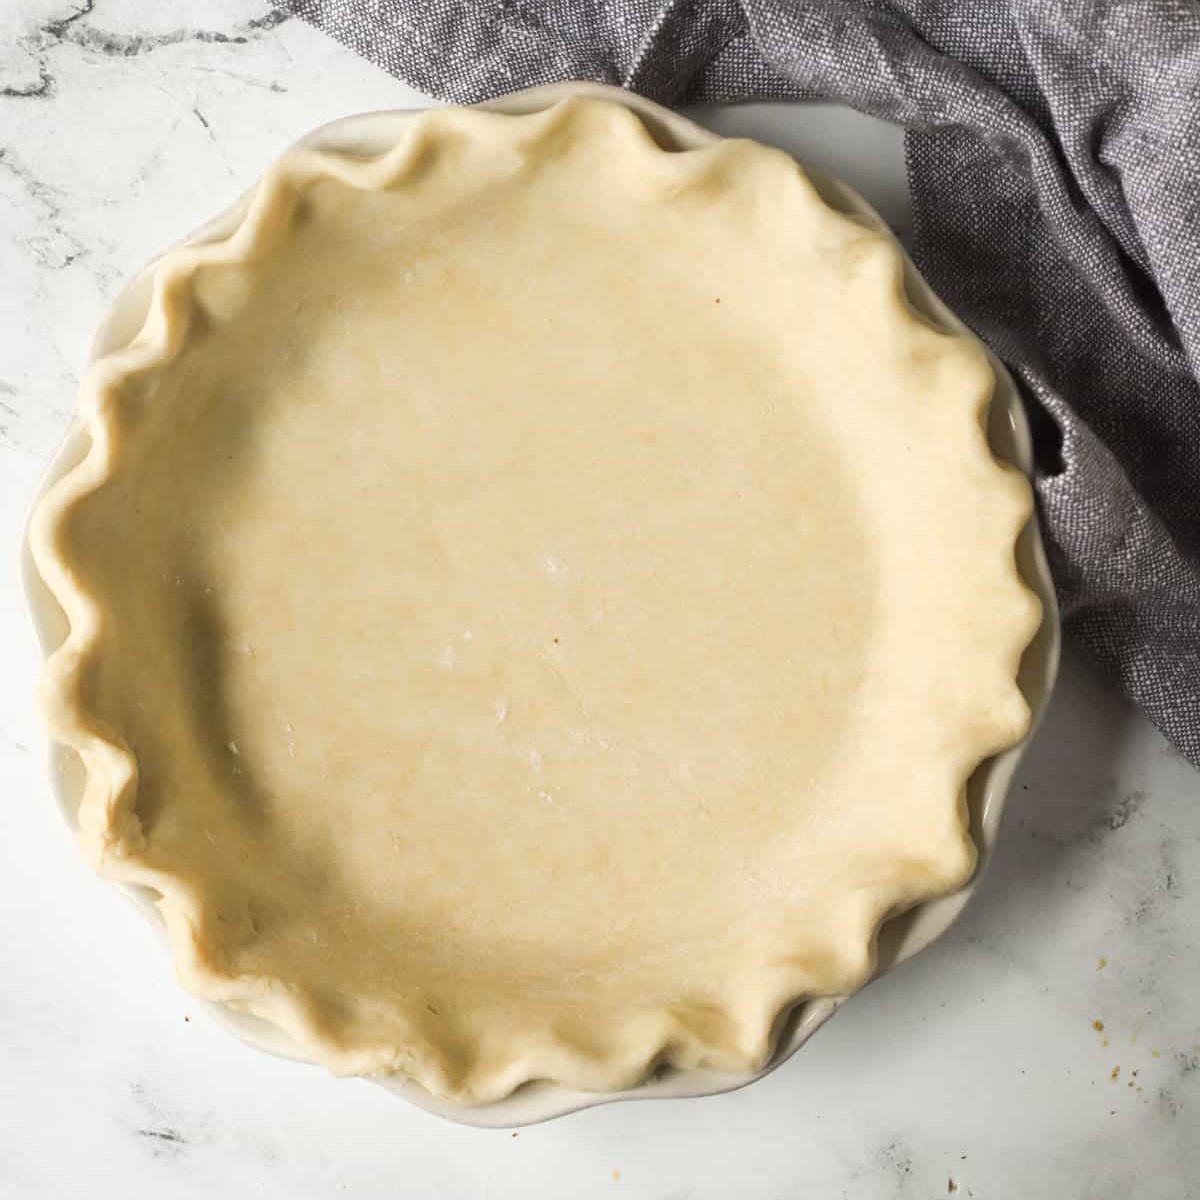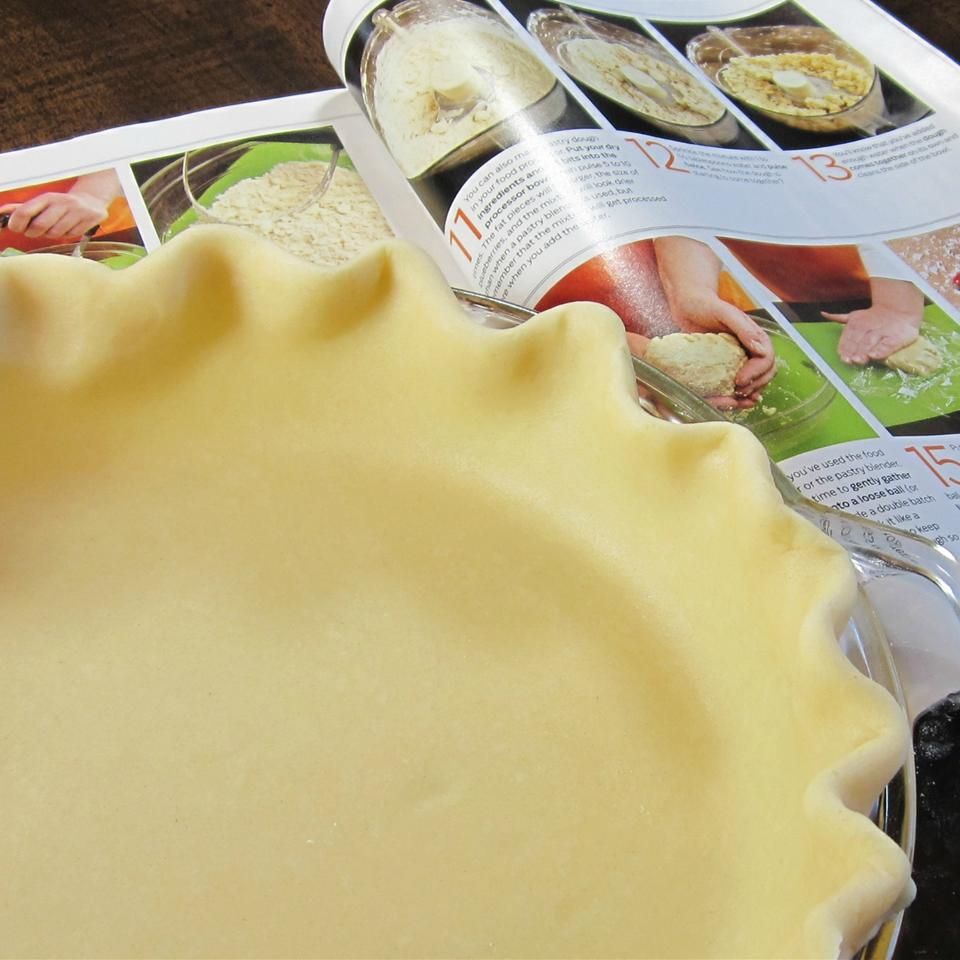
Introduction to Food Processor Pie Crusts
Are you new to making pie crusts at home? A food processor pie crust simplifies the process. This method is great for beginners and seasoned bakers alike. It takes common ingredients and turns them into a dough in just minutes. All you need is all-purpose flour, sugar, salt, cold butter, and ice water. Your food processor does the hard work of blending the butter into the flour. This creates a base for a tender, flaky crust.

Most of us strive to achieve that perfect pie crust – one that’s buttery, flaky, and with the right crunch. Using a food processor makes this achievable. It cuts down on preparation time and helps avoid overworking the dough. Overworking the dough is a common issue that can result in a tough crust. With a food processor, all it takes is a few pulses to get the right texture.
You might wonder why a food processor pie crust stands out. It’s about the consistency it offers. Each time you make your dough, it’ll have the same great texture. That’s hard to achieve by hand, especially if you’re new to pie-making. It’s also a cleaner method, as the food processor contains the flour, minimizing mess. Plus, you can batch-make dough for multiple pies or freeze some for future baking adventures.
In the next sections, we’ll walk through the ingredients you’ll need, the steps to follow, and tips for the best pie crust you’ve ever made. Get ready to impress with your homemade pastry skills, made simpler with the aid of your food processor.
Key Ingredients for the Perfect Pie Crust
Creating the perfect pie crust requires specific ingredients that blend well for texture and taste. Let’s examine the crucial components:
All-Purpose Flour
The base of any pie crust, all-purpose flour, provides structure. It lends to a balanced texture, not too dense or crumbly.
Cold Unsalted Butter
Butter adds flavor and the much-needed fat base for flakiness. Using cold butter is key. It ensures the dough doesn’t get greasy.
Sugar
A tablespoon of sugar enhances the crust’s golden color and a slight sweetness, complementing both sweet and savory fillings.
Salt
Kosher or iodized, a pinch of salt balances the flavors. It’s just enough to amplify the ingredients without overpowering.
Ice Water
Water bonds the dough. Ice-cold water prevents the butter from melting, a must for flaky layers.
With these ingredients, processed just right, you’ll have a reliable and delicious base for any pie.
The Benefits of Using a Food Processor for Pie Dough
Using a food processor for pie dough has many benefits. Here are some of the key advantages:
Consistency in Texture
A food processor produces dough with a uniform texture every time. This consistency is hard to get by hand. The finely cut butter distributes evenly, which is crucial for flakiness.
Time Saving
This method is a real time saver. You can make dough in a fraction of the time it takes to do it by hand. It allows you to pulse to the right consistency in minutes.
Less Effort
Making pie crust with a food processor requires less physical effort. Since the machine does the mixing, your hands stay free from fatigue. This makes it ideal for frequent baking.
Keeps Ingredients Cool
The fast working action of the food processor keeps the butter from warming up. This is key for a crust that’s flaky, not tough.
Minimizes Overworking the Dough
Overworking dough can make it tough. With a food processor, a few quick pulses prevent this common mistake.
Easy to Clean
A food processor contains the mess. The bowl keeps ingredients together, making cleanup simple.
Versatility
With a food processor, you can easily adjust recipes. Add nuts, spices, or other flavorings to your dough without extra fuss.
Considering these benefits, it’s clear that a food processor pie crust is a game-changer. It takes the guesswork out of making a flaky and flavorful crust. Give it a try, and you’ll notice the difference in your pie baking.
Step-by-Step Guide: Making Pie Crust in a Food Processor
Creating a pie crust using a food processor is both simple and efficient. Let’s walk through the steps together to make your baking process a breeze:
Gather Your Ingredients
Start by measuring out 2? cups of all-purpose flour, 1 tablespoon of sugar, and ? teaspoon of salt. Make sure your butter is cold – you’ll need 1 cup of unsalted butter, cut into ?? pieces.
Combine Dry Ingredients
Place the flour, sugar, and salt in the food processor. Pulse a few times to mix these ingredients well.
Add Butter
Add the cold butter chunks to the dry mixture. Pulse until the mixture looks like coarse meal. Remember, we’re aiming for pea-sized pieces of butter throughout the flour.
Add Ice Water
Drizzle in 6 tablespoons of ice water while pulsing. Stop when the dough starts to clump together. If it’s too dry, add more water, a tablespoon at a time.
Form Dough Disks
Once you have a crumbly dough, turn it out onto a surface. Bring together into a ball, then divide in half. Flatten each half into a disk and wrap tightly in plastic.
Chill the Dough
Chill the wrapped disks in the refrigerator for at least 2 hours, or up to a full day. For longer storage, you can freeze the disks.
And there you have it! You’ve just made pie crust in a food processor. Using this step-by-step guide, along with the handy tips from our ‘The Benefits of Using a Food Processor for Pie Dough’ section, you’re now ready to roll out your crust for baking. Whether you’re preparing a sweet apple pie or a savory quiche, your homemade crust will surely impress.
 Tips for Achieving a Flaky and Tasty Pie Crust
Creating the ultimate pie crust is an art form. Below are tips to help you achieve that coveted flakiness and taste. Keep these guidelines in mind to enhance your food processor pie crust skills.
Start with Very Cold Ingredients
Make sure all your ingredients, especially butter and water, are cold. Cold butter will melt in the oven, creating steam that leads to flaky layers.
Do Not Over-Pulse
Pulse the ingredients until just combined. Over-pulsing heats the dough, making it tough. Aim for pea-sized butter chunks for texture.
Use Ice Water Sparingly
Add ice water gradually while pulsing. Too much water makes the dough sticky and hard to handle. Only use enough to bring the dough together.
Handle Dough Minimally
Handle your dough as little as possible. The heat of your hands can melt the butter. Use a spatula to mix if needed.
Chill Dough Before Rolling
After forming your dough into disks, chill it. This solidifies the fat and relaxes the gluten, preventing shrinkage when baked.
Roll Dough Evenly
Roll the dough to an even thickness. This ensures even baking. Use light pressure and roll from the center outwards.
Keep Your Rolling Pin Lightly Floured
A light dusting of flour prevents sticking without making the dough dry. Re-flour as needed, but do so sparingly.
By following these tips, you’ll be well on your way to perfecting a flaky and tasty pie crust with the help of your food processor.
Common Mistakes to Avoid When Making Pie Crust
Making a pie crust using a food processor can seem simple, but small mistakes can have a big impact on the final product. Avoiding these common mistakes will set you on the path toward a perfect pastry every time.
Overloading the Food Processor
Do not fill the food processor too much. If it’s too full, the butter won’t incorporate well, resulting in uneven texture. It’s best to work in batches if needed.
Overworking the Dough
Pulse just until the dough forms coarse crumbs. Overworking heats the butter and develops gluten, which can make the crust tough.
Using Ingredients That Aren’t Cold
Always use cold butter and ice water. Warm ingredients can prevent the pie crust from becoming flaky.
Adding Too Much Water
Be careful with water. Add just enough for the dough to come together. Too much water can make the crust soggy.
Skipping the Chilling Step
Don’t rush the chilling step. This time allows the fat to firm up and the gluten to relax, which is essential for texture.
Rolling the Dough Too Thin or Thick
Roll the dough to a consistent thickness. Uneven dough can lead to undercooked or overcooked areas.
By avoiding these pitfalls, your food processor pie crust should come out flaky and delicious every time. Keep your ingredients cold, work in batches if necessary, and give the dough sufficient chill time for best results.
Variations of Pie Crust for Different Types of Pies
Exploring different pie crust variations can enhance various types of pies you plan to bake. Understanding these variations allows you to tailor the crust to complement the filling effectively, elevating the overall flavor and texture of your pie. Here are some popular variations to consider when using your food processor to make pie crust:
Traditional Flaky Pie Crust
This is the most common style, ideal for both sweet and savory pies. It uses basic ingredients like all-purpose flour, butter, sugar, and salt. The key is to keep all ingredients cold and to pulse just until the mixture forms pea-sized crumbs.
Graham Cracker Crust
Perfect for cream pies or cheesecakes, this crust swaps flour for crushed graham crackers mixed with melted butter and a bit of sugar. Pulse the crackers into fine crumbs in the food processor before mixing with the other ingredients.
Chocolate Cookie Crust
This variation uses chocolate cookies (like Oreos) instead of flour, creating a rich, decadent crust. It’s excellent for chocolate or mocha-flavored fillings. Process the cookies into fine crumbs, then blend with melted butter.
Nut-Based Crust
For a gluten-free option, try replacing some of the flour with ground nuts like almonds or walnuts. This crust adds a nutty flavor and is remarkably hearty. Pulse nuts with flour and butter until crumbly.
Cheese Crust
Incorporate grated hard cheese, such as Parmesan or cheddar, into the flour and butter mixture. This crust is fantastic for savory pies, adding a sharp, salty flavor that complements meat or vegetable fillings.
Each crust variation uses the food processor to ensure the ingredients are perfectly mixed without overworking the dough. This method helps maintain the desired texture of the pie crust, whether flaky, crumbly, or crunchy. Experiment with these variations to find the best match for your next pie creation.
 Storing and Freezing Pie Crust Dough
Storing and freezing your pie crust dough is a smart move for any baker. Let’s look into the proper ways to keep your dough fresh for when you’re ready to bake.
Refrigerating Pie Crust Dough
To refrigerate, wrap your dough disk tightly in plastic wrap. It will stay good for a couple of days. This method keeps the dough cold and prevents it from drying out. Perfect for when you plan to bake within the week.
Freezing Pie Crust Dough
For longer storage, freezing is the way to go. Wrap your dough double tight with plastic wrap. Slide it into a freezer bag to keep it safe. It can last for several months. To use, thaw it in the fridge overnight.
How to Thaw Frozen Dough
When you’re ready to use frozen dough, move it to the refrigerator. Let it thaw slowly for the best results. This ensures even softening. Rushing this step with heat can ruin the texture.
Tips for Best Results
Label your dough with the date. This helps you use the oldest dough first. Press the disk to about 1-inch thick before freezing for quicker thawing. Keep it away from strong-smelling foods in the freezer to avoid taste changes. With these tips, your dough will be ready for baking anytime. So go ahead, make your food processor pie crust in advance, and enjoy your baking moments fuss-free.