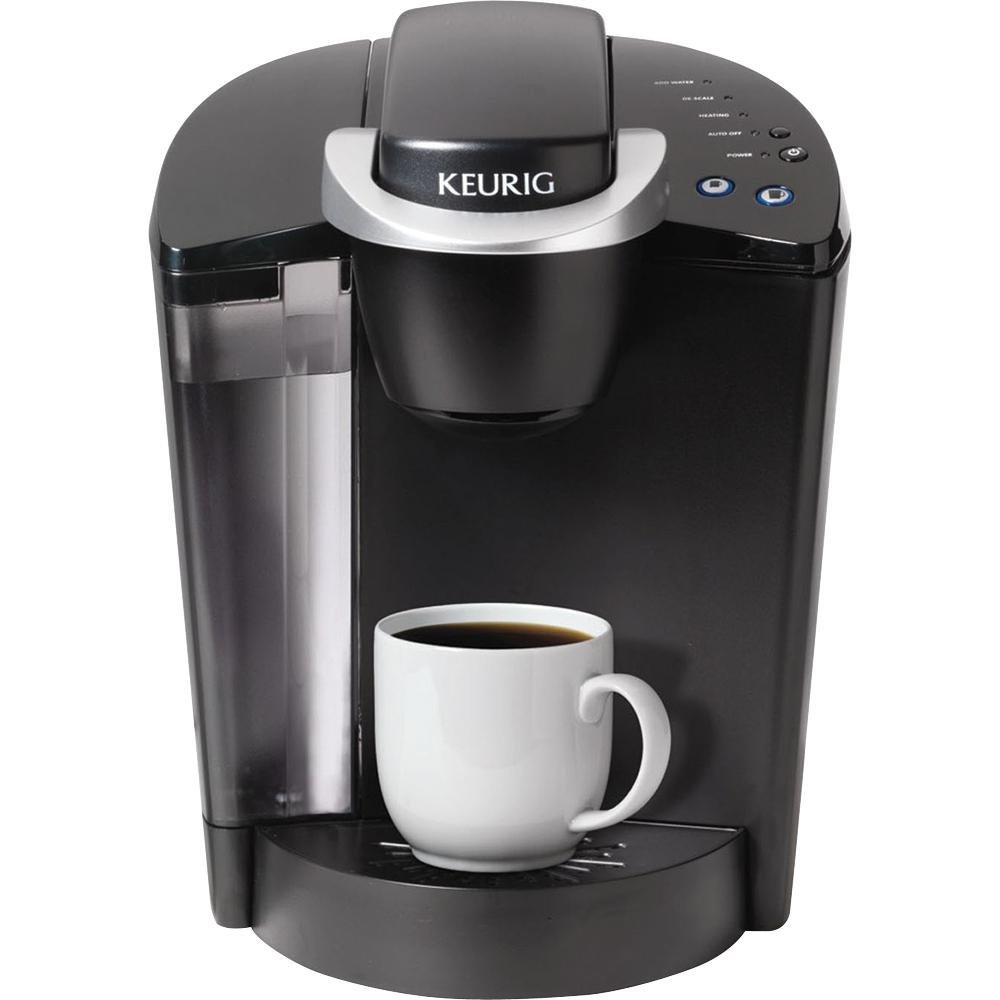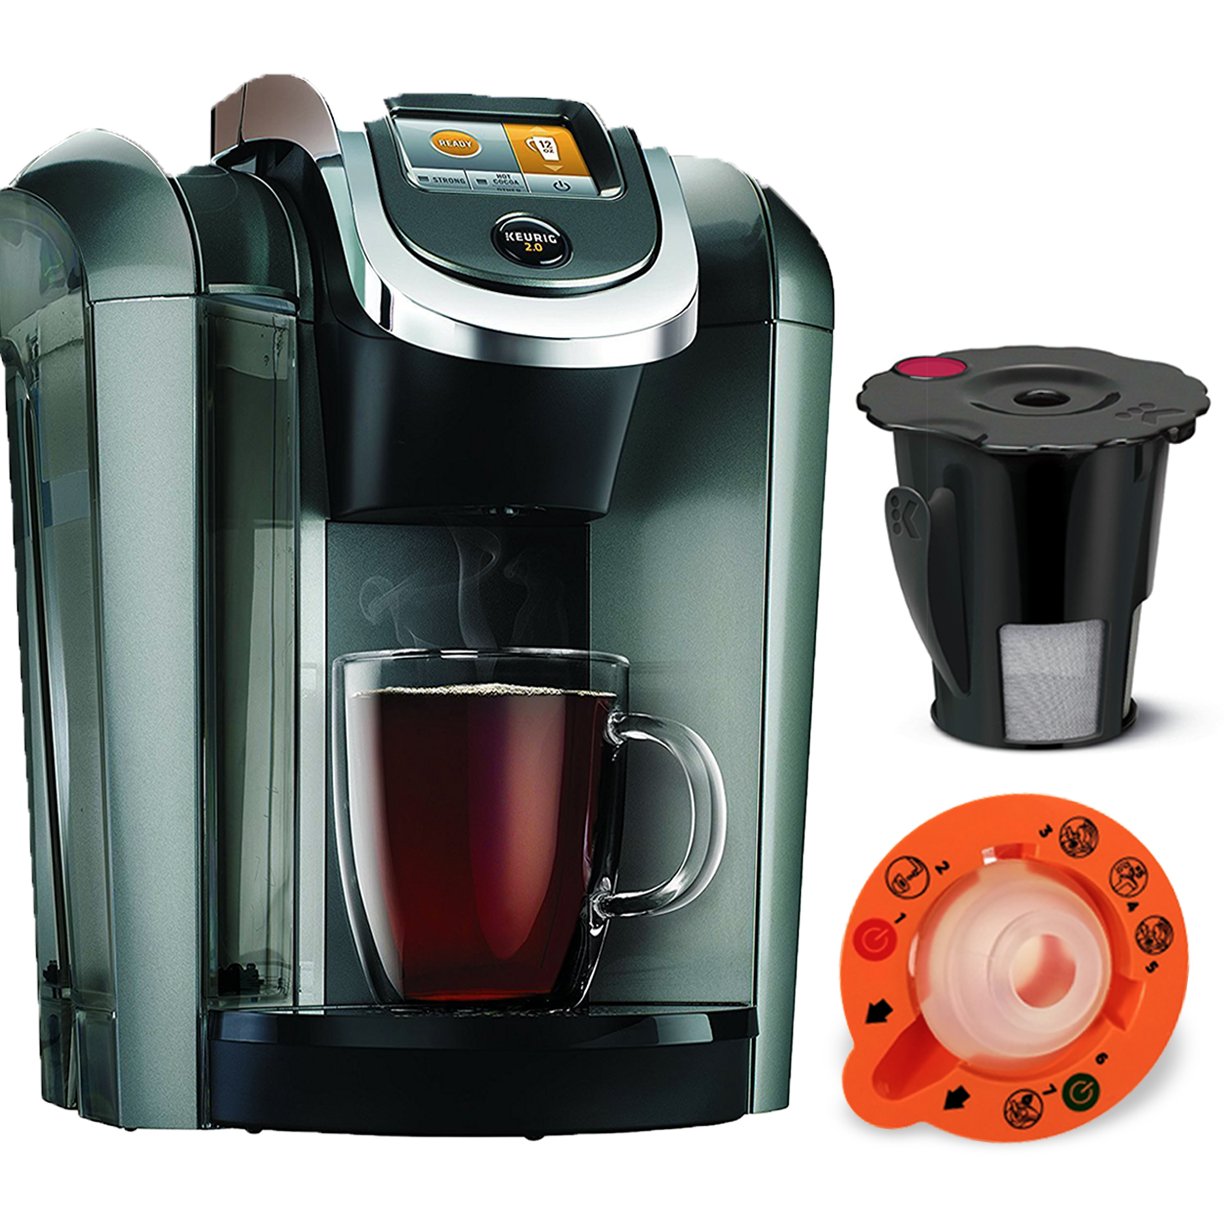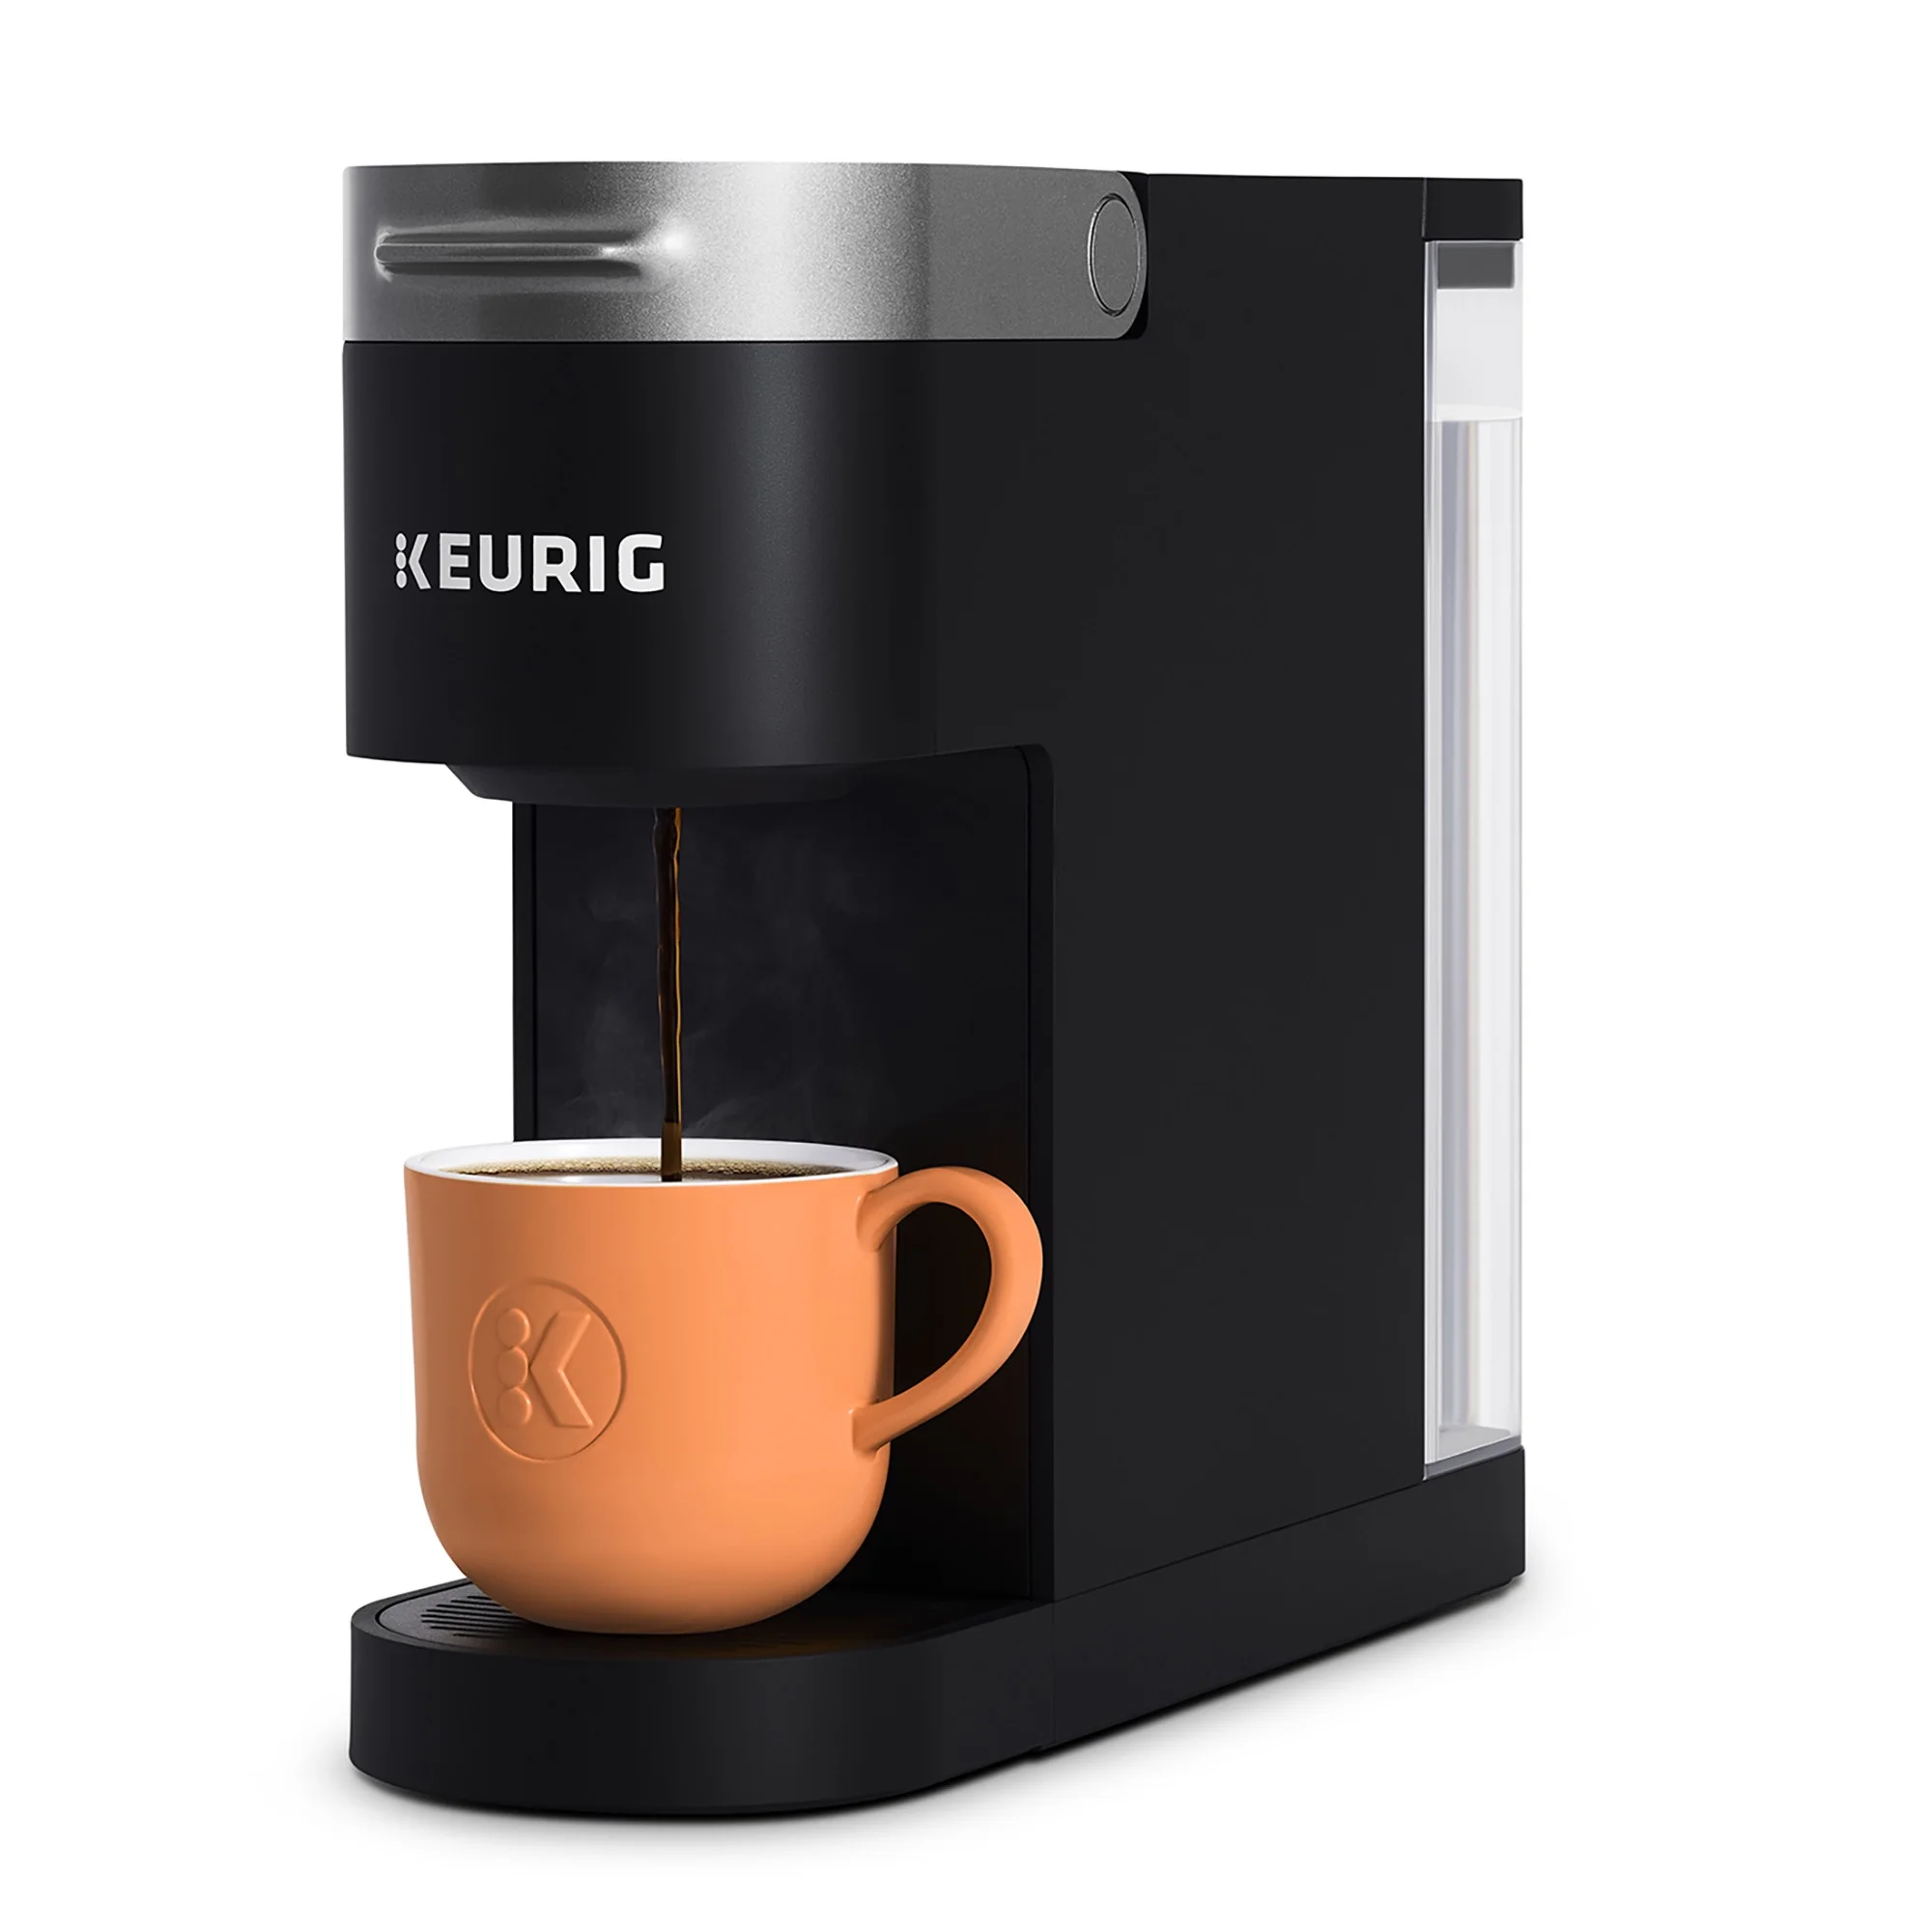
The convenience of a Keurig coffee maker has made it a popular choice for coffee lovers everywhere. However, many users have encountered an irritating problem: the Keurig leaking water from the top. This issue not only disrupts the brewing process but can also cause damage to your machine over time if not addressed promptly. In this article, we will explore the potential causes of this leaking, provide step-by-step solutions for repair, and discuss preventive measures to keep your Keurig in top condition.
Understanding the Keurig Mechanism
The Basics of Coffee Brewing
A Keurig machine operates based on a simple yet effective mechanism that allows users to brew coffee with minimal hassle. Water is heated inside the machine, and when you press the brew button, it flows through the coffee grounds contained in a pod. This efficient system uses pressure to extract flavors and deliver a hot cup of coffee in seconds.
Components of the Keurig Machine
To understand the leaking issues, it’s essential to familiarize yourself with the components of the Keurig. Key parts that could contribute to leaking include:
- Water Reservoir: Stores water before it’s heated.
- K-Cup Holder: Where coffee pods are placed.
- Pump: Responsible for drawing water from the reservoir and forcing it through the coffee.
- Injection Needle: Pierces the K-Cup to allow hot water to flow through.
- Drip Tray: Catches any spills and excess water.
When any of these components malfunction, it can result in water leaking from the top of the machine, creating a mess and affecting performance.
Common Causes of Keurig Leaking Water from the Top
1. Clogged Injection Needle
The injection needle is a critical component that allows hot water to flow through the coffee pod. If this needle becomes clogged with coffee grounds or mineral buildup, it may not function properly, leading to overflow and leaks.
2. Misaligned K-Cup Holder
When the K-Cup holder is not positioned correctly, it can create gaps that allow water to escape rather than passing through the pod. This misalignment is often due to improper installation or wear over time.
3. Damaged Water Reservoir
Cracks or damages in the water reservoir can cause water to leak out before it even reaches the brewing cycle. This issue is often a result of physical impact or wear and tear.
4. Faulty Pump
If the water pump is malfunctioning, it may create excessive pressure within the machine. This can lead to leaks, as the water may find alternative pathways to escape.
5. Issues with Seals and Gaskets
The various seals and gaskets within the Keurig are designed to keep water in place. If any of these components deteriorate, wear out, or become dislodged, they can result in leaks.
6. Overstocking the Water Reservoir
Sometimes, overfilling the water reservoir can lead to water escaping from the top. It’s crucial to ensure that you are filling the reservoir to the proper level to avoid this issue.
Diagnosing the Problem
Identifying the cause of the leak in your Keurig is the first step to finding a solution. Here are some diagnostic steps you can take:
Visual Inspection
Start by examining your machine closely. Look for visible cracks on the water reservoir and any signs of wear or displacement in the seals and gaskets. Additionally, check for coffee grounds or debris around the injection needle and K-Cup holder.
Check for Misalignment
Take out the K-Cup holder and re-insert it, ensuring that it is correctly aligned. It should seat snugly without any gaps between it and the machine.
Test Brew Cycle
Perform a test brew without a K-Cup to see if the water still leaks from the top. This test can help determine if the leak is related to the K-Cup holder or another component.
Solutions for a Leaking Keurig
1. Clean the Injection Needle
A clogged injection needle is a common cause of leaks. To clean the needle, follow these steps:
- Unplug the machine and remove the K-Cup holder.
- Use a small paperclip or needle to gently clean out the needle, removing any debris or buildup.
- Rinse with water to ensure it’s free of any blockages.
- Reassemble the machine and test it again.
2. Realign the K-Cup Holder
If the K-Cup holder is not aligned properly, gently remove it and reinsert it, ensuring it clicks into place. A proper seal will ensure that water passes through the pod rather than leaking out.
3. Inspect and Replace the Water Reservoir
If you notice any cracks in the water reservoir, it will likely need to be replaced. Here’s how to do it:
- Purchase a replacement reservoir compatible with your Keurig model.
- Disconnect the water reservoir and remove it from the machine.
- Attach the new reservoir and fill it with water, checking for any signs of leaks.
4. Evaluate the Pump
If the pump appears to be malfunctioning, you may need to consult a professional or contact Keurig for repair options. Sometimes, a simple reset by unplugging the machine for a few minutes can help.
5. Replace Worn Seals and Gaskets
Check the seals and gaskets in your Keurig for wear or damage. Replacements can often be ordered directly from the manufacturer or alternative suppliers. Replacing worn seals can help in preventing leaks.
6. Avoid Overfilling the Reservoir
Make it a habit always to fill the water reservoir to the manufacturer-recommended level. This habit will prevent water overflow and minimize the risk of leaks.
Preventive Measures
To prolong the lifespan of your Keurig and avoid issues like leaking, consider the following preventive measures:
Regular Cleaning and Maintenance
Make it a routine to clean your Keurig machine regularly. This includes descaling it to remove mineral buildup and ensuring that all parts are free from coffee debris. A clean machine is less likely to experience problems.
Monitor for Signs of Wear
Keep an eye out for any signs of wear in the components of your Keurig: cracks in the reservoir, worn seals, or issues with the pump. Addressing these issues early can save you from more significant problems down the line.
Follow Manufacturer Instructions
Always refer to the user manual for guidance on operating and maintaining your Keurig. Understanding the specific needs of your model will help ensure that you’re using it correctly.
Use Quality Water
Using filtered water can prevent mineral buildup in your machine. Tap water can contain impurities that may lead to scaling and clogs, so opting for filtered water can keep your Keurig functioning smoothly.
Proper Storage
If you’re not using your Keurig for an extended period, store it according to the manufacturer’s instructions. Remove excess water and keep it in a dry place to avoid potential leaks from stagnant water.
 When to Seek Professional Help
If you’ve tried the above solutions and your Keurig continues to leak water from the top, it may be time to consult a professional. Persistent leaking can indicate more severe internal issues that may require expert care.
Troubleshooting Assistance
Contacting Keurig customer service for troubleshooting assistance can provide you with tailored advice based on your specific situation. They can help diagnose problems that might not be easily identifiable.
Repairs and Parts Replacement
Depending on the warranty status of your machine, you might be eligible for repairs or parts replacement. Keurig offers various repair services that could save you the hassle of purchasing a new unit.
Conclusion: keurig leaking water from top
Keurig leaking water from top can be a frustrating experience for coffee lovers. Understanding the causes and solutions can help you quickly address this issue, ensuring you enjoy your daily brew without interruptions. By regularly maintaining your machine and following the recommended practices, you can minimize the likelihood of leaks and keep your Keurig functioning efficiently for years to come. Remember that acting promptly at the first sign of a problem can save you time, money, and hassle in the long run.

