When it comes to kitchen appliances, blenders and food processors are among the most versatile tools that can significantly enhance your cooking experience. Whether you’re a health enthusiast who loves whipping up smoothies or a culinary wizard ready to explore new recipes, understanding the best options available can make all the difference. This guide will explore the standout features of best blender and food processor, helping you navigate through your choices effectively. Let’s delve into the myriad of options available to make an informed decision that suits your culinary needs.
The Importance of Having Both a Blender and Food Processor
In today’s fast-paced world, having the right kitchen appliances can save time and effort. Blenders and food processors serve different culinary purposes, and understanding these differences is crucial.
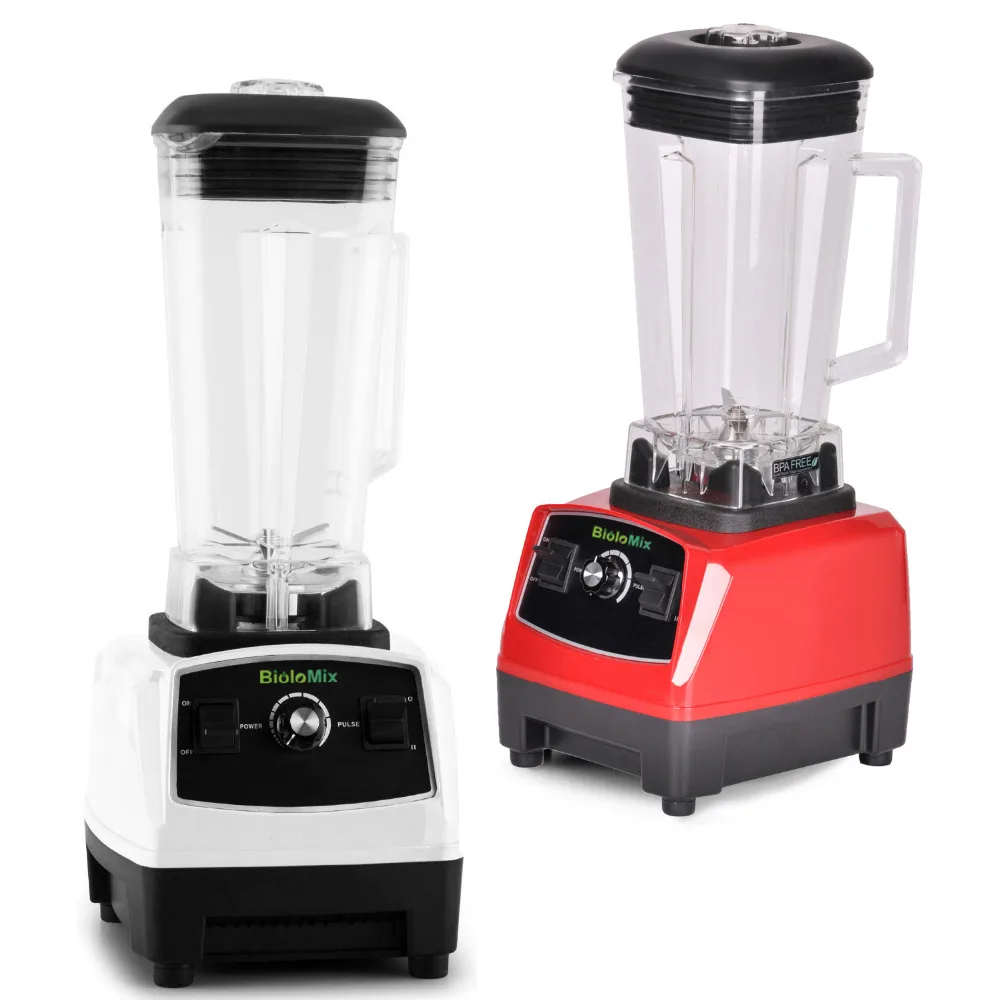
Blenders for Smoothies and Soups
Blenders primarily excel in processing liquids and softer ingredients. They are designed to create smooth consistencies, making them perfect for smoothies, soups, and sauces. Moreover, modern blenders include high-powered options that can easily crush ice and blend hard ingredients, resulting in a velvety texture. For instance, a high-speed blender can turn frozen fruits and vegetables into a creamy smoothie in seconds.
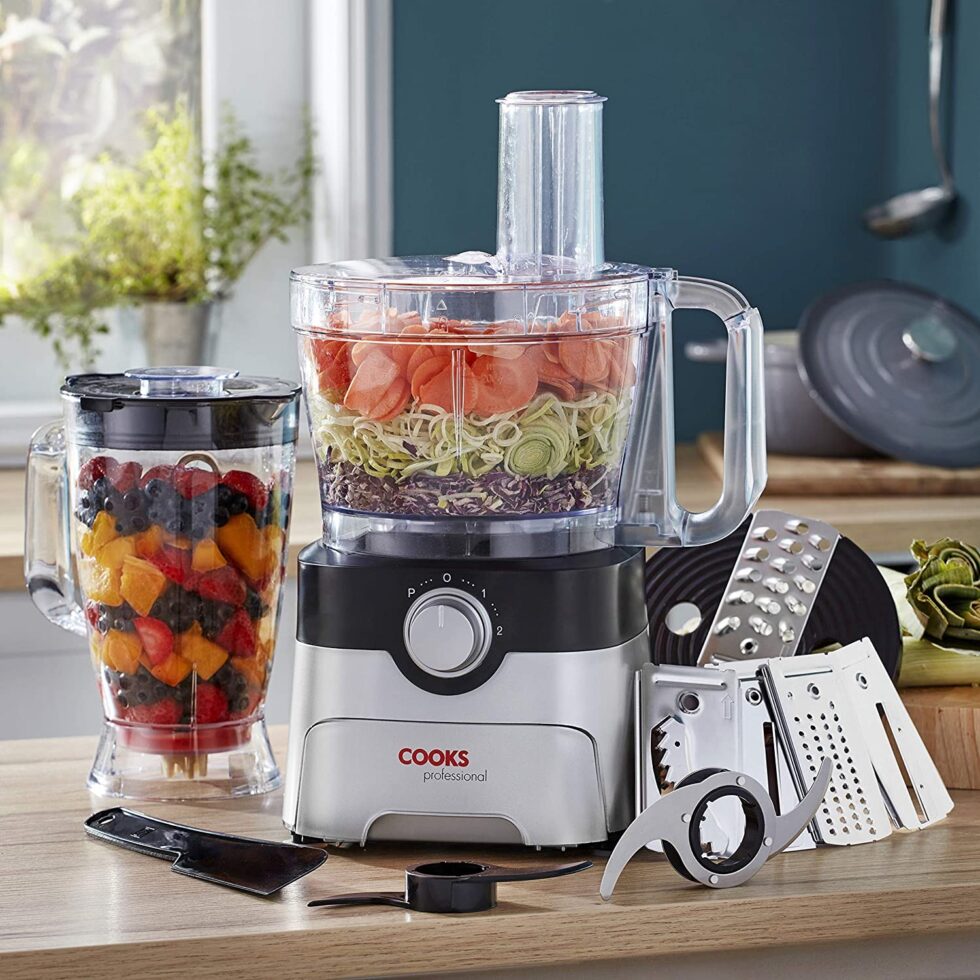
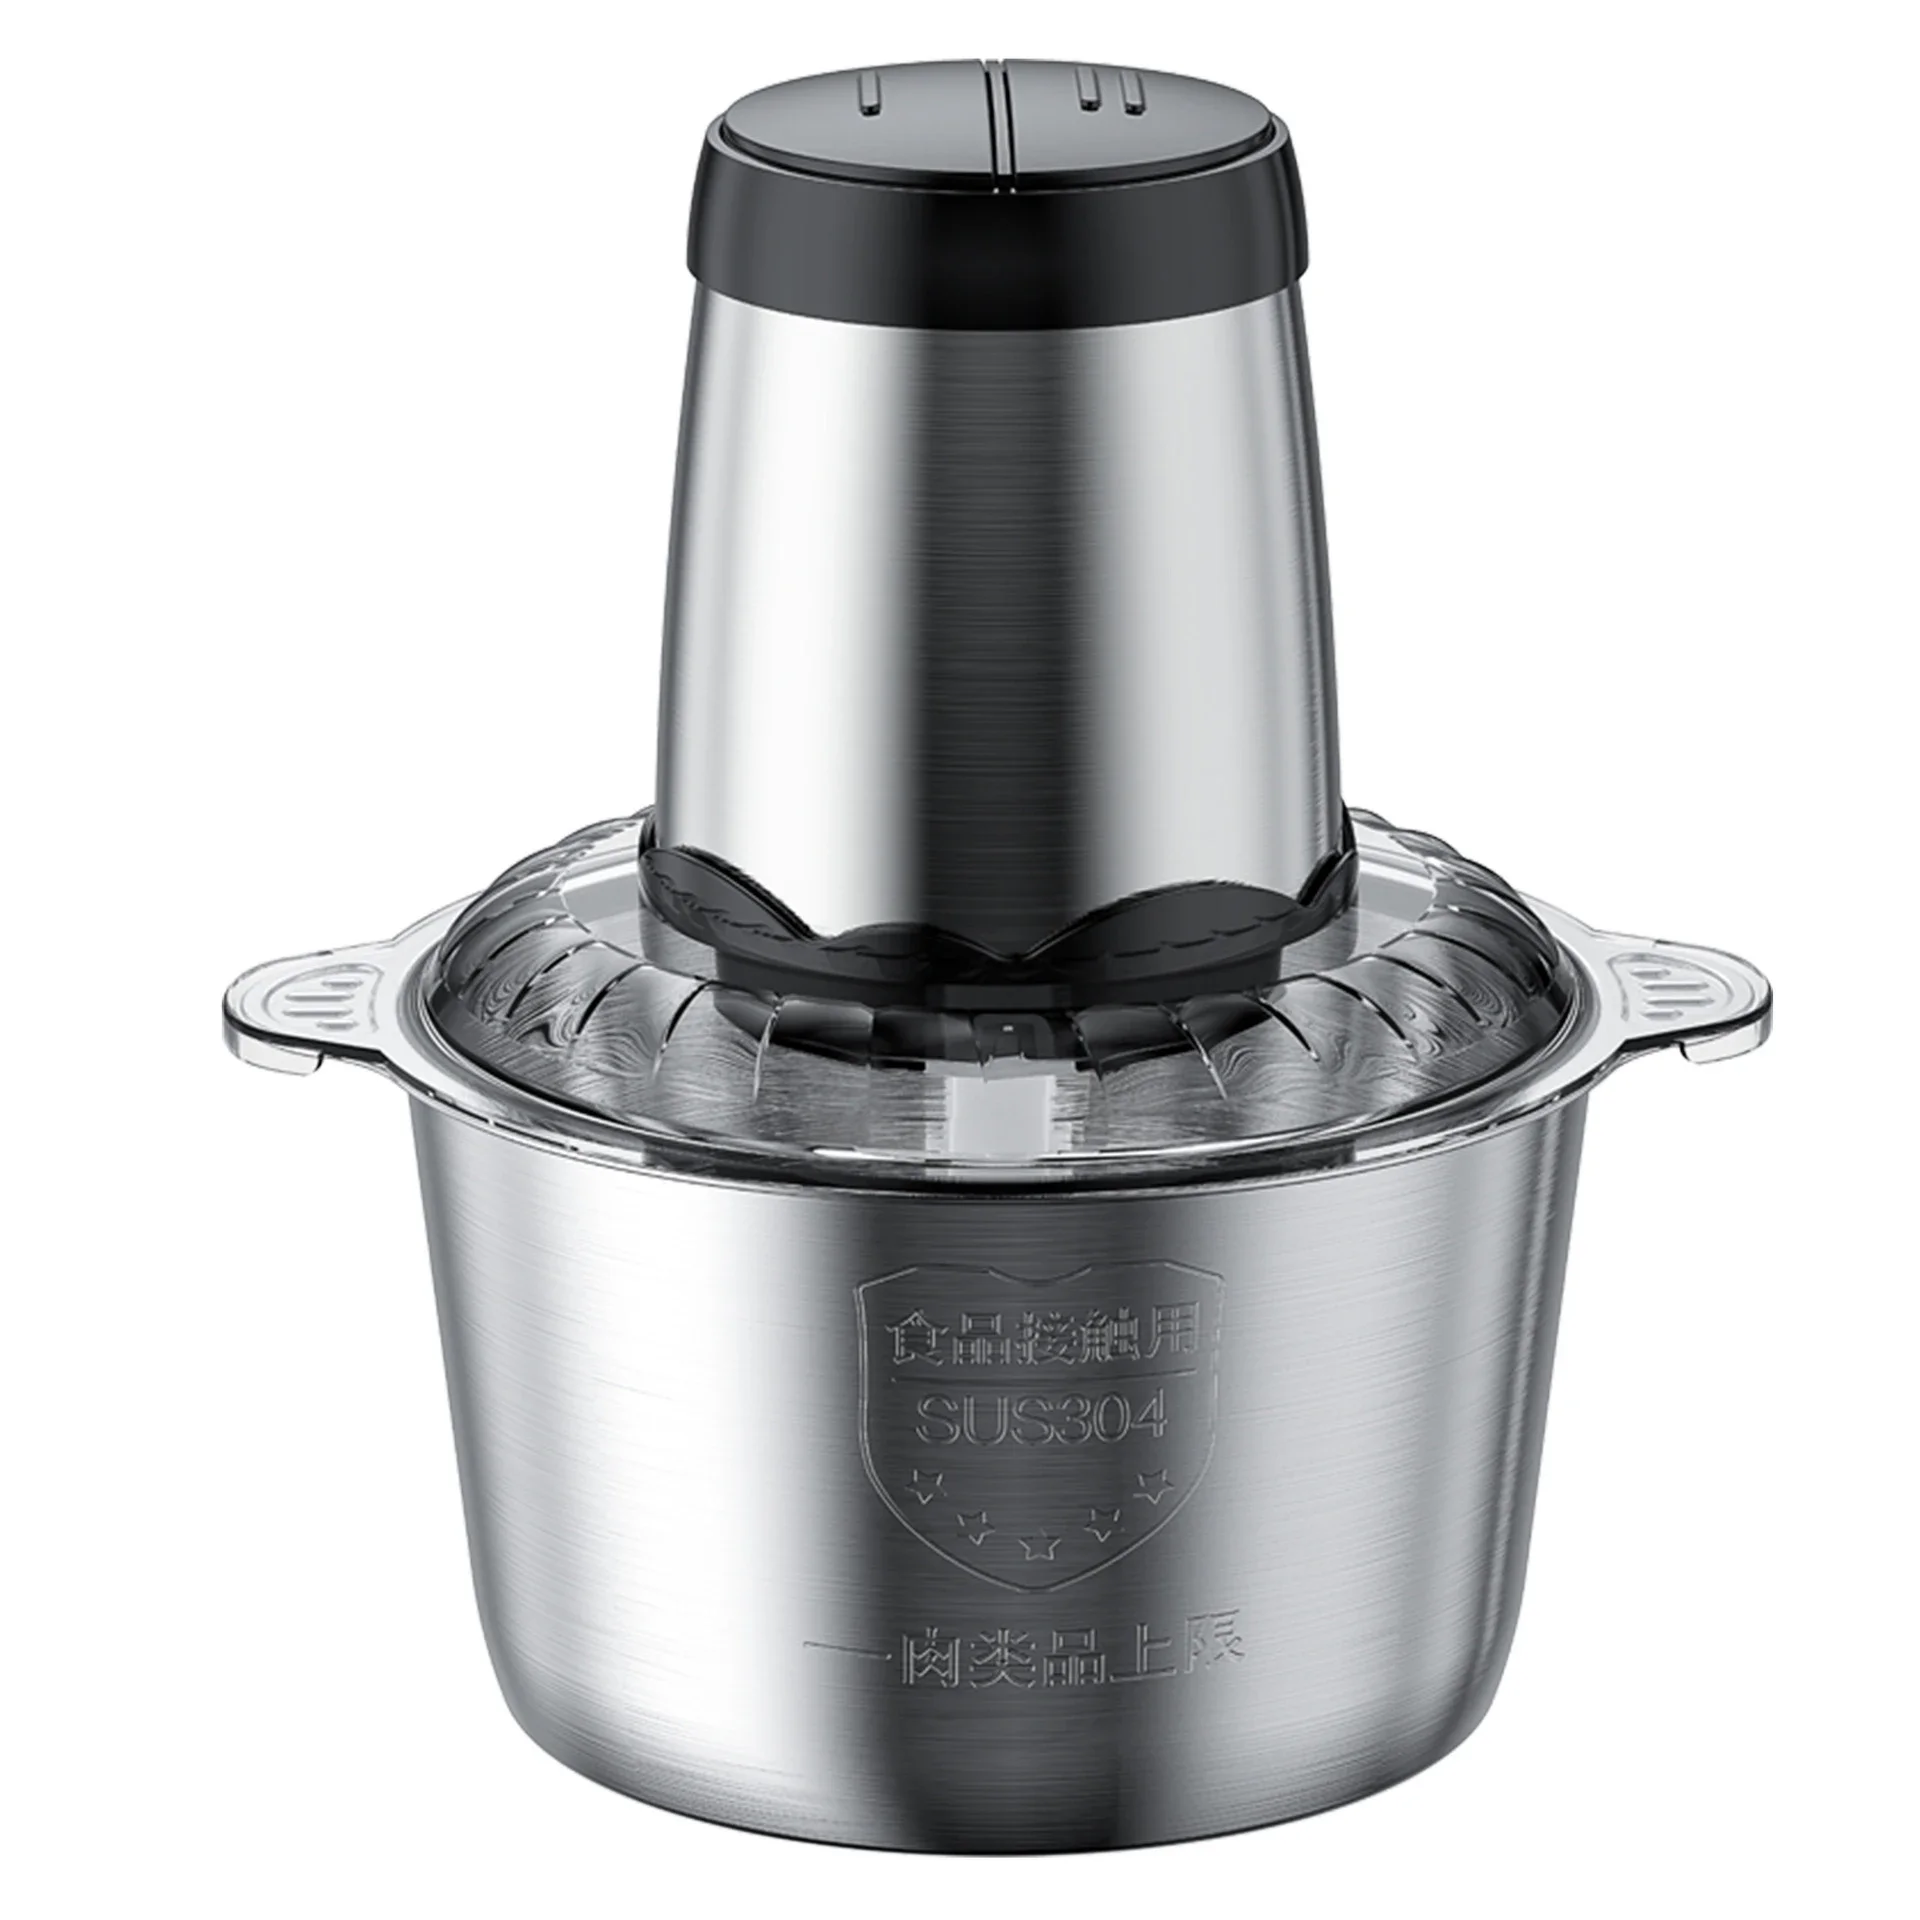
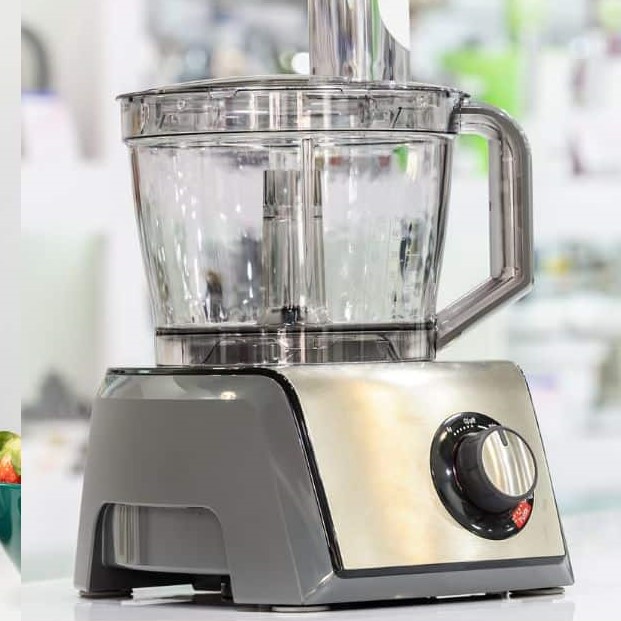
Food Processors for Chopping and Mixing
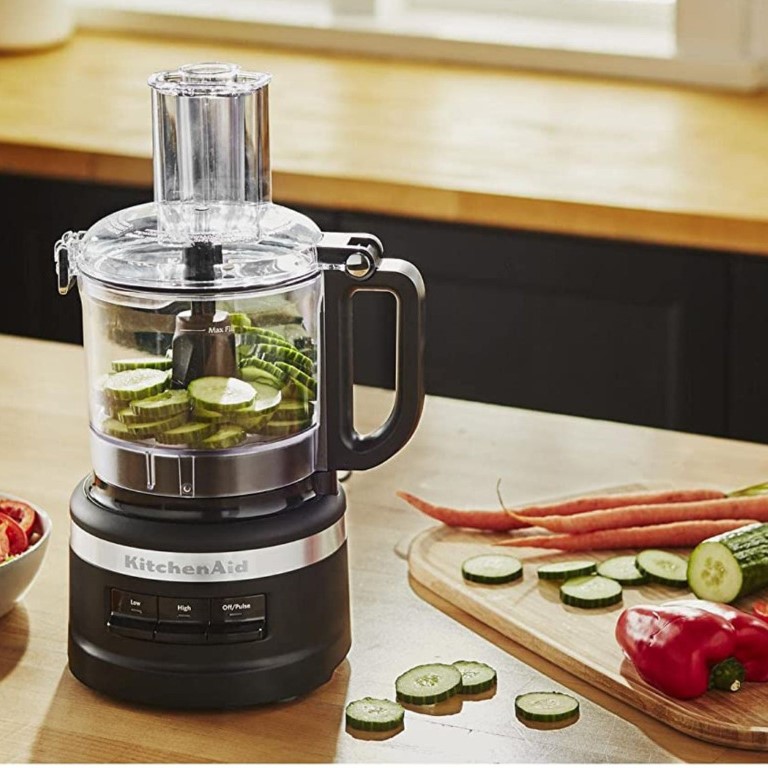
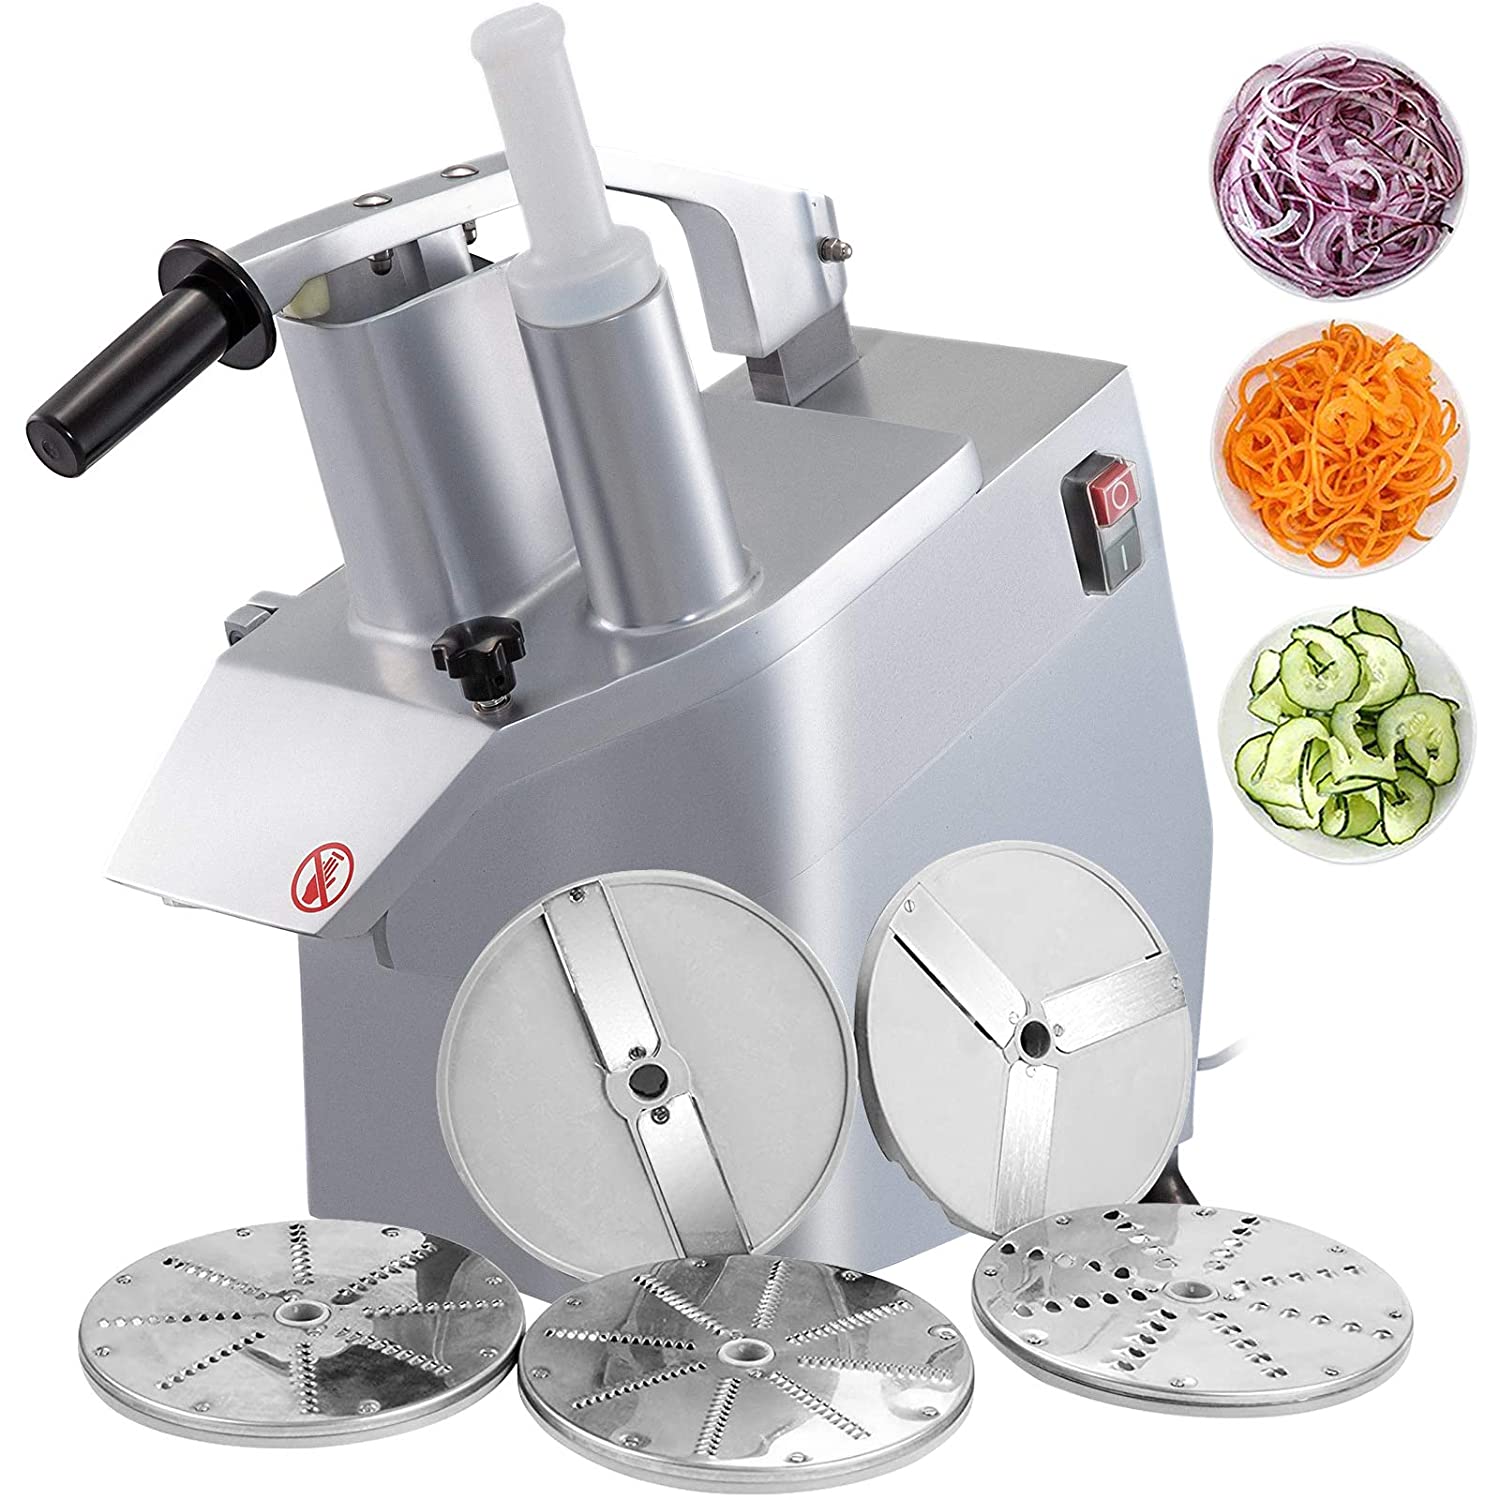
On the other hand, food processors are designed for tasks such as chopping, slicing, dicing, and mixing. With sharp blades and various attachments, they can handle a range of food items, from nuts to dough. For example, when you need to prepare coleslaw, a food processor can quickly shred cabbage and mix the ingredients seamlessly. This versatility is what makes food processors indispensable in any kitchen.
Key Features to Look for in a Blender
When selecting a blender, several features can determine how well it performs.
Motor Power
When considering your blender options, always pay attention to the motor power. Most quality blenders range from 600 to over 2000 watts. Higher wattage typically indicates better performance, especially when dealing with tough ingredients like frozen fruits or leafy greens. For example, a blender with 1500 watts can efficiently handle ice, ensuring a perfectly blended smoothie without any chunks.
Blade Design
Blade design plays a pivotal role in how effectively a blender can incorporate ingredients. You want blades made from durable materials such as stainless steel, which offer longevity and better cutting efficiency. Additionally, some blenders feature unique blade configurations designed to create a vortex effect, pulling ingredients towards the blades for more efficient blending.
Container Material and Size
The container is another critical component. Look for BPA-free plastic or glass that can withstand high temperatures, especially if you plan on blending hot soups. Furthermore, consider the size of the container based on your typical serving requirements. A larger jar can save you time if you often prepare meals for multiple people.
Ease of Use and Cleaning
A user-friendly interface and ease of cleaning are essential considerations. Blenders that have pre-set functions for smoothies or soups can simplify the blending process for you. Meanwhile, choosing a blender with a jar and blade that are easy to disassemble will significantly help during the cleanup phase.
Top Blenders on the Market
There are numerous blenders available, but a few stand out due to their exceptional performance and features.
Vitamix 5200
The Vitamix 5200 is often hailed as one of the best blenders of all time, offering unmatched power and versatility. It boasts a 2-peak horsepower motor, enabling it to tackle anything from nut butter to hot soups. Its variable speed control allows for precise texture adjustments, while the durable container is capable of holding large volumes.
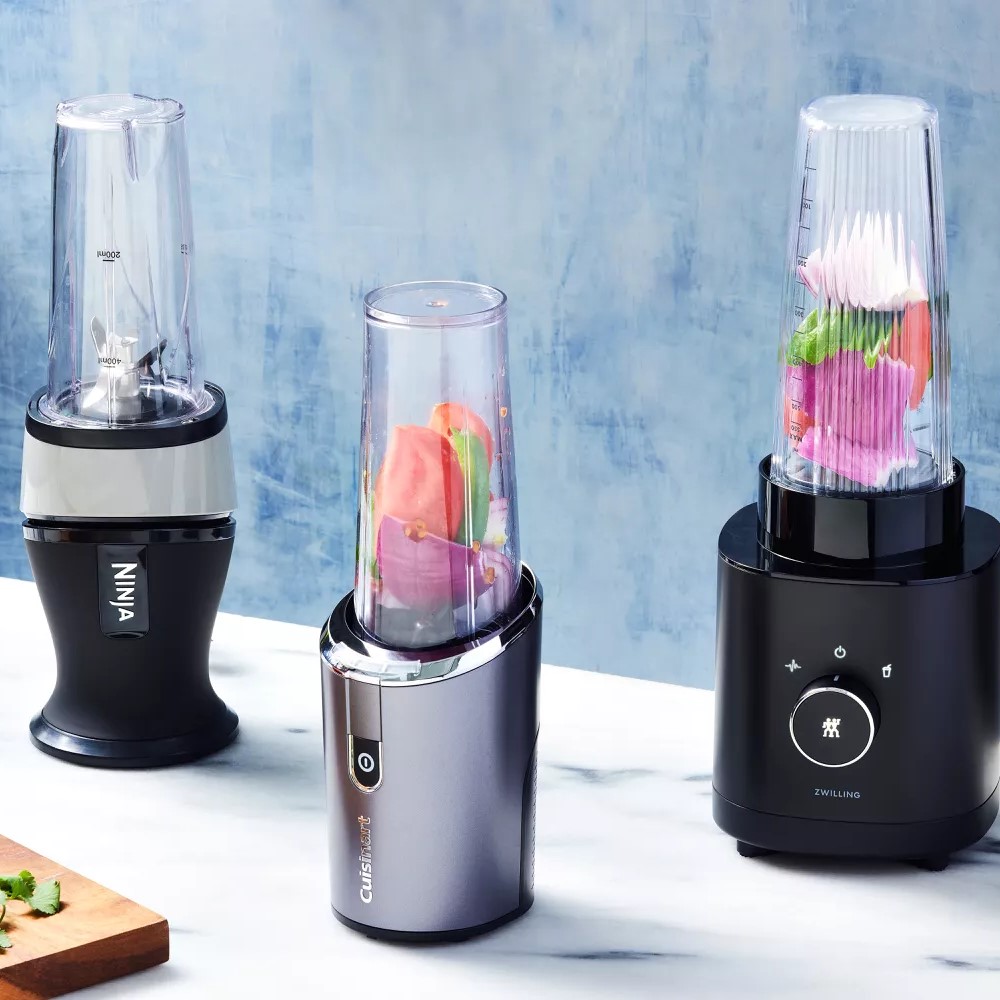
Ninja Professional Blender
Another popular choice is the Ninja Professional Blender, which offers impressive performance without breaking the bank. Equipped with a 1000-watt motor and a Total Crushing Technology, it can effortlessly crush ice and blend ingredients smoothly. Moreover, its 72-ounce pitcher allows you to prepare large batches, which is perfect for entertaining.
Blendtec Designer 725
If you’re looking for advanced technology, the Blendtec Designer 725 should be on your radar. With its powerful 1560-watt motor, this blender can handle tough jobs with ease. It features a touch interface and pre-programmed settings that optimize blending for various tasks, ensuring convenience in the kitchen.
Key Features to Look for in a Food Processor
Similar to blenders, food processors offer features designed to enhance their functionality.
Bowl Size
One of the most critical aspects is the size of the food processor bowl. If you typically prepare meals for a family, a larger bowl can save you from processing many smaller batches. Conversely, a compact model may suit single individuals or couples better.
Power and Motor
The motor power in food processors typically ranges from 300 to 1200 watts. A more powerful motor translates into faster and more efficient chopping, slicing, or kneading. For instance, if you frequently make dough, a processor with higher wattage will handle the thick consistency much more efficiently.
Blades and Attachments
Look for a food processor that includes a variety of blades and attachments. These components allow for diverse preparations, ranging from grating cheese to chopping vegetables. High-quality stainless steel blades can provide longevity and better performance in cutting through different food textures.
Safety Features
Safety is paramount in any kitchen appliance. A food processor should have safety locks that prevent it from operating unless the bowl and lid are correctly secured. This feature minimizes the risk of accidents, especially when dealing with tough ingredients.
Top Food Processors on the Market
Finding the right food processor can utterly change your meal-prepping routine. Here are some of the leading options available today.
Cuisinart DFP-14BCNY
The Cuisinart DFP-14BCNY food processor is highly regarded for its exceptional performance and versatility. With a sizable 14-cup capacity, it is perfect for families and gatherings. It features a powerful 720-watt motor, making it ideal for tasks such as pureeing, chopping, and slicing.
Breville Sous Chef 16 Pro
Notable for its professional features, the Breville Sous Chef 16 Pro comes with a 16-cup bowl and an array of attachments. One of its standout features is the adjustable slicing disc, which allows you to customize thickness easily. Additionally, its powerful motor enhances overall efficiency, ensuring you spend less time preparing.
Hamilton Beach 70730
For those seeking affordability without sacrificing performance, the Hamilton Beach 70730 is an excellent choice. It offers a 10-cup capacity and includes an array of useful attachments for chopping and mixing. While it may not have all the bells and whistles of higher-priced models, its powerful motor allows it to perform basic tasks efficiently.
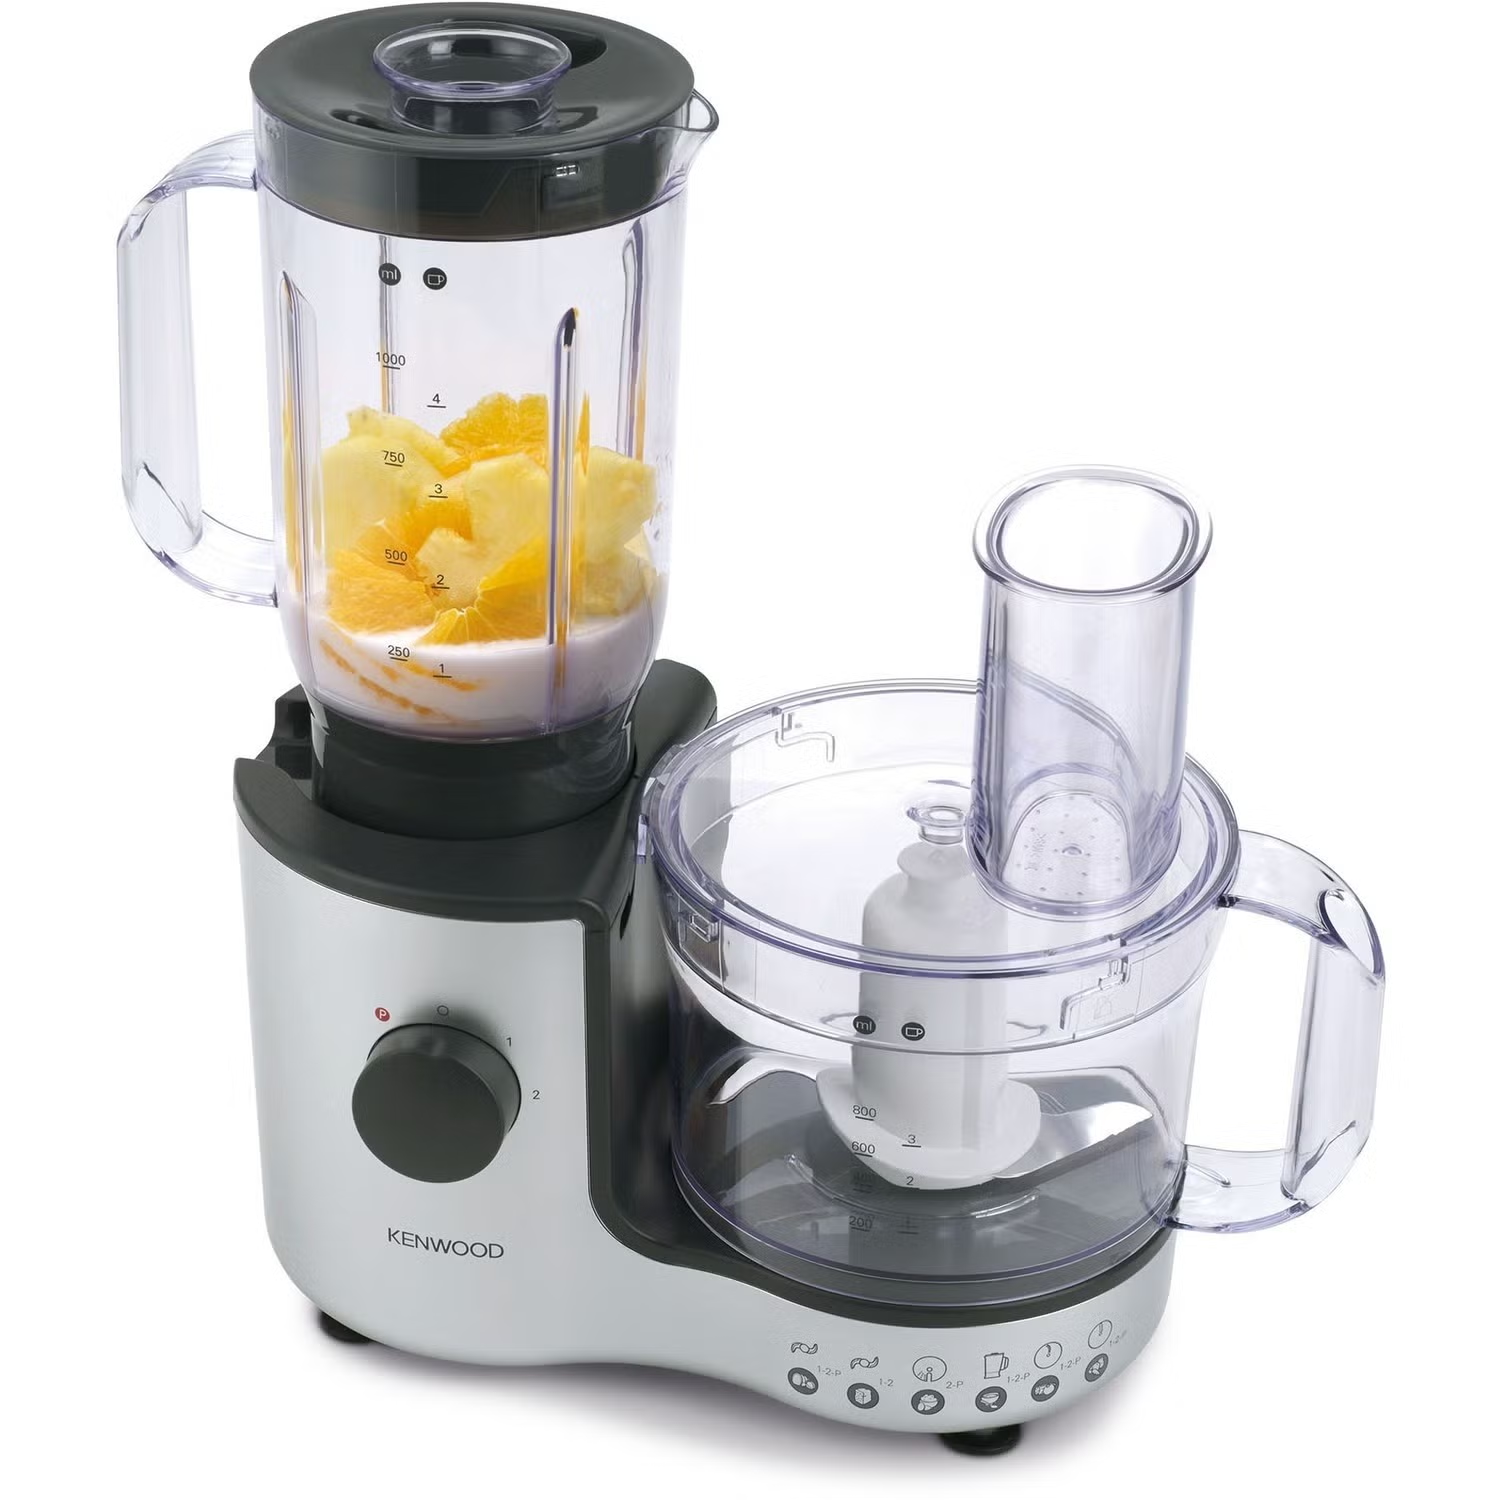
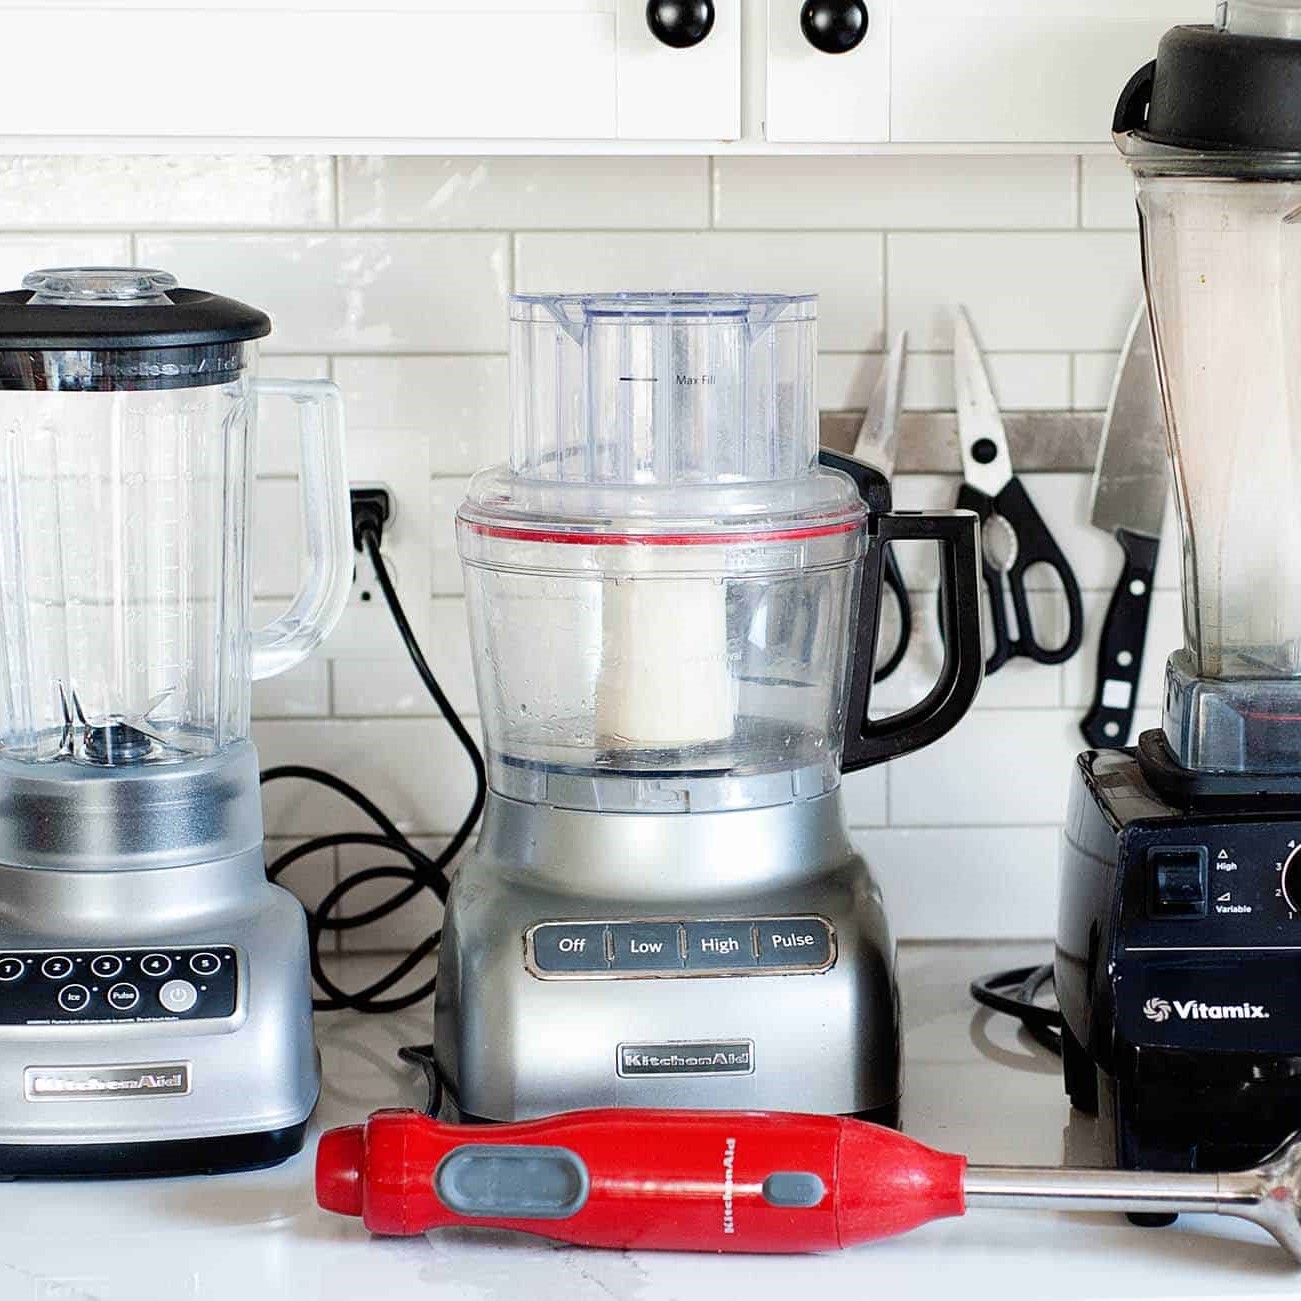
Combining a Blender and Food Processor
Many brands offer combo models that integrate both a blender and food processor in one appliance. These combination units can be ideal for those who want to save space and money while still enjoying the benefits of both devices.
Advantages of Combo Units
Choosing a blender and food processor combo provides numerous advantages. For starters, you’re likely to save counter space in your kitchen, especially if you’re limited on room. Moreover, these combo units can offer the best of both worlds, allowing you to tackle a wide variety of tasks without needing to switch between appliances constantly.
Examples of Popular Combo Appliances
Several products stand out on the market for their quality and functionality. For instance, the Ninja BN701 Professional Plus Bender DUO stands out for its powerful performance and simple design. It combines a robust food processor function along with a high-speed blender, allowing users to prepare a variety of meals with ease.
Final Thoughts
In conclusion, the best blender and food processor can change the way you cook, making meal prep faster and more efficient. Intriguingly, each appliance serves its own set of unique functions, allowing for diverse culinary creations. Opting for a higher-quality model in either category typically pays off in terms of performance and lifespan. Consider your individual cooking needs when selecting the right instruments, and don’t overlook the possibility of a combo model if you seek versatility in one appliance. In essence, the right blender and food processor will become your trusted partners in the kitchen, inviting creativity and ease into your daily cooking adventures. Whether it’s whipping up a healthy smoothie or putting together a family meal, these powerful tools will undoubtedly enhance your culinary experience.
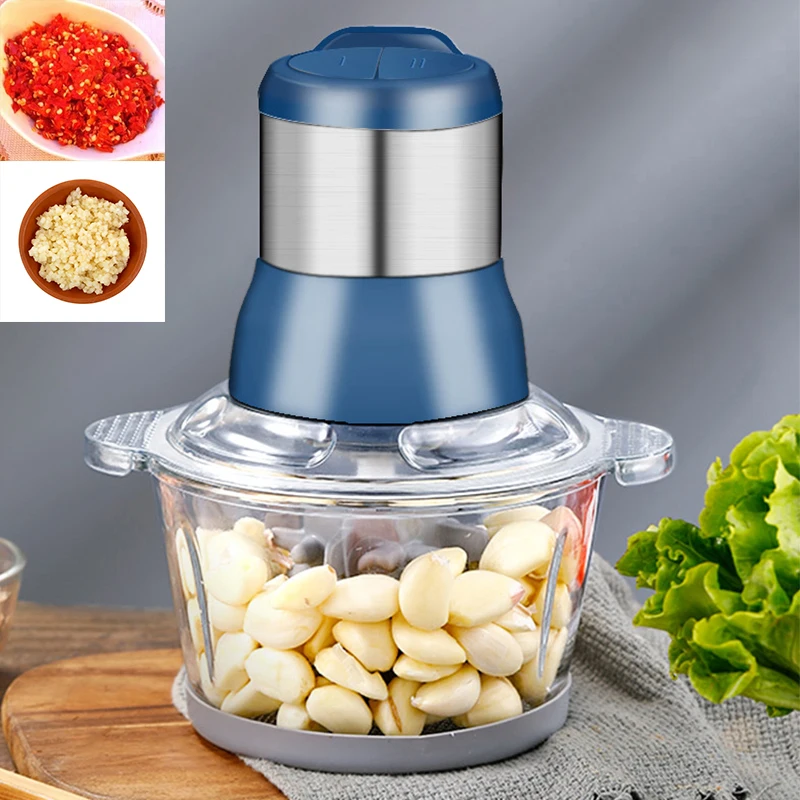
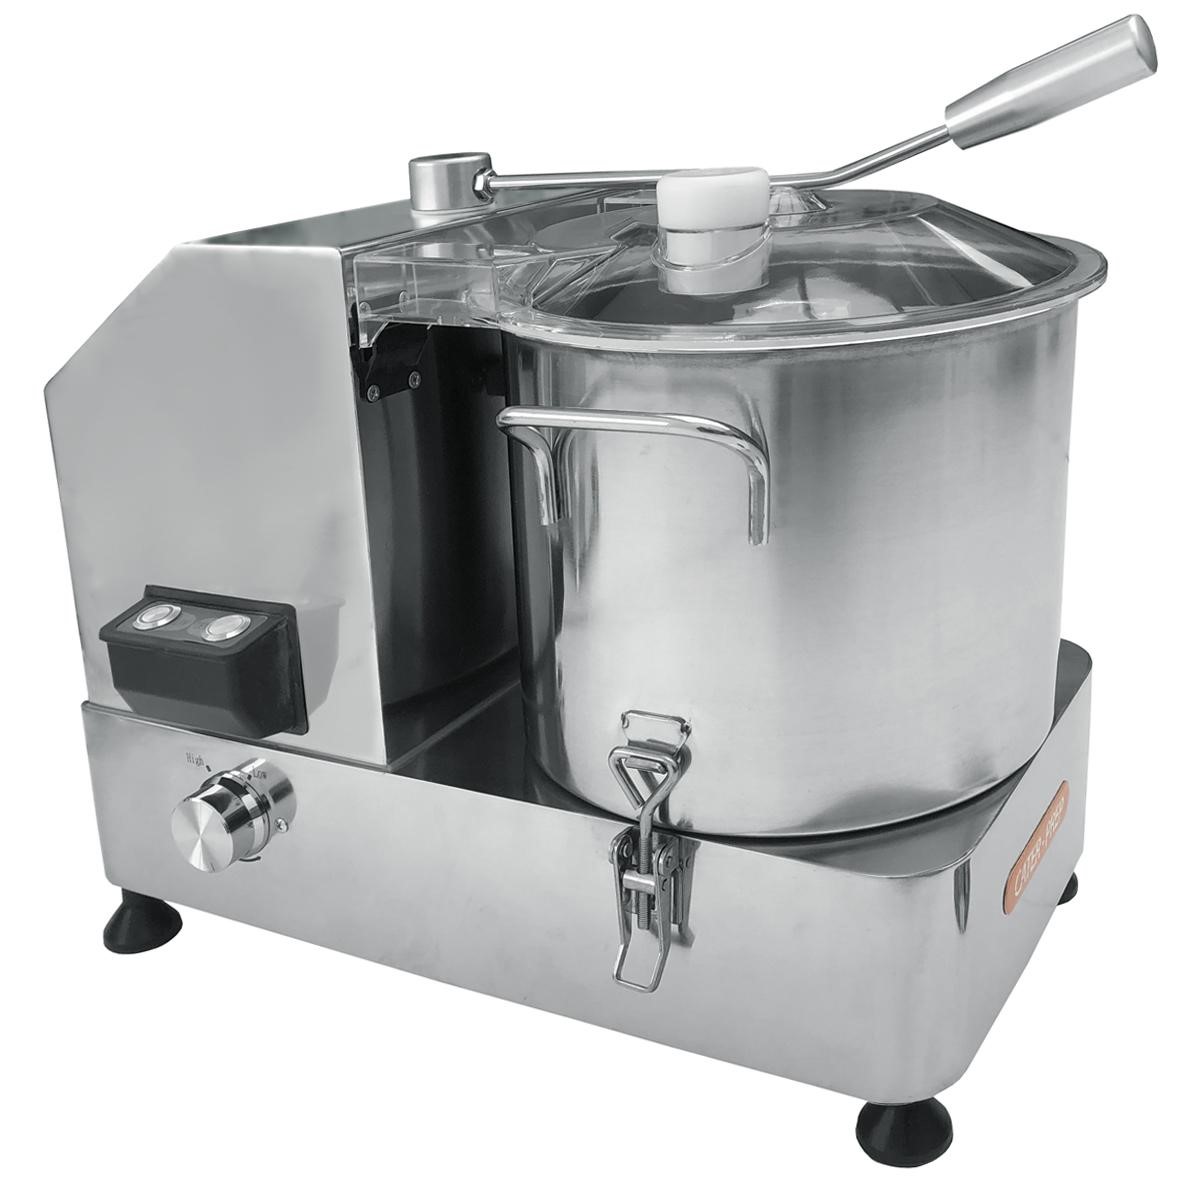
 Understanding Food Processors: A Kitchen Essential
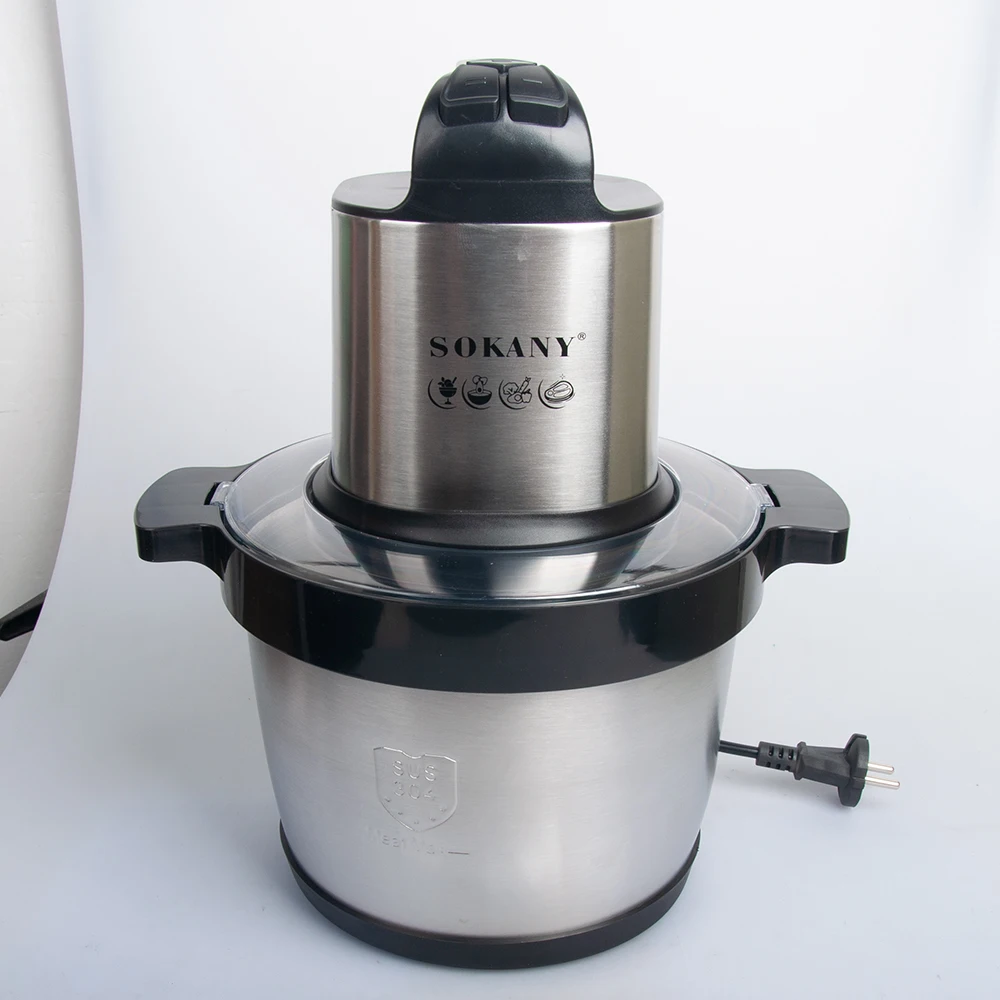

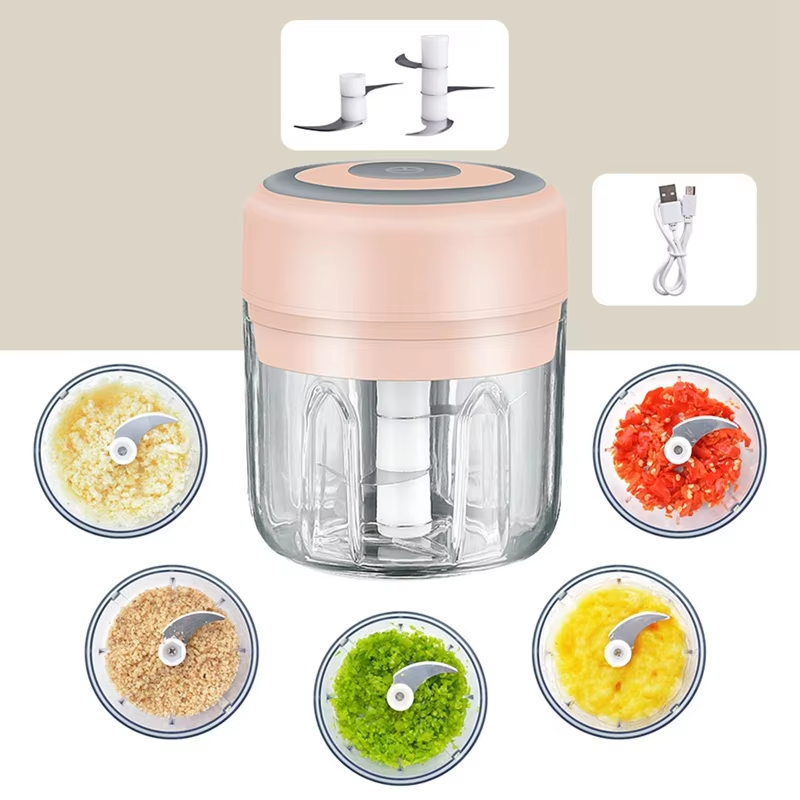
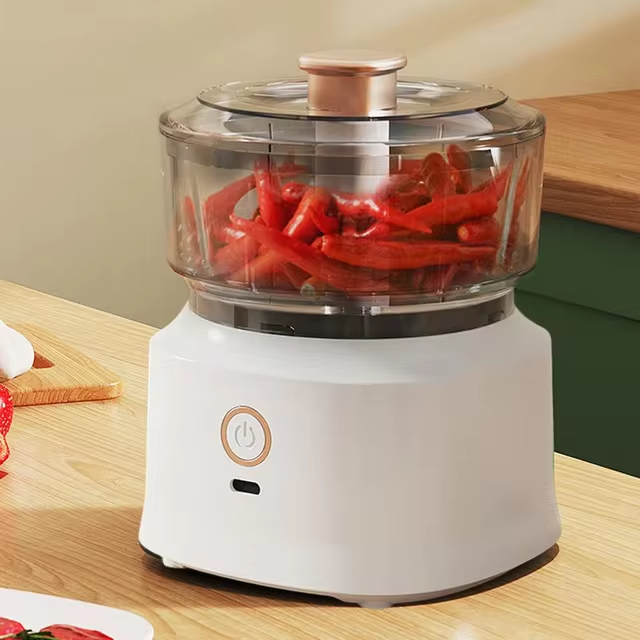
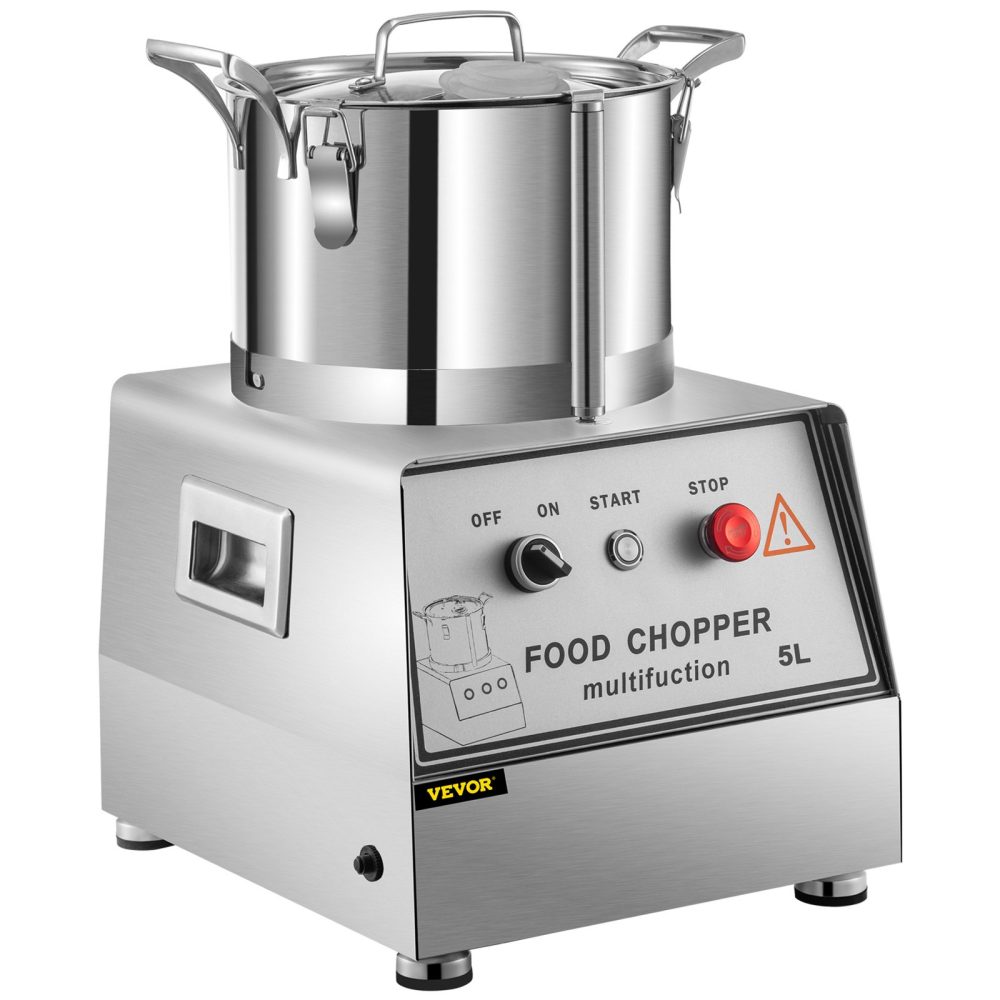
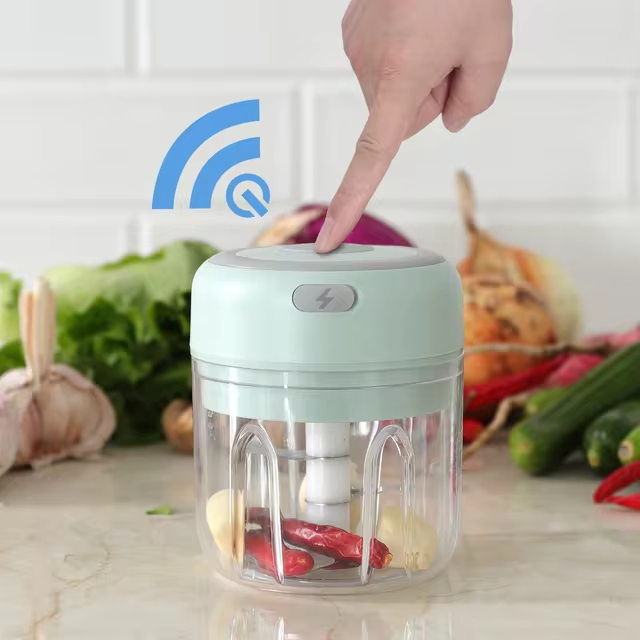 Real-Life Applications of Small Food Processors
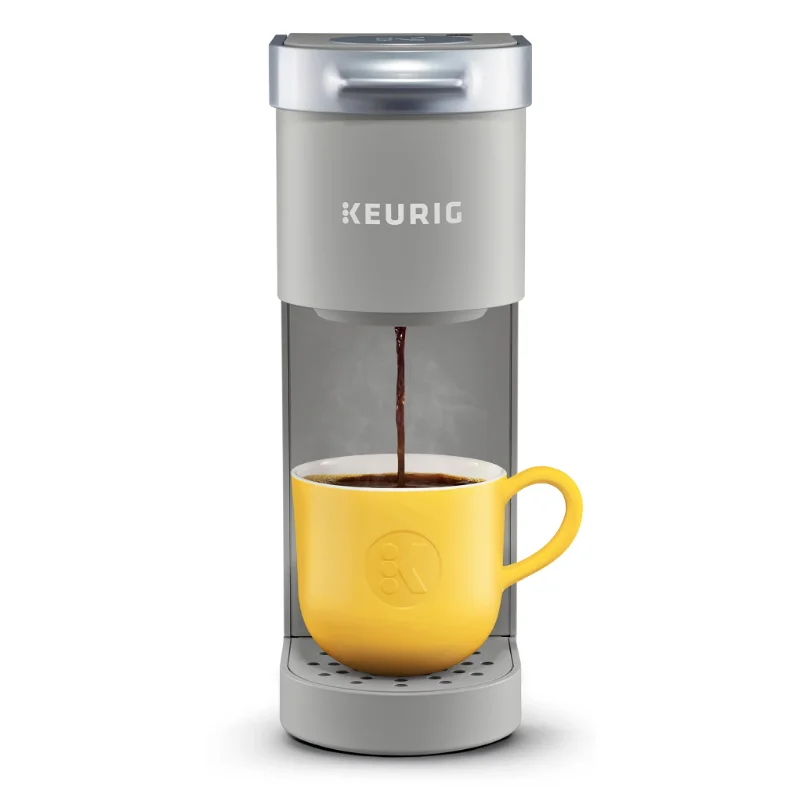
 Coffee Quantity Fluctuations
 Preventive Maintenance Tips

 Resolving Keurig Water Leakage Issues
 How to Properly Clean Your Keurig
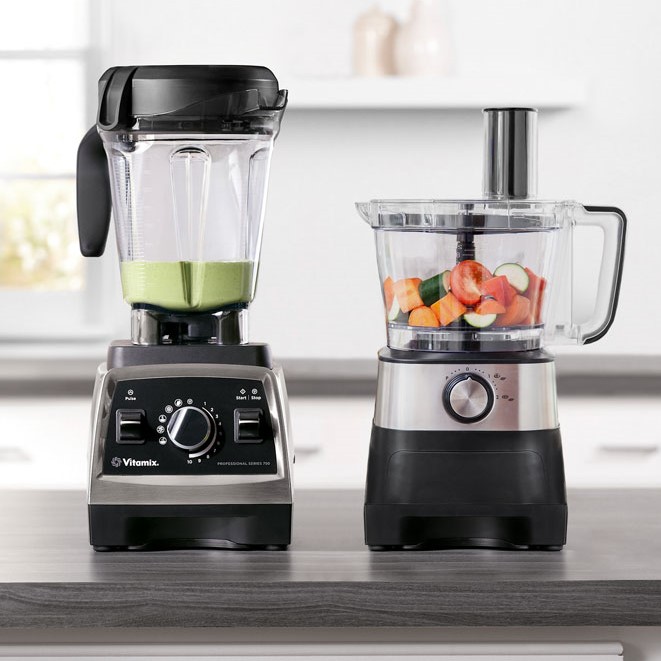
 Menu Expansion Through Diverse Applications