In the culinary world, both food processors and blenders are indispensable kitchen appliances. Each serves a unique purpose, catering to different cooking needs and styles. Understanding the differences between a food processor and a blender can significantly enhance your meal prep experience and help you make the right choice when considering these tools for your kitchen. This article delves deep into the specific functions, benefits, and limitations of both appliances, while also providing insights into how you can effectively use them in your cooking adventures.
The Basics: What Is a Food Processor?
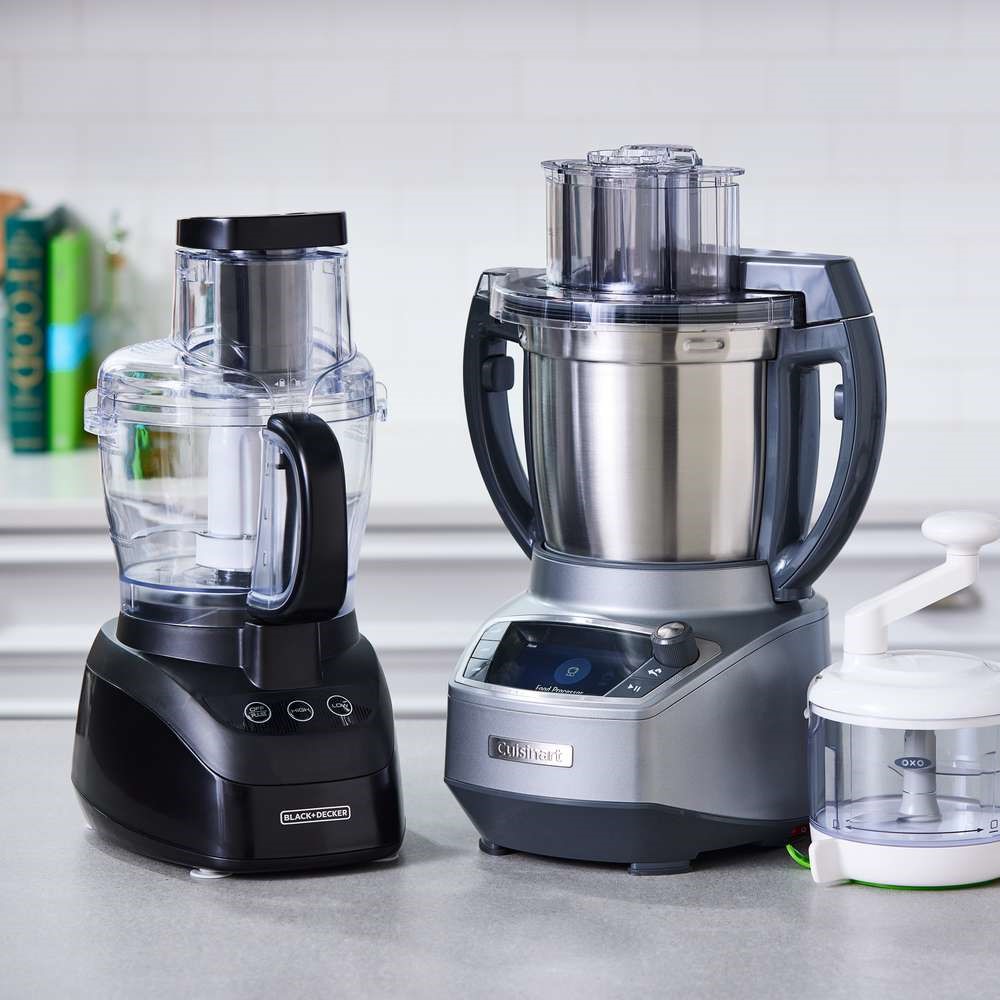
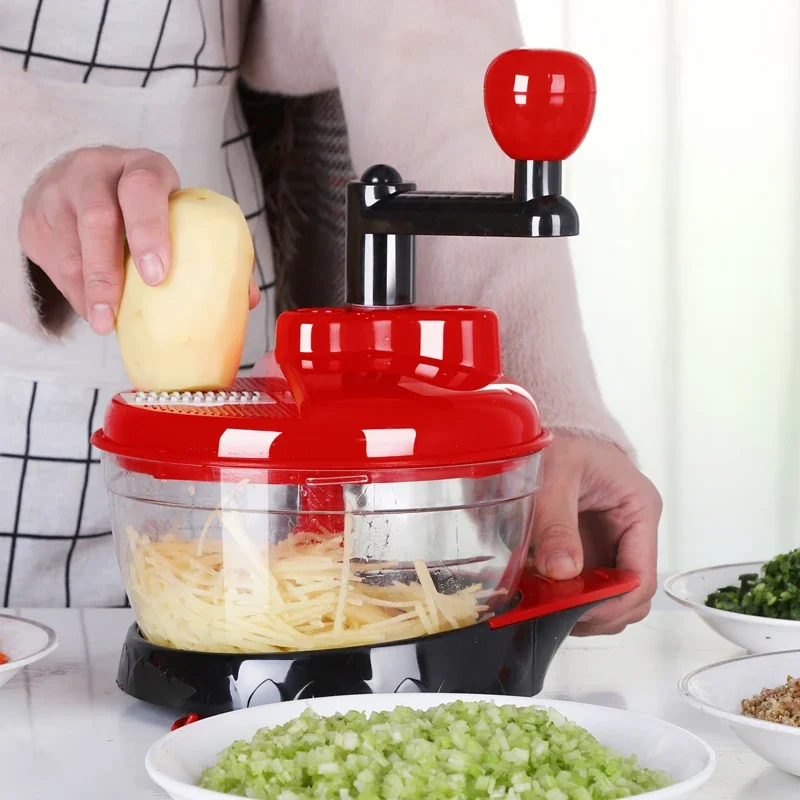
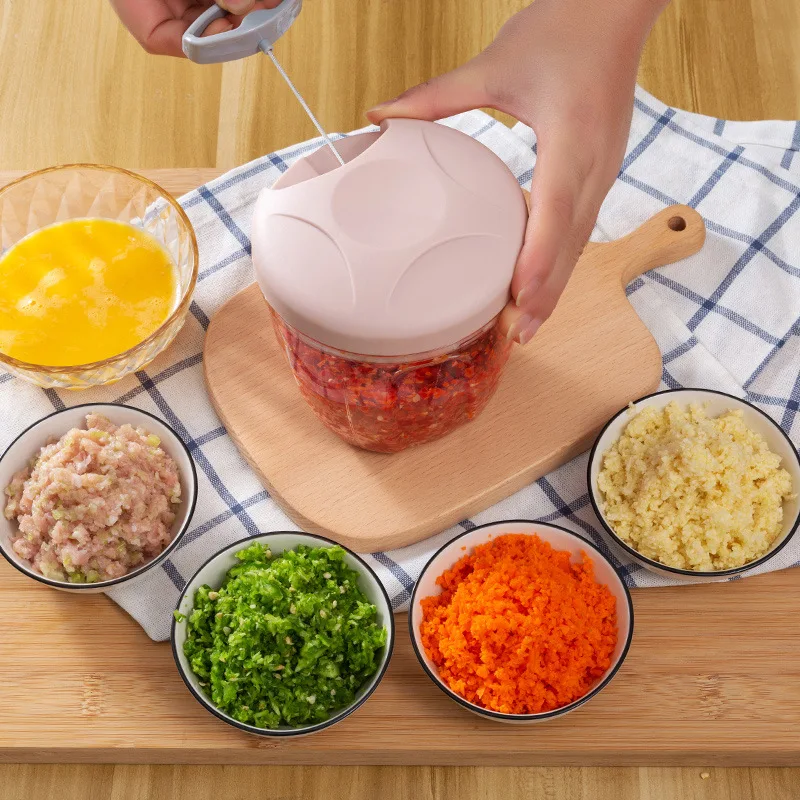
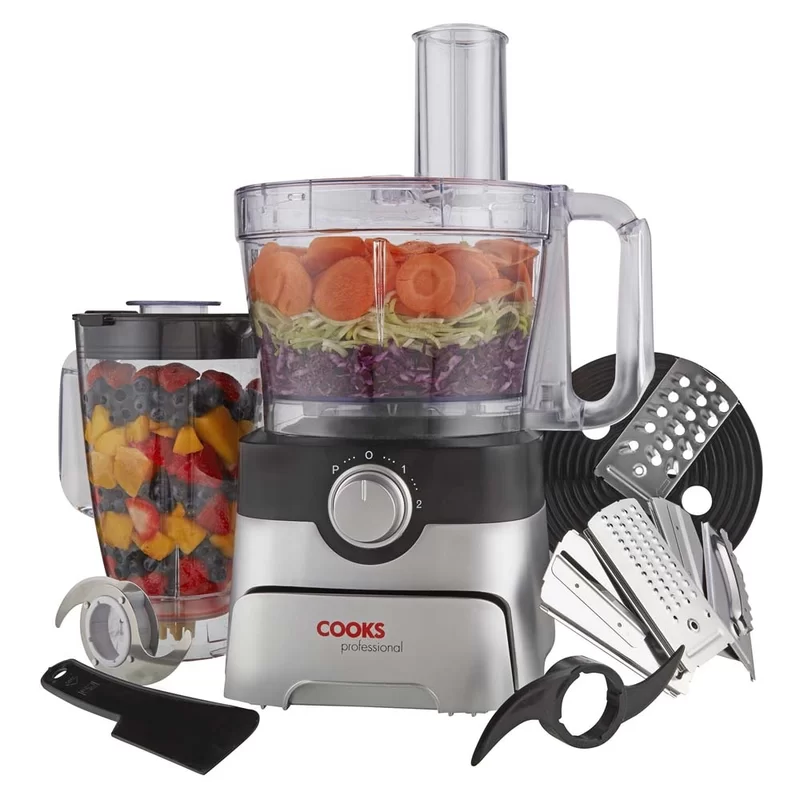
At its core, a food processor is a versatile kitchen gadget designed for a variety of food preparation tasks. Whether you want to chop vegetables, shred cheese, or knead dough, a food processor excels in processing whole ingredients into smaller, manageable pieces. It typically features a wide bowl and a range of interchangeable blades that allow it to perform various tasks.
Primarily, food processors are best known for their capacity to handle solids. Therefore, when you think of food preparation that requires chopping or mixing dry or semi-solid ingredients, a food processor shines in those scenarios. For example, it can turn whole carrots into finely shredded bits, or it can mix pastry dough effortlessly, making it a favorite among bakeries and home cooks alike.
Key Features of Food Processors
One prominent feature of food processors is their large capacity. Most models can hold anywhere from 7 to 16 cups, allowing you to prepare large batches of ingredients at once. This is particularly useful when hosting gatherings or meal prepping for the week.
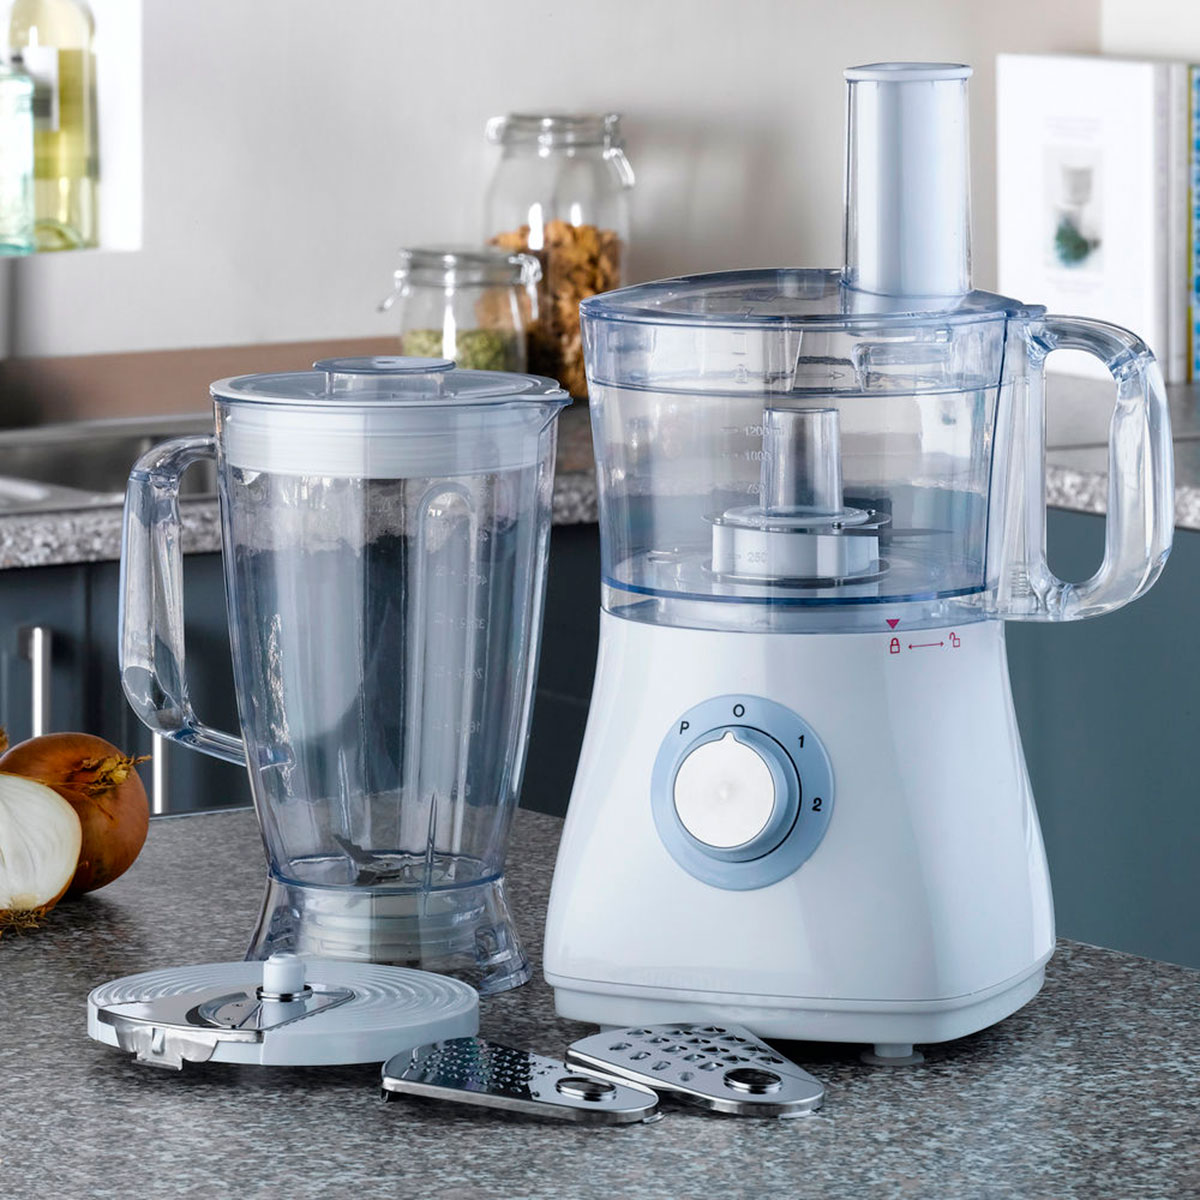
In addition to size, food processors come equipped with various attachments, including shredding discs, slicing blades, and dough blades. These attachments enable a wide range of cooking techniques, making food processors incredibly versatile tools. Regardless of whether you’re making a salad or prepping ingredients for soup, you’ll find that a food processor can handle the task quickly and efficiently.
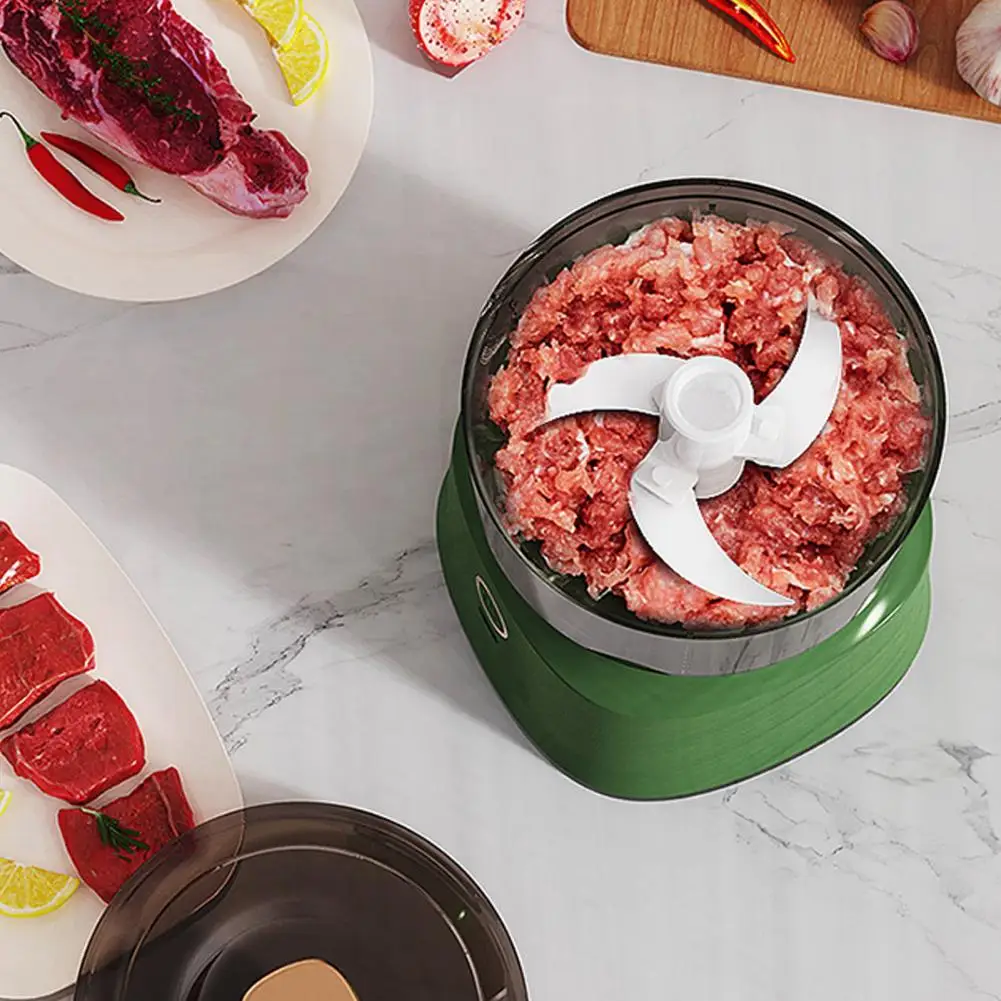
Moreover, the design of a food processor facilitates easy handling of solid and semi-solid foods. As a result, the robust motor often found in food processors makes them excellent for tougher ingredients like carrots, nuts, and even raw meat for certain recipes.
The Basics: What Is a Blender?
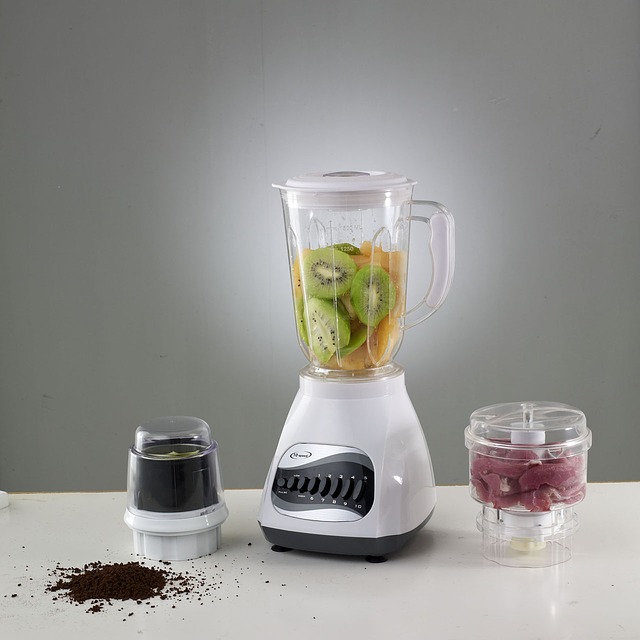
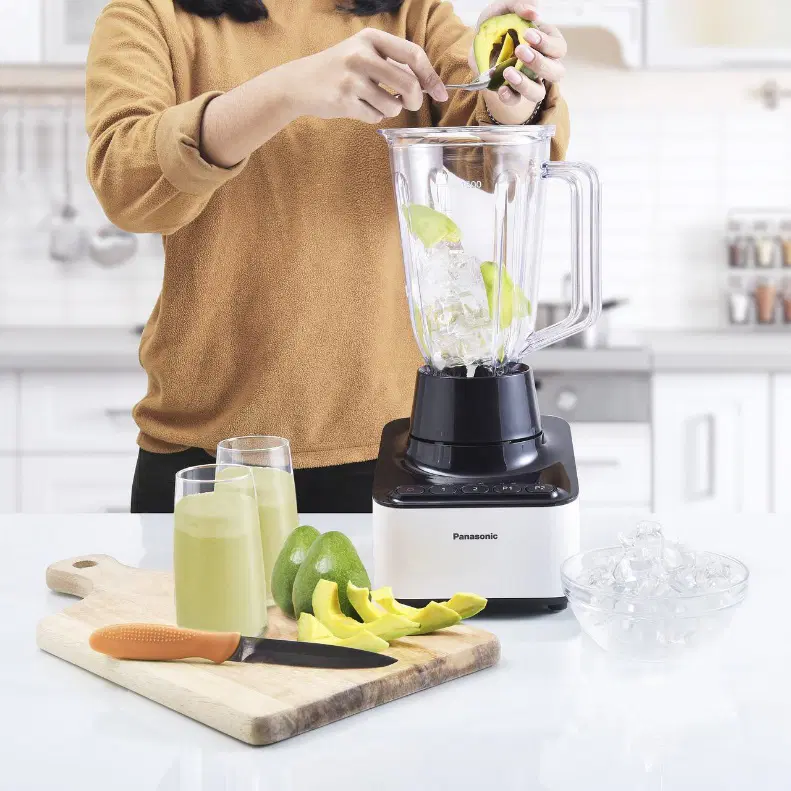
Conversely, a blender is primarily designed for creating smooth mixtures. It is the go-to appliance for concocting smoothies, soups, and sauces. While blenders can handle liquids excellently, many have trouble processing solid ingredients effectively, especially in larger quantities.
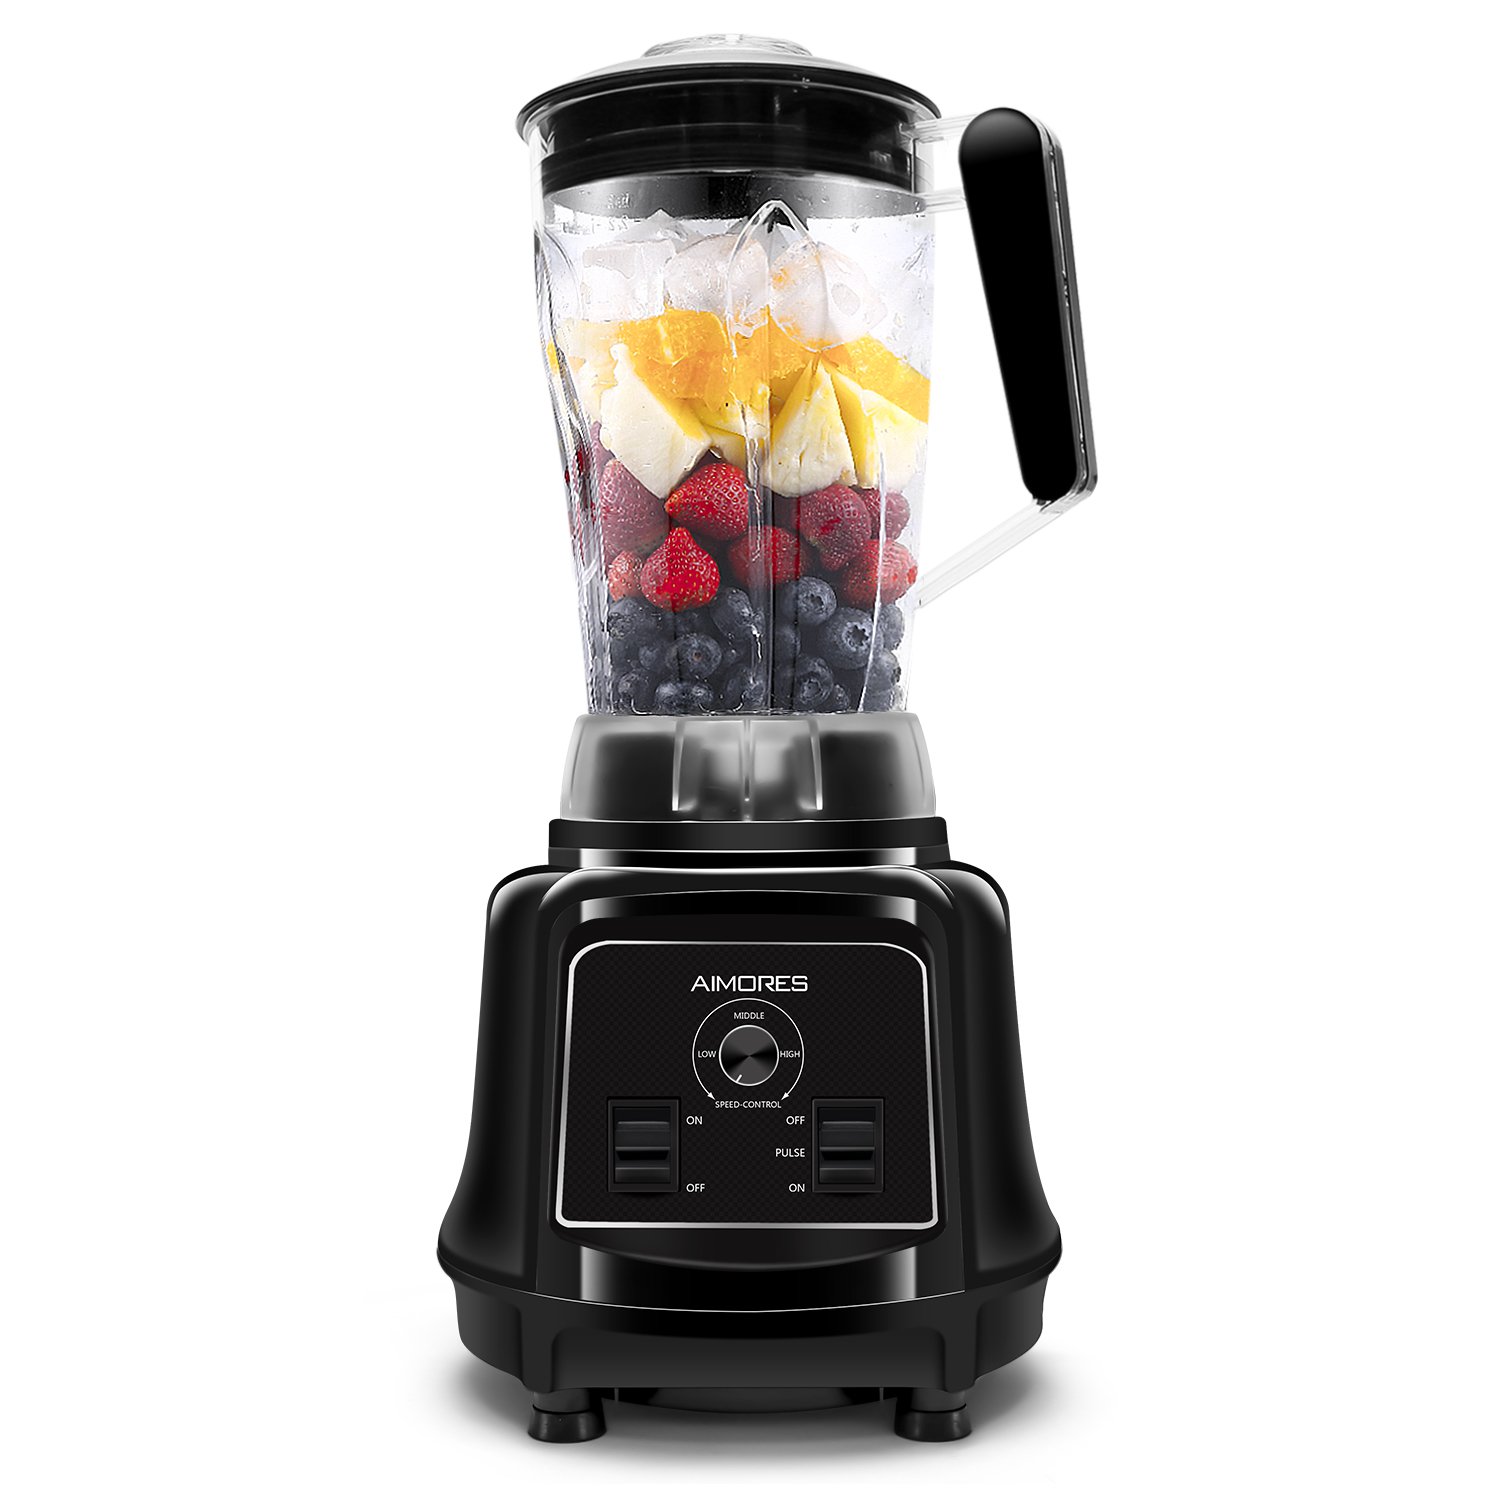
Blenders typically feature a tall, narrow pitcher that helps propel ingredients down towards the blades, promoting efficient blending. Unlike a food processor, most blends focus on creating homogenous textures, often making them ideal for liquid-heavy recipes.
Key Features of Blenders
One of the standout features of a blender is its ability to pulverize ingredients into a liquid form. High-powered blenders even allow you to blend tough ingredients like ice, frozen fruits, and leafy greens effortlessly, yielding smoothies with a silky-smooth texture. Additionally, blenders often offer various speed settings, enabling you to customize the consistency of your mixtures, from chunky salsas to pureed soups.
Another advantage of blenders is their compact size. Blender pitchers typically range from 32 to 64 ounces, making them suitable for individual servings or small families. This makes them a practical choice for those with limited counter space in the kitchen or for those who prepare meals on a smaller scale.
Moreover, some advanced high-performance blenders come with pre-programmed settings for specific tasks, helping take the guesswork out of blending. Whether you’re going for a frozen drink or a steaming hot soup, these features help attain perfect results every time.
Functions That Set Them Apart
To truly grasp the difference between a food processor and a blender, it’s essential to evaluate their respective functions.
Food Processor Functions
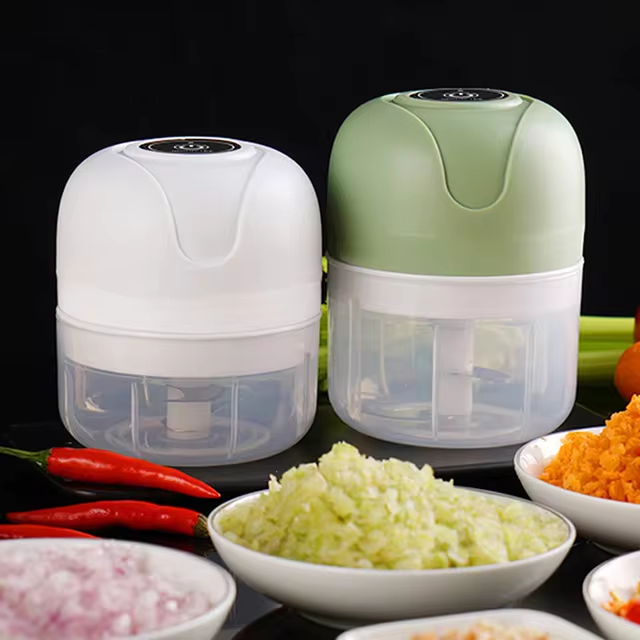
Food processors excel in tasks that require solid food preparation. For instance, if you are looking to chop onions, mince garlic, or shred cabbage for coleslaw, a food processor is the more suitable choice. Its variety of blades allows for precision with finely diced or uniformly sliced ingredients.
Moreover, when making dips like hummus or pesto, food processors provide the ideal environment for blending together solids, herbs, and liquids efficiently. The mixing capabilities enable a successful blend of course and fine textures, catering to various culinary preferences. For example, a food processor can create a chunky salsa or ensure a smooth pesto, depending on your specific needs.
Additionally, many home chefs use food processors for baking. They can mix sticky dough ingredients and also incorporate fat into flour, saving time and effort compared to traditional methods. Likewise, if you’re preparing large batches of ingredients for meal prep, the food processor’s large capacities can handle the job without hassle.
Blender Functions
On the other hand, the blender’s key functionality revolves around fluid dynamics. It is perfect for creating smoothies, milkshakes, and soups that require a completely smooth consistency. One of the blender’s primary superpowers is its ability to crush ice and frozen fruits with ease, making it perfect for summer cocktails or healthy smoothie bowls.
In addition to smoothies, blenders excel in making sauces, dressings, and soups that require a fine texture. For example, you can quickly whisk a vinaigrette or turn fresh tomatoes into a smooth sauce. Furthermore, many blenders also have heating capabilities, allowing you to prepare hot soups without needing extra pots. Simply blend the ingredients, and in a few minutes, you’ll have hot, fresh soup ready.
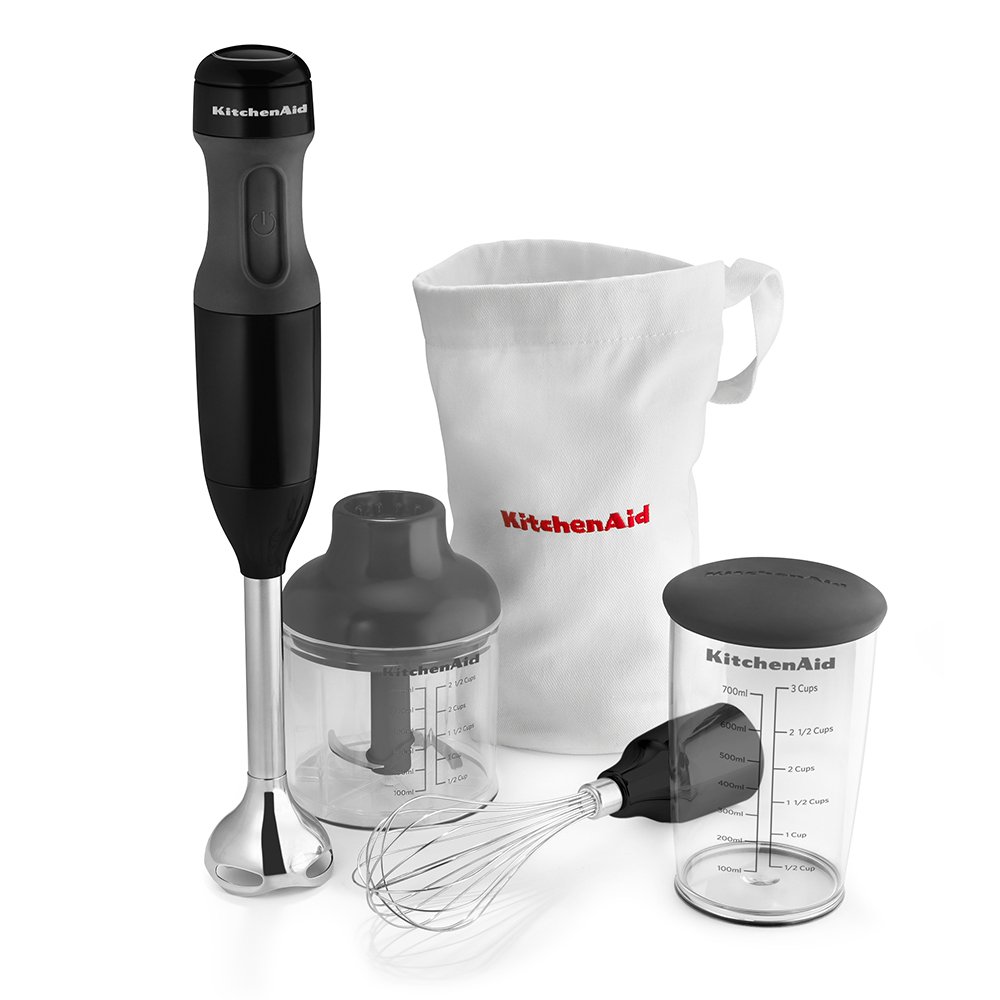
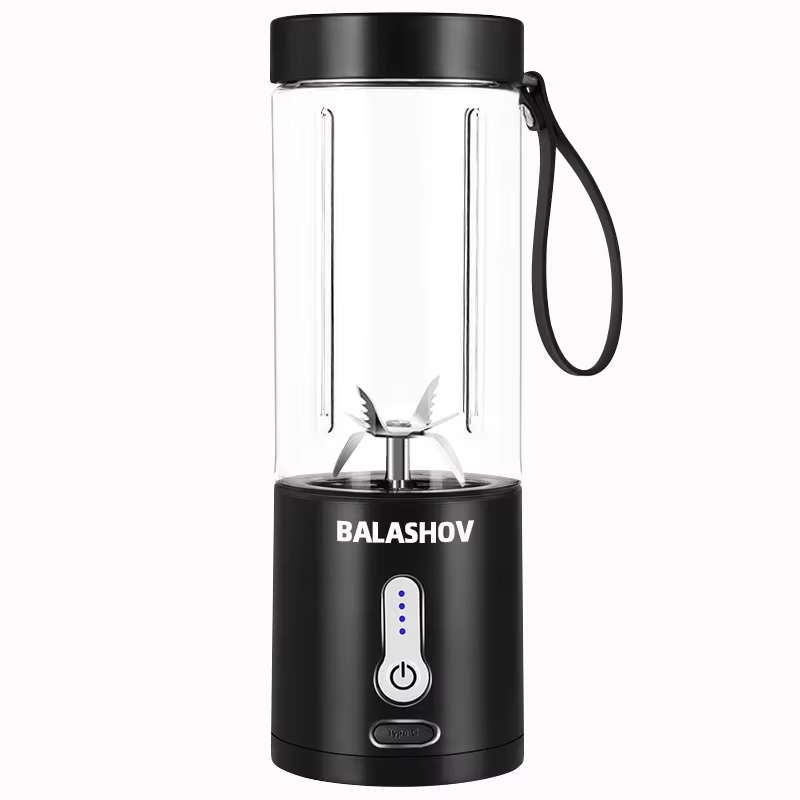
Blenders are also great for personal servings. With various personal blender models available, you can prepare single-serve smoothies right in your travel cup, making them ideal for busy individuals on the go.
Design Differences
It’s essential to explore how the design characteristics of food processors and blenders contribute to their functionality.
Food Processor Design
Food processors come equipped with a wide, flat bowl designed to hold larger amounts of ingredients. This design allows for easy access when adding new components or transferring ingredients. The wide feed tube is another feature that makes food preparation seamless, allowing you to drop in whole vegetables without pre-cutting them, saving time in the kitchen.
Additionally, the blades in a food processor are typically more versatile than those found in blenders. They can be switched out for different tasks, accommodating the needs of various recipes. The powerful motor of food processors is designed to handle tough chopping and mixing jobs, ensuring that you achieve the desired texture every time.
Blender Design
In contrast, a blender usually features a more upright design to facilitate the mixing of liquids and solids. The narrow pitcher helps pull ingredients down toward the blades, ensuring that all components blend evenly. This design is particularly beneficial for achieving a completely smooth consistency in smoothies or soups.
A key design feature of many blenders is the presence of a lid with a removable plug. This allows for the addition of additional ingredients while blending, making it easy to customize flavors or adjust the consistency as needed.
Furthermore, most blenders come with a base that offers a sleek and compact design, making them easy to store on countertops or in cabinets. Their light-to-medium weight allows for easy maneuverability, distinguishing them significantly from the bulkier food processors.
Ease of Cleaning
The cleaning process of kitchen appliances often plays a critical role in their usability. Therefore, let’s examine how easy it is to clean food processors versus blenders.
Cleaning Food Processors
Food processors can sometimes be more challenging to clean due to their multiple parts. When using different blades for various tasks, users must be cautious and diligent in ensuring all components are washed thoroughly. The larger bowl can also require more effort to scrub compared to smaller blender pitchers.
However, many food processors feature dishwasher-safe components, simplifying the cleaning process. It’s essential to consult the manufacturer’s guidelines to confirm which parts are safe for the dishwasher, but overall, with a bit of time, cleaning a food processor can be manageable.
Cleaning Blenders
Blenders often have an edge in the cleaning department, primarily due to their straightforward design. Most blenders require only a few parts to be cleaned — usually the pitcher and the lid.
Additionally, many blenders have a unique feature that lets you clean them right in the pitcher. You can simply add soap and water, blend for a few seconds, and rinse. This method makes cleaning blenders a breeze and invites users into the kitchen for frequent use without the stress of a daunting cleanup afterward.
Cost Considerations
When purchasing kitchen appliances, cost plays a significant role in the decision-making process. Understanding the price range and value of food processors and blenders can help streamline your shopping experience.
Food Processor Costs
Food processors typically vary in price based on their features and capacity. Basic models may start around $30 to $50, while high-performance models can reach upwards of $300 or more. It’s essential to consider the tasks you intend to use a food processor for when weighing your investment. If you frequently engage in extensive meal prep or baking, investing in a high-quality food processor with multiple attachments may offer better value in the long run.
Blender Costs
Similarly, blenders also come in a wide range of prices. Basic personal blenders can be found for approximately $20 to $40, while high-performance countertop blenders can cost anywhere from $100 to $500 or beyond. Without a doubt, if you plan to use it for complex recipes, go for a well-reviewed high-performance blender that fits your budget.
Ultimately, whether you choose a food processor or a blender, understanding your needs and cooking habits will help ensure you maximize the value of your kitchen investment.
Making the Choice: Food Processor vs. Blender
After exploring the various functions, designs, and features of both appliances, making a decision can feel overwhelming. However, it all comes down to your unique culinary needs.
If you often prepare solid foods, undertake large meal-prep sessions, or need a versatile tool for mixing and chopping, a food processor could be the perfect fit for you. Conversely, if smoothies, soups, and purees are more in line with your cooking style, investing in a blender will likely serve you better.
Scenarios Where a Food Processor Shines
Consider reaching for a food processor when you plan to:
- Chop vegetables for a stir-fry.
- Make pie or tart crusts from scratch.
- Create dips, salsas, or spreads that require consistent textures.
- Shred cheese or vegetables in bulk.
- Prepare pizza or bread dough.
Scenarios Where a Blender Excels
On the flip side, a blender is an excellent choice for scenarios like:
- Making sorbets or smoothies.
- Preparing salad dressings or marinades.
- Blending hot soups directly in the pitcher.
- Crushing ice for cocktails or frozen drinks.
Conclusion
As you navigate the exciting world of culinary tools, understanding the difference between a food processor and a blender is pivotal in creating a kitchen that aligns with your cooking style. Each appliance carries distinct advantages. While a food processor is ideal for extensive food preparation tasks, a blender shines when it comes to liquids and achieving smooth textures.
Ultimately, the choice comes down to your cooking habits, lifestyle, and, importantly, the types of cuisine you love most. Whether you decide to invest in a food processor, a blender, or both, knowing their differences will equip you to create delightful dishes with ease. In the end, the difference between food processor and blender boils down to their specific functionalities and advantages tailored to different culinary tasks. Your kitchen awaits!

 Step-by-Step Instructions on Using a Manual Food Processor
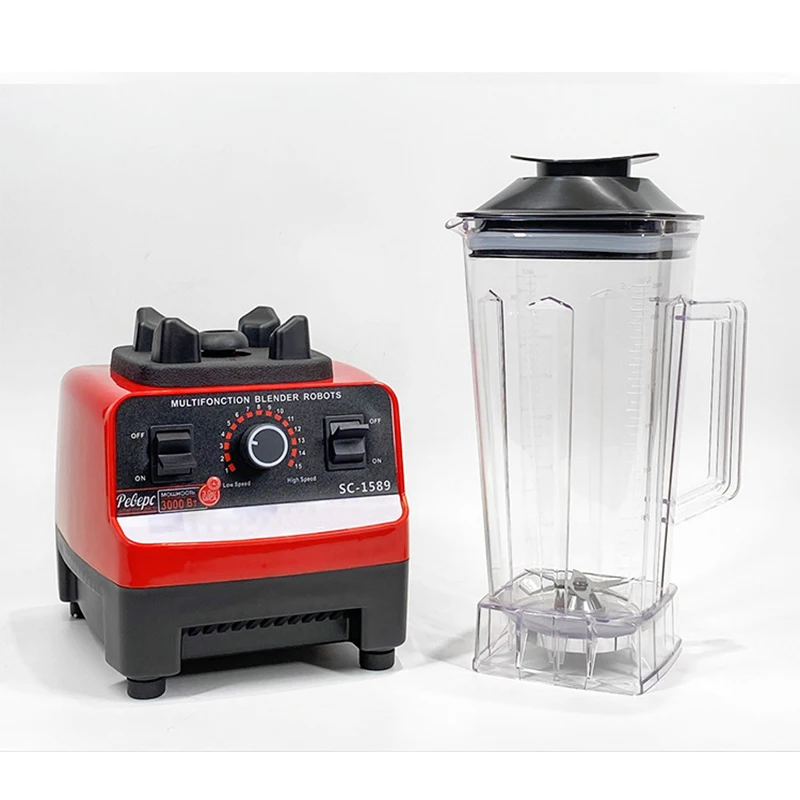

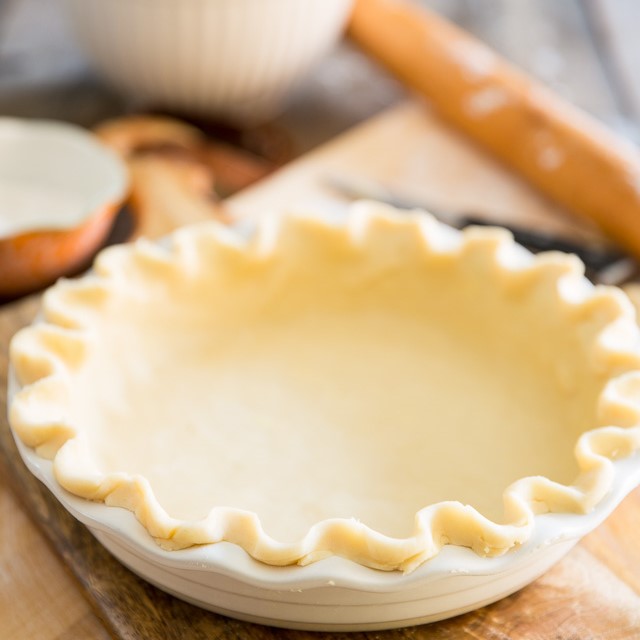
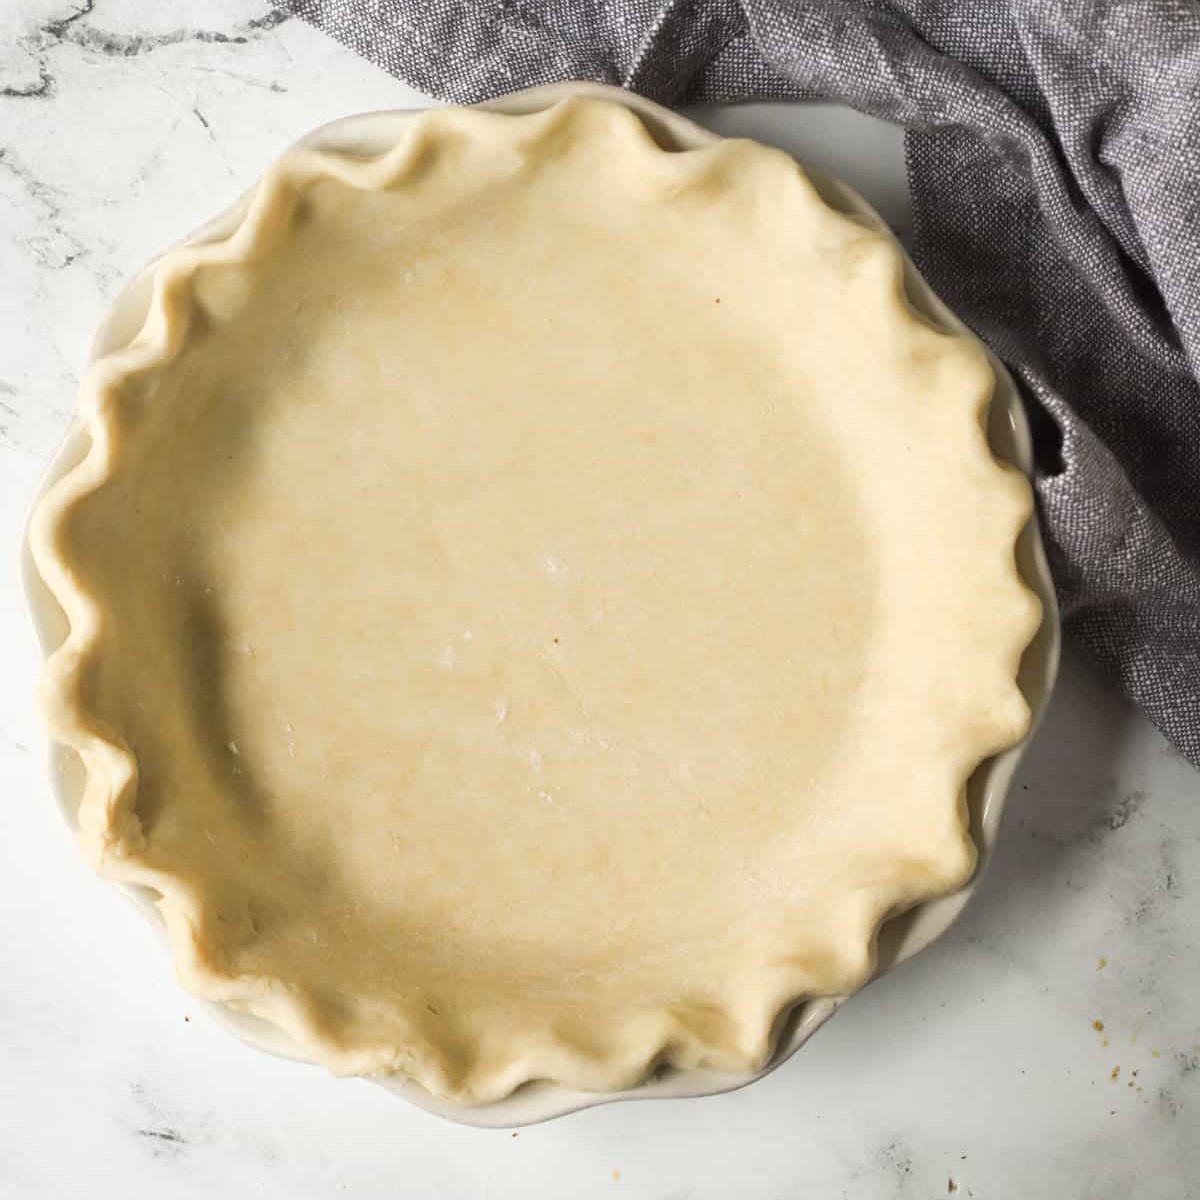
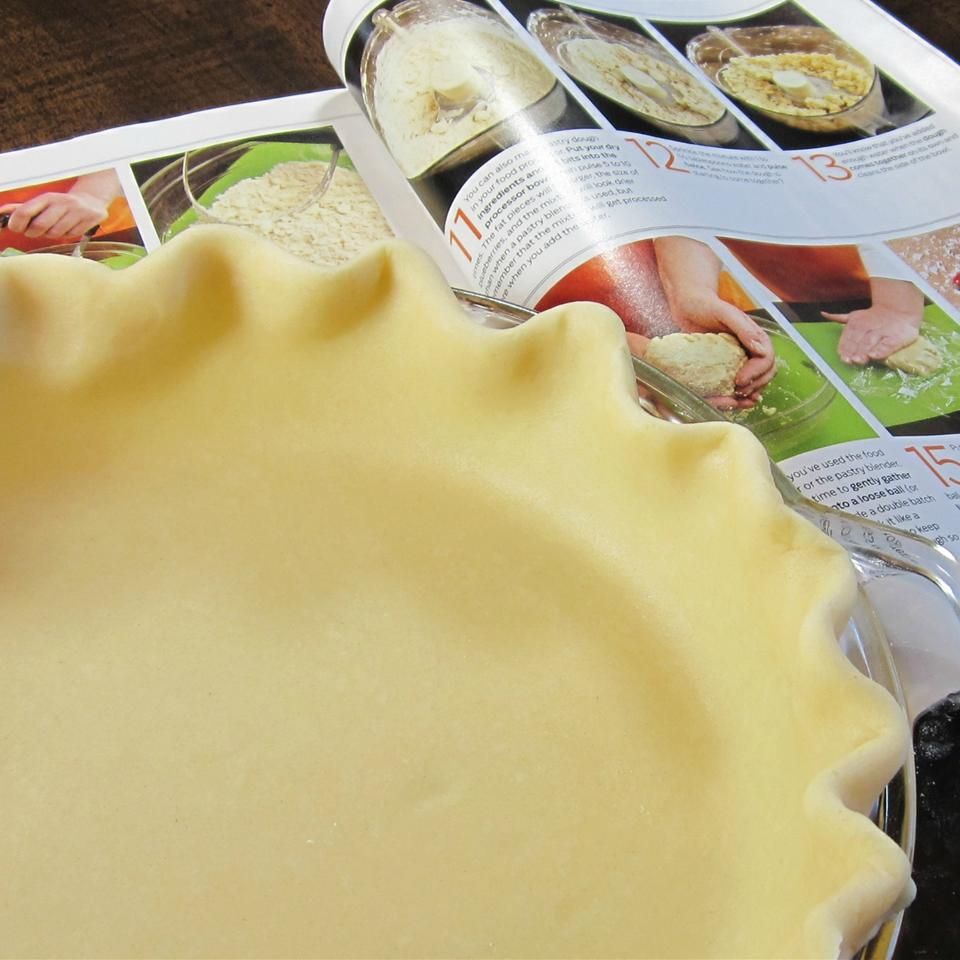 Tips for Achieving a Flaky and Tasty Pie Crust


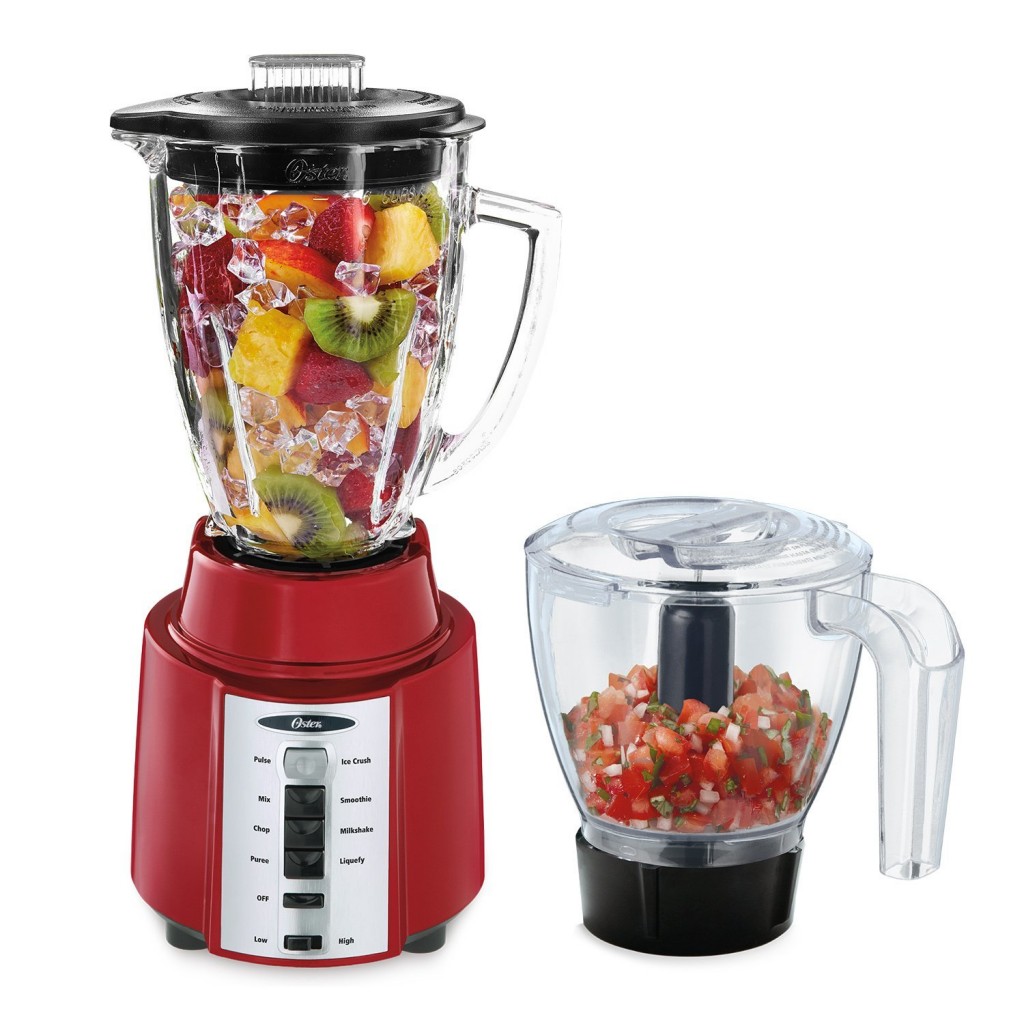
 How to Use a Blender Food Processor Combo for Different Recipes
 Essential Features of a Quality Food Processor
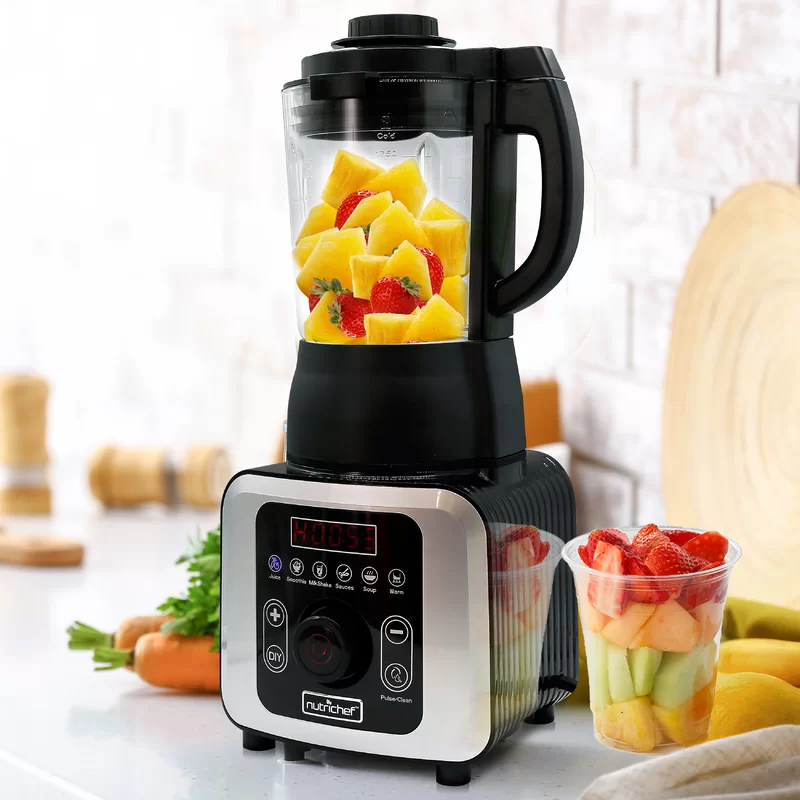
 Personal Blenders: Ideal for On-the-Go Lifestyles
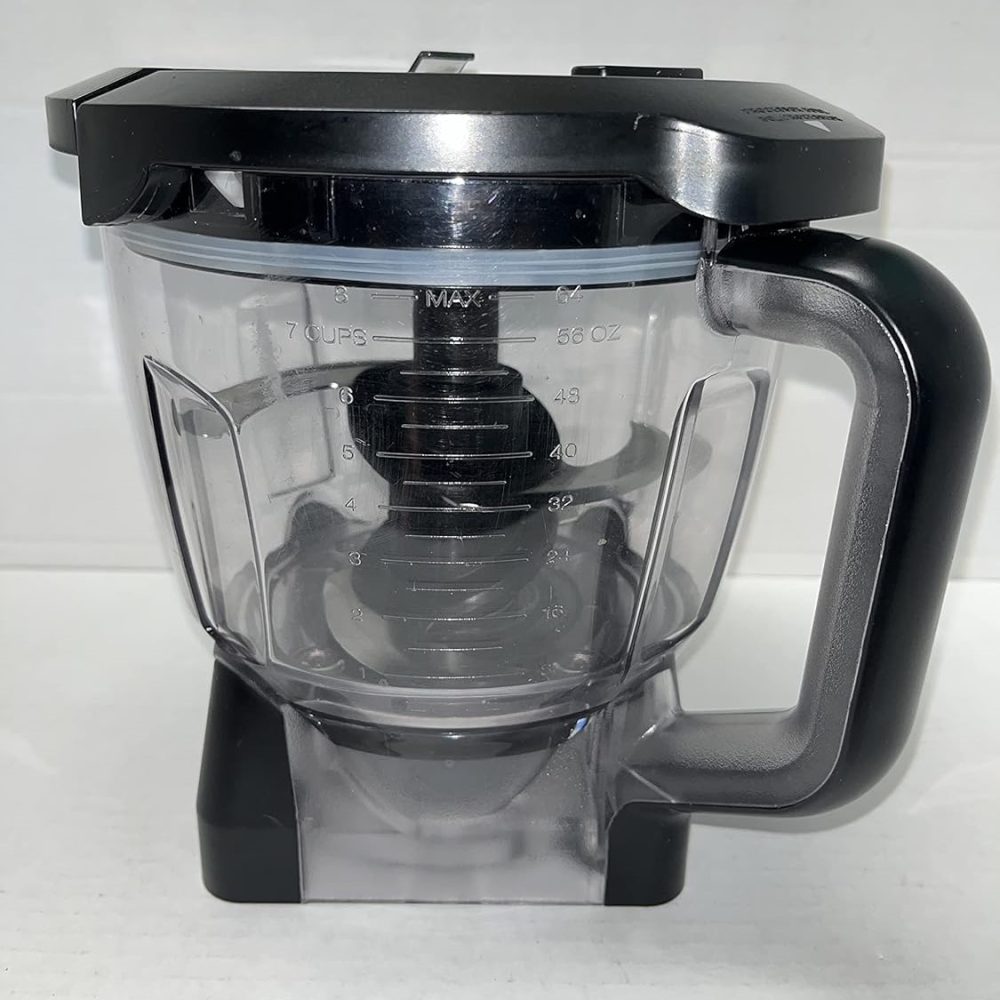
 Food Processor Attachment Features and Advantages