Introduction
In today’s health-conscious world, the masticating juicer has emerged as a pivotal kitchen appliance for those seeking to optimize their nutrition intake. Unlike traditional centrifugal juicers, masticating juicers operate at a slower speed, preserving essential nutrients and enzymes that are often lost in higher-speed counterparts. This comprehensive guide delves into the myriad benefits, functionalities, and considerations surrounding masticating juicers, empowering you to make an informed decision for your juicing needs.
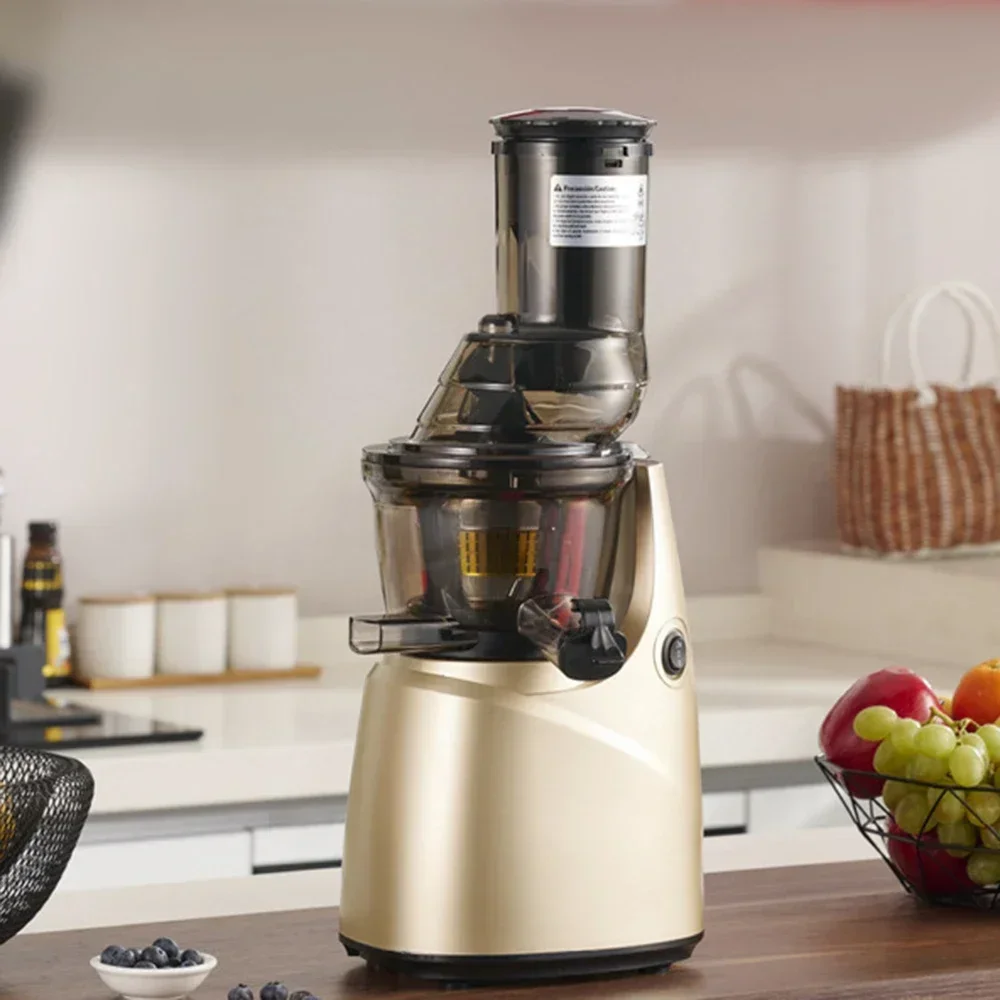
Understanding the Masticating Juicer: An Overview
What Sets Masticating Juicers Apart?
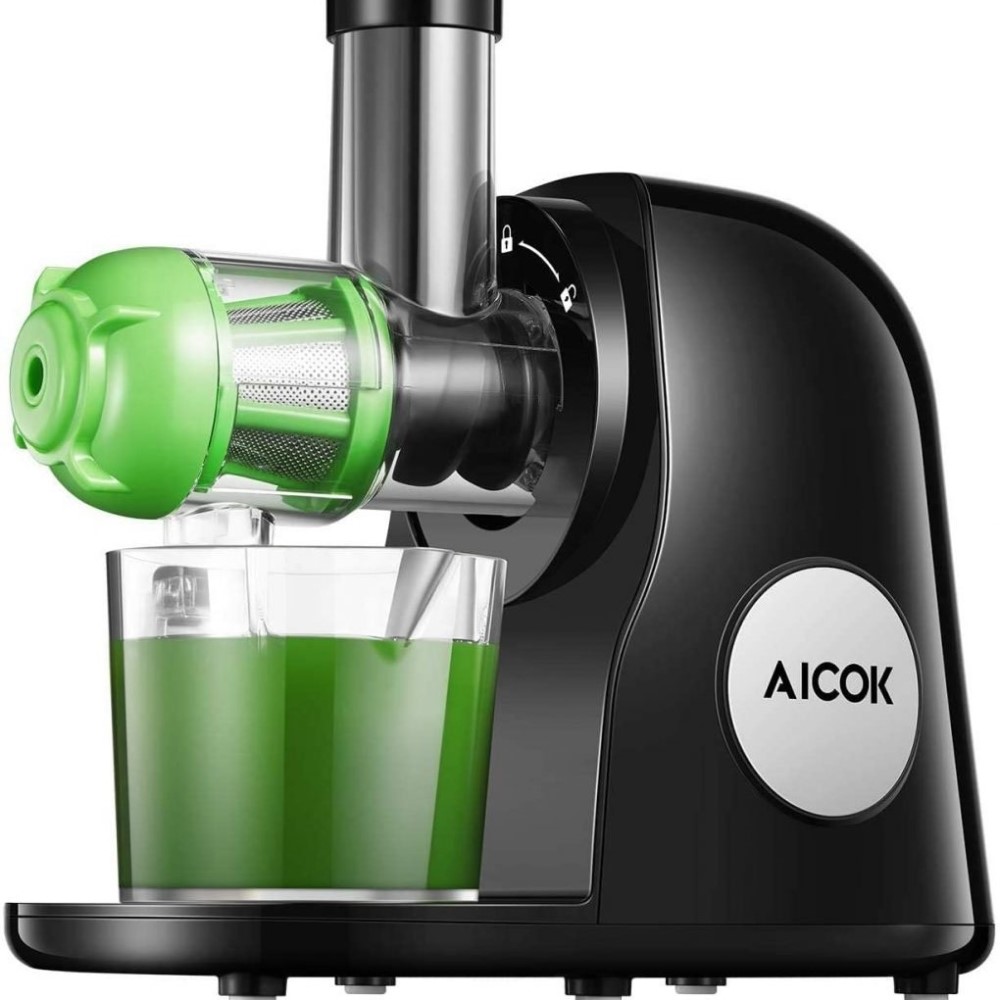
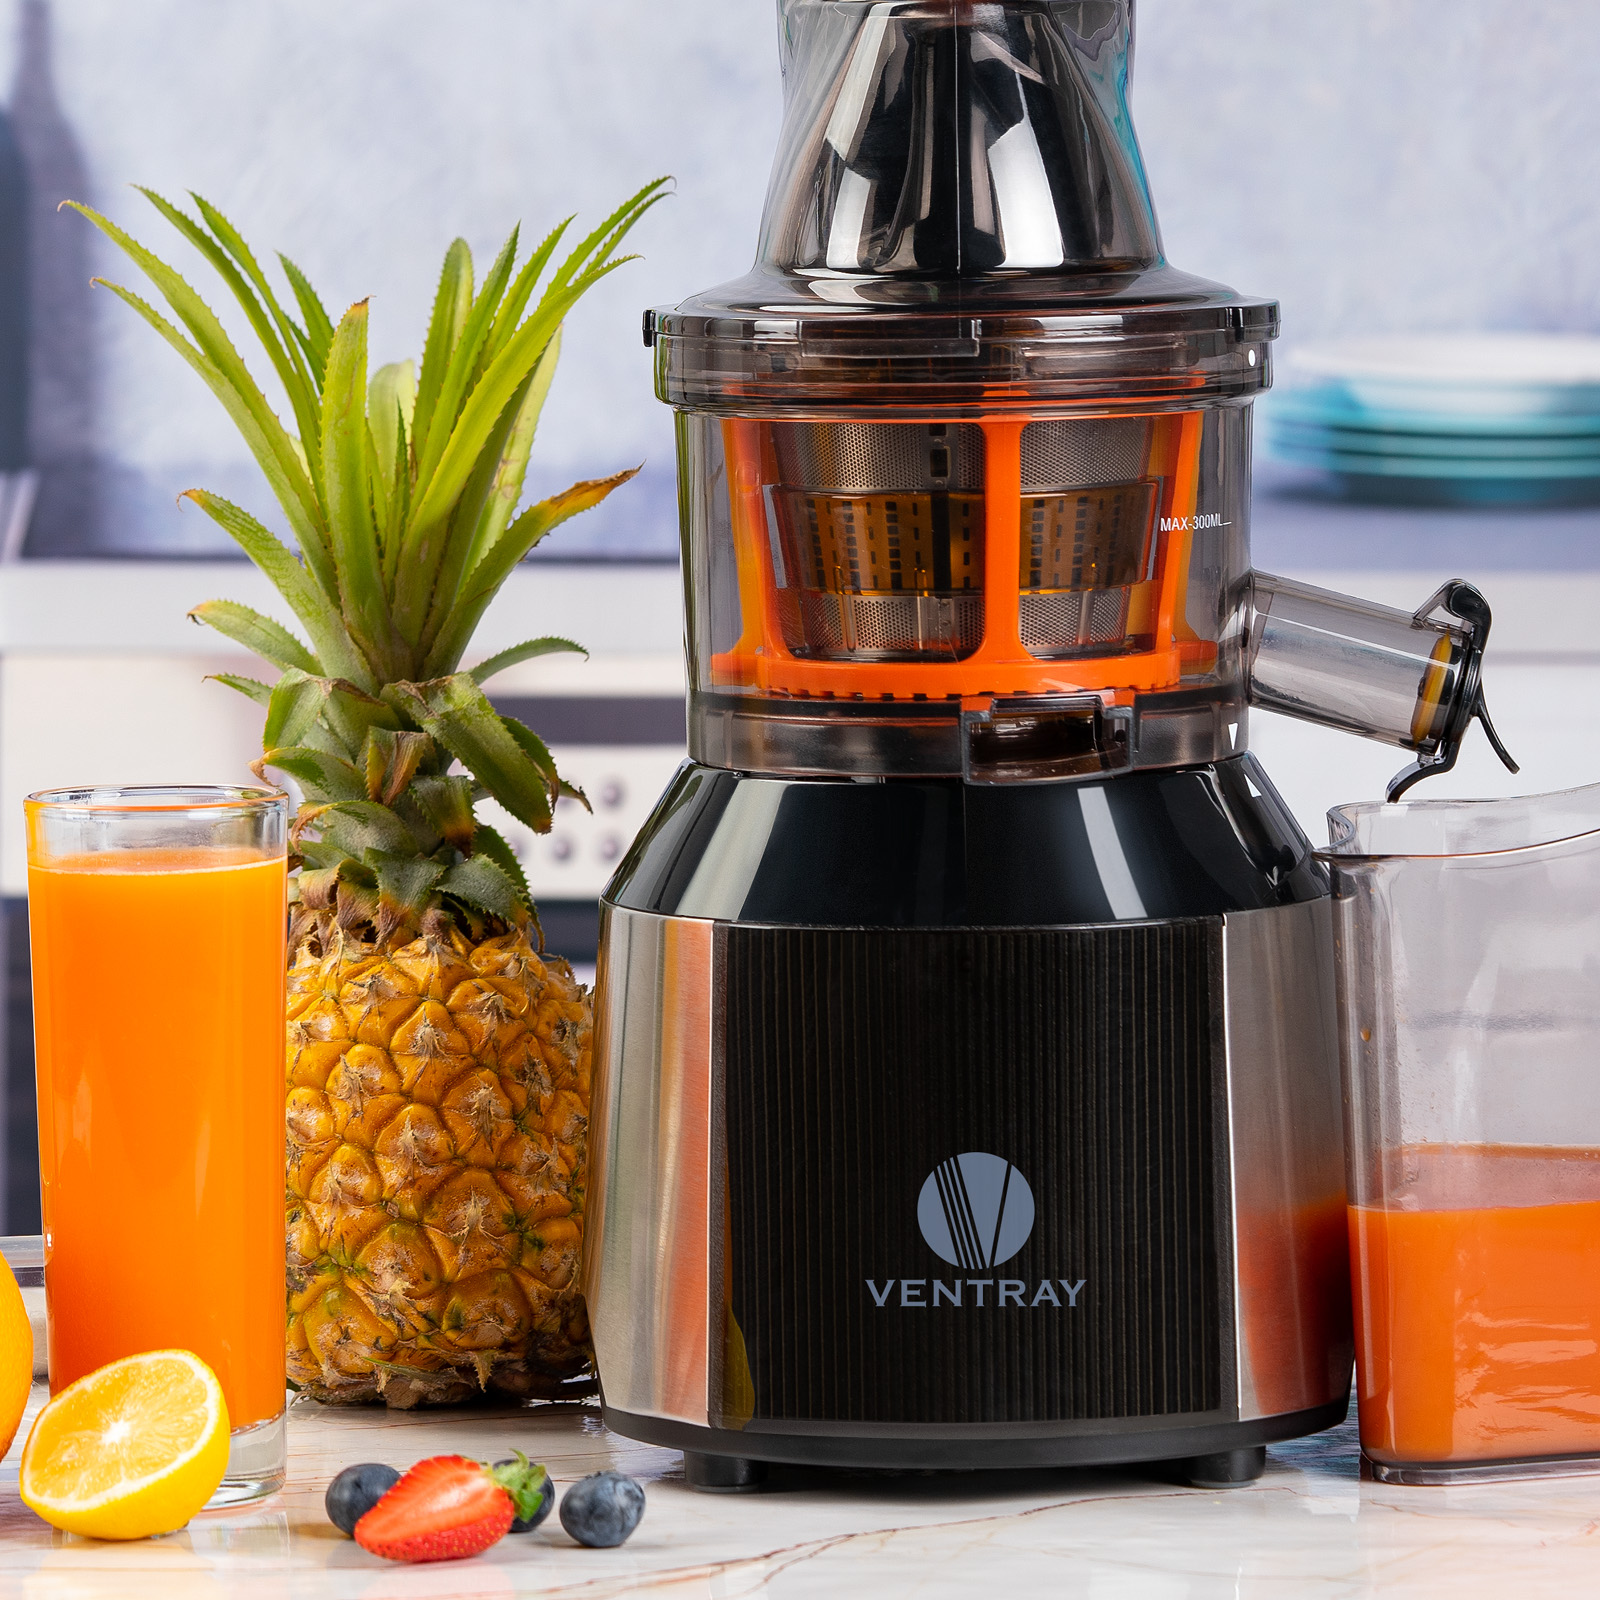
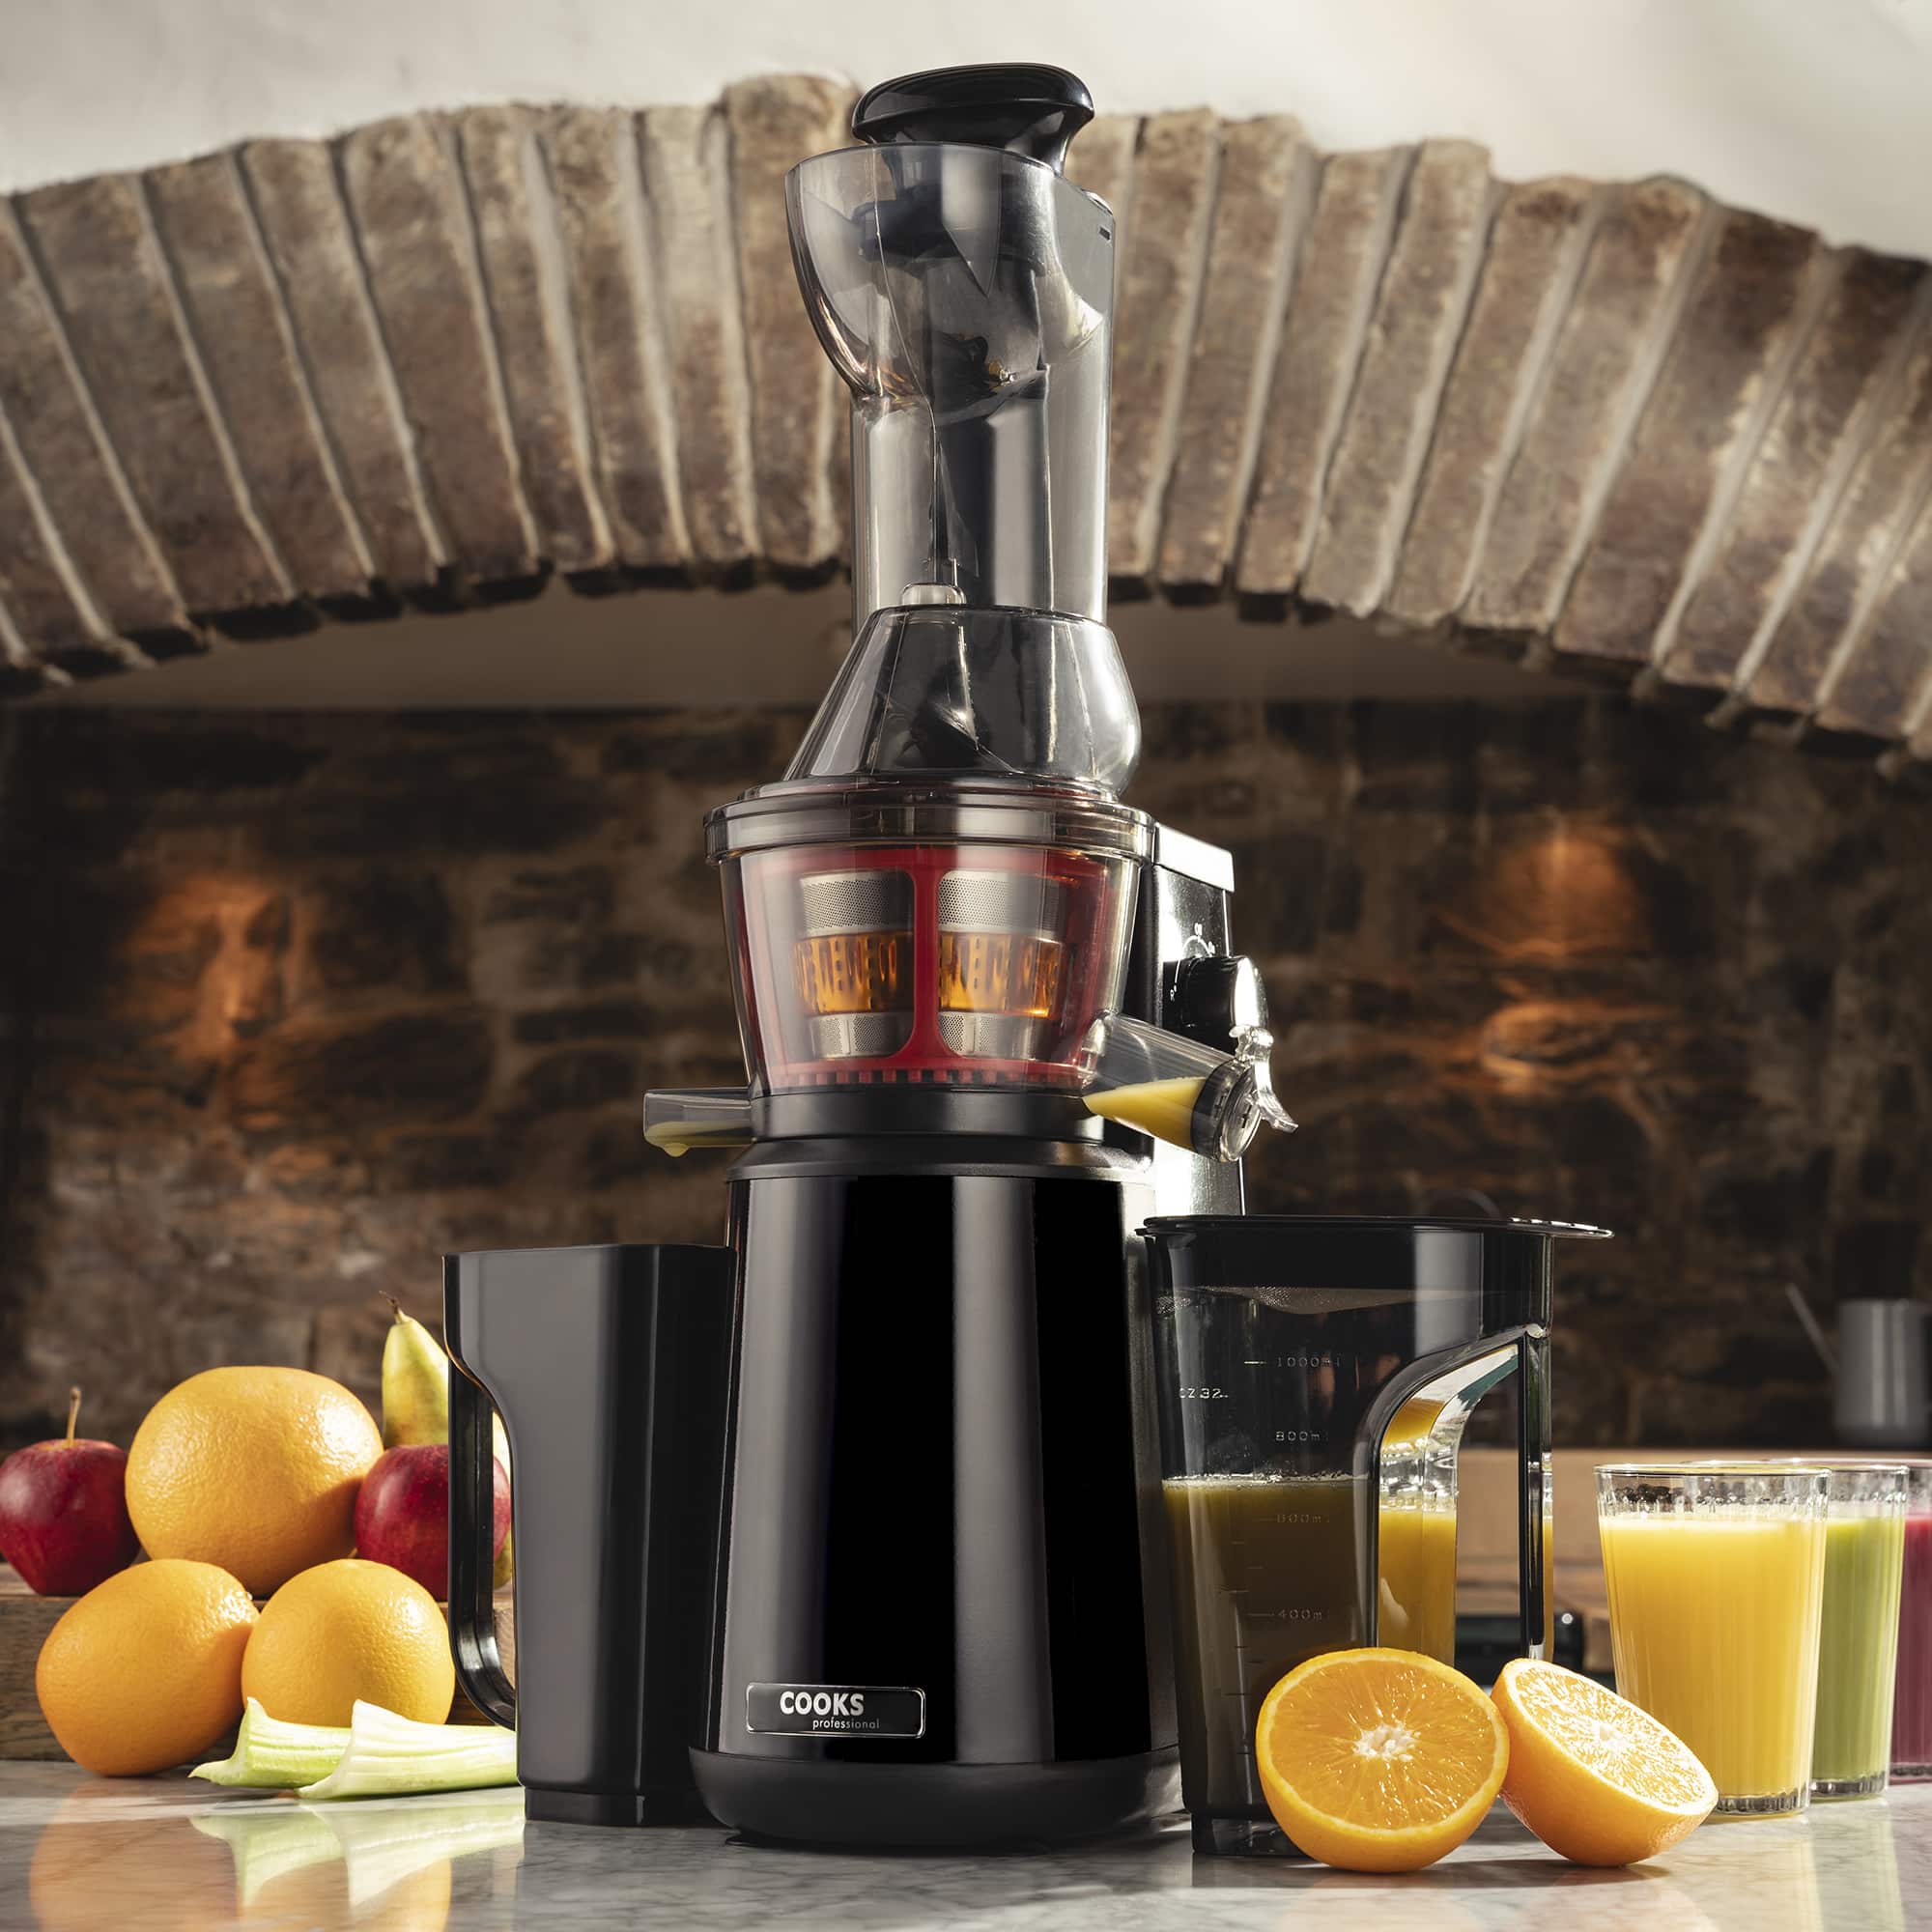
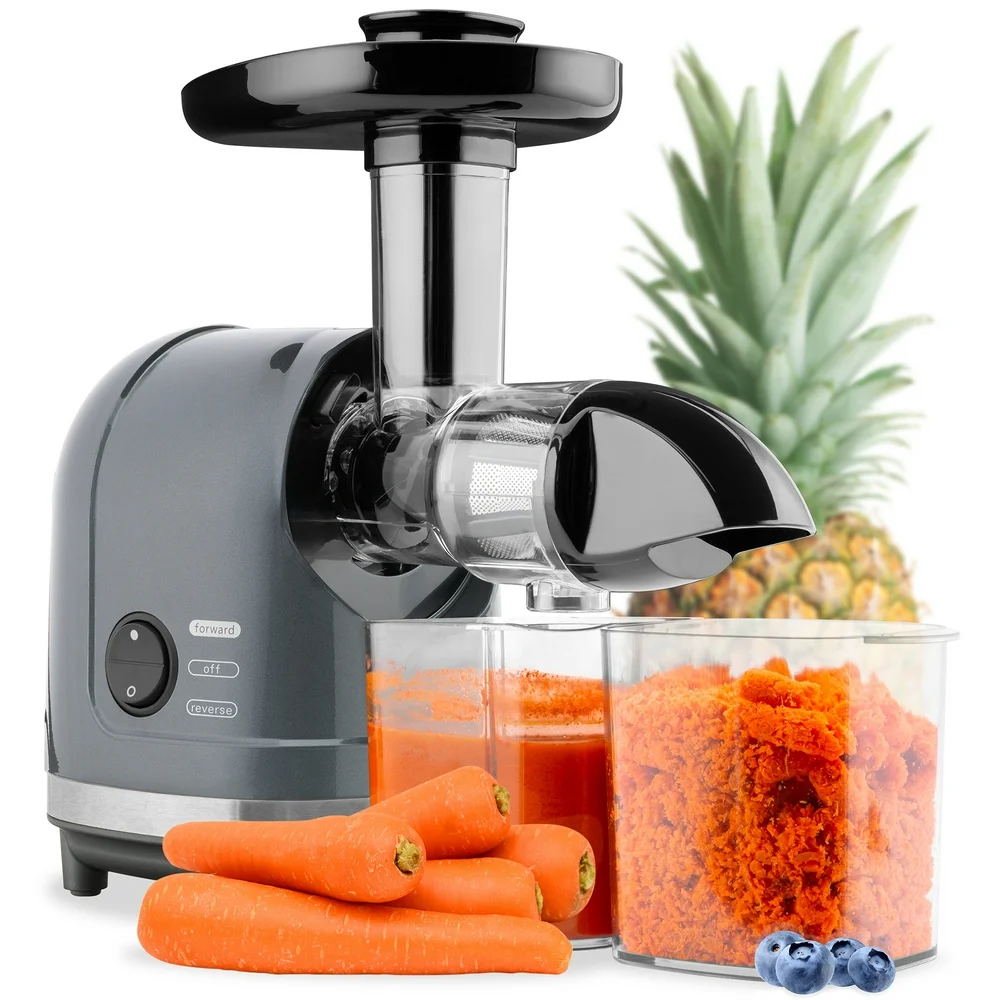
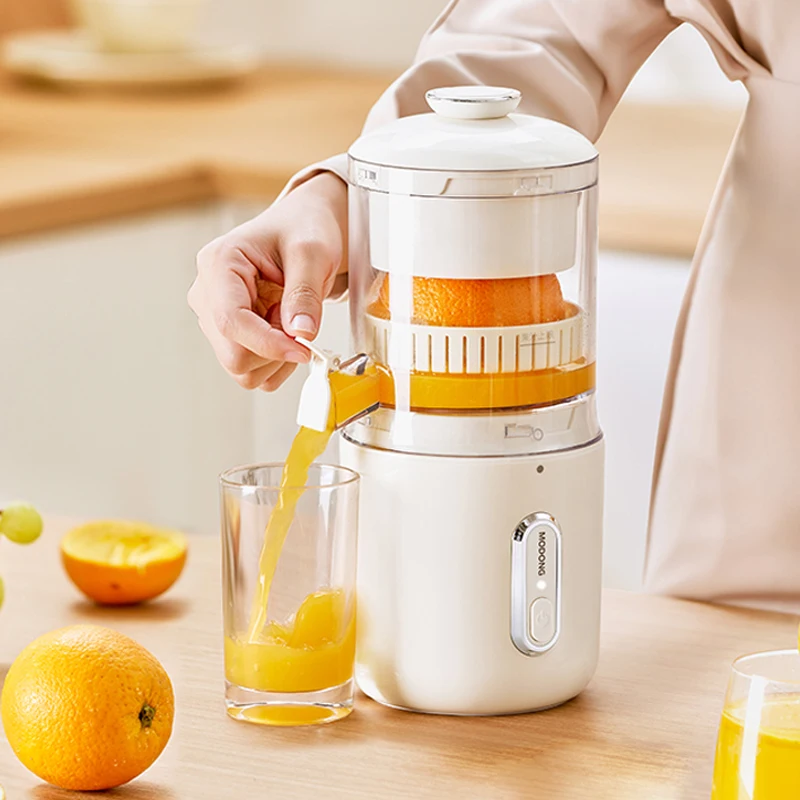
Masticating juicers, often referred to as slow or cold press juicers, utilize a single auger that crushes and squeezes fruits and vegetables to extract juice. This method contrasts sharply with the high-speed spinning of centrifugal juicers, resulting in several key advantages:
- Nutrient Preservation: The gentle extraction process minimizes heat and oxidation, preserving vital vitamins, minerals, and enzymes.
- Higher Yield: Masticating juicers typically extract more juice from produce, reducing waste.
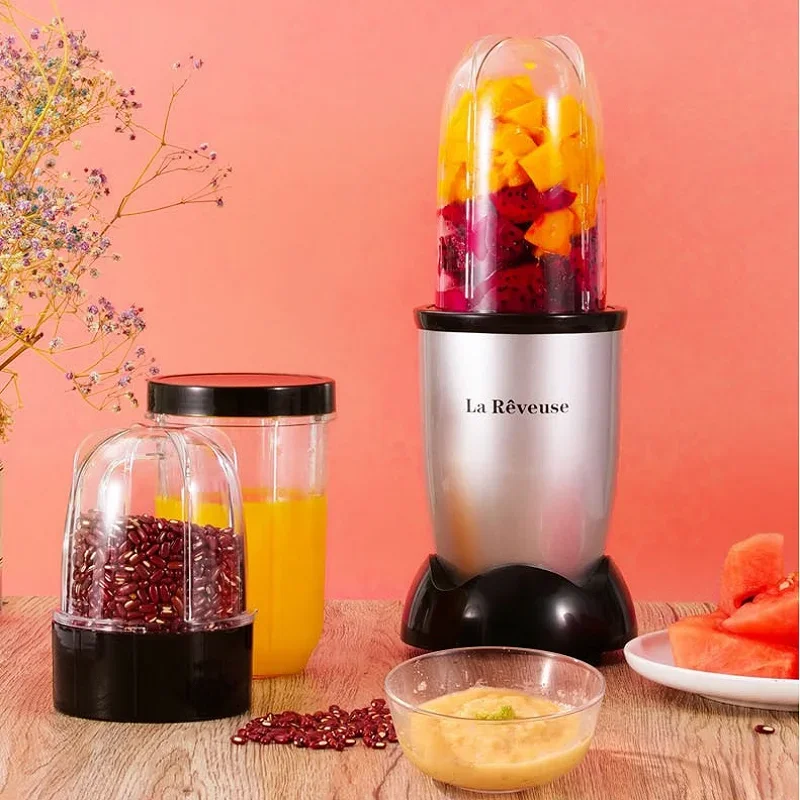
- Versatility: Beyond juicing, these machines can often handle tasks like making nut butters, sorbets, and even pasta, offering multifunctional kitchen utility.
The Science Behind Masticating Juicing
At the heart of a masticating juicer’s effectiveness is its mechanism. The single auger rotates at low speeds, applying consistent pressure to break down cellular structures of fruits and vegetables. This method ensures thorough extraction while maintaining the integrity of the juice’s nutritional profile. Additionally, the reduced heat generation lowers the risk of nutrient degradation, making masticating juicers a superior choice for health enthusiasts.
Benefits of Using a Masticating Juicer
Enhanced Nutrient Intake
One of the primary reasons individuals opt for a masticating juicer is its ability to retain more nutrients. The slow juicing process ensures that essential vitamins like Vitamin C and B-complex, along with antioxidants, remain intact. Consequently, consuming freshly extracted juice can contribute significantly to your daily nutritional requirements.
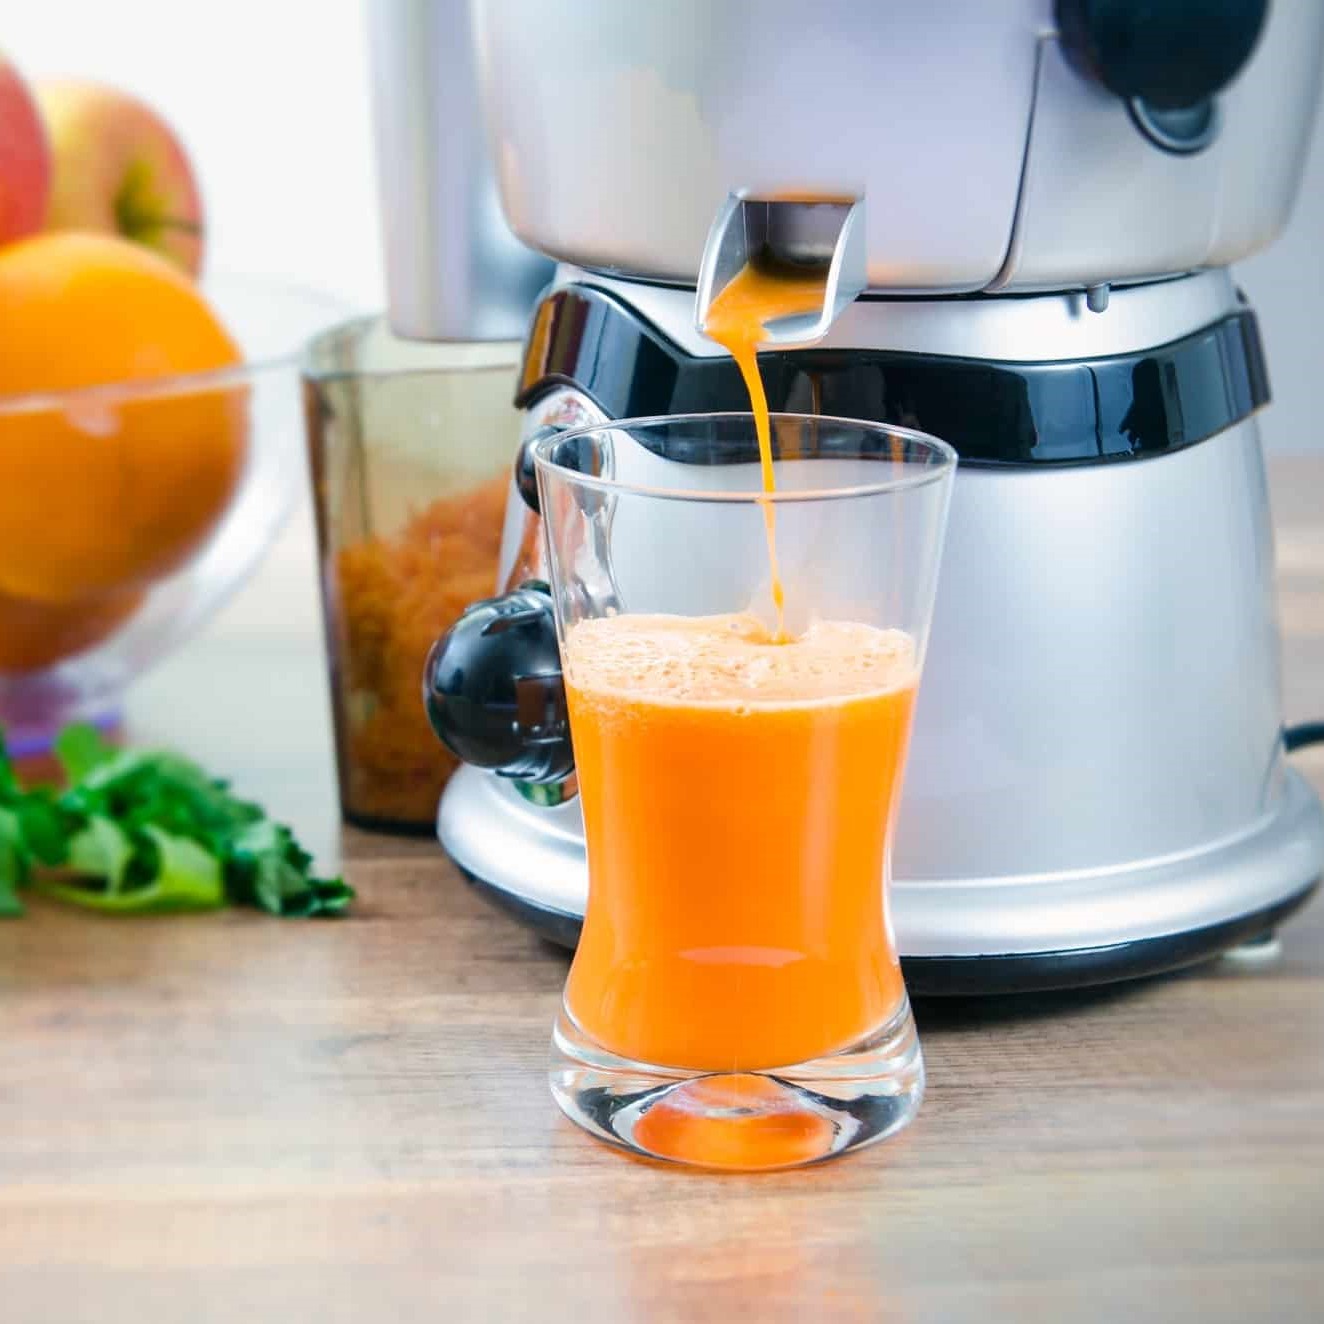
Higher Juice Yield and Efficiency
Masticating juicers are renowned for their efficiency in extracting juice. The thorough crushing and pressing mechanism ensures that you get the maximum possible liquid from your produce. This not only enhances the value you get from your fruits and vegetables but also reduces the frequency of juicer cleanings since there’s less pulp residue left behind.
Versatility in the Kitchen
Beyond juicing, masticating juicers offer a range of culinary possibilities. Whether you wish to create homemade almond milk, fresh salsa, or even craft your own pasta, these juicers can handle a variety of tasks with ease. This adaptability makes them a valuable addition to any kitchen, catering to diverse dietary preferences and culinary experiments.
Cost-Effectiveness Over Time
While the initial investment in a masticating juicer may be higher compared to centrifugal models, the long-term benefits often outweigh the costs. The higher juice yield means you can extract more from each purchase of fruits and vegetables, potentially reducing your grocery bills. Additionally, the durability and longevity of these juicers ensure that they remain a staple in your kitchen for years to come.
Choosing the Right One for Your Needs
Key Features to Consider
When selecting a masticating juicer, several factors come into play:
- Auger Speed: Lower speeds minimize heat and oxidation, preserving more nutrients.
- Material Quality: Stainless steel components are preferable for durability and hygiene.
- Ease of Cleaning: Removable parts that are dishwasher-safe can significantly reduce cleanup time.
- Size and Capacity: Depending on your juicing habits, choose a model that accommodates your production needs without occupying excessive kitchen space.
- Noise Level: While masticating juicers are generally quieter than centrifugal ones, some models operate more noisily. Opt for a quieter model if noise is a concern.
Top Brands in the Masticating Juicer Market
Several reputable brands dominate the masticating juicer market, each offering unique features and benefits:
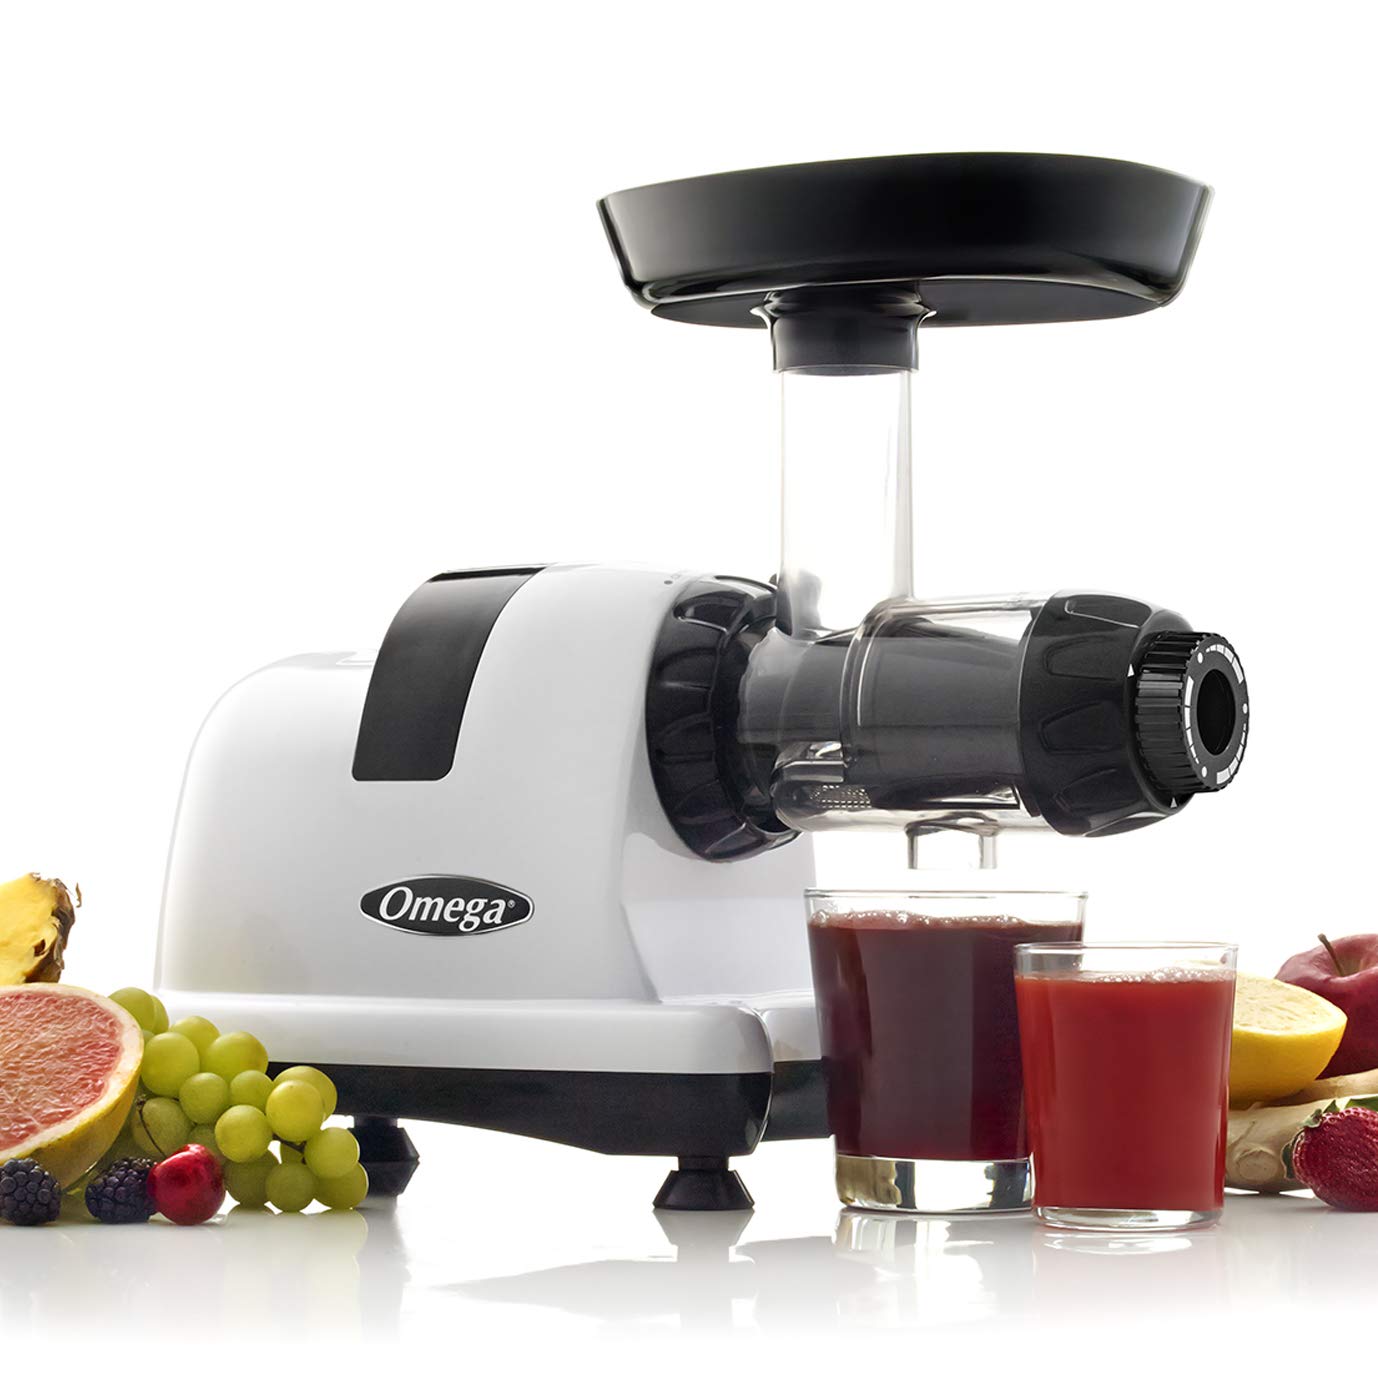
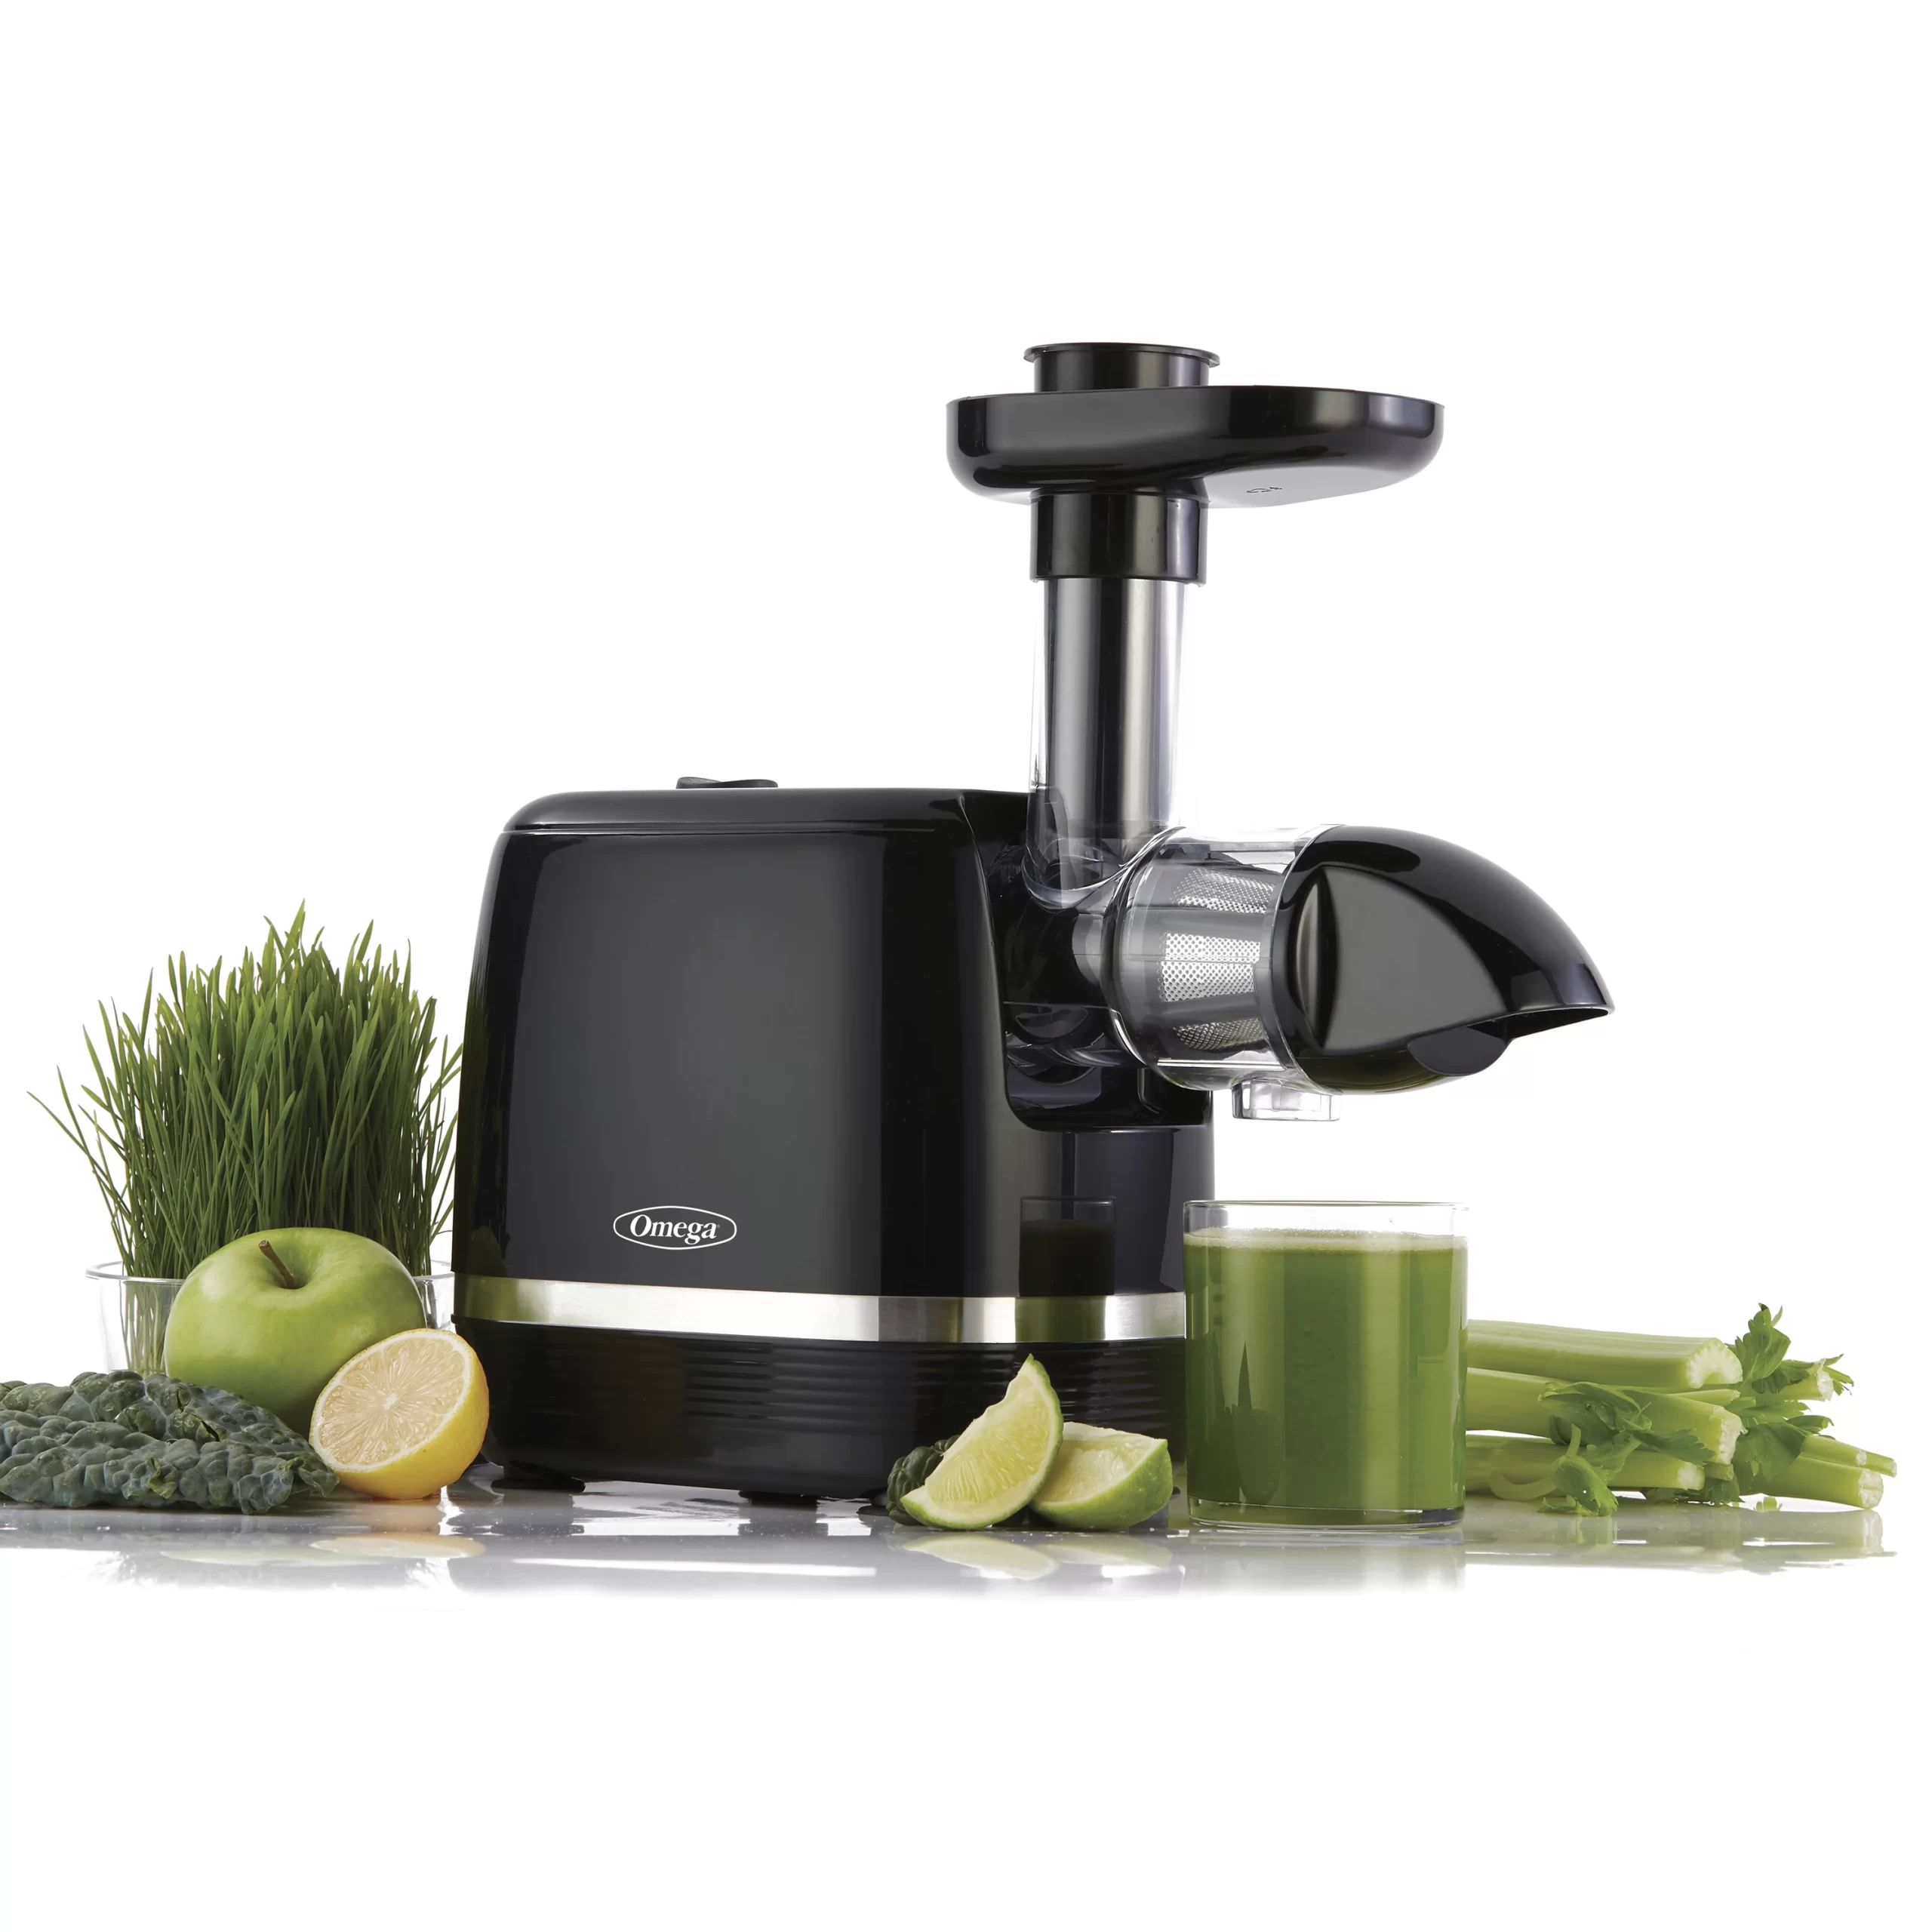
- Omega: Known for their robust build quality and versatility, Omega juicers are a favorite among health enthusiasts.
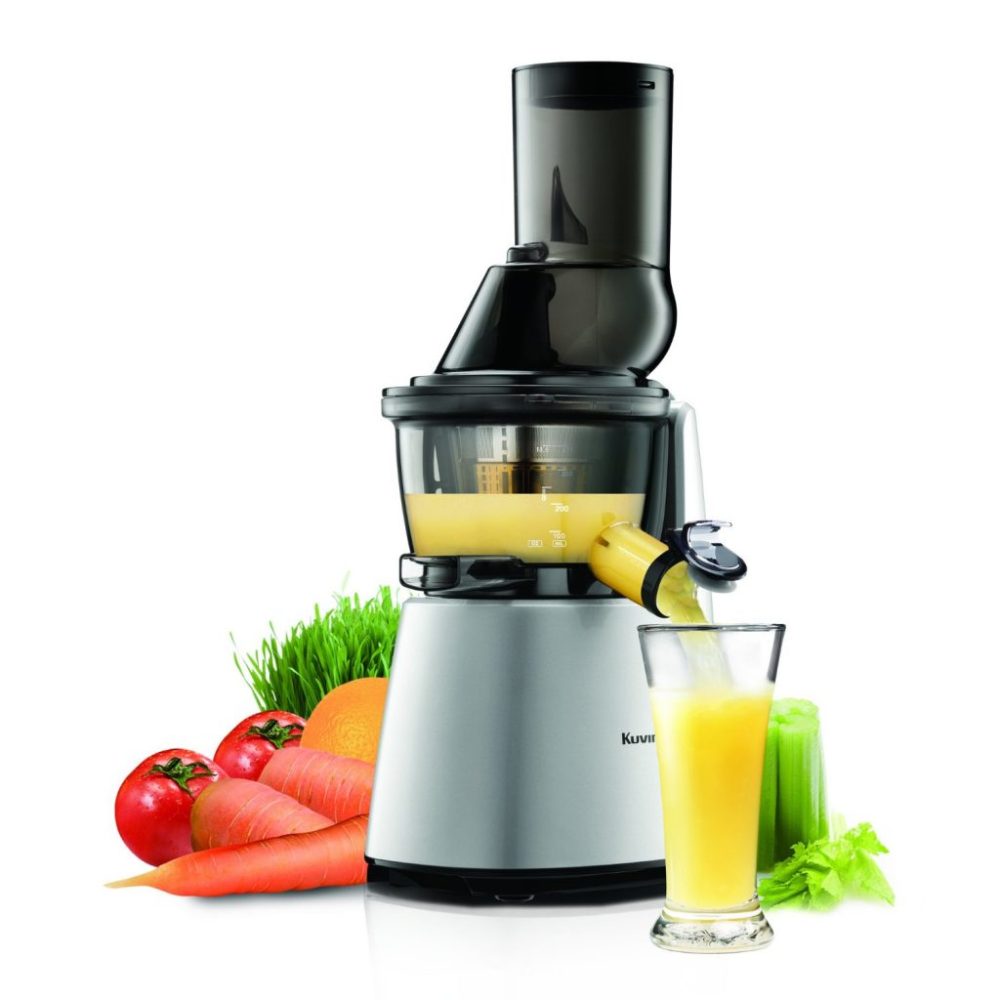
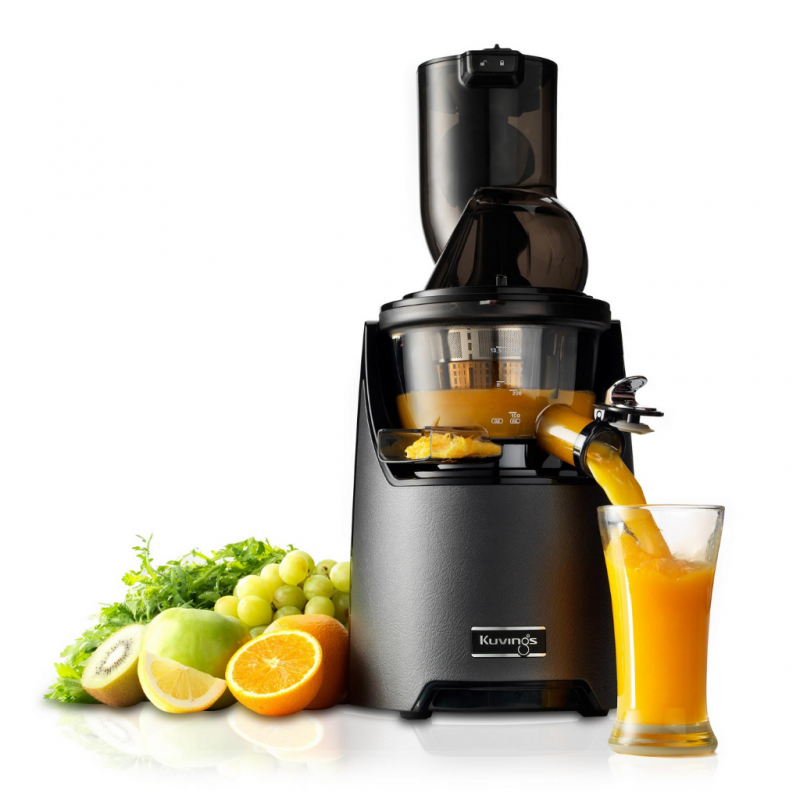
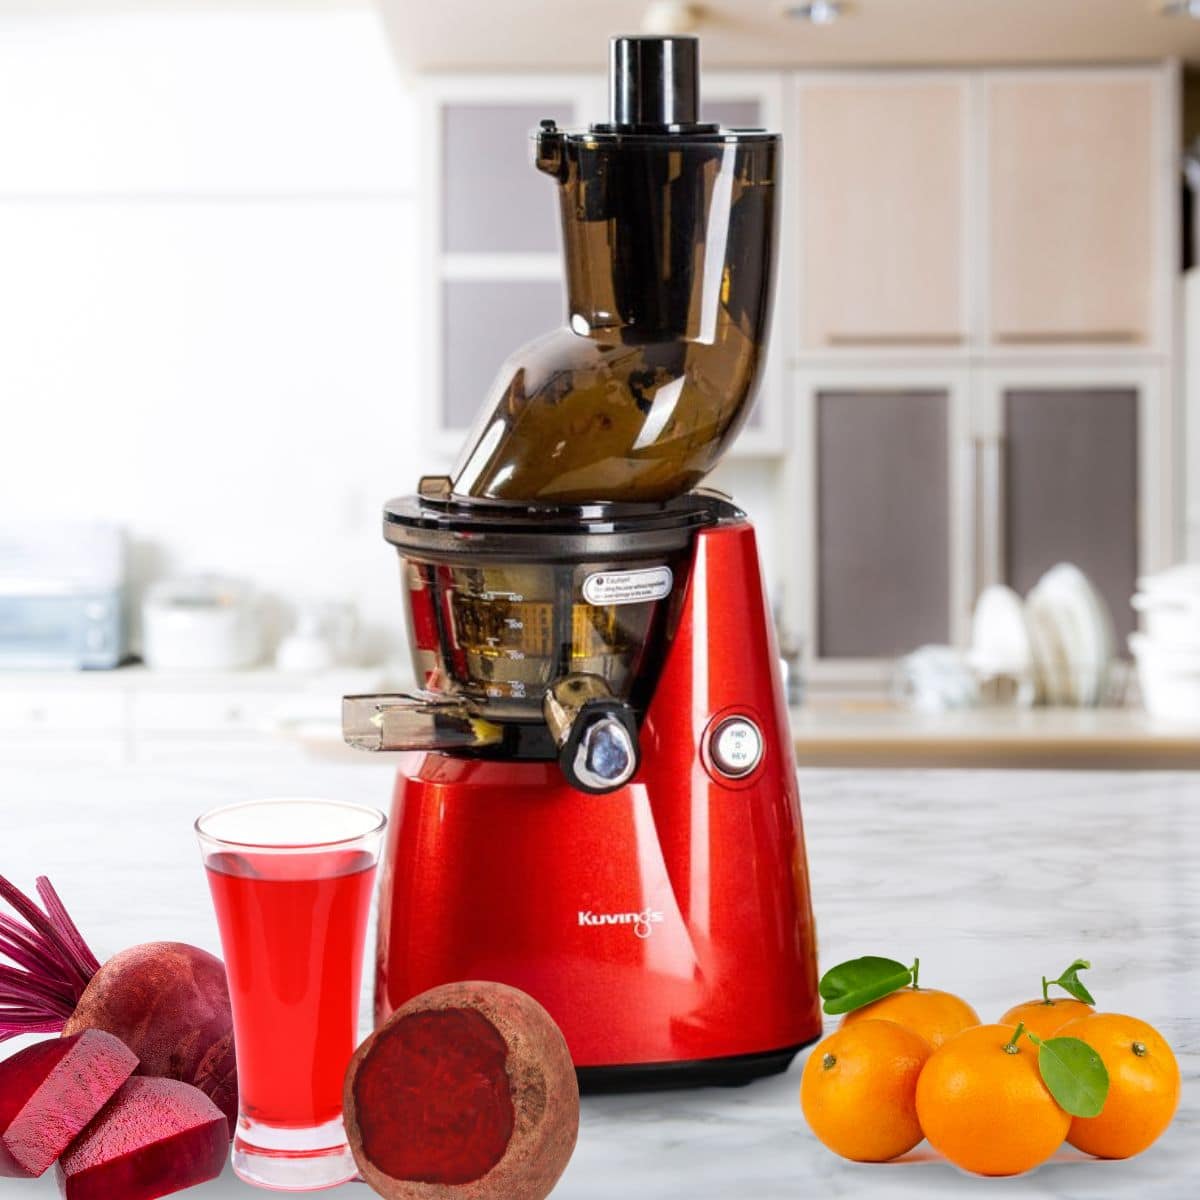
- Kuvings: Offering sleek designs and efficient performance, Kuvings juicers are ideal for those seeking both functionality and aesthetics.
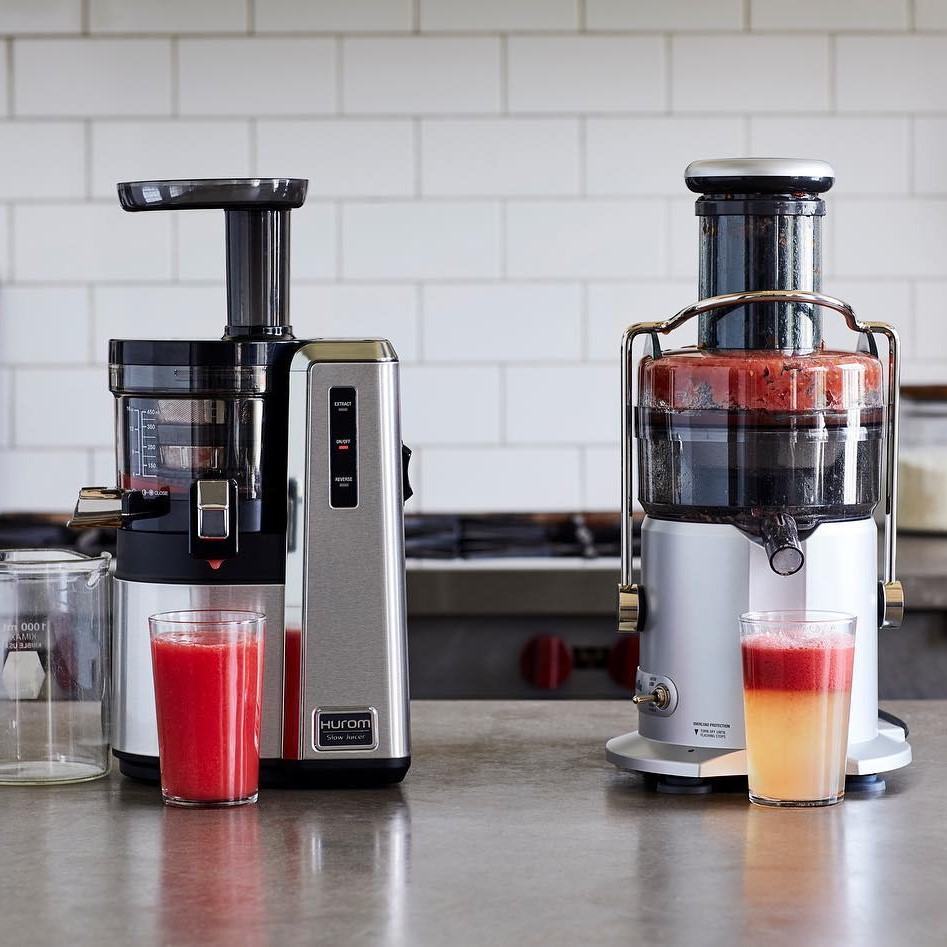
- Hurom: Renowned for their innovative features and user-friendly designs, Hurom juicers cater to modern kitchen needs.
- Tribest: Combining durability with advanced juicing technology, Tribest juicers are perfect for serious juicers seeking maximum efficiency.
Maximizing the Benefits
Optimal Juicing Techniques
To harness the full potential of your masticating juicer, consider the following techniques:
- Pre-Prep Your Produce: Thoroughly wash and chop fruits and vegetables to facilitate easier juicing and increase yield.
- Alternate Produce Types: Juicing leafy greens alongside harder fruits can improve juice flow and flavor balance.
- Consume Freshly Extracted Juice Promptly: To maximize nutrient intake, consume your juice immediately after extraction or store it in airtight containers to minimize oxidation.
Maintenance and Care Tips
Proper maintenance ensures the longevity and efficiency of your masticating juicer:
- Immediate Cleaning: Rinse the juicer parts immediately after use to prevent pulp from drying and sticking.
- Deep Cleaning: Periodically disassemble and clean all components thoroughly with mild soap and water.
- Regular Inspections: Check for any signs of wear or damage, particularly in the auger and feeding tube, to ensure optimal performance.
Troubleshooting Common Issues
Even the best masticating juicers may occasionally encounter issues. Here are some common problems and their solutions:
- Low Juice Yield: Ensure that your produce is well-prepped and that the auger is functioning correctly. Alternating produce types can also enhance yield.
- Clogging or Stalling: Avoid overfilling the juicer and ensure that seeds and pits are removed from fruits to prevent clogging.
- Unusual Noises: This could indicate that the juicer is struggling with tough produce or that there may be an obstruction in the auger.
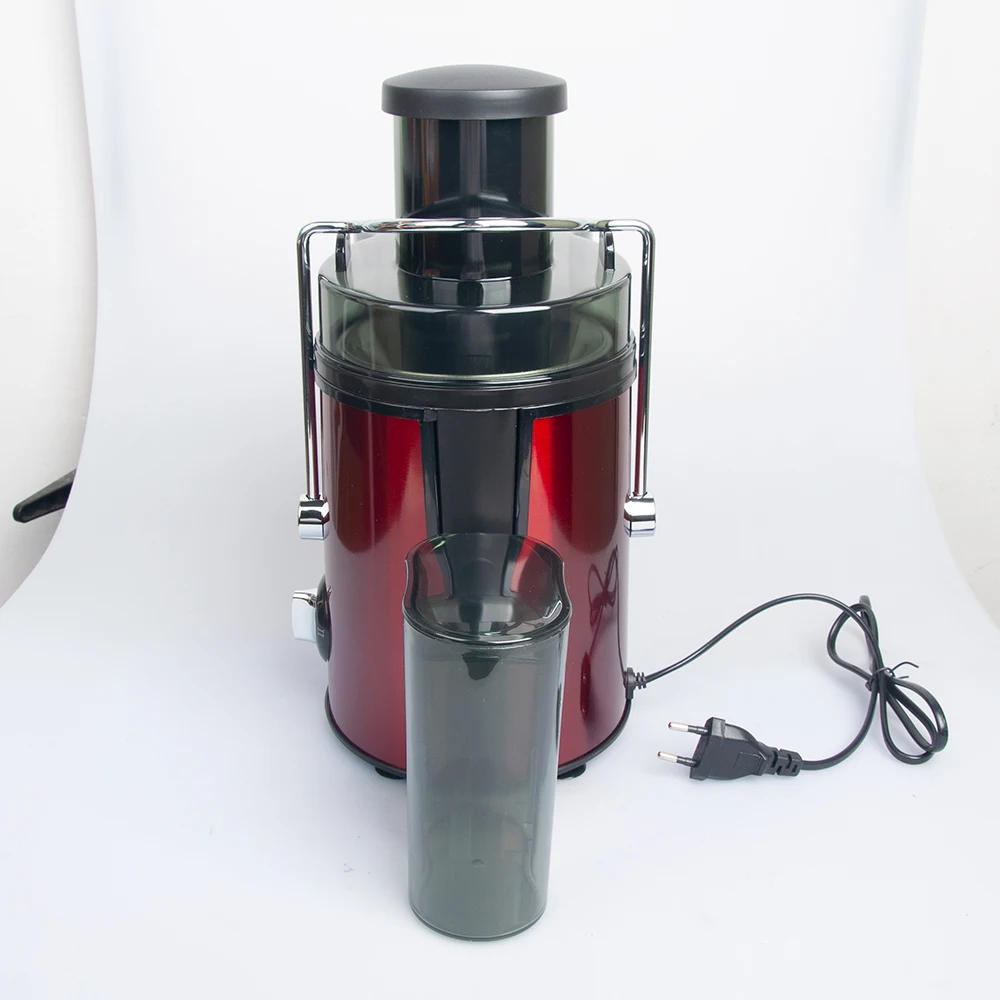
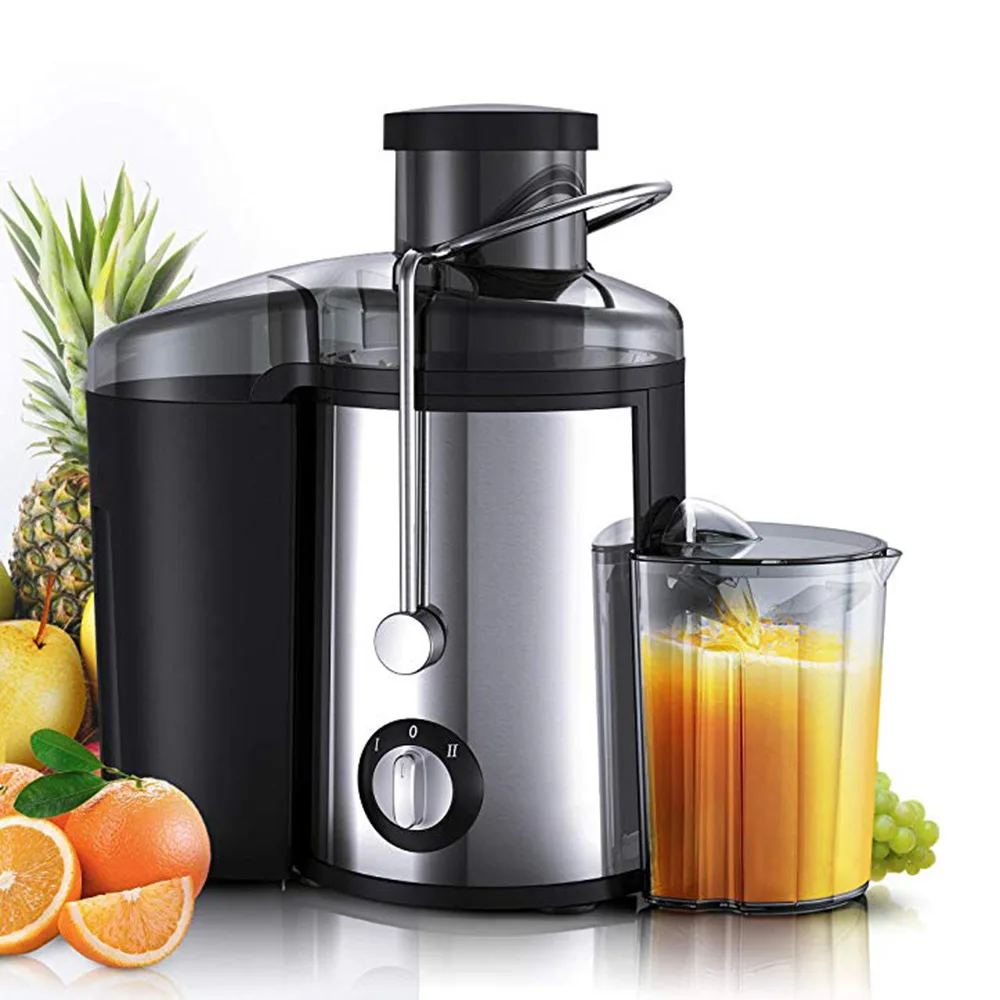
Comparing Masticating Juicers to Other Types
Masticating vs. Centrifugal Juicers
While both masticating and centrifugal juicers serve the primary purpose of juice extraction, they differ significantly in their operation and results:
- Operation Speed: Centrifugal juicers operate at high speeds, leading to more heat and oxidation, whereas masticating juicers work slowly, preserving more nutrients.
- Juice Quality: Masticating juicers produce higher-quality juice with better flavor and nutrient retention.
- Versatility: Masticating juicers are generally more versatile, capable of handling a wider range of produce and additional kitchen tasks.
Masticating Juicers vs. Twin Gear Juicers
Twin gear juicers, also known as triturating juicers, use two gears to crush and press produce, often resulting in even higher juice quality compared to single auger masticating juicers. However, twin gear juicers are typically more expensive and may require more maintenance. For most home users, a single auger masticating juicer offers an excellent balance of performance, versatility, and cost.
Integrating a Masticating Juicer into Your Lifestyle
Enhancing Your Daily Nutrition
Incorporating a masticating juicer into your daily routine can significantly boost your nutrient intake. Whether you prefer sweet juices from fruits or green juices packed with leafy vegetables, the ability to create customized blends ensures that you receive a diverse range of vitamins and minerals tailored to your dietary needs.
Supporting Weight Management Goals
Juicing with a masticating juicer can be an effective tool for weight management. Freshly extracted juices are nutrient-dense yet low in calories, making them a satisfying option for those looking to reduce caloric intake without compromising on essential nutrients. Additionally, incorporating juice into meal plans can help curb hunger and reduce the temptation to indulge in unhealthy snacks.
Catering to Special Dietary Requirements
For individuals with specific dietary needs, such as those following vegan, keto, or paleo diets, a masticating juicer offers the flexibility to create nutrient-rich beverages that align with their dietary preferences. The versatility of these juicers ensures that every dietary requirement can be met with ease and creativity.

Frequently Asked Questions
How Often Should I Use My Masticating Juicer?
You can use your masticating juicer daily or several times a week, depending on your dietary needs and juicing habits. Consistent use ensures you receive a steady supply of fresh nutrients.
Can I Juice Leafy Greens with a Masticating Juicer?
Absolutely. Masticating juicers excel at extracting juice from leafy greens like spinach, kale, and Swiss chard, producing a nutrient-packed drink with minimal waste.
Is It Easy to Clean a Masticating Juicer?
Most modern masticating juicers are designed for easy disassembly and cleaning. Rinsing the parts immediately after use and performing a thorough clean regularly will keep your juicer in optimal condition.
What Kind of Produce Works Best with a Masticating Juicer?
While masticating juicers can handle a wide variety of produce, they perform exceptionally well with leafy greens, soft fruits, and hard vegetables. They are also adept at processing nuts and seeds for making butters and milks.
How Long Do Masticating Juicers Last?
With proper care and maintenance, a high-quality masticating juicer can last several years. Investing in a reputable brand and following the manufacturer’s care instructions will enhance the longevity of your appliance.
The Future of Juicing: Innovations in Masticating Technology
As the demand for healthier lifestyles continues to rise, manufacturers are continually innovating to enhance the functionality and efficiency of masticating juicers. Recent advancements include:
- Smart Juicers: Integration of digital interfaces and app connectivity allows users to customize juicing settings and monitor nutritional intake.
- Enhanced Materials: Use of BPA-free plastics and stainless steel components improves safety and durability.
- Compact Designs: New models are being designed to occupy less kitchen space without compromising on performance, catering to modern, minimalist kitchens.
Conclusion
Investing in a masticating juicer is more than just adding another appliance to your kitchen; it’s a commitment to a healthier, more vibrant lifestyle. By preserving vital nutrients, offering higher juice yields, and providing unparalleled versatility, masticating juicers stand out as essential tools for anyone serious about their health and culinary exploration. Whether you’re a seasoned juicer or just beginning your journey towards better nutrition, a masticating juicer can unlock a world of benefits, ensuring that every sip you take is a step towards optimal well-being.


 Cleaning and Maintenance Tips for Your 7-Cup Food Processor
 Recipe Ideas: Best Uses for Food Processors
 Key Differences: Capacity, Functionality, and Size
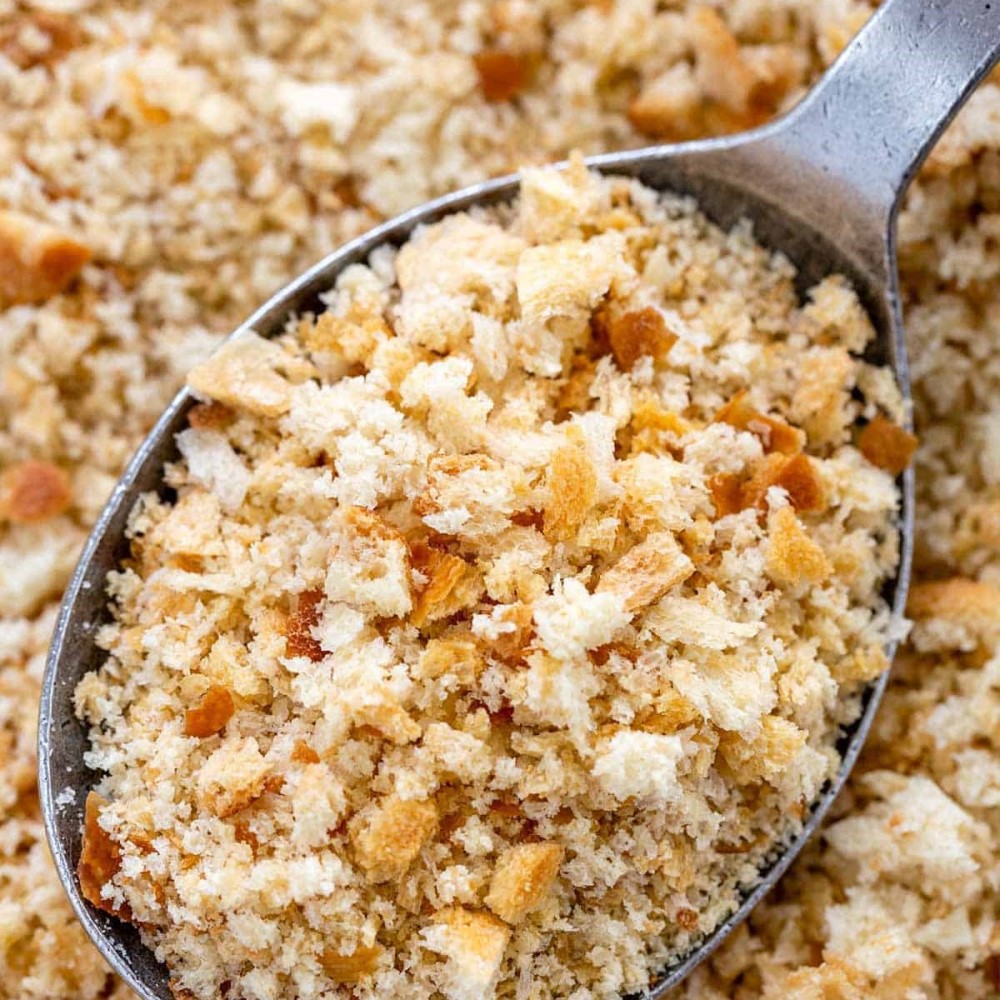
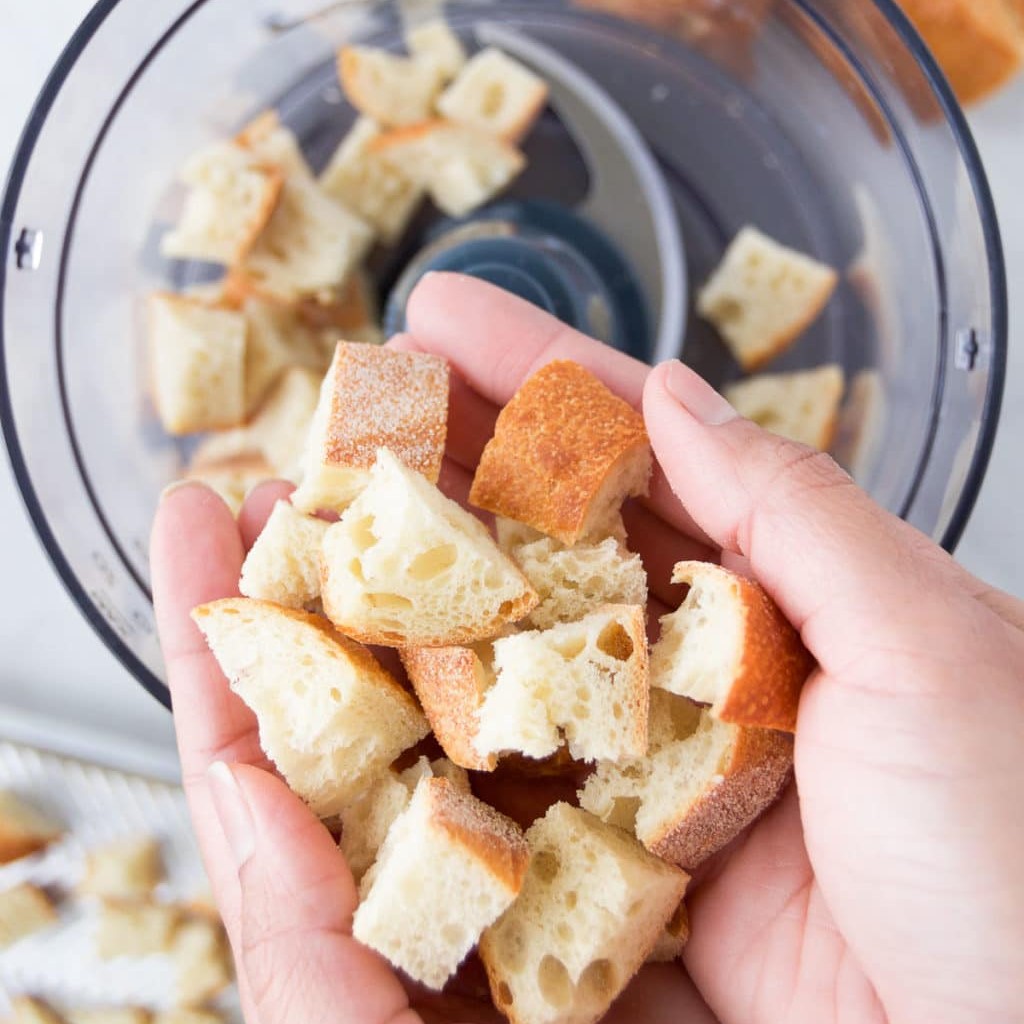
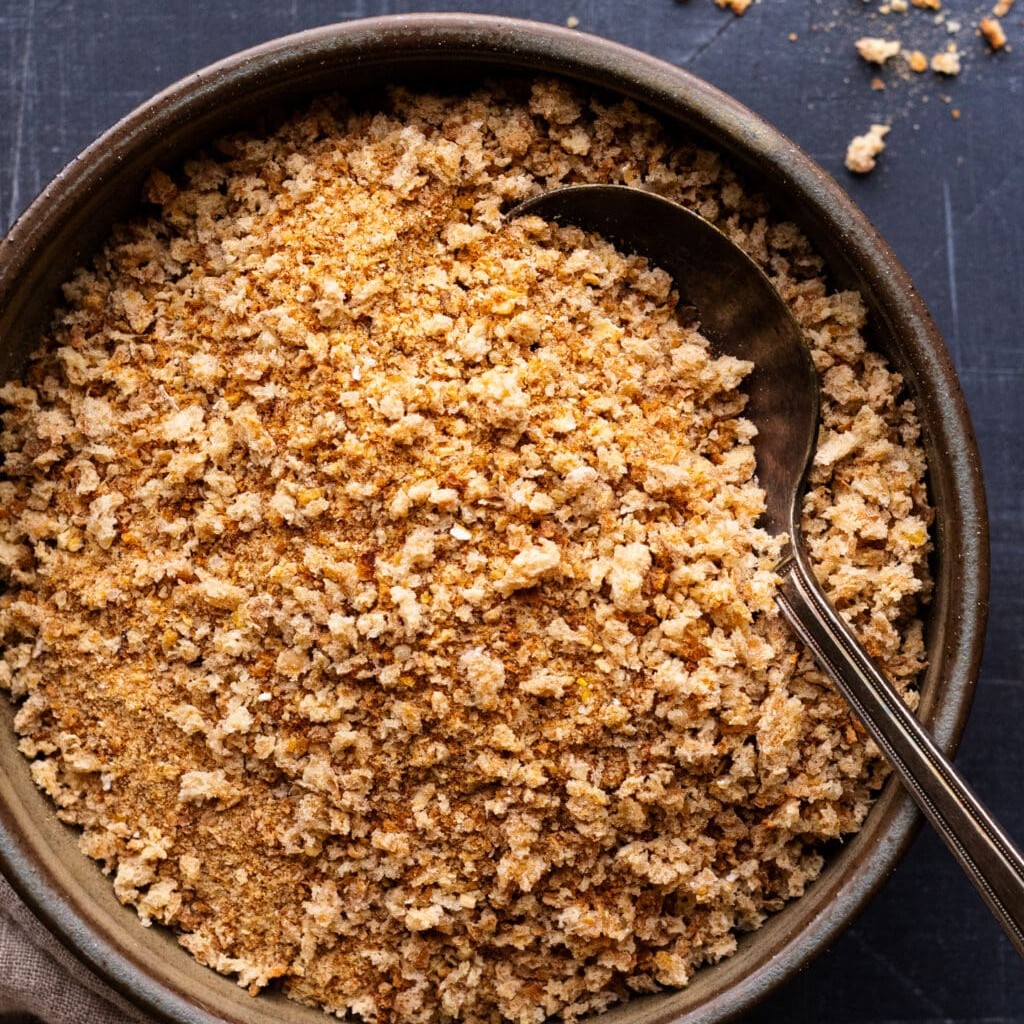 Oven-Drying Bread for Homemade Breadcrumbs