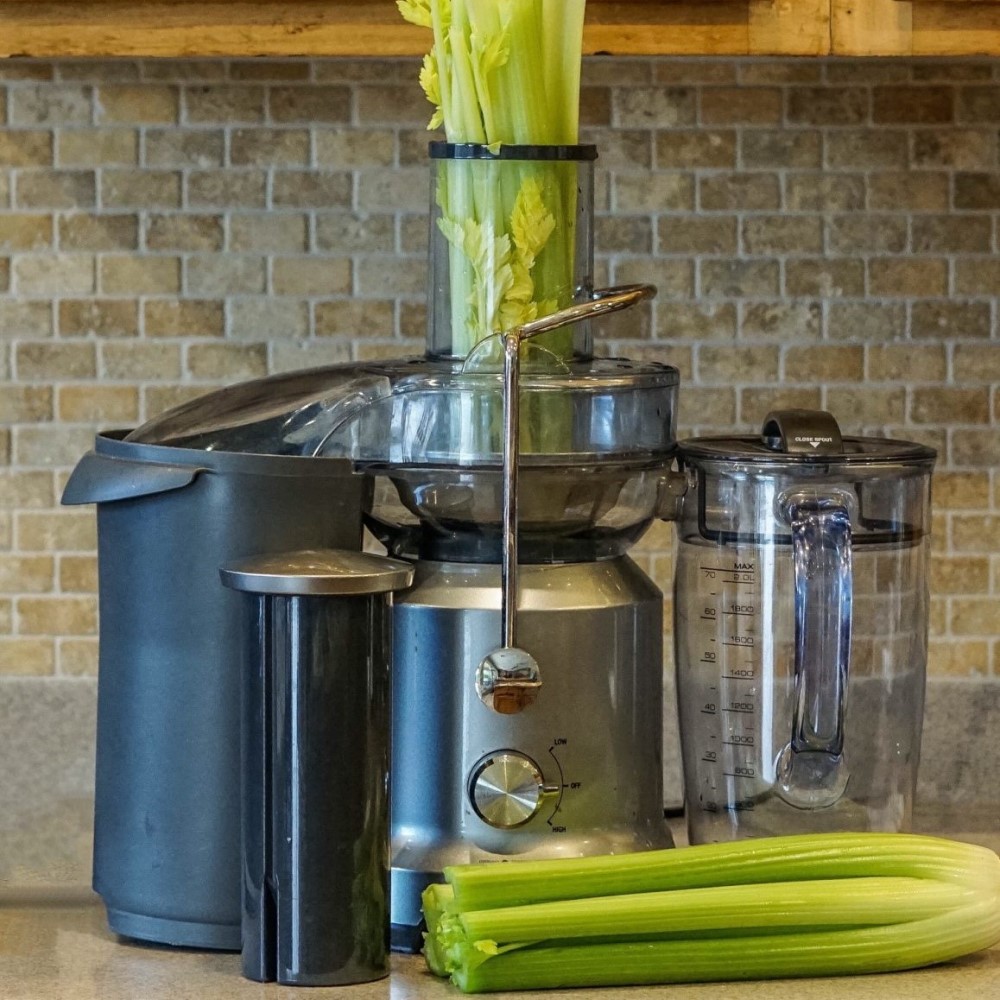
In today’s fast-paced world, maintaining a healthy lifestyle can be challenging. However, investing in a slow juicer machine can significantly enhance your ability to consume fresh, nutrient-rich juices effortlessly. This article delves into the numerous advantages of slow juicers, compares them with other juicing methods, and provides essential tips to help you make an informed decision. Furthermore, by incorporating strategic transition words, we ensure a smooth and engaging read that highlights the benefits and functionalities of slow juicer machines.
 Benefits of Using a Slow Juicer
Superior Nutrient Retention
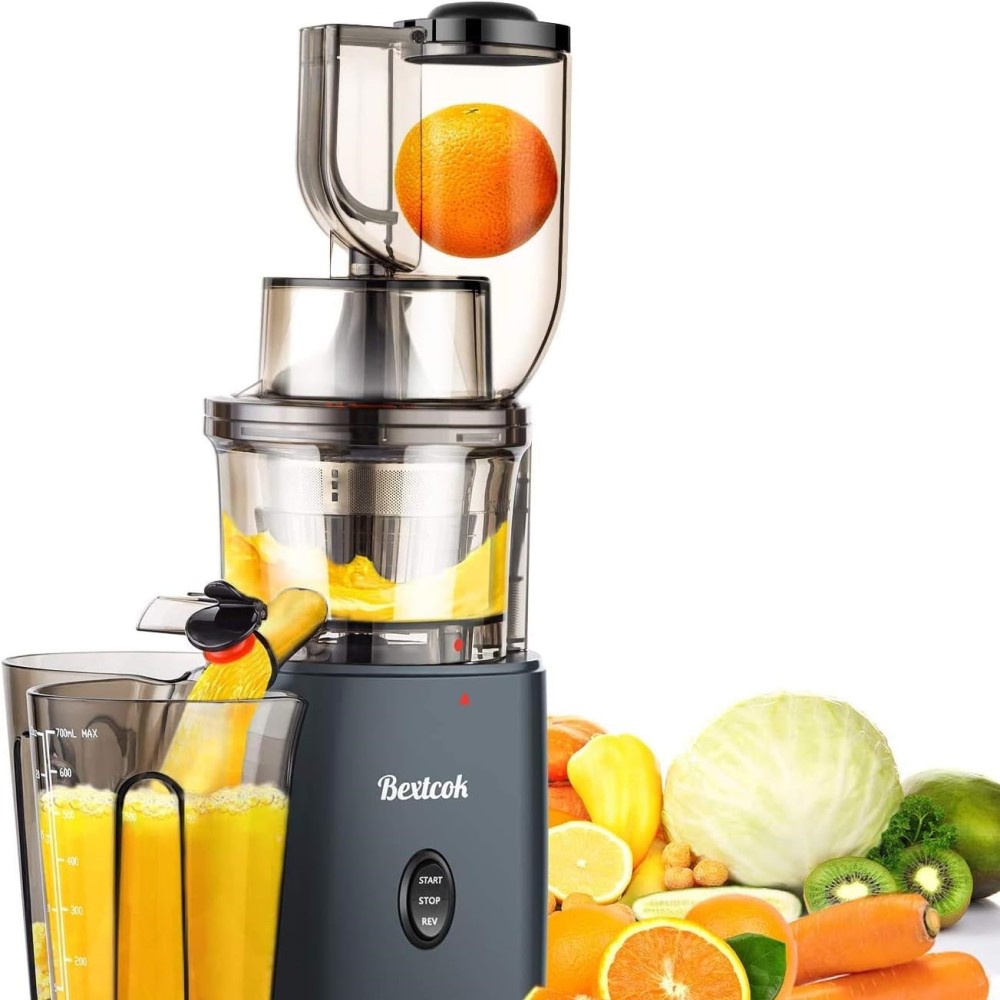
One of the most compelling reasons to choose a slow juicer machine is its ability to retain nutrients effectively. Since the juicing process is gentle and generates less heat, essential vitamins, minerals, and enzymes are preserved. This ensures that you receive the maximum health benefits from your juices. Moreover, the minimal oxidation process helps maintain the juice’s nutritional integrity over a longer period.
Higher Juice Yield
Slow juicers are renowned for their efficiency in extracting juice. By thoroughly crushing and pressing the produce, these machines can extract more juice compared to their centrifugal counterparts. Consequently, you get more juice from the same amount of fruits and vegetables, making it a cost-effective option in the long run. Additionally, the higher yield means less waste, allowing you to make the most out of every ingredient you use.
Enhanced Flavor and Aroma
The slow juicing process enhances the natural flavors and aromas of your ingredients. Unlike high-speed juicers that can produce heat and foam, slow juicers maintain the integrity of the flavors, resulting in a smoother and more delicious juice. Furthermore, the reduced heat ensures that the delicate aromas of your produce are preserved, providing a more enjoyable juicing experience.
Quiet Operation
Another significant advantage of slow juicer machines is their quiet operation. The low-speed mechanism generates less noise, making it ideal for early morning or late-night juicing without disturbing others in the household. Consequently, you can enjoy fresh juice at any time without worrying about the noise levels, allowing for a more flexible juicing routine.
 Comparing Slow Juicers with Other Juicing Methods
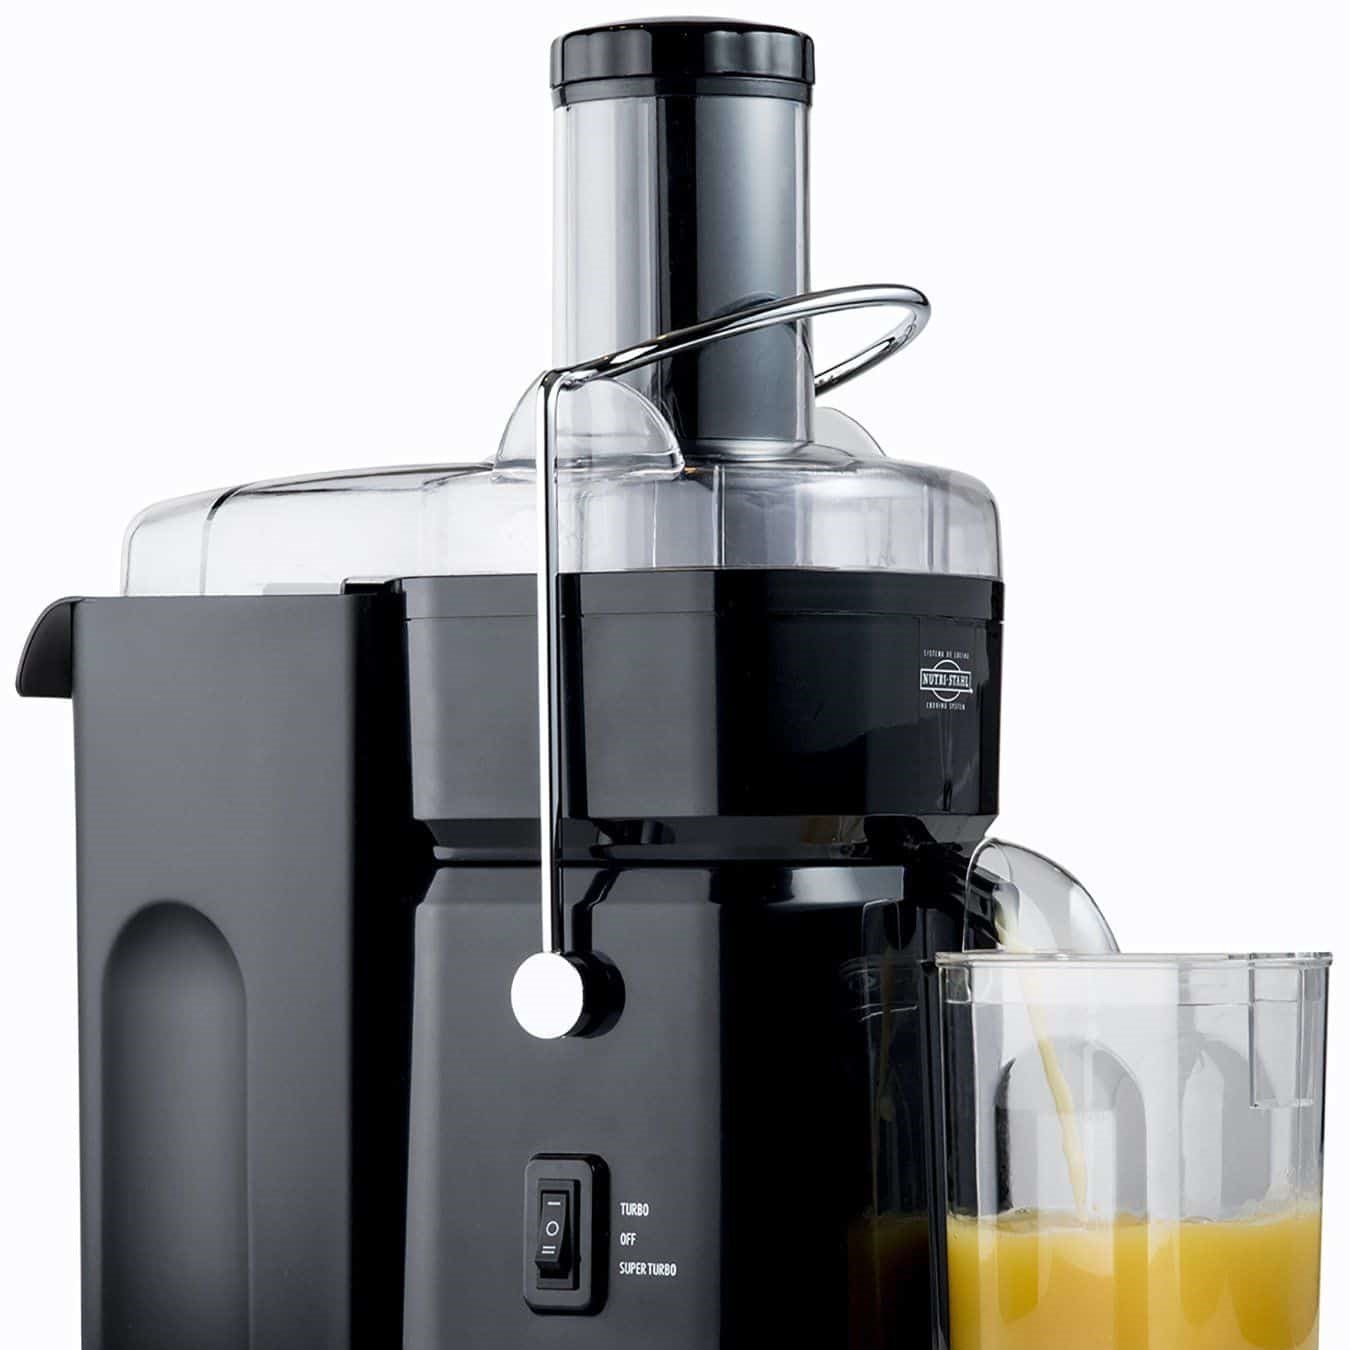
Slow Juicers vs. Centrifugal Juicers
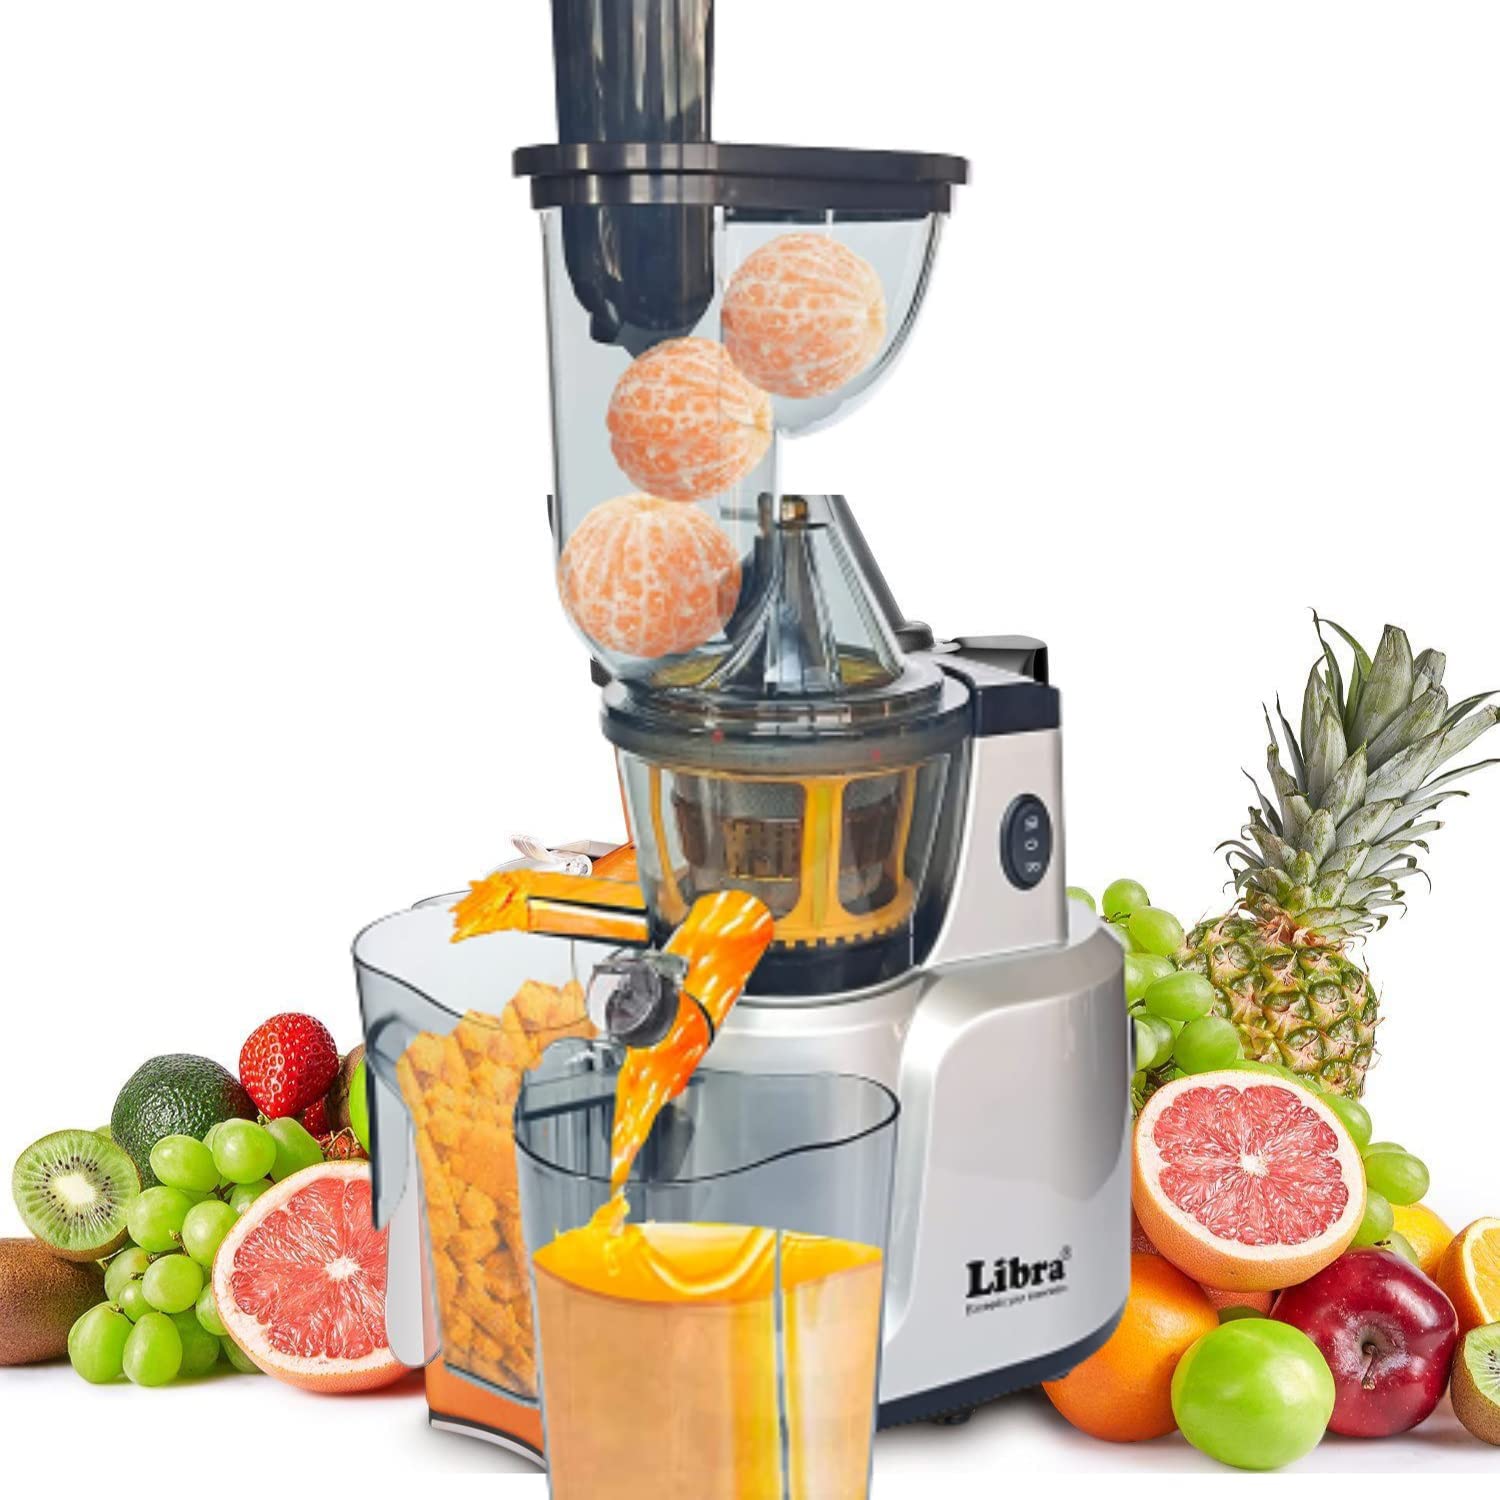
Although both slow and centrifugal juicers serve the primary purpose of extracting juice, they differ significantly in their operation and output. Centrifugal juicers spin at high speeds, which can lead to nutrient loss and frothy juice. In contrast, slow juicer machines operate at a reduced speed, ensuring better nutrient retention and a higher juice yield. As a result, slow juicers produce a more nutritious and flavorful juice compared to centrifugal models.
Slow Juicers vs. Citrus Presses
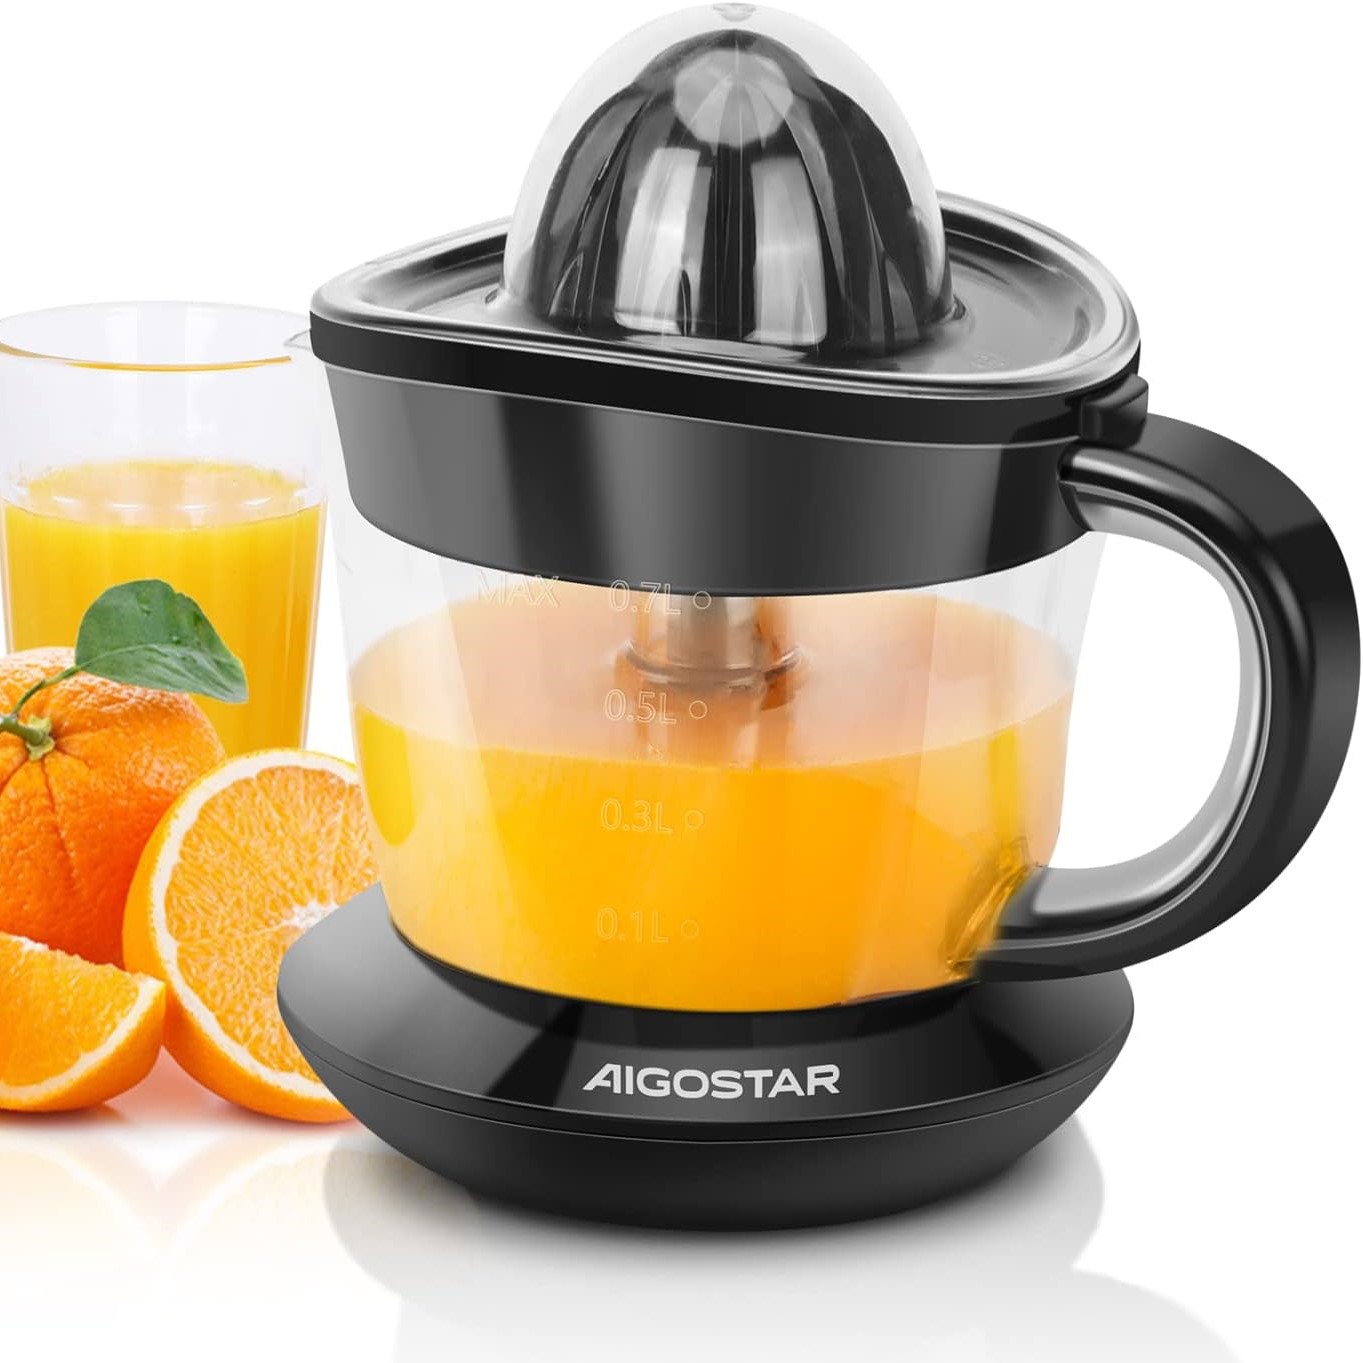
While citrus presses are excellent for juicing oranges, lemons, and other citrus fruits, they are limited in versatility. Conversely, slow juicer machines can handle a wide variety of produce, including leafy greens, soft fruits, and hard vegetables, providing greater flexibility in making different types of juices. Therefore, if you seek a more comprehensive juicing solution, a slow juicer machine is the superior choice.
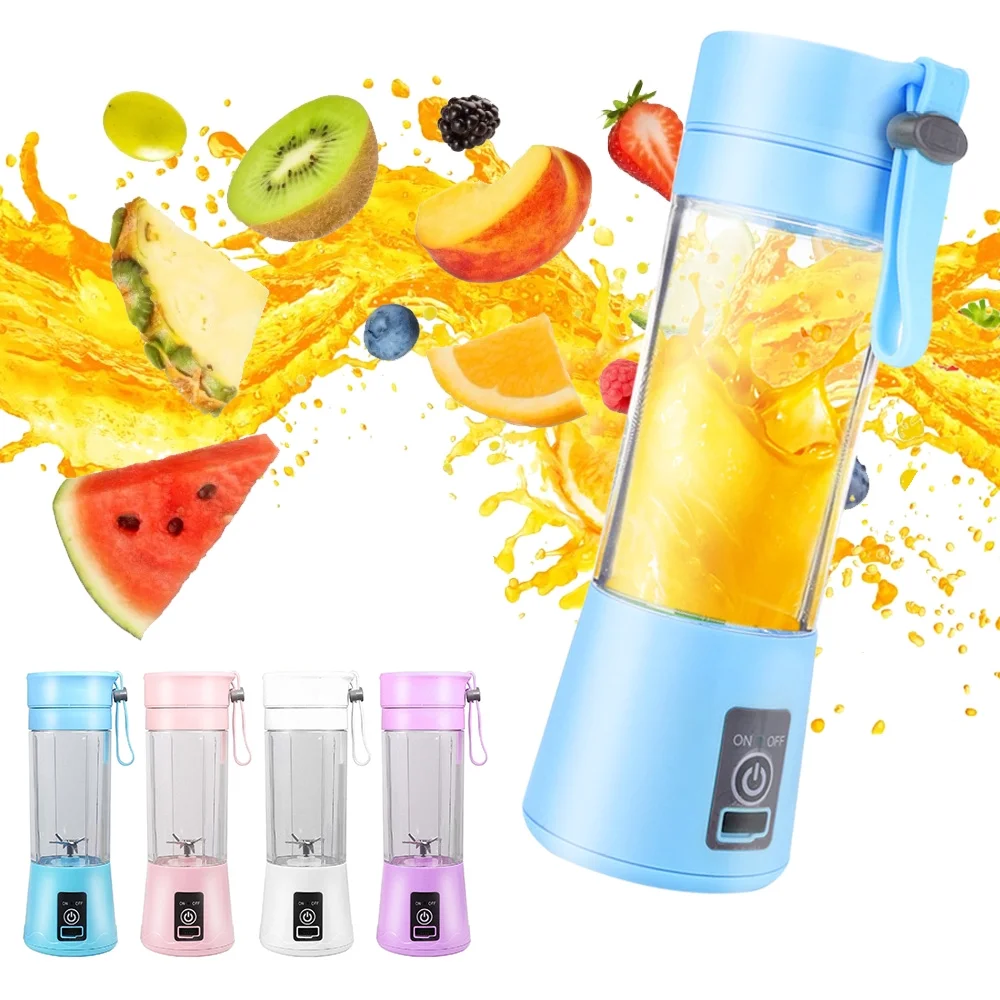
Slow Juicers vs. Blender Juicers
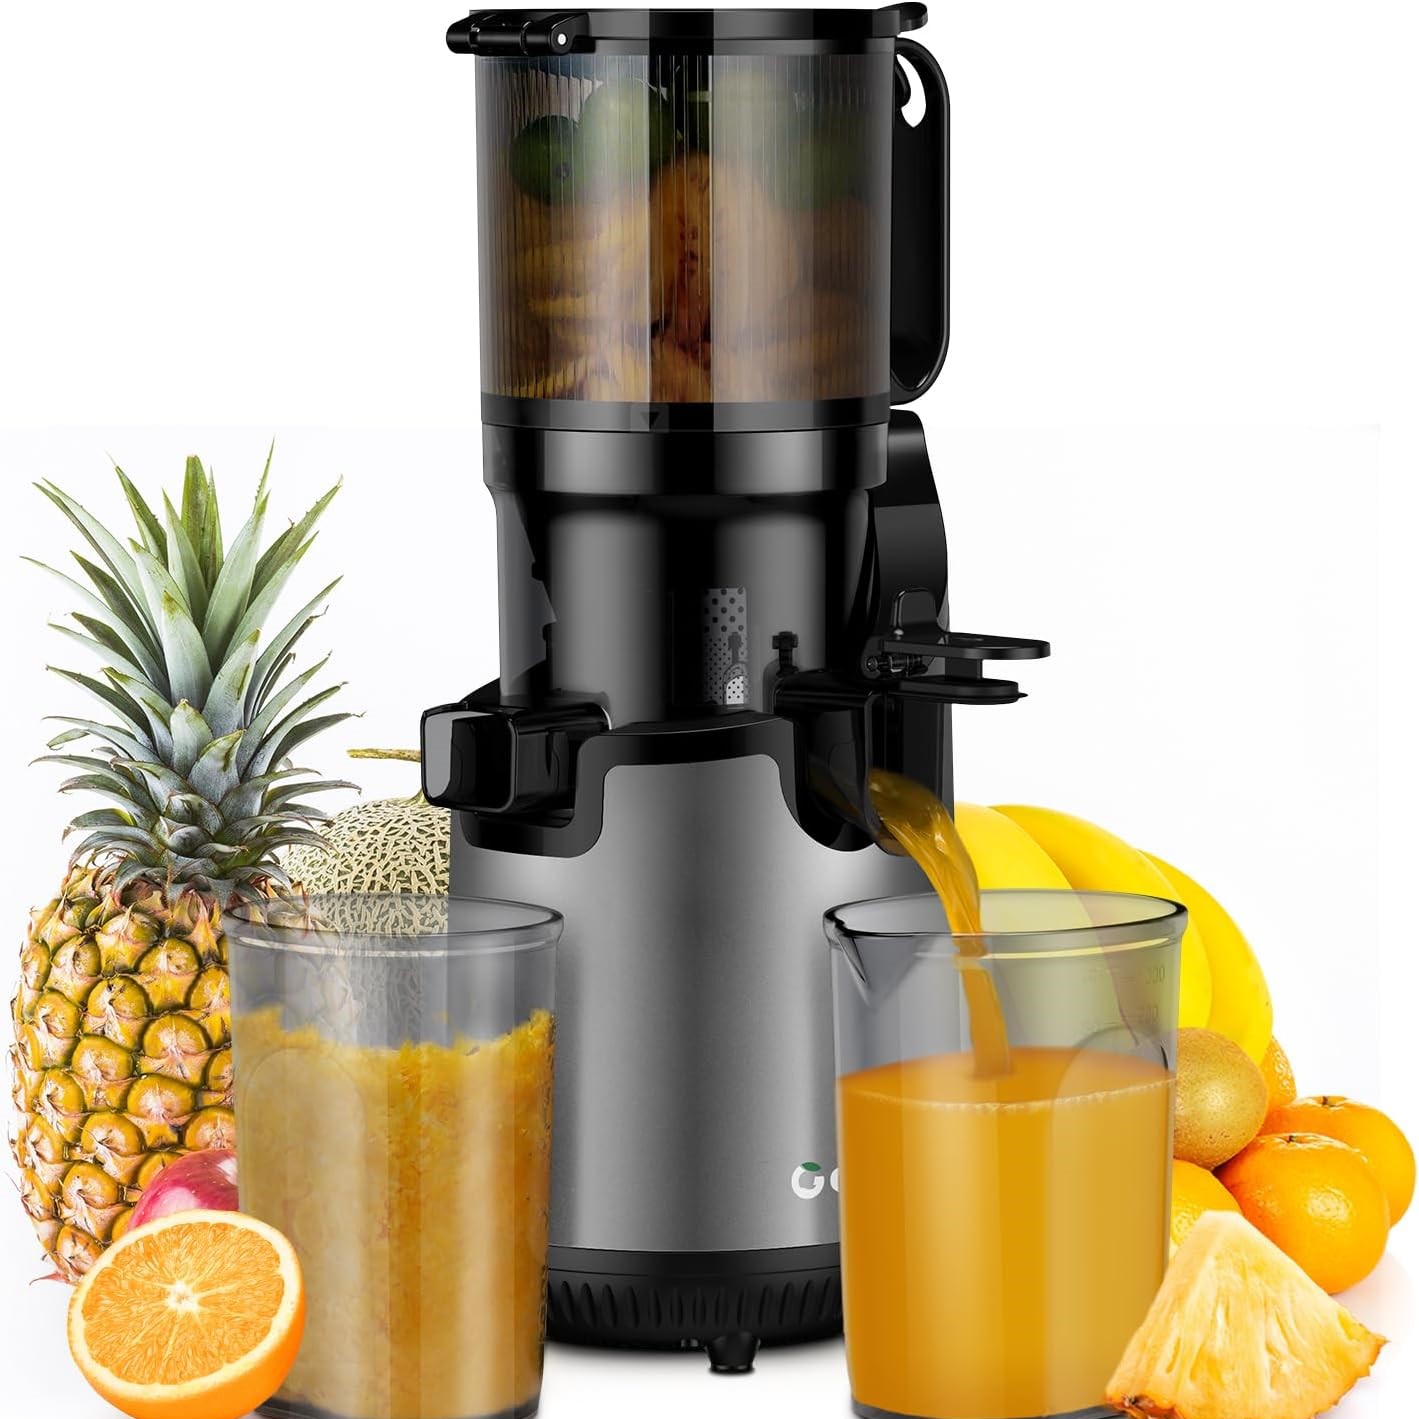
Blender juicers blend the entire fruit or vegetable, including the fiber, resulting in a thicker smoothie rather than clear juice. Slow juicer machines, however, separate the juice from the pulp, offering a smoother and more concentrated beverage. Additionally, the clear juice from slow juicers is easier to digest and can be consumed in larger quantities for better hydration and nutrient intake.
 Key Features to Consider When Choosing a Slow Juicer
Motor Power and Speed
The motor power and speed are crucial factors that determine the efficiency of a slow juicer machine. Look for models with a powerful motor that can handle tough produce and operate at low speeds to minimize heat and oxidation. Additionally, a well-powered motor ensures consistent performance, reducing the likelihood of jams and enhancing the overall juicing experience.
Ease of Cleaning
A slow juicer machine should be easy to disassemble and clean. Removable parts that are dishwasher safe can save you time and effort in maintaining your juicer. Moreover, machines with fewer parts and straightforward designs are generally easier to clean, ensuring that you can enjoy your juice without the hassle of complicated cleanup processes.
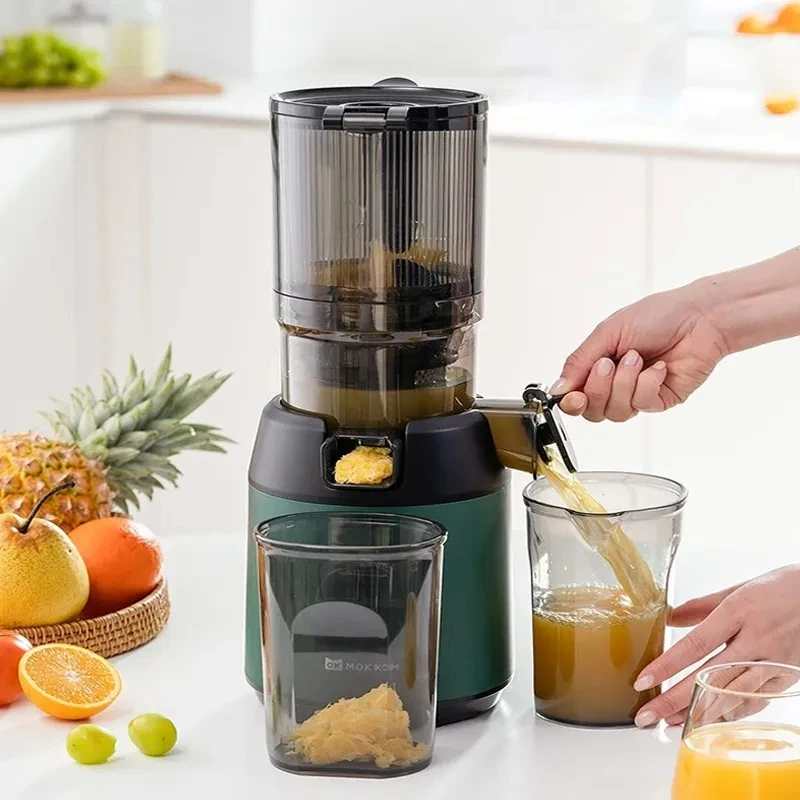
Juice Collection and Pulp Ejection
Consider the design of the juice collection system and pulp ejection mechanism. Efficient pulp ejection ensures uninterrupted juicing, while a well-designed juice collection container prevents spills and messes. Furthermore, some models offer adjustable pulp settings, allowing you to customize the thickness of your juice according to your preference.
Durability and Warranty
Investing in a durable slow juicer machine with a comprehensive warranty can provide peace of mind and ensure long-term use. Stainless steel components and sturdy construction are indicators of a high-quality machine. Additionally, a generous warranty period reflects the manufacturer’s confidence in the product’s longevity and reliability.
Top Slow Juicers in the Market
Omega J8006HDS Nutrition Center
The Omega J8006HDS Nutrition Center is a versatile slow juicer machine that excels in both juicing and food processing. Its dual-stage juicing system ensures maximum juice extraction, while the durable construction guarantees longevity. Moreover, the Omega J8006HDS is easy to clean and boasts a reliable performance, making it a top choice for health enthusiasts.
Hurom H-AA Slow Juicer
The Hurom H-AA Slow Juicer is renowned for its sleek design and efficient performance. Its unique slow squeezing technology preserves the natural flavor and nutrients of the produce, making it a favorite among health enthusiasts. Additionally, the Hurom H-AA is user-friendly, featuring simple controls and easy assembly, which enhances the overall juicing experience.
Tribest Slowstar Vertical Slow Juicer and Mincer
The Tribest Slowstar stands out with its vertical design, which reduces the footprint on your countertop. Additionally, it functions as a mincer, allowing you to make nut butters and sorbets, adding to its versatility. Furthermore, the Slowstar’s advanced technology ensures thorough extraction, providing you with high-quality juice every time.
 Tips for Maximizing Your Slow Juicer’s Performance
Pre-Prep Your Produce
To ensure optimal juice yield, pre-cut your fruits and vegetables into smaller pieces. This facilitates easier processing and reduces the strain on the juicer’s motor. Additionally, removing any seeds or pits beforehand can prevent potential jams and enhance the juicing efficiency.
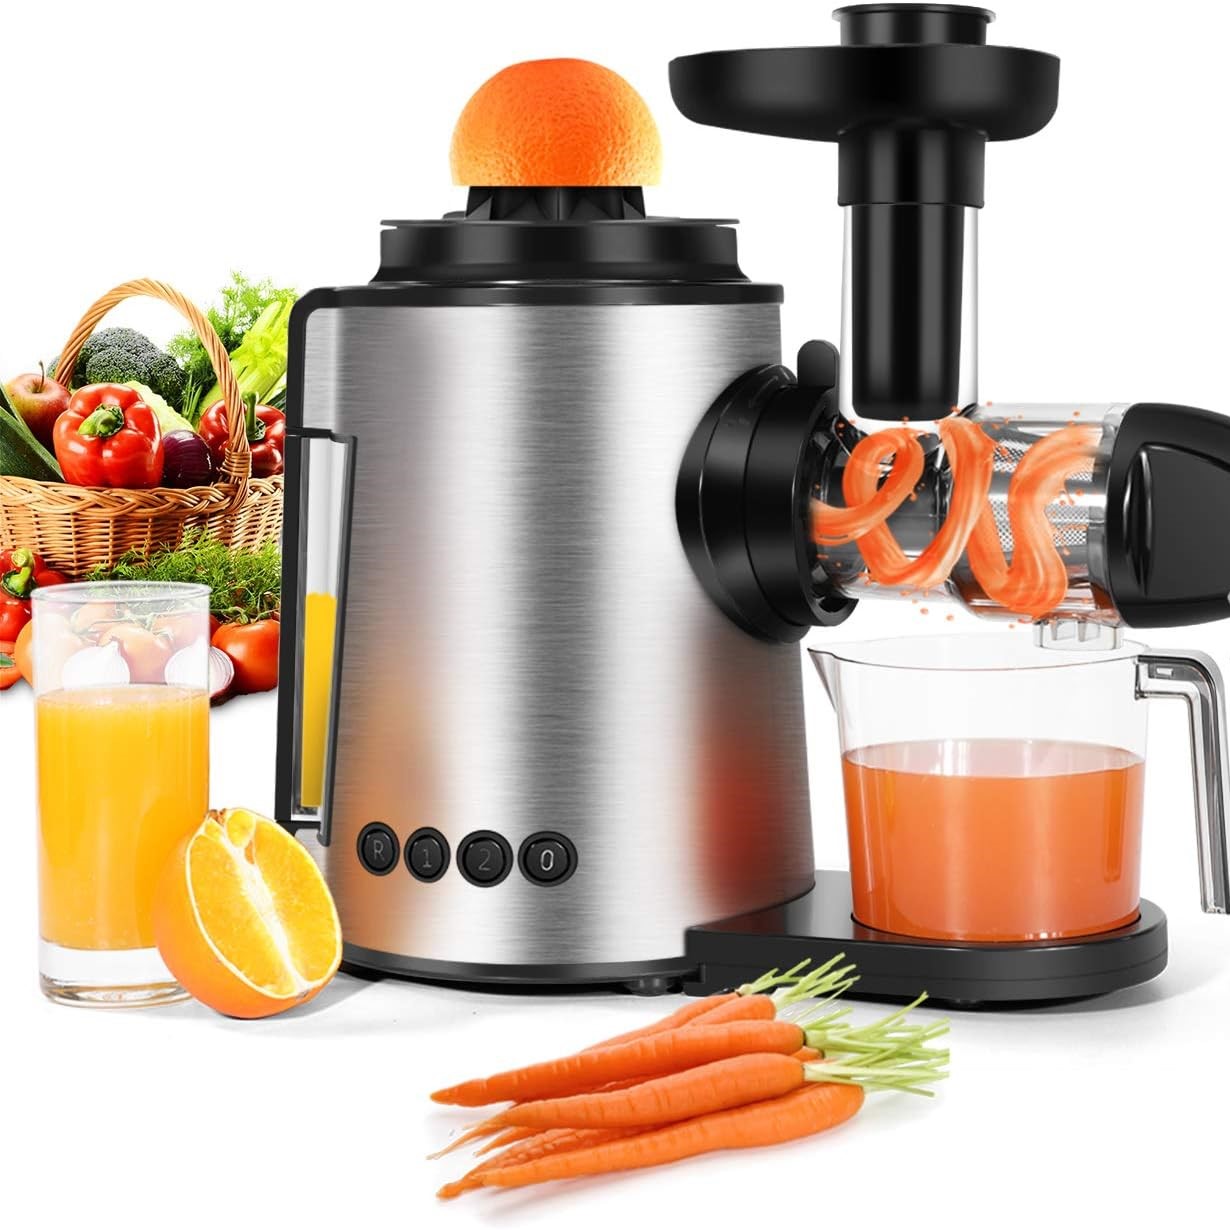
Alternate Soft and Hard Ingredients
When juicing, alternate between soft and hard ingredients to enhance the machine’s efficiency. This technique prevents clogging and ensures a smoother juicing process. For example, blending a soft apple with a hard carrot can help maintain a consistent flow, improving the overall performance of your slow juicer machine.
Clean Immediately After Use
Cleaning your slow juicer machine immediately after use prevents pulp from drying and sticking to the components, making the cleaning process much easier. Moreover, regular maintenance keeps your juicer in optimal condition, ensuring long-term durability and performance.
Experiment with Different Recipes
Explore various juice recipes to keep your juicing routine exciting. Incorporate a mix of fruits, vegetables, and superfoods to diversify your nutrient intake and enjoy a variety of flavors. Additionally, trying new combinations can help you discover your favorite blends, making juicing a more enjoyable and sustainable habit.
Common Mistakes to Avoid with a Slow Juicer
Overloading the Juicer
While slow juicers are efficient, overloading them with too much produce at once can lead to jams and reduced juice quality. Feed the ingredients gradually to maintain optimal performance. Furthermore, overloading can strain the motor, potentially causing long-term damage to the machine.
Neglecting Maintenance
Regular maintenance is essential to keep your slow juicer machine functioning smoothly. Failure to clean and service the machine properly can result in decreased efficiency and a shorter lifespan. Therefore, establishing a cleaning routine is crucial for preserving the juicer’s performance and ensuring hygienic juice production.
Ignoring the Manual
Each slow juicer machine comes with specific instructions and guidelines. Ignoring the manual can lead to improper usage, causing damage to the machine and compromising juice quality. Additionally, following the manufacturer’s instructions ensures that you are utilizing all the features and capabilities of your slow juicer machine effectively.
Enhancing Your Health with Fresh Juice
Boosting Immunity
Freshly extracted juice from a slow juicer machine is packed with vitamins and antioxidants that strengthen the immune system, helping you fend off illnesses more effectively. Moreover, regular consumption of nutrient-rich juices can enhance your body’s natural defenses, promoting overall health and well-being.
Promoting Digestion
Slow juicers retain essential enzymes that aid in digestion. Consuming nutrient-rich juices can improve gut health and enhance overall digestive efficiency. Additionally, the absence of excessive fiber in clear juices can make them easier to digest, providing immediate nourishment without overwhelming the digestive system.
Increasing Energy Levels
Rich in natural sugars and essential nutrients, fresh juices can provide a quick energy boost without the crash associated with processed beverages. Consequently, incorporating fresh juice into your diet can help sustain your energy levels throughout the day, enhancing productivity and overall vitality.
Integrating a Slow Juicer into Your Daily Routine
Morning Detox Juice
Start your day with a refreshing detox juice made from a combination of leafy greens, citrus fruits, and ginger. This routine can kickstart your metabolism and provide essential nutrients to fuel your day. Additionally, a morning detox juice can help cleanse your system, setting a healthy tone for the hours ahead.
Midday Energy Booster
A midday juice made from carrots, apples, and beets can help sustain your energy levels and improve focus, keeping you productive throughout the afternoon. Furthermore, the natural sugars in these ingredients provide a steady energy release, preventing the afternoon slump commonly experienced after lunch.
Evening Relaxation Juice
Incorporate calming ingredients like cherry, cucumber, and mint into your evening juice to relax and promote restful sleep. Consequently, an evening relaxation juice can aid in winding down after a long day, contributing to better sleep quality and overall relaxation.
Conclusion
In summary, a slow juicer machine is a valuable investment for anyone seeking to enhance their health and wellness through fresh, nutrient-dense juices. Not only does it offer superior nutrient retention and higher juice yield, but it also provides versatility, quiet operation, and energy efficiency. Additionally, by choosing the right slow juicer and integrating it into your daily routine, you can unlock a world of health benefits and enjoy delicious, fresh juices every day. Therefore, make the informed choice today and take a significant step towards a healthier, more vibrant lifestyle with a slow juicer machine.
 Why Choose a Celery Juice Extractor?
 Benefits of Using a Celery Juice Extractor
 Tips for Perfecting Your Juicing Process
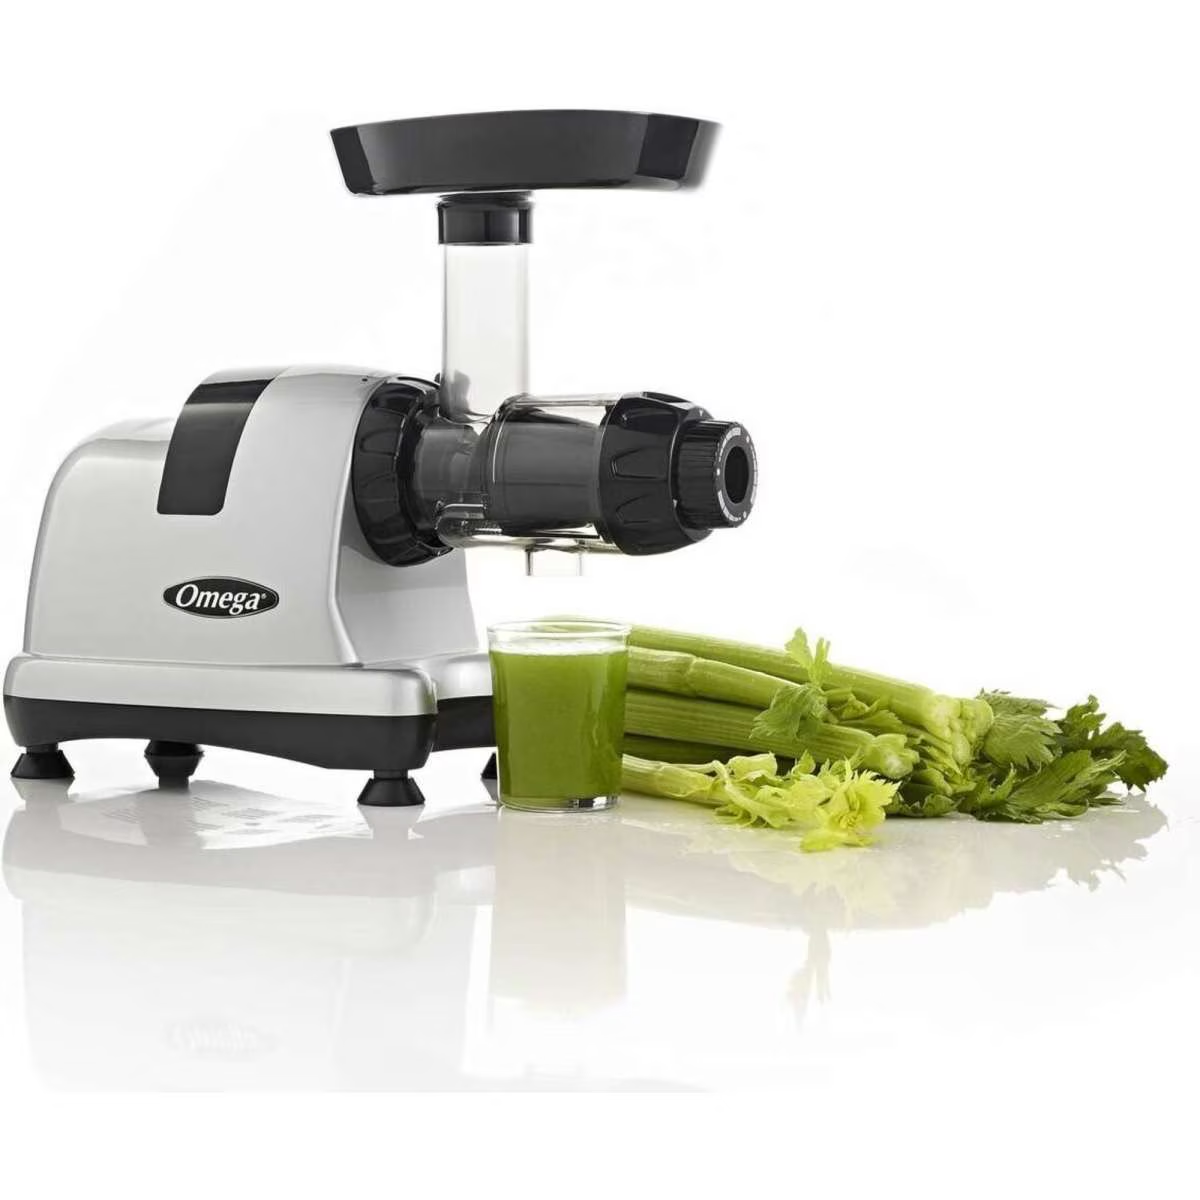 Common Mistakes to Avoid When Using a Celery Juice Extractor
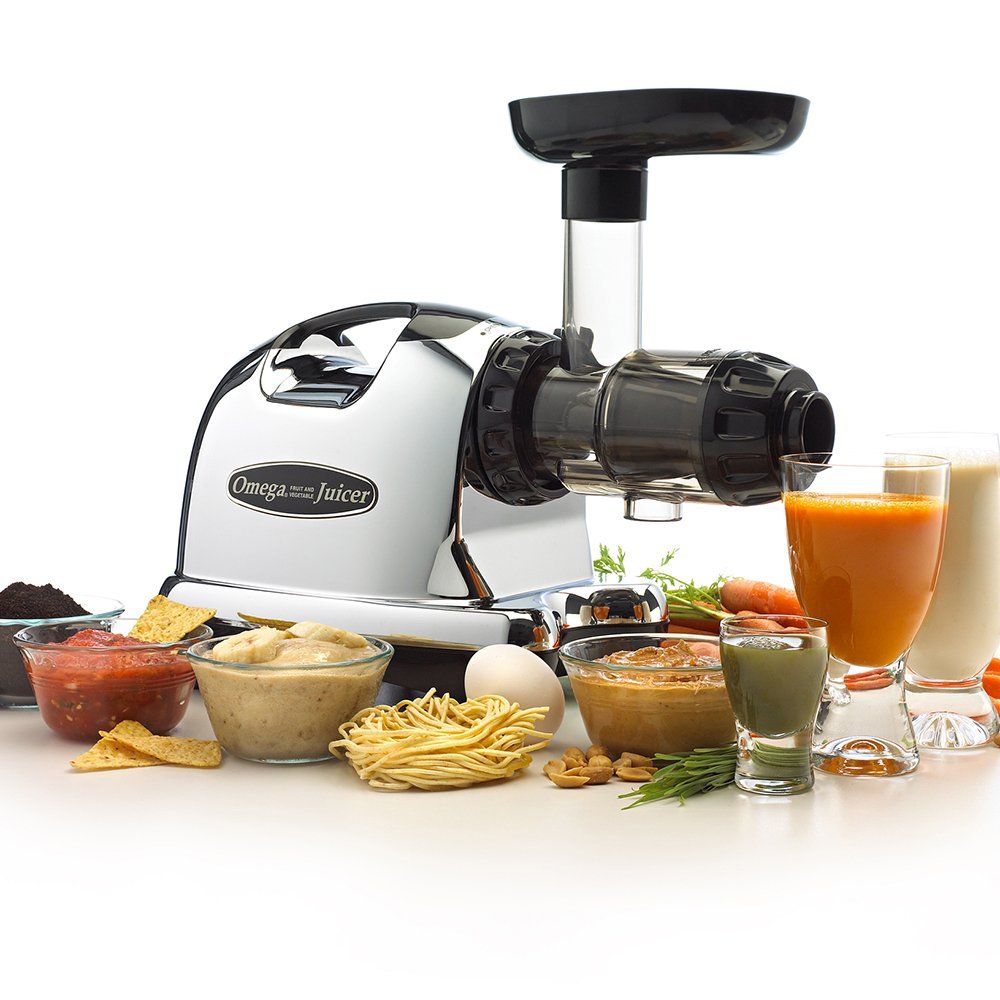
 Top Commercial Juicers in the Market
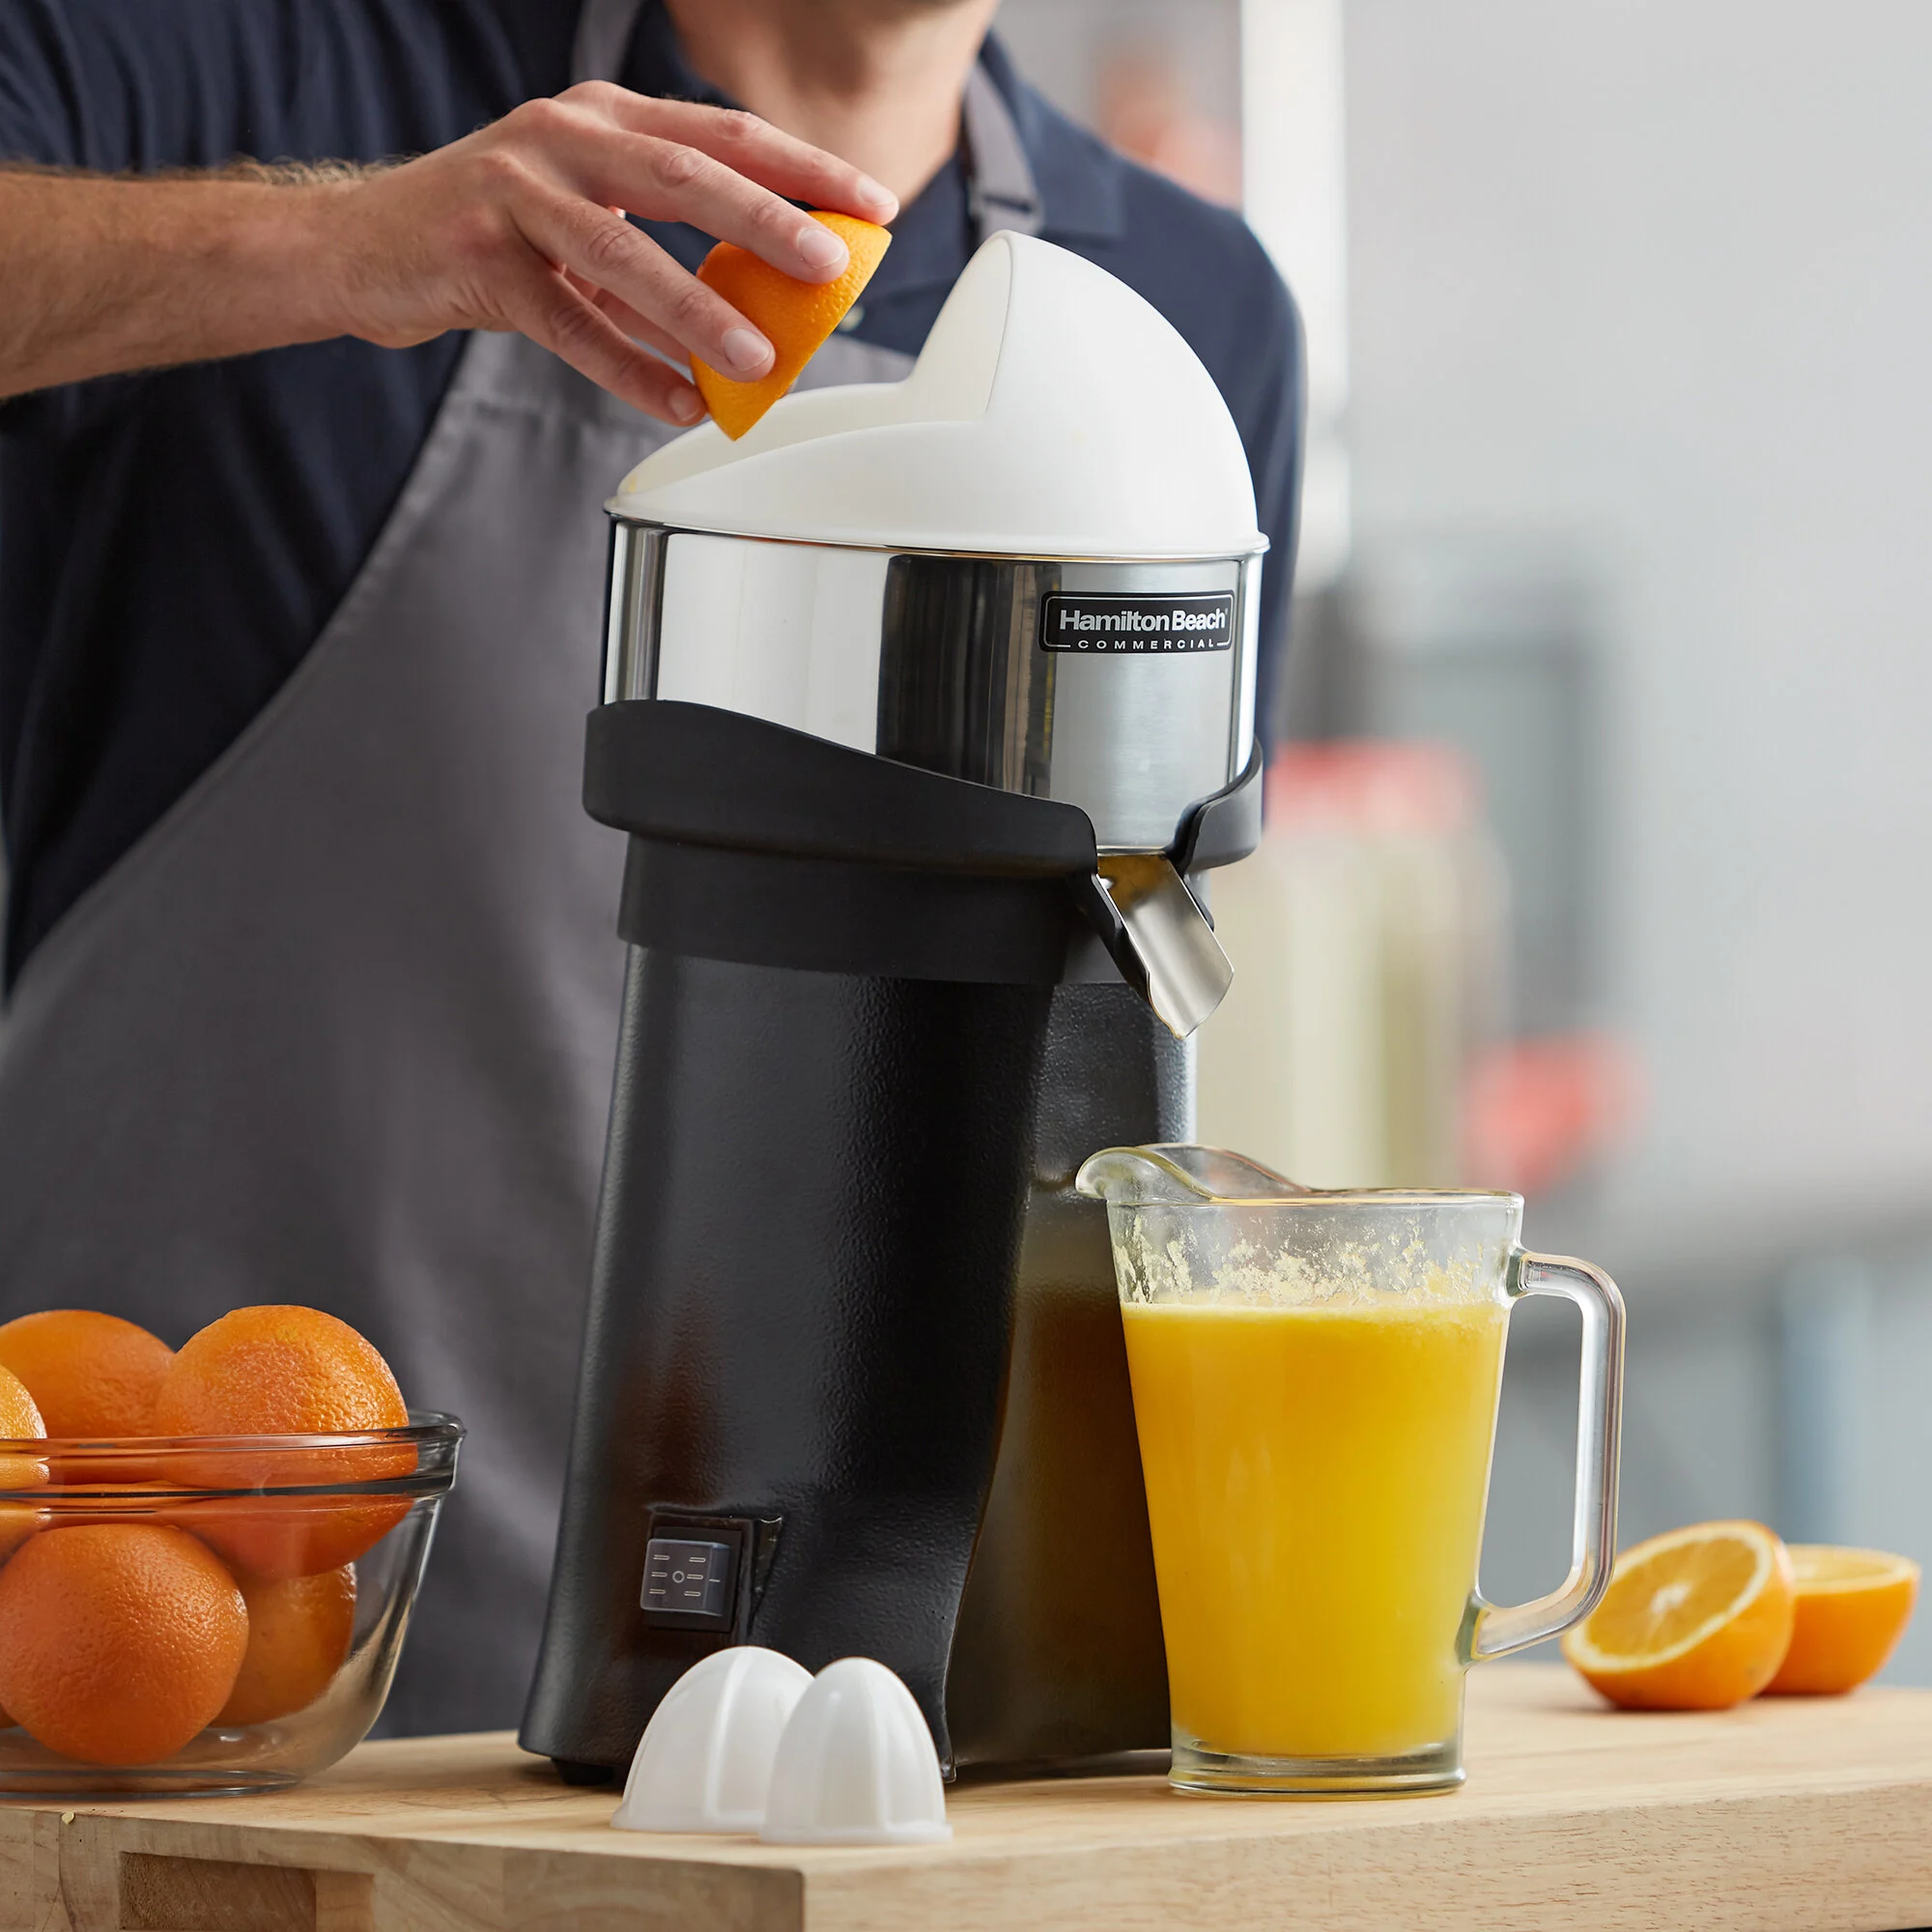 Comparing Masticating and Centrifugal Juicers
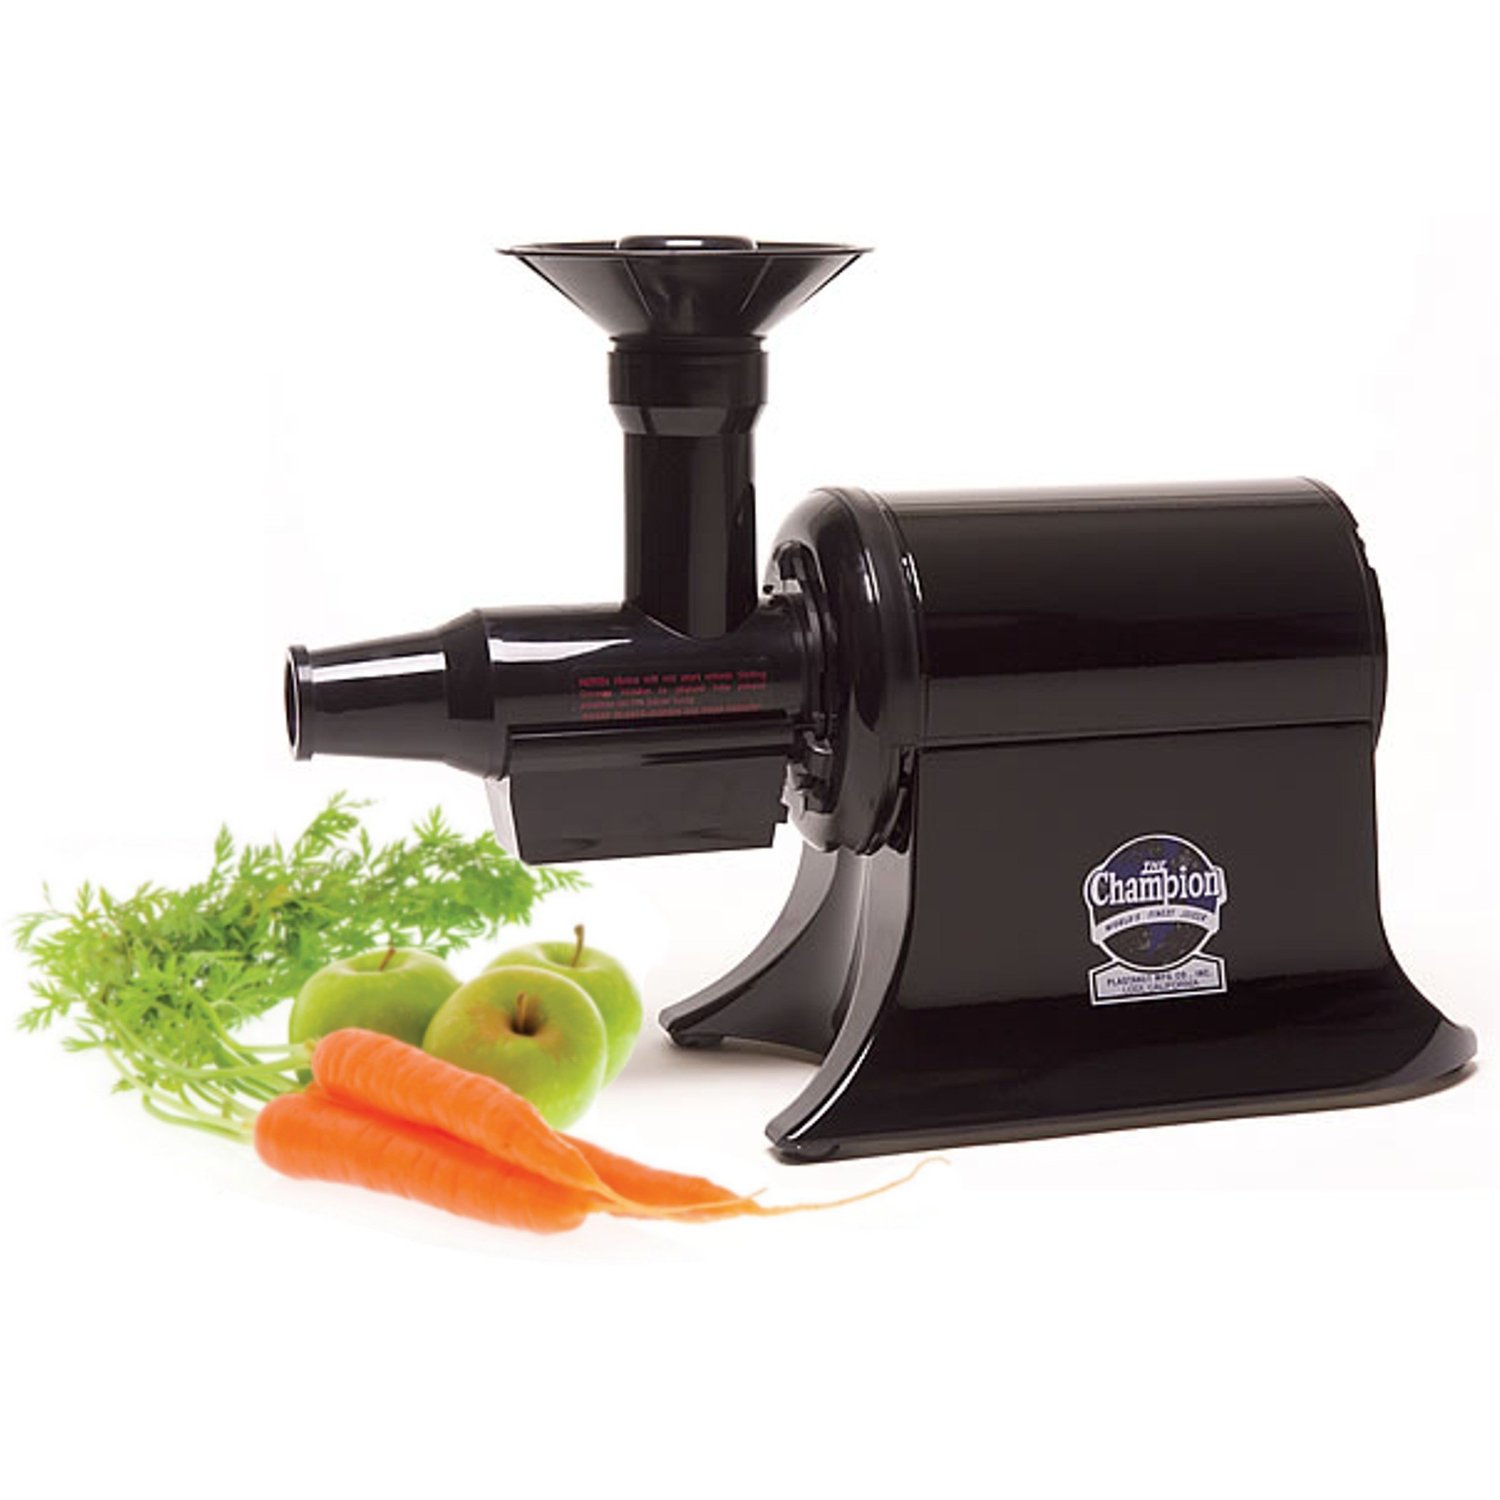 Maximizing Efficiency with the Commercial Juicer
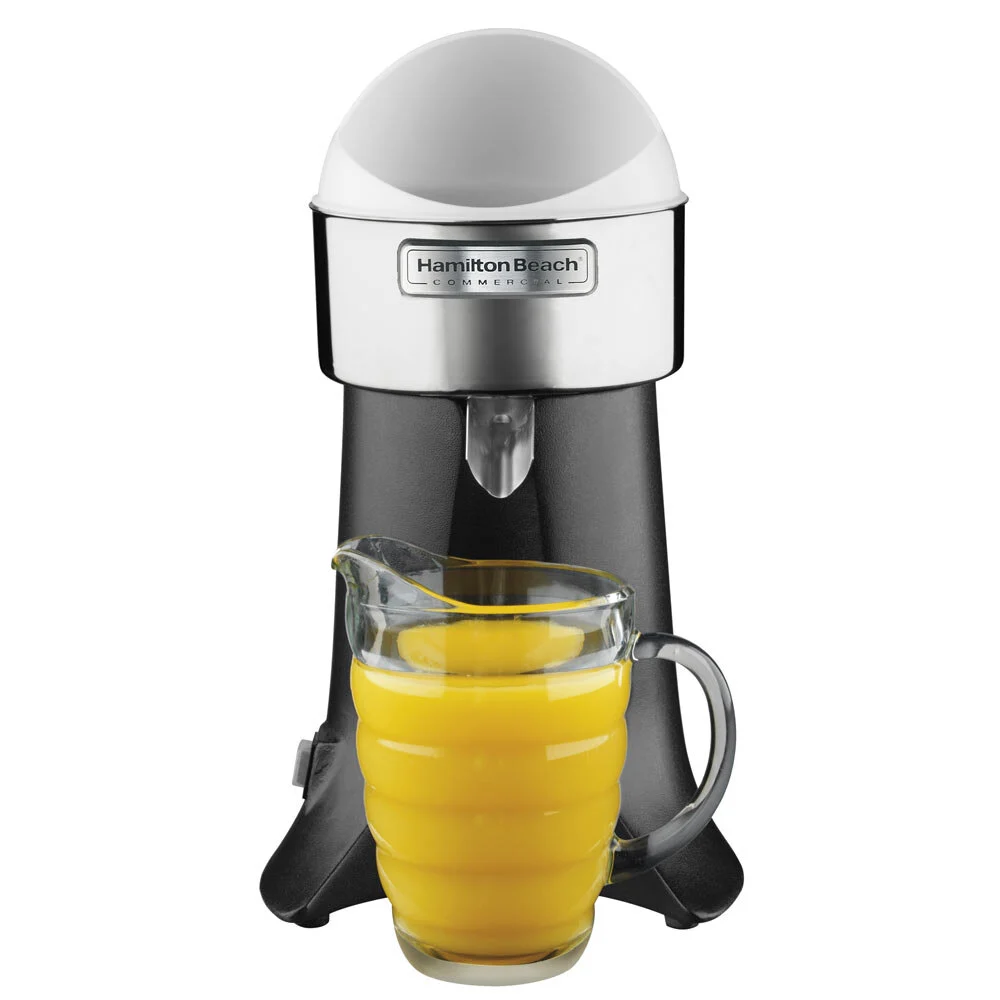 Cost-Benefit Analysis of Investing in a Commercial Juicer
 Why Opt for a Portable Juice Extractor?
 Top Juice Extractors Available Today
 How to Use a Portable Juice Extractor Effectively
 Maintenance Tips for Your Portable Juice Extractorr
 Understanding the Different Types of Juicers
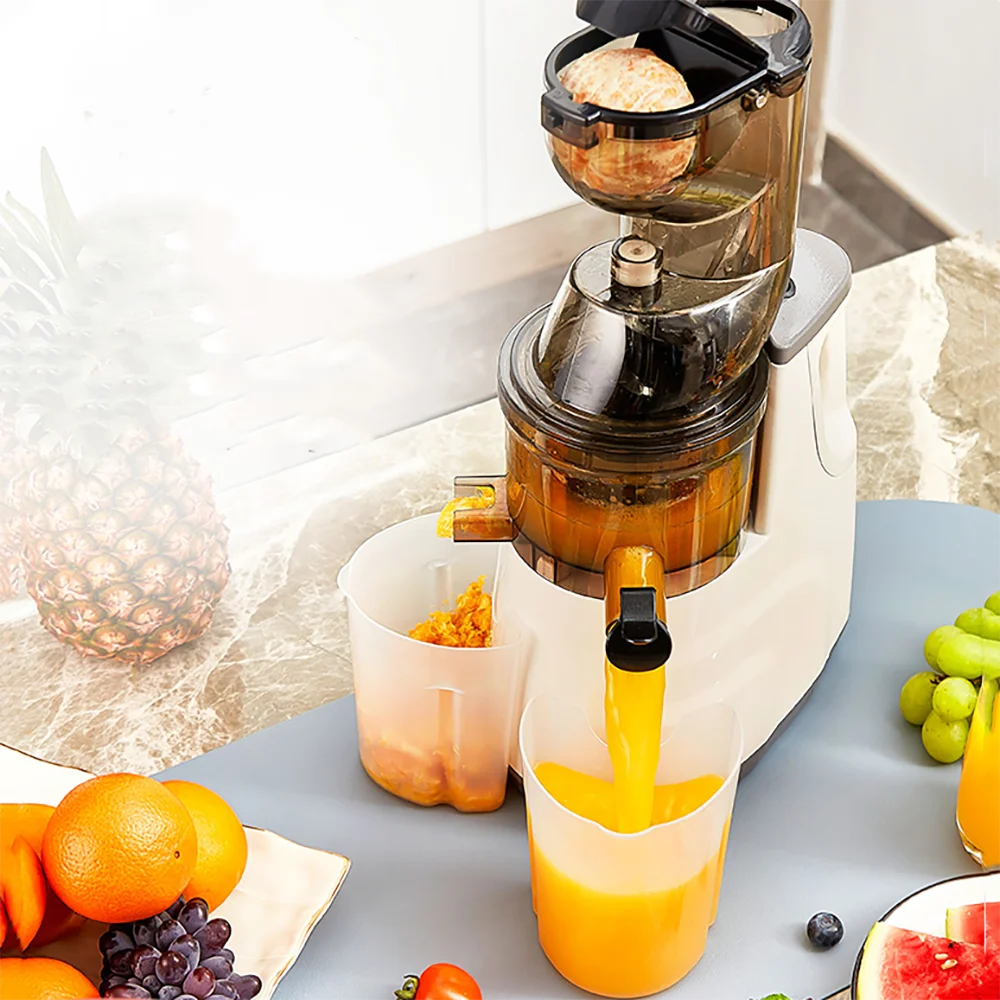 Top Benefits of Using the Juicer
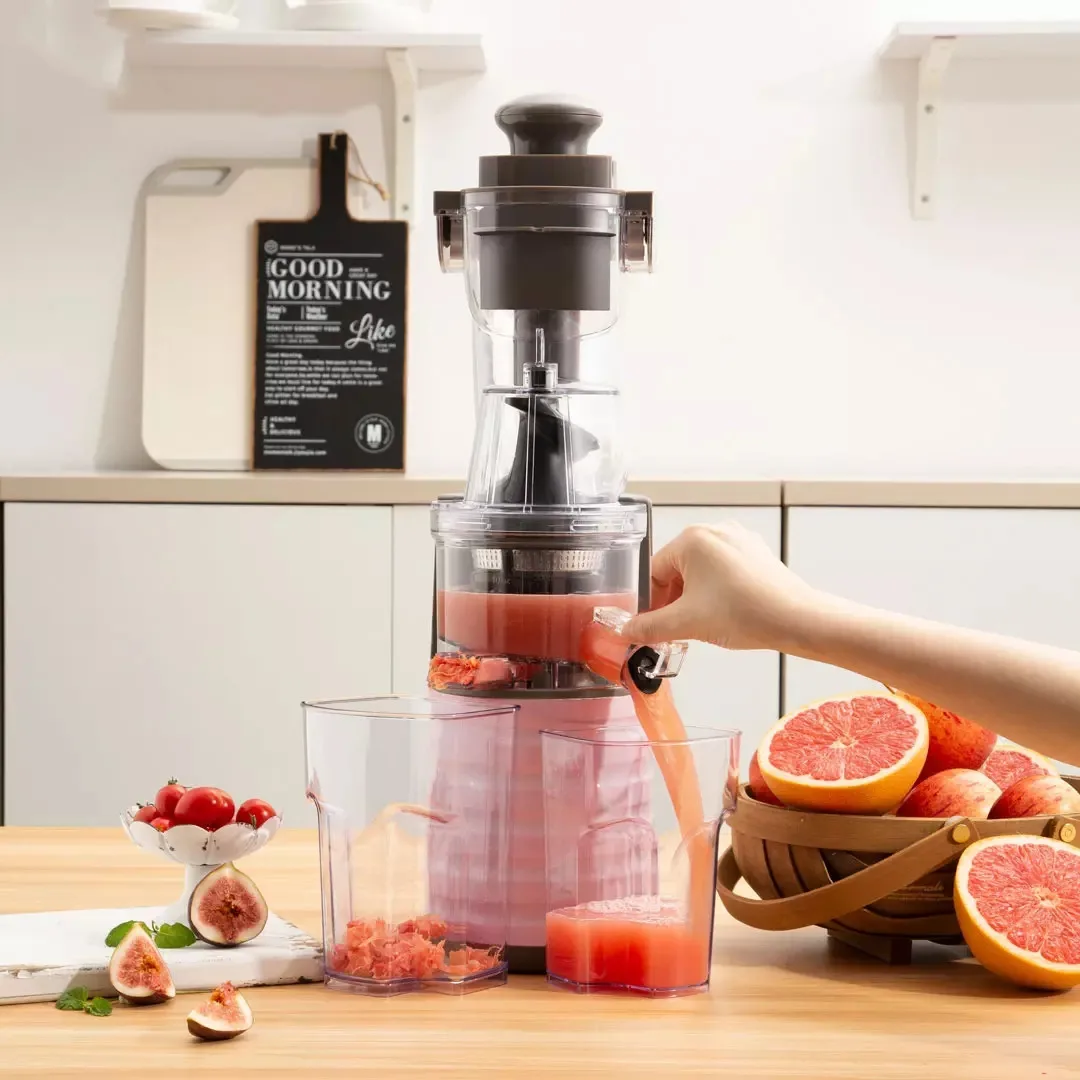 Maintaining Your Juicer for Longevity
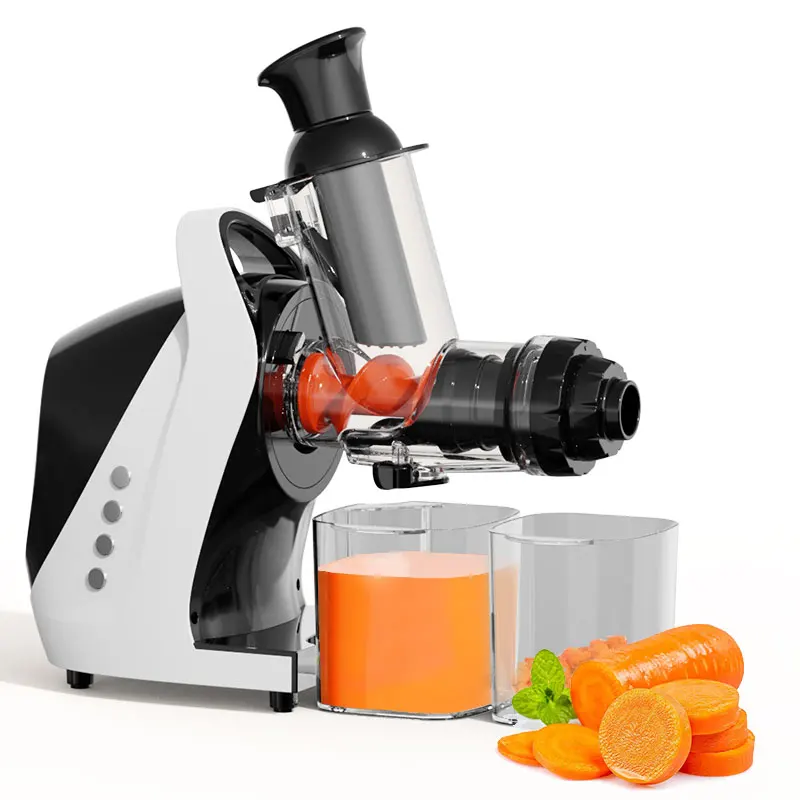 Tips for Maximizing Your Juicing Experience
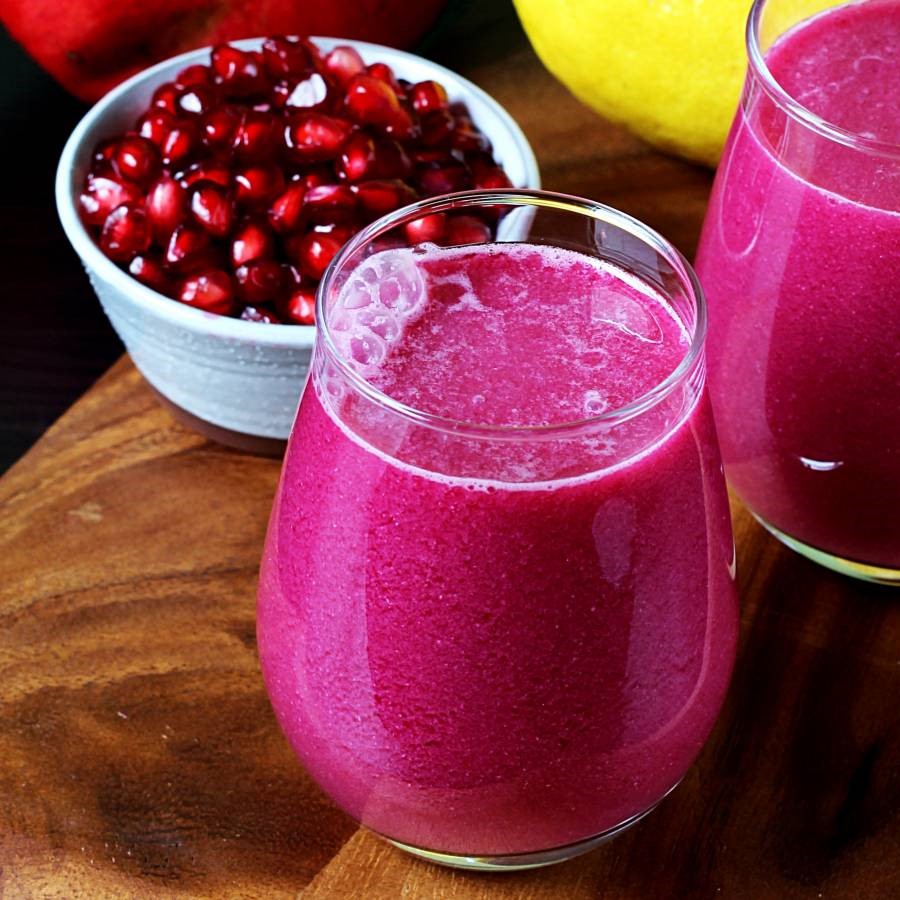
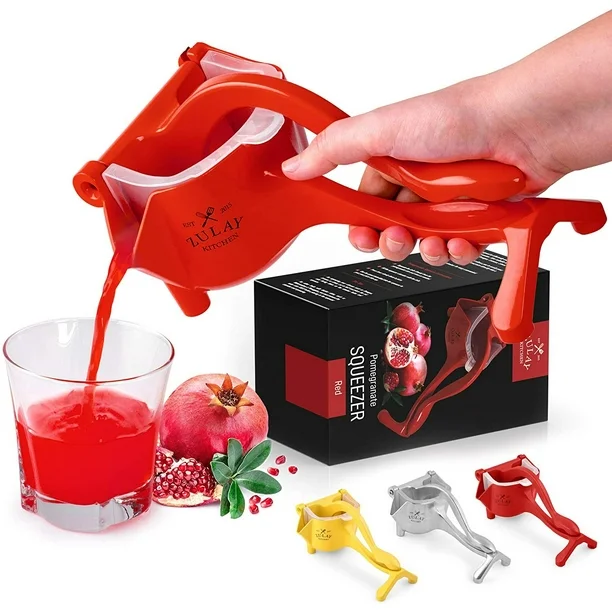 Why Choose a Juicer for Pomegranate?
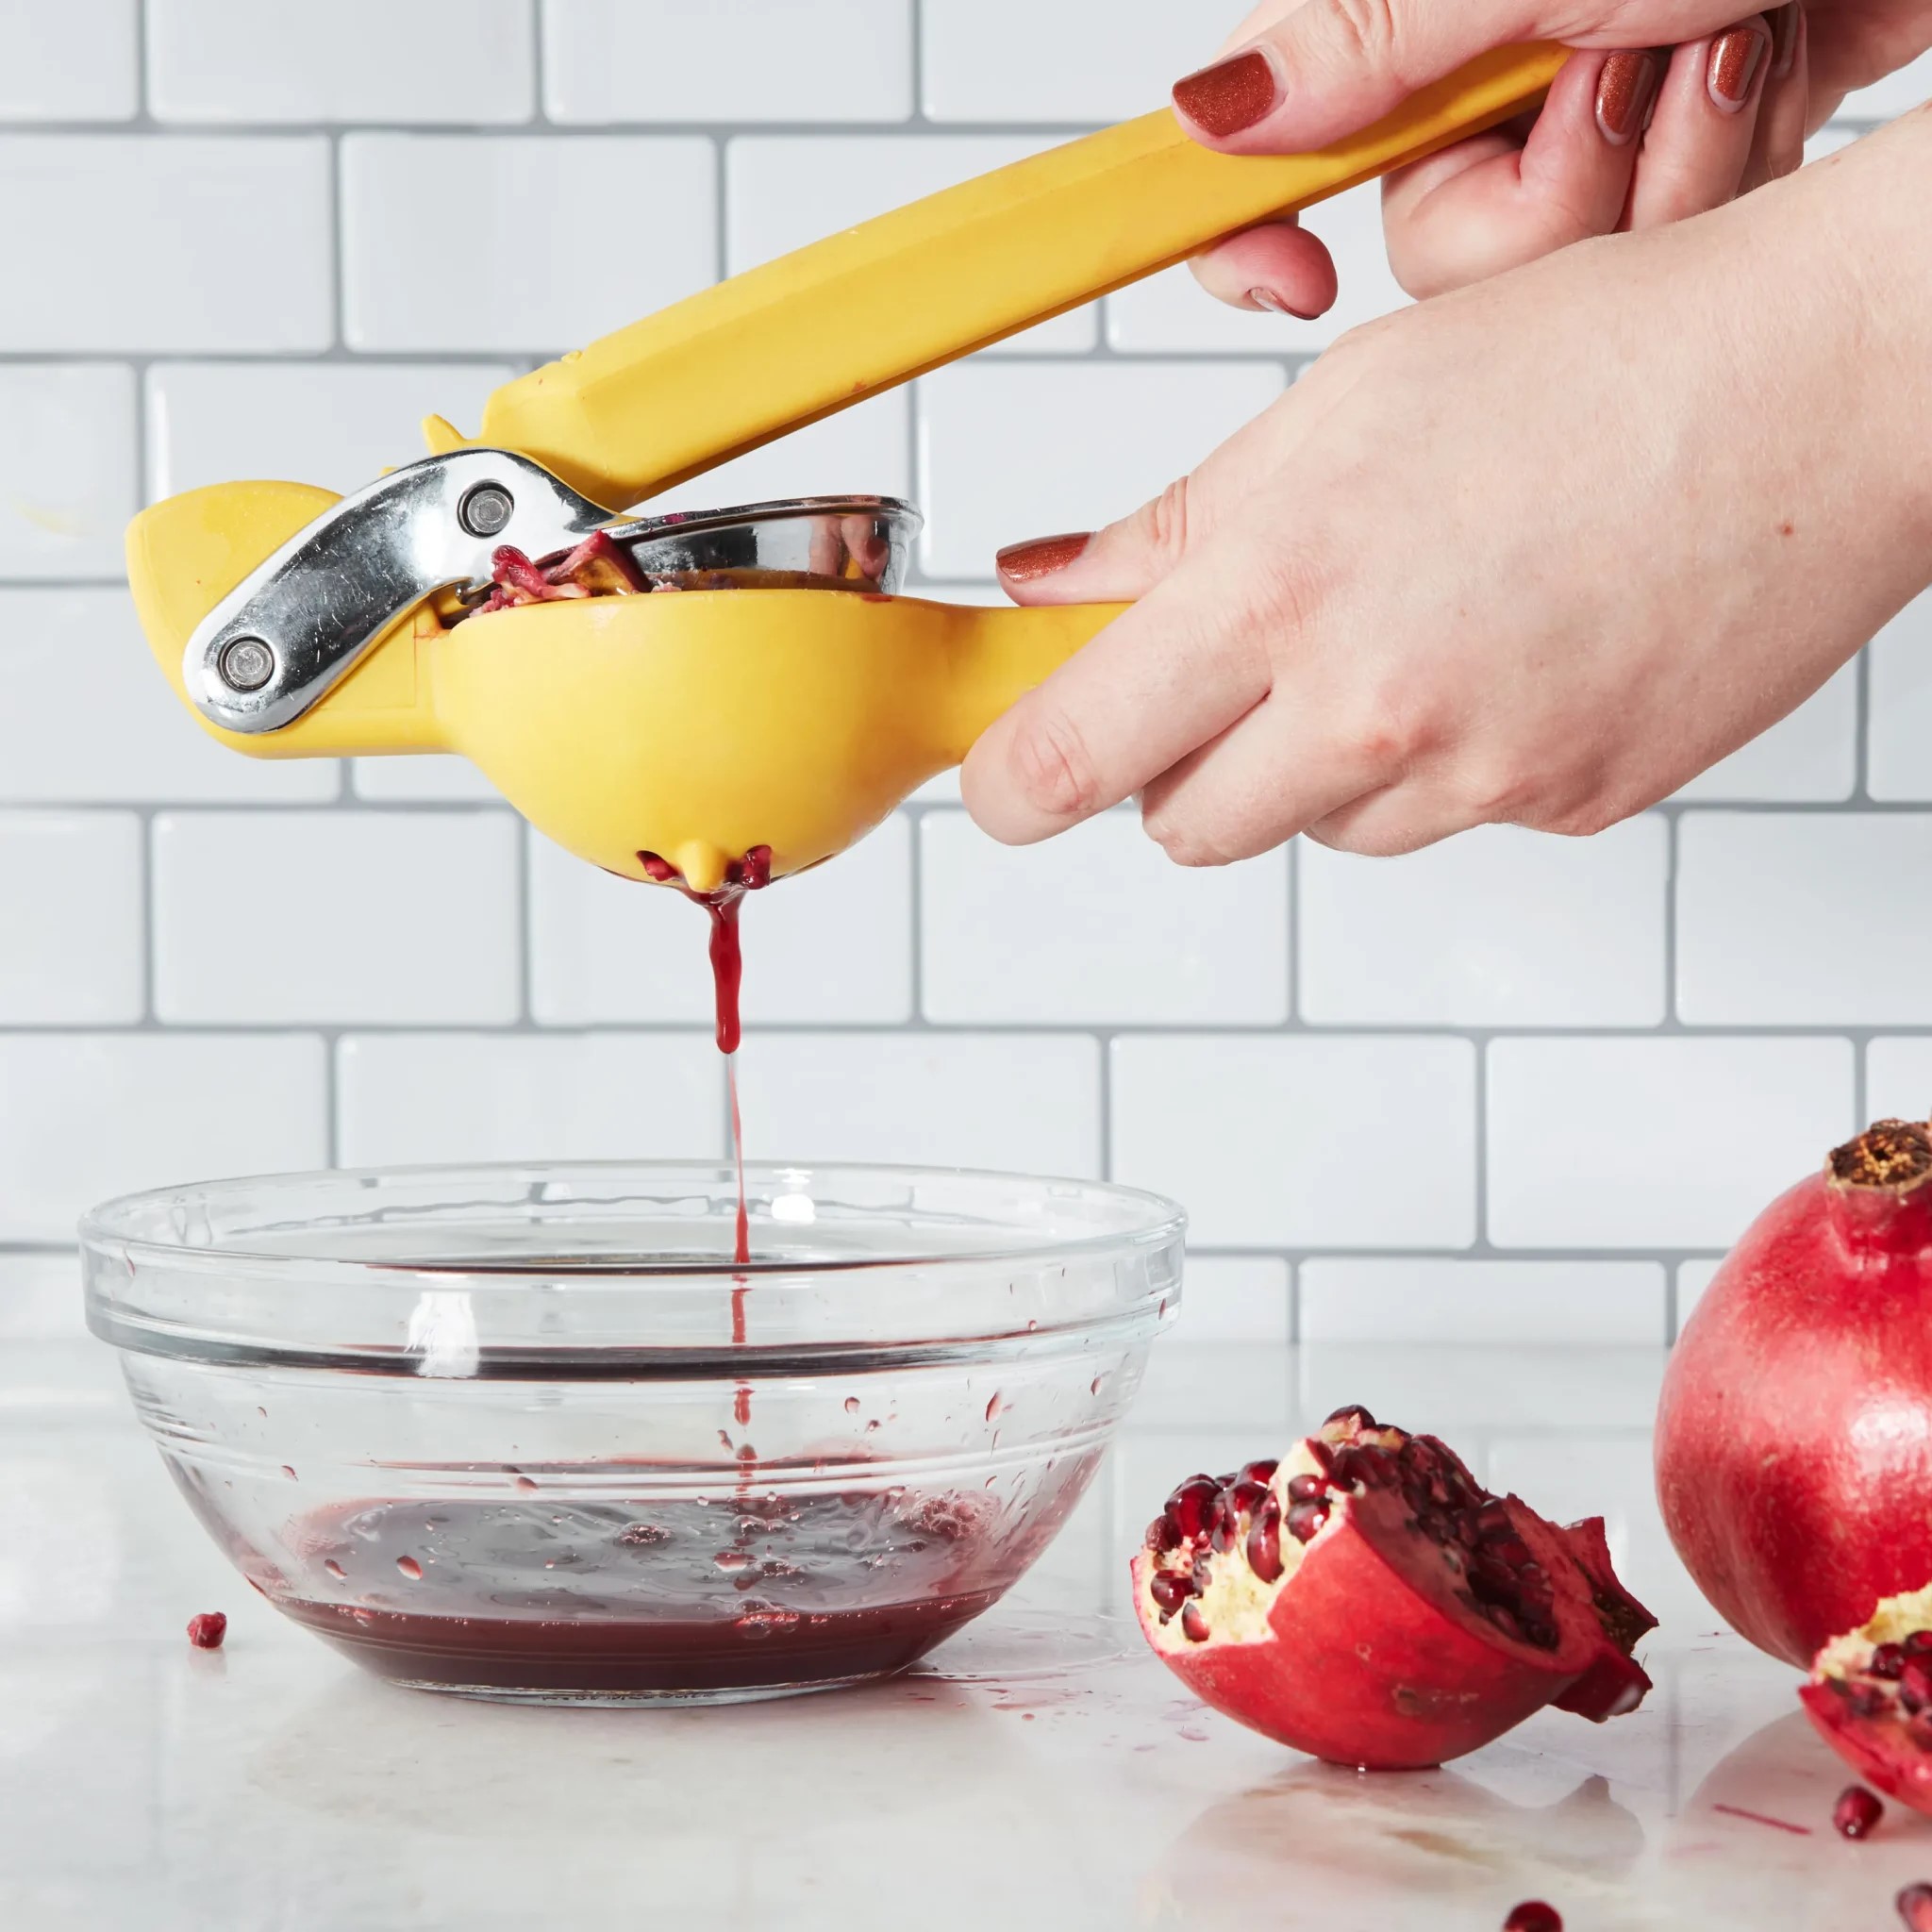 Top Juicer for Pomegranate Models to Consider
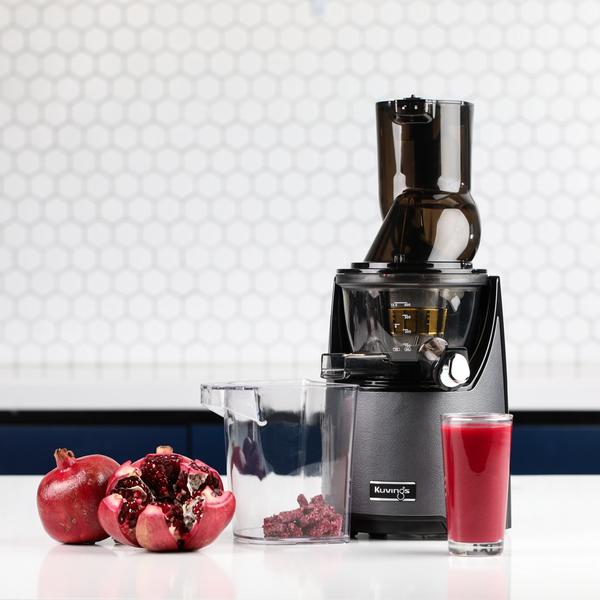 How to Use a Juicer for Pomegranate Effectively
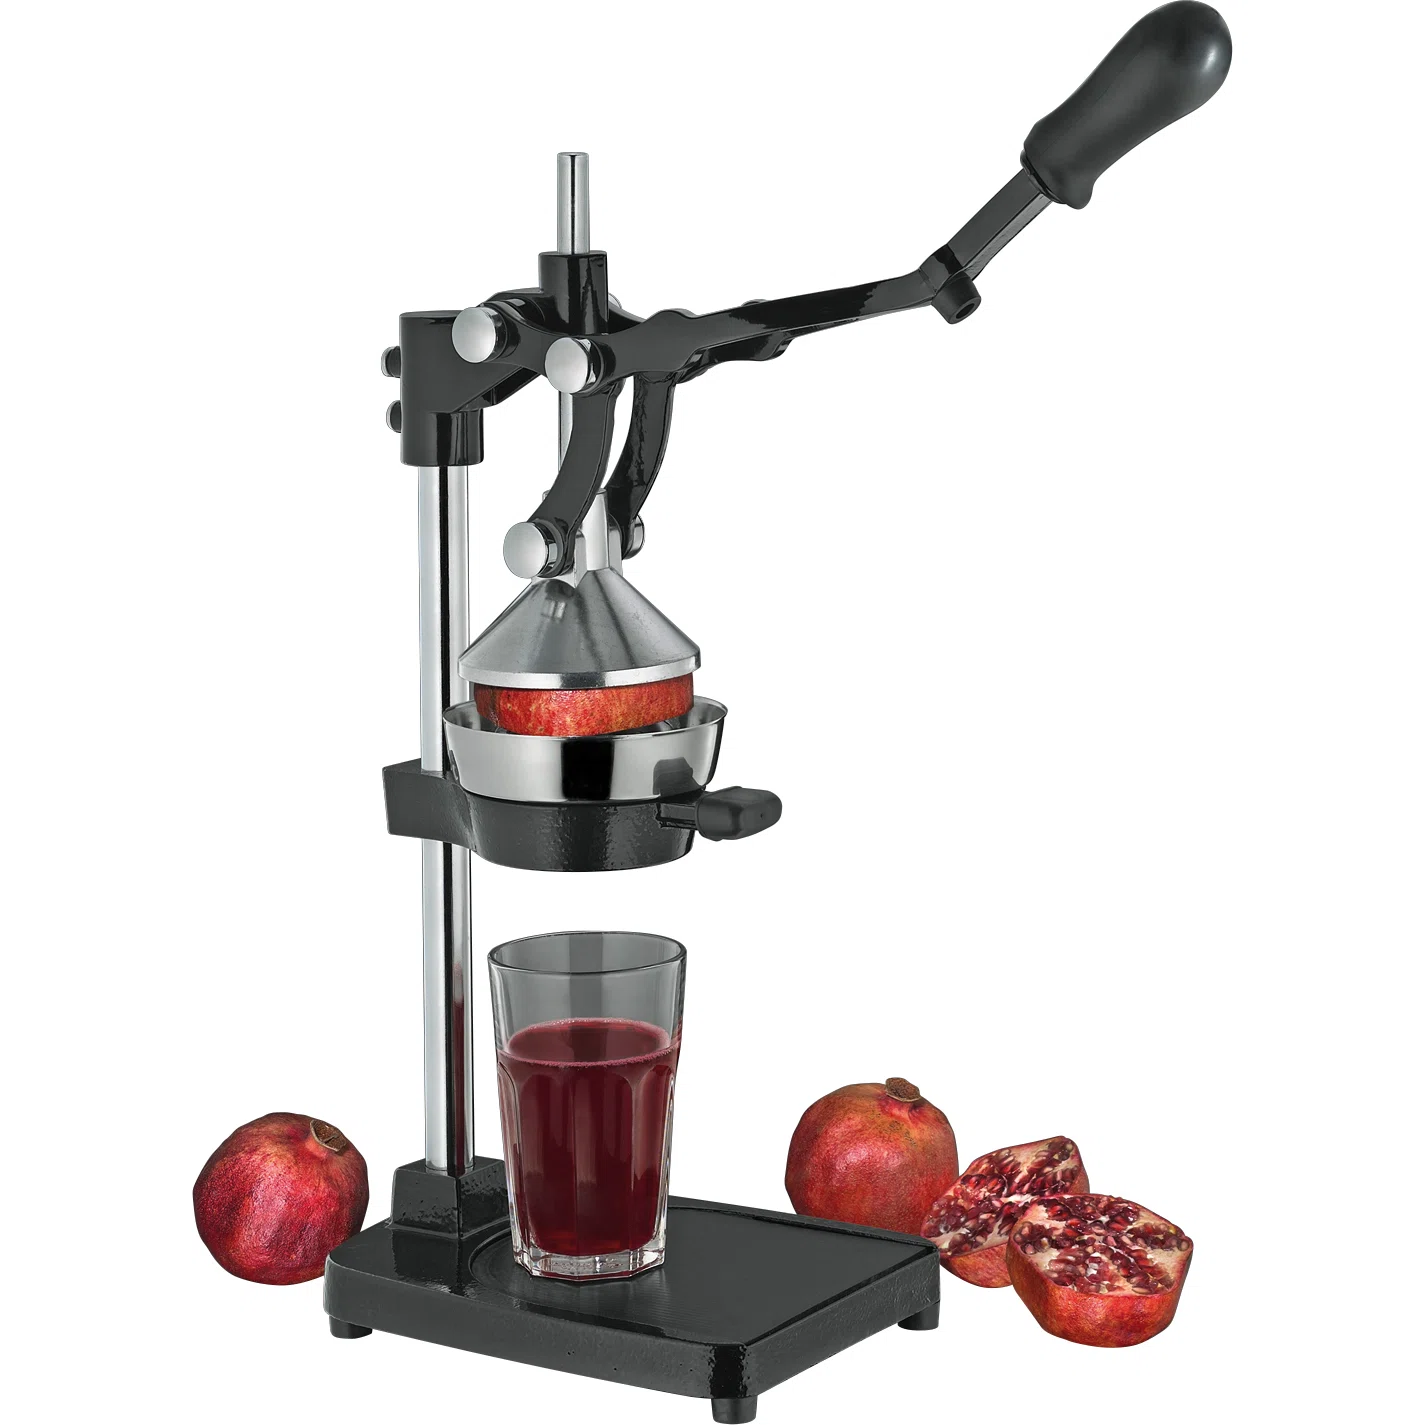 Pomegranate Juice Recipes to Try
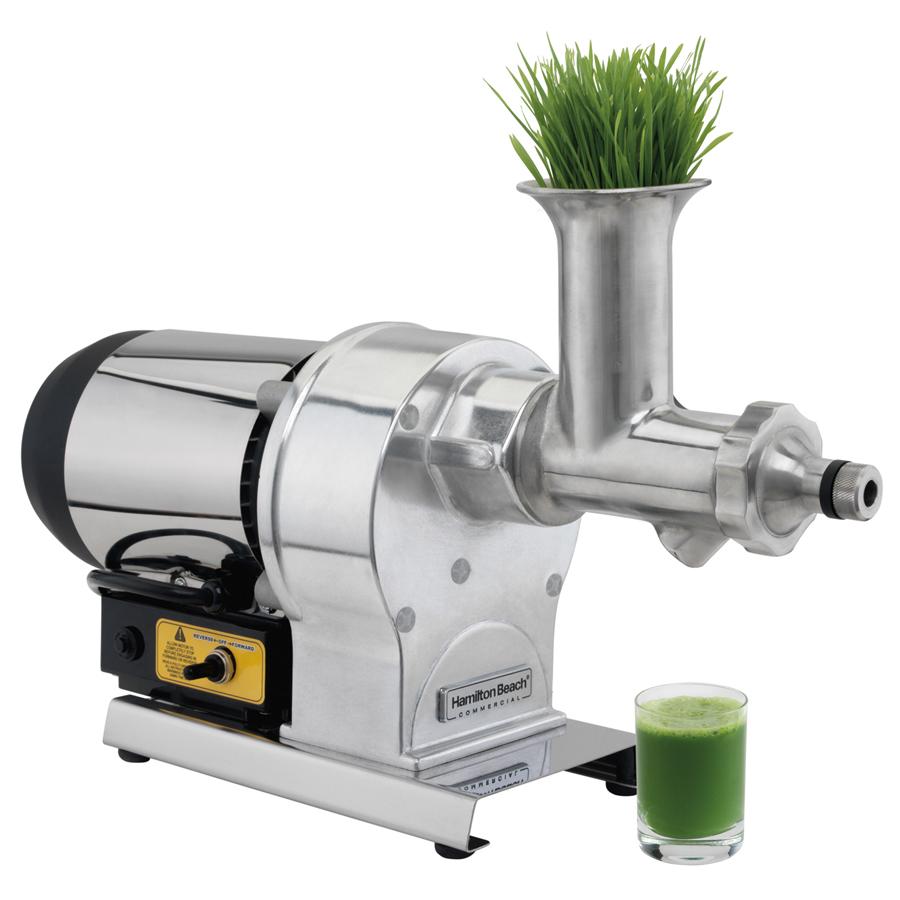
 Benefits of Using an Industrial Juice Extractor
 Key Features to Consider in an Industrial Juice Extractor
 Top Industrial Juice Extractor Brands in the Market
 Frequently Asked Questions About Industrial Juice Extractor
 The Importance of Choosing the Right Commercial Juicer
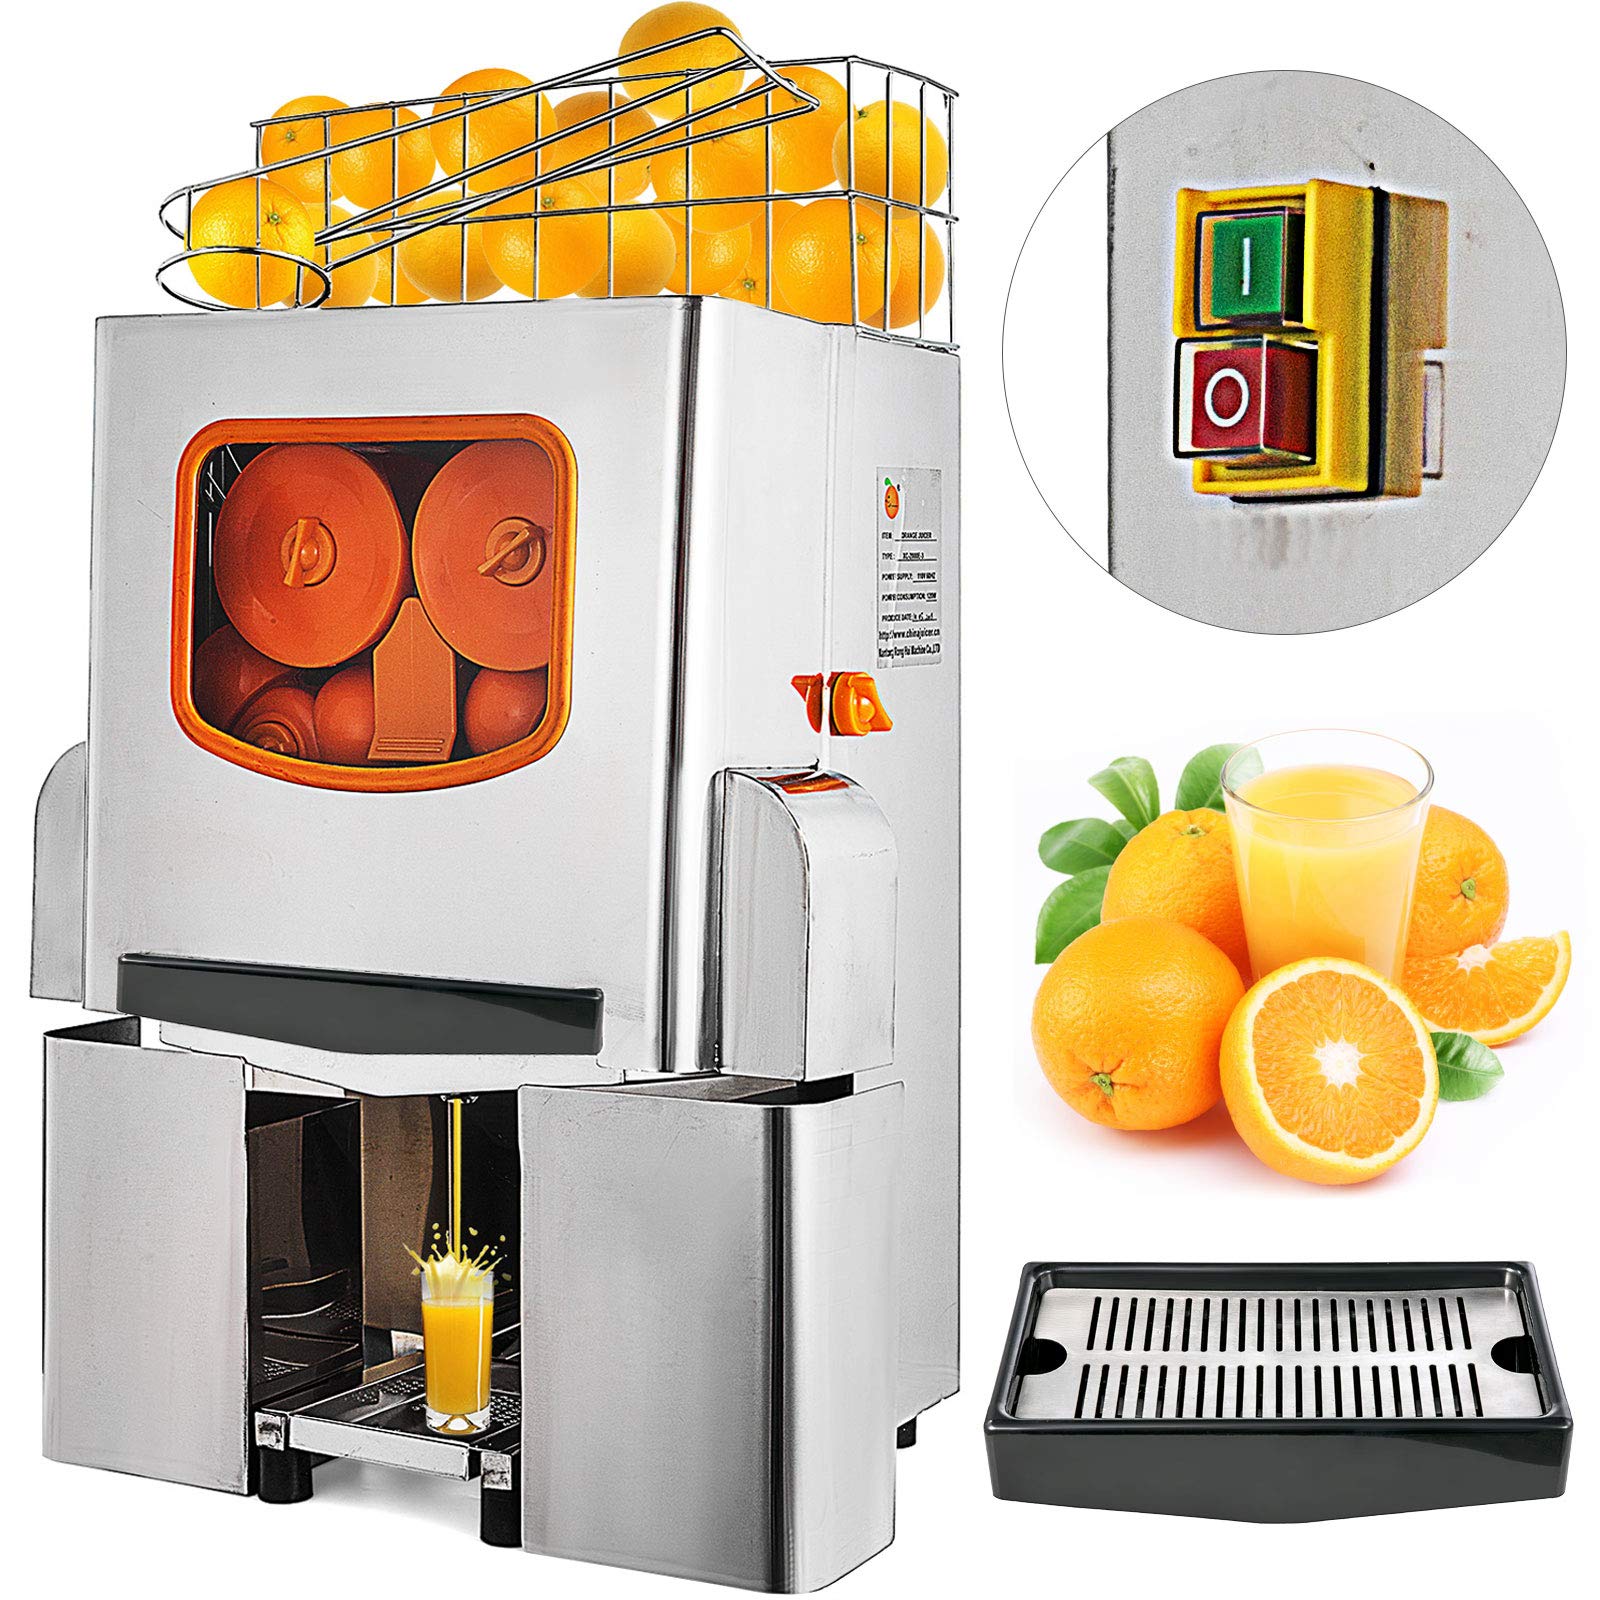 Key Features to Look for in the Best Commercial Juicer
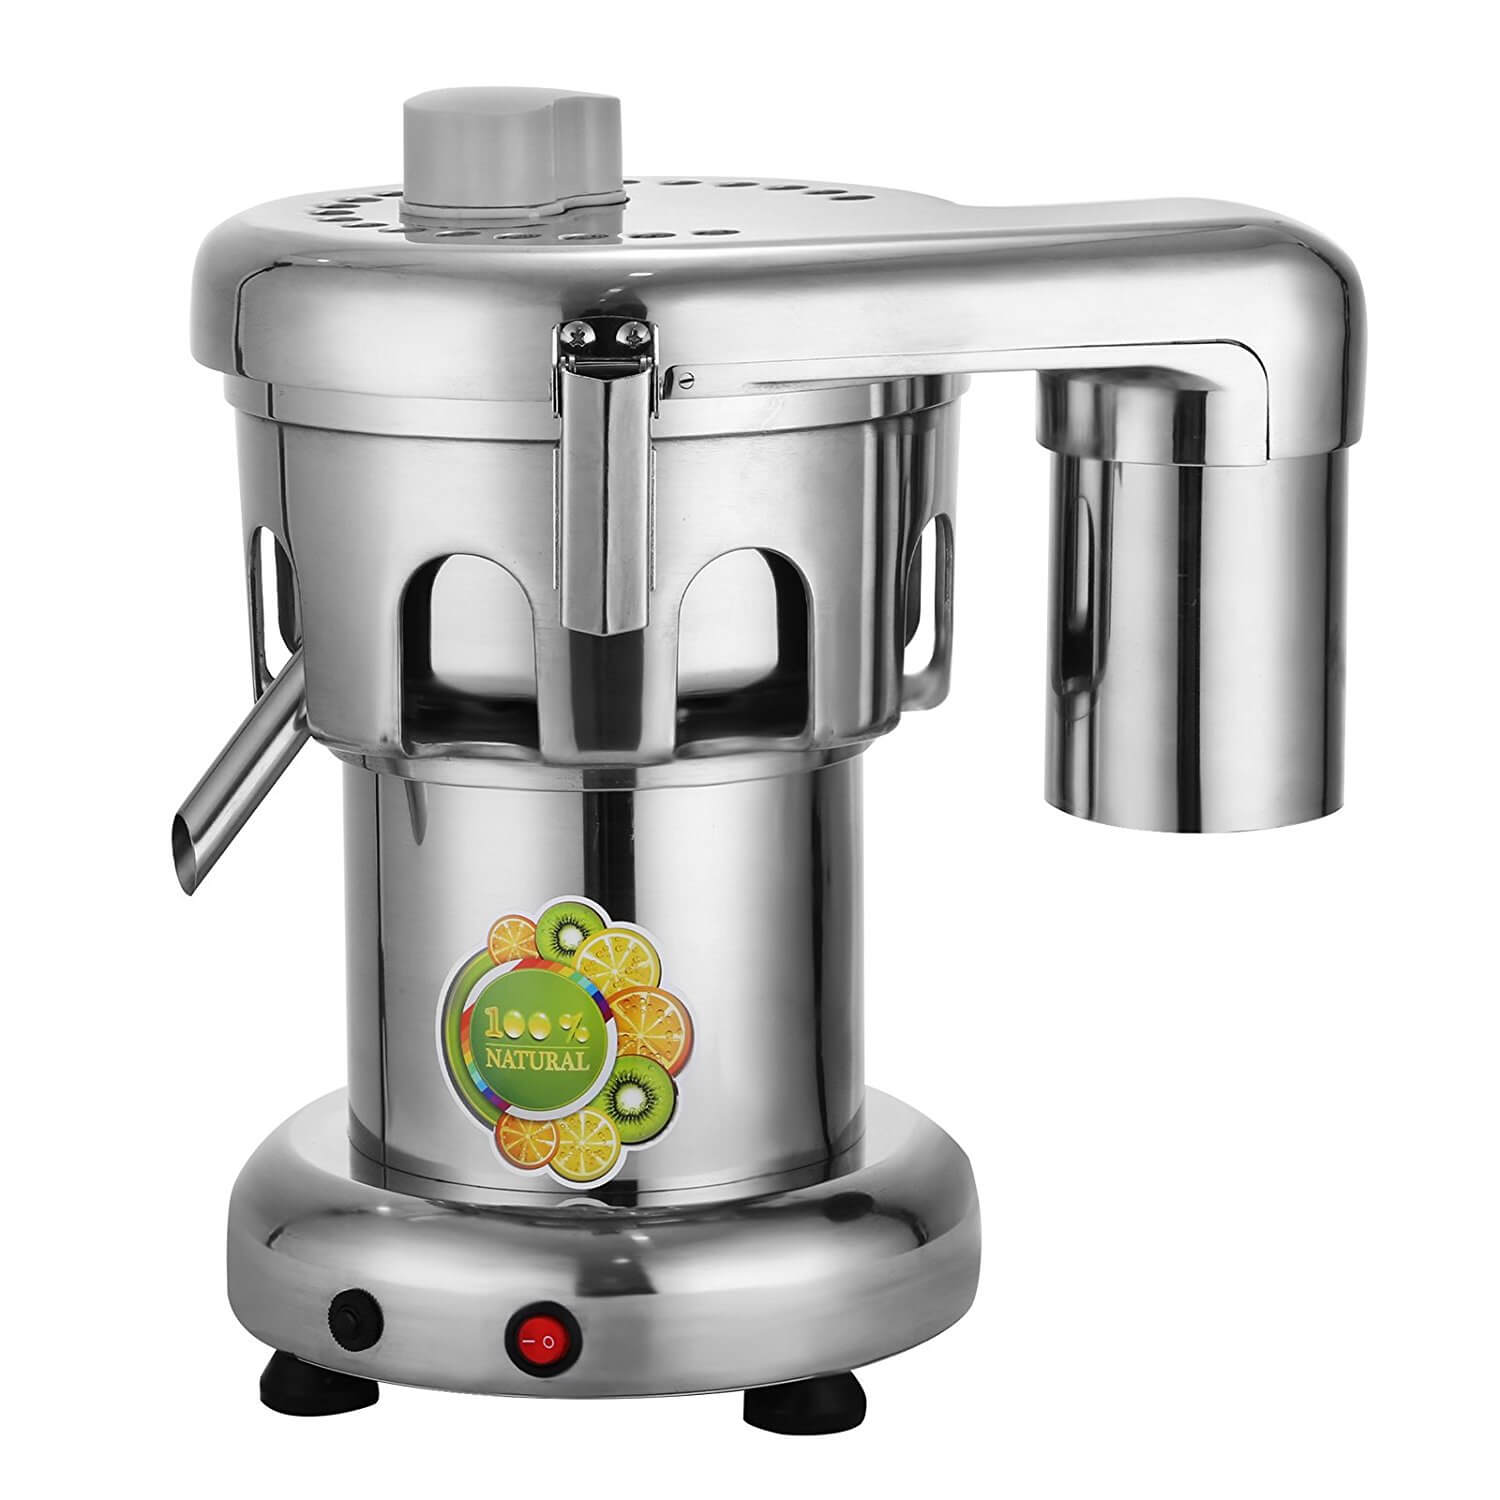 How to Choose the Best Commercial Juicer for Your Business
 Maintenance Tips for Your Commercial Juicer
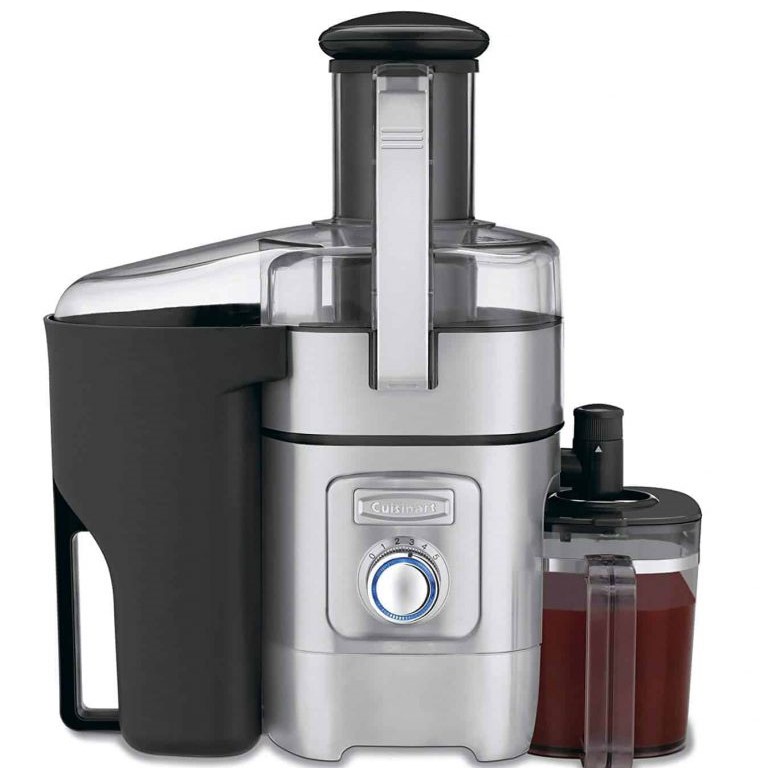
 Why Black Friday is the Best Time to Buy a Juicer
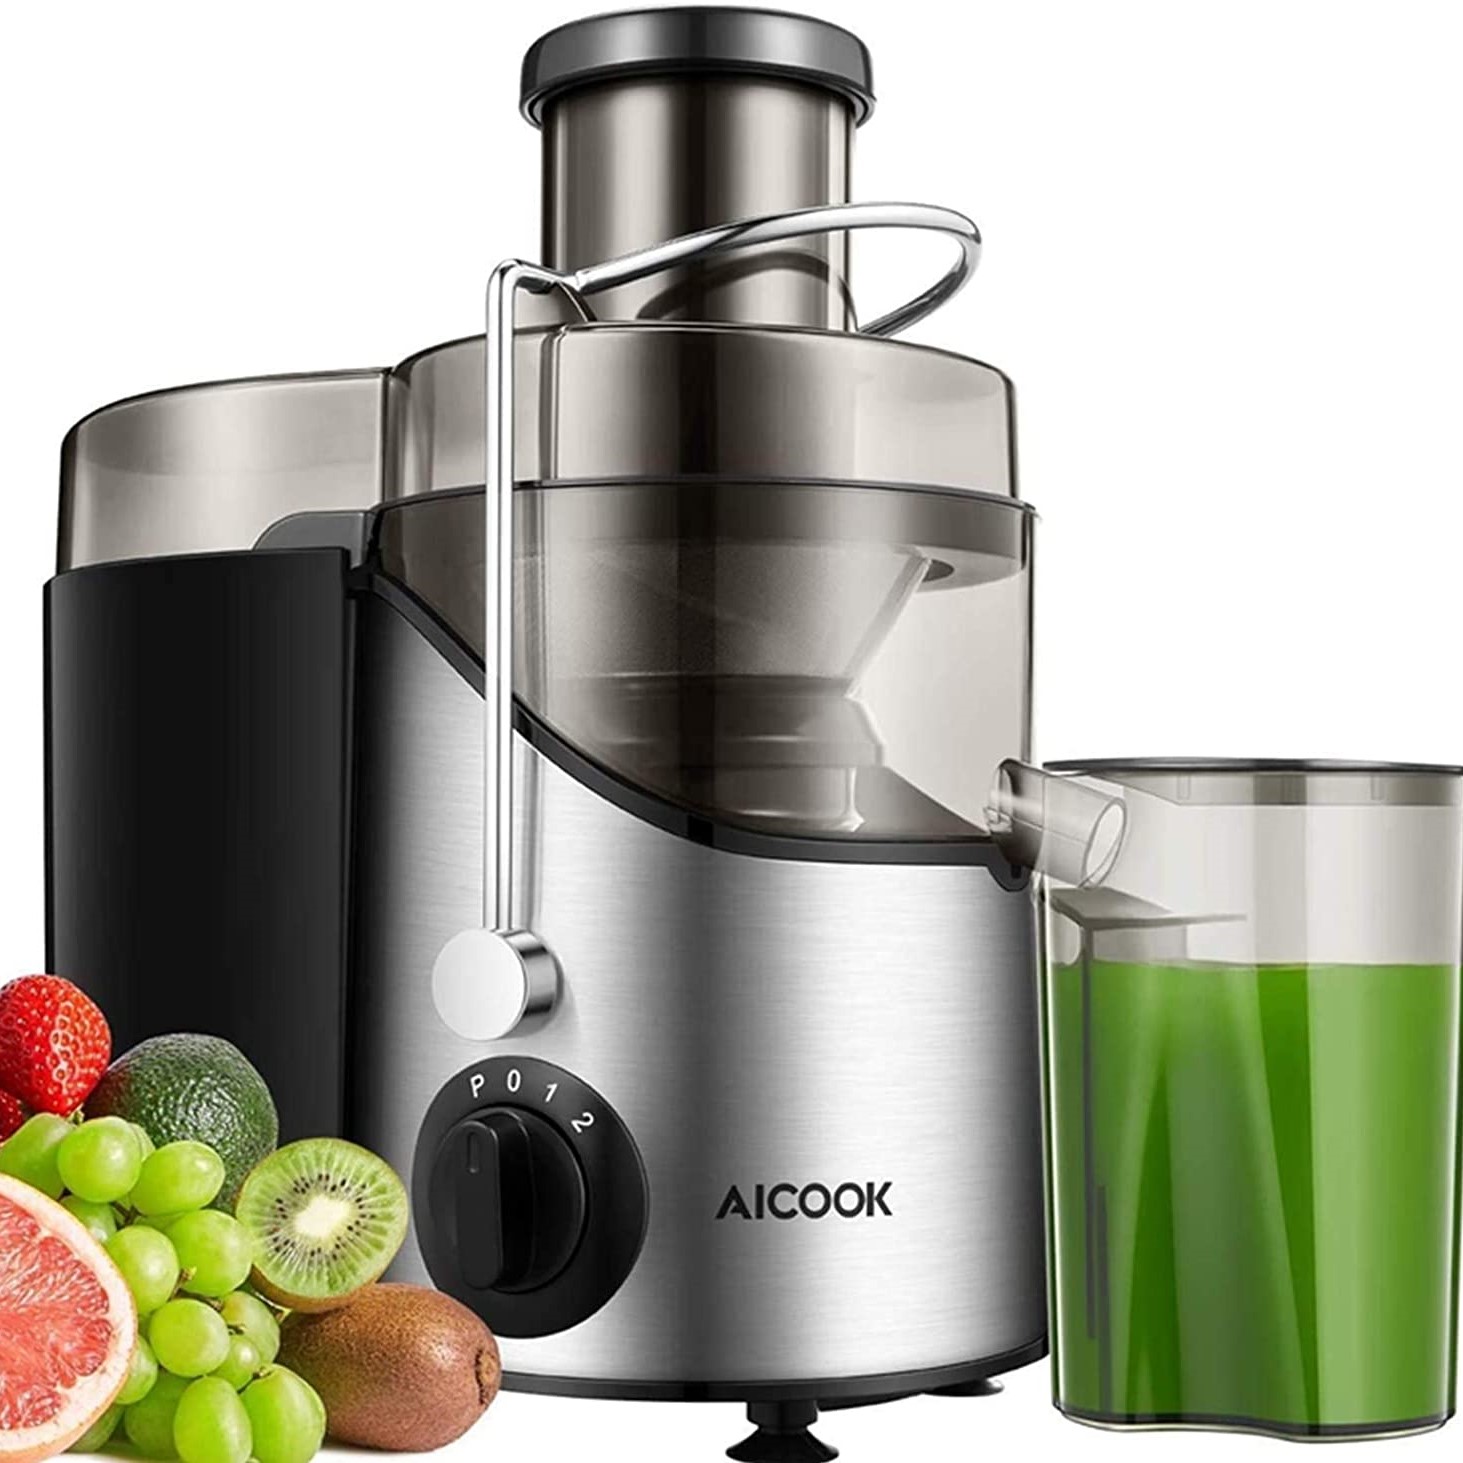 How to Choose the Right Juicer for Your Needs
 Tips for Maximizing Your Juicer on Black Friday Purchase
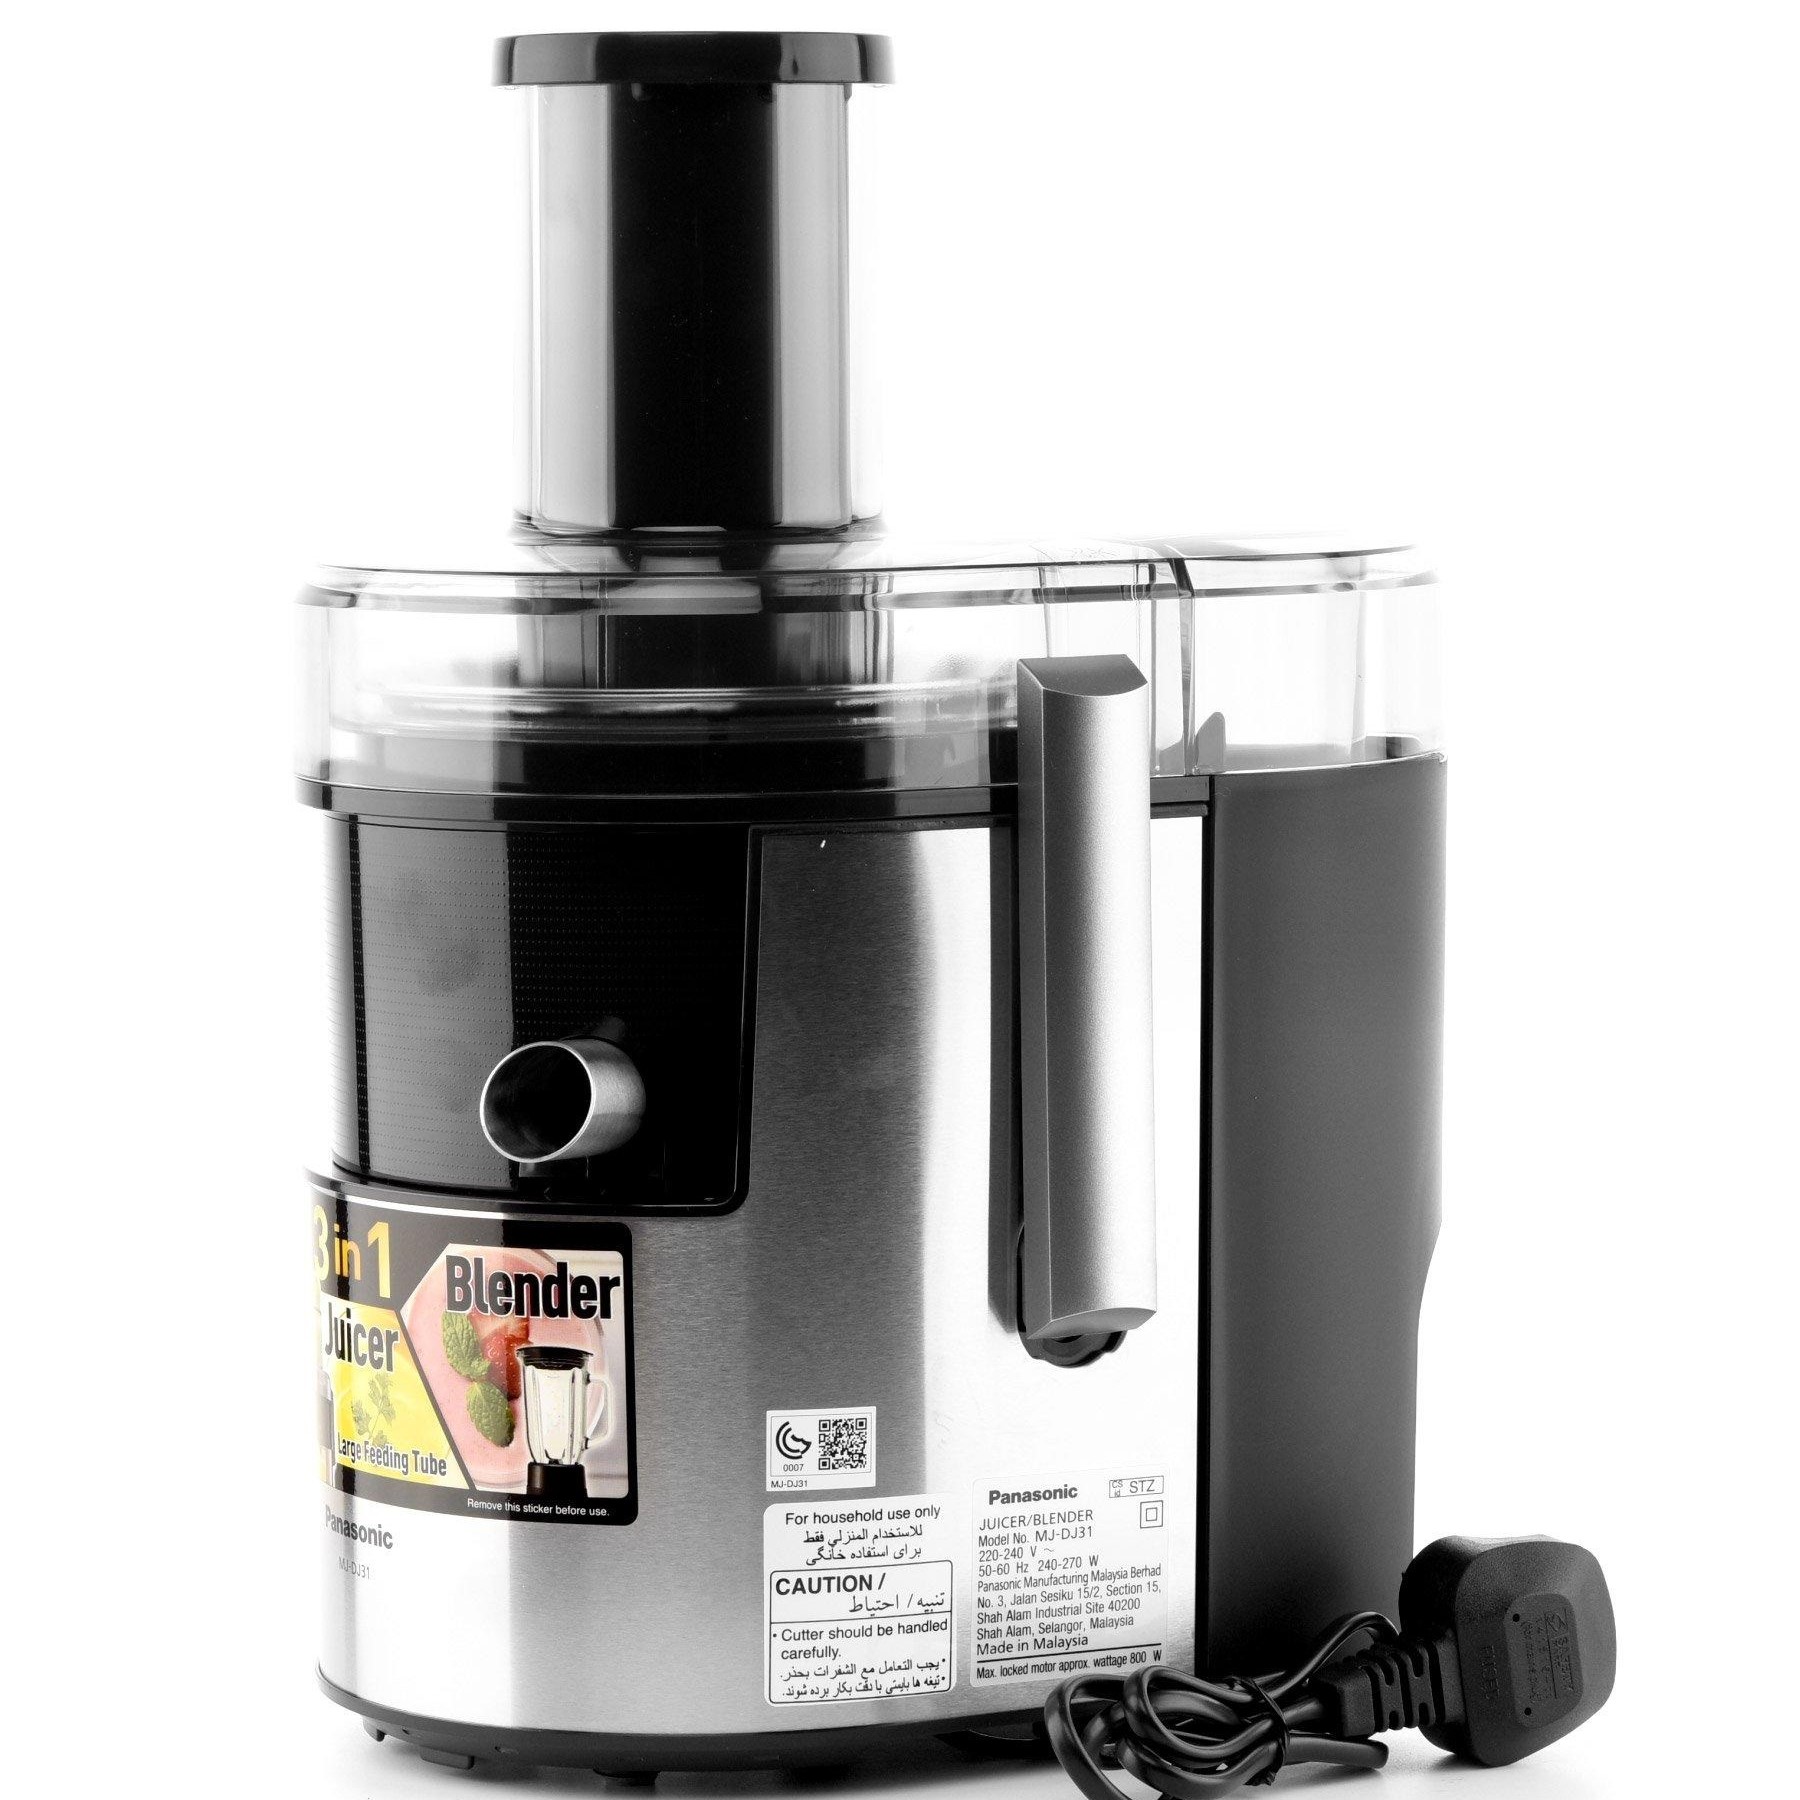 Expert Recommendations for Juicer on Black Friday Shopping
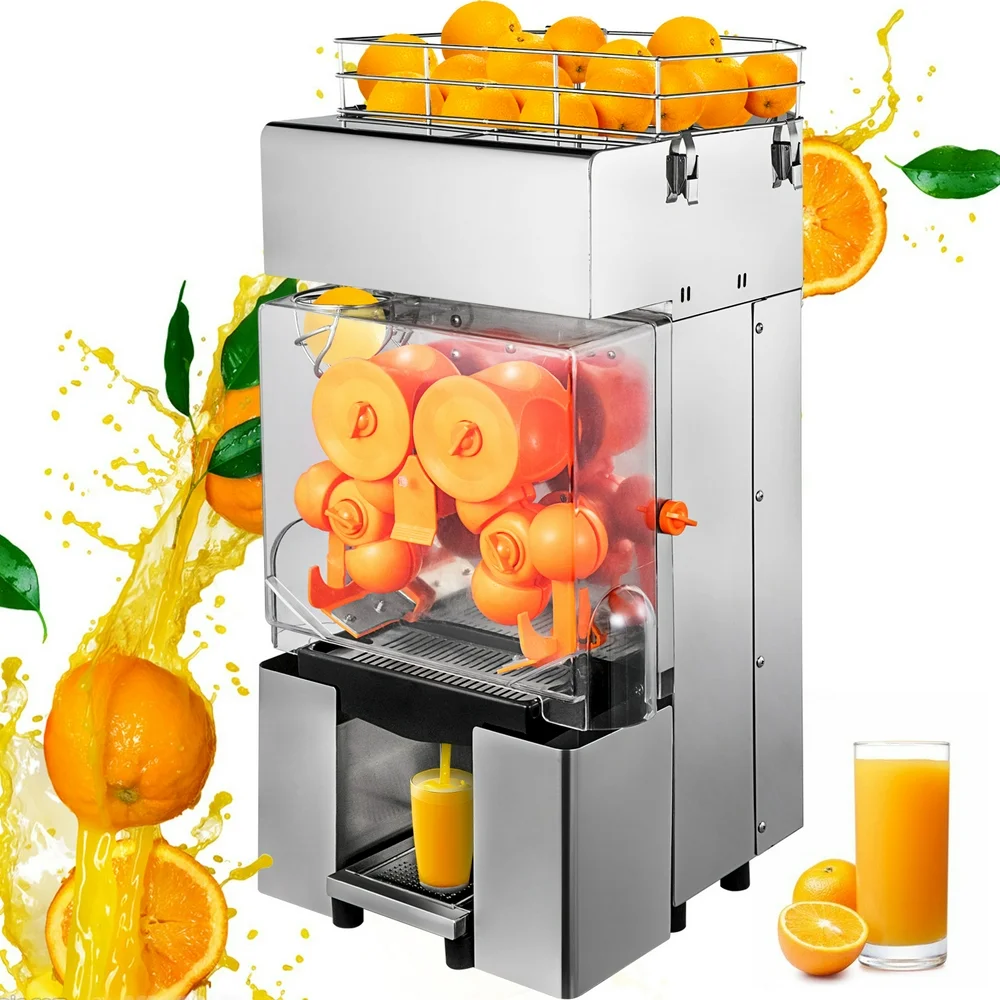
 Why Choose an Juicer Machine for Orange?
 Key Features to Consider in the Best Juicer Machine for Orange
 Maintenance Tips for Your Juicer Machine for Orange
 Comparing Juicer Machines for Orange with Other Juice Extractors