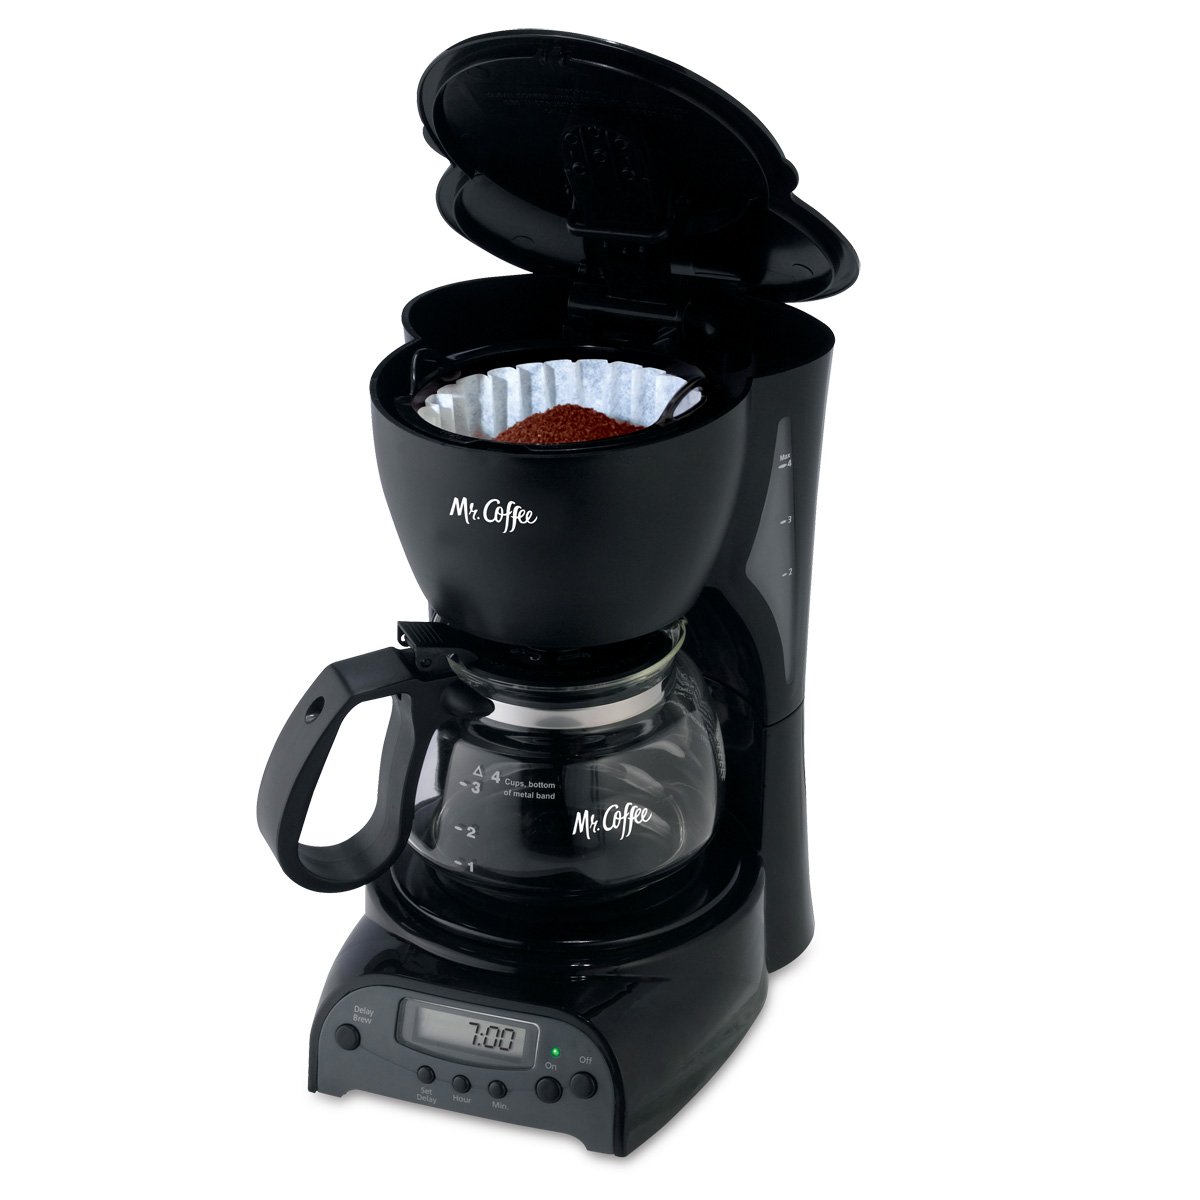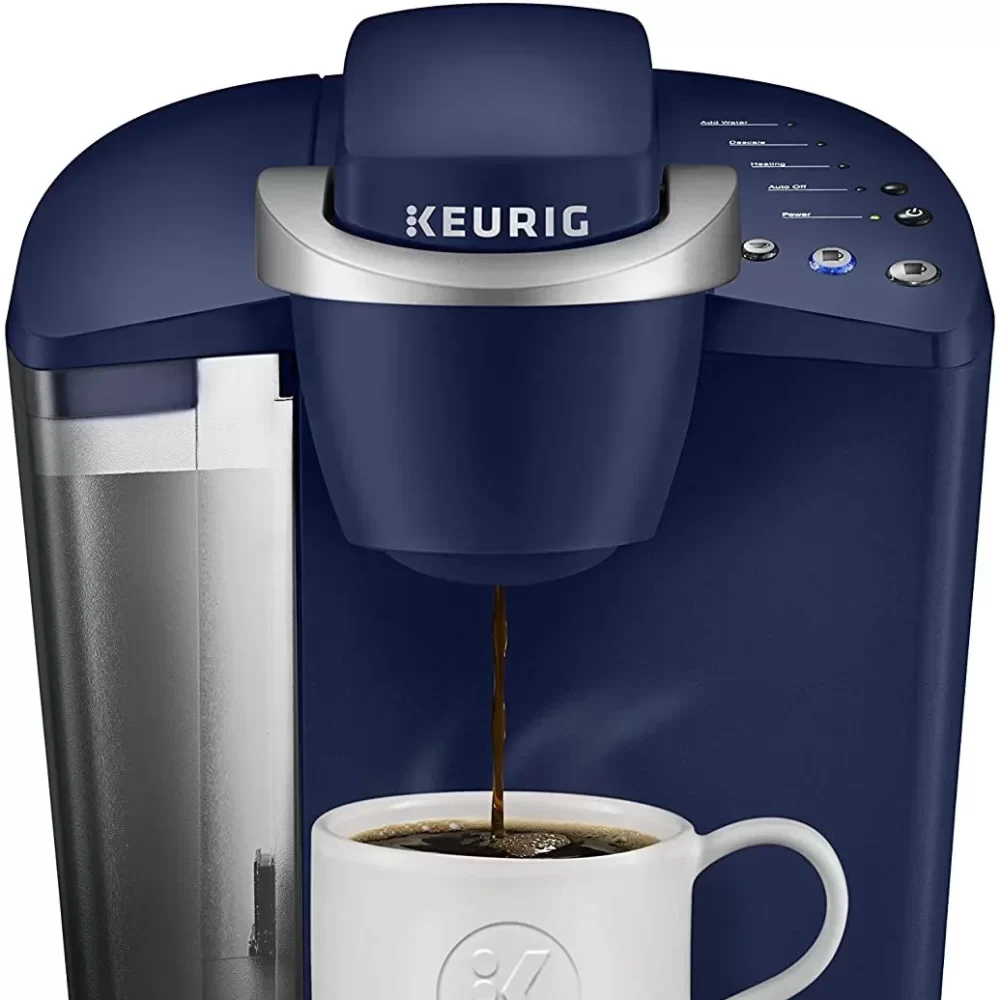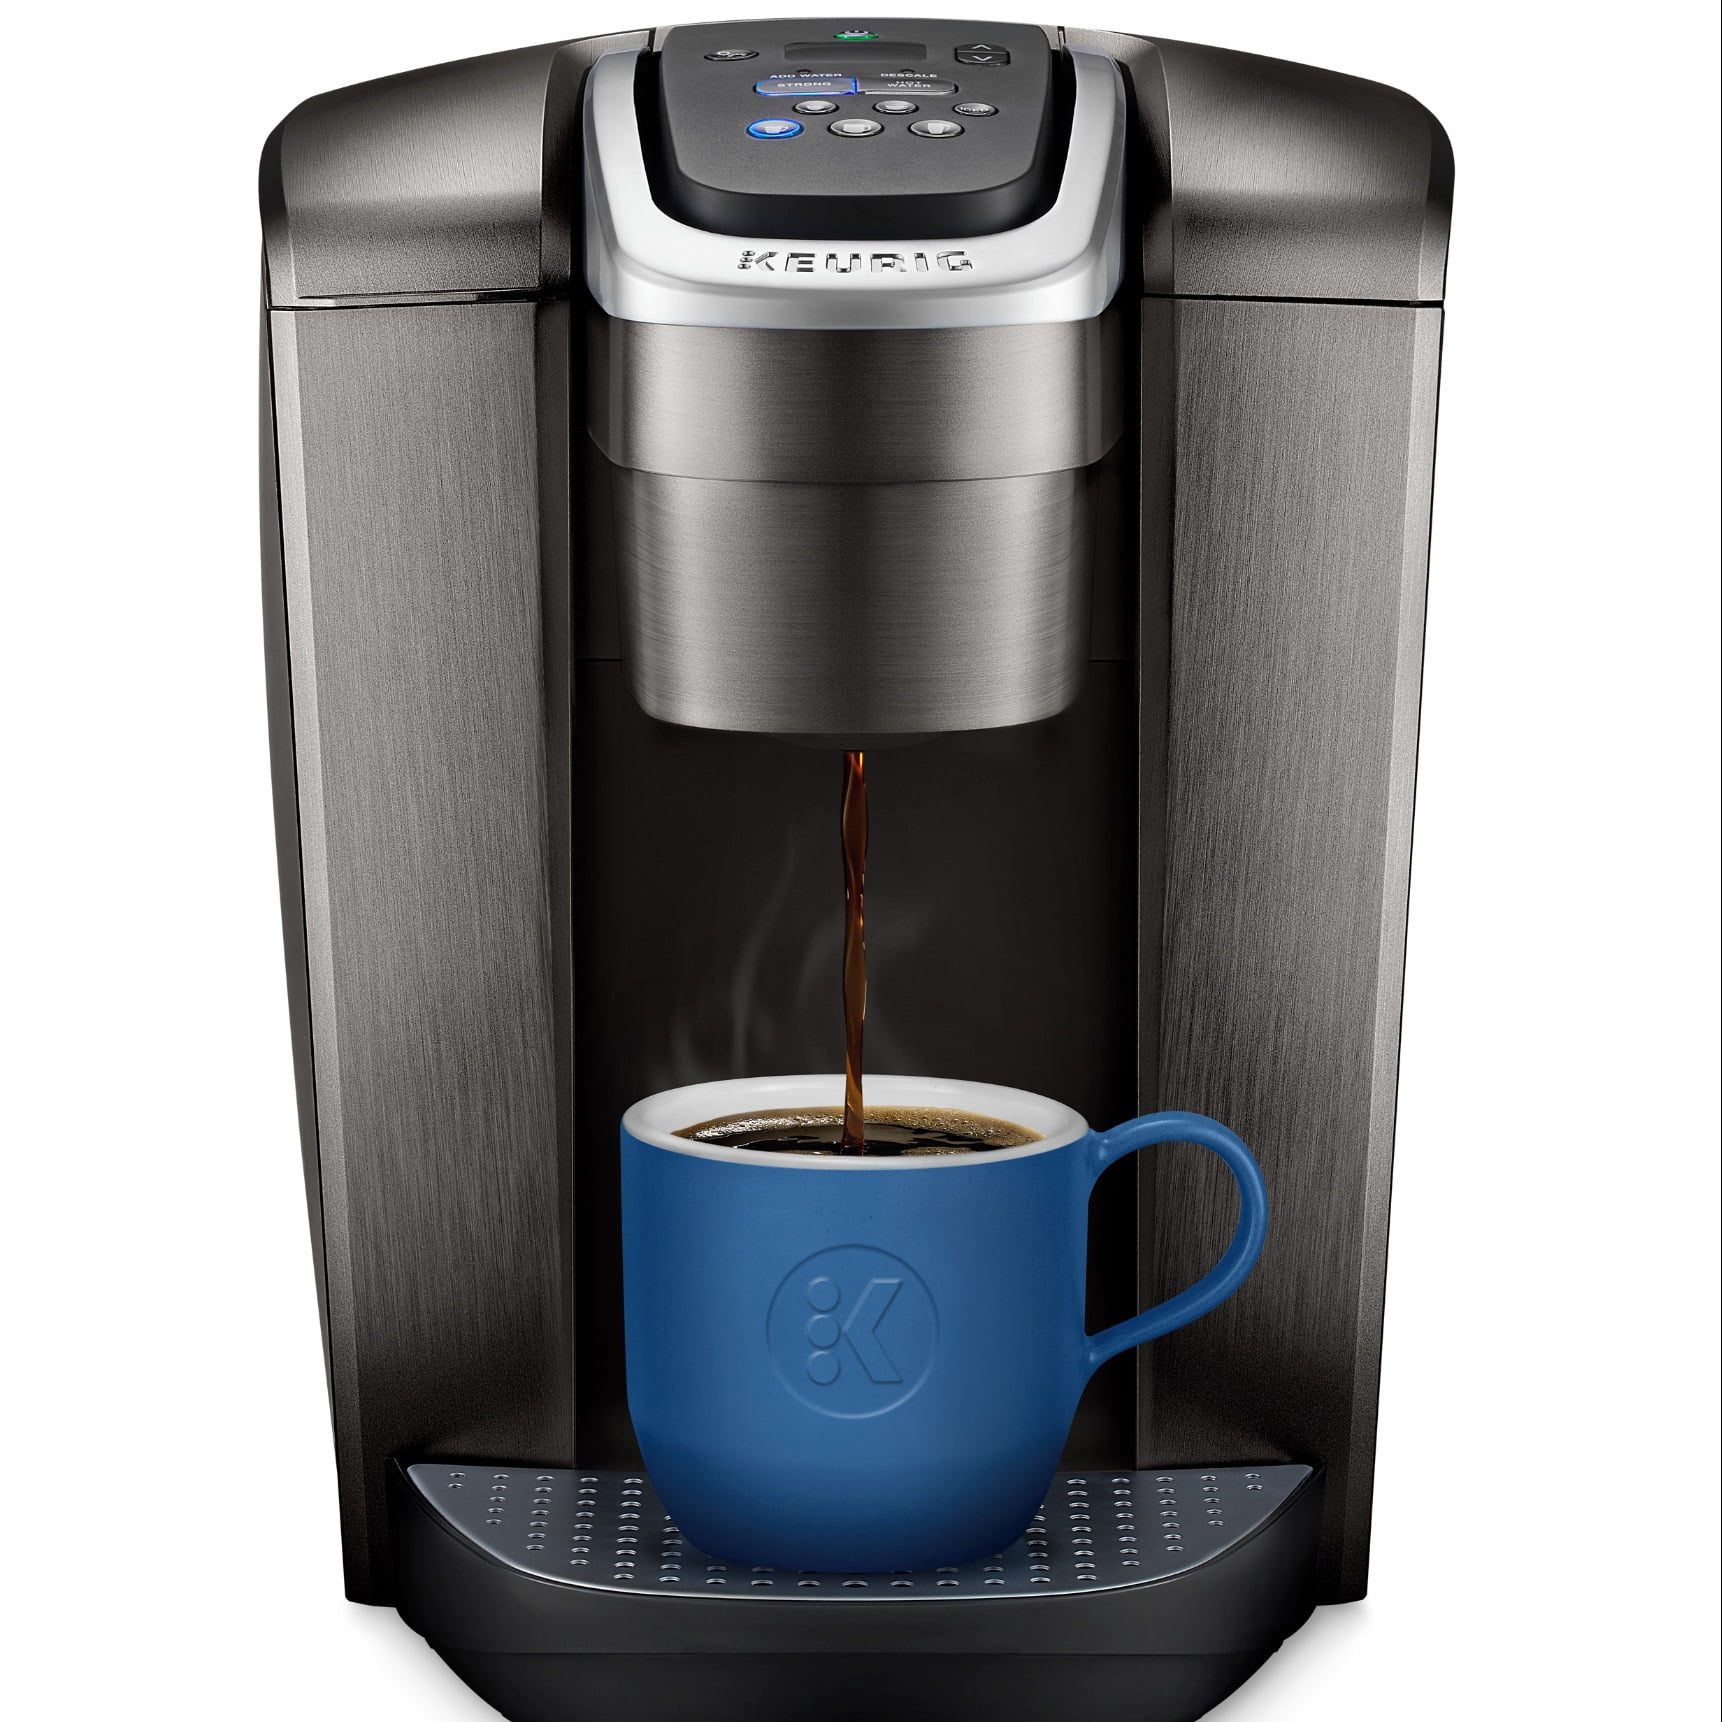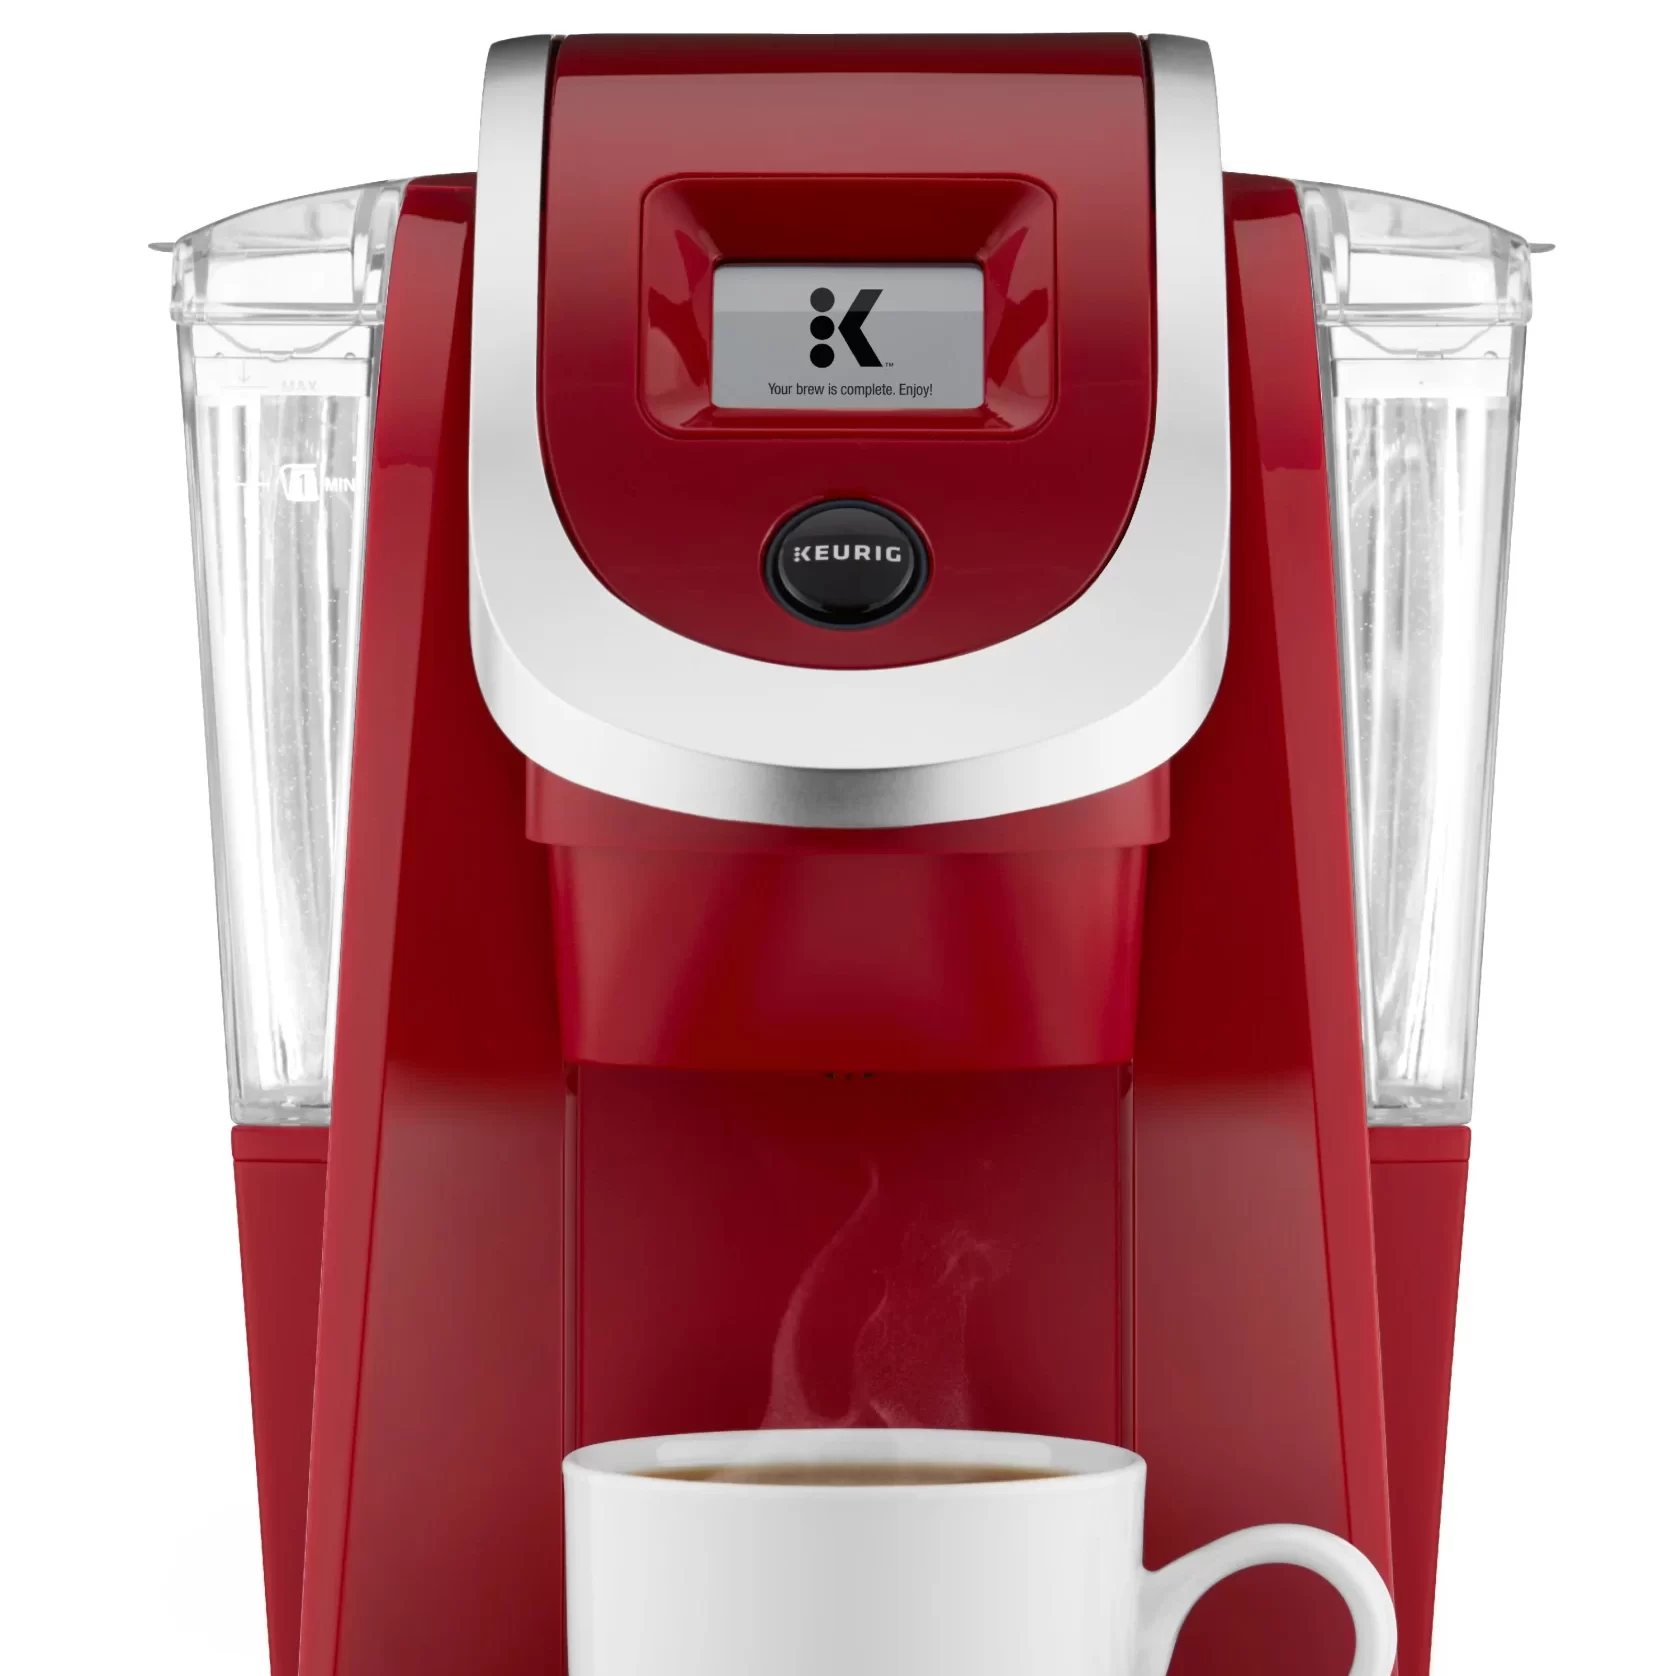
Posted on

Why Won’t My Keurig Turn On After Descaling?

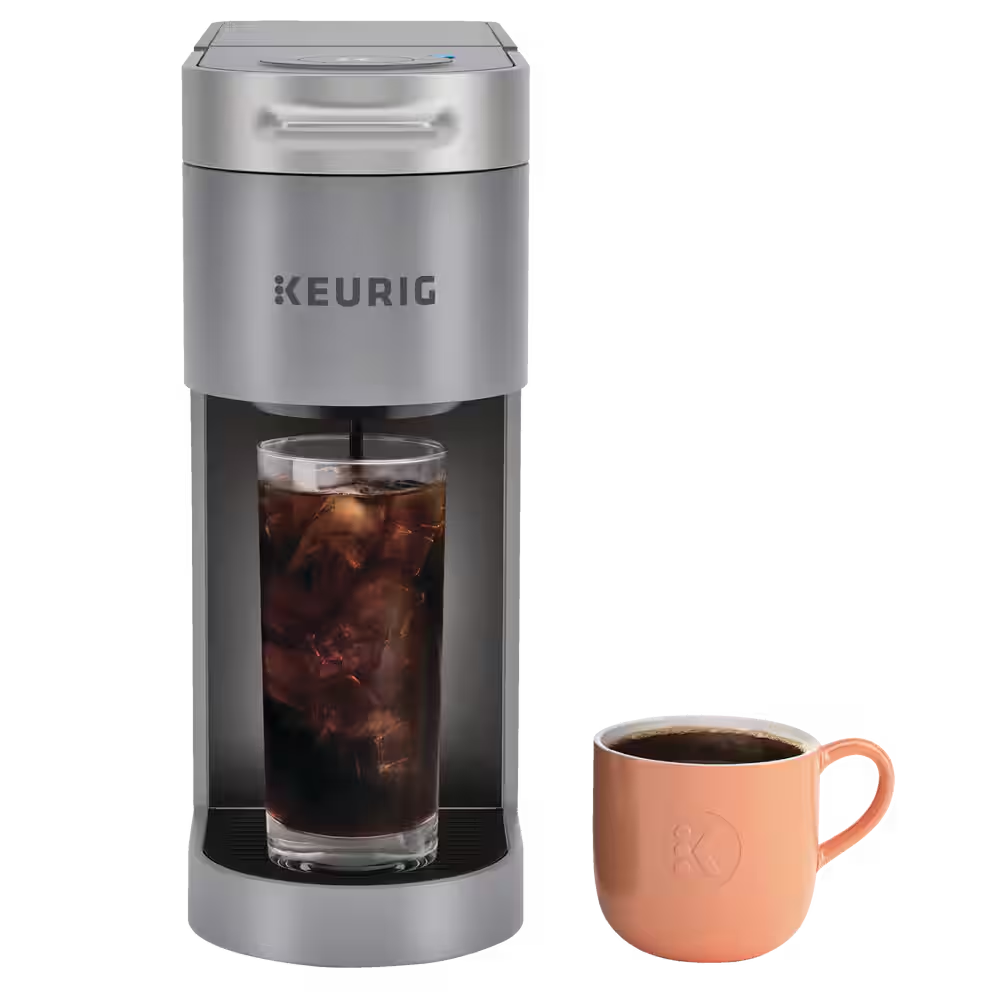
keurig won't turn on after descaling

Descaling your Keurig is essential for maintaining its performance and longevity, but what happens when your Keurig won’t turn on after descaling? This issue can be frustrating, especially when you’re craving that first cup of coffee. Understanding why your Keurig isn’t powering up and knowing how to troubleshoot can save you from unnecessary inconvenience. In this article, we’ll delve into the possible reasons behind this problem and provide step-by-step solutions to get your Keurig back in working order.

Understanding the Descaling Process

Why Descaling Matters

Descaling is crucial for keeping your Keurig in optimal condition. Over time, minerals from water can build up inside the machine, affecting its performance and the taste of your coffee. Descaling removes these mineral deposits, ensuring that your Keurig functions smoothly and produces high-quality brews. Understanding the importance of descaling underscores the necessity of this maintenance task.

The Descaling Procedure

The typical descaling process involves using a descaling solution or vinegar, followed by multiple rinses with clean water. This process might seem straightforward, but issues can arise if not done correctly. Missteps during descaling can potentially lead to problems like your Keurig not turning on. Knowing the proper procedure can help minimize the risks associated with descaling.

Common Reasons for Power Issues

Electrical Problems

One of the most common reasons your Keurig won’t turn on after descaling is an electrical issue. This could be related to the power cord, outlet, or internal electrical components. Checking and addressing these electrical aspects can often resolve the problem. Ensuring safe and functional electrical connections is foundational to troubleshooting power issues.

Residual Moisture

Moisture from the descaling process can sometimes affect the internal components of the Keurig. If the machine was not thoroughly dried before attempting to use it again, it might not turn on. Allowing adequate drying time can help avoid this issue. Understanding how moisture impacts the machine’s electronics emphasizes the need for proper drying.

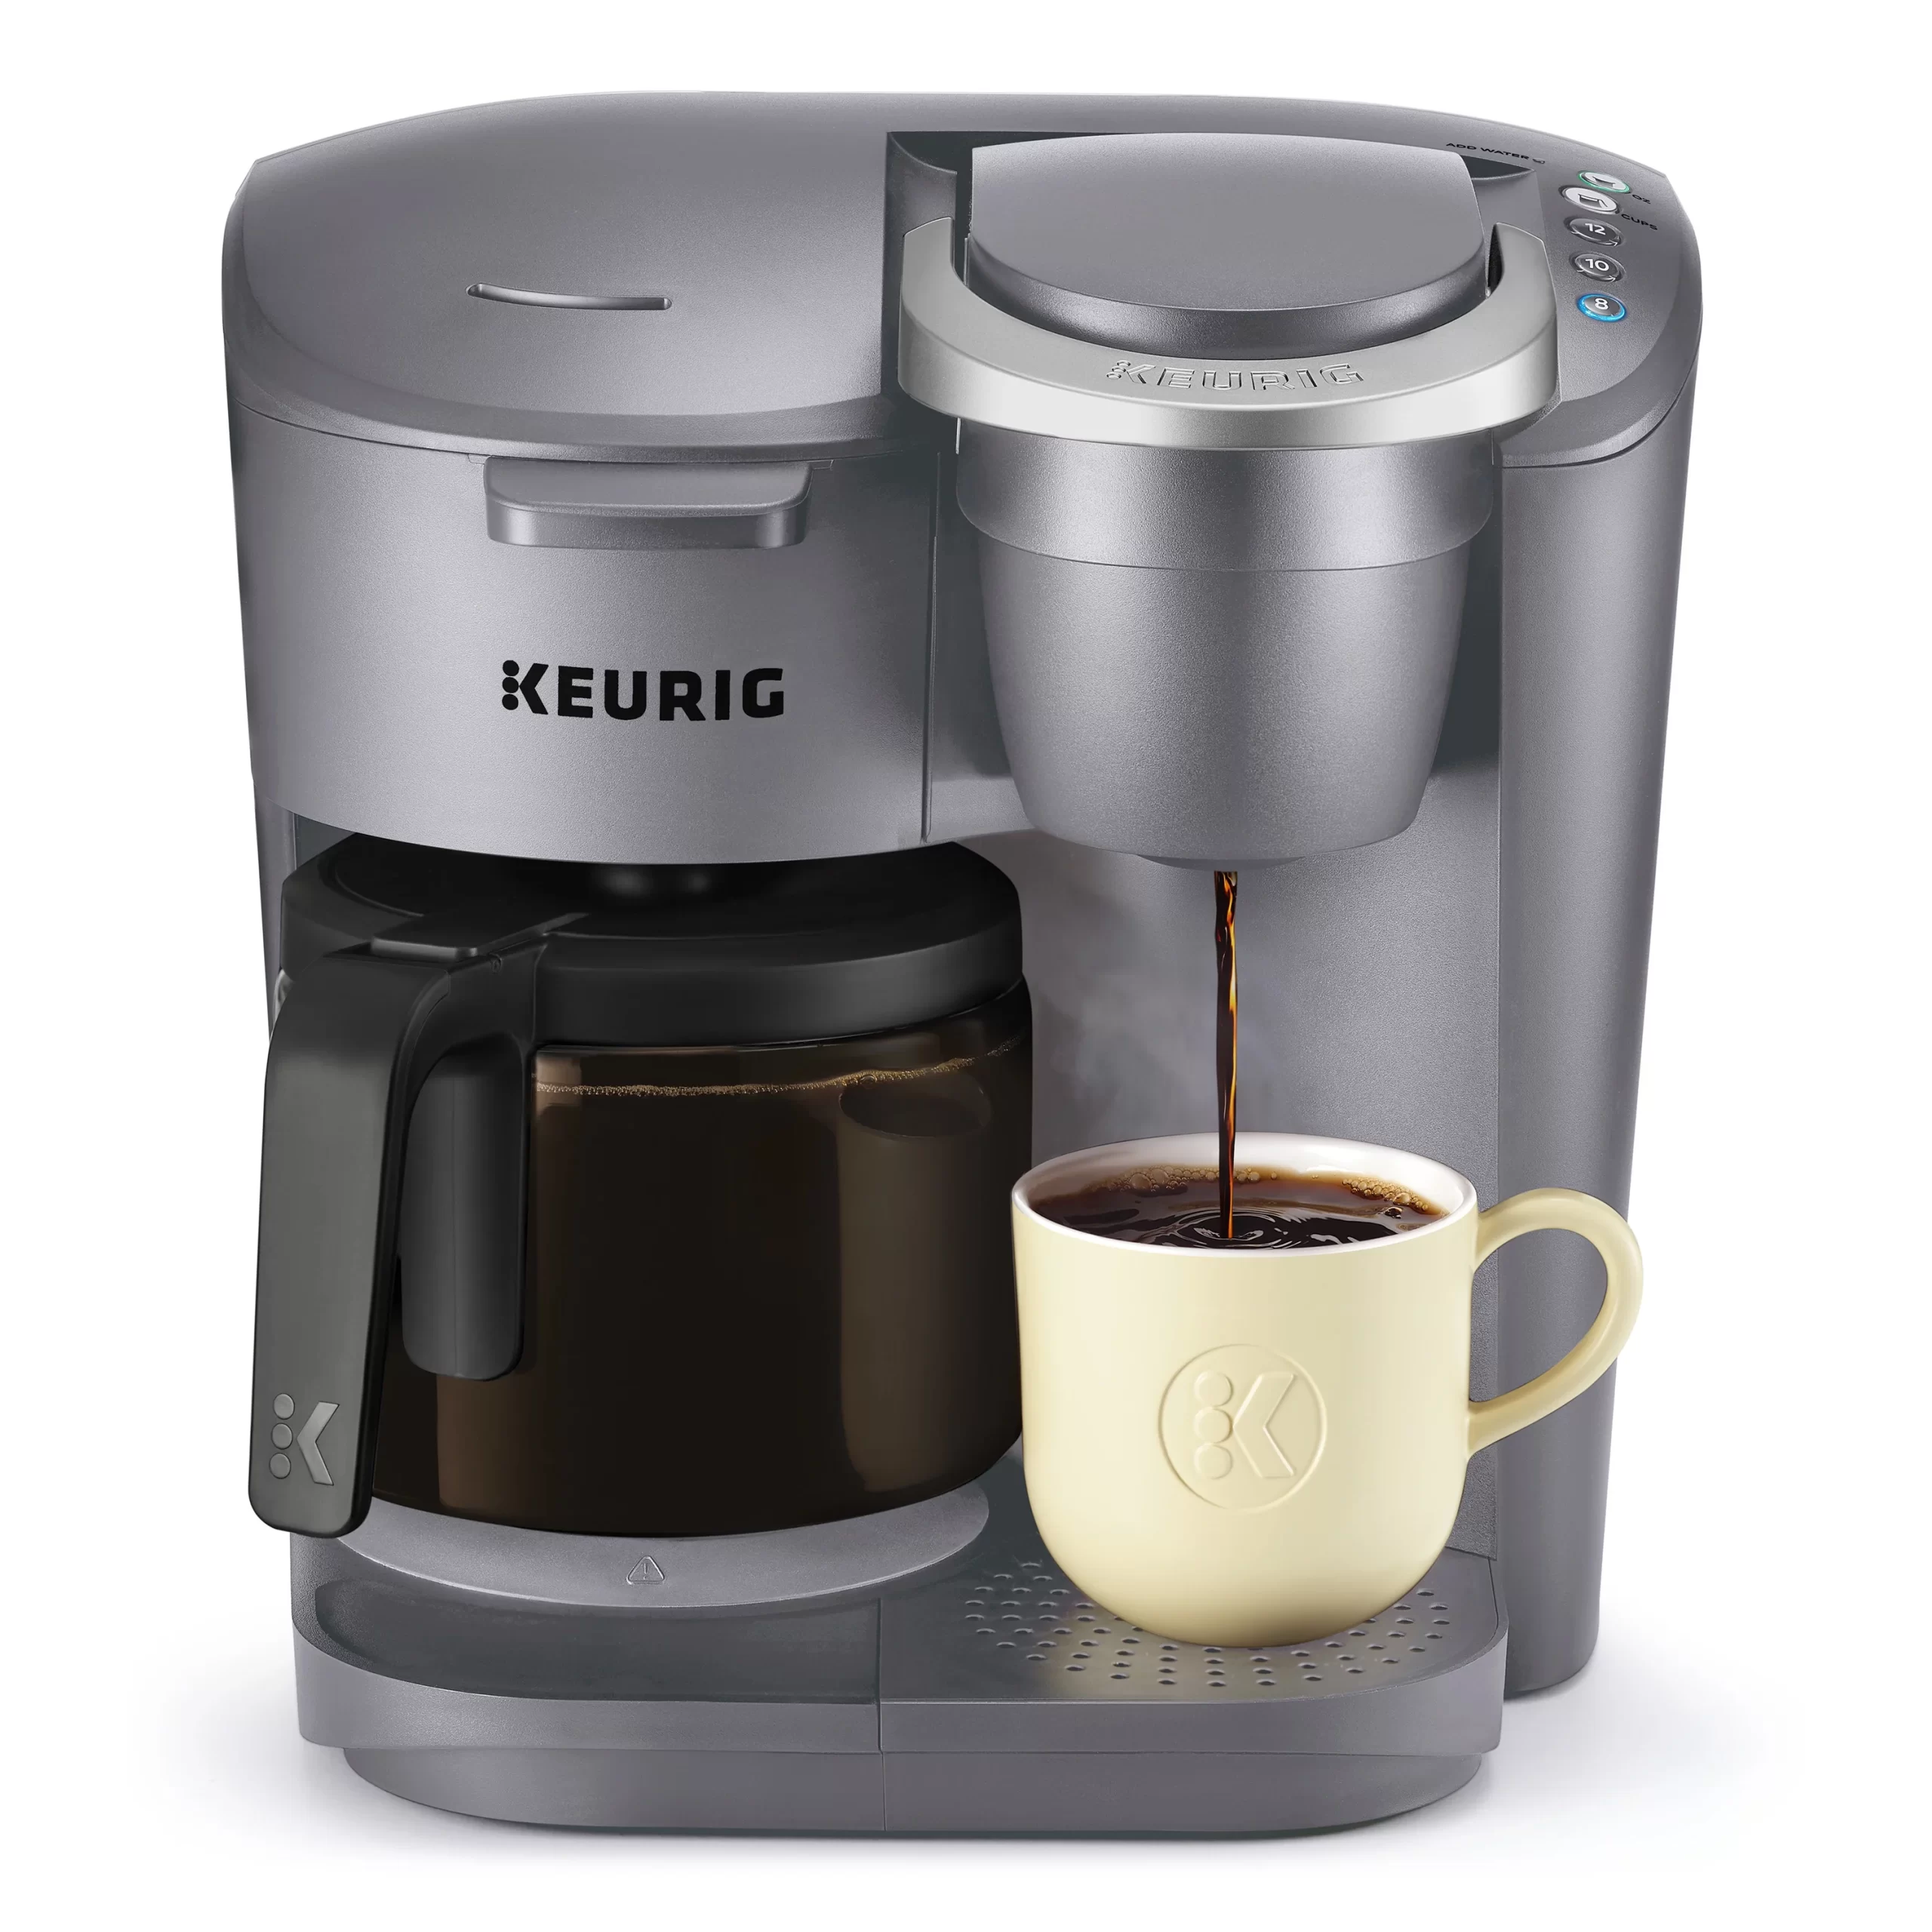
keurig won't turn on after descaling

Steps to Troubleshoot Your Keurig

Check the Power Source

First, ensure that your Keurig is properly plugged into a functioning outlet. Test the outlet with another device to confirm whether it’s working. If the outlet is faulty, try plugging the Keurig into a different one. Simplifying your troubleshooting process by eliminating basic power issues can quickly identify the root cause.

Inspect the Power Cord

Examine the power cord for any signs of damage such as fraying or cuts. A damaged power cord can prevent your Keurig from turning on. Replace the cord if necessary and check if the machine powers up. Ensuring the integrity of the power cord is critical for safe and effective operation.

Internal Component Checks

Resetting the Machine

Sometimes, a simple reset can solve the problem. Unplug your Keurig and leave it unplugged for a few minutes before plugging it back in. This can reset the internal electronics and potentially resolve any glitches. Performing a reset is a straightforward step that can often yield quick results.

Water Reservoir and Sensors

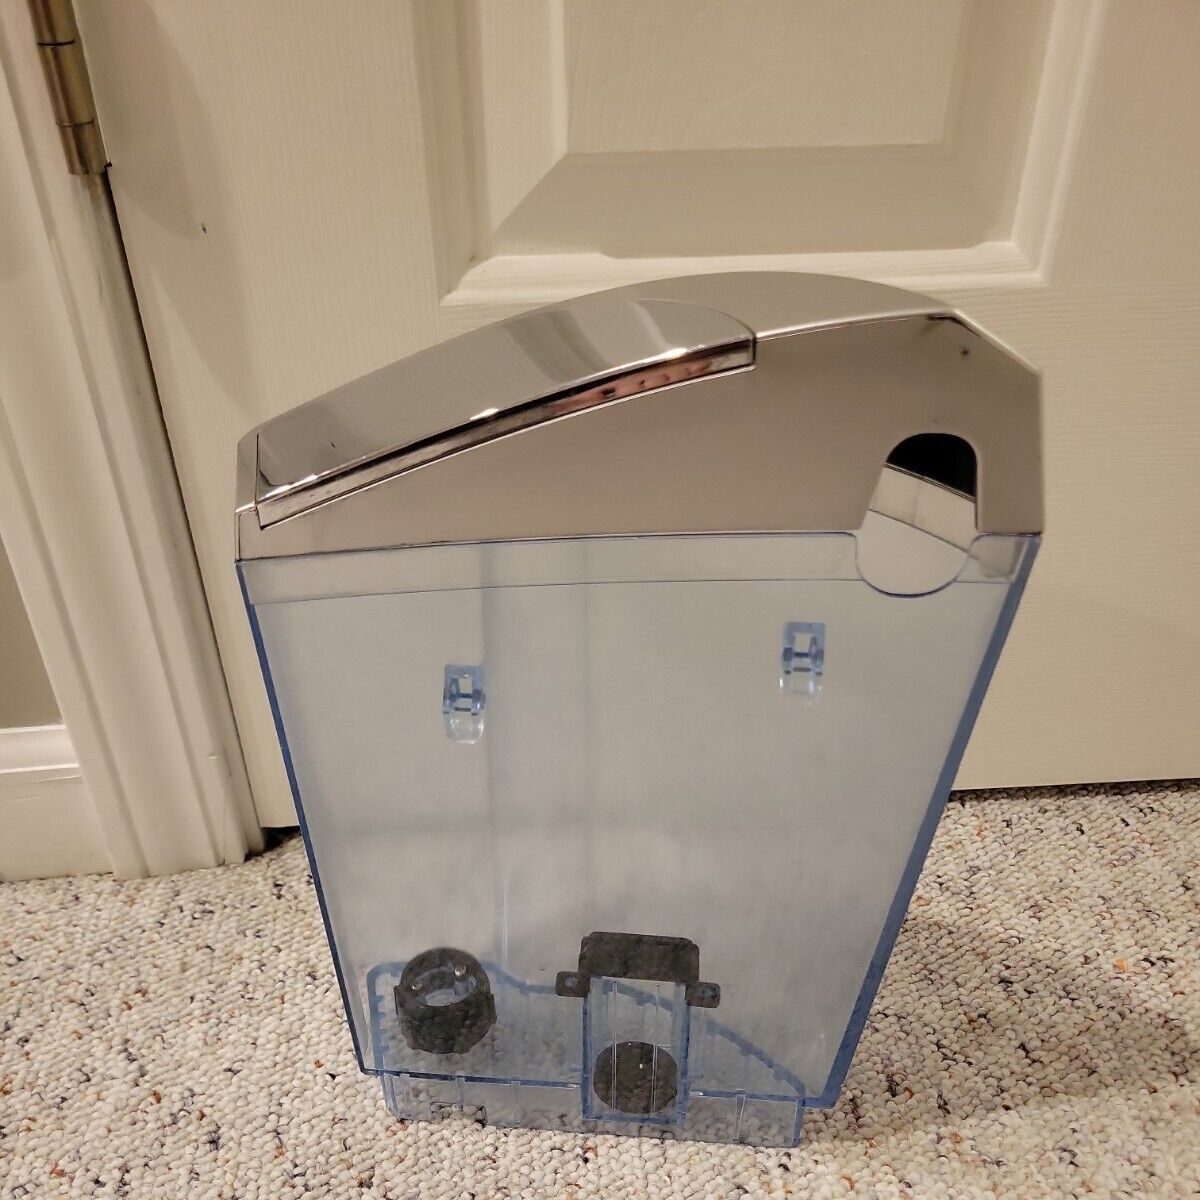
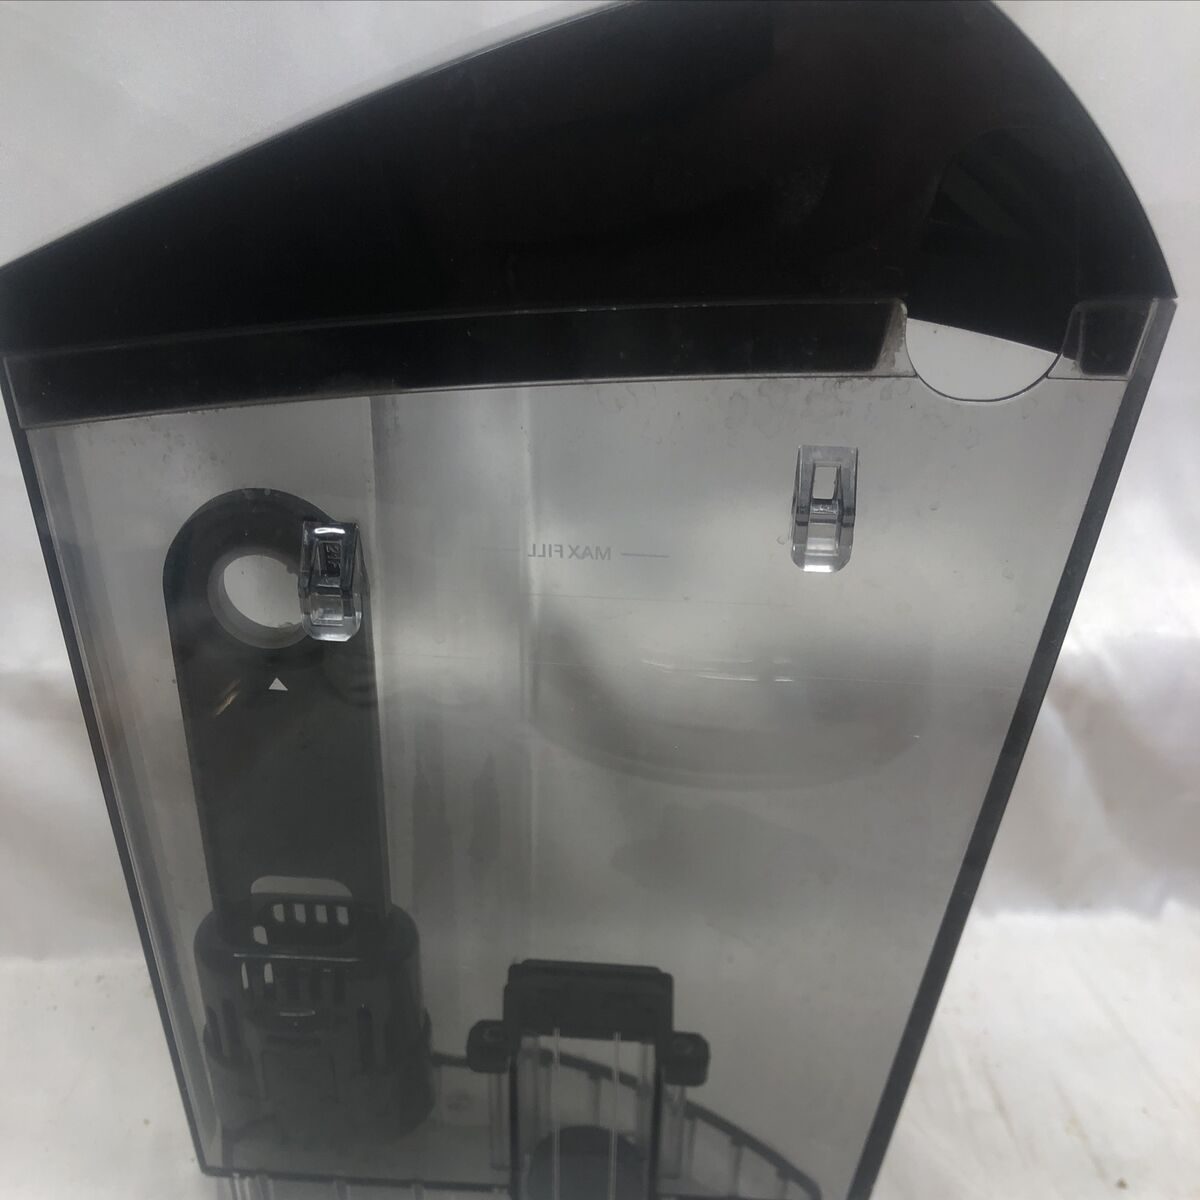
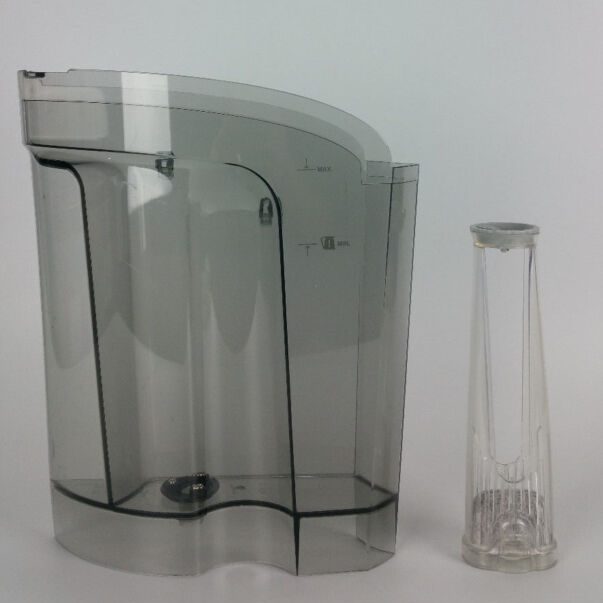
Ensure the water reservoir is seated correctly. Some Keurig models have sensors that prevent the machine from turning on if the reservoir isn’t properly placed. A misaligned reservoir can interfere with the sensor, causing power issues. Confirming the correct placement of the water reservoir ensures that all safety mechanisms are engaged.

Advanced Troubleshooting

Internal Fuse Check

If simple troubleshooting steps don’t work, the issue might be with an internal fuse. Some Keurig models have internal fuses that can blow if there’s an electrical short. Consulting your Keurig’s user manual or a professional technician can help with locating and checking the fuse. Understanding the internal components can guide more advanced troubleshooting efforts.

Inspecting the Circuit Board

In some cases, the problem might lie with the circuit board. Descaling fluid or water might have damaged the circuit board, leading to power issues. Inspecting the circuit board for signs of damage and consulting a professional for potential repairs can be necessary if other troubleshooting steps fail.

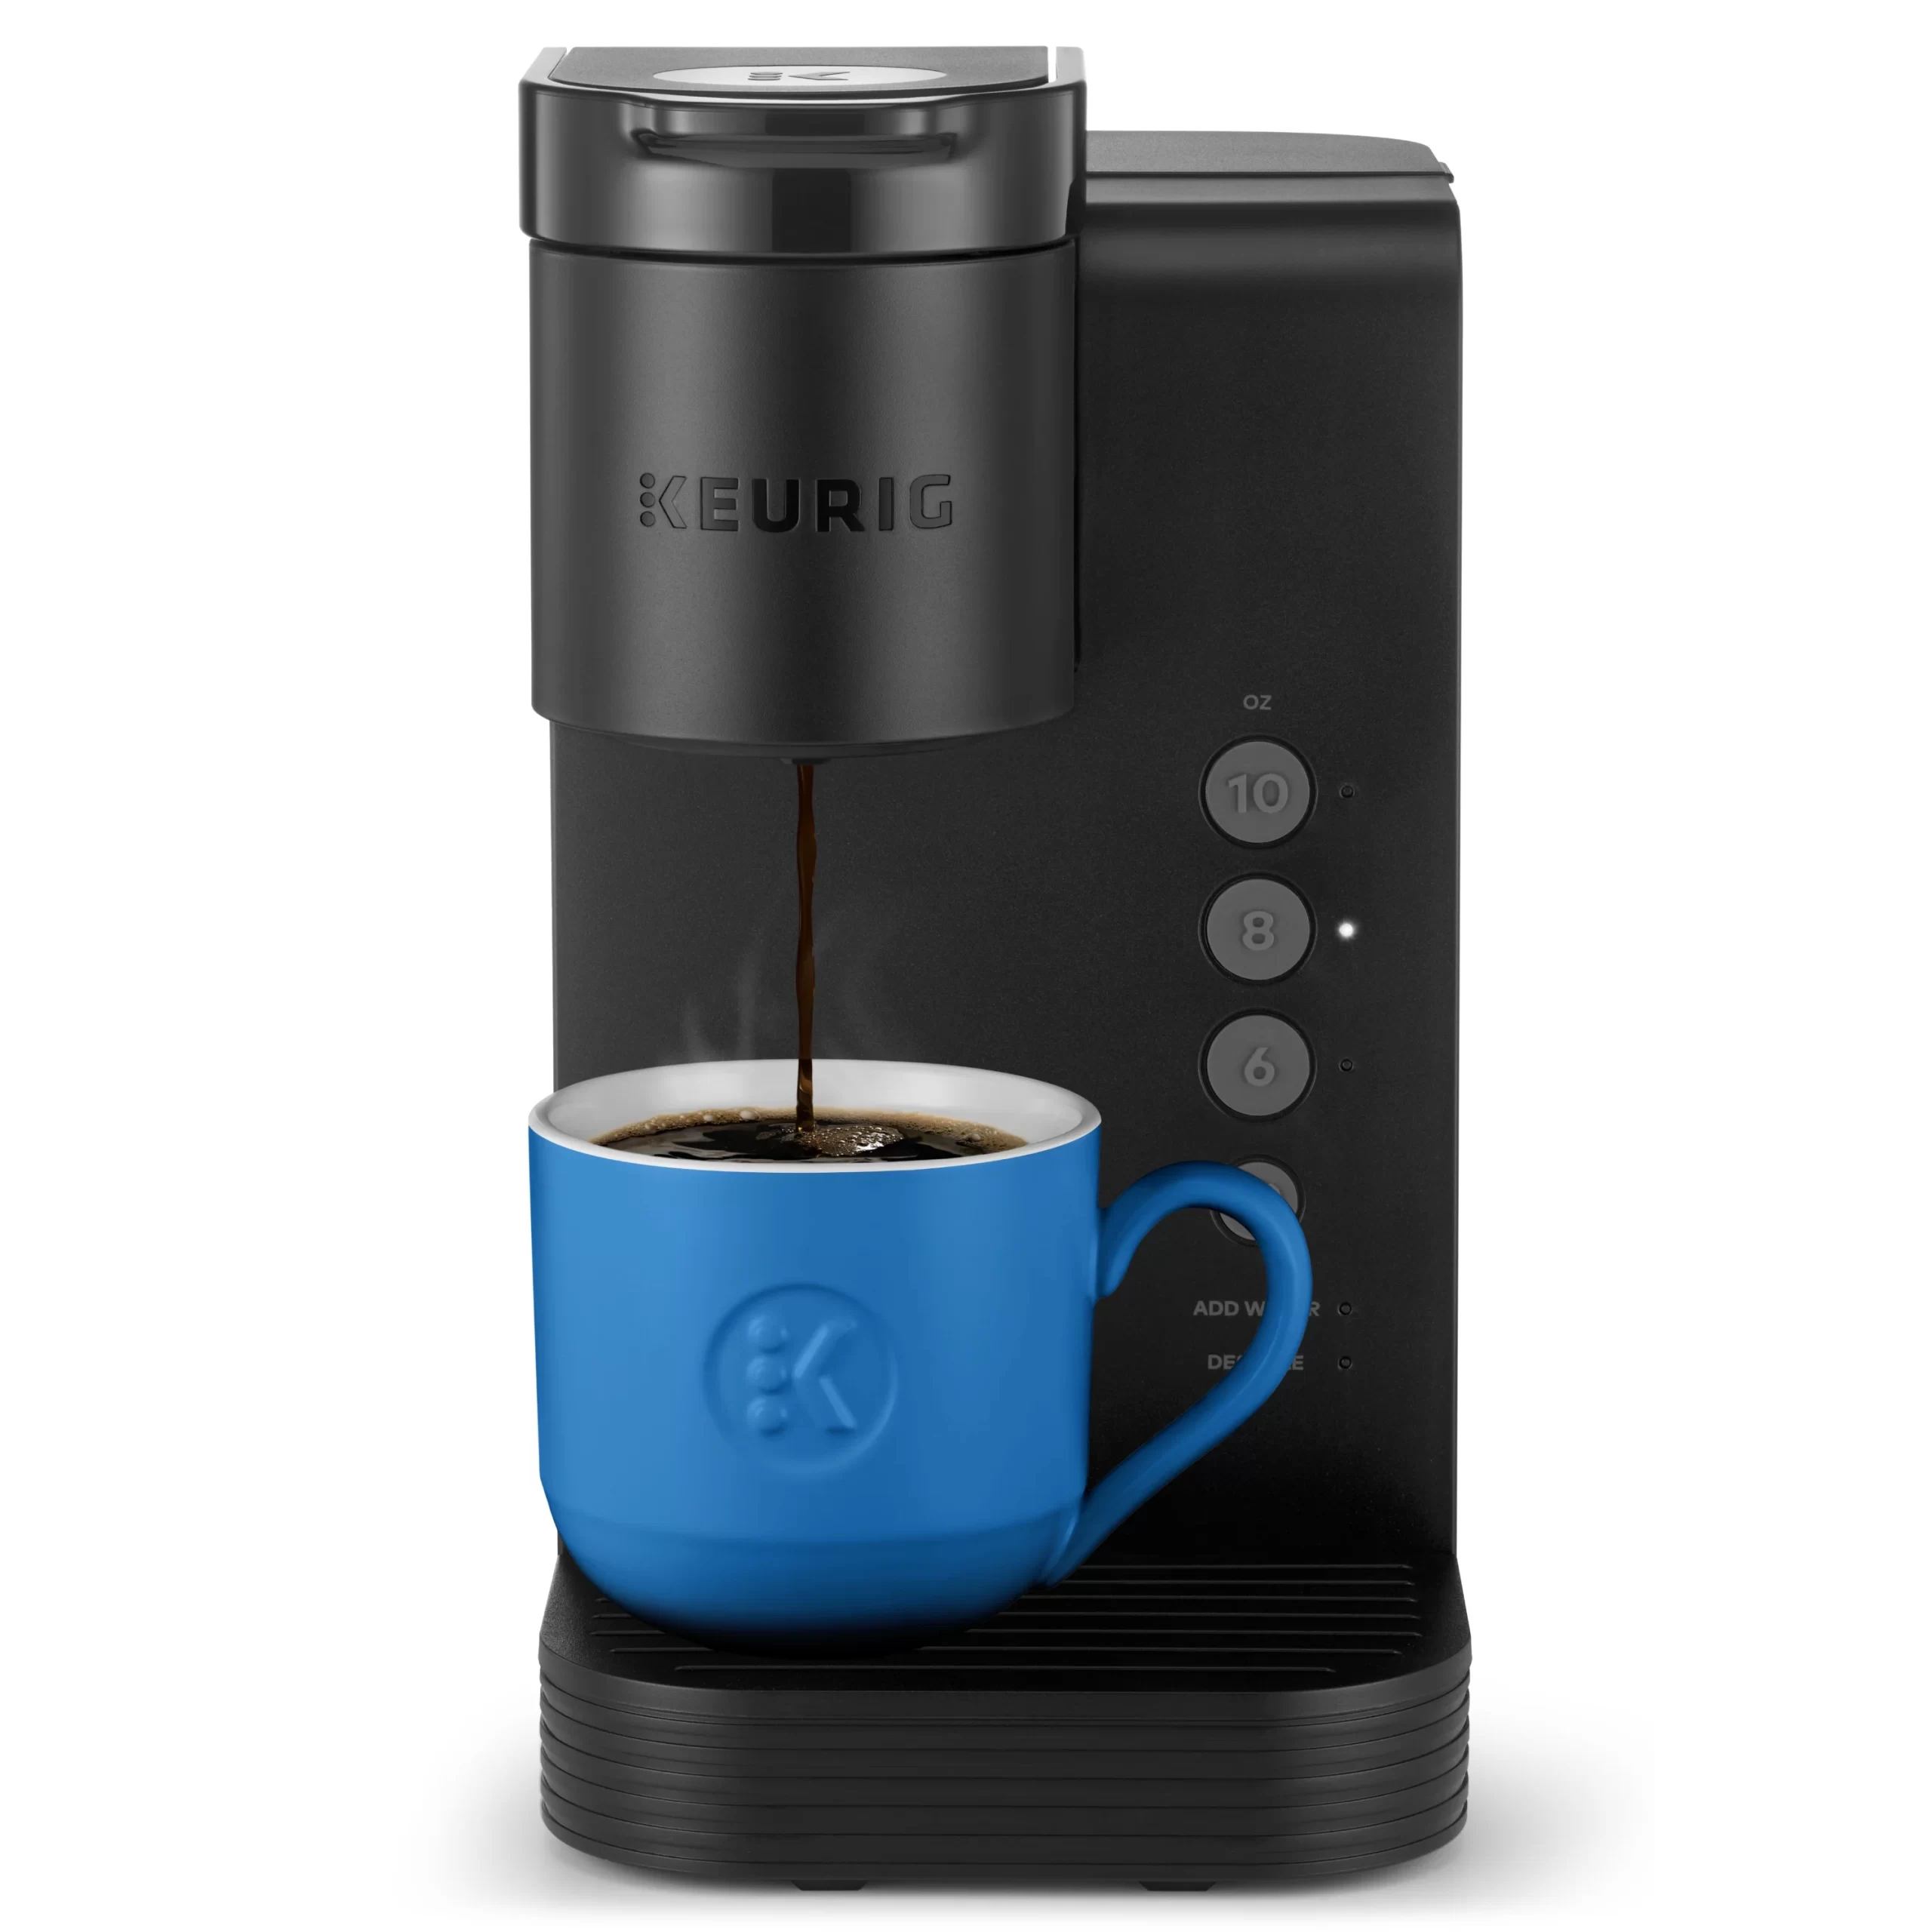
keurig won't turn on after descaling

Preventive Measures for Future Use

Proper Drying Techniques

To prevent moisture-related issues, ensure that you allow your Keurig to dry thoroughly after descaling. You can do this by leaving the water reservoir open and letting the machine air out for several hours. Proper drying techniques can minimize the risks of power issues in the future.

Regular Maintenance

Regular maintenance, including frequent descaling and cleaning, can keep your Keurig in good working condition. Following the manufacturer’s guidelines for maintenance ensures that your machine remains functional and efficient. A proactive approach to maintenance can prevent many common issues from arising.

When to Seek Professional Help

Identifying Complex Issues

If basic and advanced troubleshooting steps don’t resolve the issue, it might be time to seek professional help. Complex issues like extensive electrical damage require professional expertise. Recognizing when to seek expert assistance ensures that your machine is repaired correctly and safely.

Cost-Benefit Analysis

Consider the cost of professional repairs versus the price of a new Keurig. If the machine is older or the repair costs are high, purchasing a new one might be more economical. Conducting a cost-benefit analysis helps you make an informed decision regarding repairs.

Warranty and Customer Support

Checking Warranty Status

Before seeking professional repair services, check if your Keurig is still under warranty. If it is, contact Keurig customer support for assistance. Warranty coverage might save you from out-of-pocket repair costs. Understanding your warranty status can inform your next steps in troubleshooting.

Utilizing Customer Support

Keurig’s customer support team can provide valuable assistance, including troubleshooting tips and repair options. Contacting customer support can offer solutions tailored to your specific model and issue. Leveraging customer support ensures that you have access to expert guidance.

keurig won't turn on after descalingAlternative Brewing Methods

Temporary Coffee Solutions

While resolving your Keurig issue, consider alternative brewing methods like drip coffee makers, French presses, or pour-over systems. These methods can provide quality coffee without relying on your Keurig. Having backup options ensures that your coffee routine continues uninterrupted.

Long-Term Choices

If repeated issues occur with your Keurig, you might consider exploring other coffee maker brands or models that better suit your needs. Researching alternatives can lead to a more reliable and satisfying coffee experience. Diversifying your brewing options can enhance your overall coffee enjoyment.

Community Insights and Forums

Online Communities

Joining online forums and communities dedicated to Keurig users can provide additional insights and solutions. Users often share their experiences and troubleshooting tips, offering practical advice. Engaging with online communities can offer support and innovative solutions for your Keurig problems.

Sharing Experiences

Sharing your own experiences and solutions can help others facing similar issues. Contributing to community knowledge bases fosters a collaborative environment for problem-solving. Participating actively in user communities enhances collective understanding and troubleshooting capabilities.

Environmental Considerations

Sustainable Practices

When considering repair or replacement options, think about the environmental impact. Proper disposal of old machines and selecting energy-efficient models can contribute to sustainability. Practicing environmentally responsible choices ensures that your coffee habits align with broader environmental values.

Recycling Programs

Some companies offer recycling programs for old coffee machines. Participating in these programs ensures that the materials are disposed of or repurposed responsibly. Engaging in recycling efforts supports sustainable practices and minimizes waste.

Conclusion

When your Keurig won’t turn on after descaling, it can be both frustrating and perplexing. By understanding the potential causes, such as electrical issues or residual moisture, and following a structured troubleshooting process, you can often resolve the problem. Simple steps like checking the power source, resetting the machine, and ensuring proper placement of components can make a significant difference. For more complex issues, seeking professional help or contacting customer support might be necessary. Meanwhile, exploring alternative brewing methods ensures that your coffee cravings are met. Ultimately, a proactive approach to maintenance and troubleshooting can keep your Keurig in optimal condition, providing you with delicious coffee for years to come. So, why won’t your Keurig turn on after descaling? With careful analysis and methodical troubleshooting, you can find the answer and enjoy your Keurig once again.

Posted on

Why Won’t My Keurig Turn On? Troubleshooting Tips

why won't my keurig turn on

Why Won’t My Keurig Turn On?

A Keurig coffee maker is a convenient addition to any kitchen, providing quick and easy access to your daily caffeine fix. However, there are times when you go to make your morning coffee, and your Keurig refuses to turn on. This issue can be particularly frustrating, especially when you’re in dire need of that first cup of the day. Understanding the potential reasons why a Keurig won’t turn on and knowing how to troubleshoot them can save you time and stress. This comprehensive guide will delve into common causes and provide detailed solutions to get your Keurig back in working order.

why won't my keurig turn on

Checking Electrical Connections

Power Outlet Issues

Firstly, ensure that the power outlet is functioning correctly. To verify this, plug another appliance into the same outlet to see if it receives power. Sometimes, circuit breakers can trip, causing the outlet to lose power. If your Keurig won’t turn on, and the outlet isn’t working, reset the circuit breaker or try using a different outlet. This simple step often resolves the issue and is an excellent starting point for troubleshooting.

Power Cord Inspection

Examine the power cord for any visible signs of damage, such as fraying or cuts. A damaged power cord can prevent your Keurig from turning on. If you notice any damage to the cord, do not use the machine and contact Keurig’s customer service for a replacement. Also, ensure the power cord is securely plugged into both the machine and the outlet. A loose connection can also be the cause of the problem.

Power Button Functionality

Check the power button to ensure that it’s functioning properly. Press it firmly and listen for any clicks or sounds that indicate it’s responding. If the power button feels stuck or unresponsive, this could be causing the issue. In some cases, using a small amount of electronic contact cleaner can help restore its functionality. Replacing the button might also be necessary if it’s completely defective.

Internal Component Inspection

Water Reservoir Placement

The water reservoir must be correctly seated for the Keurig to function. Remove the reservoir and place it back securely, ensuring it fits snugly into its slot. An improperly seated reservoir can prevent the machine from turning on, as some models have safety switches that detect this alignment.

Internal Moisture or Residue

During regular use or descaling, moisture or residue can accumulate inside your Keurig. Carefully check the areas around the water tank and internal components for any signs of moisture. Use a dry cloth to wipe down those areas. Allow the machine to air dry for an extended period before attempting to power it on again.

Circuit Board and Fuse Inspection

For those comfortable with more advanced troubleshooting, inspect the circuit board and internal fuses. To do this, you’ll need to carefully remove the machine’s casing. Look for any signs of burns, frayed wires, or damaged components. If you find anything unusual, it’s best to consult a professional technician or contact Keurig support for a detailed inspection and repair.

Checking for Loose Connections

Loose or disconnected internal wires might also be a reason why your Keurig won’t turn on. Carefully inspect the internal wiring to ensure all connections are secure and properly attached. A loose wire can easily be reconnected, solving the problem quickly.

why won't my keurig turn on

Resetting the Keurig

Simple Reset

A simple reset can often fix minor glitches. Unplug your Keurig from the power outlet and leave it unplugged for about five minutes. After this period, plug it back in and try turning it on. This step resets the internal electronics and can resolve many issues.

Advanced Reset

If a simple reset doesn’t work, try a more advanced reset by holding down the power button for about 10 seconds while the machine is unplugged. This can help clear any lingering errors in the system. After doing this, plug the machine back in and attempt to power it on again.

Refer to the User Manual

Different Keurig models may have specific reset procedures. Refer to your user manual for detailed instructions on how to perform a reset for your particular model. Following the manufacturer’s guidelines ensures that you’re taking the correct steps.

Common Operational Issues

Blocked Needles

The needles that puncture the K-cup can become clogged with coffee grounds or mineral deposits. This can cause the machine to fail to start. Use a needle cleaning tool or a paperclip to gently clear any blockages from the needles. Regularly performing this task helps maintain smooth operation.

Safety Interlocks

Keurig machines have several safety interlocks to ensure safe operation. If any of these are not properly engaged, the machine won’t turn on. Make sure the lid is securely closed, the K-cup holder is properly seated, and the water reservoir is correctly placed. These checks ensure that all safety mechanisms are satisfied.

Descaling and Cleaning Cycle

Mineral buildup can obstruct water flow and interfere with the machine’s operation. Regularly descale your Keurig according to the manufacturer’s instructions. Run a full cleaning cycle with a descaling solution to remove mineral deposits. Proper maintenance avoids operational issues and extends the life of your Keurig.

Professional Assistance and Warranty

Contacting Customer Support

If your Keurig is still under warranty, contacting Keurig customer support is a wise decision. They can provide specific troubleshooting steps or arrange for a repair or replacement if necessary. Have your serial number and purchase details ready for a smoother process.

Professional Repair Services

If the machine is out of warranty, consider professional repair services. Local appliance repair shops often have experience with Keurig machines and can diagnose and fix electrical or mechanical issues. Make sure to choose a technician familiar with Keurigs to ensure a reliable repair.

Evaluating the Cost of Repairs

Assess whether the cost of repairs is worth it compared to the price of purchasing a new machine. Sometimes, ongoing repair costs can exceed the value of the machine, making a replacement a more pragmatic and economical choice.

Replacement Options

If your Keurig continues to experience issues despite troubleshooting and repairs, it might be time to consider a replacement. Evaluate the cost of ongoing repairs versus the cost of a new machine. Sometimes, upgrading to a newer model with improved features provides a better long-term solution.

why won't my keurig turn onPreventive Measures and Maintenance

Regular Descaling

To prevent many common issues, regularly descale your Keurig every three to six months, depending on usage and water hardness. Regular cleaning removes mineral buildup and keeps your machine running efficiently.

Using Filtered Water

Using filtered or bottled water reduces mineral buildup and the frequency of descaling. This practice not only improves the taste of your coffee but also prolongs the machine’s life by maintaining clean internal components.

Cleaning and Maintenance

Regularly clean the water reservoir, needles, and exterior parts of your Keurig. Follow the manufacturer’s maintenance schedule to keep the machine in optimal condition. Regular maintenance prevents many issues that can cause your Keurig not to turn on.

Checking for Updates

Occasionally, manufacturers release software updates or recall notices that include fixes for reported issues. Register your Keurig with the manufacturer to receive these updates and stay informed about any potential problems and their solutions.

Alternatives to Keurig

Exploring Other Coffee Makers

If you’re consistently facing issues with your Keurig, you might want to explore other coffee makers. Traditional drip coffee makers, French presses, and single-cup brewers from other brands can offer reliable performance with different features and benefits.

Considering Pod-Free Options

Pod-free coffee makers like French presses and pour-over brewers avoid the complexity of electrical components and offer a more hands-on brewing experience. These options can be less prone to the types of failures that affect more technologically complex machines.

Budget and Premium Models

Evaluate your budget and coffee consumption habits to find a machine that suits your needs. Premium models often offer advanced features and greater durability, while budget options provide simplicity and affordability.

Conclusion

When your Keurig won’t turn on, it can disrupt your daily routine and leave you without your much-needed coffee. However, understanding the potential causes and knowing how to troubleshoot them can alleviate the frustration. From checking power outlets and inspecting internal components to resetting and maintaining the machine, these steps can often restore your Keurig’s functionality. If these methods don’t work, seeking professional help or considering a replacement ensures you can continue enjoying your favorite coffee drinks without prolonged interruptions. By following this guide, you’ll be well-equipped to diagnose and fix the issues preventing your Keurig from turning on, ensuring a smooth and enjoyable coffee experience each day.

Posted on

Why Won’t My Keurig Power On After Descaling?

keurig won't power

Descaling is a necessary maintenance step to keep your Keurig running smoothly by removing mineral buildup. However, it can be frustrating when your Keurig won’t power on after descaling. This issue can leave you craving your morning coffee and wondering what went wrong. Understanding the potential causes and solutions to this problem is crucial. This guide will delve into the reasons behind this malfunction and provide detailed steps to troubleshoot and fix it. We’ll explore various aspects such as electrical issues, internal component malfunctioning, and proper descaling procedures.

Electrical Connections and Power Supply

Check the Power Outlet

First, ensure that the power outlet is functioning correctly. To verify this, plug another appliance into the same outlet to see if it receives power. Sometimes, circuit breakers can trip, causing the outlet to lose power. If the outlet isn’t working and your Keurig won’t power on after descaling, reset the circuit breaker or try using a different outlet. This simple step can often resolve the issue.

Inspect the Power Cord

Examine the power cord for any visible damage or fraying. A damaged cord can prevent the Keurig from powering on. If you find any damage, refrain from using the machine and contact Keurig’s customer service for a replacement. Using a damaged power cord poses a fire hazard and should be addressed immediately.

Proper Plugging

Ensure the power cord is properly plugged into both the Keurig and the power outlet. Sometimes, the cord may become slightly dislodged during the descaling process. A secure connection is vital for the machine to function.

keurig won't power

Resetting the Keurig

Simple Reset

To reset your Keurig, unplug it from the power outlet and wait for about five minutes. After this period, plug the machine back in and try turning it on. This action can reset the internal electronics and often resolves minor glitches.

Advanced Reset

If a simple reset doesn’t work, try an advanced reset by holding down the power button for 10 seconds while the machine is unplugged. This procedure can help clear any internal errors that may have occurred during descaling. Reconnecting the machine afterward might restore its functionality.

User Manual Instructions

Refer to the user manual for specific reset instructions for your Keurig model. Different models may have unique reset procedures, so following the manufacturer’s guidelines is essential for resolving power-related issues.

Internal Component Checks

Inspect the Water Reservoir

The water reservoir might not be seated correctly after descaling. Ensure it’s snugly in place, as an improper connection can prevent the machine from powering on. Removing and reseating the reservoir can often restore the power connection.

Check for Moisture and Residue

Descaling solutions can sometimes leave moisture or residue inside the machine. Carefully open the Keurig and check the internal components for any dampness or buildup. Cleaning and drying these areas thoroughly can help restore functionality. Use a dry cloth to wipe away any residue.

Fuse and Circuit Board Inspection

For more advanced troubleshooting, inspect the fuse and circuit board inside the Keurig. These components can sometimes malfunction or become damaged during descaling. If you’re comfortable doing so, open the machine’s casing to check these parts, but be cautious as this can void the warranty. If you observe visible damage, contact Keurig support for further assistance.

keurig won't power

Descaling Process Issues

Incorrect Descaling Procedure

Following the correct descaling procedure is crucial for maintaining your Keurig. Double-check that you followed all the steps in the manual. An incomplete or incorrect descaling cycle can sometimes cause the machine to malfunction. Adhering to the manufacturer’s instructions ensures proper maintenance.

Use of Proper Descaling Solution

Using a proper descaling solution recommended by Keurig is essential. Generic or homemade solutions might not be compatible and can cause issues. Stick to the recommended products to avoid complications. Using improper solutions can lead to residue buildup or damage internal components.

Post-Descaling Rinse

After descaling, it’s important to run several clean water cycles through the machine to rinse out any remaining solution. Residual descaling solution can interfere with the machine’s operation. Ensuring a thorough rinse helps maintain the machine’s functionality and taste of the coffee.

External Factors and Malfunctions

Environmental Factors

Ensure the surrounding environment of your Keurig is conducive to its operation. Extreme temperatures, both hot and cold, can affect the internal components. Place the machine in a dry, moderate temperature area to prevent malfunctions related to environmental factors.

Blocked Needles

The needles that puncture the K-cup can become clogged during descaling, especially if debris is dislodged during the process. Use a needle cleaning tool or a paperclip to gently clear any blockages. Ensuring the needles are clean helps the machine operate correctly.

Safety Interlocks

Keurig machines have multiple safety interlocks to ensure proper operation. If any of these are not correctly engaged, the machine won’t power on. Check to ensure the lid is securely closed and the K-cup holder is properly seated. These interlocks protect the user and ensure safe operation.

When to Seek Professional Help

Warranty and Customer Support

If your Keurig is still under warranty, contact Keurig customer support. They can provide specific troubleshooting steps or arrange for a repair or replacement. Providing the serial number and purchase details can expedite the process. Utilizing the warranty helps avoid additional costs.

Professional Repair Services

For issues beyond simple troubleshooting, consider professional repair services. Local appliance repair shops can often fix electrical or mechanical issues. Ensure the technician is experienced with Keurig machines to ensure proper repairs. Professional services provide expertise and can extend the machine’s lifespan.

Replacement Options

If the machine is older and continually experiencing issues, it might be more cost-effective to replace it. Consider upgrading to a newer model with improved features. Researching the latest models can help you find a suitable replacement that fits your needs.

keurig won't powerPreventive Measures

Regular Maintenance

Regular maintenance can prevent many common issues. Descale your Keurig every three to six months, depending on usage and water hardness. Regular cleaning of the water reservoir, needles, and external parts can also extend the machine’s life. A maintenance schedule ensures consistent performance.

Using Filtered Water

Using filtered or bottled water can reduce mineral buildup and extend the time between descaling. This practice can help maintain the machine’s efficiency and improve the taste of your coffee. Reducing mineral buildup also prevents future descaling-related issues.

Avoiding Overuse

Avoid running the machine continuously without breaks. Overuse can lead to overheating and wear out internal components faster. Allow the Keurig to cool down between uses to prevent overheating-related issues.

Exploring Alternative Coffee Machines

Pros and Cons of Pod Machines

Consider the pros and cons of different coffee machines. Pod machines offer convenience but can be prone to specific issues like power failures. Weigh these factors while deciding if a pod machine is the best option for your coffee needs.

Traditional Drip Coffee Makers

Traditional drip coffee makers are reliable alternatives to pod machines. They have fewer electronic components that can malfunction and often provide better control over the brewing process. Although less convenient, they offer consistency and durability.

French Press and Pour-Over Methods

French press and pour-over methods are manual coffee-making alternatives that don’t rely on electrical components. These methods offer precise control over brewing and can produce rich, flavorful coffee. Exploring different brewing methods can add variety and reliability to your coffee routine.

Conclusion: keurig won’t power on after descaling

When your Keurig won’t power on after descaling, it can disrupt your daily routine and leave you without your much-needed coffee. However, understanding and addressing the potential causes can help restore your machine’s functionality. From checking electrical connections and conducting resets to inspecting internal components and following proper descaling procedures, comprehensive troubleshooting can resolve many issues. If these steps don’t work, seeking professional help or considering replacement options ensures you can continue enjoying your coffee without prolonged interruptions. Regular maintenance and preventive measures will also help keep your Keurig in good working order, preventing future issues and prolonging the machine’s life. By following this guide, you can effectively troubleshoot and fix your Keurig, ensuring a smooth and enjoyable coffee experience every day.

Posted on

My Keurig Won’t Brew: What’s Going Wrong?

my keurig won't brew

If you rely on your Keurig for that perfect cup of coffee each morning, discovering that it won’t brew can be a rude awakening. You might find yourself staring at the unresponsive machine, wondering what could be causing the issue. The good news is that many of the problems can be fixed with some simple troubleshooting steps. In the following sections, we’ll explore the potential reasons why your Keurig won’t brew and provide practical solutions to get your machine up and running again.

Checking the Water Reservoir

Sometimes, the simplest issues can cause the biggest headaches.

Proper Attachment

Ensure that the water reservoir is properly attached. A common reason why your Keurig won’t brew is that the water reservoir isn’t seated correctly. When it’s not in place, the machine can’t draw water, leading to brewing issues. Simply remove the reservoir and reattach it carefully, making sure you hear a click indicating it’s securely in place.

Adequate Water Level

Another obvious yet often overlooked issue is the water level in the reservoir. If the water level is too low, the Keurig won’t be able to brew. Make sure to fill the reservoir to the minimum fill line. This simple check can save you a lot of frustration.

Inspecting the K-Cup Holder

Sometimes the K-Cup holder can be the culprit behind a non-brewing Keurig.

Clogging Issues

Remove the K-Cup holder and inspect it for any clogs or blockages. Coffee grounds, foil pieces from the K-Cup, or mineral deposits can obstruct the flow of water. Rinse the holder under warm running water and use a small brush or a paper clip to clear out any debris. This can often resolve the issue and allow for a smooth brewing process.

Needle Cleaning

The needles that puncture the K-Cup can also become clogged. These needles are essential as they allow water to flow through the pod and brew your coffee. Carefully clean the needles using a paper clip to remove any obstructions. Be cautious as the needles are sharp. Keeping these needles clear ensures uninterrupted water flow and a perfect brew.

Power Supply and Settings

Sometimes the issue may be related to the machine’s power supply or settings.

Checking the Plug

First, make sure your Keurig is properly plugged in. It might seem elementary, but sometimes the plug can get loose or disconnected. Ensure that the machine is plugged securely into a working power outlet. If the machine still doesn’t turn on, try using a different outlet to rule out any electrical issues.

Power Button and Settings

Make sure you’ve pressed the power button and the machine is turned on. Check that all the settings are correctly adjusted for brewing. Sometimes, a simple adjustment to the settings can resolve the brewing issue. Familiarize yourself with the machine’s controls to ensure everything is set up correctly.

my keurig won't brew

Descaling Your Keurig

Mineral build-up can significantly affect your Keurig’s performance.

Importance of Descaling

Over time, minerals from your water supply can accumulate inside the Keurig, leading to clogs and affecting the machine’s ability to brew. Regular descaling is crucial to maintain optimal performance. The descaling process involves using a descaling solution or a mixture of white vinegar and water to remove these deposits.

Descaling Process

Fill the water reservoir with the descaling solution or a vinegar-water mix. Run several cycles without a K-Cup until the reservoir is empty. Afterward, rinse the reservoir thoroughly and run several cycles with clean water to remove any residue. Descaling your Keurig every three to six months can prevent common brewing issues and extend the lifespan of your machine.

Resetting Your Keurig

Sometimes, a simple reset can resolve many issues.

Basic Reset Steps

Turn off your Keurig, unplug it from the power source, and leave it unplugged for about 15 minutes. During this time, you can also remove and reattach the water reservoir. Plug the machine back in, turn it on, and attempt to brew a cup. This basic reset can often resolve minor glitches and get your machine working again.

Addressing Air Bubbles in the Water Line

Air bubbles can disrupt the flow of water, causing your Keurig not to brew.

Removing Air

To remove trapped air bubbles, turn off your Keurig and disconnect it from the power source. Remove the water reservoir. Hold the machine upside down and gently tap the base to encourage the bubbles to move. Once done, reattach the reservoir, plug in the machine, and turn it on. This simple method can restore proper water flow and resolve brewing issues.

Cleaning Additional Components

Other parts of the Keurig can also cause problems if not properly maintained.

Drip Tray and Water Filter

Empty and clean the drip tray regularly to prevent overflow and bacteria build-up. If your model has a water filter, ensure it is cleaned and replaced as recommended. Filters often need replacement every two months or after 60 tank refills. Proper maintenance of these components can significantly impact the machine’s performance.

Pod Holder Funnel

Inspect the pod holder funnel for any blockages or debris. Clean it thoroughly with warm, soapy water and a brush. This ensures that water flows correctly through the machine and prevents any interruptions during brewing.

Investigating Software and Firmware Problems

In some cases, the issue might be related to the software or firmware of your Keurig.

Updating Firmware

Some of the more advanced Keurig models have firmware that can be updated. Check the manufacturer’s website for any available updates. Follow the provided instructions to update the firmware, which can resolve various functional issues and improve performance.

my keurig won't brew

Consulting Customer Support

When all else fails, it might be time to consult professional help.

Manufacturer Support

Contact Keurig customer support for guidance. They can provide specific troubleshooting steps tailored to your model. Often, customer support can identify less obvious issues that may be causing the problem.

Warranty and Repairs

If your Keurig is still under warranty, consider sending it in for repair or replacement. Ensure you have all necessary documentation and purchase information when contacting support. This professional maintenance can resolve deeper issues that at-home troubleshooting might miss.

Preventing Future Issues

Taking preventive measures can save you from future headaches.

Regular Maintenance

Regular maintenance, including daily, weekly, and monthly tasks, keeps your Keurig running smoothly. Follow the manufacturer’s guidelines for cleaning and maintenance. Consistency in upkeep ensures fewer issues and prolongs the lifespan of your machine.

Use Filtered Water

Using filtered water can significantly reduce mineral build-up inside your Keurig. This preventive measure can help maintain optimal performance and improve the taste of your coffee.

Exploring Alternative Brewing Methods

In case your Keurig remains unresponsive, consider alternative brewing methods.

Manual Brewing Options

Explore manual brewing options like pour-over, French press, or drip coffee makers. These methods can offer different flavors and experiences, giving you a chance to enjoy your coffee in new ways.

Temporary Solutions

Until your Keurig is back in working order, consider using instant coffee or visiting your local coffee shop. While not ideal, these temporary solutions ensure you still get your caffeine fix.

my keurig won't brewLeveraging Replacement Parts

Sometimes, replacing specific parts can resolve the issue.

Purchasing Replacement Parts

If a component is broken or worn out, purchasing a replacement part might be the solution. Parts like the water reservoir, K-Cup holder, or drip tray are often replaceable. Consult the manufacturer’s website for compatible parts for your Keurig model.

DIY Replacements

For those comfortable with minor repairs, some parts can be replaced at home with basic tools and instructions. However, always consider the warranty implications before attempting any DIY repairs.

Summarizing the Insights: Keurig Troubleshooting

So, why won’t your Keurig brew? By thoroughly checking the water reservoir, K-Cup holder, power supply, and performing regular descaling, you can often identify and resolve the issue. Simple resets, removing air bubbles, and maintaining clean components also play a crucial role. When all else fails, consulting customer support or considering alternative brewing methods can save the day. Consistent maintenance and using filtered water are preventive measures that can save you from future hassles, ensuring your Keurig continues to brew your favorite cup of coffee without interruptions.

Posted on

Cleaning Keurig Coffee Maker: What’s the Best Way?

keurig coffee maker

For coffee enthusiasts, a Keurig coffee maker is often a kitchen staple, known for its convenience and ability to brew a single perfect cup at a time. However, like any appliance, it requires regular maintenance to function at its best. So, what’s the best way to clean a Keurig coffee maker? Understanding the correct procedures can extend the life of your machine and ensure your coffee tastes as fresh and delicious as possible. In this article, we’ll delve into practical steps and tips for cleaning your Keurig, ensuring it stays in top condition and continues to deliver great-tasting coffee.

Why Cleaning Your Keurig is Essential

Regular cleaning isn’t just about hygiene; it significantly impacts the performance and longevity of your Keurig coffee maker.

Preventing Build-Up

Over time, minerals from water, coffee residues, and oils accumulate in your coffee maker. This build-up can clog your machine, affect the taste of your coffee, and even lead to mechanical failures. Regular cleaning helps prevent these issues, ensuring smooth operation and consistent coffee quality.

Ensuring Optimal Performance

A clean coffee maker functions more efficiently. Regular maintenance, including descaling and cleaning removable parts, helps the machine heat water correctly and brew coffee at the ideal temperature. This not only improves the taste but also reduces the time it takes to brew a cup, making your morning routine more convenient.

Health and Safety

Bacteria and mold can grow in the damp, dark interior of your coffee maker if it’s not cleaned regularly. This can pose health risks over time. Regular cleaning minimizes this risk, ensuring that every cup of coffee is safe to drink.

keurig coffee maker

Daily Cleaning Routine

Incorporate simple daily cleaning habits to keep your Keurig in good shape.

Emptying the Drip Tray

After each use, make it a habit to empty the drip tray. The accumulation of coffee drips and water can create a breeding ground for bacteria. By keeping the drip tray clean and dry, you reduce the risk of bacterial growth.

Running Clean Water Through the Machine

At the end of each day, run a cycle of clean water through the machine without a K-Cup. This simple step flushes out any remaining coffee residue and helps maintain the cleanliness of the internal components. It’s a quick process that can make a big difference in the machine’s performance and longevity.

Wiping Down Exterior Surfaces

Wipe down the exterior of your Keurig, including the coffee outlet and K-Cup holder, with a damp cloth. This helps remove any coffee stains or splashes, keeping your machine looking clean and new. Using a mild detergent can help tackle any stubborn stains or build-up on the exterior surfaces.

Weekly Deep Cleaning

A more thorough cleaning should be done on a weekly basis.

Cleaning the K-Cup Holder

Remove the K-Cup holder and rinse it under warm water. Use a small brush or a paperclip to unclog any coffee grounds stuck in the needle. This helps prevent blockages that can disrupt the brewing process and affect the taste of your coffee. Make sure to dry the holder completely before placing it back into the machine.

Washing the Water Reservoir

Detach the water reservoir and wash it with warm, soapy water. Rinse thoroughly to remove all soap residues. Allow it to air dry before reattaching it to the machine. Keeping the reservoir clean ensures that the water used for brewing is free from contaminants that could affect the flavor and quality of your coffee.

keurig coffee maker

Descaling the Machine

Descaling is vital to remove mineral build-up from the internal components of your Keurig. Fill the reservoir with a descaling solution or a mixture of white vinegar and water. Run the machine through a brewing cycle without a K-Cup until the reservoir is empty. Then, rinse the reservoir and run several cycles with clean water to remove any vinegar taste. This process helps maintain the efficiency and longevity of your Keurig.

Monthly Maintenance

Monthly maintenance helps tackle any deep-seated dirt and ensures the longevity of your coffee maker.

Replacing the Water Filter

If your Keurig model has a water filter, it’s important to replace it every two months or after 60 tank refills. This ensures that the water used for brewing is clean and free from impurities that can affect the taste of your coffee. Follow the manufacturer’s instructions for replacing the filter, and make sure to soak the new filter in water before installing it.

Checking the Needles

Inspect the needles that puncture the K-Cups for any build-up or blockages. Use a small paperclip to dislodge any stuck debris. Keeping the needles clean ensures that the coffee flows smoothly and the K-Cups are properly punctured during brewing.

Inspecting the Seals and Gaskets

Check the seals and gaskets around the water reservoir and K-Cup holder for any signs of wear or damage. Replacing worn gaskets can prevent leaks and ensure that the machine operates correctly. Regular inspection can help identify potential issues before they become major problems.

Troubleshooting Common Issues

Even with regular maintenance, issues can sometimes arise. Knowing how to troubleshoot these can save you time and frustration.

Machine Not Brewing

If your Keurig is not brewing, check for blockages in the needles and ensure that the water reservoir is seated correctly. Running a cycle with clean water can also help to clear any minor issues. If the problem persists, try descaling the machine to remove any internal build-up that might be causing the issue.

Coffee Tastes Off

If the taste of your coffee seems off, it might be time to clean or replace the water filter. Descaling the machine and thoroughly cleaning the K-Cup holder and water reservoir can also help improve the flavor. Sometimes, using filtered water for brewing can make a noticeable difference in the taste of your coffee.

Leaking Water

If you notice water leaking from your Keurig, check the seals and gaskets for any signs of wear. Ensuring that all parts are properly seated and that there are no blockages can often resolve leakage issues. If the problem continues, it might be necessary to replace worn parts or consult the manufacturer for further assistance.

keurig coffee maker Using Natural Cleaners

Natural cleaners can be an effective and eco-friendly way to maintain your Keurig coffee maker.

White Vinegar

White vinegar is excellent for descaling and disinfecting your Keurig. Its acidic properties break down mineral build-up and kill bacteria. Simply mix equal parts vinegar and water and follow the descaling steps outlined earlier. Running several cycles with clean water afterward ensures that any vinegar residue is thoroughly rinsed out.

Baking Soda

Baking soda can be used to clean the exterior surfaces and remove stubborn stains. Make a paste of baking soda and water, apply it to the stains, and gently scrub with a soft cloth. Rinse with clean water and dry thoroughly. Baking soda is a non-abrasive cleaner that’s safe for most surfaces.

Lemon Juice

Lemon juice is another natural descaler. Its acidic nature helps dissolve mineral deposits, and it leaves a pleasant fragrance. Mix lemon juice with water and run it through the machine as you would with vinegar. Ensure you rinse thoroughly with clean water to remove any remaining lemon juice.

Extending the Life of Your Keurig

By following these cleaning routines and tips, you can significantly extend the life of your Keurig coffee maker.

Regular Maintenance

Regular maintenance and periodic descaling ensure that your Keurig runs efficiently and lasts longer. Consistency in following these routines prevents the build-up that can lead to mechanical problems.

Using Filtered Water

Using filtered water can reduce mineral build-up and improve the taste of your coffee. It’s a simple step that can enhance both the longevity and performance of your machine.

Proper Storage

If you won’t be using your Keurig for an extended period, empty the water reservoir and store the machine in a dry place. This prevents the growth of mold and bacteria, ensuring that your Keurig is ready to use when you need it.

Summarizing the Insights: Keurig Coffee Maker Maintenance

So, how to clean a Keurig coffee maker effectively? Regular cleaning, both daily and deep, is essential for maintaining optimal performance and taste. From emptying the drip tray and running clean water cycles daily to weekly deep cleaning of the K-Cup holder and water reservoir, each step plays a crucial role. Monthly maintenance, including descaling and replacing the water filter, ensures that your machine continues to function efficiently. By avoiding common mistakes and using natural cleaners, you can keep your Keurig coffee maker in top condition. Consistent maintenance not only extends the machine’s life but also guarantees that every cup of coffee you brew is fresh, delicious, and safe to drink.

Posted on

How to Descale Keurig Supreme? Ensuring Optimal Performance

keurig coffee maker

Owning a Keurig Supreme coffee maker offers convenience and a quality coffee experience. However, regular maintenance, particularly descaling, is crucial to keep your machine running efficiently. Mineral deposits from water can build up over time, affecting the performance and taste of your coffee. Learning how to descale Keurig Supreme is essential for maintaining its longevity and ensuring you always get the best brew. Let’s delve into the detailed steps to descale your Keurig Supreme effectively and keep it in top condition.

Gathering Your Supplies

Before you begin the descaling process, it’s important to gather all necessary supplies. You’ll need a descaling solution specifically designed for Keurig machines or a DIY mixture of white vinegar and water. Additionally, have a large ceramic mug, access to fresh water, and a clean sink or basin for disposal handy.

Having everything ready before you start simplifies the process and ensures you won’t need to pause midway. Proper preparation helps you perform descaling efficiently and effectively. Collecting all supplies beforehand ensures a smooth and uninterrupted procedure.

Preparing the Machine

Start by turning off your Keurig Supreme and unplugging it from the electrical outlet to ensure safety. Remove any residual water from the water reservoir. Discard any used K-Cup pods, and ensure there are no remnants left in the K-Cup holder.

This preparation step is crucial for a thorough descaling process. Removing leftover water and used pods ensures the descaling solution can flow optimally through the machine. Properly preparing the machine sets the stage for an effective cleaning process.

keurig coffee maker

Adding the Descaling Solution

If you’re using a Keurig-approved descaling solution, follow the manufacturer’s instructions for the appropriate amount. Typically, you’ll need to add the descaling solution to the empty water reservoir and fill it with water to the maximum fill line.

For a DIY approach, mix equal parts of white vinegar and water. Pour this mixture into the water reservoir up to the maximum fill line. The descaling solution works by breaking down mineral deposits and scaling inside the machine. Using the correct amount ensures the solution is effective.

Running the Descaling Cycle

Plug in and turn on your Keurig Supreme. Place the large ceramic mug on the drip tray to catch the descaling solution. Begin by selecting the largest brew size to start the descaling process. Allow the machine to run the full brew cycle with the descaling solution.

Repeat this step, emptying the mug into the sink between cycles, until the water reservoir is empty. This repeated process ensures that the descaling solution thoroughly cleans the internal components. Running a complete descaling cycle guarantees that mineral deposits are effectively removed.

Letting the Solution Sit

After the initial descaling cycles, it’s beneficial to let the machine sit with any remaining descaling solution. Turn off the Keurig and allow it to sit for about 30 minutes. This soaking period allows the descaling solution to break down any stubborn mineral deposits.

This step is particularly important for machines that haven’t been descaled regularly or that have harder water deposits. Giving the solution time to work enhances its effectiveness and ensures a deep clean. Letting the solution sit penetrates and dissolves tough buildup.

Rinsing the Machine

Once the descaling solution has had time to work, it’s crucial to rinse your Keurig Supreme thoroughly to remove any residual descaling solution or vinegar taste. Fill the water reservoir with fresh water and place the ceramic mug back on the drip tray.

Run several brew cycles with just water, emptying the mug into the sink after each cycle, until the reservoir is empty. Typically, 3-4 full reservoirs of water are enough to rinse out the machine completely. Thorough rinsing ensures no descaling solution remains, which could affect the taste of your coffee.

keurig coffee maker

Cleaning External Components

While descaling primarily focuses on the internal components, it’s a good practice to clean the external parts of your Keurig Supreme as well. Wipe down the exterior, drip tray, and water reservoir with a damp cloth and mild detergent if necessary.

Remove and clean the K-Cup holder thoroughly, ensuring no residual coffee grounds or debris remain. Regular external cleaning keeps your machine looking fresh and functional. Maintaining cleanliness of external components complements the descaling process for overall hygiene.

Frequency of Descaling

Descaling frequency depends on the hardness of your water and how frequently you use your Keurig Supreme. Keurig recommends descaling every 3-6 months. In areas with hard water, more frequent descaling—every 2-3 months—might be necessary.

Keeping track of descaling schedules in your calendar or using a reminder can help ensure that you descale the keurig supreme regularly. Consistent maintenance prevents buildup and extends the life of your coffee maker. Regular descaling ensures optimal performance and coffee quality.

Using Filtered Water

Using filtered or bottled water instead of tap water can significantly reduce mineral deposits and the need for frequent descaling. Filtered water contains fewer impurities and minerals that cause scaling.

Consider installing a water filter in your Keurig Supreme if your model supports it or simply use filtered water when brewing. This small change can help maintain your machine’s efficiency and reduce scaling issues. Using filtered water supports the efforts of regular descaling and keeps your machine running smoothly.

Troubleshooting Post-Descale Issues

After descaling, if you notice any issues such as error messages or unusual brewing behavior, it might be due to residual descaling solution or air bubbles in the system. Running additional rinse cycles with fresh water can help clear these residues.

If problems persist, refer to the Keurig manual for specific troubleshooting steps or consider contacting Keurig customer support for further assistance. Addressing post-descale issues promptly ensures your machine returns to normal operation. Effective troubleshooting maintains the reliability of your coffee maker.

keurig coffee maker Storage and Care Tips

Properly storing and caring for your Keurig Supreme when not in use can also help reduce scaling and maintain its performance. Always empty and dry the water reservoir before storing the machine for extended periods.

Cover the machine to prevent dust and debris from entering. Store in a cool, dry place away from direct sunlight. Proper storage keeps your machine in good condition and reduces the need for extensive cleaning when you’re ready to use it again. Thoughtful storage practices contribute to the longevity of your machine.

Benefits of Descaling

Regular descaling not only maintains the performance of your Keurig Supreme but also ensures that your coffee tastes its best. Mineral deposits can affect the machine’s heating elements, water flow, and overall brewing efficiency.

By removing these deposits, you improve the machine’s functionality, reduce wear and tear, and extend its lifespan. Moreover, descaling supports consistent coffee flavor and prevents any off-tastes caused by mineral buildup. The benefits of descaling underscore its importance in your maintenance routine.

Using Keurig’s Descaling Solution

While a DIY descaling mixture of vinegar and water works well, using Keurig’s branded descaling solution can be advantageous. Keurig’s solution is formulated to effectively clean and descale without leaving any residue or aftertaste.

Follow the instructions on the descaling solution package for the best results. Using the branded solution can give you peace of mind, knowing it’s specifically designed for your machine. Investing in Keurig’s solution provides an extra layer of assurance for thorough cleaning.

Conclusion: Ensuring Optimal Performance

In conclusion, knowing how to descale Keurig Supreme involves specific steps that include gathering supplies, preparing the machine, applying the descaling solution, running cycles, and thorough rinsing. Regular descaling is crucial for maintaining the efficiency and longevity of your coffee maker. By following these detailed steps and incorporating preventative measures like using filtered water, you ensure that your Keurig Supreme continues to deliver delicious coffee and operates smoothly. Regular maintenance and proper care make a significant difference, keeping your machine in optimal condition for years to come.

Posted on

Why Is My Keurig Not Working? Ensuring Coffee Enjoyment

keurig coffee machine

There’s nothing worse than craving your favorite coffee and finding out that your Keurig isn’t operating as it should. The convenience of a quick cup turns into confusion and frustration. Why is my Keurig not working, you wonder? Understanding the common issues and troubleshooting methods can save you time and perhaps even prevent a costly repair or replacement. Let’s explore the potential reasons your Keurig might be malfunctioning and how you can address each issue effectively.

Power Issues

One of the simplest reasons for your Keurig not working is a power issue. It might sound basic, but ensuring the coffee maker is properly plugged into a functioning outlet is essential. Sometimes, the problem might be with the outlet or an internal electrical fault within the machine itself.

Start by checking the power cord for any visible damage and ensuring it’s securely inserted. Test the outlet with another device to ensure it’s working correctly. If your Keurig still doesn’t power on, try plugging it into a different outlet. Persistent power issues may require professional repair or contacting Keurig customer support for further assistance.

keurig coffee machine

Clogged Needles

The Keurig system relies on small needles to puncture K-Cups and deliver water through the coffee grounds. These needles can become clogged with coffee grounds or debris, affecting the machine’s performance. If your Keurig isn’t brewing, this could be a likely cause.

To clean the needles, unplug the machine and remove the K-Cup holder. Use a paperclip or a Keurig needle cleaning tool to gently dislodge any debris from the entry and exit needles. After cleaning, reassemble the machine and run a water-only brew cycle to flush out any remaining particles. Regularly cleaning the needles can prevent clogging and ensure consistent brewing.

Water Flow Problems

Water flow issues are another common reason why your Keurig might not be working. If your coffee maker isn’t brewing the correct amount of coffee or seems to be struggling to pump water, mineral buildup from hard water could be the culprit.

Descale your Keurig according to the manufacturer’s instructions. Typically, this involves running a mixture of equal parts water and white vinegar through the machine, followed by several clean water rinse cycles to remove any vinegar taste. Regular descaling (every 3-6 months) maintains optimal water flow and prolongs the life of your machine.

Incorrect Brew Settings

Sometimes, your Keurig might not work correctly due to incorrect brew settings. If the coffee tastes weak or the machine isn’t brewing at all, it might be on an incorrect or unfamiliar setting. Checking and adjusting the settings can resolve this issue.

Refer to your Keurig’s user manual for instructions on resetting or adjusting the brew size, strength, and temperature settings to your desired preferences. Ensuring that the machine is set up according to your preferences can often fix brewing problems and enhance your coffee experience.

Empty or Misaligned Water Reservoir

An empty or improperly seated water reservoir could be why your Keurig is not working. The machine requires a certain amount of water to brew, and if the reservoir isn’t correctly placed or filled, it won’t function properly.

Ensure the water reservoir is filled to the appropriate level and correctly seated in its position. Some models have a sensor to detect the reservoir, so make sure it’s clean and properly aligned. This simple check can quickly resolve many operational issues, allowing you to enjoy your coffee without interruptions.

Malfunctioning Components

Internal component failures can also be why your Keurig isn’t working. These might include issues with the heating element, pump, or control board. Such problems often require more advanced troubleshooting and repair.

If you’ve addressed simpler issues and your Keurig still isn’t working, consult the user manual for troubleshooting tips specific to your model. For complex issues, contacting Keurig customer support or seeking professional repair services might be necessary. Professional assistance ensures proper diagnosis and repair, potentially saving your machine from being discarded.

keurig coffee machine

Overflowing Drip Tray

A full or overflowing drip tray can cause your Keurig to malfunction. If the drip tray is not emptied regularly, it can lead to leaks and affect the machine’s performance.

Check the drip tray for any overflow and empty it as needed. Keeping the drip tray clean and not overfilled maintains the machine’s efficiency and prevents potential issues. Regularly monitoring and cleaning the drip tray is a simple yet effective maintenance practice.

Problems with K-Cups

Issues with the K-Cups themselves can also lead to your Keurig not working properly. Incorrectly inserted K-Cups or damaged ones may prevent the machine from brewing as expected.

Always check the K-Cup before inserting it. Ensure the foil seal is intact and that it’s properly placed in the K-Cup holder. If you’re using reusable K-Cups, ensure they’re filled and sealed correctly. Properly using K-Cups ensures smooth operation and prevents unnecessary malfunctions.

Sensor Malfunctions

Modern Keurig machines rely on sensors to detect water levels, K-Cup placement, and other operational aspects. A malfunctioning sensor can hinder the machine’s ability to perform its tasks correctly.

Cleaning the machine thoroughly, ensuring all compartments are in place, and resetting the machine can sometimes resolve sensor issues. However, persistent sensor malfunctions may require professional attention to diagnose and fix the problem. Keeping sensors clean and functional ensures your Keurig operates efficiently.

Maintenance Tips

Preventing issues with your Keurig involves regular maintenance and care. Clean the external parts of the machine regularly with a damp cloth, descale the internal components every few months, and ensure the needles and water reservoir are free of debris.

Following the manufacturer’s maintenance guidelines can significantly extend the life of your Keurig and prevent many common problems. Consistent maintenance routines keep your machine in optimal condition and ensure a reliable coffee brewing experience.

keurig coffee machine Software Updates

Certain Keurig models come equipped with software that might require updates. If your machine is not functioning correctly, it could be due to outdated firmware.

Check the manufacturer’s website or user manual for instructions on updating your Keurig’s software. Regular updates can enhance functionality and resolve bugs that might be affecting performance. Keeping the software updated ensures your machine benefits from the latest improvements and fixes.

Factory Reset

A factory reset can resolve many issues by restoring the machine to its original settings. This should be considered when other troubleshooting methods haven’t worked.

Refer to your user manual for the specific steps to perform a factory reset on your Keurig model. This process generally involves holding down certain buttons for a specified period. Factory resetting can clear persistent issues and give your machine a fresh start.

Professional Assistance

When all else fails, seeking professional help is sometimes the best course of action. Contacting Keurig customer support or a professional repair service ensures that your machine is thoroughly examined and repaired.

Professionals have the experience and tools to diagnose and fix complex issues that might not be apparent through basic troubleshooting. Professional assistance guarantees a comprehensive solution, potentially restoring your Keurig to its optimal working condition.

Conclusion: Ensuring Consistent Coffee Enjoyment

In conclusion, determining why your Keurig is not working involves addressing various potential issues such as power problems, clogged needles, water flow impediments, and more. Thorough troubleshooting and maintenance can resolve most issues and restore your machine’s functionality. By understanding and addressing these common problems, you can ensure your Keurig continues to provide consistent coffee enjoyment. Investing time in regular maintenance and seeking professional help when needed prolongs the life of your machine and ensures a reliable brewing experience every time.

Posted on

Beast Blender vs. Vitamix: Which Reigns Supreme in Your Kitchen?

beast blender

Blenders are essential tools that can transform your kitchen by offering convenience and versatility. Among the many options available, two brands often stand out: Beast Blender and Vitamix. Both promise powerful performance and high-quality results. So, how do you decide between the Beast Blender vs. Vitamix? This article delves into an in-depth comparison, looking at design, performance, versatility, ease of use, and customer support, to help you make an informed decision.

Design and Build Quality

Both Beast Blender and Vitamix take pride in their design and build quality, but they target slightly different markets.

The Beast Blender features a sleek, modern design that fits seamlessly into contemporary kitchens. Its minimalist aesthetics are complemented by sturdy construction using durable materials. The compact size makes it ideal for kitchens with limited counter space. Despite its smaller footprint, the Beast is robust and feels substantial.

Vitamix blenders are known for their industrial build and durability. While bulkier than the Beast Blender, Vitamix devices are built to withstand heavy use. The design may be less flashy but exudes reliability and robustness. Made with high-quality materials, Vitamix blenders often come with substantial warranties, reflecting their long-term reliability.

If aesthetics and compactness are your priorities, the Beast Blender might appeal more. However, if you value a rugged, durable machine for heavy-duty tasks, Vitamix stands out.

beast blender

Performance and Power

When considering performance, both blenders excel but in slightly different areas.

The Beast Blender, although compact, boasts impressive power. It’s equipped with a high-torque motor that makes quick work of smoothies, shakes, and even some tougher ingredients like nuts and ice. Designed for efficiency, it offers powerful blending without taking up much space.

On the other hand, Vitamix is practically synonymous with power. Vitamix blenders often feature motors ranging from 2 to 3 horsepower, capable of handling a wide variety of tasks with ease. From making hot soups to grinding grains and kneading dough, Vitamix machines are incredibly versatile and powerful.

For everyday blending tasks and a smaller footprint, the Beast Blender performs excellently. However, for heavy-duty, versatile applications, Vitamix’s higher power and extensive capabilities give it an edge.

Versatility and Functionality

Versatility is a key factor when choosing a kitchen appliance, and both the Beast Blender and Vitamix offer impressive functionalities.

The Beast Blender is designed with simplicity and efficiency in mind. It excels in making smoothies, shakes, and other beverages. Despite its compact size, it comes with various attachments and jars to accommodate different types of blending.

Vitamix blenders, known for their versatility, can perform multiple functions beyond typical blending duties. They can make hot soups, crush ice, grind grains, and even make nut butters. The variable speed control and pulse feature in Vitamix models allow for precision and versatility in texture and consistency.

If your primary need is making smoothies and drinks, the Beast Blender’s design is more than sufficient. However, if you require a multifunctional kitchen workhorse that can handle a variety of culinary tasks, Vitamix offers unparalleled versatility.

Ease of Use and Cleaning

Ease of use and cleaning are crucial for any kitchen appliance, as they affect how often you’ll reach for it.

Beast Blender shines with its user-friendly design. It features simple controls, often a single dial for speed settings, making it intuitive even for beginners. The compact design means easier cleanup and storage. Most parts are dishwasher safe, simplifying the cleaning process.

Vitamix blenders, while extremely functional, come with more complex controls. The multiple speed settings and programmable options can offer more control but require a learning curve. However, Vitamix blenders are generally easy to clean, often needing just a quick blend of warm water and a drop of dish soap to clean thoroughly.

For quick and straightforward use, the Beast Blender is more intuitive. However, if you’re willing to invest a bit more time understanding the controls for broader capabilities, Vitamix blenders offer more features.

beast blender

Price and Value

The cost of a blender can significantly influence your decision, and it’s essential to consider what you’re getting for your money.

The Beast Blender is generally more affordable, making it an attractive option for those on a budget. Despite the lower price point, it offers robust performance for regular blending tasks, making it a great value for the cost. Its durable construction and satisfactory performance ensure that you’re not compromising quality for price.

Vitamix, on the other hand, is an investment. These blenders are typically priced higher, reflecting their powerful motors, extensive functionality, and long-lasting durability. Many users feel that the cost is justified by the versatility and reliability Vitamix offers, especially given the long-term warranties.

If budget is a primary concern and your blending needs are standard, the Beast Blender provides excellent value. Conversely, if you’re looking for a high-performance, multifunctional appliance and are willing to invest, Vitamix delivers substantial value over time.

Customer Support and Warranty

Customer support and warranty terms are vital aspects, ensuring peace of mind and long-term satisfaction with your purchase.

Beast Blender offers good customer support, with most models coming with a limited warranty. While their support team receives positive reviews, warranty terms might not be as extensive as some premium brands. Users appreciate the prompt assistance and straightforward solutions offered by Beast Blender’s customer service.

Vitamix, renowned for exceptional customer service, backs its products with comprehensive warranties, often ranging from 7 to 10 years. These warranties cover most mechanical and operational issues, reflecting the brand’s confidence in its product durability. The customer support team is well-regarded for their responsiveness and willingness to resolve issues.

For a decent warranty and reliable customer service, the Beast Blender performs well. However, for long-term security and outstanding support, Vitamix’s extensive warranty and highly rated customer service provide added assurance.

User Reviews and Real-World Performance

User reviews and real-world performance provide valuable insight into how these blenders perform in everyday use.

The Beast Blender receives praise for its powerful performance relative to its size. Users frequently commend its efficiency in making smoothies and its straightforward cleaning process. However, some users note that it may struggle with more demanding tasks like crushing large quantities of ice or making super-smooth nut butters.

Vitamix blenders, meanwhile, are lauded for their exceptional performance across a wide range of tasks. Users highlight their ability to handle tough ingredients with ease, producing consistently smooth blends, soups, and purees. The versatility and longevity of Vitamix blenders often justify their higher price point for many customers.

Checking user reviews can assist in understanding which blender fits your specific needs best. The Beast Blender is favored for simplicity and efficiency in everyday tasks, while Vitamix is revered for its all-encompassing performance and long-term reliability.

beast blenderPortability and Space Consideration

Portability and space considerations can influence which blender suits your kitchen best, especially if you have limited counter space.

The Beast Blender’s compact design makes it highly portable and space-efficient. It’s ideal for smaller kitchens, apartments, or users who frequently move their kitchen appliances around. Its smaller size doesn’t compromise its blending power, making it a practical choice for many.

Vitamix blenders, while more robust, occupy more space. They are heavier and designed for more permanent counter placement. If your kitchen has ample space or if you frequently engage in extensive cooking tasks, the Vitamix’s larger footprint is manageable and justified by its capabilities.

For those constrained by space or needing a more portable option, the Beast Blender is advantageous. However, if you have the space and need a more powerful, permanent fixture in your kitchen, Vitamix is suitable.

Environmental and Energy Considerations

Environmental footprint and energy efficiency are becoming increasingly important in consumer decisions.

The Beast Blender, with its smaller size, generally consumes less power, making it a more energy-efficient option for regular use. Its eco-friendly design emphasizes efficient use of resources and minimal waste.

Vitamix blenders, due to their higher power, consume more electricity. However, their durability means less frequent replacements, contributing to reduced long-term environmental impact. Additionally, Vitamix emphasizes using recyclable materials and energy-efficient manufacturing processes.

For those prioritizing energy efficiency and a smaller footprint, Beast Blender may appear more attractive. However, Vitamix’s long-term environmental consideration through durability and recyclable materials balances its higher energy consumption.

Conclusion

When comparing Beast Blender vs. Vitamix, the choice largely depends on your specific needs, preferences, and budget. The Beast Blender excels in portability, ease of use, and is budget-friendly, making it ideal for everyday blending tasks. Meanwhile, Vitamix offers unmatched power, versatility, and long-term reliability, justifying its higher price for those seeking a multifunctional kitchen powerhouse. Both blenders have their strengths, and understanding these can help you make the best decision to suit your culinary adventures and lifestyle.

Posted on

How Can You Make a Protein Shake Without a Blender?

immersion blender

Protein shakes are a convenient and effective way to fuel your body, whether you’re aiming to build muscle, lose weight, or simply maintain a balanced diet. Typically, people rely on blenders to mix their protein powders smoothly with other ingredients. However, what if you don’t have a blender on hand? How can you still enjoy a delicious and creamy protein shake? This article explores various methods and tips for making a protein shake without a blender, ensuring you can maintain your nutritional routine no matter where you are.

The Basics of Protein Shakes

Before exploring alternative mixing methods, it’s crucial to understand the fundamental components of a protein shake. The primary ingredient is, of course, protein powder. Depending on your dietary preferences, this can be whey, casein, plant-based, or another type of protein.

The liquid base is another essential element. Common choices include water, milk (dairy or plant-based), and juice. The choice of liquid can significantly impact the shake’s texture and flavor.

Additional ingredients are often included to enhance flavor, texture, and nutritional value. These might be fruits, nuts, seeds, sweeteners, and flavor extracts. Even without a blender, you can incorporate these elements creatively and effectively.

Understanding these basics will guide you in selecting the appropriate ingredients and methods for making a protein shake without a blender.

Using a Shaker Bottle

One of the simplest and most effective tools for making a protein shake without a blender is a shaker bottle. Designed specifically for mixing protein powders, these bottles usually come with a wire whisk ball or a strainer-style lid.

Start by adding your liquid base to the shaker bottle. This helps prevent the protein powder from sticking to the bottom. Next, add the protein powder and any additional flavorings or supplements.

Ensure the lid is tightly secured to avoid spills. Shake the bottle vigorously for about 30 seconds to a minute. The whisk ball or strainer will help break up clumps and blend the ingredients smoothly.

To enhance flavor and texture, you can add crushed fruits, nut butter, or yogurt. While these additions won’t blend completely, vigorous shaking will incorporate them sufficiently to enjoy their benefits.

A shaker bottle is a convenient and portable solution, making it perfect for on-the-go protein shakes, whether at the gym, office, or home.

immersion blender

Using a Mason Jar or Sealable Jar

If you don’t have a shaker bottle, a mason jar or any sealable jar can be an excellent alternative for mixing a protein shake without a blender.

Start by adding your chosen liquid base to the jar. Following this, add your protein powder and any additional flavorings or supplements. Ensure the jar is only filled two-thirds full to allow enough room for shaking.

Securely close the lid to avoid leaks. Shake the jar vigorously for 30 seconds to a minute. The shaking motion should be enough to mix the protein powder with the liquid, creating a smooth shake.

To make the shake more flavorful and nutritious, consider adding ingredients like honey, cinnamon, or chia seeds. Although these won’t blend perfectly, they will disperse sufficiently through shaking.

Using a mason jar is an easy and effective method, offering flexibility and convenience. It’s also an excellent option for preparing your shake in advance and storing it for later use.

Stirring with a Whisk or Fork

In the absence of any sealable container or shaker bottle, a whisk or even a fork can do the job of creating a protein shake without a blender.

Begin by pouring your liquid base into a mixing bowl. Follow this by adding the protein powder. Using a small hand whisk or fork, stir the mixture rapidly. Make circular motions with the whisk or fork, ensuring you scrape the sides and bottom of the bowl to break up any clumps.

This method might require a bit more effort, so be prepared to whisk vigorously for a couple of minutes. As you whisk, the protein powder should dissolve into the liquid, creating a smooth consistency.

To enhance the shake, you can add ground ingredients like cocoa powder or cinnamon, which will blend more easily with the liquid. Using a whisk or fork might not result in the perfectly smooth texture a blender or shaker bottle offers, but it effectively mixes the primary ingredients.

Stirring with a whisk or fork is a practical solution, especially in a pinch. It’s easy to clean up afterward, making it a hassle-free option for quick protein shakes.

immersion blender

Combining Dry and Liquid Ingredients First

A helpful tip for preventing clumps when making a protein shake without a blender is to mix dry ingredients separately before adding the liquid base. This method ensures smoother incorporation and minimizes the chance of undissolved lumps.

In a separate bowl, combine the protein powder with any other dry ingredients like cocoa powder, matcha, or spices. Stir or shake them in a sealed bag to mix evenly.

Next, add the liquid to your mixing container (shaker bottle, jar, or bowl). Slowly pour in the dry mixture, continually stirring or shaking. This gradual combination prevents large clumps from forming.

If using a jar or shaker bottle, shake vigorously after adding the dry mixture. If using a whisk or fork, continue to stir until the powder is fully dissolved.

Combining dry and liquid ingredients method provides a smoother texture and consistent flavor, especially without access to a blender.

Using Instant Protein Powder

One of the advantages of instant protein powder is its ease of mixing, making it particularly suitable for creating protein shakes without a blender.

Instant protein powders are designed to dissolve quickly and smoothly in liquid. They often contain smaller particles and additional ingredients to aid in quick mixing.

Simply add your instant protein powder to your chosen liquid base. This process can be done in a shaker bottle, jar, or even a glass. Stir, shake, or whisk vigorously for a few seconds. The powder should dissolve easily, creating a smooth shake.

Instant protein powders come in various flavors, making it easy to enjoy a tasty shake without needing extra ingredients. If you prefer more variety, you can still add elements like sweeteners or spices, which will blend seamlessly with the extra particles.

Using instant protein powder is a convenient and practical solution, providing a quick way to enjoy a nutritious protein shake with minimal effort.

immersion blender

Pre-Mixed Protein Shakes

For those times when convenience is paramount, pre-mixed protein shakes offer a straightforward solution that eliminates the need for mixing altogether.

Pre-mixed protein shakes come in ready-to-drink bottles or cartons. These shakes are formulated with the right balance of protein, carbohydrates, fats, and other essential nutrients. You only need to shake the container gently before opening it to ensure the contents are well mixed.

These pre-mixed options are particularly useful for people with busy lifestyles, providing immediate access to a protein-rich beverage. They are available in various flavors and formulations, catering to different dietary preferences and needs.

While pre-mixed shakes might be more expensive than homemade versions, they offer unparalleled convenience and ensure you can meet your protein intake goals even when on the go.

Switching to pre-mixed protein shakes can be excellent for people who prioritize convenience and need a quick, nutritious solution.

Considering Nutrient Additions

Just because you are making a protein shake without a blender doesn’t mean you have to compromise on nutrition. Several ingredients can enhance the shake’s nutritional profile without requiring blending.

Ground flaxseeds or chia seeds are excellent additions. They can easily be mixed into the shake, providing a boost of omega-3 fatty acids and fiber.

Nut butter or seed butter can also be a healthy addition. While these won’t blend smoothly, a good stir or shake can integrate them sufficiently to add flavor and healthy fats.

Adding a splash of unsweetened cocoa powder can provide antioxidants, while cinnamon or turmeric offers anti-inflammatory benefits. Liquid supplements and extracts, like vanilla or almond, are also easy to incorporate, enhancing flavor without requiring blending.

These nutrient additions ensure your protein shake is balanced and nutritionally robust, supporting overall health and fitness goals.

Conclusion

Learning how to make a protein shake without a blender opens up flexibility and convenience, ensuring you never miss out on your nutritional intake regardless of the situation. From using a shaker bottle or mason jar to exploring various ingredients and creative toppings, there are numerous ways to mix up a smooth, enjoyable protein shake. Each method and tip aims to maximize flavor and consistency, ensuring that your shake is both delicious and nutritious. By understanding these techniques and addressing potential issues, you can create satisfying protein shakes anywhere, anytime, maintaining your fitness and nutrition goals effortlessly.

Posted on

The Complete Margaritaville Blender Instructions For You

margaritaville blender

The Margaritaville blender, renowned for its ability to create perfect frozen concoctions, is a must-have for any party or casual get-together. But if you’re new to this appliance, you might wonder, how to operate a Margaritaville blender? This comprehensive guide will walk you through every step required to make the most out of your blender. From setup to cleaning, we will explore detailed instructions that will ensure you get the best performance and longevity from your Margaritaville blender. Read on to turn your blending experience into a seamless and enjoyable activity.

Unboxing and Initial Setup

Setting up your Margaritaville blender correctly is the first step to enjoying your frozen delights.

  1. Unboxing: Carefully unbox your Margaritaville blender. Remove all packaging materials, making sure you don’t discard any small parts or accessories that might be nestled in the box.
  2. Assembly: Place the base unit on a flat, stable surface that is close to an electrical outlet. Attach the blending jar to the base by aligning it with the grooves and turning it clockwise until it locks into place. Insert the ice reservoir into the top of the blending jar, ensuring it is also securely locked.
  3. Inspect Components: Once assembled, inspect all parts for any visible damage or manufacturing defects. Verify that the lid, blending blades, and other components are all in good working condition.

Correct initial setup will ensure your Margaritaville blender operates smoothly and safely.

margaritaville blender

Understanding the Controls

Familiarizing yourself with the control panel will help you efficiently operate your Margaritaville blender.

  1. Power Button: The power button, usually located on the front panel, turns the blender on and off. Ensure that the blender is plugged in before pressing the power button.
  2. Blending Modes: The blender typically comes with multiple blending modes such as “Smoothie,” “Frozen Drink,” and “Manual.” Select the appropriate mode by turning the dial or pressing the corresponding button.
  3. Speed Settings: Some Margaritaville blenders offer variable speed settings. Adjust the speed according to the consistency you desire.

Understanding these controls can enhance your user experience and allow you to make the perfect drinks consistently.

Adding Ingredients

The order and type of ingredients you add can affect the quality of your frozen concoction.

  1. Liquids First: Always add the liquid ingredients first. This includes juices, syrups, and alcohol. Filling the jar with liquid first helps to blend the contents more efficiently.
  2. Soft Ingredients: Follow the liquids with softer ingredients like fruits and vegetables. Cutting them into smaller pieces can aid in smoother blending.
  3. Hard Ingredients: Finally, add harder ingredients like ice or frozen fruits. Avoid overfilling the jar to prevent overflow during blending.

Properly layering the ingredients will ensure that your Margaritaville blender performs optimally and produces the best results.

Blending and Shaving Ice

The Margaritaville blender’s unique selling point is its ability to blend and shave ice perfectly.

  1. Ice Reservoir: Fill the ice reservoir located at the top of the blending jar. Do not overload it as this can hinder the blender’s performance.
  2. Blending Cycle: Select the desired blending mode. The “Smoothie” mode might blend the ingredients thoroughly, while the “Frozen Drink” mode will shave ice and mix it with the liquid ingredients for a smoother texture.
  3. Manual Control: For more customized drinks, you can use the manual control to blend or shave ice according to your preference. Hold the blend or shave button until you reach the desired consistency.

Using the appropriate mode will ensure that you achieve the perfect blend and ice consistency for your drinks.

Serving Your Drink

After achieving the perfect blend, serving it correctly adds to the experience.

  1. Pouring: Remove the lid carefully to avoid spilling. Pour the drink into glasses directly from the blending jar. The Margaritaville blender often comes with a jug spout for easy pouring.
  2. Garnishing: Enhance the visual appeal and taste by garnishing your drinks with slices of fruit, sprigs of mint, or colorful straws.
  3. Storage: If you have leftover drinks, pour them into airtight containers and refrigerate. However, for best results, it is recommended to consume the drinks immediately.

Serving your drink properly can elevate the overall experience, making it enjoyable for you and your guests.

margaritaville blender

Cleaning and Maintenance

Proper cleaning and maintenance ensure the longevity and performance of your Margaritaville blender.

  1. Disassembly: Unplug the blender and disassemble it by removing the blending jar, blade assembly, and ice reservoir. Take caution when handling the blades as they are sharp.
  2. Cleaning: Wash all removable parts with warm soapy water. For a quick clean, you can blend a mixture of water and dish soap, then rinse thoroughly. Avoid using abrasive cleaners or sponges as they can damage the surfaces.
  3. Drying: Dry all parts completely before reassembling. Moisture can cause mold and mildew, affecting the taste and safety of future blends.
  4. Storing: Store the blender in a clean, dry place. If you won’t be using it for an extended period, remove all parts and store them separately to avoid strain on the components.

Regular cleaning and maintenance are crucial for the safe and efficient operation of your Margaritaville blender.

Troubleshooting Common Issues

It’s not uncommon to encounter issues when using any appliance. Knowing how to troubleshoot them can save you time and stress.

  1. Blender Won’t Start: Ensure that the power cord is securely plugged in, and the outlet is working. Check if all components are correctly assembled and the lid is securely locked.
  2. Poor Blending Output: If the blender is not blending properly, you may have overloaded it or not added enough liquid. Re-balance the ingredients and try again.
  3. Unusual Noises: Unusual noises might indicate that something is obstructing the blades. Turn off the blender, unplug it, and carefully check for any blockages.
  4. Ice Shaving Issues: If the ice is not shaving properly, ensure the ice reservoir is correctly positioned and that the ice is not too compact. Adjust the ice and try again.

Understanding these common issues and how to resolve them can keep your blending experience hassle-free.

Advanced Tips for Best Results

To get the most out of your Margaritaville blender, consider a few advanced tips.

  1. Pre-Chill Ingredients: For an ultra-smooth texture, pre-chill your liquid ingredients before adding them to the blender.
  2. Use Fresh Ice: Fresh ice tends to shave better and produce a smoother drink. Avoid using ice that has melted and refrozen, as it can become too compact.
  3. Experiment with Ratios: Don’t be afraid to experiment with different ingredient ratios. The perfect frozen drink often comes from a bit of trial and error.

Advanced tips like these can help you refine your blending skills, making each batch better than the last.

margaritaville blenderCustomizing Your Drinks

The Margaritaville blender is versatile and allows for a high degree of customization.

  1. Flavored Syrups: Add flavored syrups to create unique taste profiles. Whether it’s vanilla, mint, or caramel, these syrups can add a delightful twist.
  2. Alcohol Infusion: Adding different types of alcohol can customize your drinks. Experiment with rum, vodka, or tequila to discover new flavors.
  3. Non-Alcoholic Options: For non-alcoholic versions, use fruit juices, flavored waters, or sodas to create refreshing mocktails.
  4. Healthy Variants: Incorporate superfoods like chia seeds, spinach, or kale to make healthier blends without compromising on taste.

Customizing your drinks can make your blending experience more enjoyable and tailored to your personal preferences.

Uses Beyond Drinks

Your Margaritaville blender can do more than just make frozen drinks.

  1. Smoothie Bowls: Blend thick smoothies and serve them in bowls topped with fresh fruits, nuts, and granola.
  2. Frozen Desserts: Create frozen desserts like sorbets and ice creams by blending fruits, sweeteners, and a splash of liquid.
  3. Soup Preparation: Some versions can blend hot soups, making it a versatile kitchen tool.

Exploring these additional uses can maximize the value you get from your Margaritaville blender.

Warranty and Customer Support

Understanding your blender’s warranty and available customer support can be crucial if you encounter issues.

  1. Warranty Information: Check the user manual or the manufacturer’s website for details on the warranty. Keep the receipt and any warranty documentation in a safe place.
  2. Customer Support: If you face issues that troubleshooting can’t fix, reach out to Margaritaville’s customer support. They can provide additional troubleshooting steps, repairs, or replacements if necessary.

Knowing how to access warranty services and customer support can save you time and money down the line.

Conclusion

Learning how to operate a Margaritaville blender fully involves understanding everything from initial setup and blending techniques to cleaning and troubleshooting. By familiarizing yourself with the controls, layering ingredients properly, employing the right blending modes, and maintaining your appliance, you can enjoy perfect frozen concoctions and beyond. Advanced tips and customization options can further enhance your blending experience, making each use enjoyable. Investing a little time to understand your blender pays off in the form of delightful drinks and the longevity of your appliance. So go ahead, explore, blend, and enjoy!