Introduction
In the pursuit of a healthier lifestyle, incorporating fresh juices into your daily routine has become increasingly popular. Central to this endeavor is the choice of juicer, with the primary options being manual juicers and electric juicers. This article delves deep into the question: Is a manual or electric juicer better? By examining the features, benefits, drawbacks, and specific use-cases of each type, you’ll be equipped with the knowledge to make an informed decision that best suits your juicing needs and lifestyle.
 Understanding the Basics: Electric vs. Manual Juicer
Before determining which type of juicer is better, it’s essential to understand the fundamental differences between manual and electric juicers. Each has its own set of functionalities, advantages, and disadvantages that cater to different preferences and requirements.
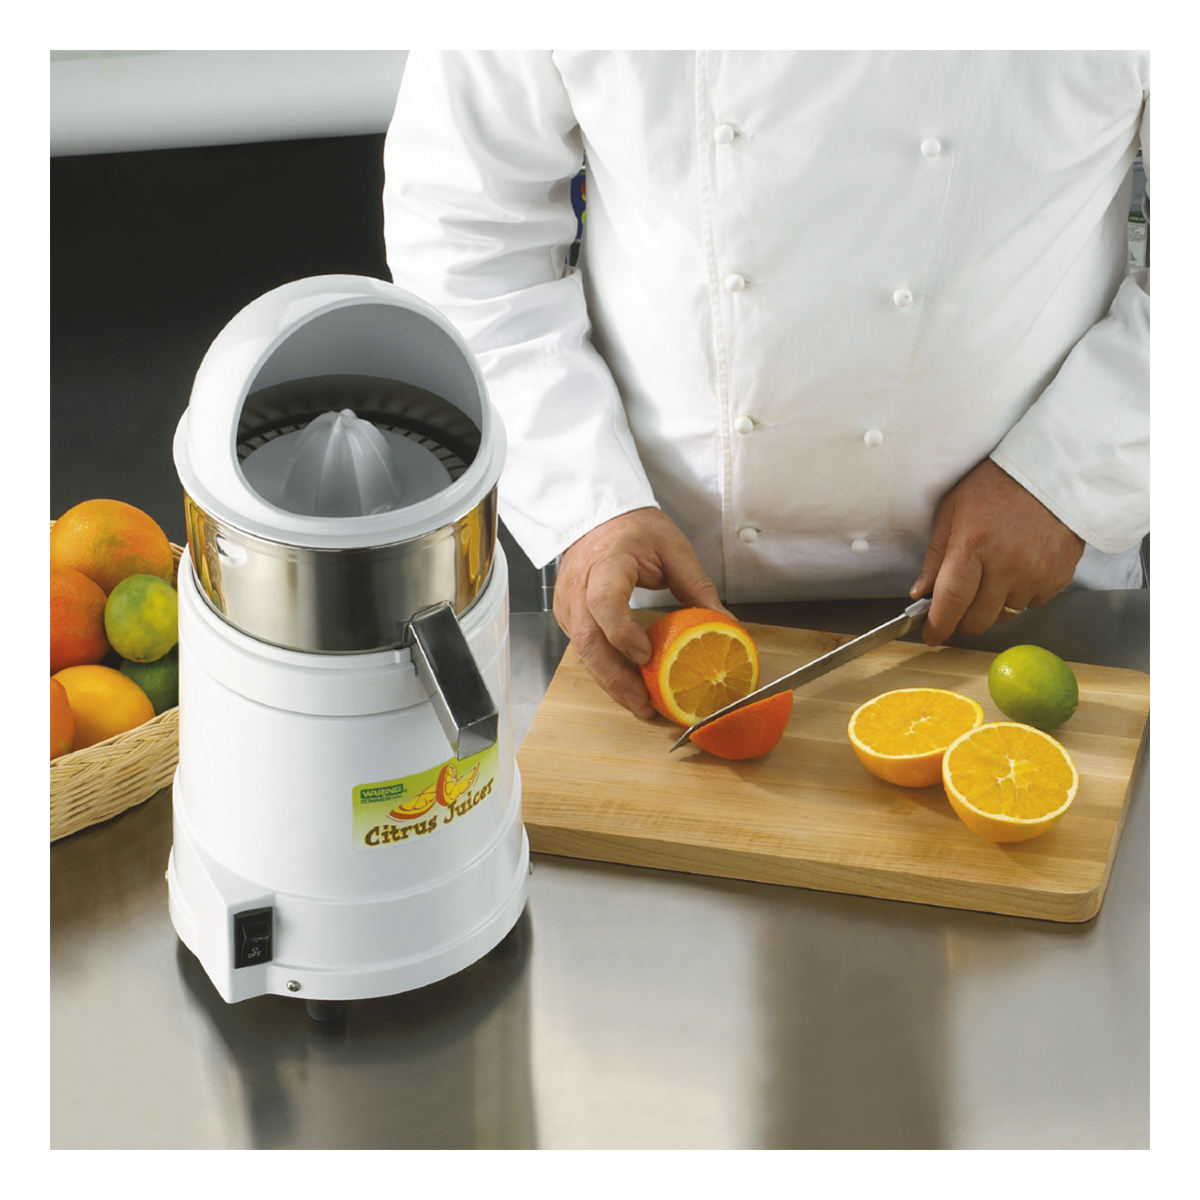
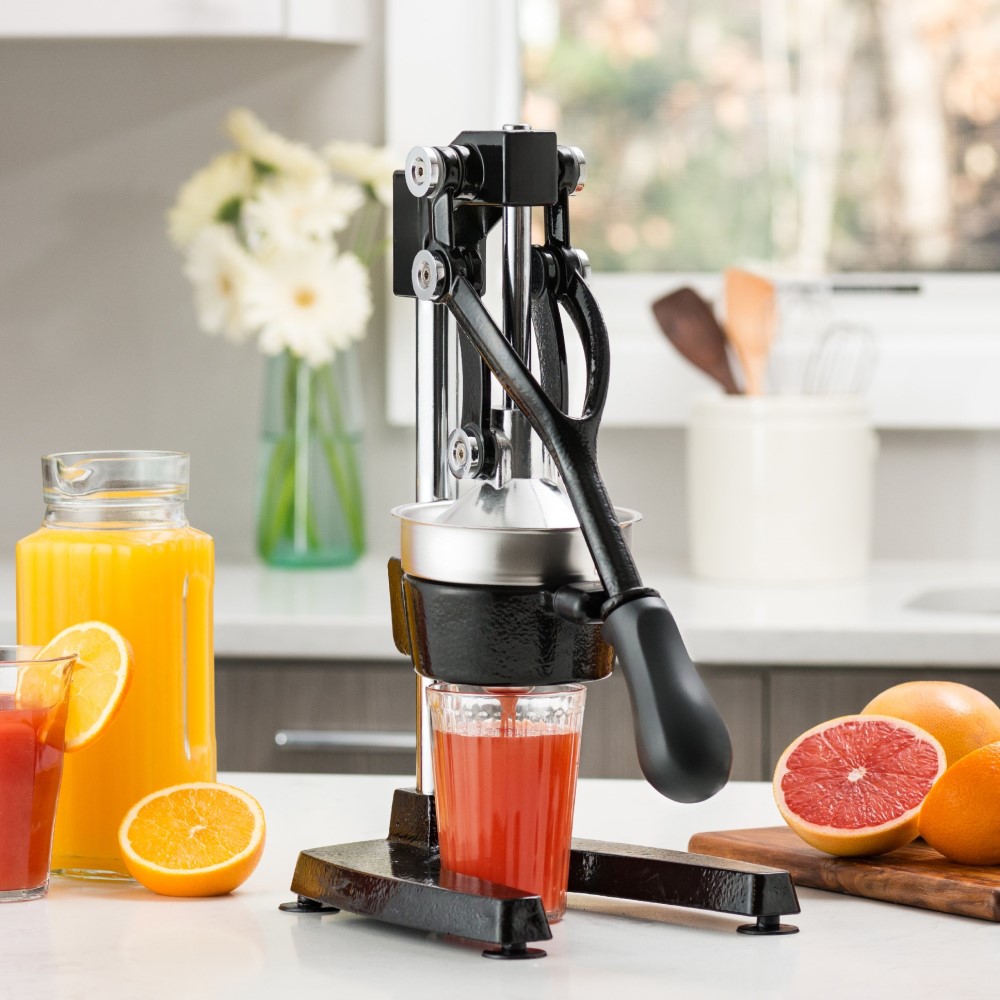
What is a Manual Juicer?
A manual juicer, also known as a hand press or hand squeeze juicer, operates without electricity. These juicers rely on manual force to extract juice from fruits and vegetables. Typically, they consist of a reamer or pressing mechanism that you operate by hand.
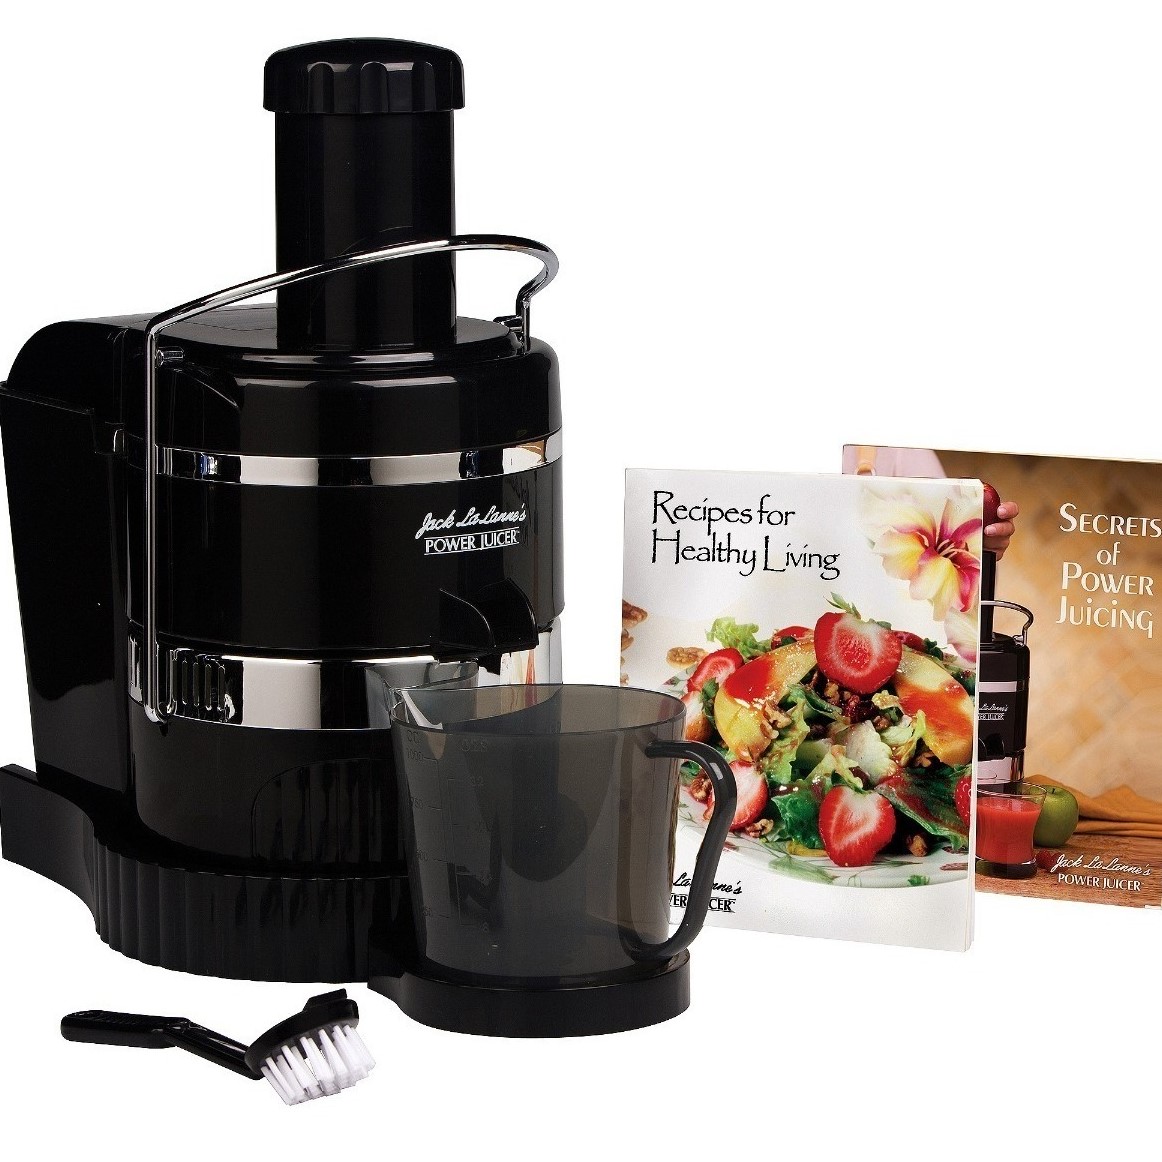
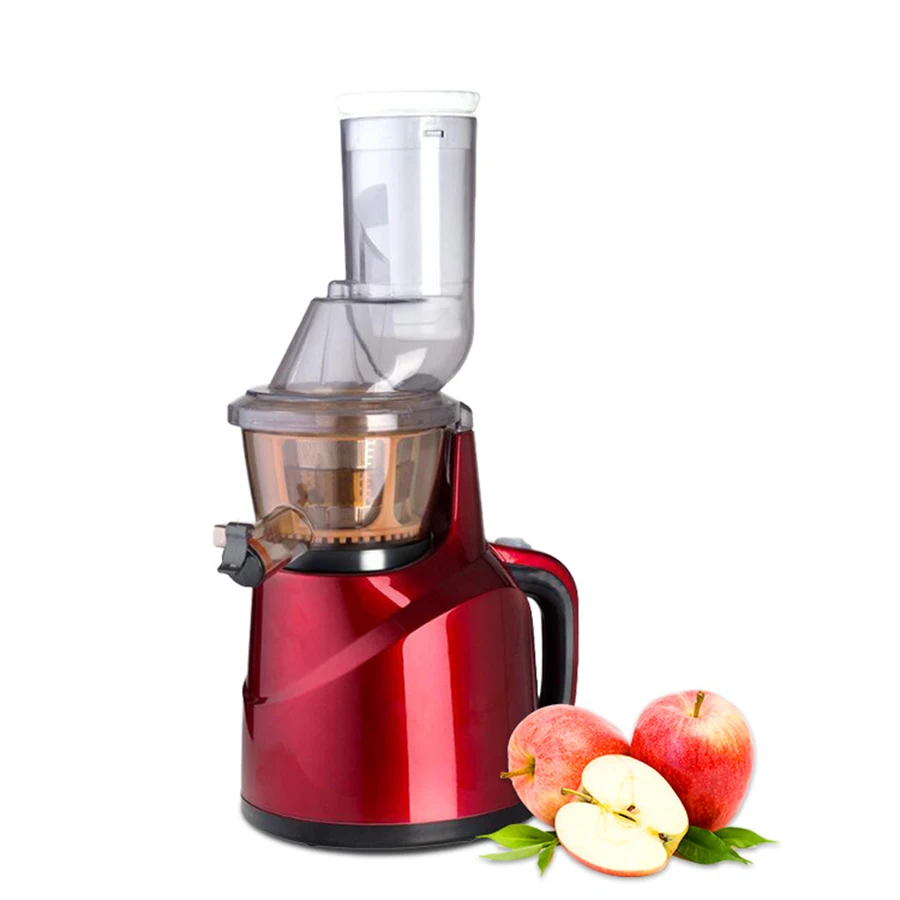
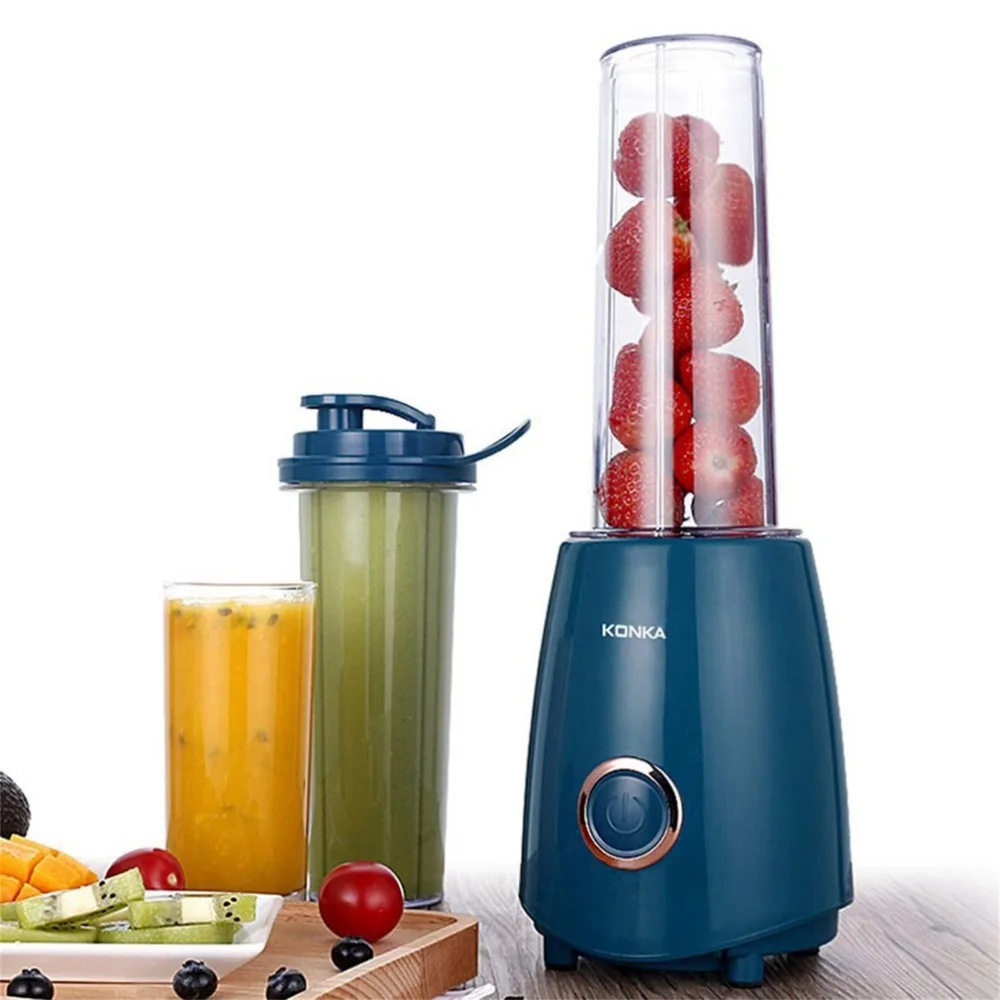
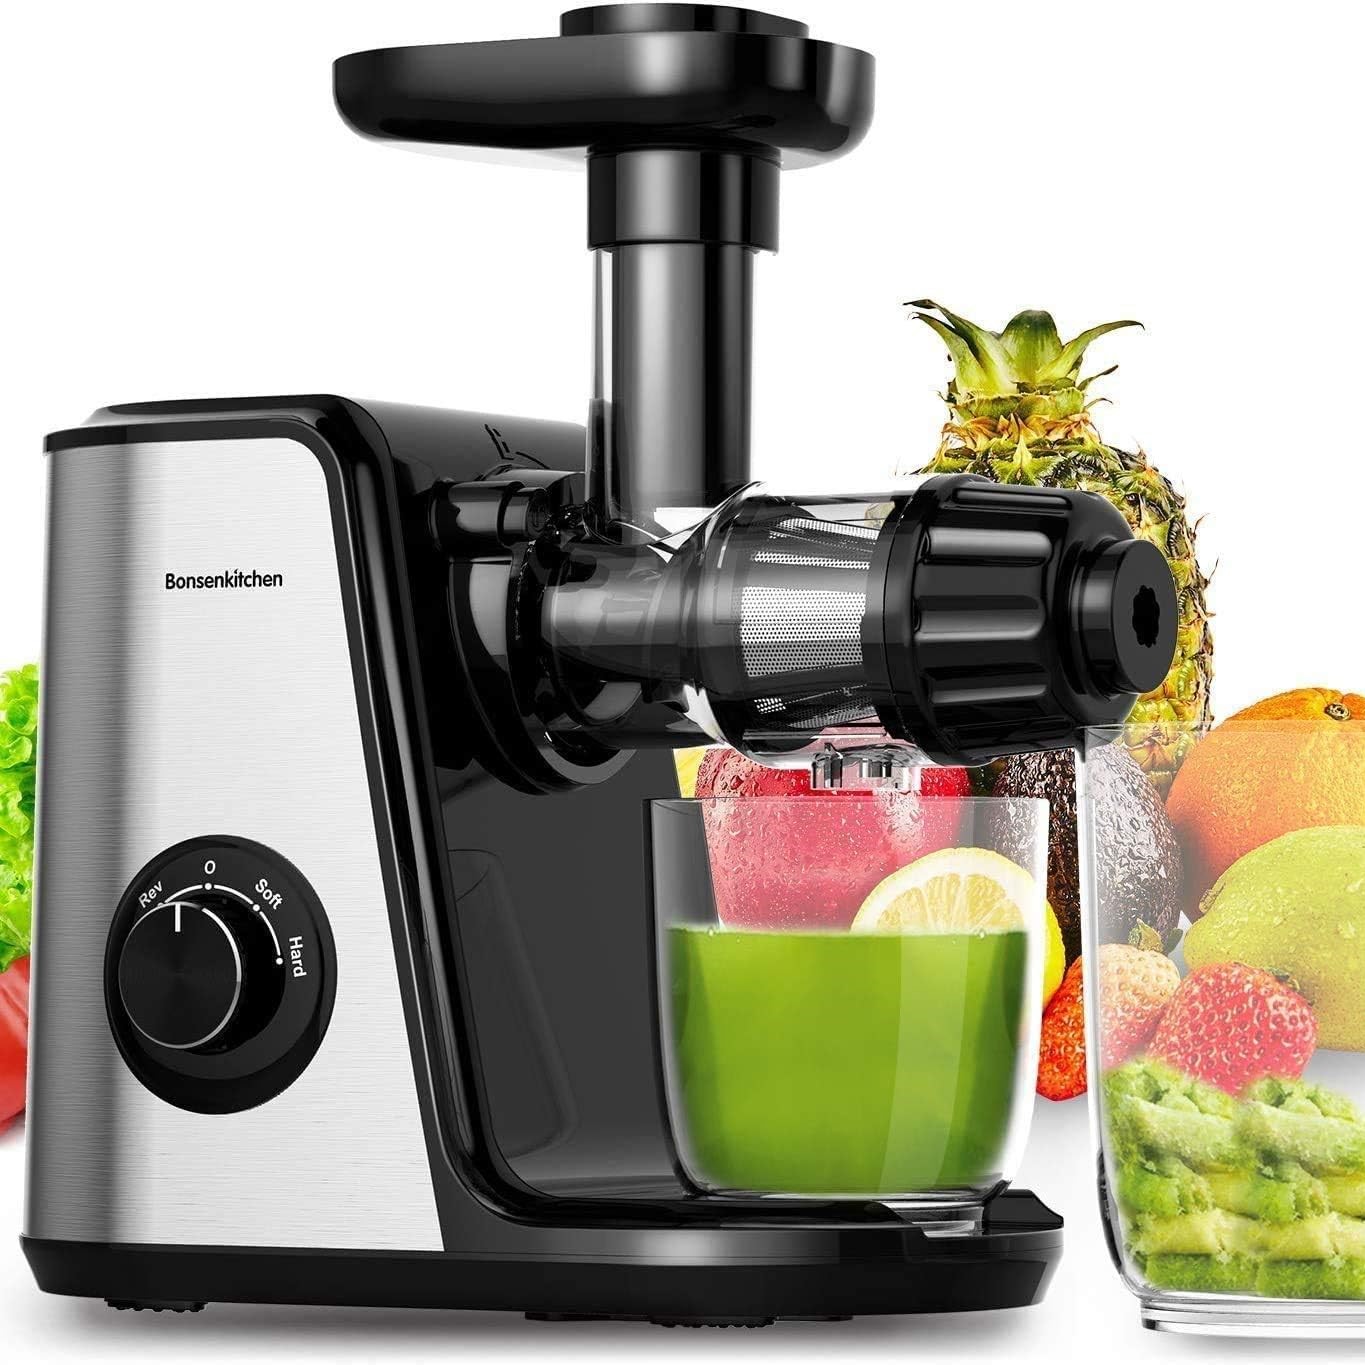
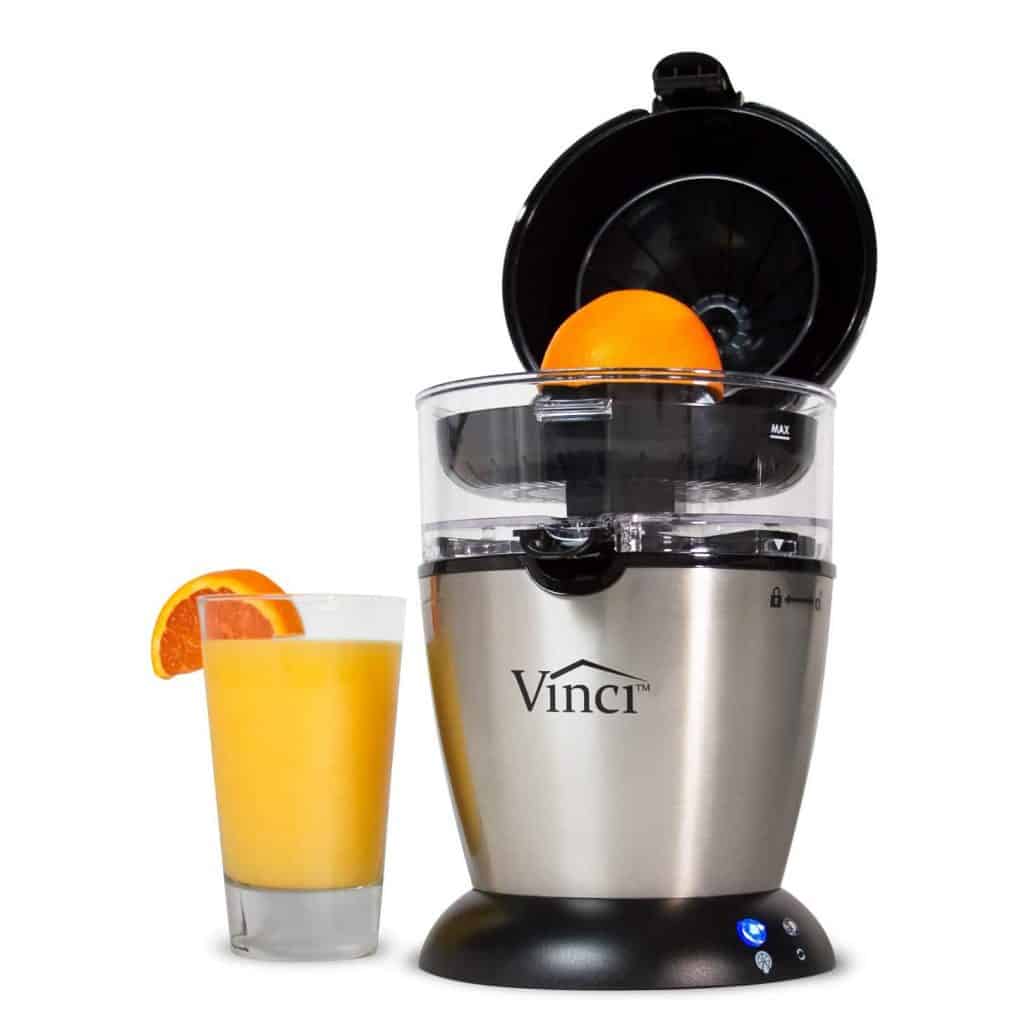
What is an Electric Juicer?
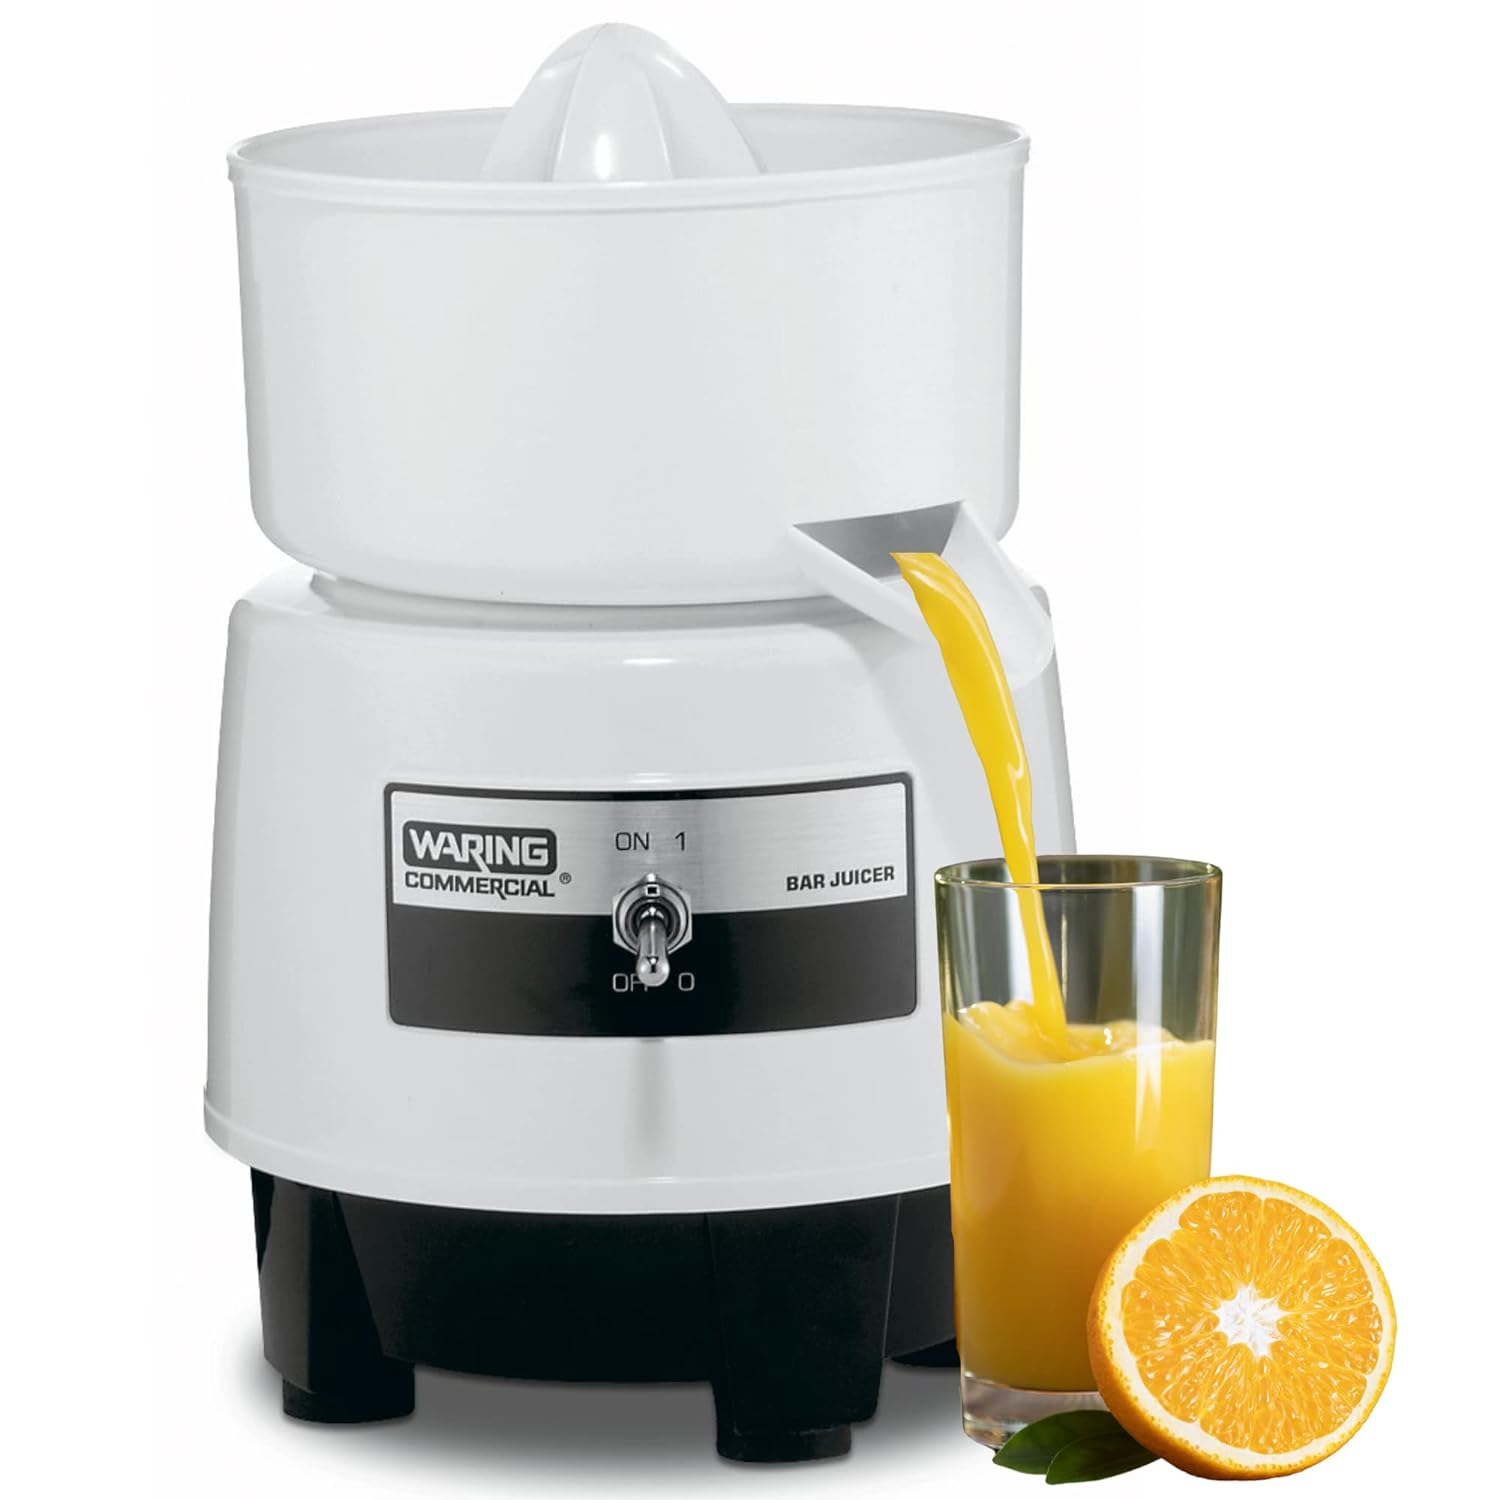
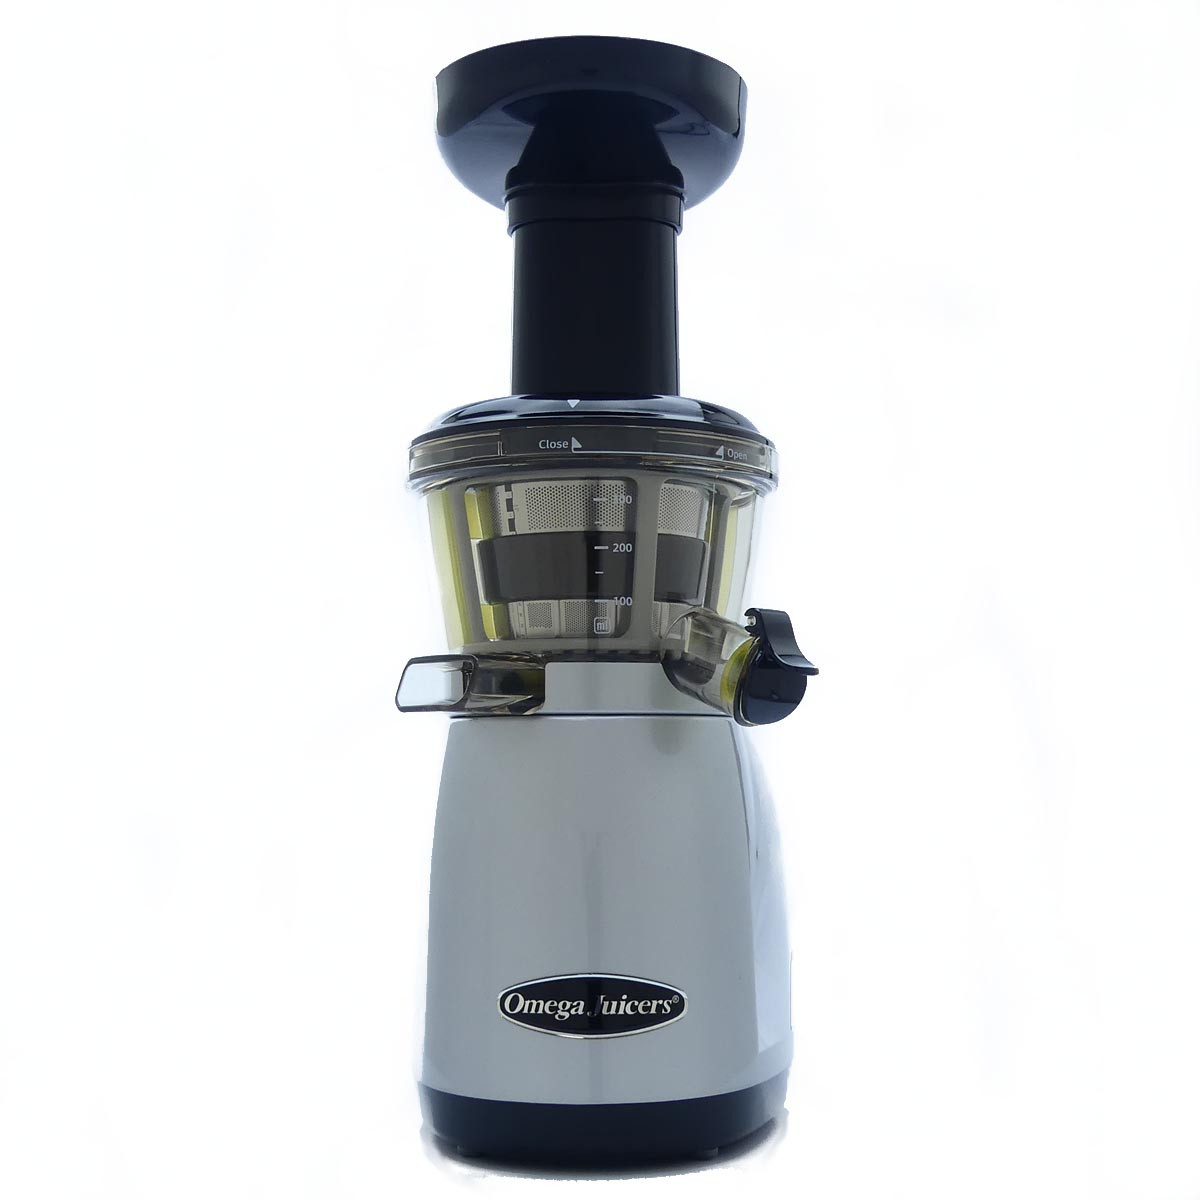
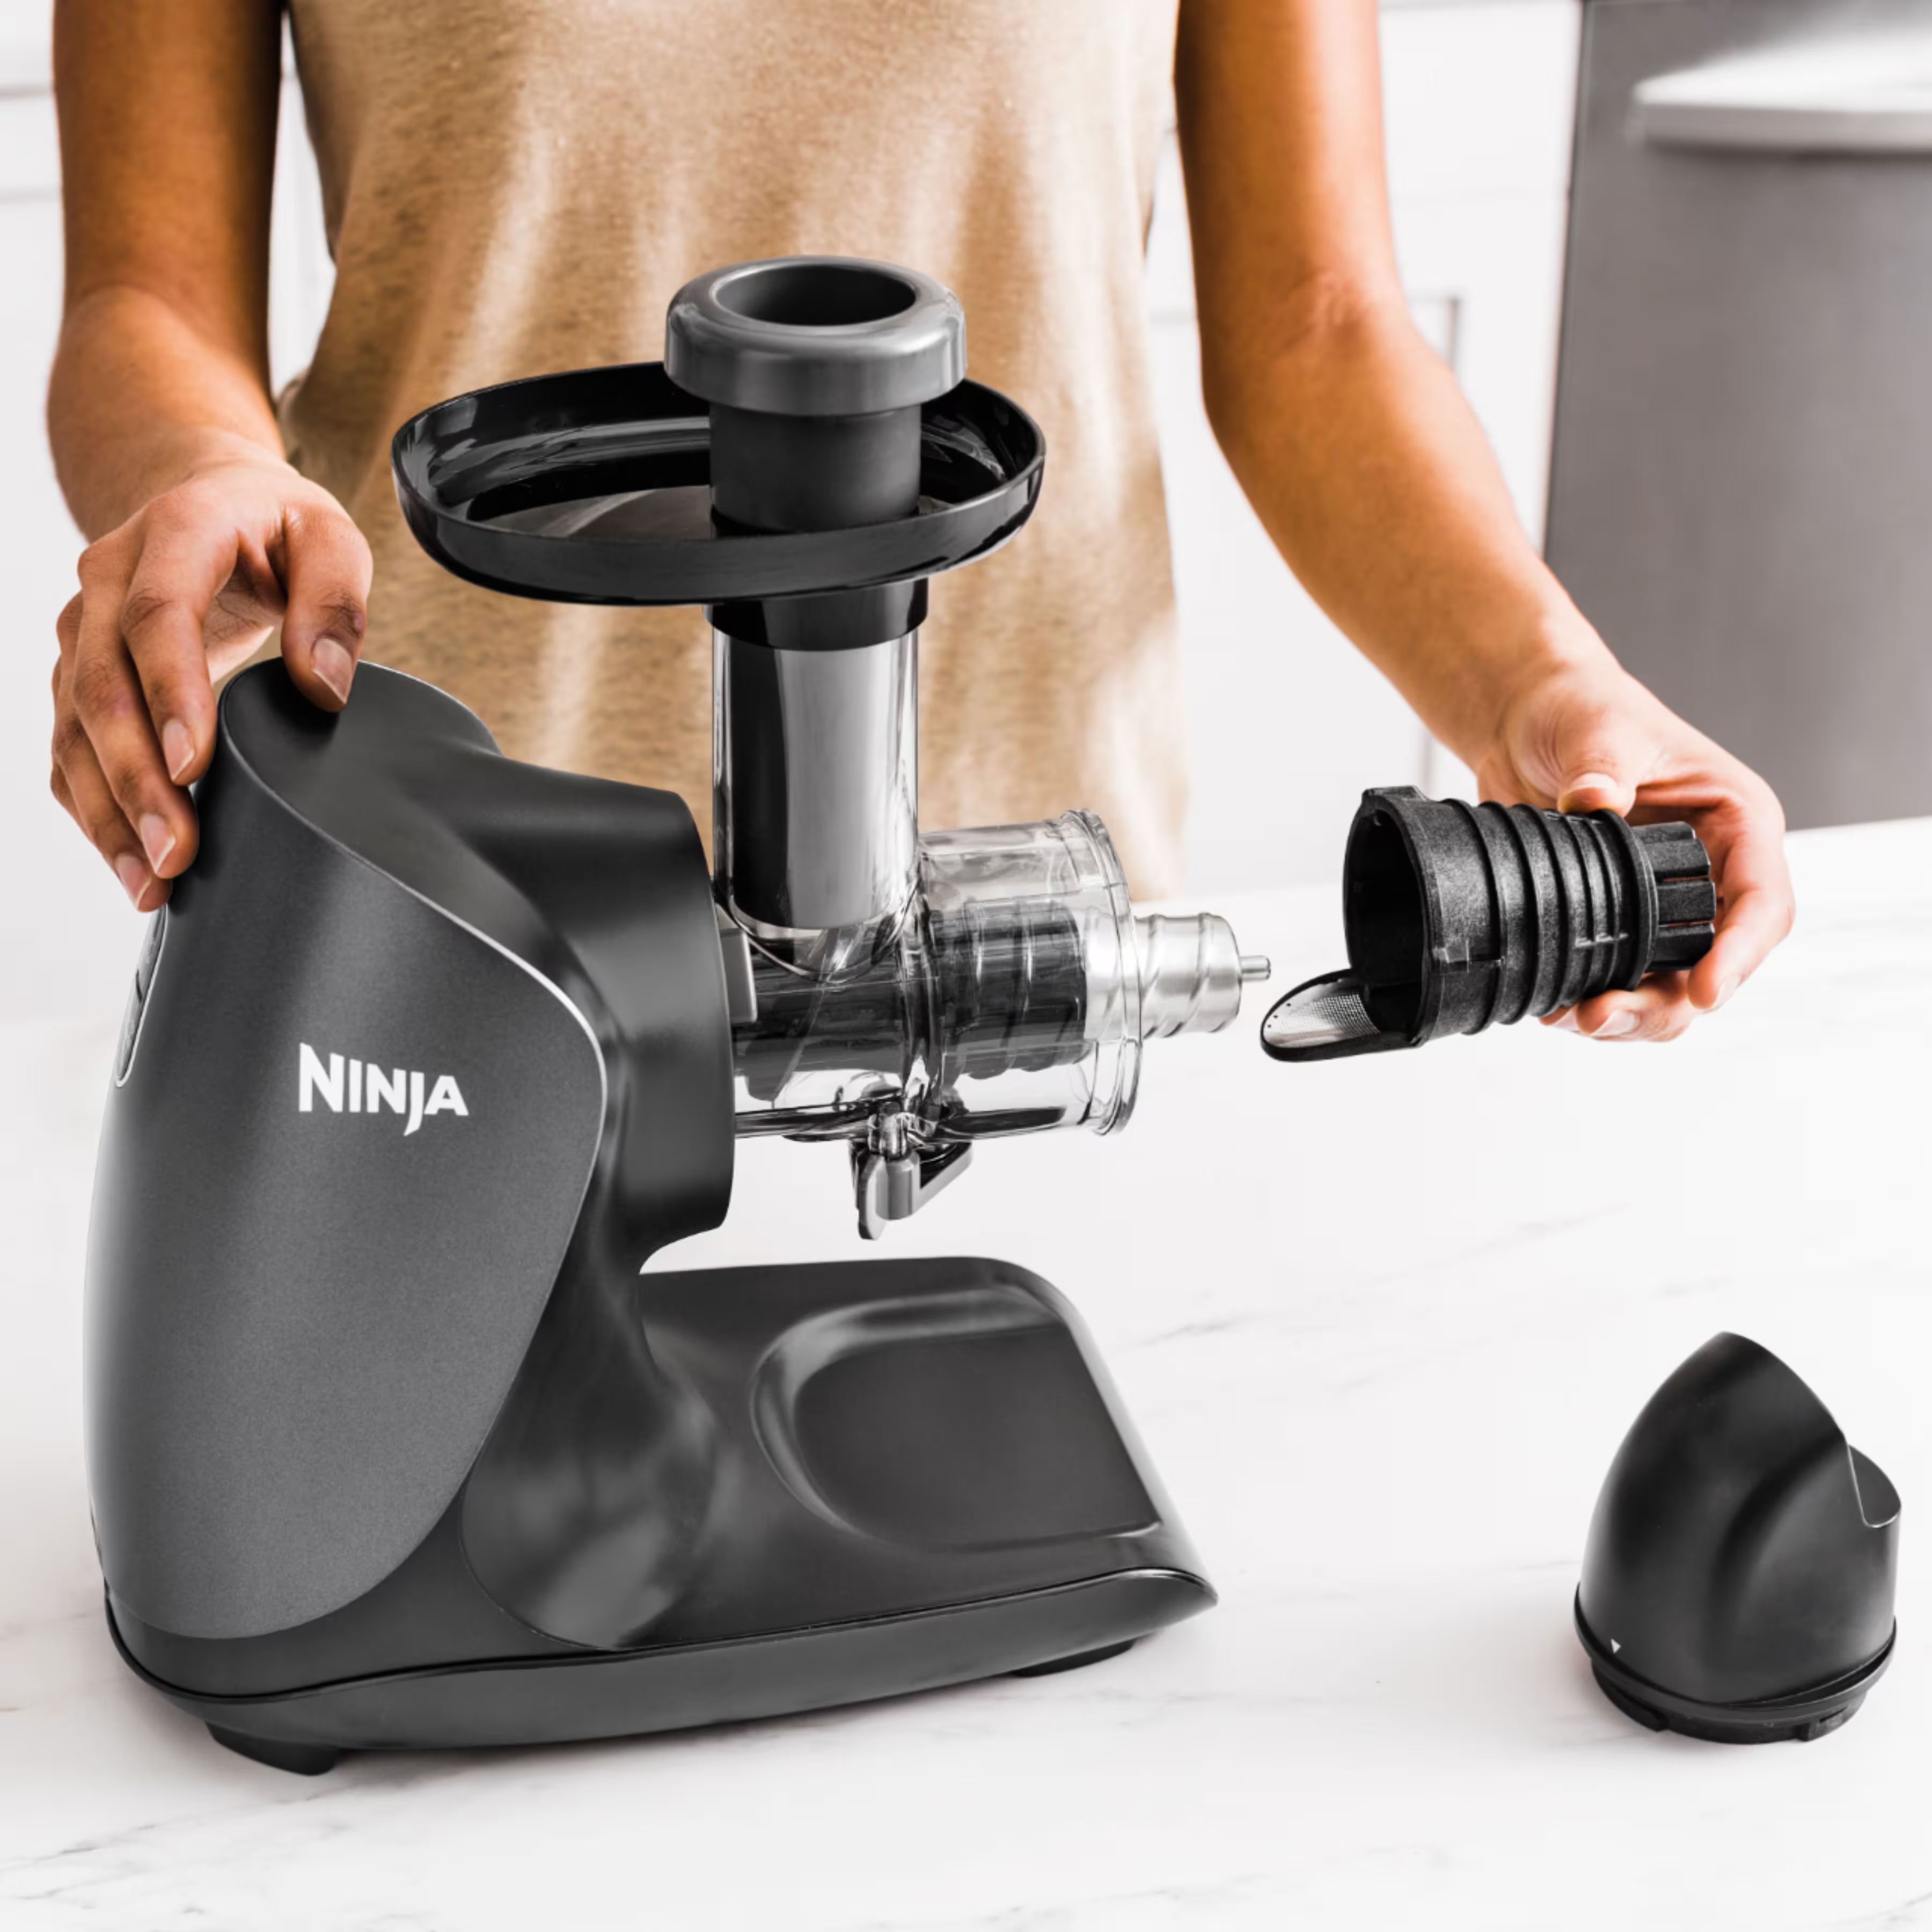
An electric juicer, on the other hand, is powered by an electric motor that automates the juicing process. These juicers come in various types, including centrifugal, masticating, and triturating, each employing different mechanisms to extract juice efficiently.
Benefits of Using an Electric Juicer
Electric juicers offer a range of advantages that make them a popular choice for both beginners and seasoned juicing enthusiasts. Here are some key benefits of choosing an electric juicer:
Efficiency and Speed
One of the most significant advantages of an electric juicer is its speed. Electric juicers can process large quantities of produce in a fraction of the time it would take with a manual juicer. This efficiency is particularly beneficial for those with busy schedules who want to enjoy fresh juice without spending too much time preparing it.
Higher Juice Yield
Electric juicers are generally more efficient at extracting juice, resulting in a higher yield compared to manual juicers. This means you get more juice from the same amount of produce, minimizing waste and maximizing the nutritional benefits of your fruits and vegetables.
Versatility in Juicing
Electric juicers come with various settings and attachments that allow you to juice different types of produce, from soft fruits like berries to hard vegetables like carrots and beets. Some models even have settings for making sorbets, nut butters, and other kitchen creations, adding to their versatility.
Consistent Results
Electric juicers provide consistent juice quality with every use. The automated process ensures that each batch of juice maintains the same texture and nutrient content, making it easier to replicate your favorite recipes consistently.
Ease of Use
For those who may not have the strength or endurance to operate a manual juicer, electric models offer a much easier and more comfortable experience. Simply load the produce, switch on the juicer, and let the machine do the work, allowing you to multitask in the kitchen.
 Drawbacks of Electric Juicers
While electric juicers offer numerous benefits, it’s important to consider their potential drawbacks to make an informed decision:
Higher Initial Cost
Electric juicers generally come with a higher price tag compared to manual juicers. The advanced technology and additional features contribute to their higher cost, which may be a consideration for budget-conscious individuals.
Maintenance and Cleaning
Electric juicers can be more complex to clean and maintain. Many models have multiple parts that need to be disassembled and washed after each use. Additionally, some components may require regular maintenance, such as lubricating blades, to ensure optimal performance.
Noise Level
Electric juicers, especially centrifugal models, can be quite noisy during operation. This noise can be disruptive, particularly in small living spaces or during early morning or late-night juicing sessions.
Size and Portability
Electric juicers are typically larger and heavier than their manual counterparts. This makes them less portable and more challenging to store, especially in kitchens with limited counter or cabinet space.
Benefits of Using a Manual Juicer
Manual juicers also present several advantages that make them appealing to specific users. Here are some of the key benefits of choosing a manual juicer:
Lower Cost
Manual juicers are generally more affordable than electric models. They offer a cost-effective solution for those who enjoy fresh juice but do not want to invest heavily in kitchen appliances.
Portability and Ease of Storage
Due to their compact and lightweight design, manual juicers are highly portable. They can be easily stored in small kitchen cabinets or even taken along when traveling, making them a convenient option for people on the go.
Quiet Operation
Unlike electric juicers, manual juicers operate silently, allowing you to juice without disturbing your household. This makes them ideal for environments where noise is a concern, such as shared living spaces or during early morning hours.
Simple Maintenance
Manual juicers have fewer parts and are simpler to clean compared to electric models. Typically, they can be rinsed and wiped down with minimal effort, saving you time and reducing the hassle associated with cleaning.
Enhanced Control Over Juicing Process
Using a manual juicer gives you more control over the juicing process. You can adjust the pressure and speed based on the type of produce you are juicing, allowing for a more customized and hands-on approach to making juice.
Drawbacks of Manual Juicers
While manual juicers have their advantages, they also come with certain limitations that may make them less suitable for some users:
Labor-Intensive
Juicing manually requires significant effort, especially when processing large quantities of produce. This can be tiring for some users, particularly those with limited hand strength or endurance.
Lower Juice Yield
Manual juicers typically yield less juice compared to electric models. The amount of juice extracted depends on the user’s technique and the amount of pressure applied, which can result in inconsistent yields.
Limited Versatility
Manual juicers are generally less versatile than electric models. They are often designed for specific types of produce and may not handle a wide variety of fruits and vegetables as effectively as electric juicers.
Time-Consuming
The manual juicing process is slower, making it less ideal for those who want to prepare fresh juice quickly. This can be a drawback for individuals who require large quantities of juice on a regular basis.
 Key Factors to Consider When Choosing Between Electric and Manual Juicers
Deciding whether a manual or electric juicer is better for you depends on several factors. Here are the key aspects to consider to help you make an informed choice:
Your Juicing Frequency
Consider how often you plan to juice. If you juice daily or several times a week, an electric juicer might be more convenient and efficient. On the other hand, if you juice occasionally, a manual juicer could suffice.
Types of Produce You Prefer
Think about the types of fruits and vegetables you intend to juice. Electric juicers, especially masticating and triturating models, handle a wide variety of produce seamlessly. Manual juicers are often best suited for citrus fruits and soft produce, with some models capable of handling larger, harder fruits.
Available Kitchen Space
Evaluate the space you have in your kitchen. Electric juicers are generally bulkier and require more storage space, while manual juicers are compact and portable, making them ideal for smaller kitchens or for those who need a juicer that can be easily stored away.
Budget
Determine your budget for a juicer. Manual juicers are more affordable and offer a cost-effective way to enjoy fresh juice. Electric juicers, while more expensive, provide additional features and greater efficiency, which may justify the higher price for some users.
Ease of Cleaning and Maintenance
Consider how much time and effort you’re willing to invest in cleaning and maintaining your juicer. Electric juicers typically require more extensive cleaning and occasional maintenance, whereas manual juicers are easier to disassemble and clean.
Noise Tolerance
If you have a preference for quiet operations or live in an environment where noise could be disruptive, a manual juicer might be the better option. Electric juicers, particularly centrifugal ones, can be noisy during operation.
Health and Nutritional Goals
Assess your health and nutritional goals. If maximizing juice extraction and nutrient retention is a priority, investing in a high-quality electric juicer, such as a masticating or triturating model, can provide superior results compared to manual juicers.
Making the Decision: Electric vs. Manual Juicer
After evaluating the features, benefits, and drawbacks of both manual and electric juicers, the decision ultimately depends on your specific needs, lifestyle, and preferences. Here are some scenarios to help you decide which type is better:
Choose an Electric Juicer If:
- You juice frequently: Electric juicers offer efficiency and speed, making them ideal for daily juicing.
- You prioritize juice quality and nutrient retention: Models like masticating and triturating juicers provide higher juice yields and better preservation of nutrients.
- You juice a variety of produce: Electric juicers are versatile and can handle both hard and soft fruits, vegetables, and even leafy greens, depending on the type.
- You value convenience and ease of use: With minimal manual effort required, electric juicers simplify the juicing process, especially for large batches.
Choose a Manual Juicer If:
- You juice occasionally: For those who only juice once in a while, a manual juicer is a cost-effective and space-saving option.
- You prefer a quiet operation: Manual juicers operate silently, making them suitable for environments where noise is a concern.
- You seek a portable and easy-to-store option: Manual juicers are lightweight and compact, ideal for small kitchens or on-the-go use.
- You enjoy a hands-on approach: If you appreciate having control over the juicing process and don’t mind a bit of manual effort, a manual juicer can be very satisfying to use.
 Tips for Maximizing Efficiency
To get the most out of your electric juicer, consider these tips that enhance efficiency, juice quality, and overall experience:
Prepare Your Produce Properly
Proper preparation of fruits and vegetables can significantly improve juice yield and quality. Wash all produce thoroughly to remove any pesticides or dirt. Cut larger fruits and vegetables into smaller pieces to fit easily into the juicer’s feed chute, reducing the risk of clogs and ensuring smooth operation.
Alternate Hard and Soft Produce
To maintain a consistent juicing flow, alternate between hard and soft produce. For example, juice a carrot followed by an apple, or a beet followed by a cucumber. This technique helps balance the rigors placed on the juicer and prevents overheating of the machine.
Use Cold Produce
Cold fruits and vegetables can enhance the taste and texture of your juice. Refrigerating your produce before juicing helps create a refreshing, chilled beverage without diluting it with ice cubes. Additionally, cold ingredients can make the juicer run more smoothly and efficiently.
Clean Your Juicer Immediately After Use
Juicing can create sticky residues that are harder to clean once they dry. Clean your electric juicer immediately after use by disassembling the parts and rinsing them under warm water. For a more thorough clean, use a brush to remove any remaining pulp and wipe down the juicer with a mild detergent or vinegar solution.
Optimize Juice Yield
To maximize the amount of juice extracted, push and spin the produce firmly through the juicer’s chute. Avoid overloading the juicer, as this can lead to inefficient extraction and potential clogs. Feeding the juicer at a steady pace ensures consistent juice quality and prevents undue strain on the machine.
Store Juice Properly
For the best flavor and nutrient retention, consume your juice immediately after juicing. If you need to store it, use an airtight container and refrigerate it to minimize oxidation and preserve freshness. Fresh juice can last up to 24 hours in the fridge, but it’s best enjoyed as soon as possible.
Maintain Your Juicer Regularly
Regular maintenance of your electric juicer ensures it remains in optimal condition. This includes oiling any leather parts, cleaning the blades, and checking for any wear and tear on the components. Proper maintenance extends the lifespan of your juicer and maintains its performance over time.
Frequently Asked Questions
Can I use an electric juicer for both fruits and vegetables?
Absolutely! Most electric juicers are designed to handle a wide variety of produce, including both fruits and vegetables. However, some models are better suited for certain types, so it’s important to choose a juicer that aligns with the types of produce you plan to juice most frequently.
How do I prevent my electric juicer from overheating?
To prevent overheating, avoid juicing large quantities continuously without giving the machine breaks. Ensure you alternate between different types of produce to balance the load, and follow the manufacturer’s guidelines for usage times. Additionally, regularly clean your juicer to maintain optimal airflow and performance.
Is it necessary to peel fruits and vegetables before juicing?
Peeling is not always necessary, especially if you’re using organic produce. However, some fruits and vegetables have tough peels or bitter skins that can affect the taste of your juice. Always inspect your produce and peel as needed to ensure the best flavor and texture in your juice.
Can I make nut milk with an electric juicer?
While electric juicers are primarily designed for extracting juice from fruits and vegetables, some versatile models can handle nuts and seeds for making nut milk. However, this capability depends on the specific juicer model, so refer to the manufacturer’s instructions to confirm if your juicer can process nuts effectively.
How long does juice last in the refrigerator?
Fresh juice can last up to 24 hours in the refrigerator if stored properly in an airtight container. To maintain the best flavor and nutritional value, it’s recommended to consume your juice within this timeframe. Over time, oxidation can reduce the nutrient content and alter the taste of the juice.
What is the best way to clean my electric juicer?
The best way to clean your electric juicer is to rinse the parts immediately after use to prevent pulp from drying and sticking. Disassemble the juicer and wash the components with warm, soapy water. For a deeper clean, use a brush to remove any residual pulp and wipe down the juicer with a vinegar or lemon juice solution to eliminate odors.
Can I juice leafy greens with a centrifugal electric juicer?
Juicing leafy greens with a centrifugal electric juicer is possible, but it may not be as efficient as using a masticating juicer. Masticating juicers are specifically designed to handle leafy greens, extracting more juice and preserving more nutrients. If leafy green juices are a significant part of your diet, consider investing in a masticating juicer for better results.
Conclusion
Choosing between a manual and an electric juicer ultimately depends on your personal preferences, juicing habits, and lifestyle needs. Electric juicers offer unparalleled efficiency, higher juice yields, and versatility, making them ideal for frequent juicers and those who prioritize convenience and nutrient retention. On the other hand, manual juicers are perfect for occasional users, those with budget constraints, and individuals who value portability and quiet operation.
By carefully considering the benefits and drawbacks of each type, as well as your specific juicing requirements, you can make an informed decision that enhances your healthy living goals. Whether you opt for the hands-on approach of a manual juicer or the powerful performance of an electric model, incorporating fresh juice into your diet is a delicious and nutritious way to support your overall well-being. Embrace the advantages of your chosen juicer and enjoy the vibrant, health-boosting benefits of freshly extracted juices every day.
 Types of Fruit Juicers
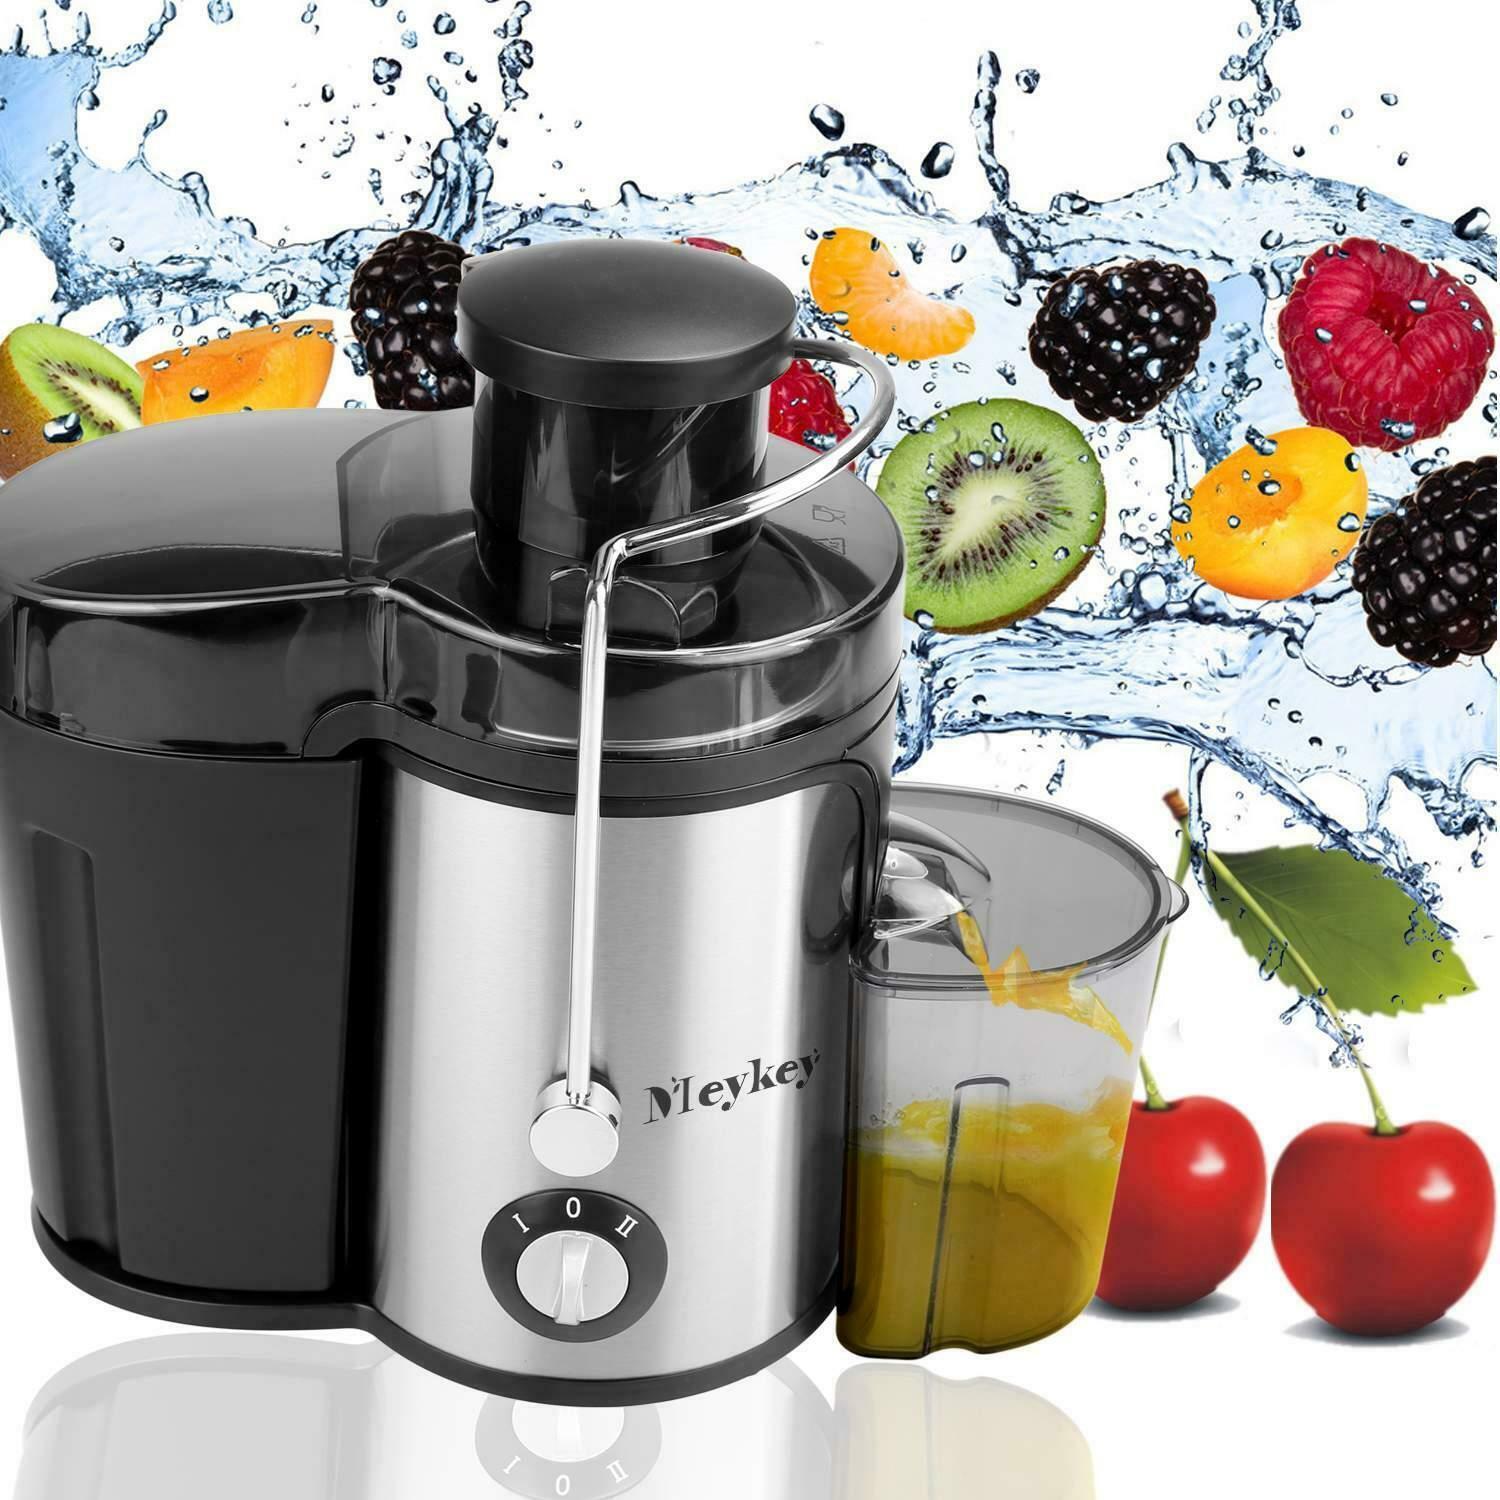 How to Choose the Best Fruit Juicer for Your Needs
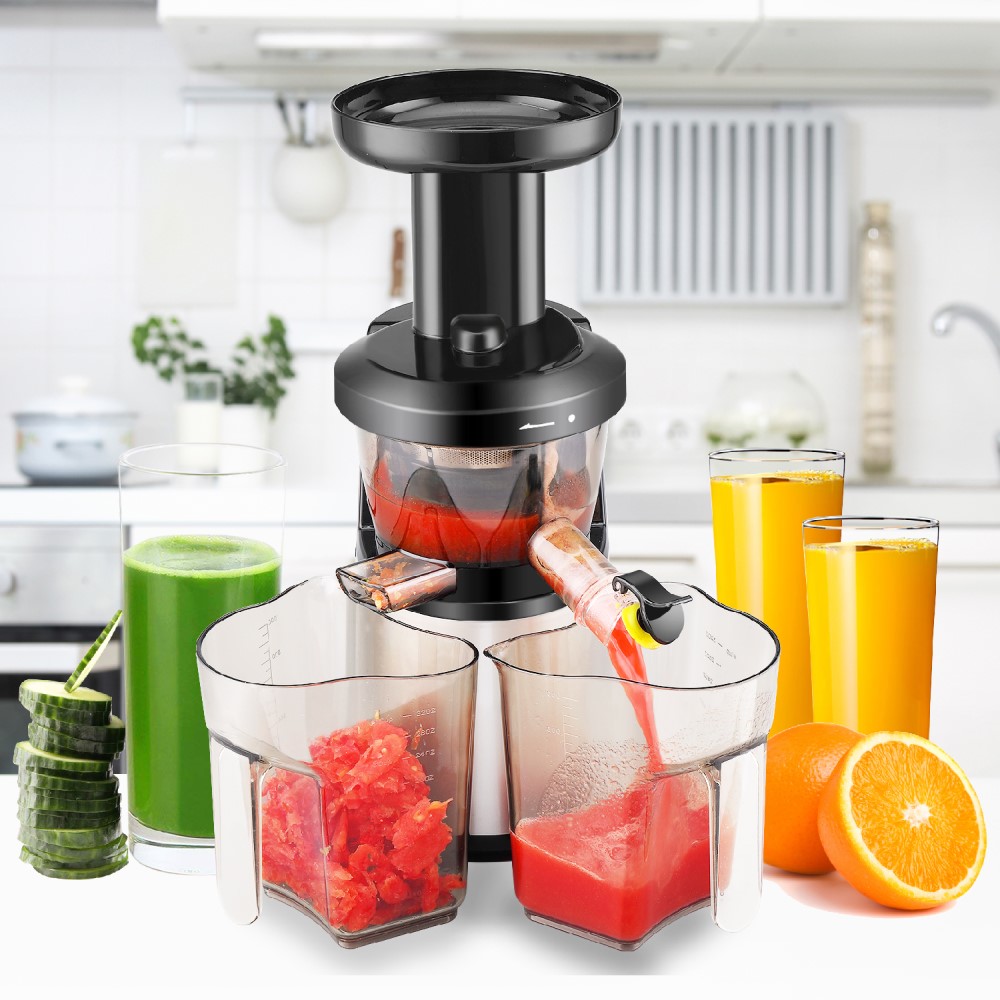 Frequently Asked Questions
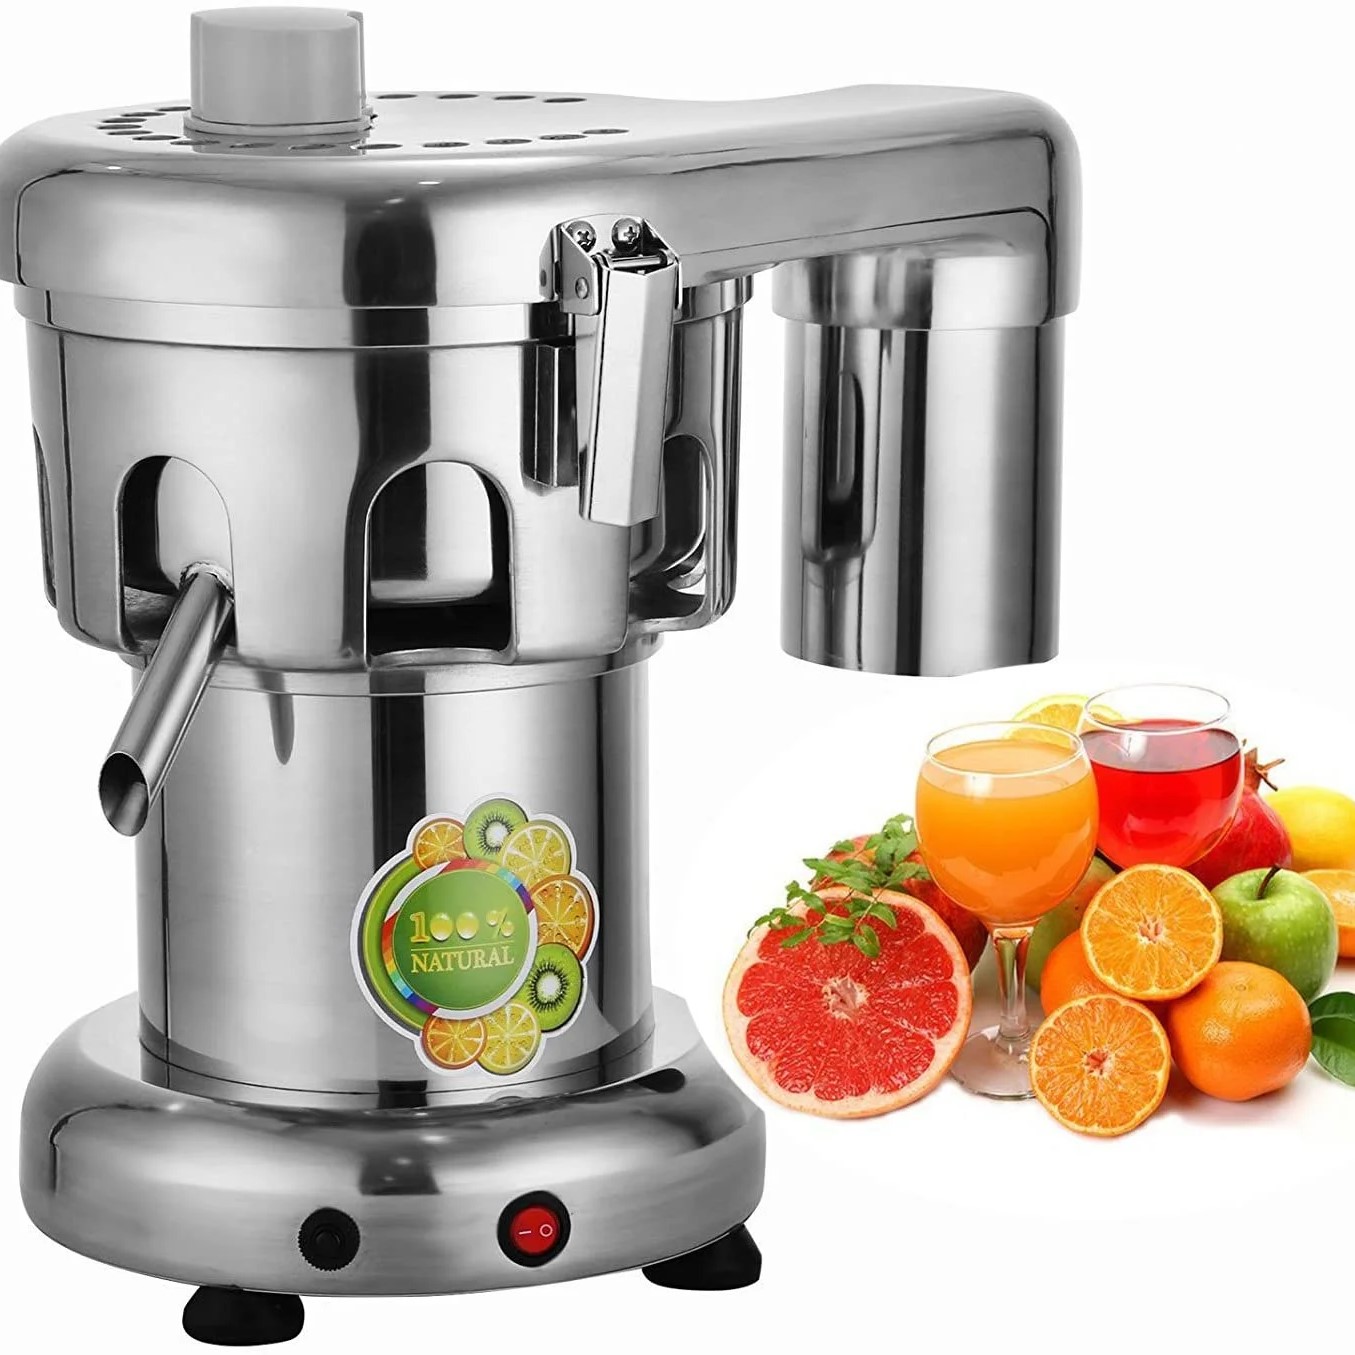 Additional Tips for Optimizing Your Juicer Experience
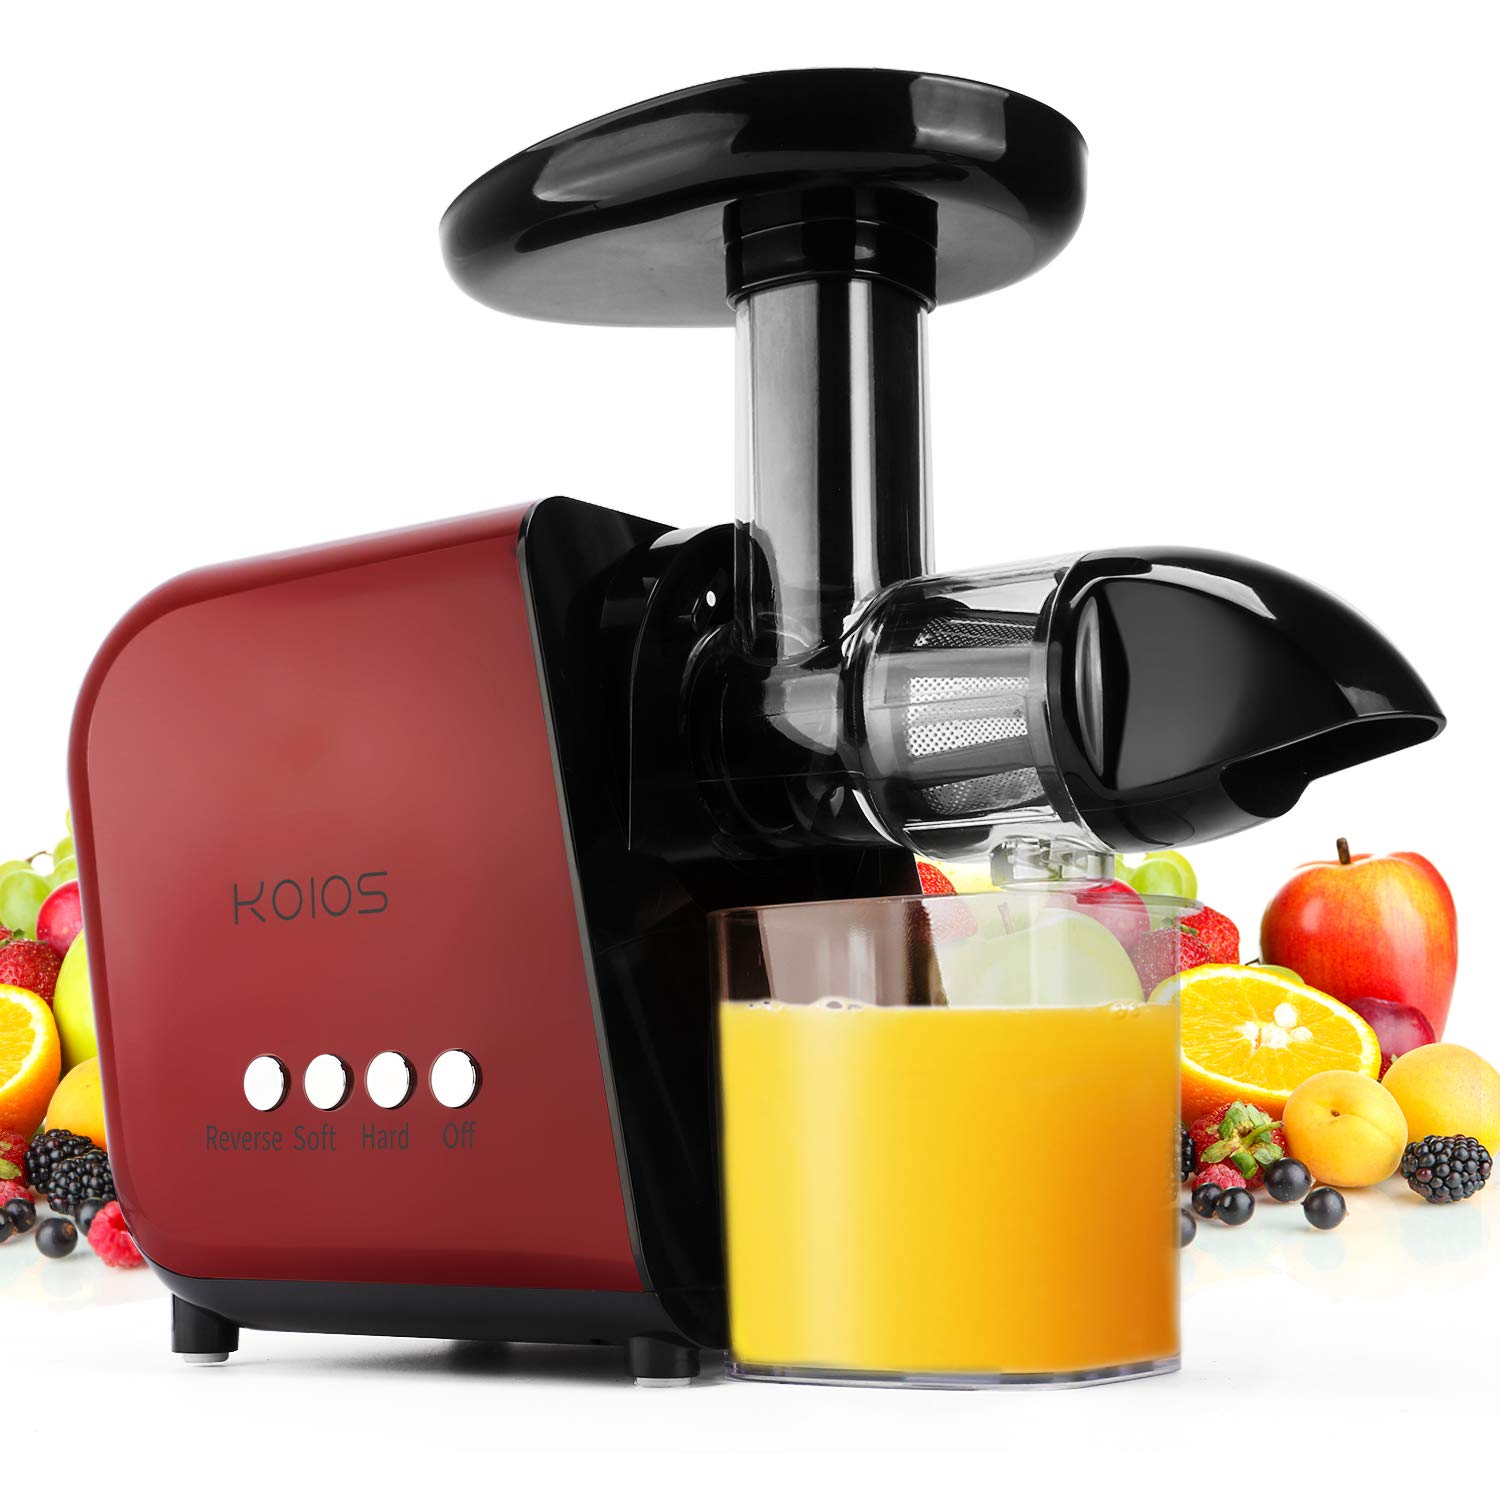
 The Advantages of Using a Masticating Juicer
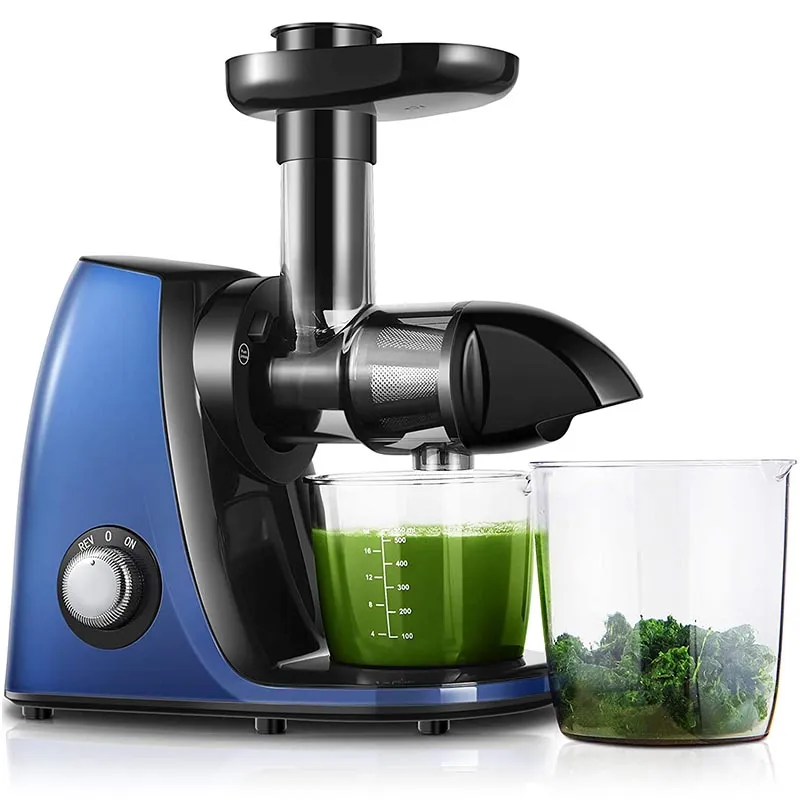 Top Models of the Masticating Juicer
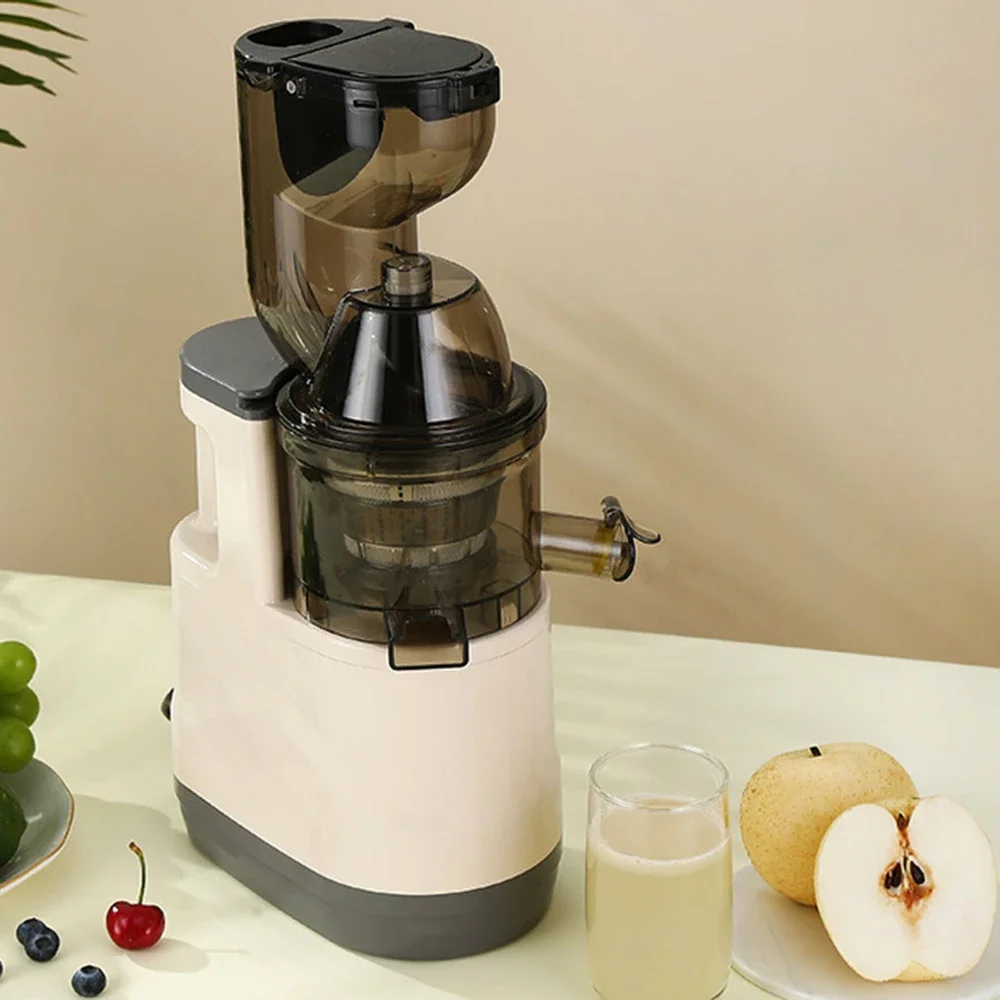 How to Choose the Masticating Juicer for Your Needs
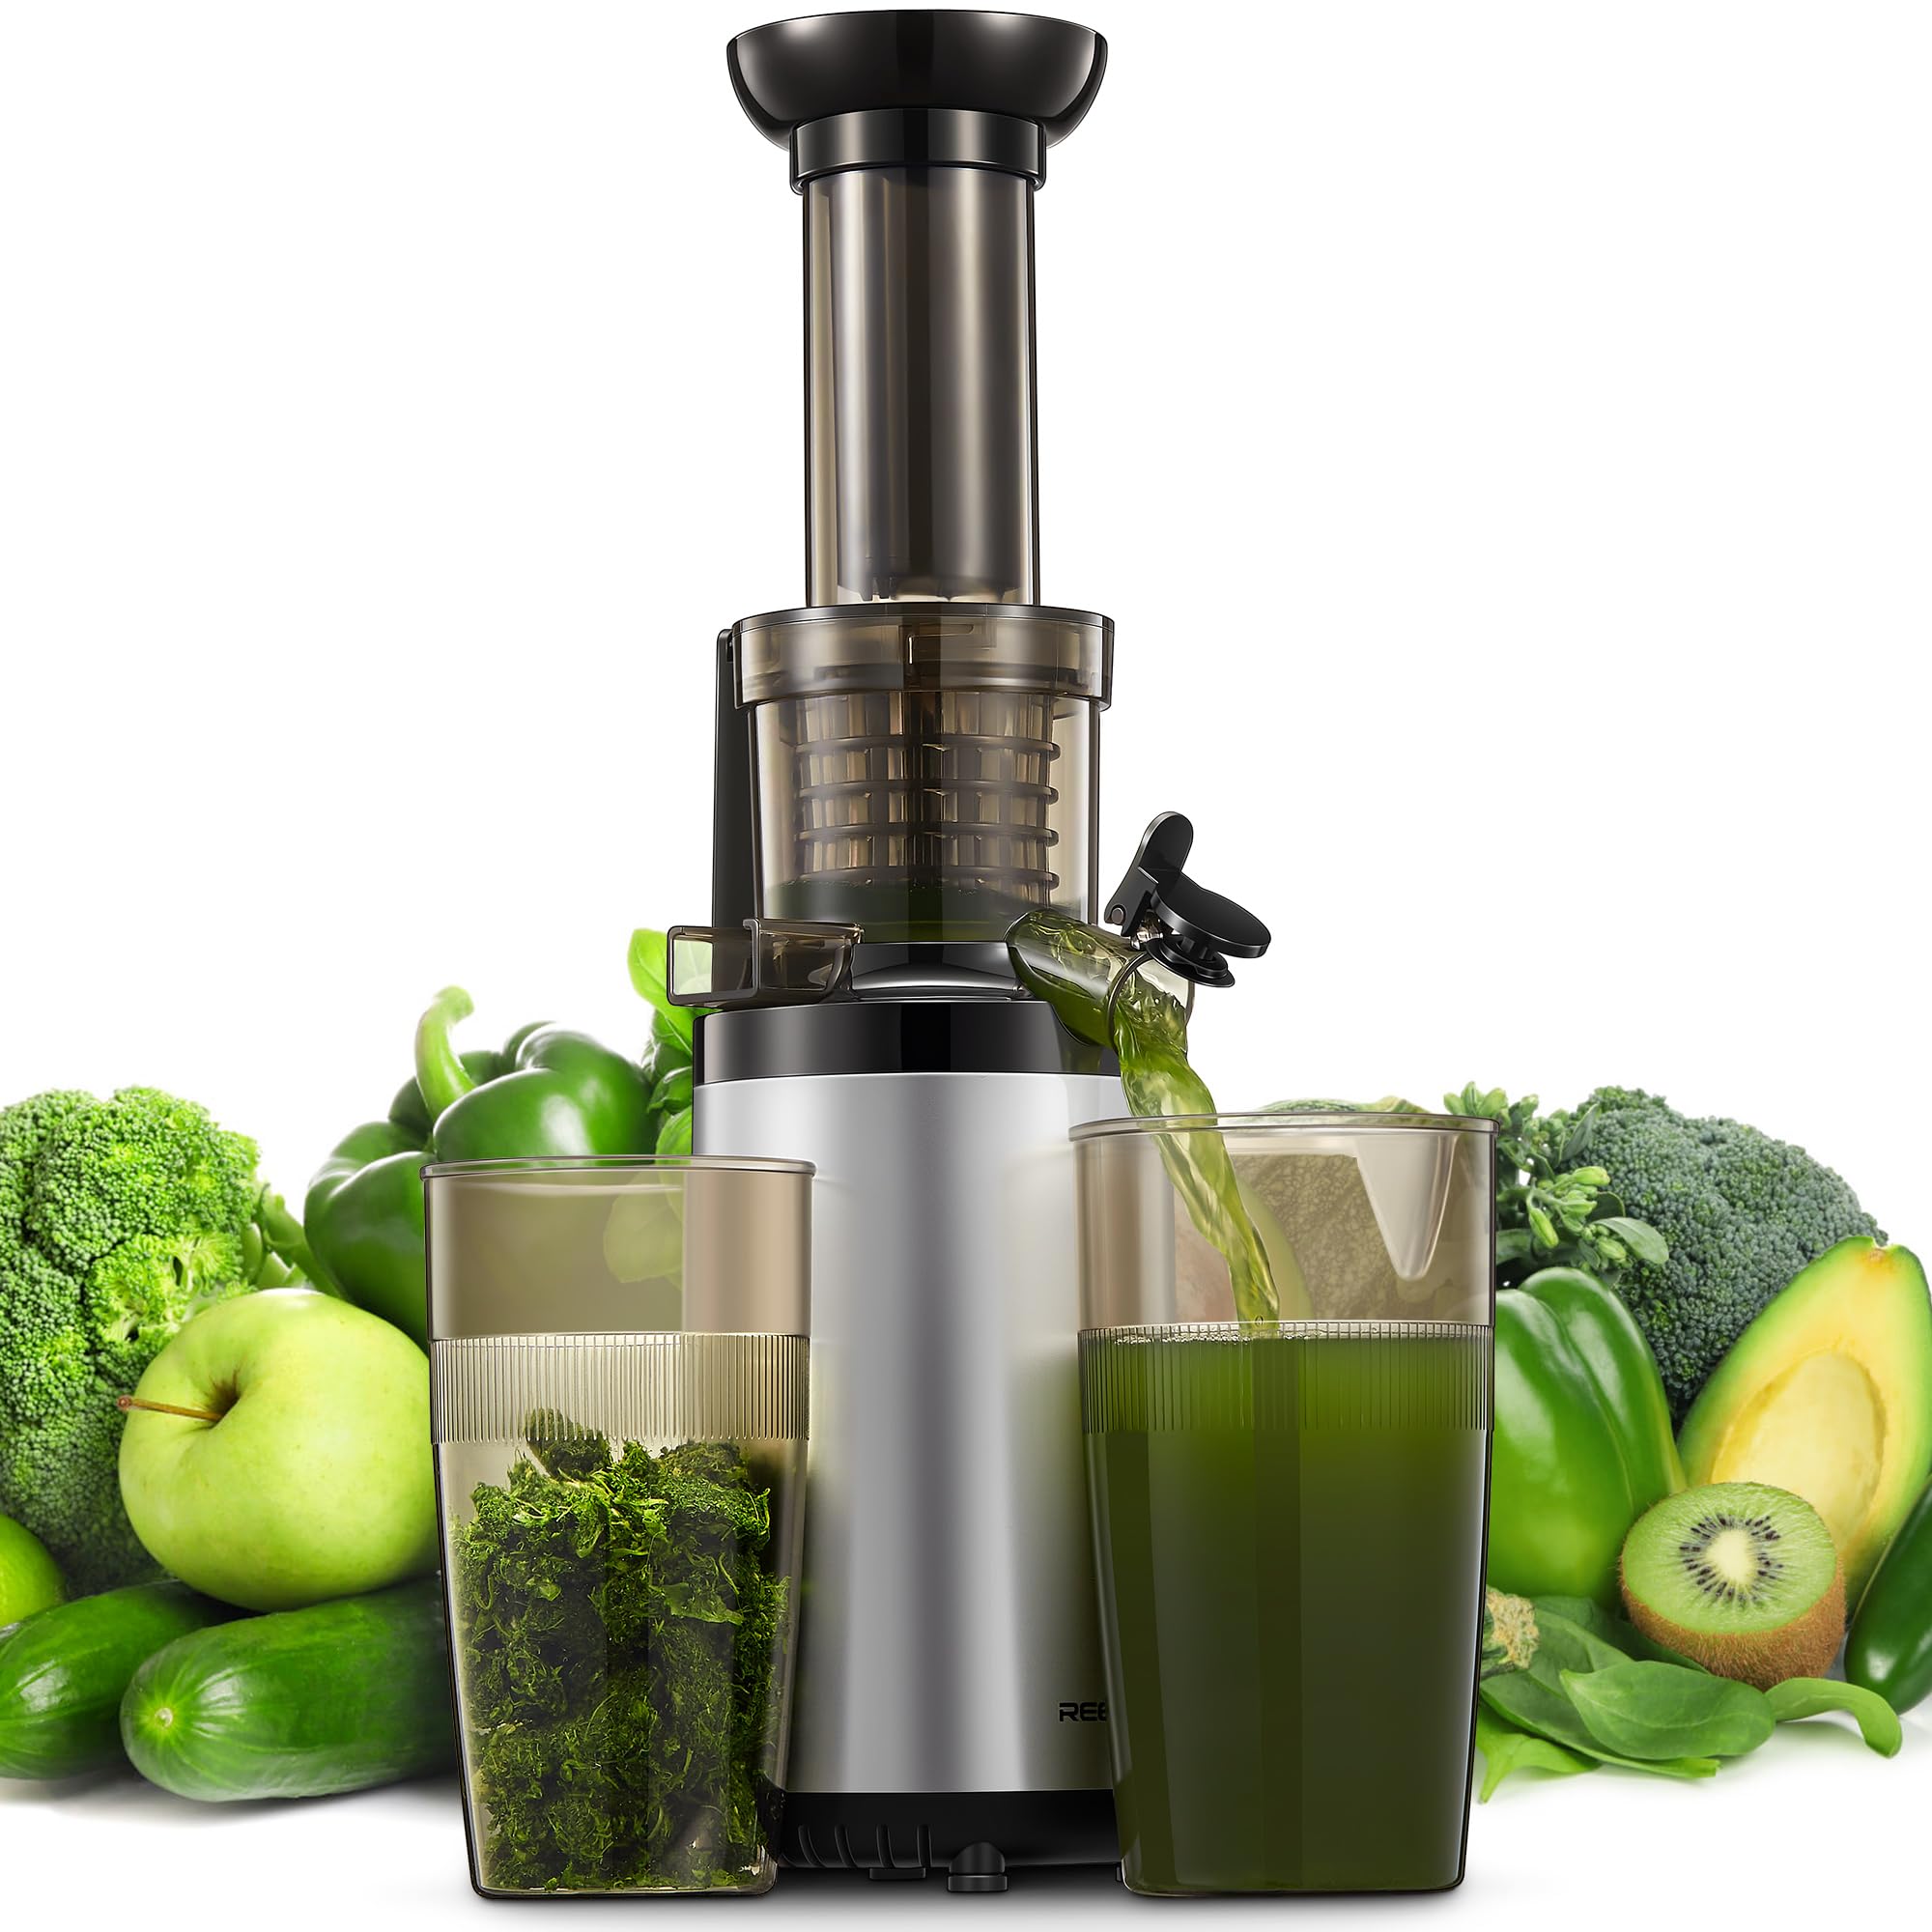 Tips for Using a Masticating Juicer Effectively
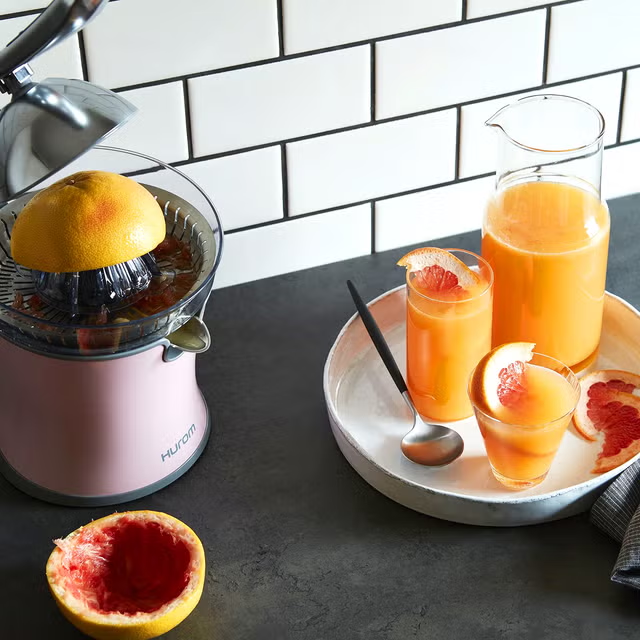
 Why Choose a Citrus Juicer?
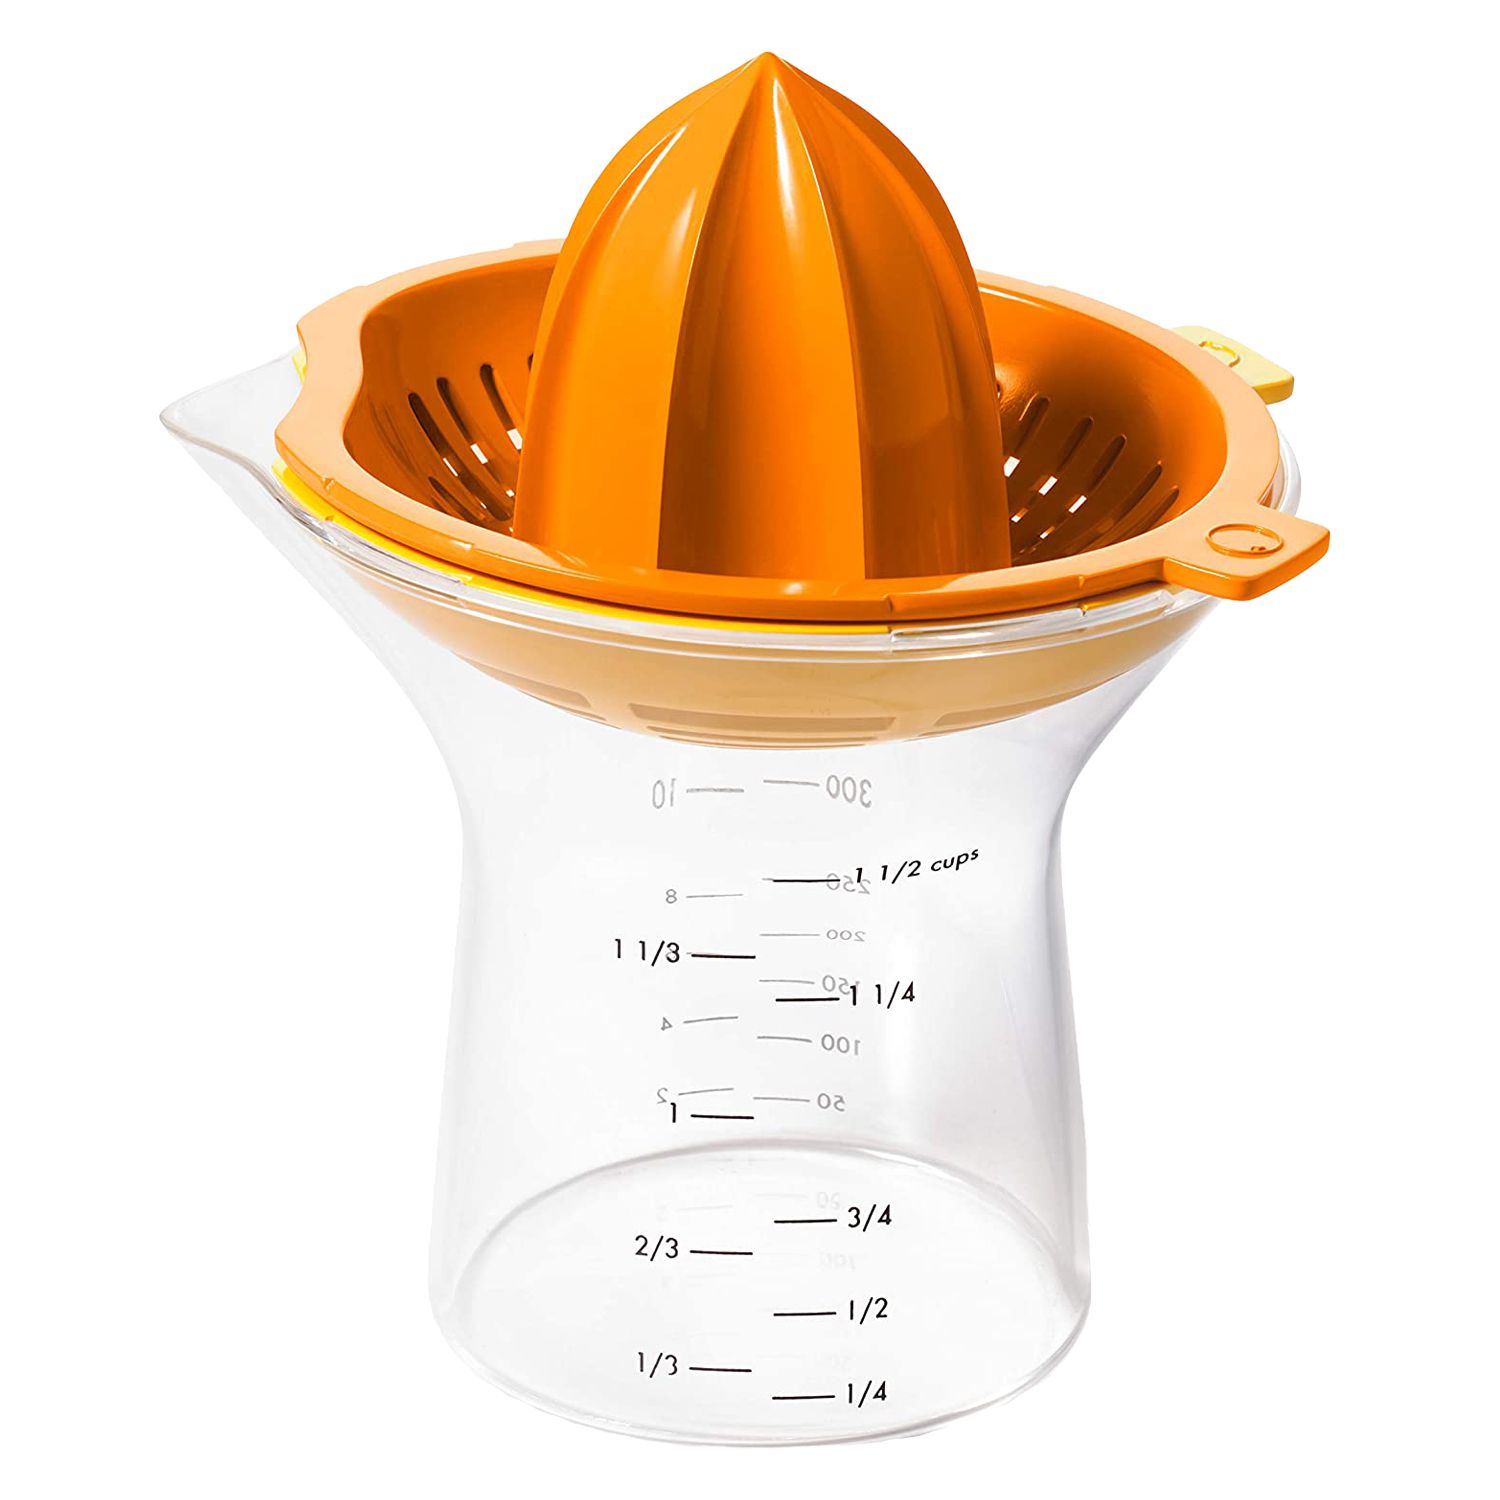 Top Recommendations for the Citrus Juicer
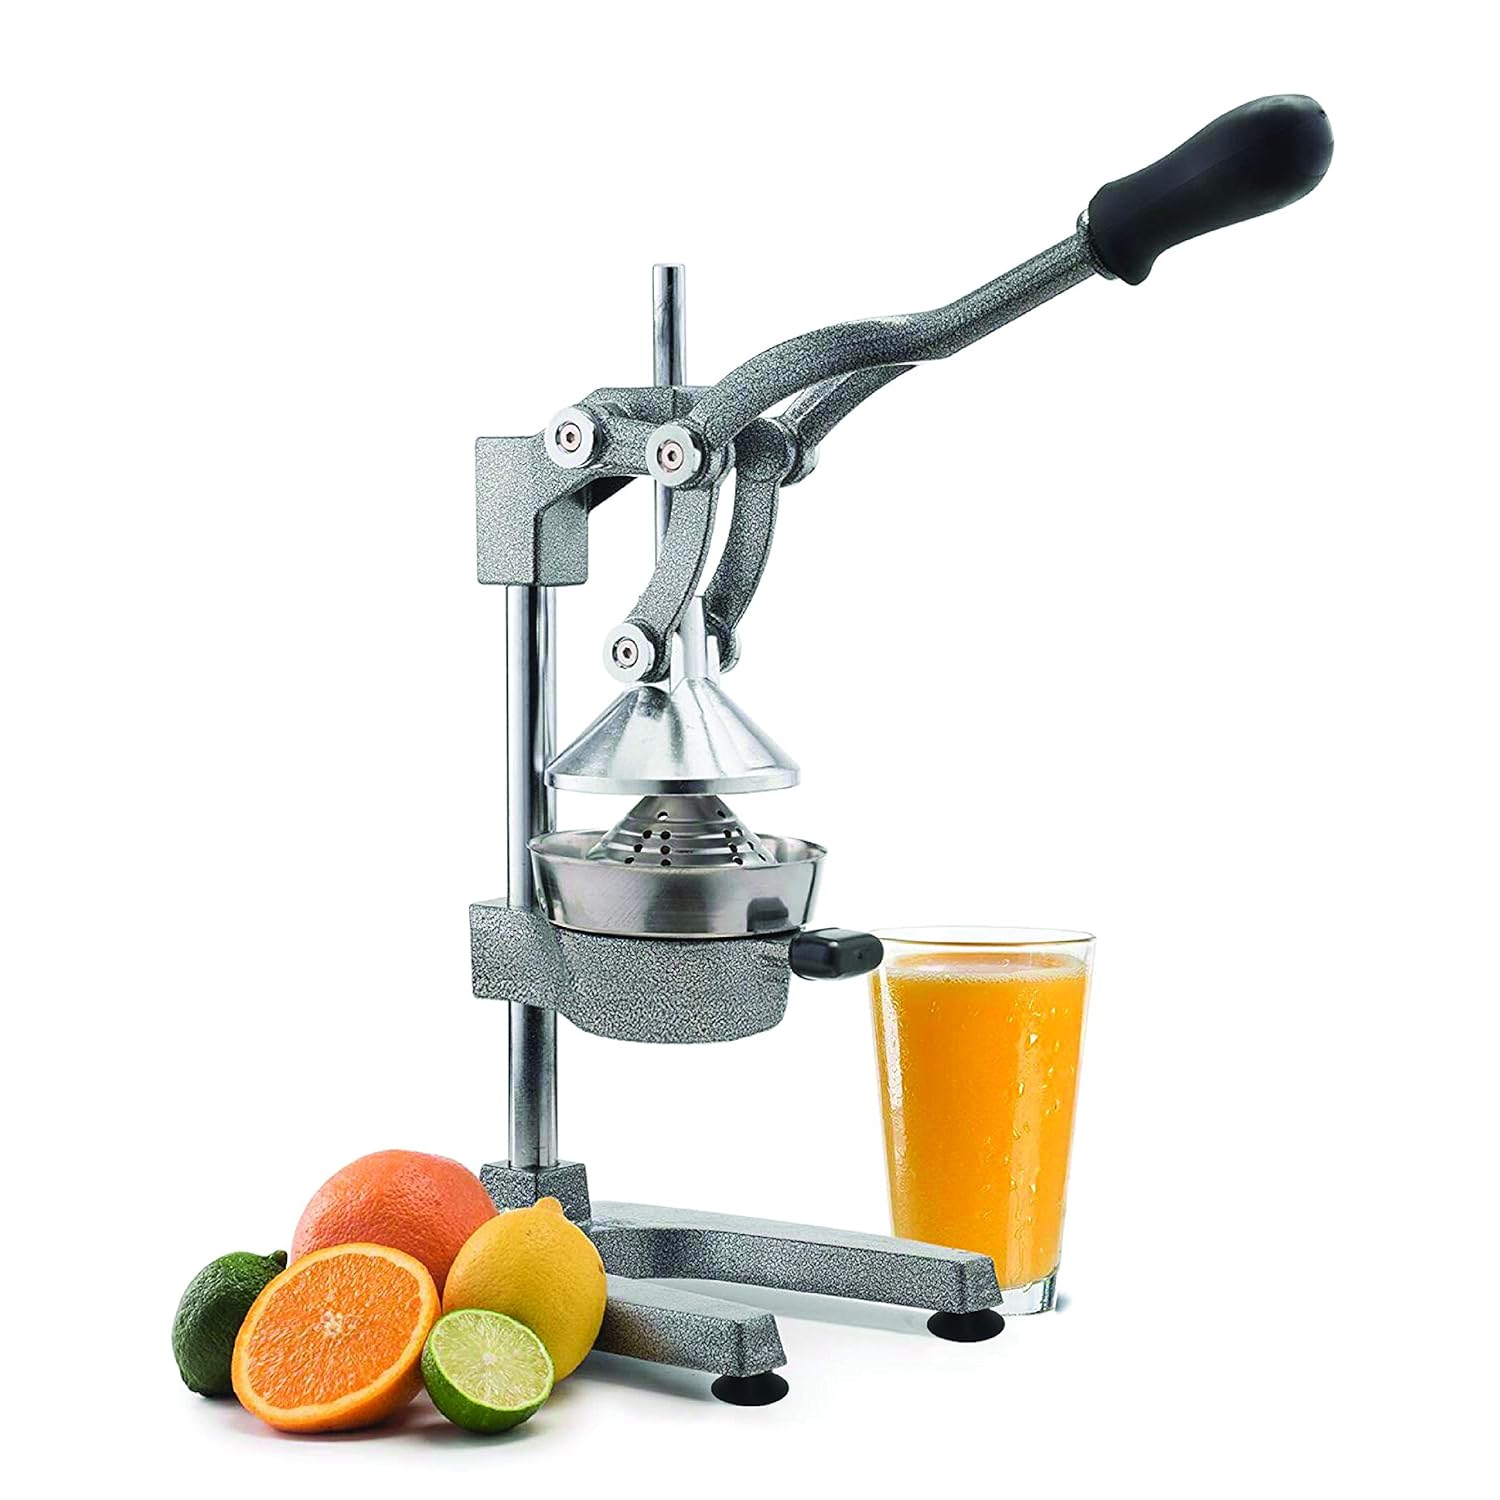 How to Use a Citrus Juicer Effectively
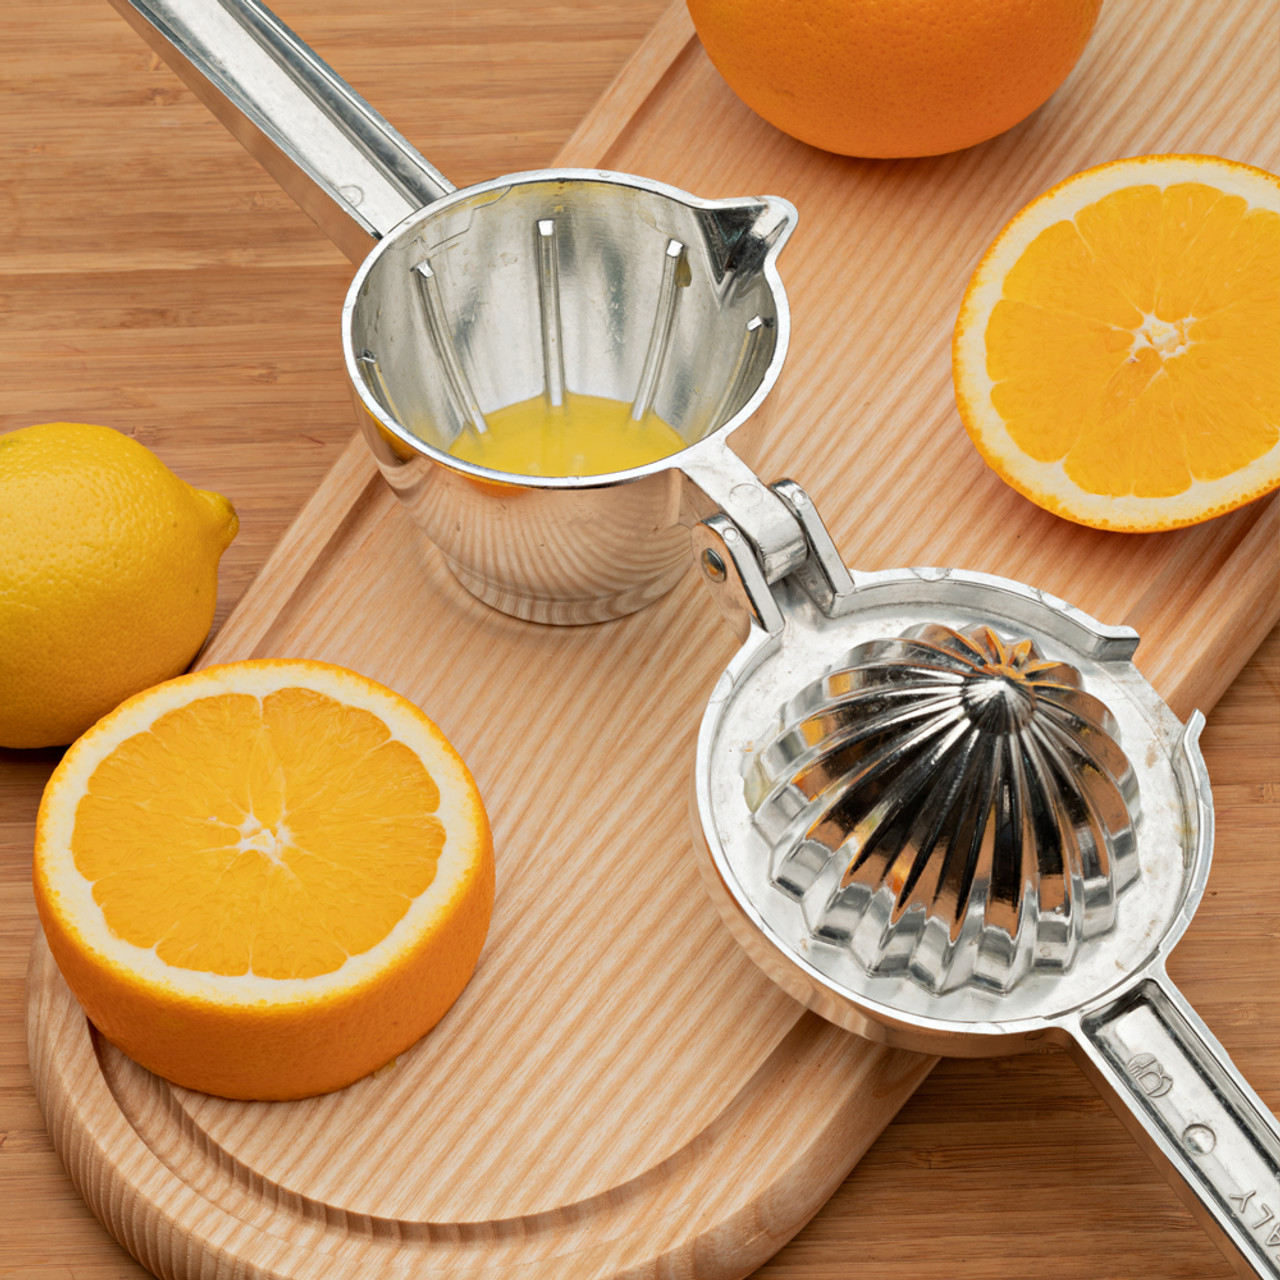 Benefits of Owning the Citrus Juicer
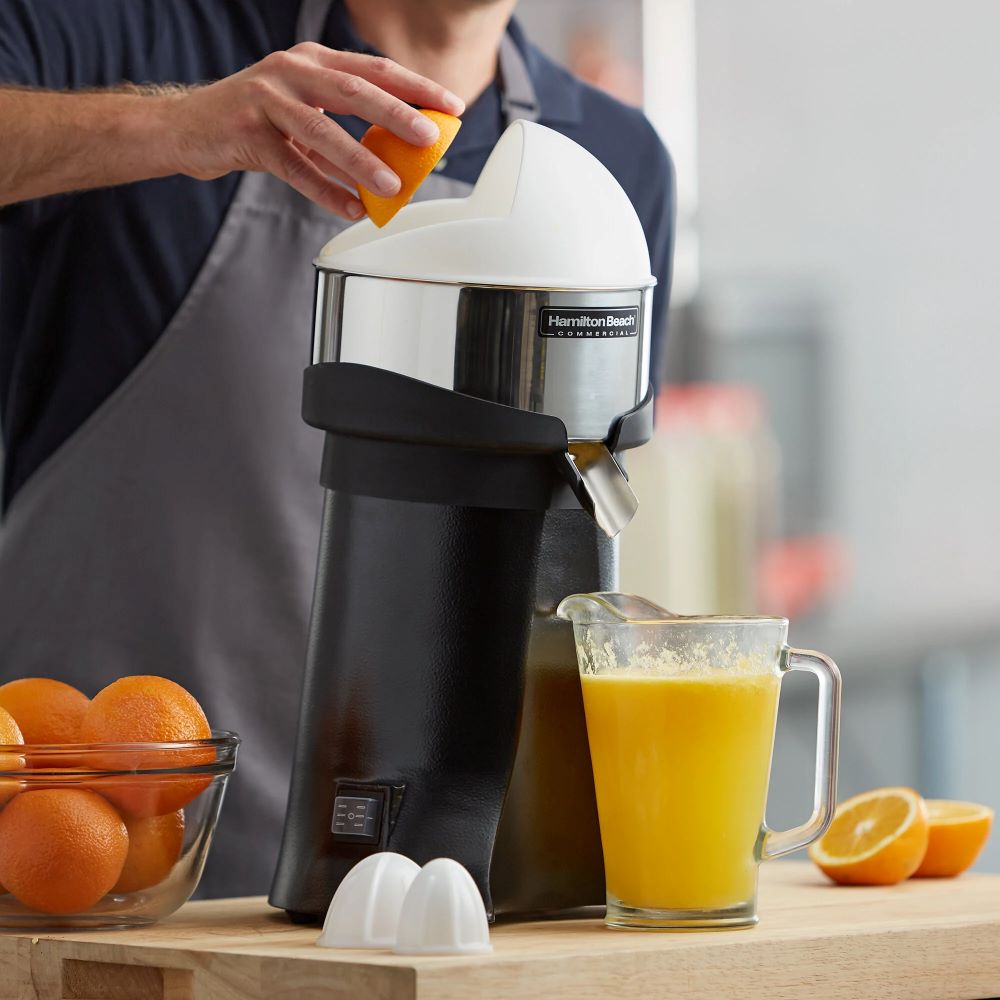
 Understanding the Importance of a Commercial Fruit Juicer
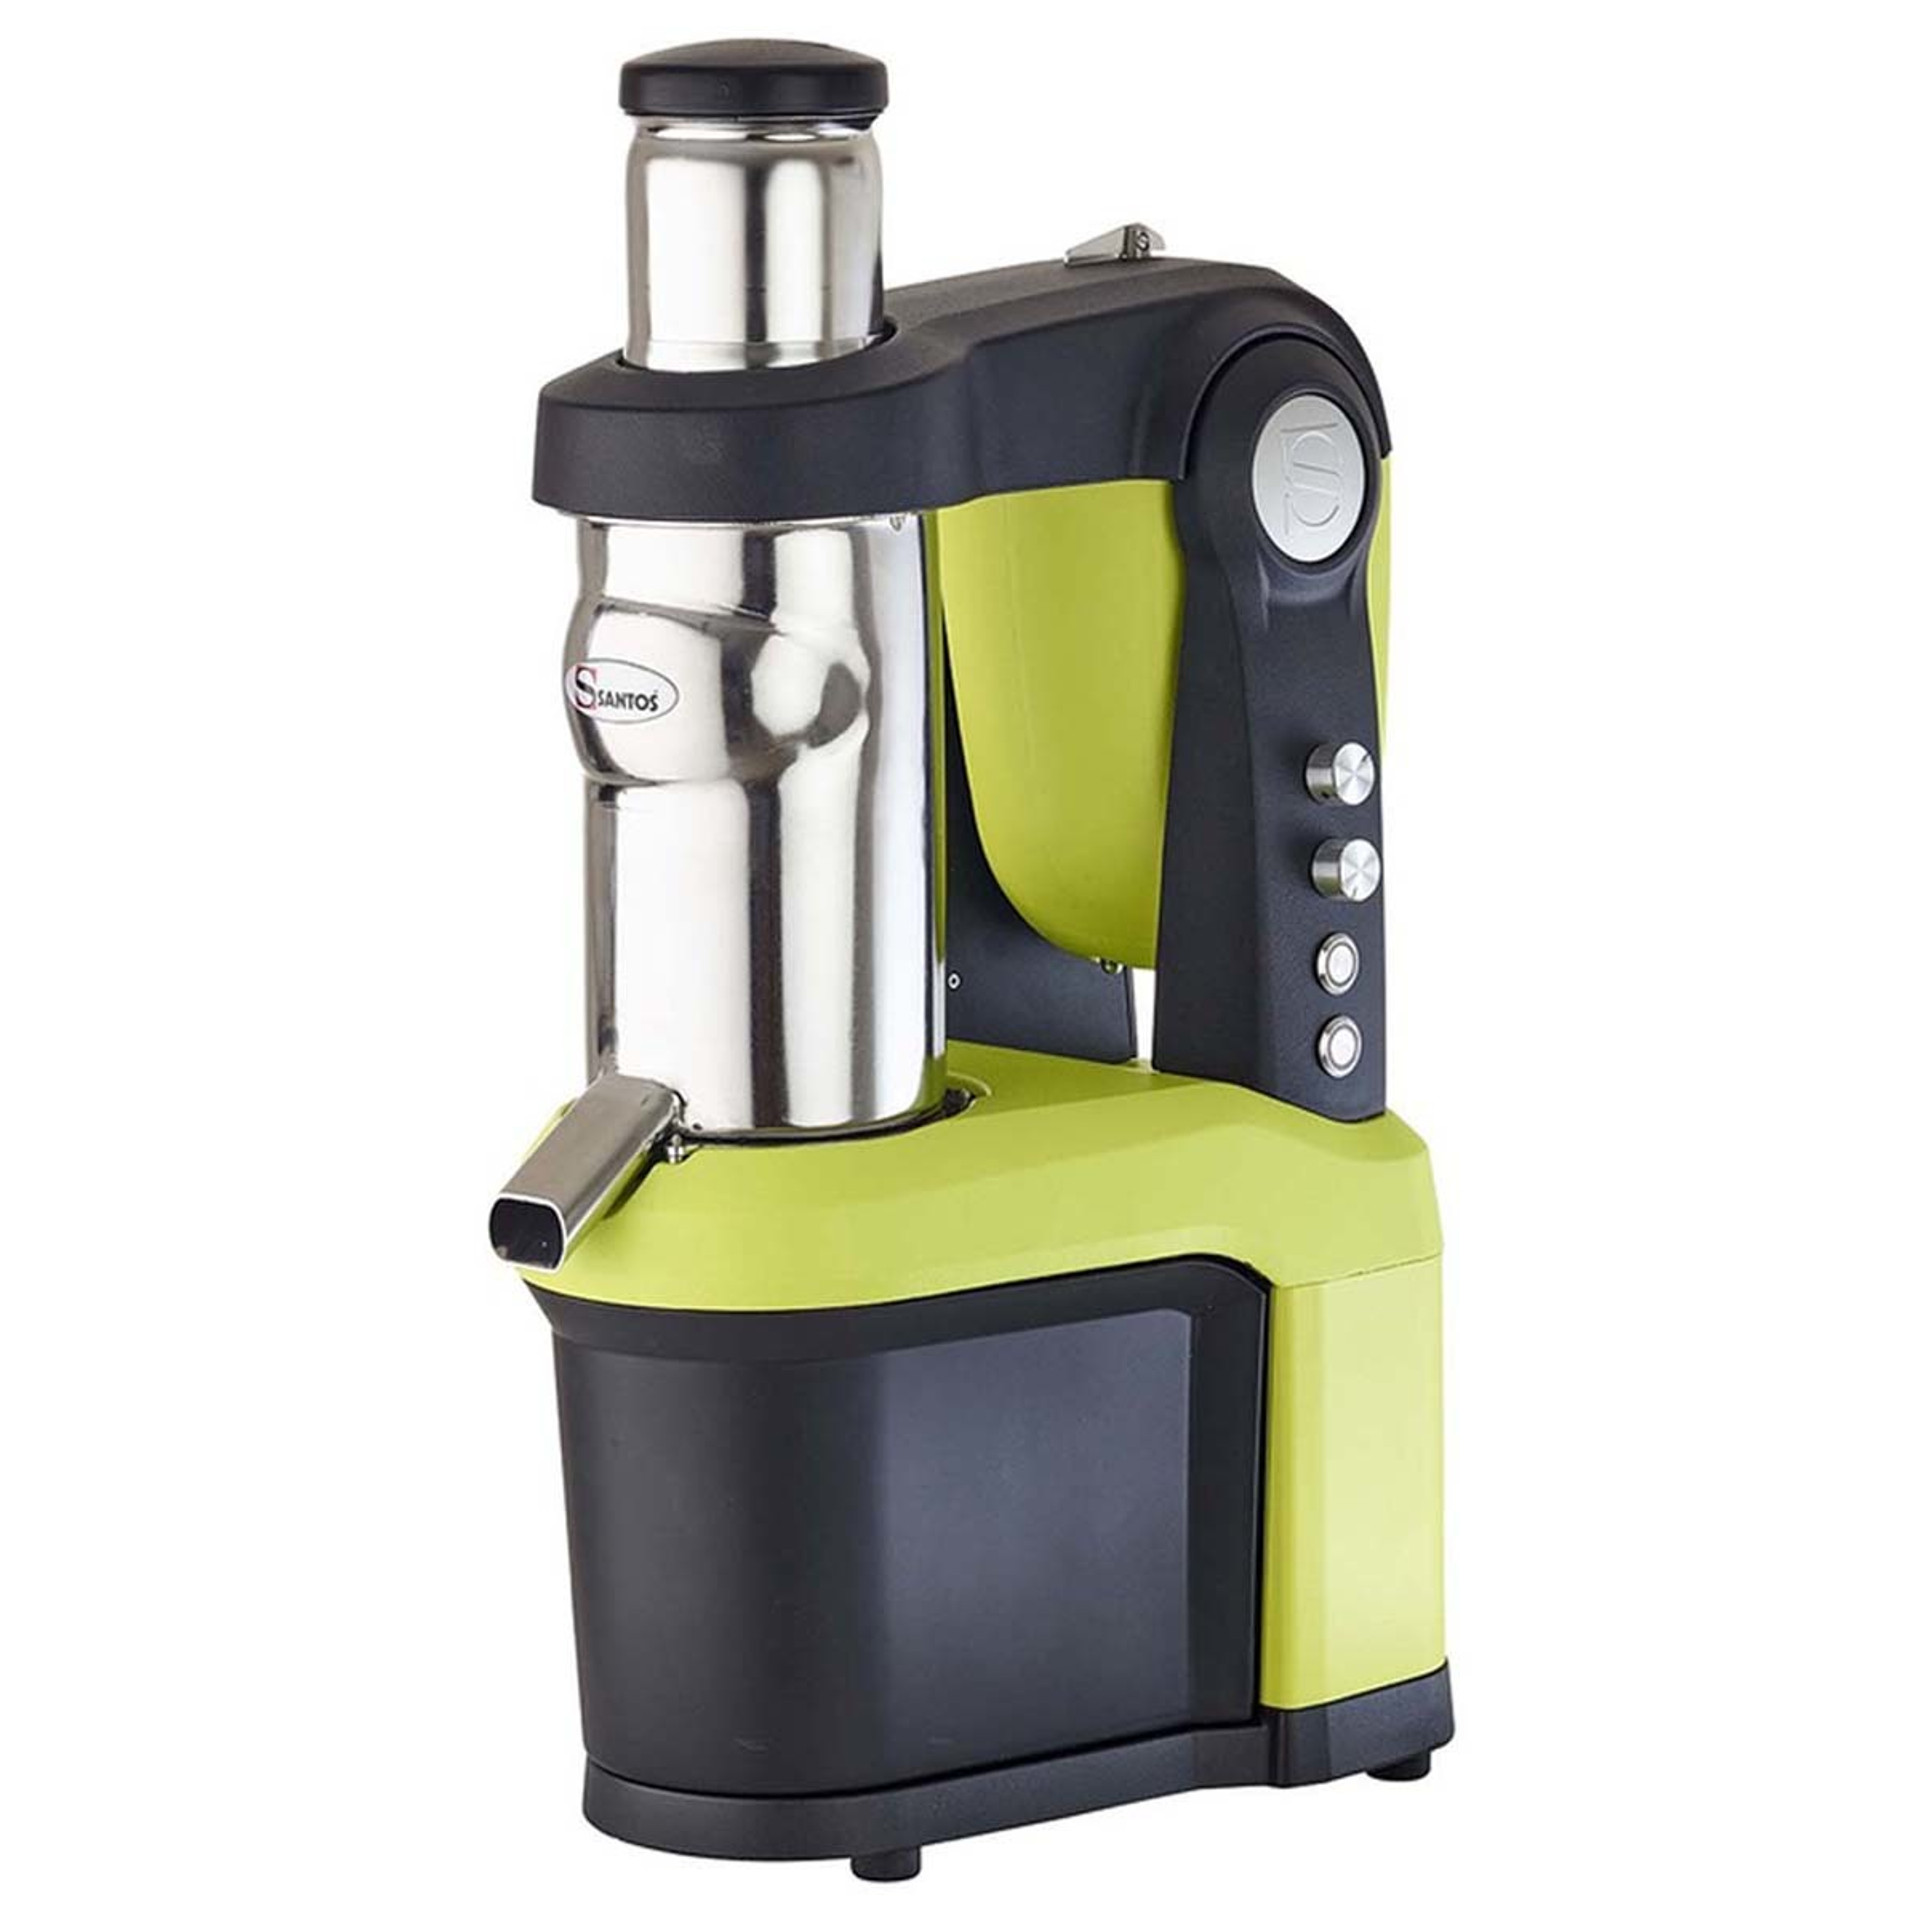 Benefits of Investing in a Commercial Fruit Juicer
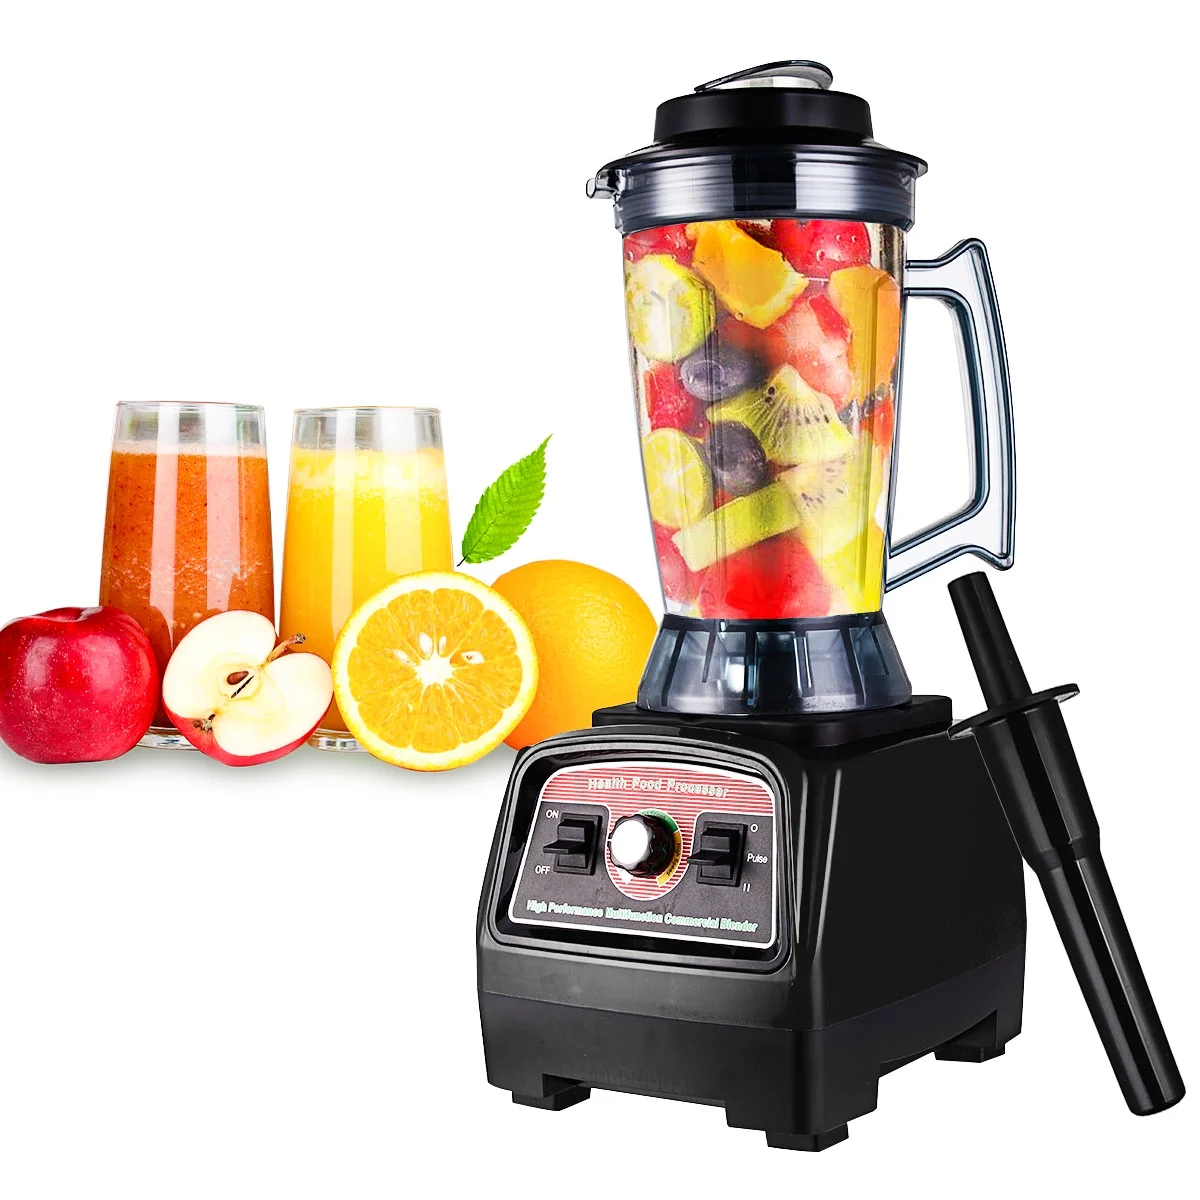 How to Choose the Best Commercial Fruit Juicer for Your Business
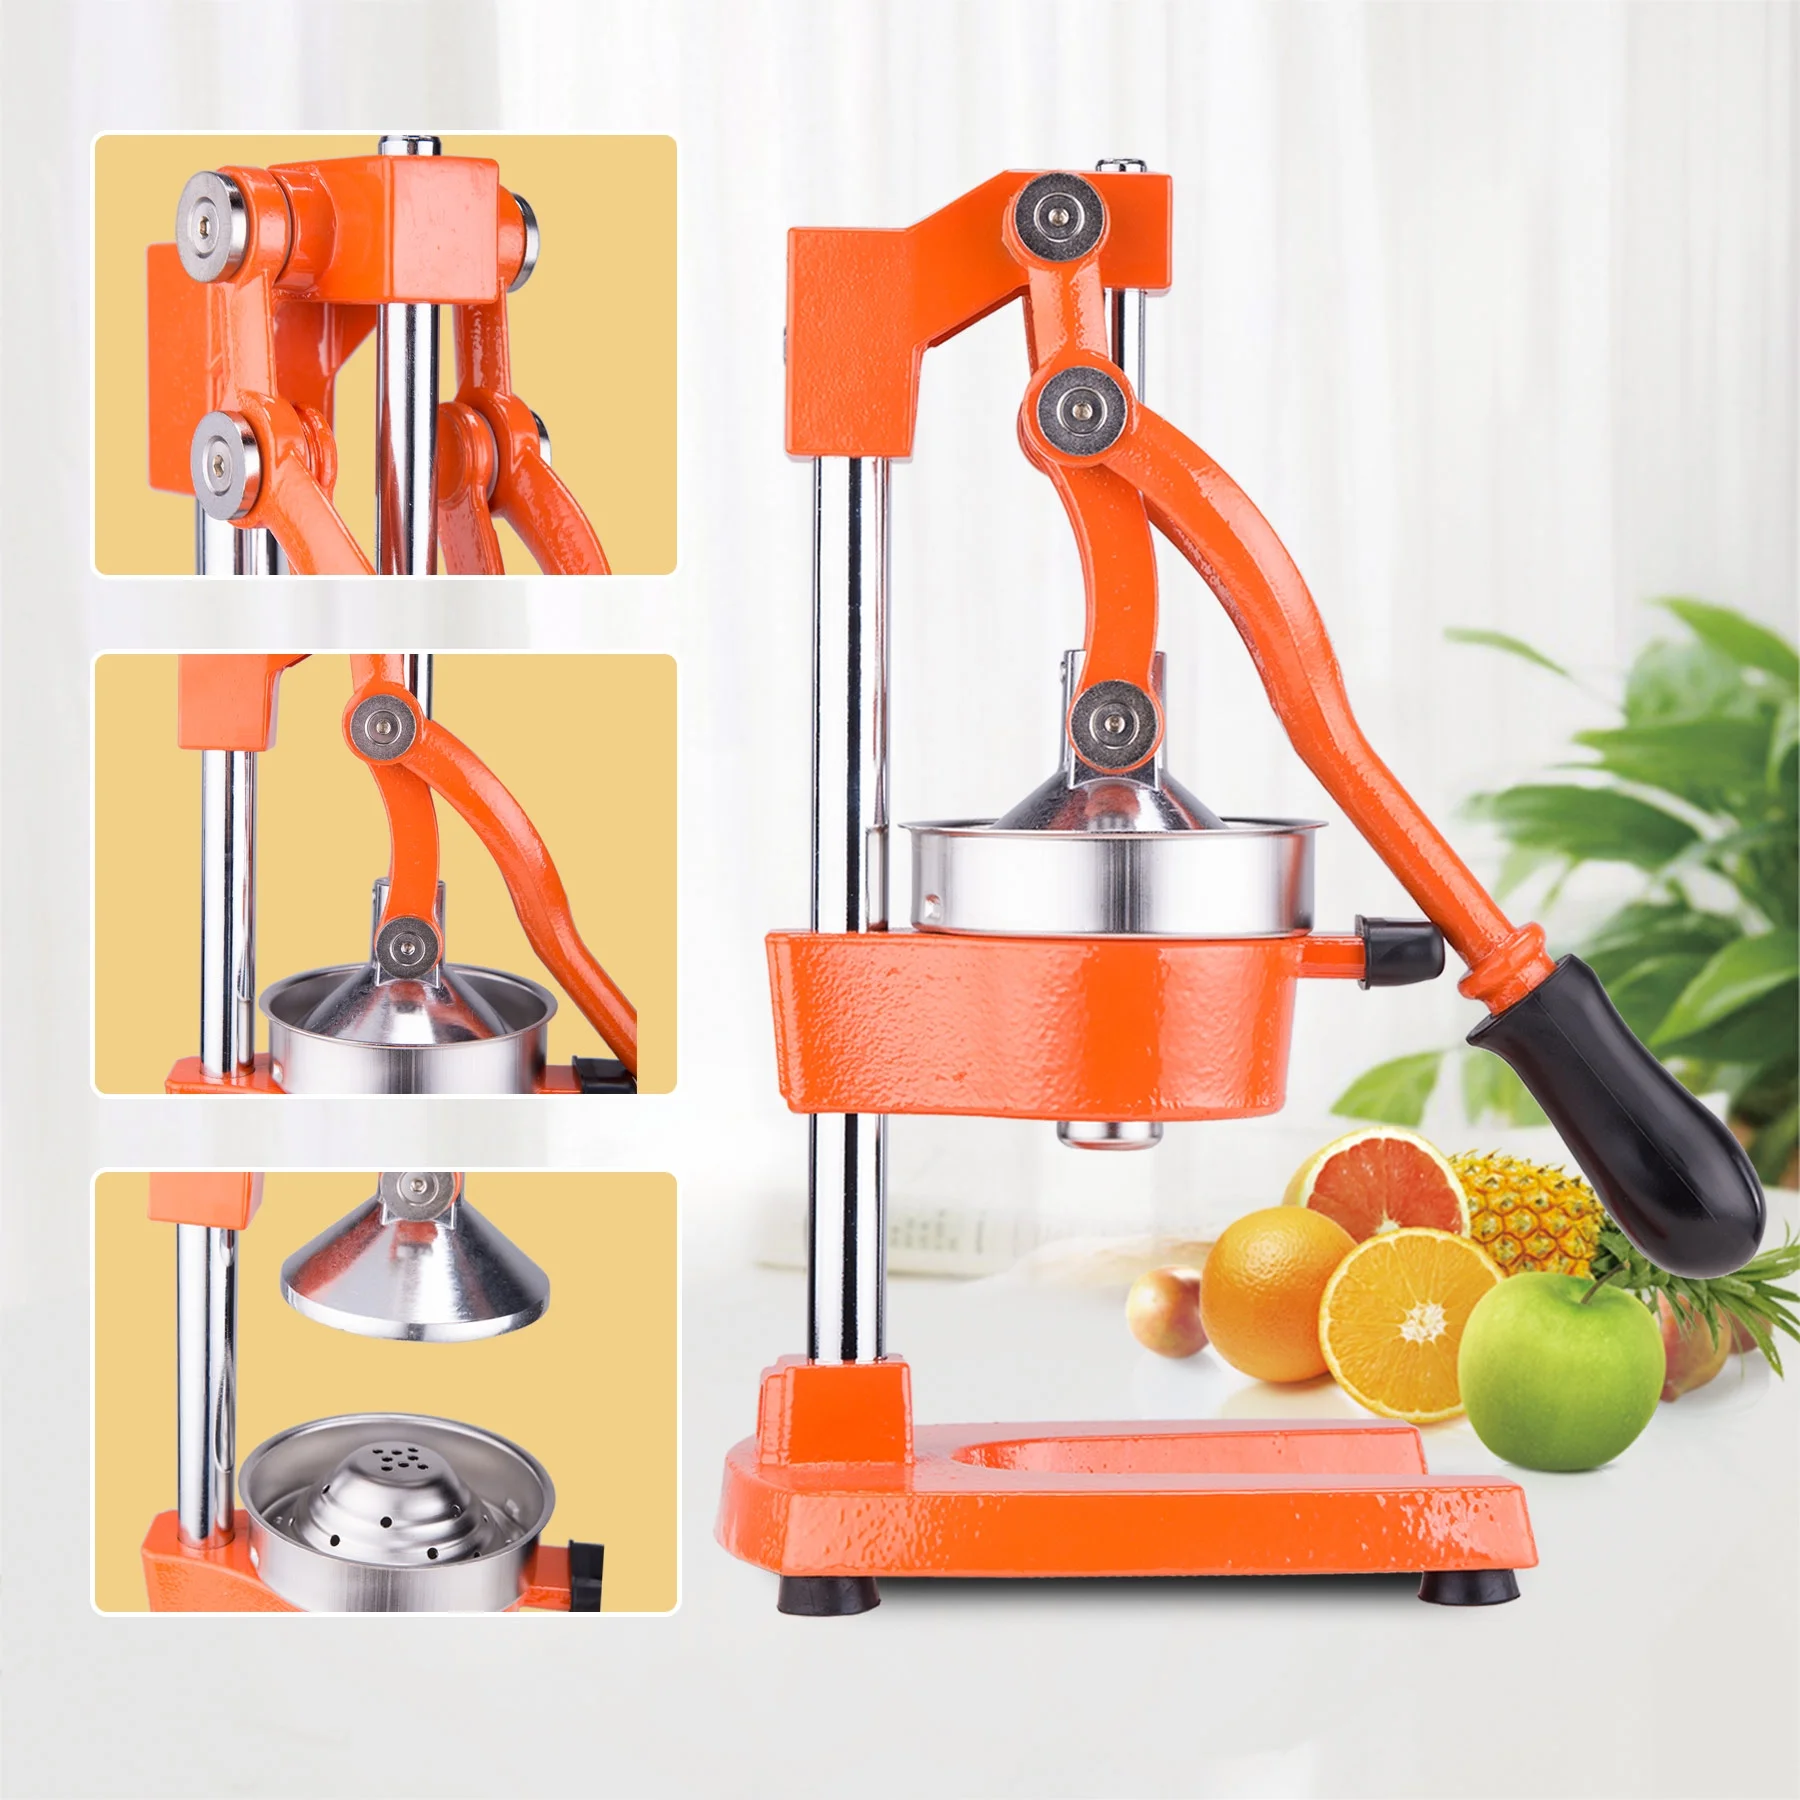 Troubleshooting Common Issues with Commercial Fruit Juicers
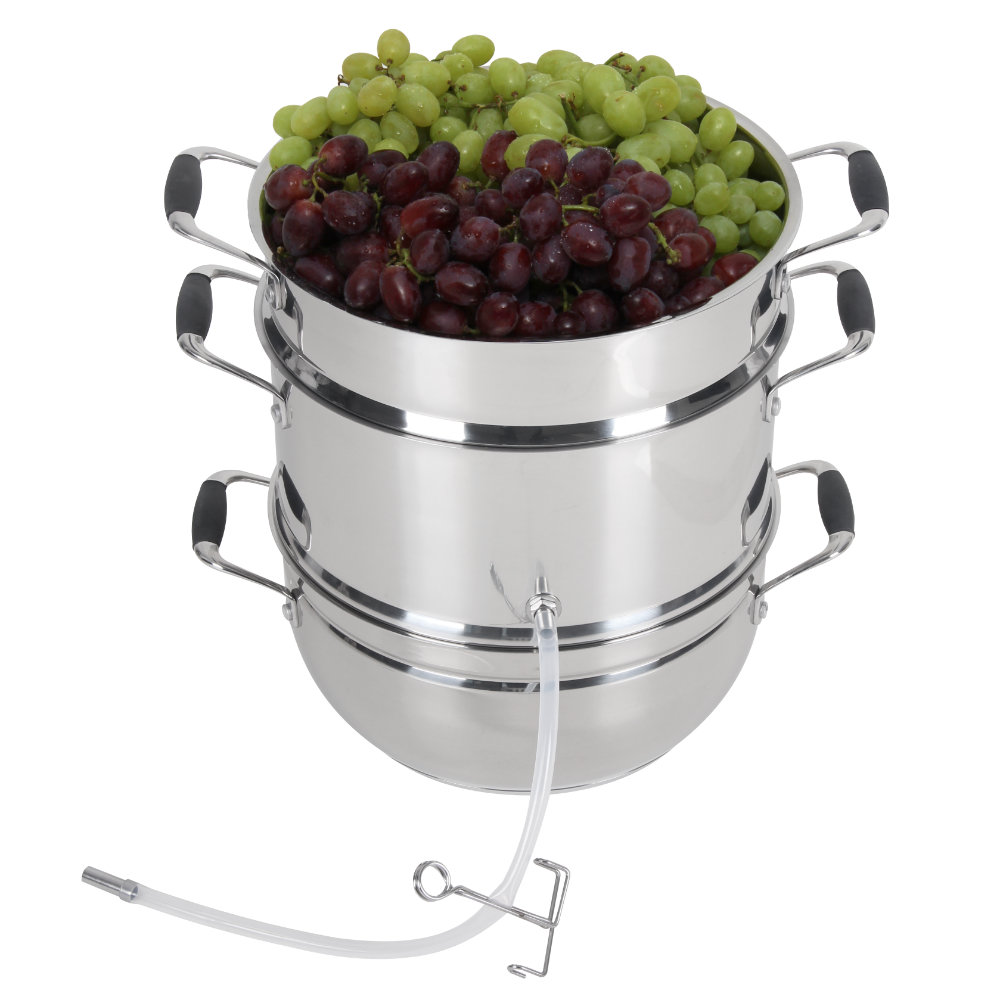
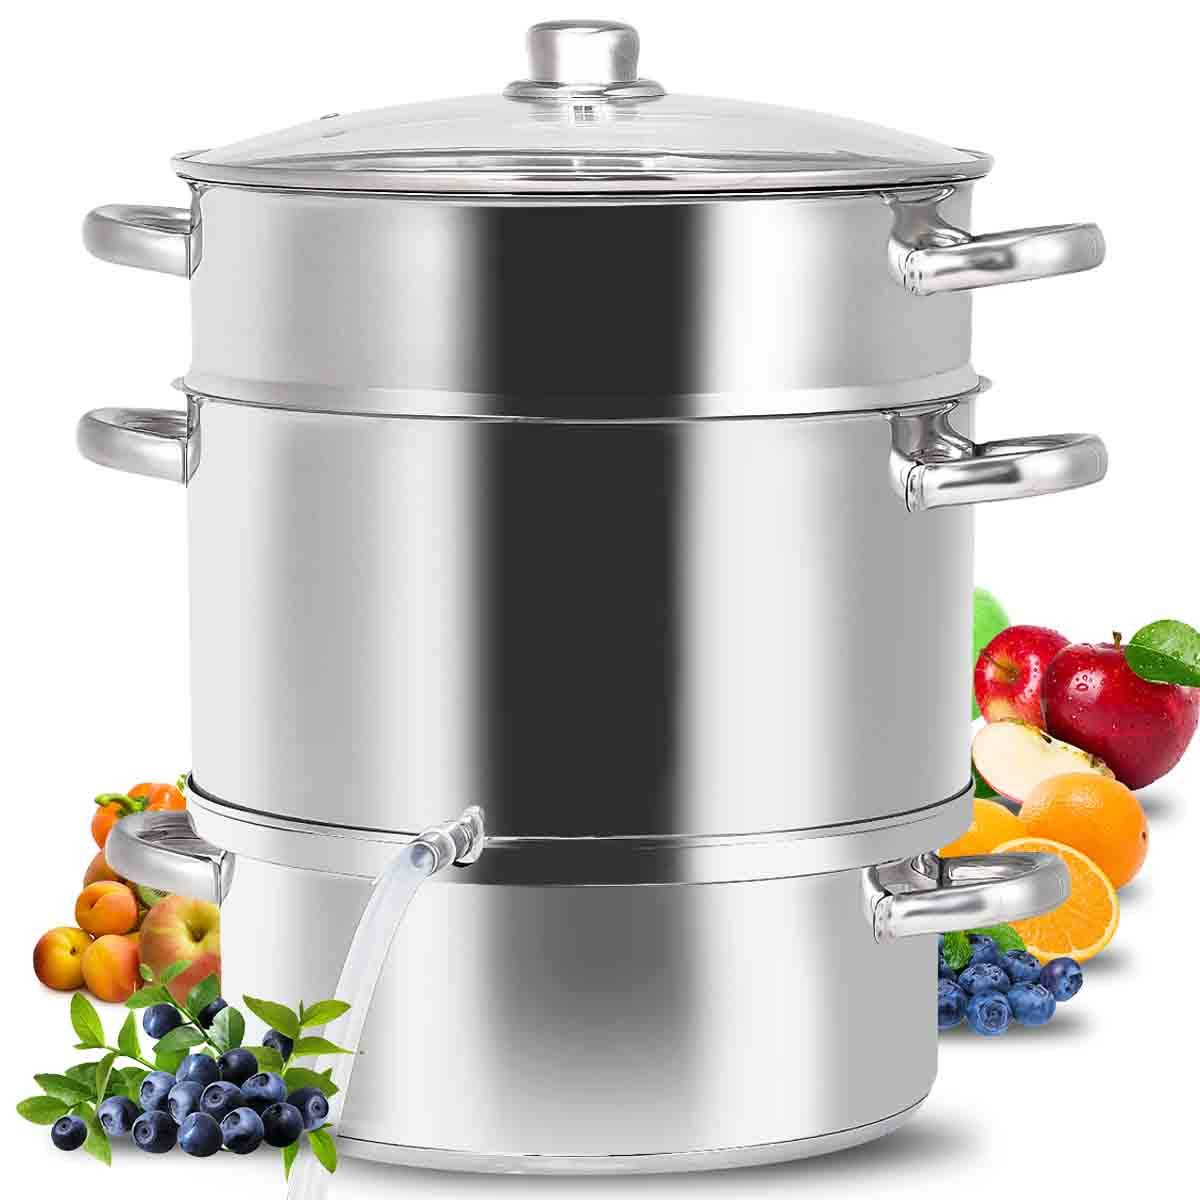 What is a Steam Fruit Juicer?
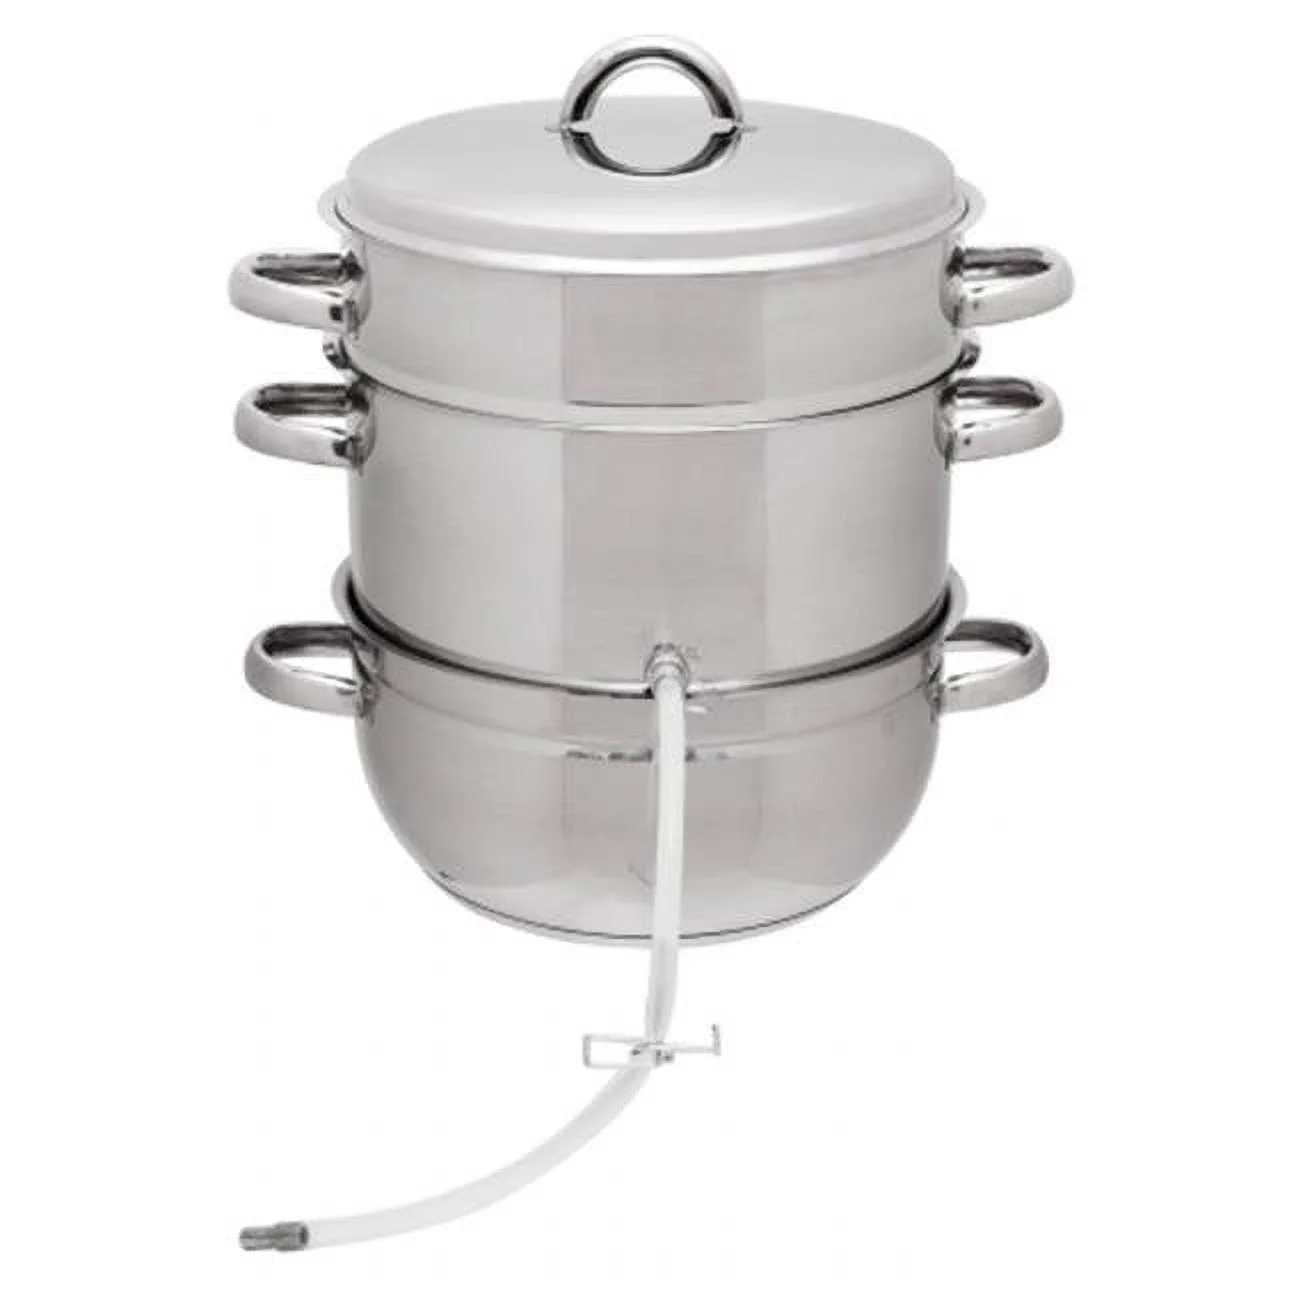 Benefits of Using a Steam Fruit Juicer
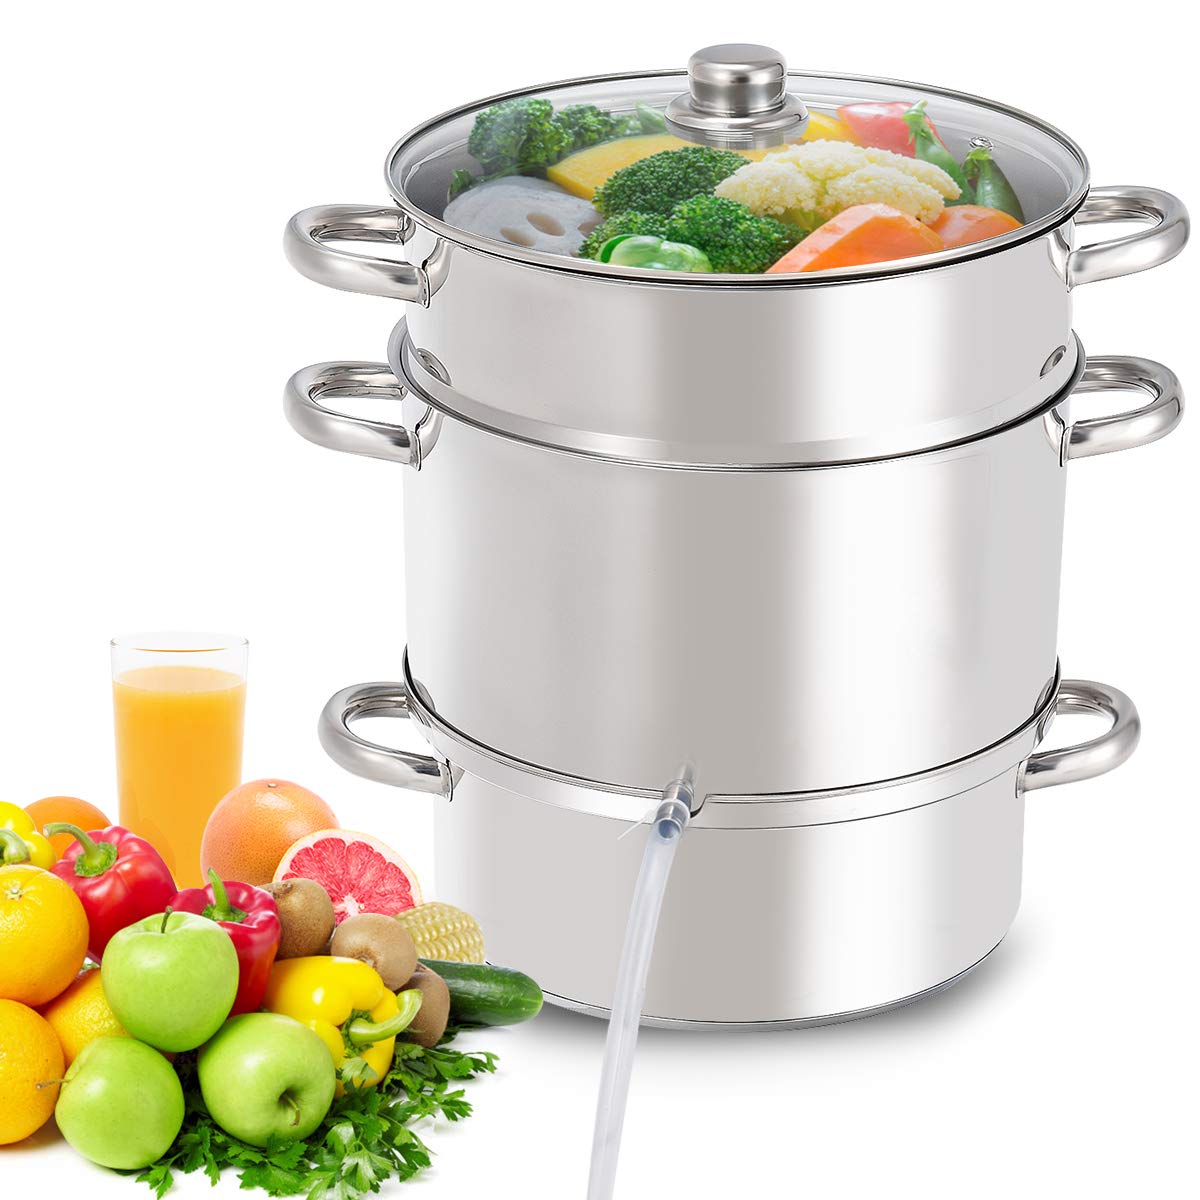 Popular Steam Fruit Juicer Models
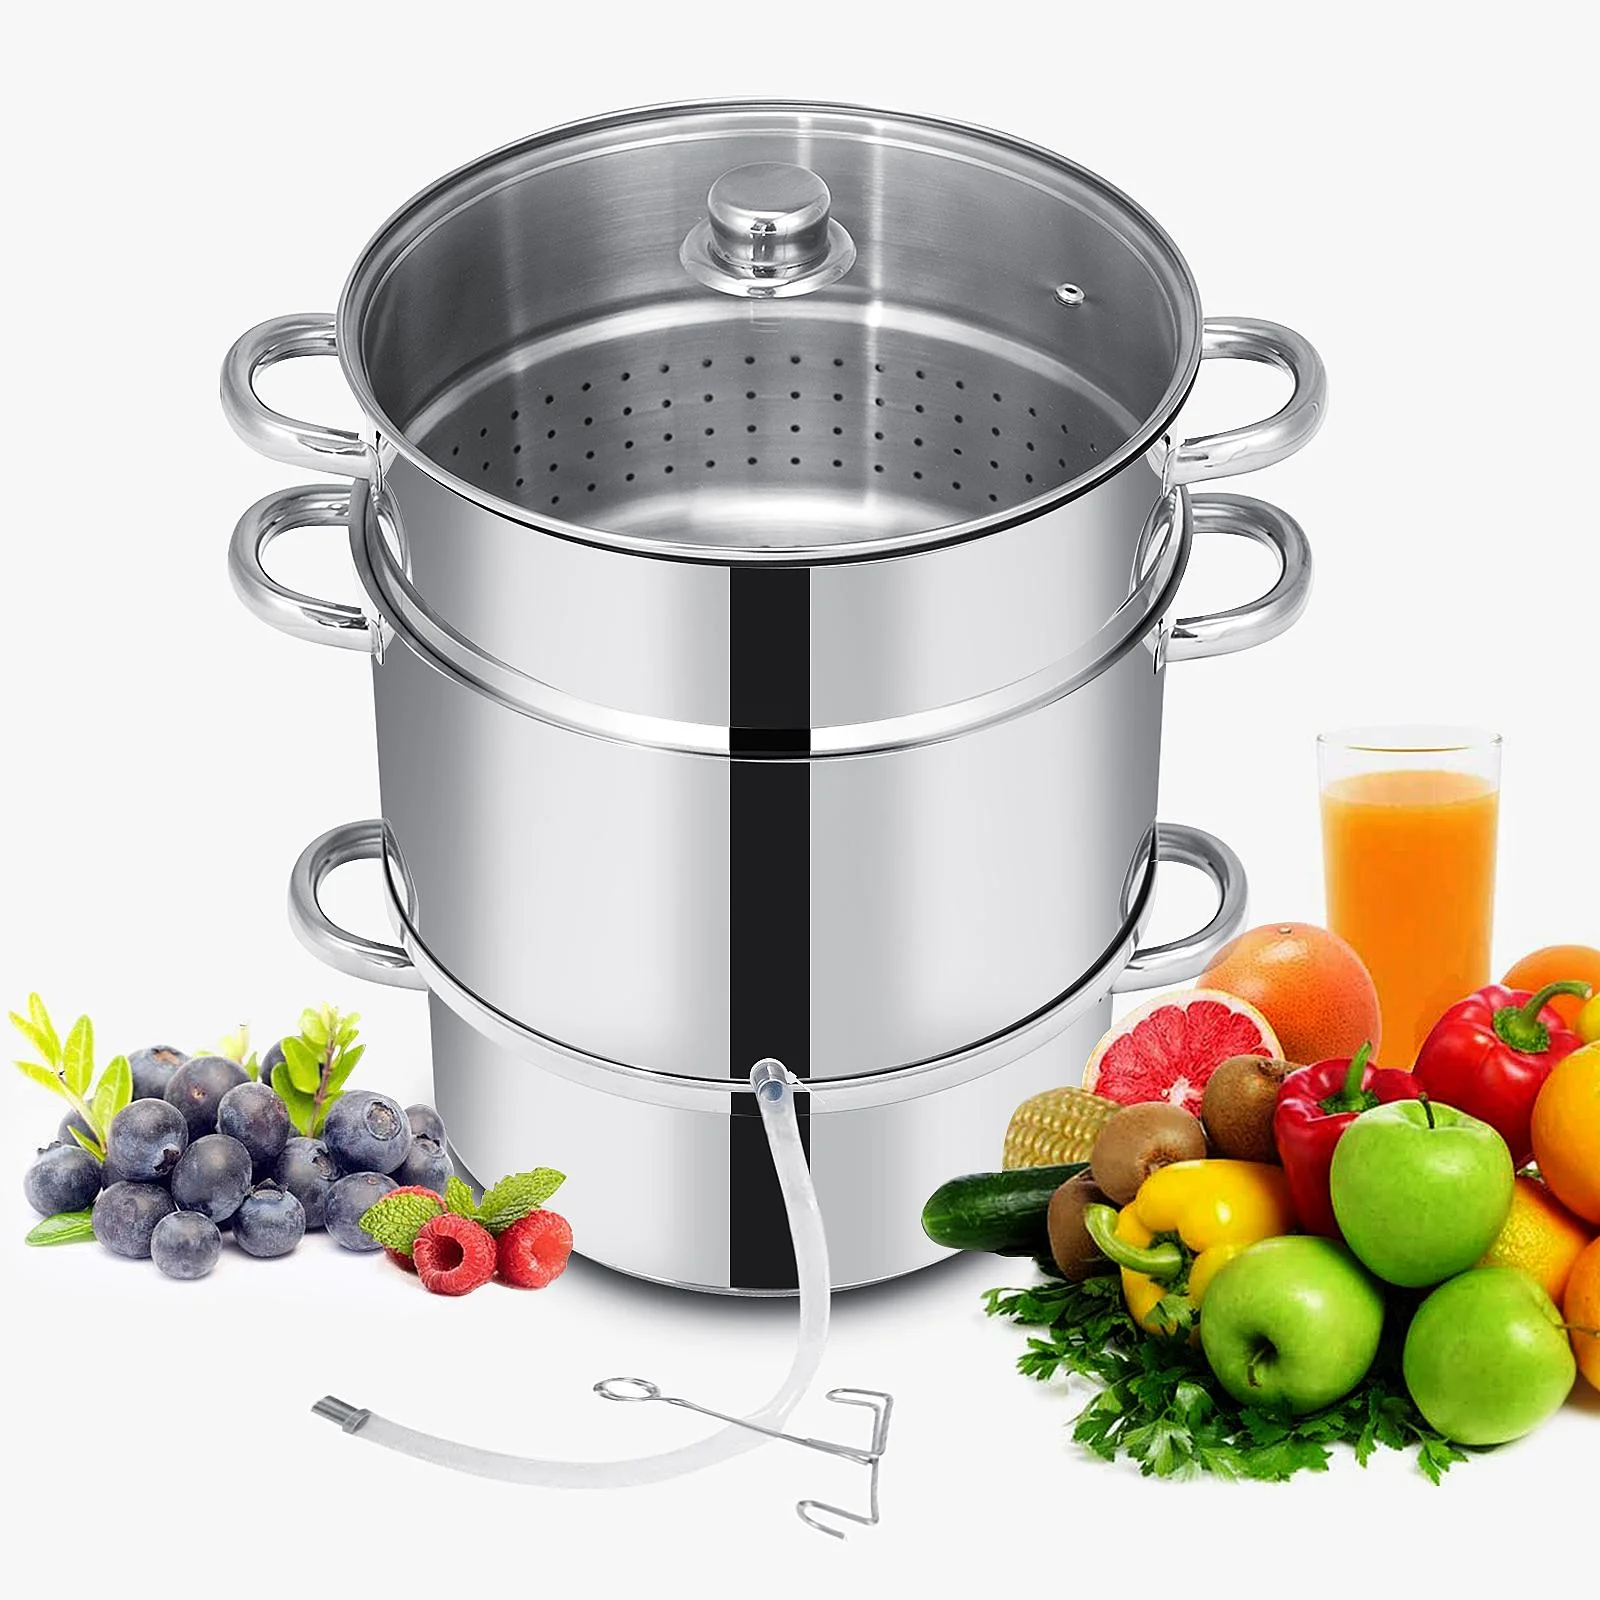 Troubleshooting Common Issues
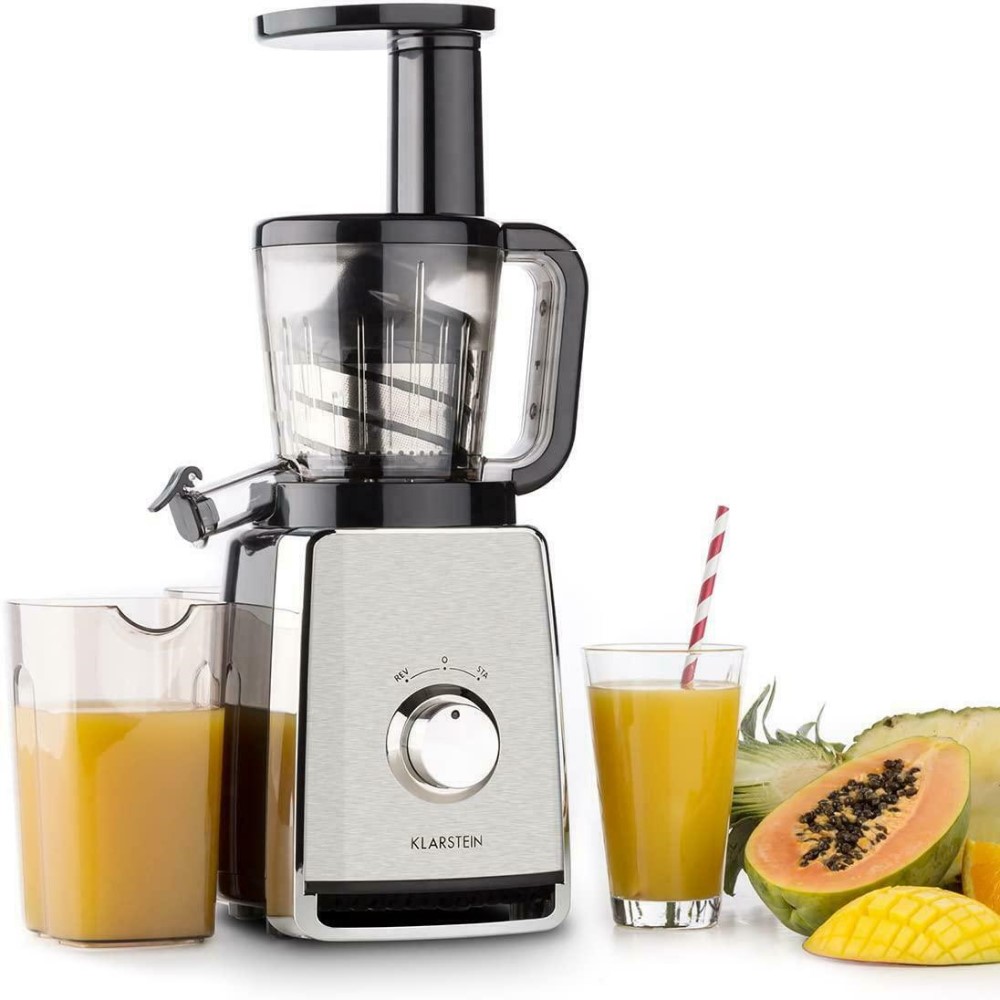
 Key Features to Consider When Choosing the Best Cold Press Juicer
 How to Choose the Best Cold Press Juicer for Your Needs
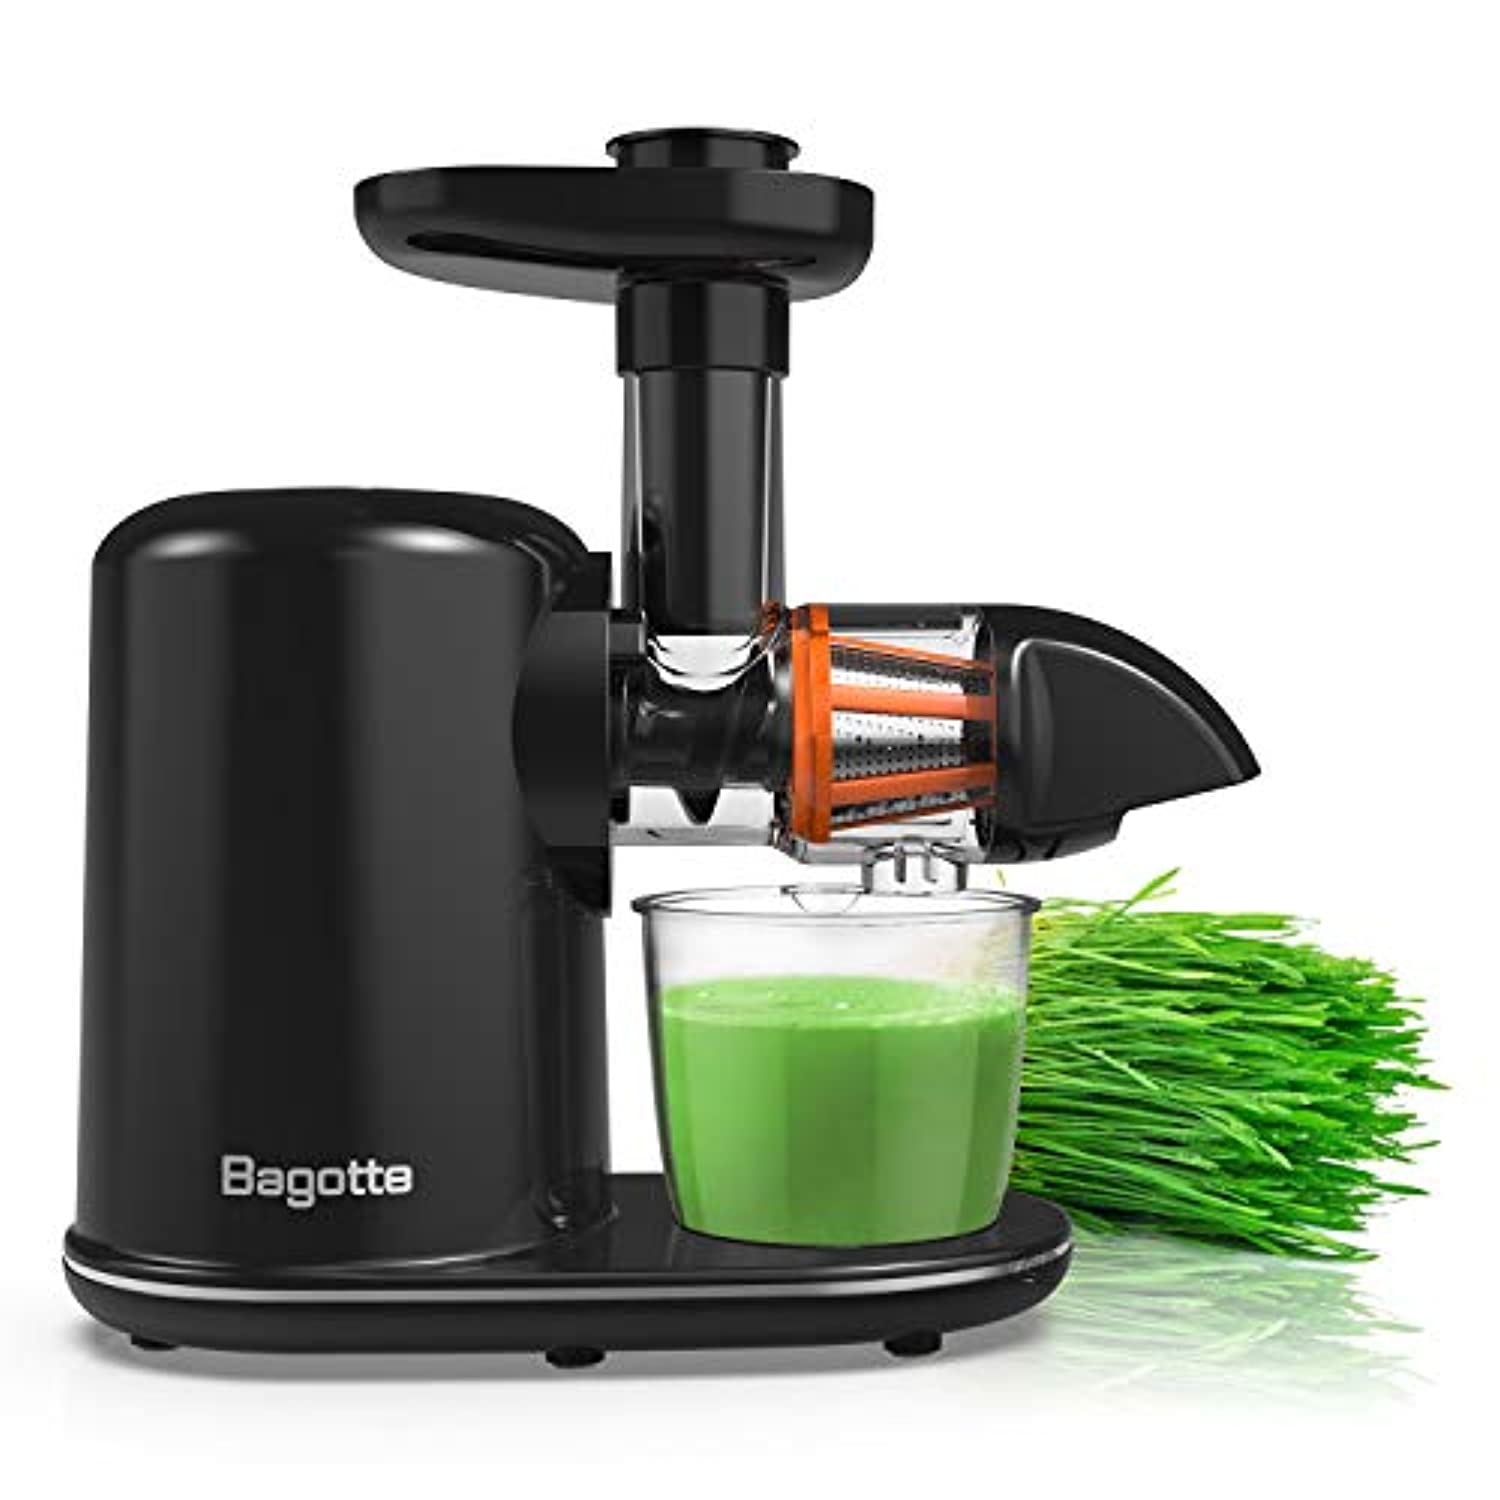 Tips for Getting the Most Out of Your Cold Press Juicer
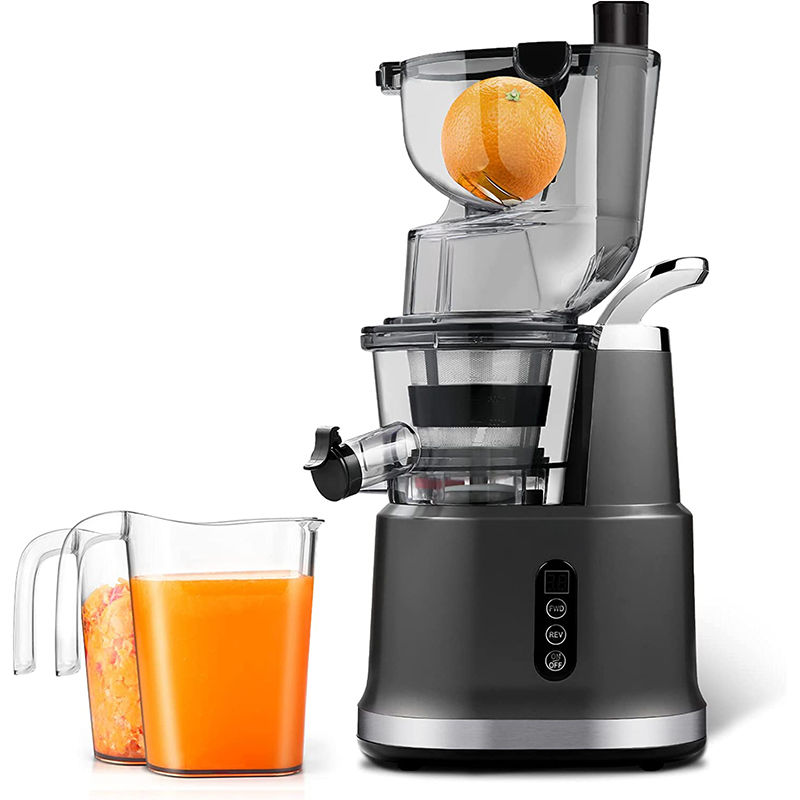 Creative Juice Recipes to Try with Your Cold Press Juicer
 What is a Slow Juicer?
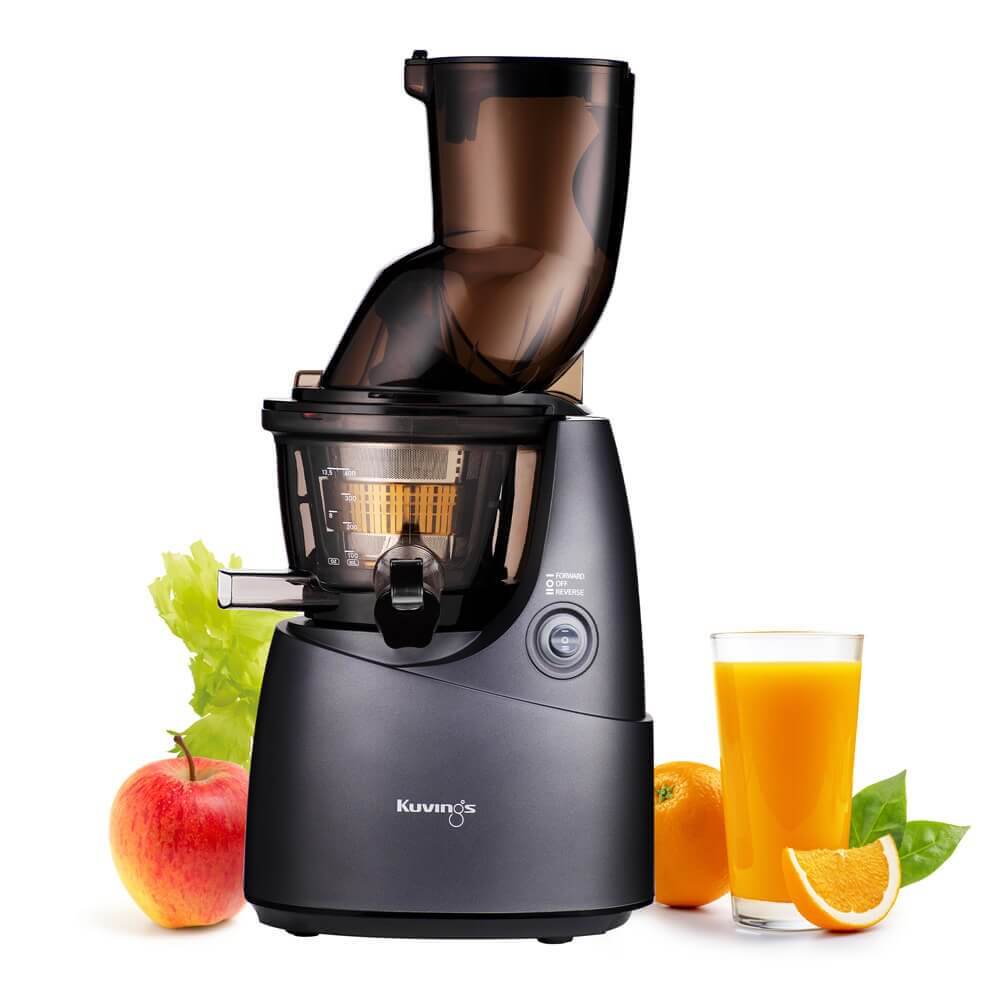 Why a Slow Juicer Makes a Perfect Valentine’s Day Gift
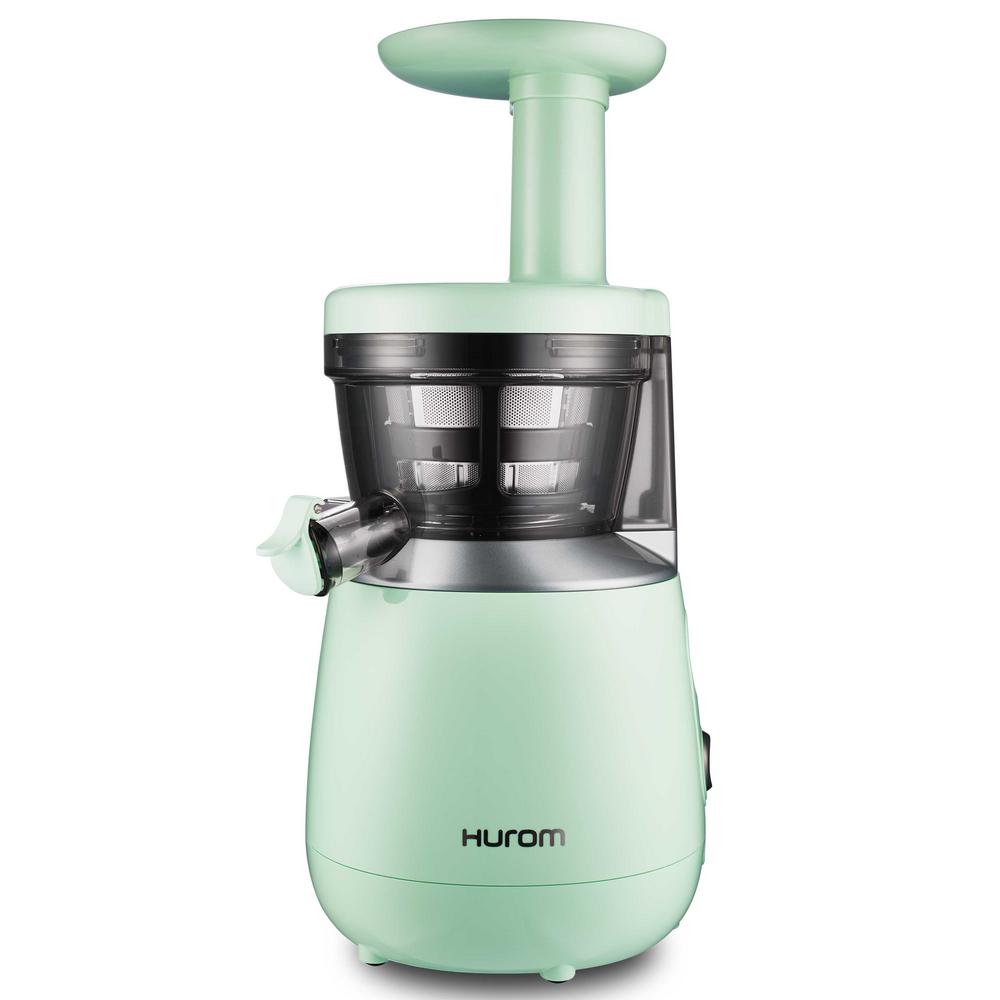 Top Features to Look for
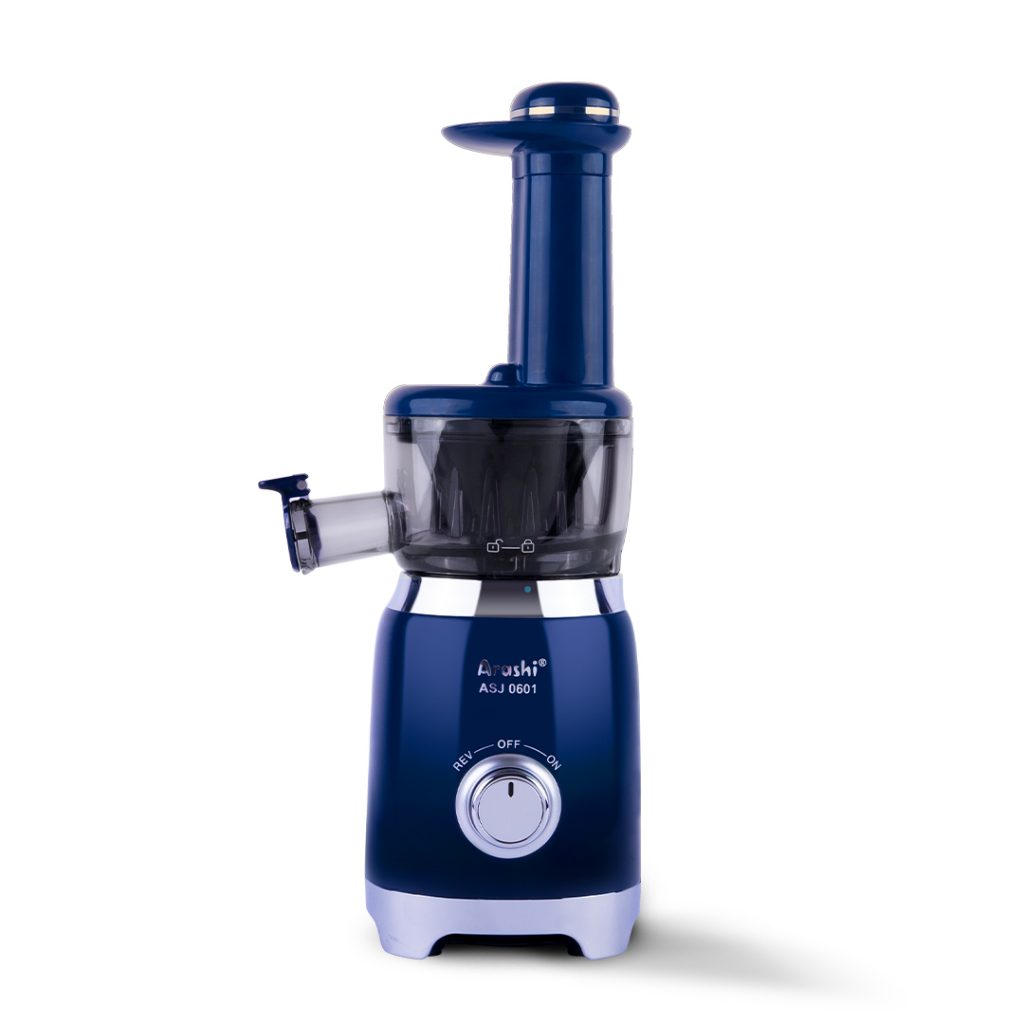 Comparing Slow Juicers to Other Juicing Methods
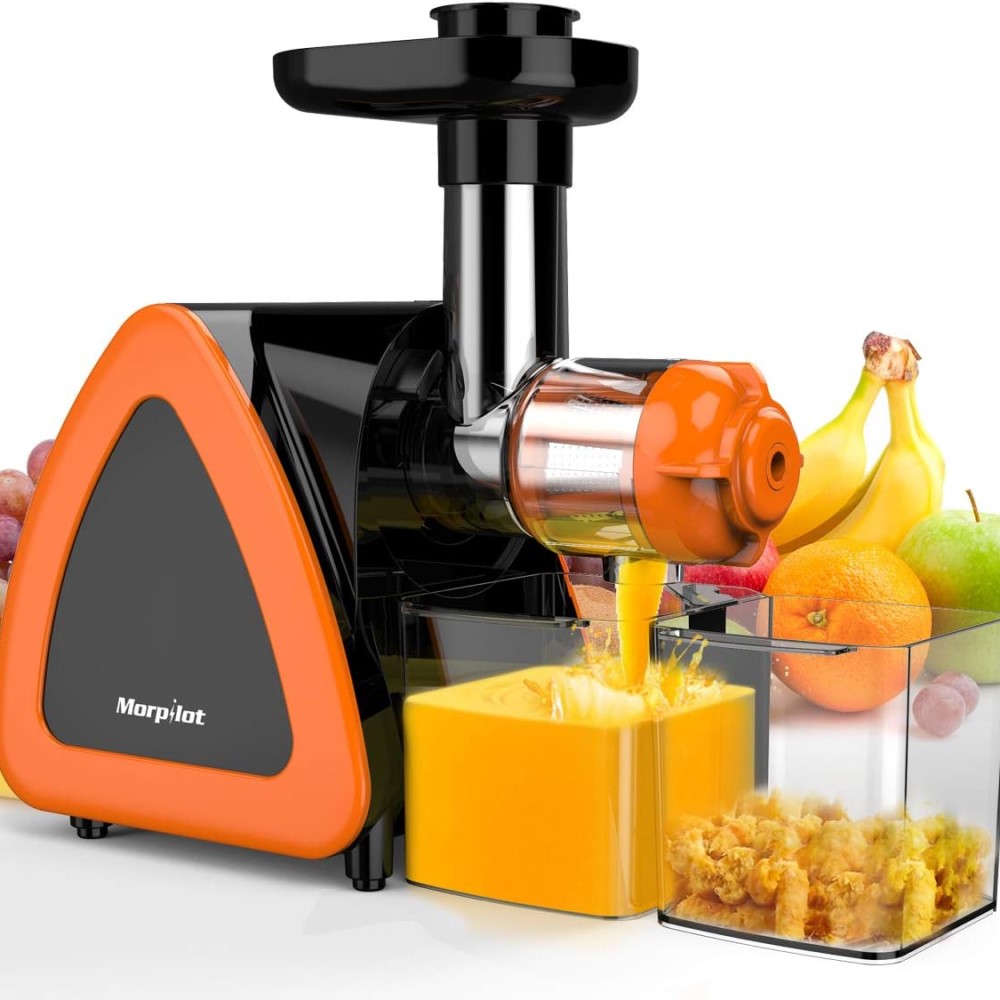
 What is a Cold Press Juicer?
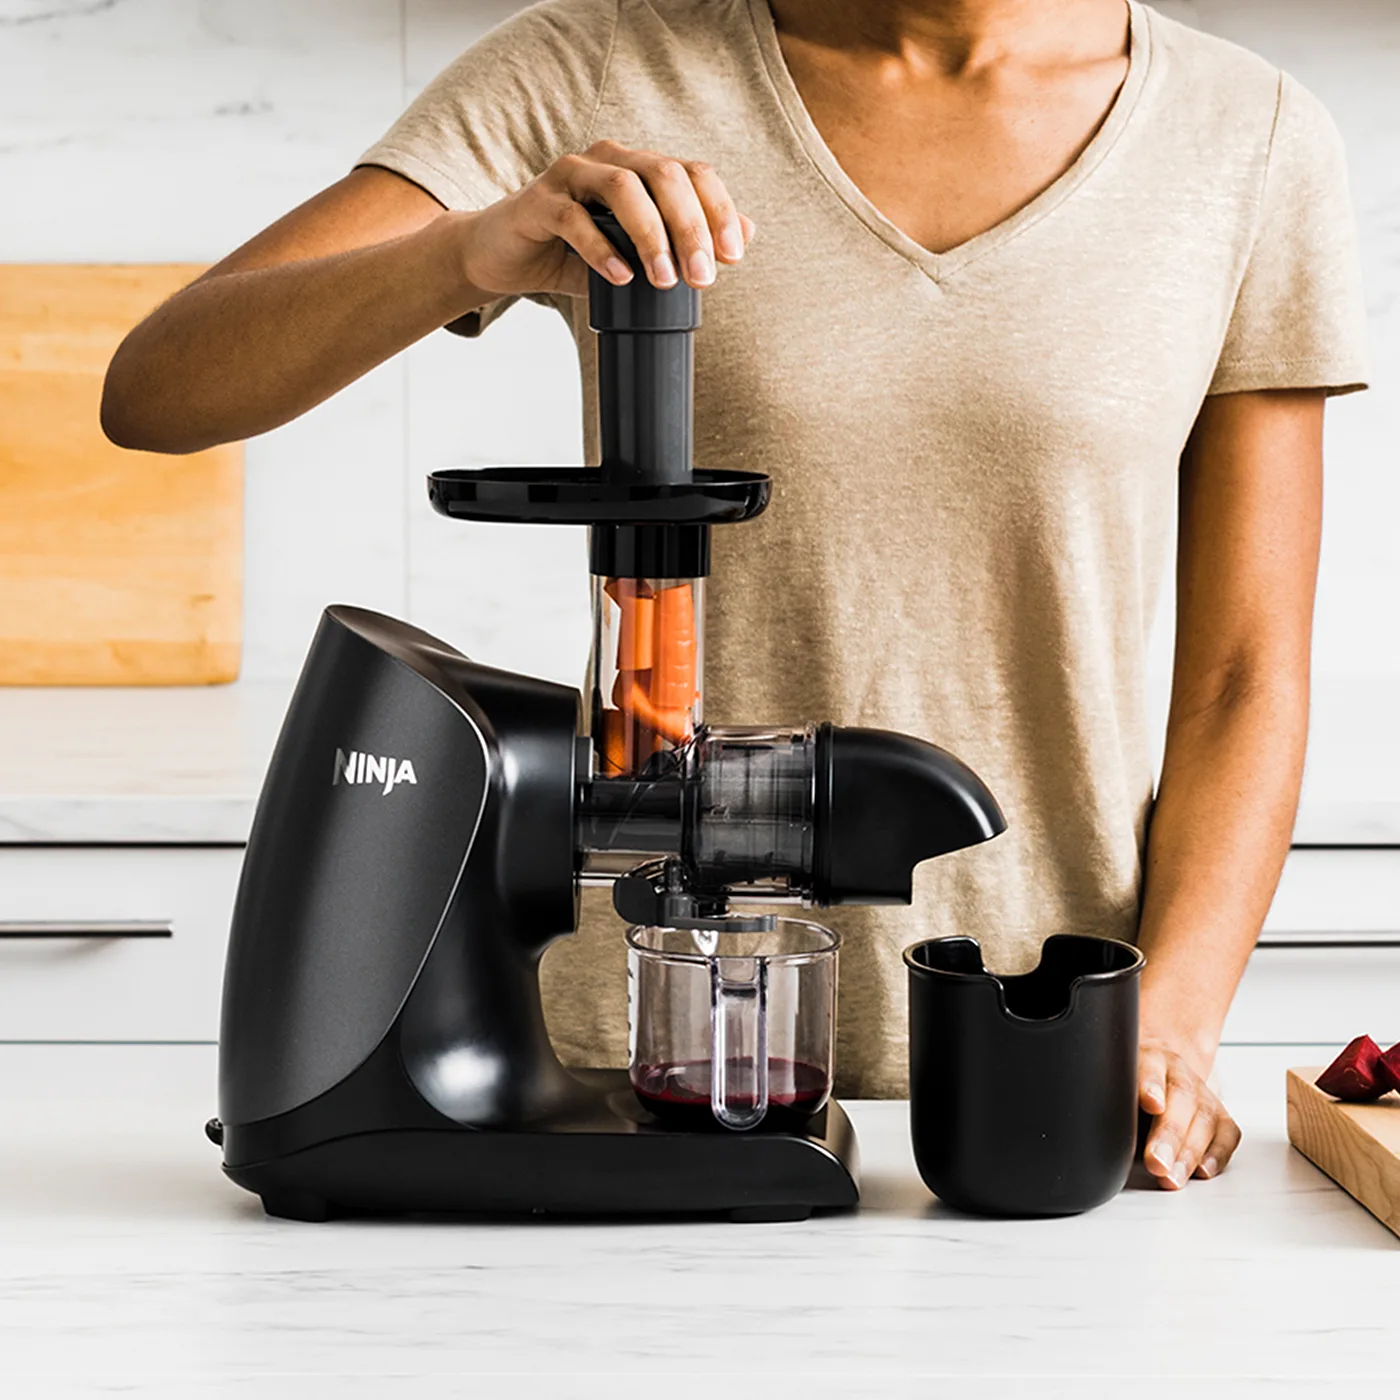 Key Features to Consider When Choosing a Cold Press Juicer
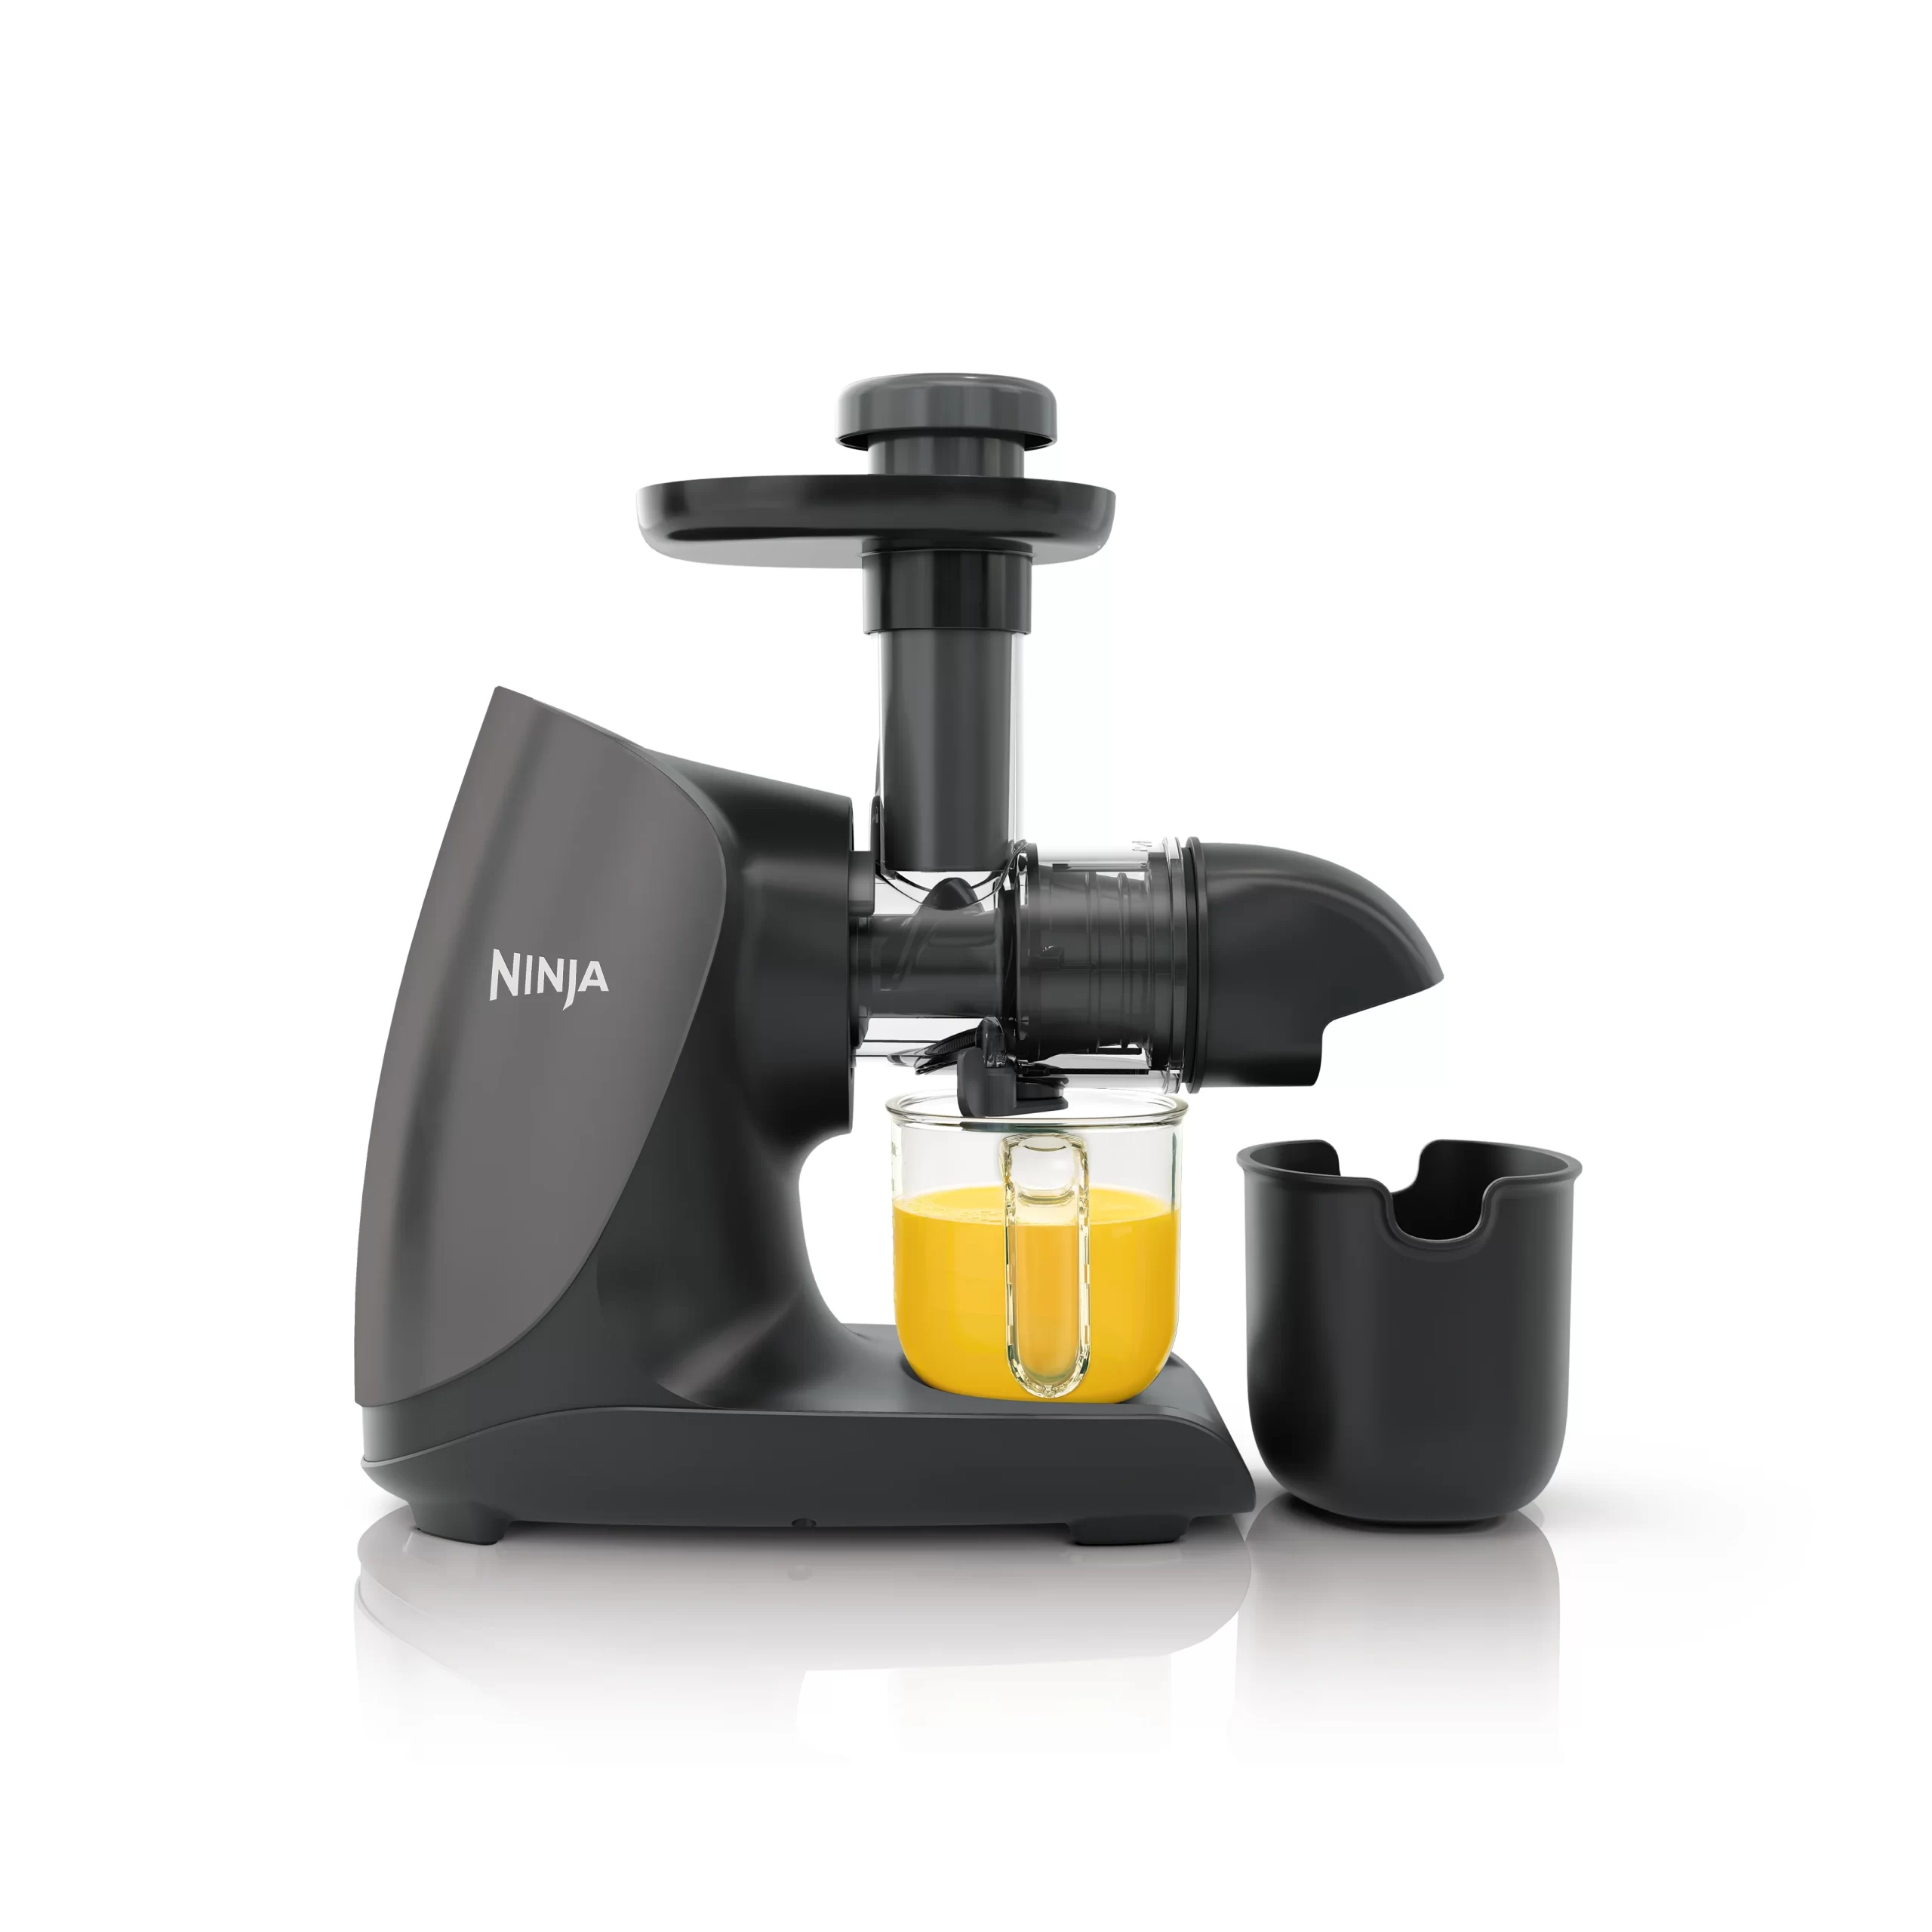 Top Cold Press Juicer Brands to Consider
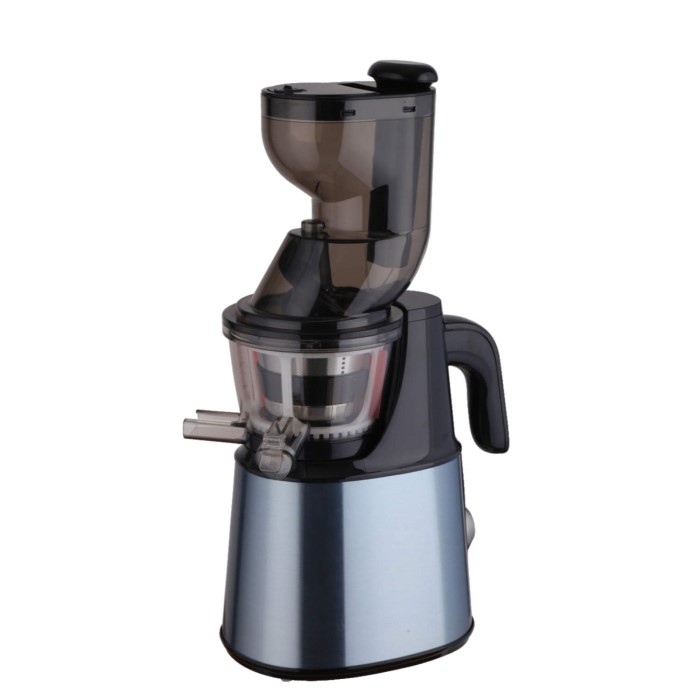 Maintenance Tips for Your Cold Press Juicer