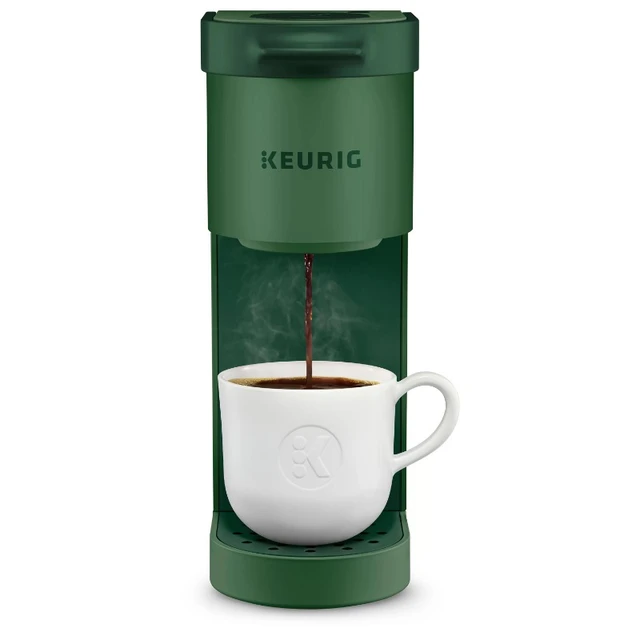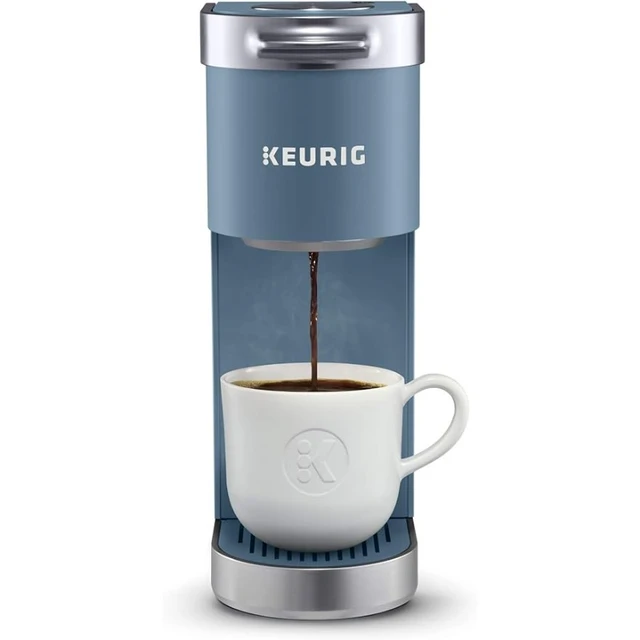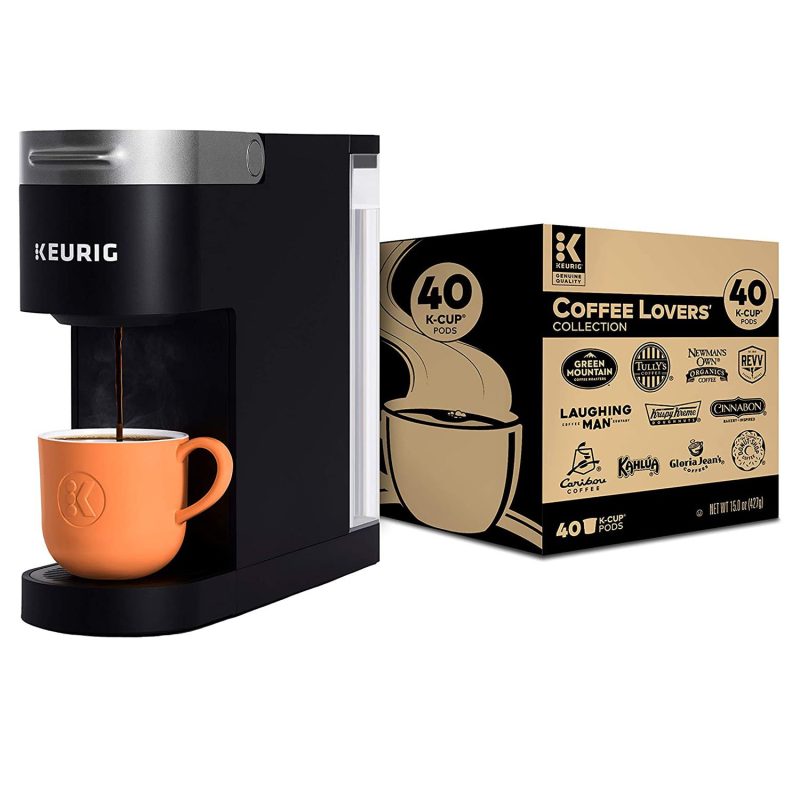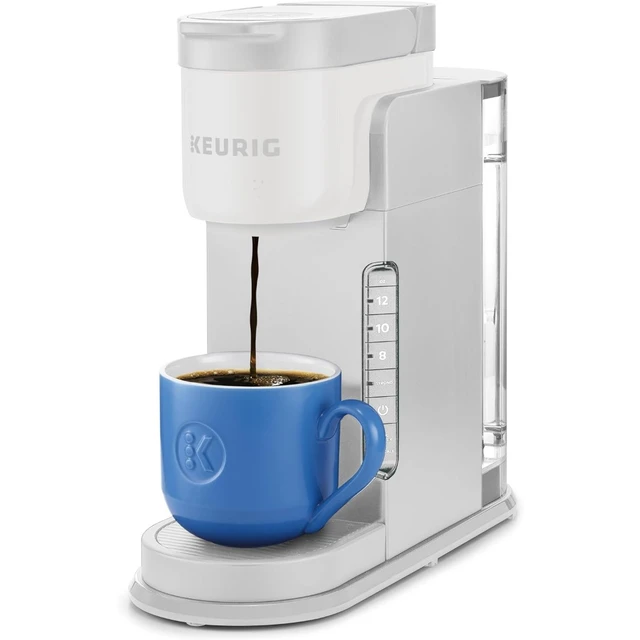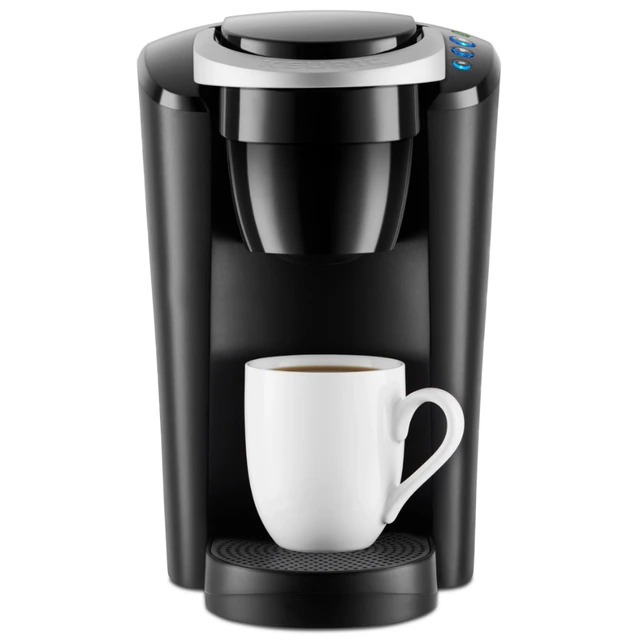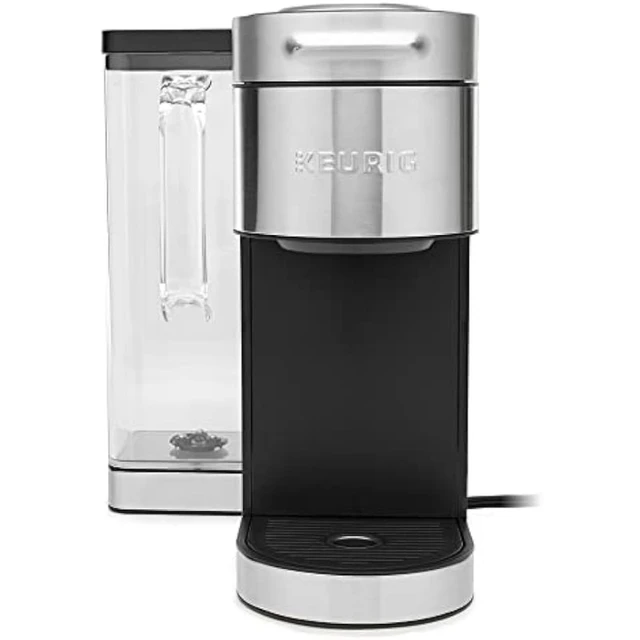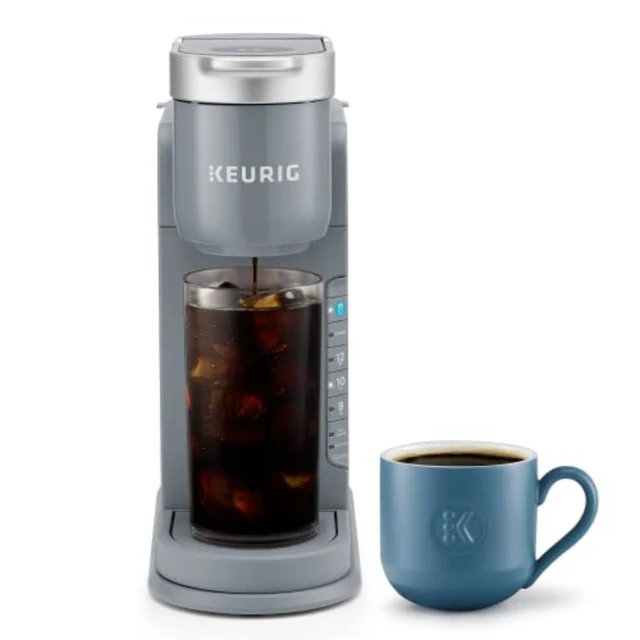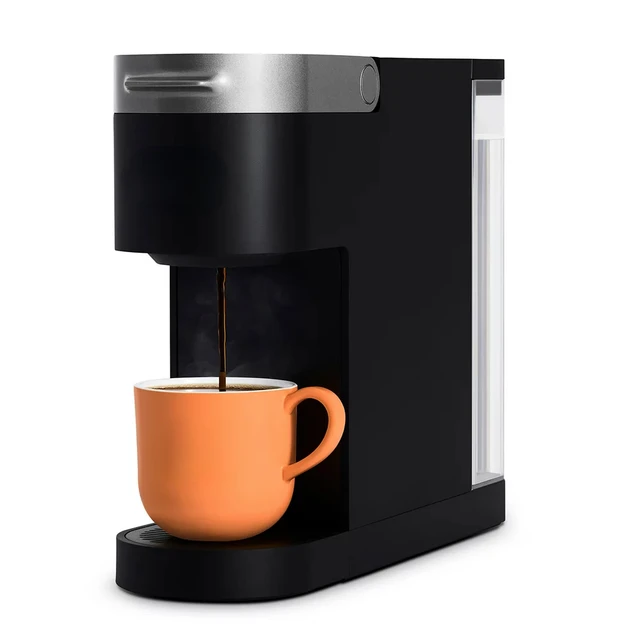
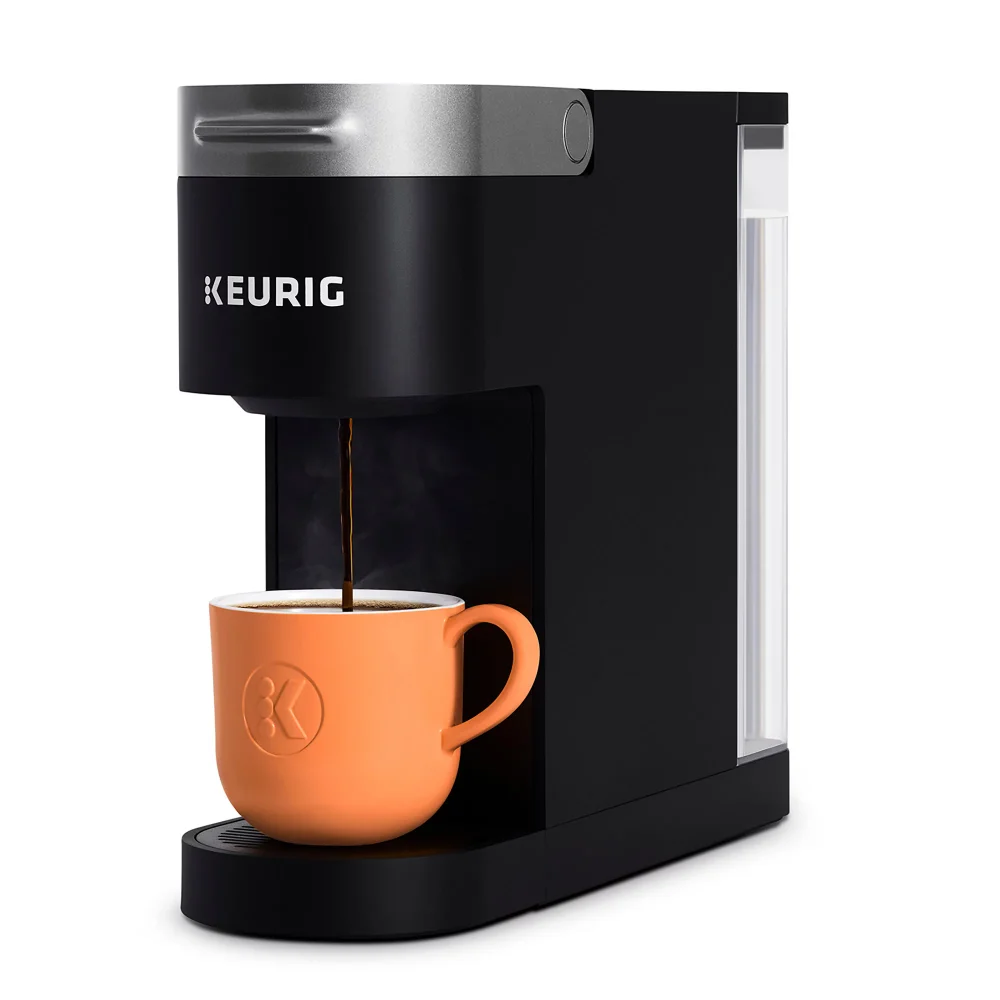
If you’re a coffee lover, having a reliable coffee maker like the Keurig Slim is essential for brewing that perfect cup of coffee at any time of the day. However, like any appliance, your Keurig Slim needs some care and maintenance, and one of the most important tasks is descaling. Descaling helps to remove mineral deposits that can build up in your coffee maker over time, ensuring that it functions optimally and continues to brew delicious coffee. In this guide, we will explore the importance of descaling, the steps involved, and tips for maintaining your Keurig Slim in excellent condition.
Why Descale Your Keurig Slim?
Understanding Mineral Buildup
The most common reason to descale your Keurig Slim is the mineral buildup caused by hard water. Hard water contains high levels of minerals such as calcium and magnesium. When you boil this water in your coffee maker, these minerals settle and form deposits inside the machine. Over time, these deposits can clog the inner workings of your Keurig, affecting its performance and potentially leading to permanent damage if not addressed.
Benefits of Descaling
- Improved Flavor: Regular descaling helps remove mineral deposits that can alter the taste of your coffee. A clean machine ensures that your coffee has its intended flavor profile.
- Extended Lifespan: By maintaining your Keurig Slim through regular descaling, you can significantly extend its lifespan and functionality. A well-cared-for coffee maker can serve you for years.
- Faster Brewing Times: When mineral buildup occurs, it can slow down your brewing process. Descaling removes these obstructions and restores your machine to its original efficiency.
- Preventing Clogging: Regular maintenance will help prevent the internal components of your Keurig from clogging, which can lead to water not flowing correctly and could ultimately break your coffee maker.

How Often Should You Descale?
Most manufacturers recommend descaling your coffee maker every three to six months, depending on the hardness of your water. If you’re using hard water, you might need to descale more frequently. Keep an eye out for signs that indicate it’s time to descale your Keurig Slim, such as slower brewing times or an unusual taste in your coffee.
Preparing for Descaling
Before you start the descaling process, you’ll need a few basic items.
What You Need
- Descaling Solution: You can either purchase a Keurig descaling solution or make a DIY mix using equal parts white vinegar and water.
- Water: Fresh water is required for rinsing your machine after descaling.
- Container: A large container (at least 10 ounces) to catch the water and descaling solution as it flows through the machine.
- Coffee Mug: To test your machine after descaling and to have a cup of coffee ready!
Reading the Manual
Before proceeding with the descaling process, it’s vital to consult your Keurig Slim manual. While this guide will give a comprehensive overview, specific models might have unique requirements that you should follow for the best results.
Step-by-Step Process to Descales the Keurig Slim
Prepare the Machine
- Remove the Water Reservoir: Start by taking off the water reservoir and emptying its contents.
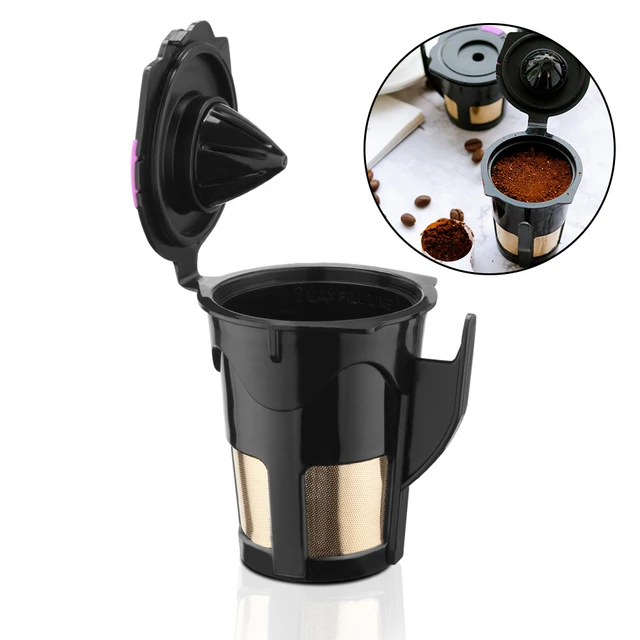
- Remove the K-Cup Holder: Take out the K-Cup holder if it is present. This will prevent any blocks while descaling.
- Clean the Drip Tray: Empty and clean the drip tray, so it doesn’t overflow during the process.
Mix the Descaling Solution
- Using Keurig Descaling Solution: Follow the instructions on the bottle to mix the solution with water. Typically, it involves filling the reservoir halfway with the descaling solution and then topping it off with water.
- Using Vinegar: If you’re opting for a DIY solution, fill the reservoir halfway with equal parts of white vinegar and water.
Start the Descaling Process
- Power On the Machine: Plug in your Keurig Slim, ensuring that it is turned on.
- Run the Descaling Cycle: Place the large container under the coffee outlet. Select the brew button as you normally would. Make sure to use at least the 10-ounce cup setting.
- Let it Brew: Allow the descaling solution to run through the machine as if you were brewing coffee. You may need to repeat this process until the reservoir is empty.
- Discard the Solution: Discard the solution that has filled the container.
Rinse the Machine
- Empty the Reservoir: Rinse out the water reservoir thoroughly.
- Fill with Fresh Water: After emptying and rinsing, fill the reservoir with fresh water to the maximum line.
- Brew Fresh Water: Run several cycles of pure water through your Keurig Slim without a K-Cup. This will help flush any remaining descaling solution from the machine. You should run at least two to three full reservoirs worth of water through it.
Cleaning Up
- Dry All Components: After you’ve completed the rinsing process, dry the water reservoir, drip tray, and any other parts you removed.
- Reassemble the Machine: Put the water reservoir back in place, ensuring it fits snugly, and replace any other components you removed for descaling.
Testing the Machine
Once you have completed all the steps, it’s time to test your Keurig Slim.
- Brew a Cup of Coffee: Make yourself a cup of coffee using a K-Cup. This will help you determine if the descaling process was successful and that your Keurig is back to brewing delicious coffee.
- Observe Performance: Pay close attention to the brewing time and the flavor to ensure everything is functioning correctly.
Additional Tips for Maintenance
Maintaining your Keurig Slim doesn’t end with descaling. Here are more tips to ensure it remains in peak condition.
Regularly Clean External Parts
Wipe down the external parts of your Keurig Slim regularly to remove any spills, dust, and accumulated grime. Use a damp cloth and mild soap if necessary.
Change the Water Filter
If your Keurig Slim has a water filter, make sure to change it regularly as per the manufacturer’s recommendations, usually every two months. This will help improve the taste of your coffee and reduce mineral buildup.
Store Properly
If you plan on not using your Keurig Slim for an extended period, empty the water reservoir and store it in a dry, cool place. This prevents stagnant water from building up inside the appliance.
Troubleshooting Common Issues
Machine Won’t Brew After Descaling
If you’ve recently descaled your machine and it’s not brewing, it may be due to air pockets in the system. Here’s how to troubleshoot:
- Run a Water Only Cycle: Fill the water reservoir with clean water and run a few cycles without a K-Cup to ensure any air bubbles are cleared.
- Check for Clogs: Make sure the needle is clear. You can gently clean it using a paper clip.
Weak Coffee After Descaling
Sometimes, the coffee may taste weak following descaling. If that happens:
- Run an Extra Rinse Cycle: This may help clear any residual descaling solution or vinegar flavor.
- Use Fresh Ingredients: Make sure your coffee beans or grounds are fresh, as old coffee can affect taste.
Conclusion
Descaling your Keurig Slim is an essential process that ensures your coffee maker remains efficient, functional, and capable of brewing the best flavor from every K-Cup. By following the comprehensive steps outlined in this guide, you can maintain your coffee maker in excellent condition and prolong its lifespan. Regular maintenance and timely descaling are key to ensuring that your Keurig Slim serves you the perfect cup of coffee for many years to come. Remember, when it comes to descaling your Keurig Slim, a little effort goes a long way in maintaining a quality brewing experience!