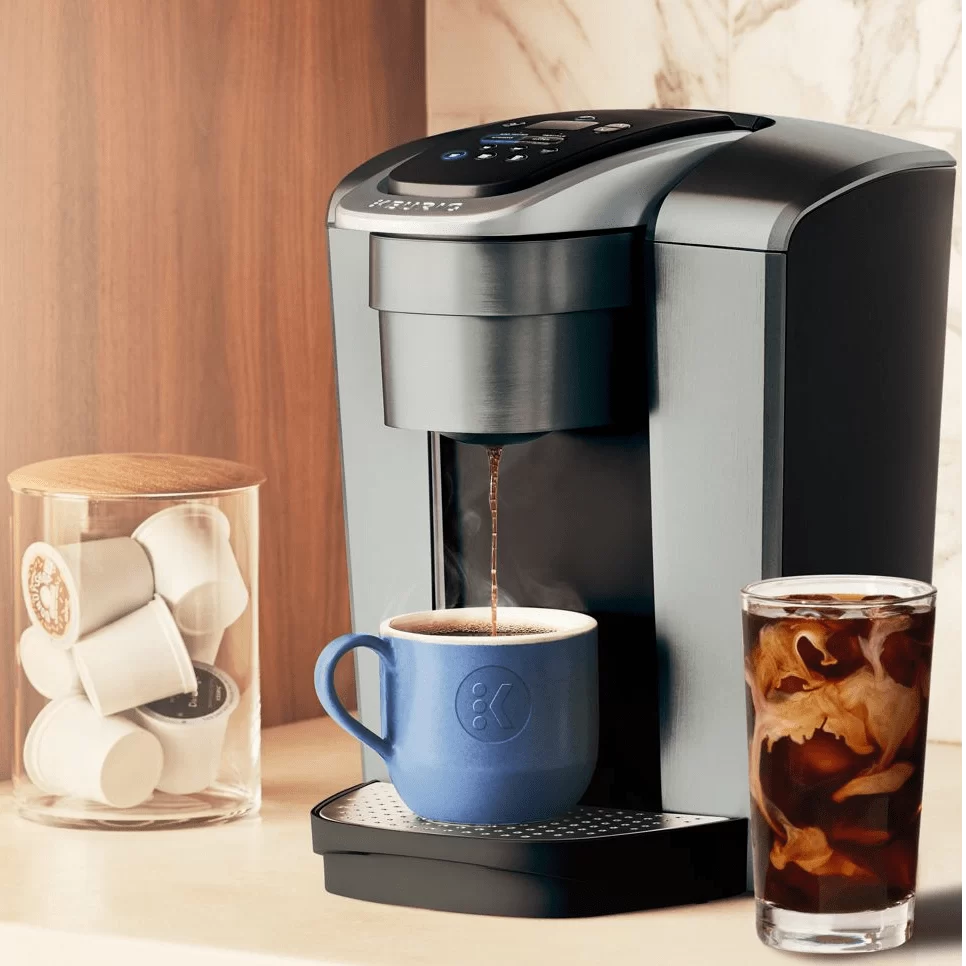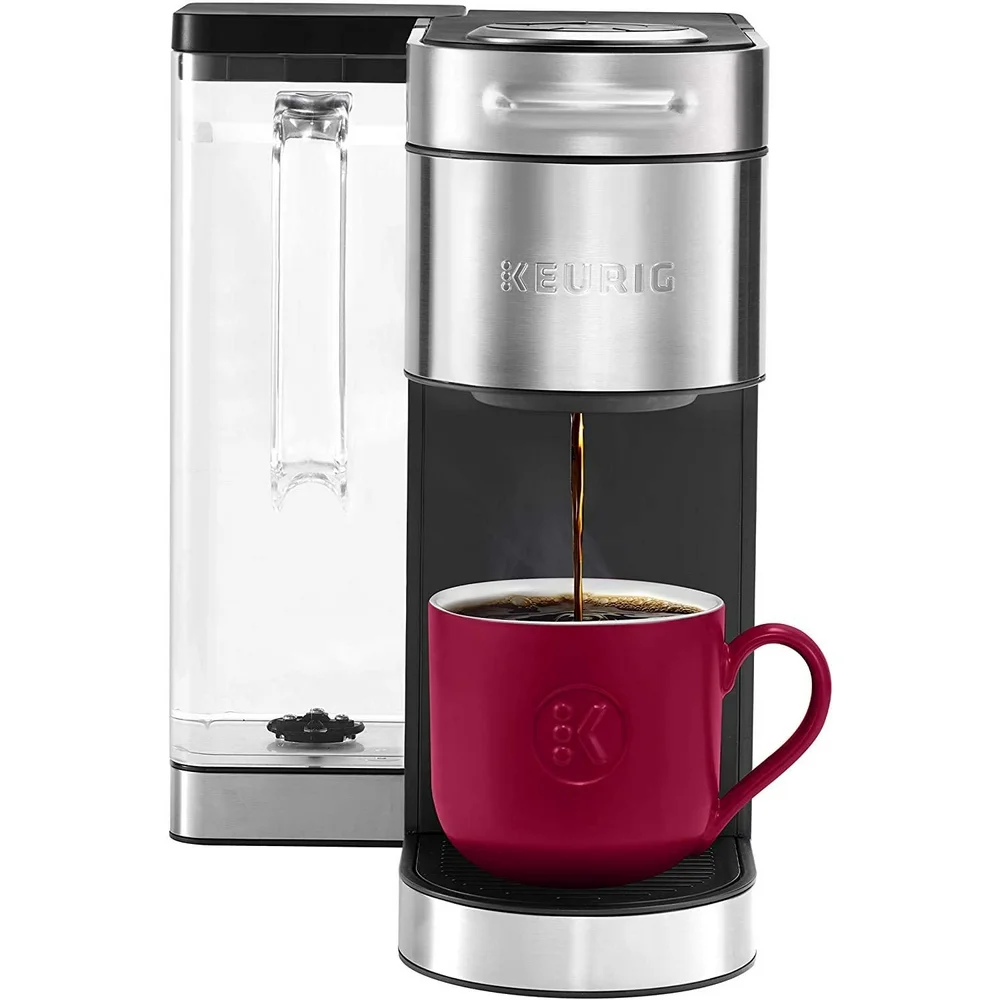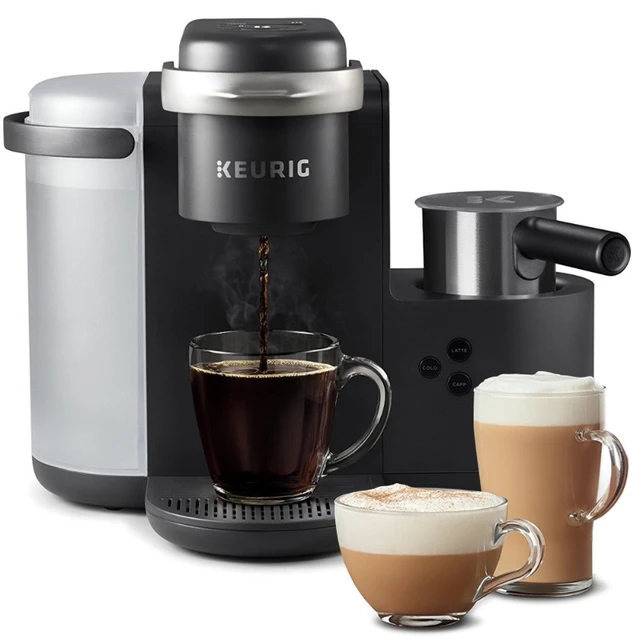
When it comes to brewing the perfect cup of coffee, the water you use is just as important as the coffee itself. Especially in a Keurig, where the machine utilizes water to create a quick and delicious brew, choosing the right type of water can make a significant difference in both flavor and machine longevity. In this article, we will delve into the best water to use in a Keurig and discuss various factors that affect not just your coffee’s flavor but also the health of your machine.
Why Water Quality Matters
The quality of the water you use directly influences the taste of your coffee. Water acts as a solvent that extracts flavors, acids, and oils from coffee grounds. Poor quality water can lead to a flat or bitter brew, while high-quality water enhances the coffee’s aromas and flavors. Here are some critical aspects of water quality:
Taste and Aroma
Any impurities or additives in water can drastically change its taste. Chlorine, for example, is commonly found in tap water and can give your coffee an undesirable flavor. Using filtered or purified water that is free of such impurities can dramatically enhance the flavor profiles of various coffee beans.
Mineral Content
The mineral content in water plays a pivotal role in how it interacts with coffee. Essential minerals like calcium and magnesium can improve extraction, contributing to a fuller taste. Conversely, water that is too soft (lacking minerals) may not extract flavors effectively, resulting in a weak or insipid brew.
pH Levels
The pH level of water can also influence coffee flavor. Ideal water for brewing coffee has a pH level close to neutral (between 6.5 and 7.5). Water that is too acidic or too alkaline can negatively impact flavor extraction and overall taste.
Best Types of Water for Brewing
Given the importance of water quality, several options stand out when considering the best water to use in a Keurig. Below are some of the top choices:
Filtered Water
Using filtered water is often regarded as one of the best options. Water filters remove chlorine, sediment, and other impurities that can affect flavor, making it a viable choice for those who want to enhance their coffee experience.
Advantages of Filtered Water
- Improved Taste: Filtered water typically tastes better than tap water, making for a more enjoyable cup of coffee.
- Machine Longevity: Filters can help reduce mineral build-up in your Keurig, minimizing the frequency of descaling.
Disadvantages of Filtered Water
- Cost: Investing in a quality water filtration system can be pricey.
- Maintenance: Regularly replacing filters can be inconvenient.
Spring Water
Spring water comes from natural springs and usually contains a balanced mineral content that is beneficial for brewing coffee. It’s often considered a premium option.
Advantages of Spring Water
- Balanced Minerals: Often rich in beneficial minerals that enhance coffee flavor.
- Natural Source: The natural filtration process can result in cleaner water than many municipal sources.
Disadvantages of Spring Water
- Cost: Bottled spring water can be expensive.
- Environmental Impact: Purchasing bottled water creates additional plastic waste.
Distilled Water
Distilled water is created by boiling water and then condensing the steam back into a liquid. This process removes impurities and minerals.
Advantages of Distilled Water
- Purity: Almost entirely free from contaminants.
- Flavor Neutral: Distilled water won’t interfere with the taste of your coffee.
Disadvantages of Distilled Water
- Lack of Minerals: Without minerals, it might not extract the flavors effectively, leading to bland coffee.
- Machine Issues: Over time, using distilled water can result in corrosion or other problems due to lack of essential minerals.
Reverse Osmosis Water
Reverse osmosis (RO) water is semi-purified through a filtration process that removes a wide range of contaminants and minerals.
Advantages of Reverse Osmosis Water
- Purity: Extremely effective at removing impurities.
- Adjustable Minerals: You can add minerals back into the water for an improved flavor profile.
Disadvantages of Reverse Osmosis Water
- Cost: Installing an RO system can be expensive.
- Complexity: It may require a more in-depth understanding of water chemistry if you’re adjusting mineral levels.
Tap Water
Tap water is the most convenient option for many, but it comes with pros and cons.
Advantages of Tap Water
- Convenience: Easily accessible and requires no additional equipment.
- Cost-Effective: Typically low in cost compared to bottled or filtered options.
Disadvantages of Tap Water
- Chemical Additives: Contains chlorine and other chemicals that may alter the taste.
- Variable Quality: Water quality can vary significantly from one municipality to another.
Tips for Choosing the Best Water
When it comes to choosing the best water to use in a Keurig, consider the following tips:
Conduct a Taste Test
Experiment with different types of water to determine which enhances your favorite coffees the most. Make sure to brew the same coffee using different water types and note the differences in flavor.
Check for Compatibility
Some types of water may not be compatible with your Keurig. Always refer to the owner’s manual to ensure the water you use won’t void any warranties.
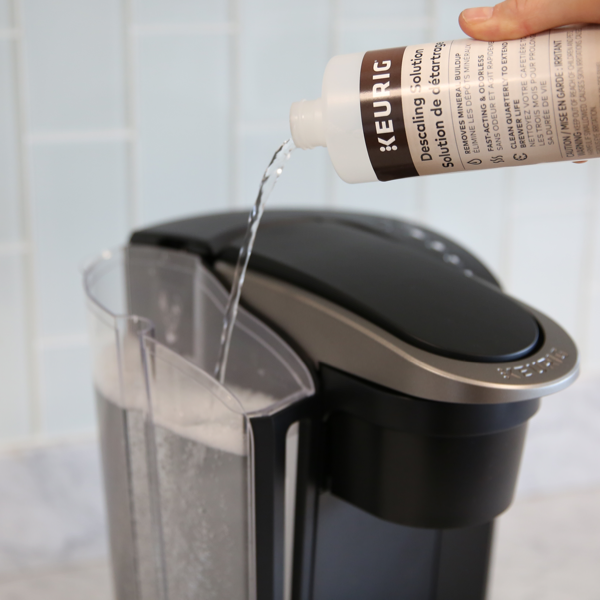
Regularly Maintain Your Machine
No matter what type of water you choose, regular maintenance of your Keurig is essential. This includes descaling every few months to remove mineral build-up and ensuring that any filters are replaced according to manufacturer recommendations.
Monitor Water Quality
Different seasons or weather conditions can affect municipal water quality. Stay vigilant and adjust your water choice as needed.
The Impact of Water Temperature
Another factor worth discussing is the temperature of the water used for brewing. Most coffee experts agree that the optimal water temperature for brewing coffee is between 195°F and 205°F. If the water is too hot, it can cause bitter flavors; if it’s too cold, the coffee might be under-extracted and weak. While Keurig machines generally have optimal heating systems, the type of water can influence how well the temperature is maintained.
Common Myths About Using Water in Keurig
There are several myths surrounding the use of water in coffee brewing, particularly concerning Keurig machines.
Myth 1: Only Bottled Water Is Acceptable
While bottled water can enhance flavor, it is not the only option. As discussed, filtered water and certain types of municipal water can also provide an excellent brewing experience.
Myth 2: All Tap Water Is Bad
While many tap waters contain chlorine and other impurities, others are relatively clean and safe for brewing, depending on local water quality.
Myth 3: Distilled Water Is Always the Best Choice
Using distilled water is not universally regarded as the best option due to its lack of minerals. It may result in a coffee that lacks complexity and flavor.
Conclusion
In conclusion, the best water to use in a Keurig significantly influences your coffee’s flavor and the longevity of your machine. Filtering your water, opting for spring water, or even ensuring your tap water meets quality standards can lead to a more satisfying brew. Understanding the intricacies involved in selecting the right water—from its mineral content and purity to its temperature—can make all the difference in your coffee experience. Whether you choose filtered water, spring water, or another option, investing time in understanding how water affects your coffee will ultimately lead to a better cup every time. Remember, the best water to use in a Keurig is one that best meets your taste preferences while ensuring the health of your machine.