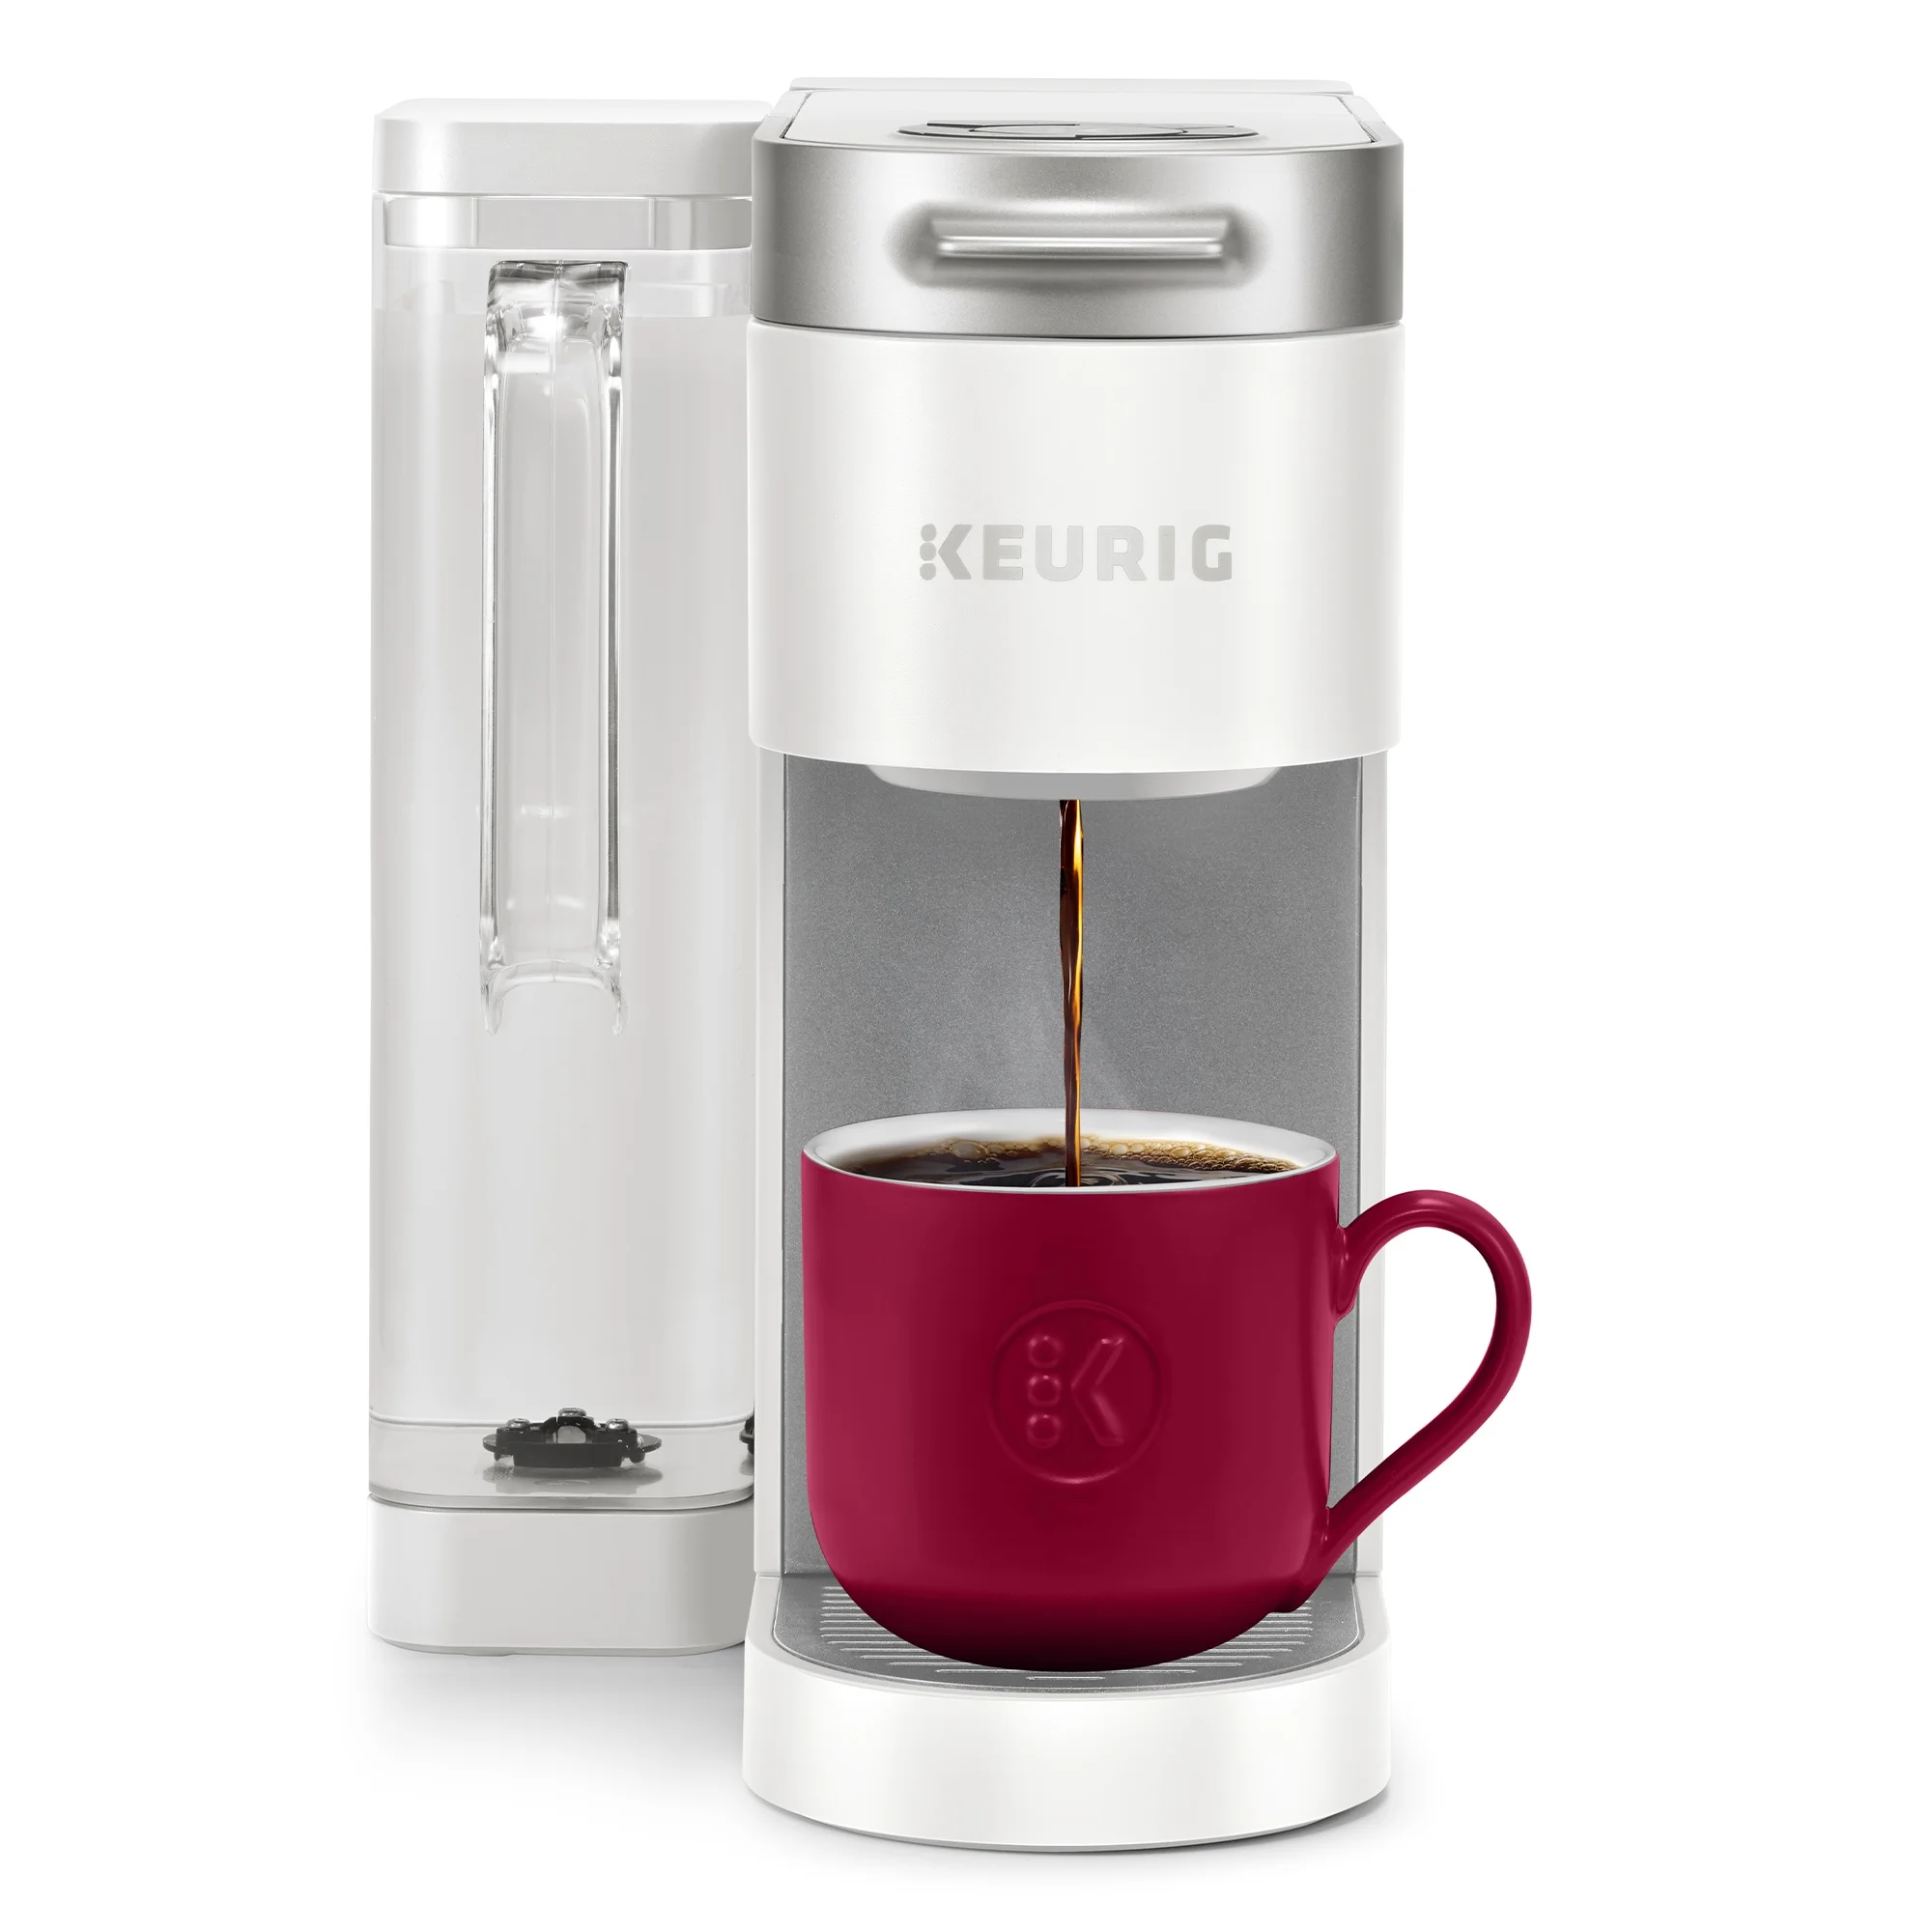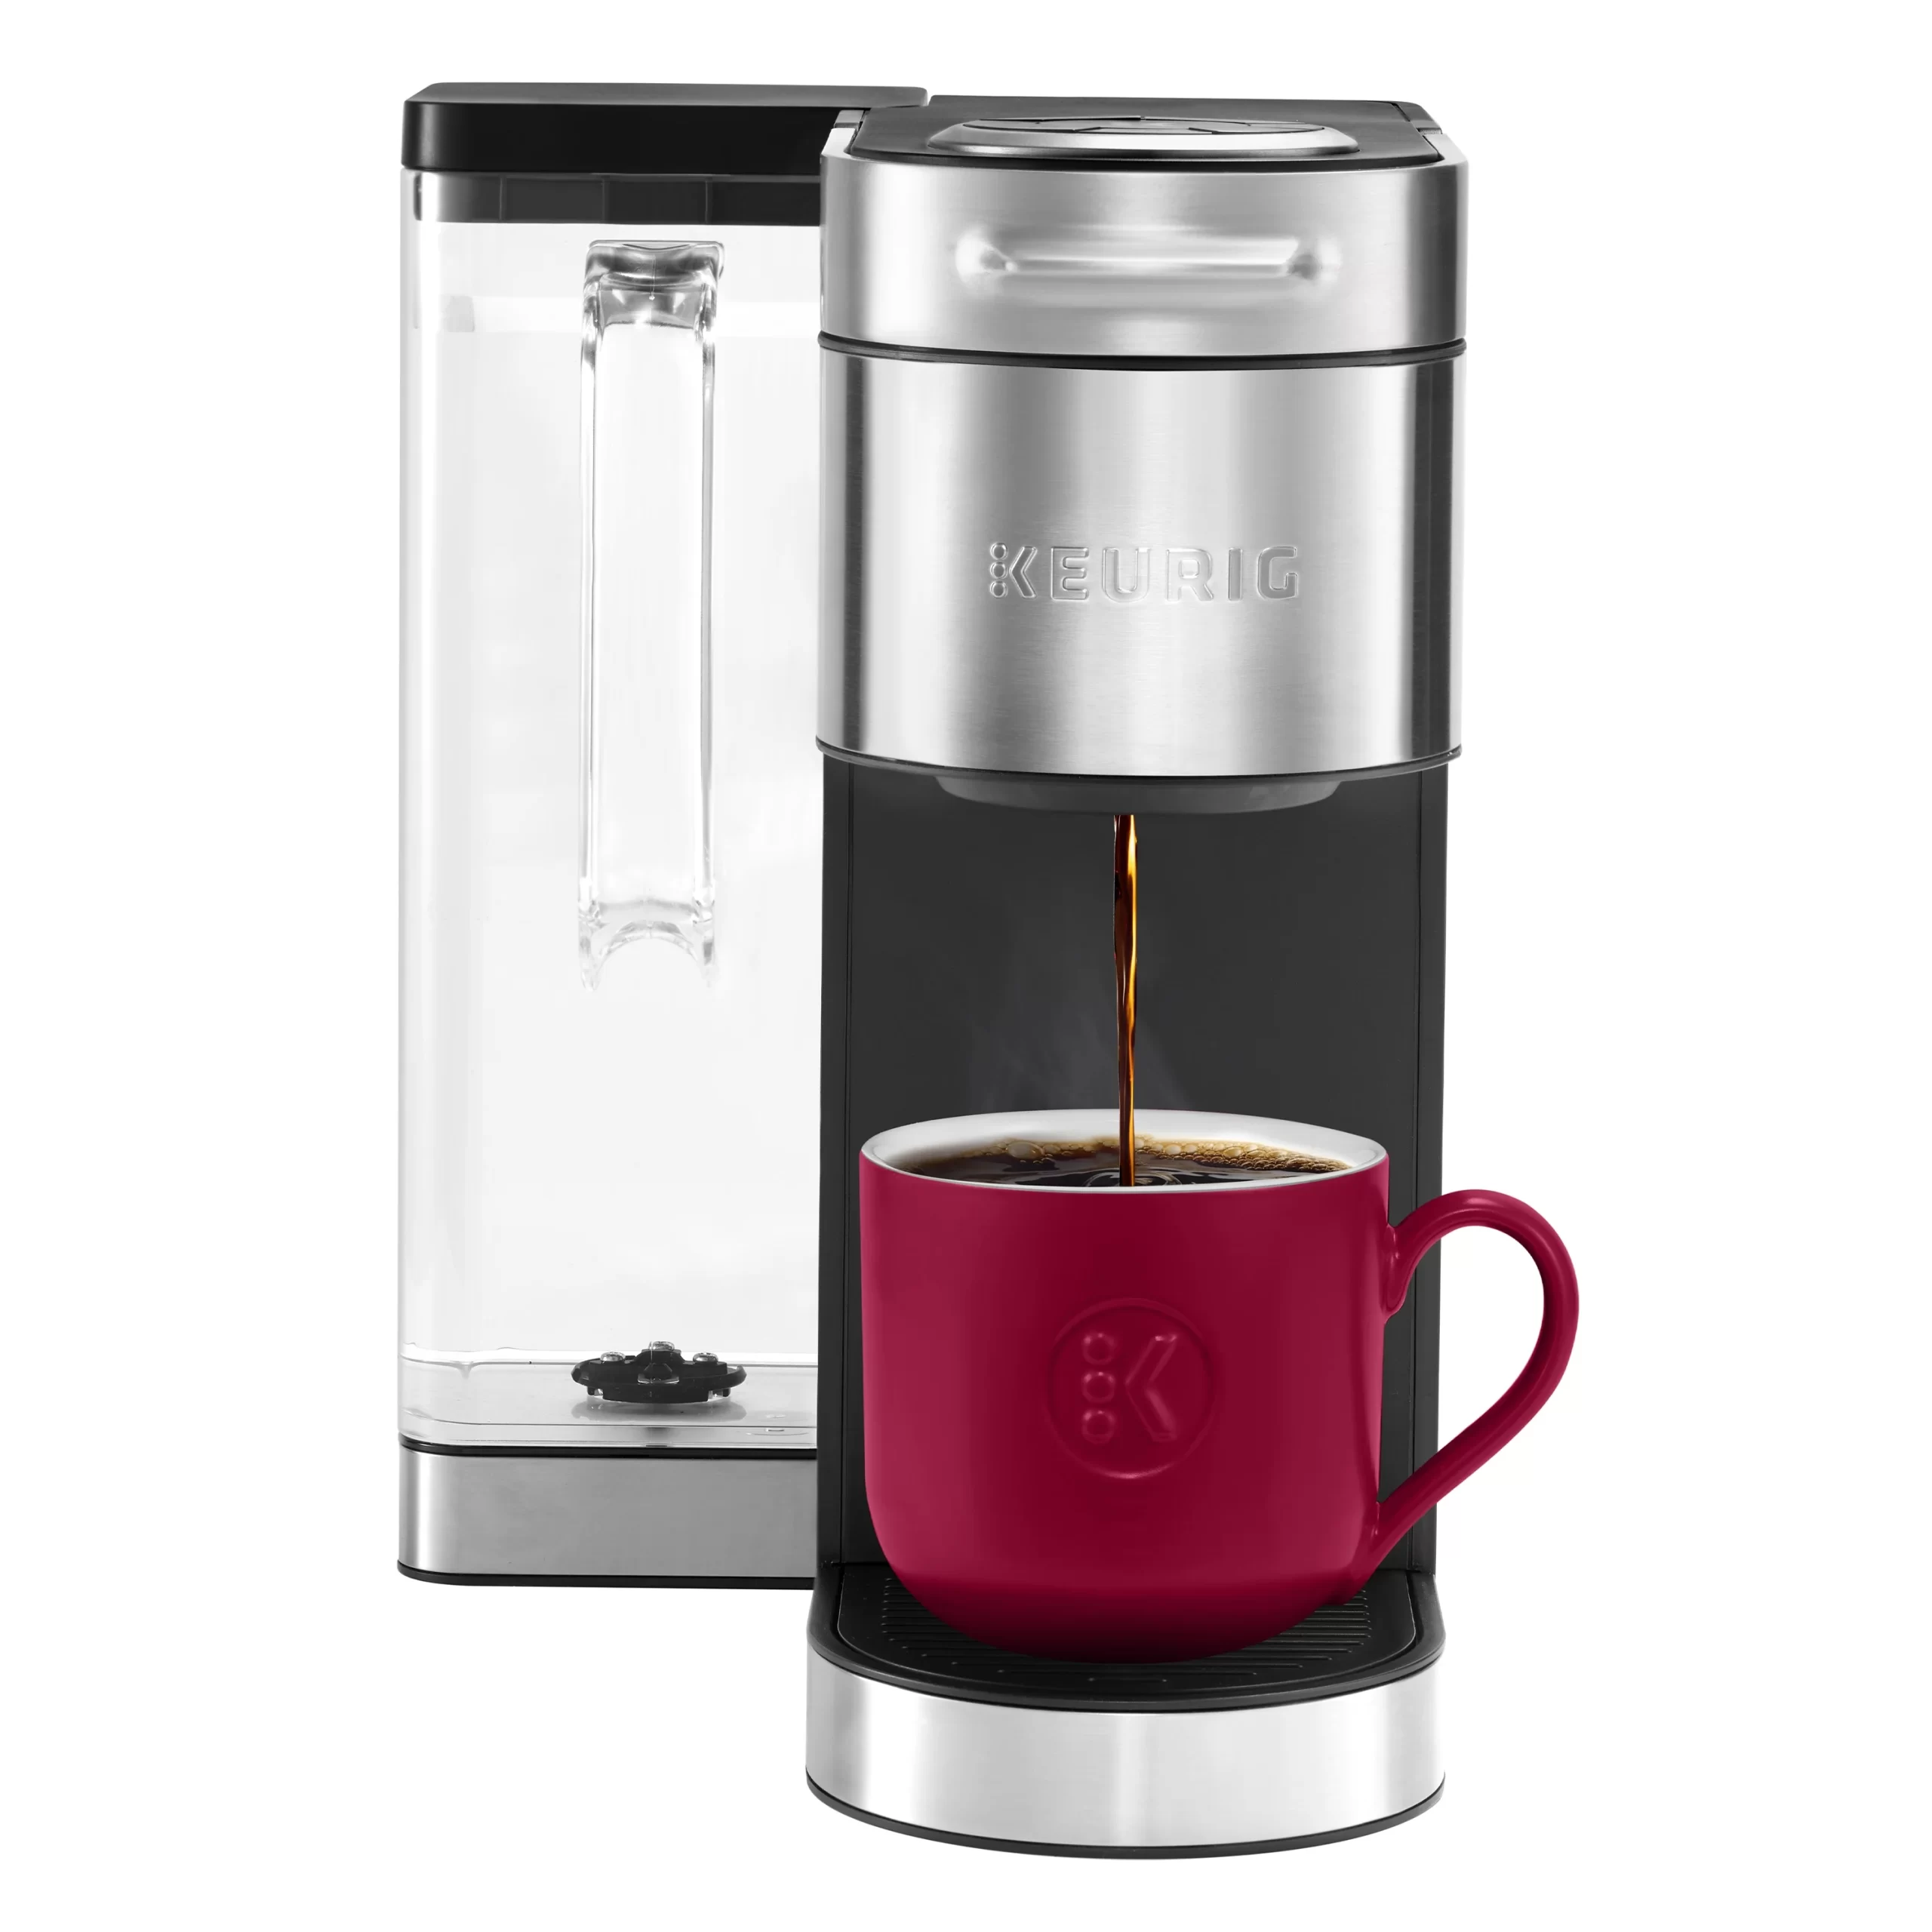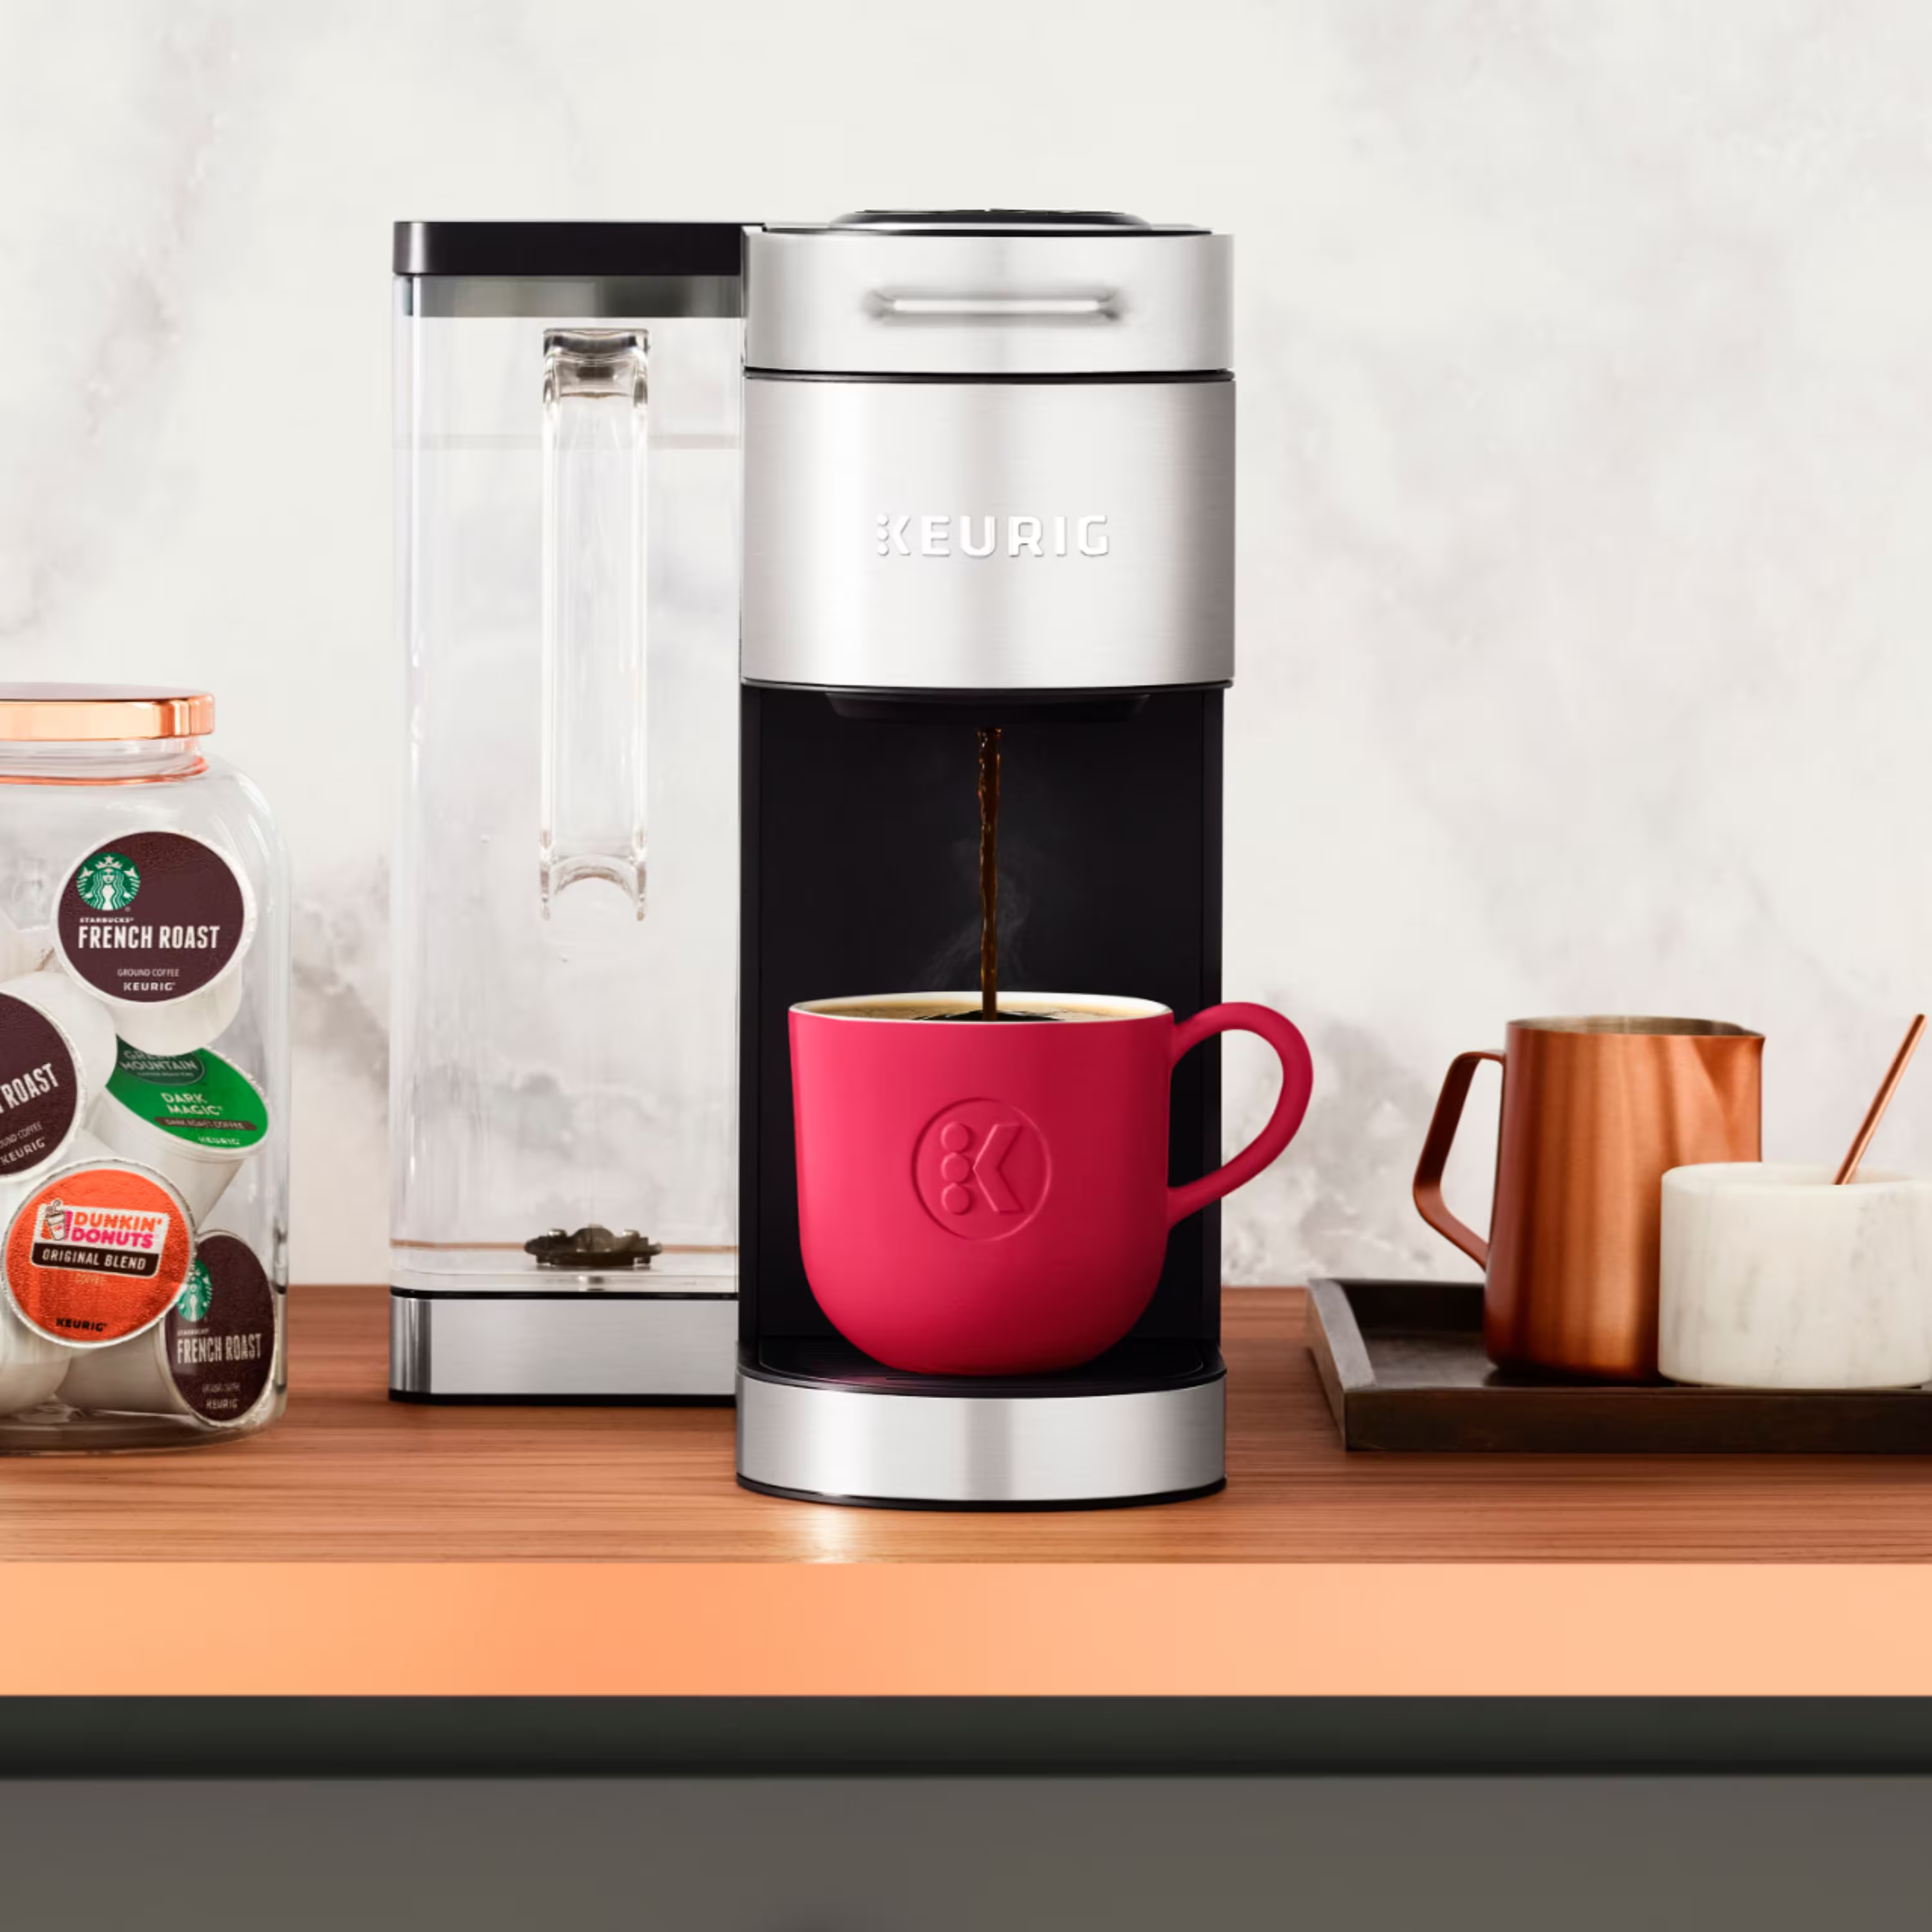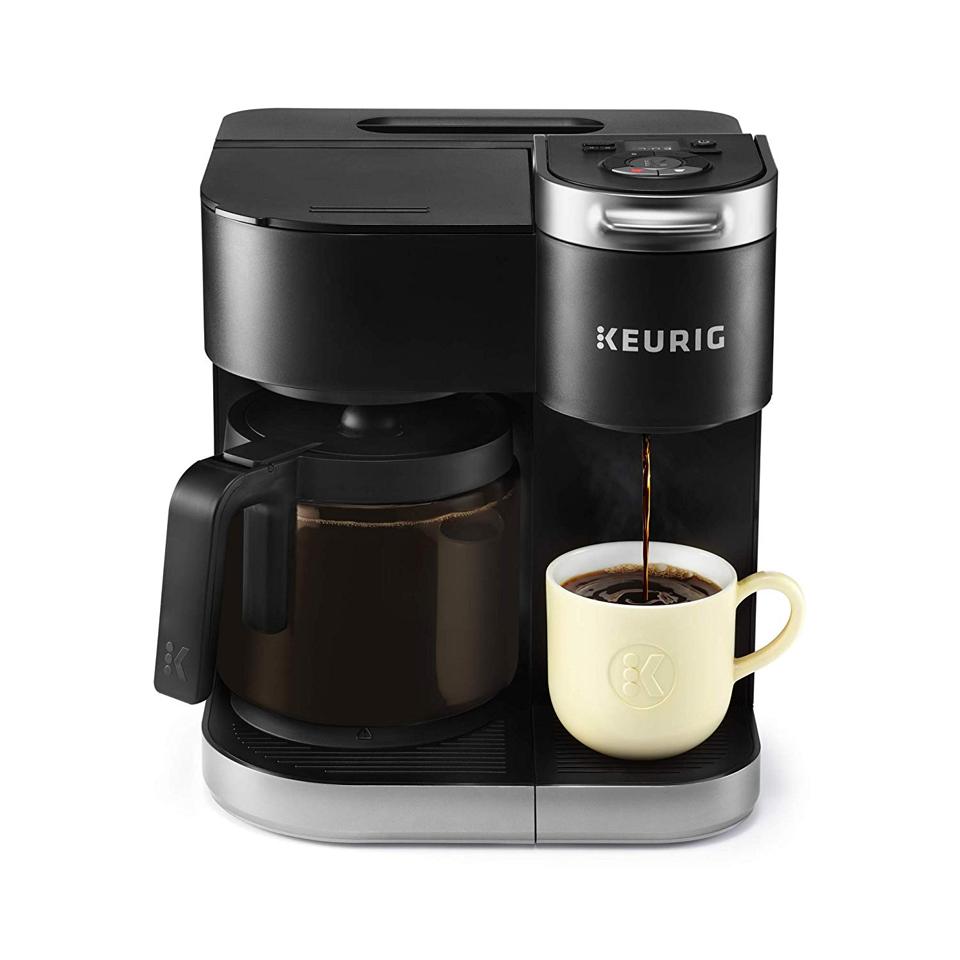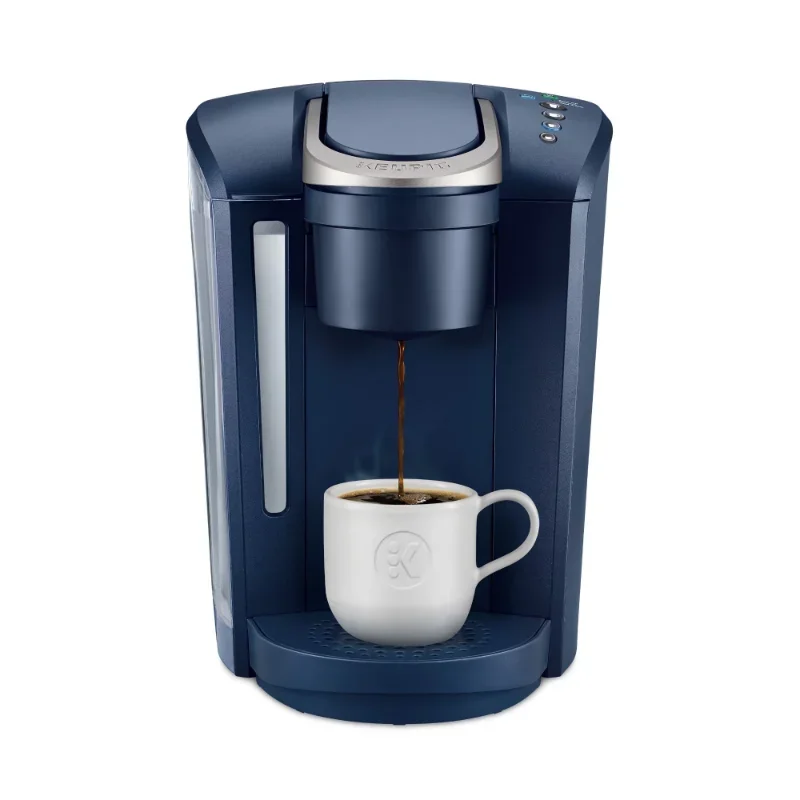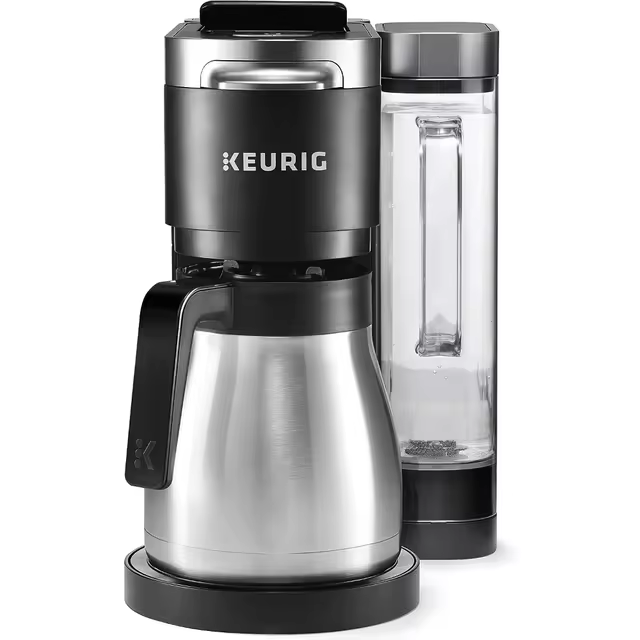
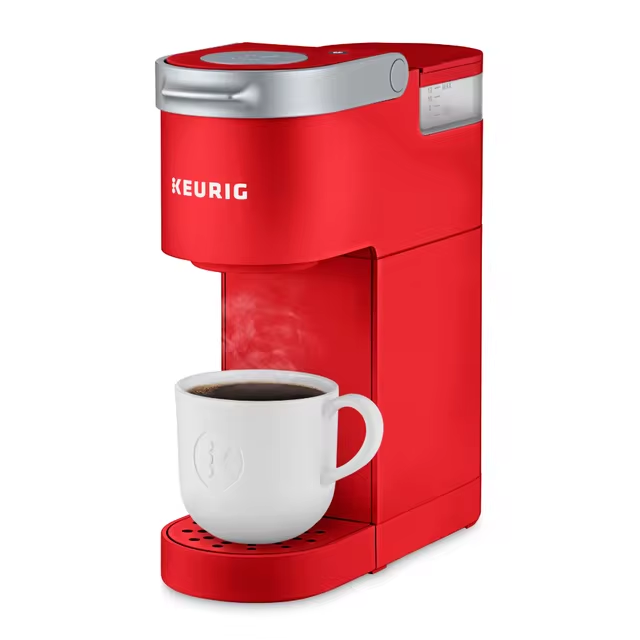
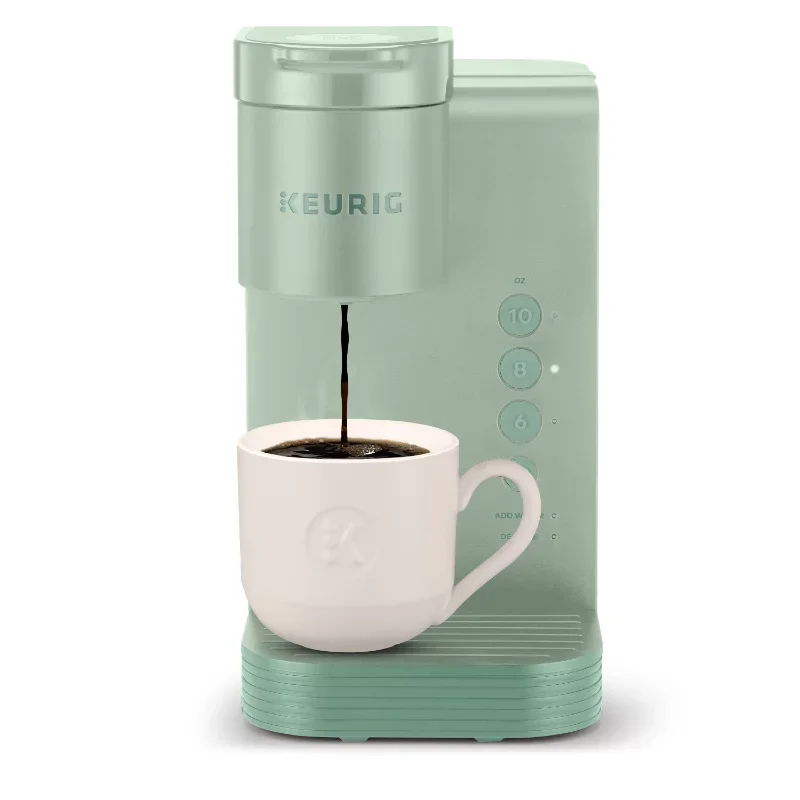
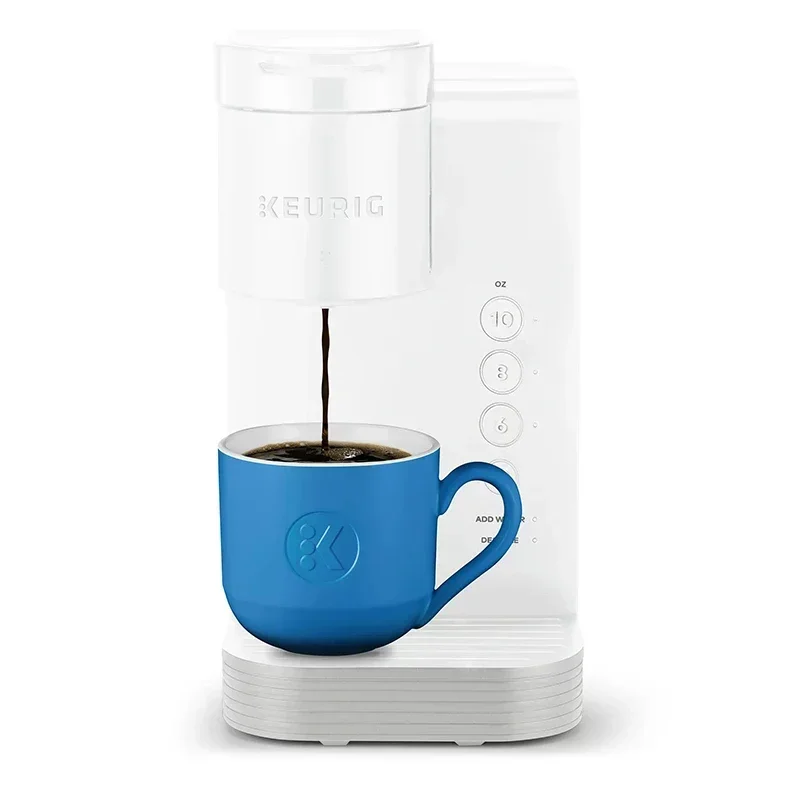
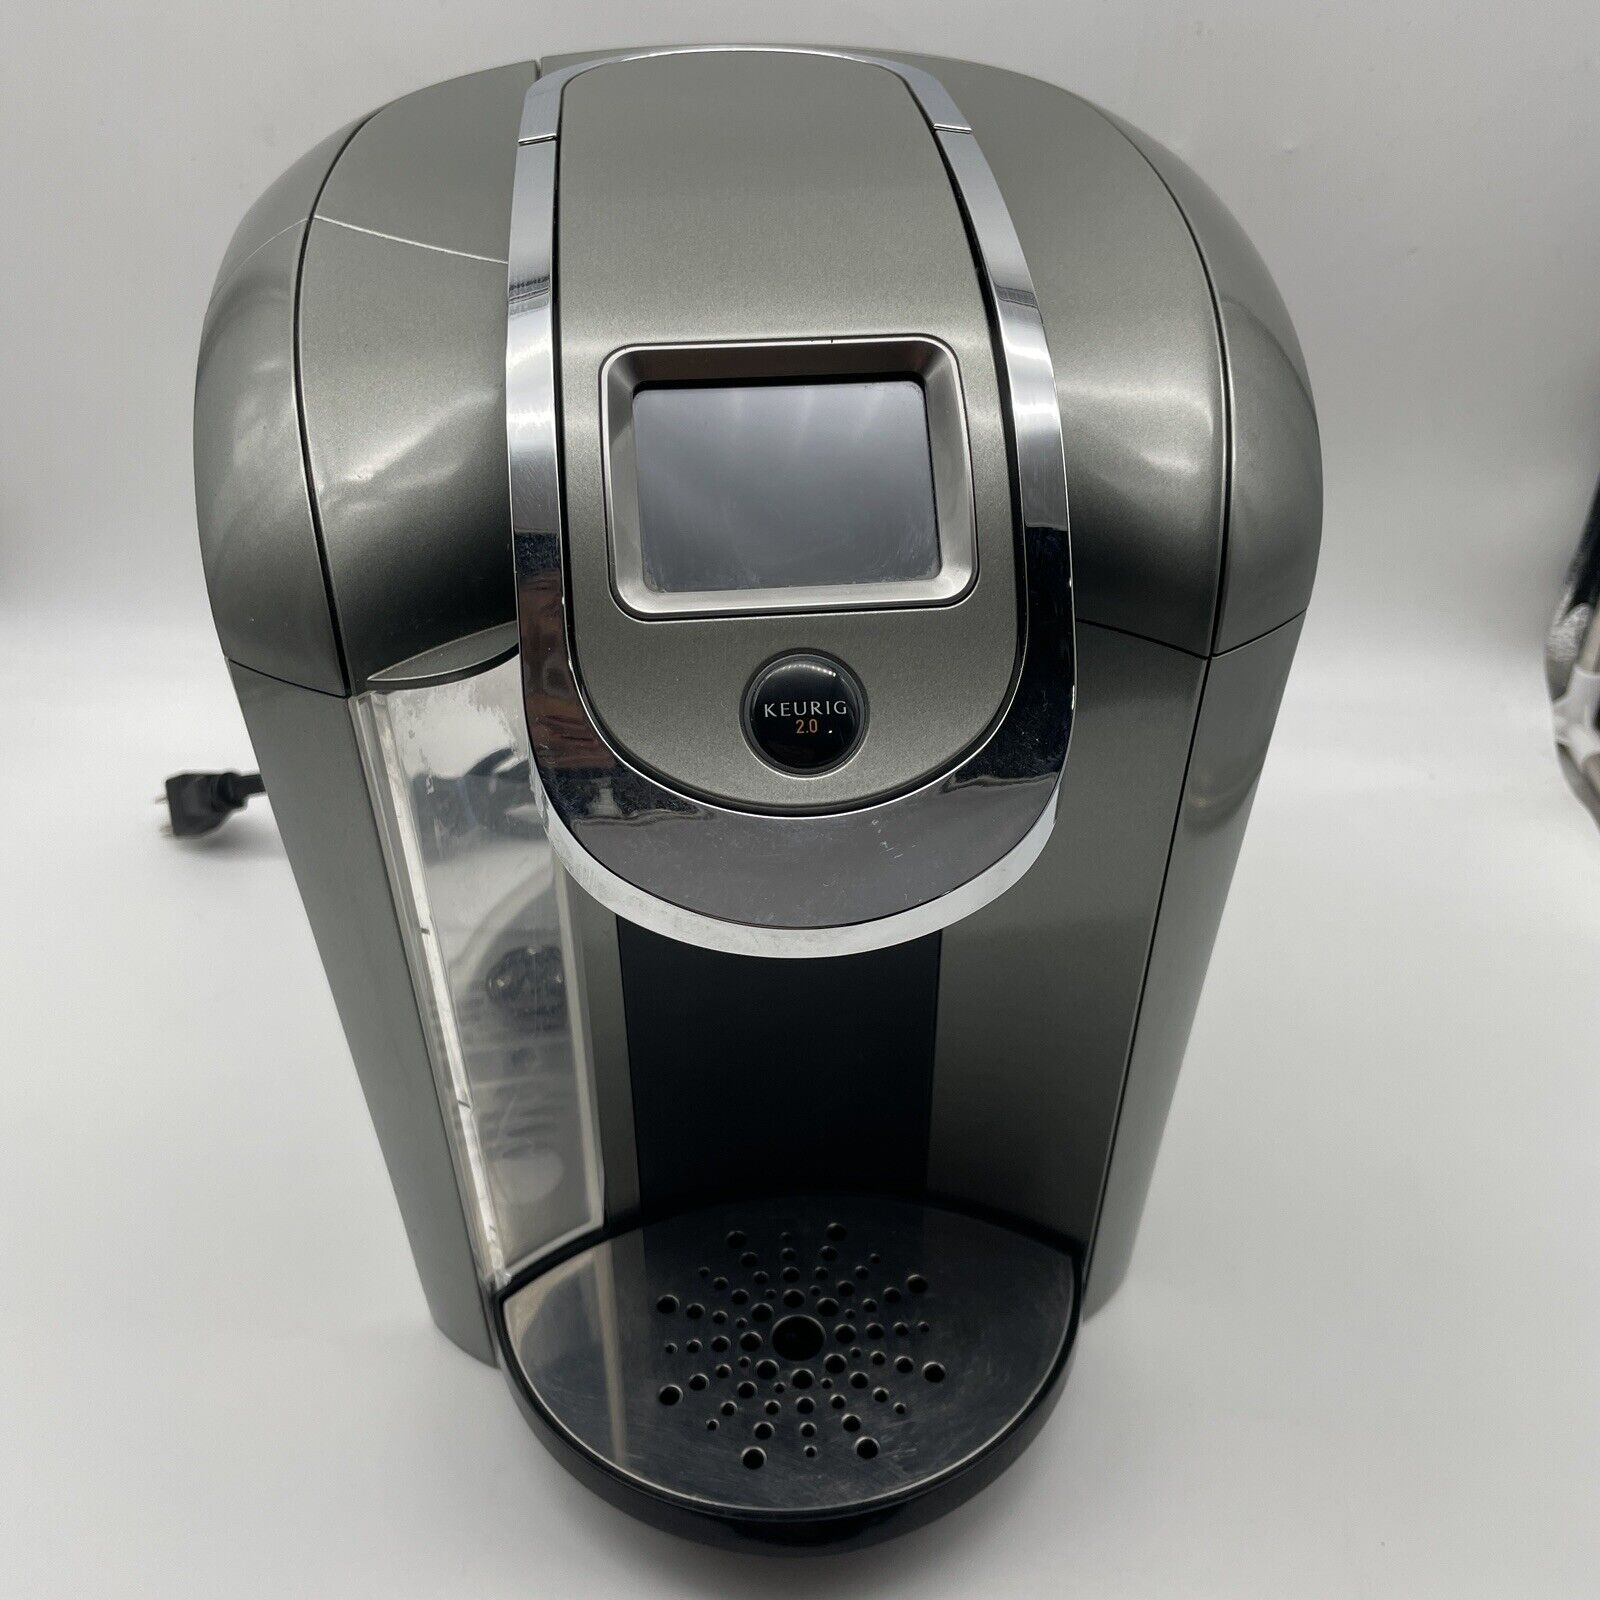
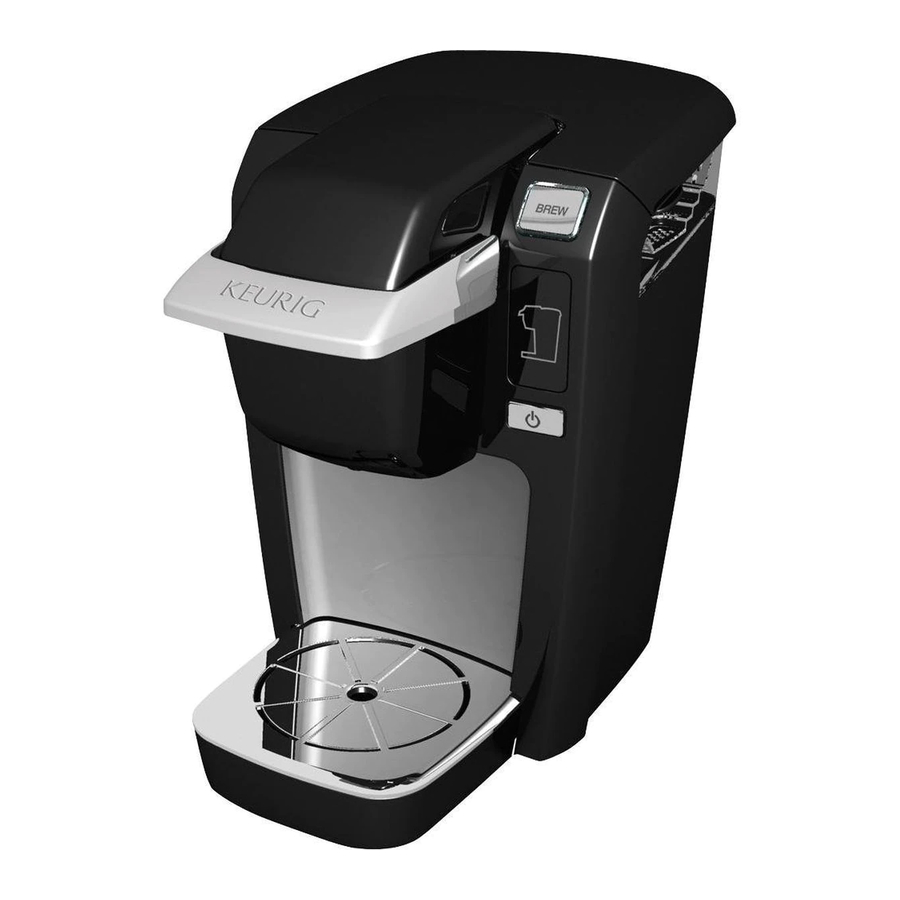
Introduction: keurig machine not working
Welcome to the ultimate troubleshooting manual for when your keurig machine not working. Keurigs have simplified the brewing process immensely, making it possible for coffee lovers to enjoy a fresh cup with just the press of a button. But despite their convenience, these machines aren’t without their hiccups.

If you find your Keurig machine not working as it should, you’re in the right place. Perhaps it won’t turn on, it’s not brewing properly, or it’s dispensing the wrong coffee volume. Whatever the issue, don’t let it disrupt your daily caffeine ritual. This blog post will guide you through quick fixes and preventive measures to keep your Keurig running smoothly.
In the following sections, we’ll walk you through common issues that may cause your Keurig to stall. We’ll provide you with a step-by-step troubleshooting guide, and share maintenance tips to prevent future problems. Plus, we’ll address frequently asked questions that might come up along the way. So, let’s get started and bring your Keurig back to life!
Common Reasons Why Keurigs Stop Working
Insufficient Power Supply
One of the most straightforward issues could be power-related. First, ensure your Keurig is plugged into an outlet and that the outlet is functional. If other devices work on the same outlet, but your Keurig doesn’t, the problem lies within the machine’s power supply. Check for a tripped circuit breaker or a blown fuse as well.
Issues with Water Reservoir Connection
Your Keurig won’t work if the water reservoir isn’t properly seated. Make sure it’s correctly snapped into place. Sometimes, air bubbles trapped in the reservoir can interfere with the machine’s operation. Remove the tank, give it a gentle shake, then reattach.
Scale Buildup Hindering Functionality
Scale buildup from hard water can impact your Keurig’s performance. This mineral buildup can clog water lines and affect heating elements. Regular descaling with a special solution or white vinegar can prevent these kinds of issues and extend your coffee maker’s lifespan.
Step-by-Step Troubleshooting Guide
Encountering a hiccup with your Keurig can be frustrating, but worry not. We’ve outlined a systematic approach to identify and solve the issue efficiently. Here, we address common malfunctions and guide you through resolving them with ease. Let’s dive into a step-by-step troubleshooting guide for your Keurig coffee machine.
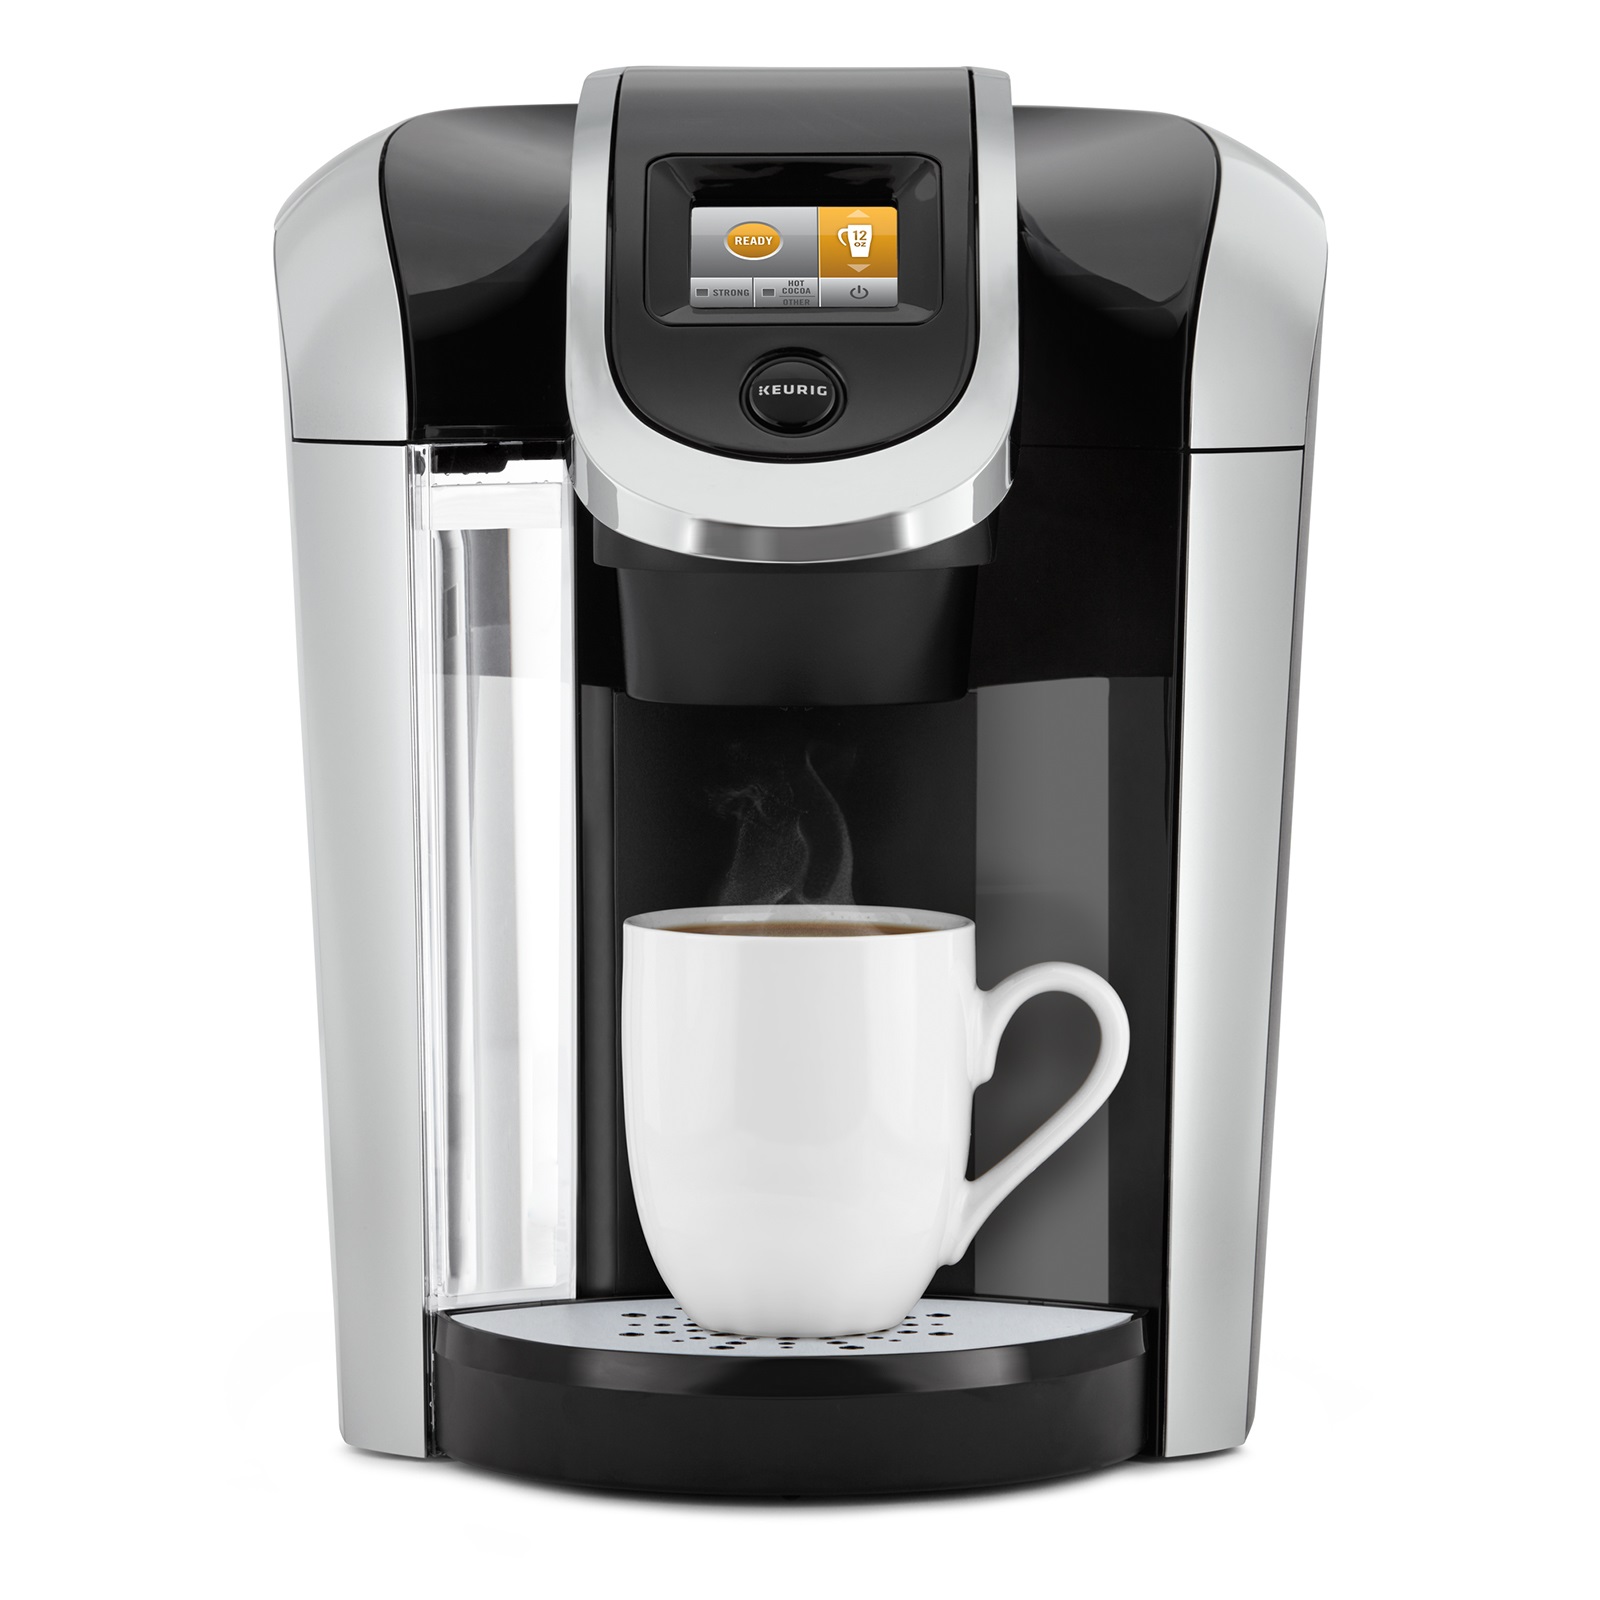
Checking the Machine’s Setup
Before jumping to conclusions, check the basics:
- Ensure your Keurig is firmly plugged into an active electrical outlet.
- Verify that it’s switched on. Some Keurigs have a power button located on the lower right side or back.
- Confirm there is water in the reservoir. If empty, refill it to the appropriate line.
- Check that the reservoir is properly seated. If not, remove and reattach it to eliminate any air gaps.
If your Keurig machine still fails to operate correctly after these steps, it’s time to move to more involved troubleshooting.
Resetting Your Keurig
Often, rebooting the system can resolve electronic glitches. Here’s how to reset your Keurig:
- Turn off the Keurig, then unplug it from the power source.
- Wait a few minutes to let the machine reset itself.
- Plug it back in and switch it on. This may clear any minor software issues.
Cleaning and Descaling Your Machine
Regular upkeep is essential for optimal performance:
- Perform a deep clean of the Keurig’s removable components, like the drip tray and K-cup holder, with soap and water.
- Use a descaling solution or diluted white vinegar to clear out any mineral build-up in the water lines.
- Run a few water-only brew cycles to ensure all cleaning agents are completely rinsed out.
When to Contact Keurig Customer Service
If the issues persist after trying these solutions, Keurig’s customer service is your go-to:
- Reach out to them for assistance if your machine isn’t fixed with a basic reset or clean.
- Keurig support can walk you through any model-specific troubleshooting or arrange repairs if necessary.
By following this troubleshooting guide, you’re likely to get your Keurig back in action. Remember, regular maintenance can prevent many of these issues. So, keep your machine clean, descale regularly, and ensure proper setup for a smoother brewing experience.
 Dealing with Specific Keurig Issues
Dealing with specific issues on your Keurig can be simple if you know what to look for. Below are some common Keurig concerns, they’re possible causes, and solutions to try before contacting customer support.
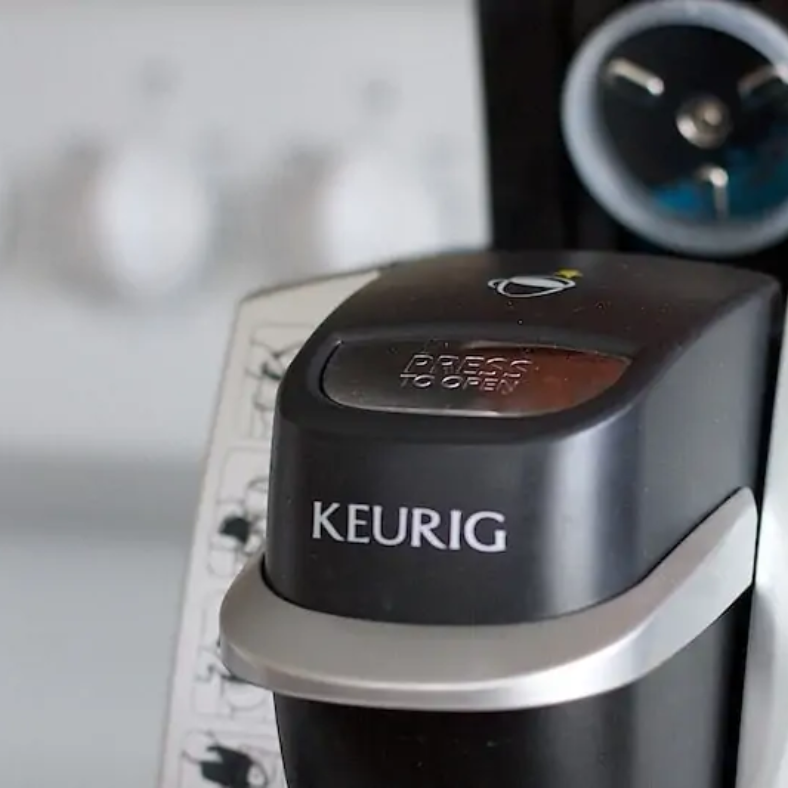
Machine Won’t Turn On
If your Keurig machine is not powering up:
- Check that it’s plugged into a working outlet.
- Ensure the power button is firmly pressed.
- Look for any signs of damage to the cord or unit.
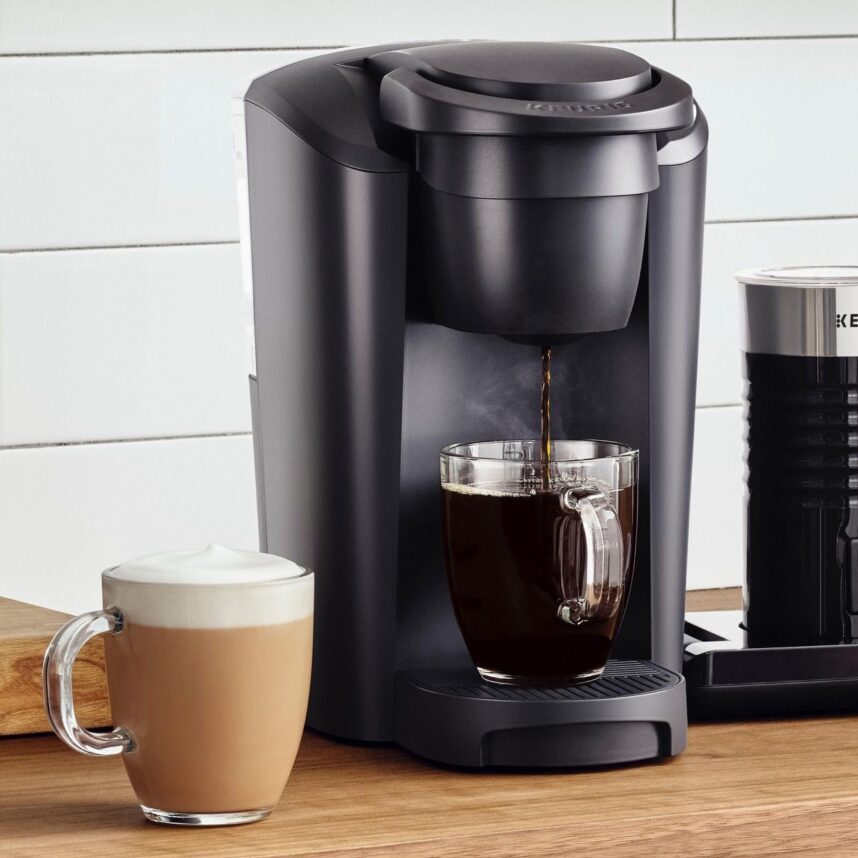
Keurig Is Not Brewing Coffee
When your Keurig won’t brew:
- Check if the machine indicates it needs water.
- Make sure there’s no clog in the needles.
- Run a cleansing brew cycle without a K-cup.
Keurig Dispensing Too Little or Too Much Coffee
If coffee volume is incorrect:
- Clean the exit needle to ensure it’s not blocked.
- Verify that the water reservoir is properly seated.
- Check for and clear any debris from the water line.
Coffee Grounds in the Cup
If you find grounds in your cup:
- Inspect the K-cup for puncture issues.
- Use the correct grind size for reusable filters.
- Clean all needles and K-cup holder regularly.
Keurig Experiencing Leakage
To deal with a leaky Keurig:
- Check for a damaged O-ring or water reservoir.
- Look for and seal any cracks in the unit.
Strange Noises or Beeping
For odd noises or beeping:
- Descale the machine to remove any buildup.
- Tighten any loose parts that may be rattling.
- Follow reset instructions to correct any software glitches.
By taking these steps, you tackle common issues at home. Regular maintenance and knowing how to respond to specific Keurig problems can save you time and ensure you’re never too long without your coffee fix.
Maintenance Tips to Prevent Future Problems
Keeping your Keurig coffee maker in good shape requires regular attention. Here are some tips to help prevent issues and ensure your machine continues to produce great-tasting coffee.
Regular Cleaning Schedule
Maintain a consistent cleaning routine to keep your Keurig brewing smoothly:
- Descale every 3-6 months: Use a descaling solution or vinegar to remove mineral buildup.
- Clean after use: Wipe surfaces and remove K-cups promptly after brewing.
- Wash removable parts weekly: Clean the drip tray, water reservoir, and K-cup holder with soapy water.
A clean machine is less likely to develop clogs or other problems that can affect its performance.
Proper Usage of K-Cups
Using K-cups correctly can impact your Keurig’s longevity and the coffee’s taste:
- Don’t reuse K-cups: This can lead to weaker coffee and potential machine damage.
- Check for leaks: Damaged K-cups can spill grounds into your cup or machine.
Following these steps can make a significant difference in the functioning of your Keurig.
Monitoring for Clogs and Malfunctions
Be proactive in checking for signs of trouble with your Keurig:
- Listen for strange noises: These can indicate a clog or a mechanical issue.
- Observe brew quality: Changes in coffee strength or temperature may signal a problem.
- Inspect for leaks: Regularly check for water under the machine, which can hint at a malfunction.
By keeping a watchful eye on your Keurig and addressing small issues promptly, you can often prevent bigger problems down the road.
Implement these maintenance tips, and your Keurig machine not working should be a rare inconvenience. Enjoy consistent, delicious cups of coffee without the hassle of unexpected breakdowns.
Conclusion: keurig machine not working
In summary, when facing issues with your Keurig coffee maker, simple steps can often lead to a solution. Regular maintenance, proper use of K-Cups, and monitoring for potential clogs are proactive measures that can prevent many problems. However, if your Keurig is still not performing after these tips, reaching customer support is the next best step. Remember, the goal is to quickly address issues so you can get back to enjoying your coffee with minimal disruption.
Maintain your Keurig regularly, use it properly, and be vigilant for any signs of malfunction. This way, your coffee maker should serve you well, with fewer unexpected stops in your daily coffee routine. If you’ve gone through all the steps and your Keurig machine is not working, it may be time to contact the experts or consider a replacement. Enjoy your coffee moments without worry, knowing solutions are at hand when your Keurig stalls.
FAQ: Addressing Additional Keurig Concerns
In your journey with a Keurig coffee maker, you might encounter some persistent issues which simple troubleshooting or regular maintenance doesn’t seem to fix. Here, we answer further questions to help keep your brewing experience seamless.
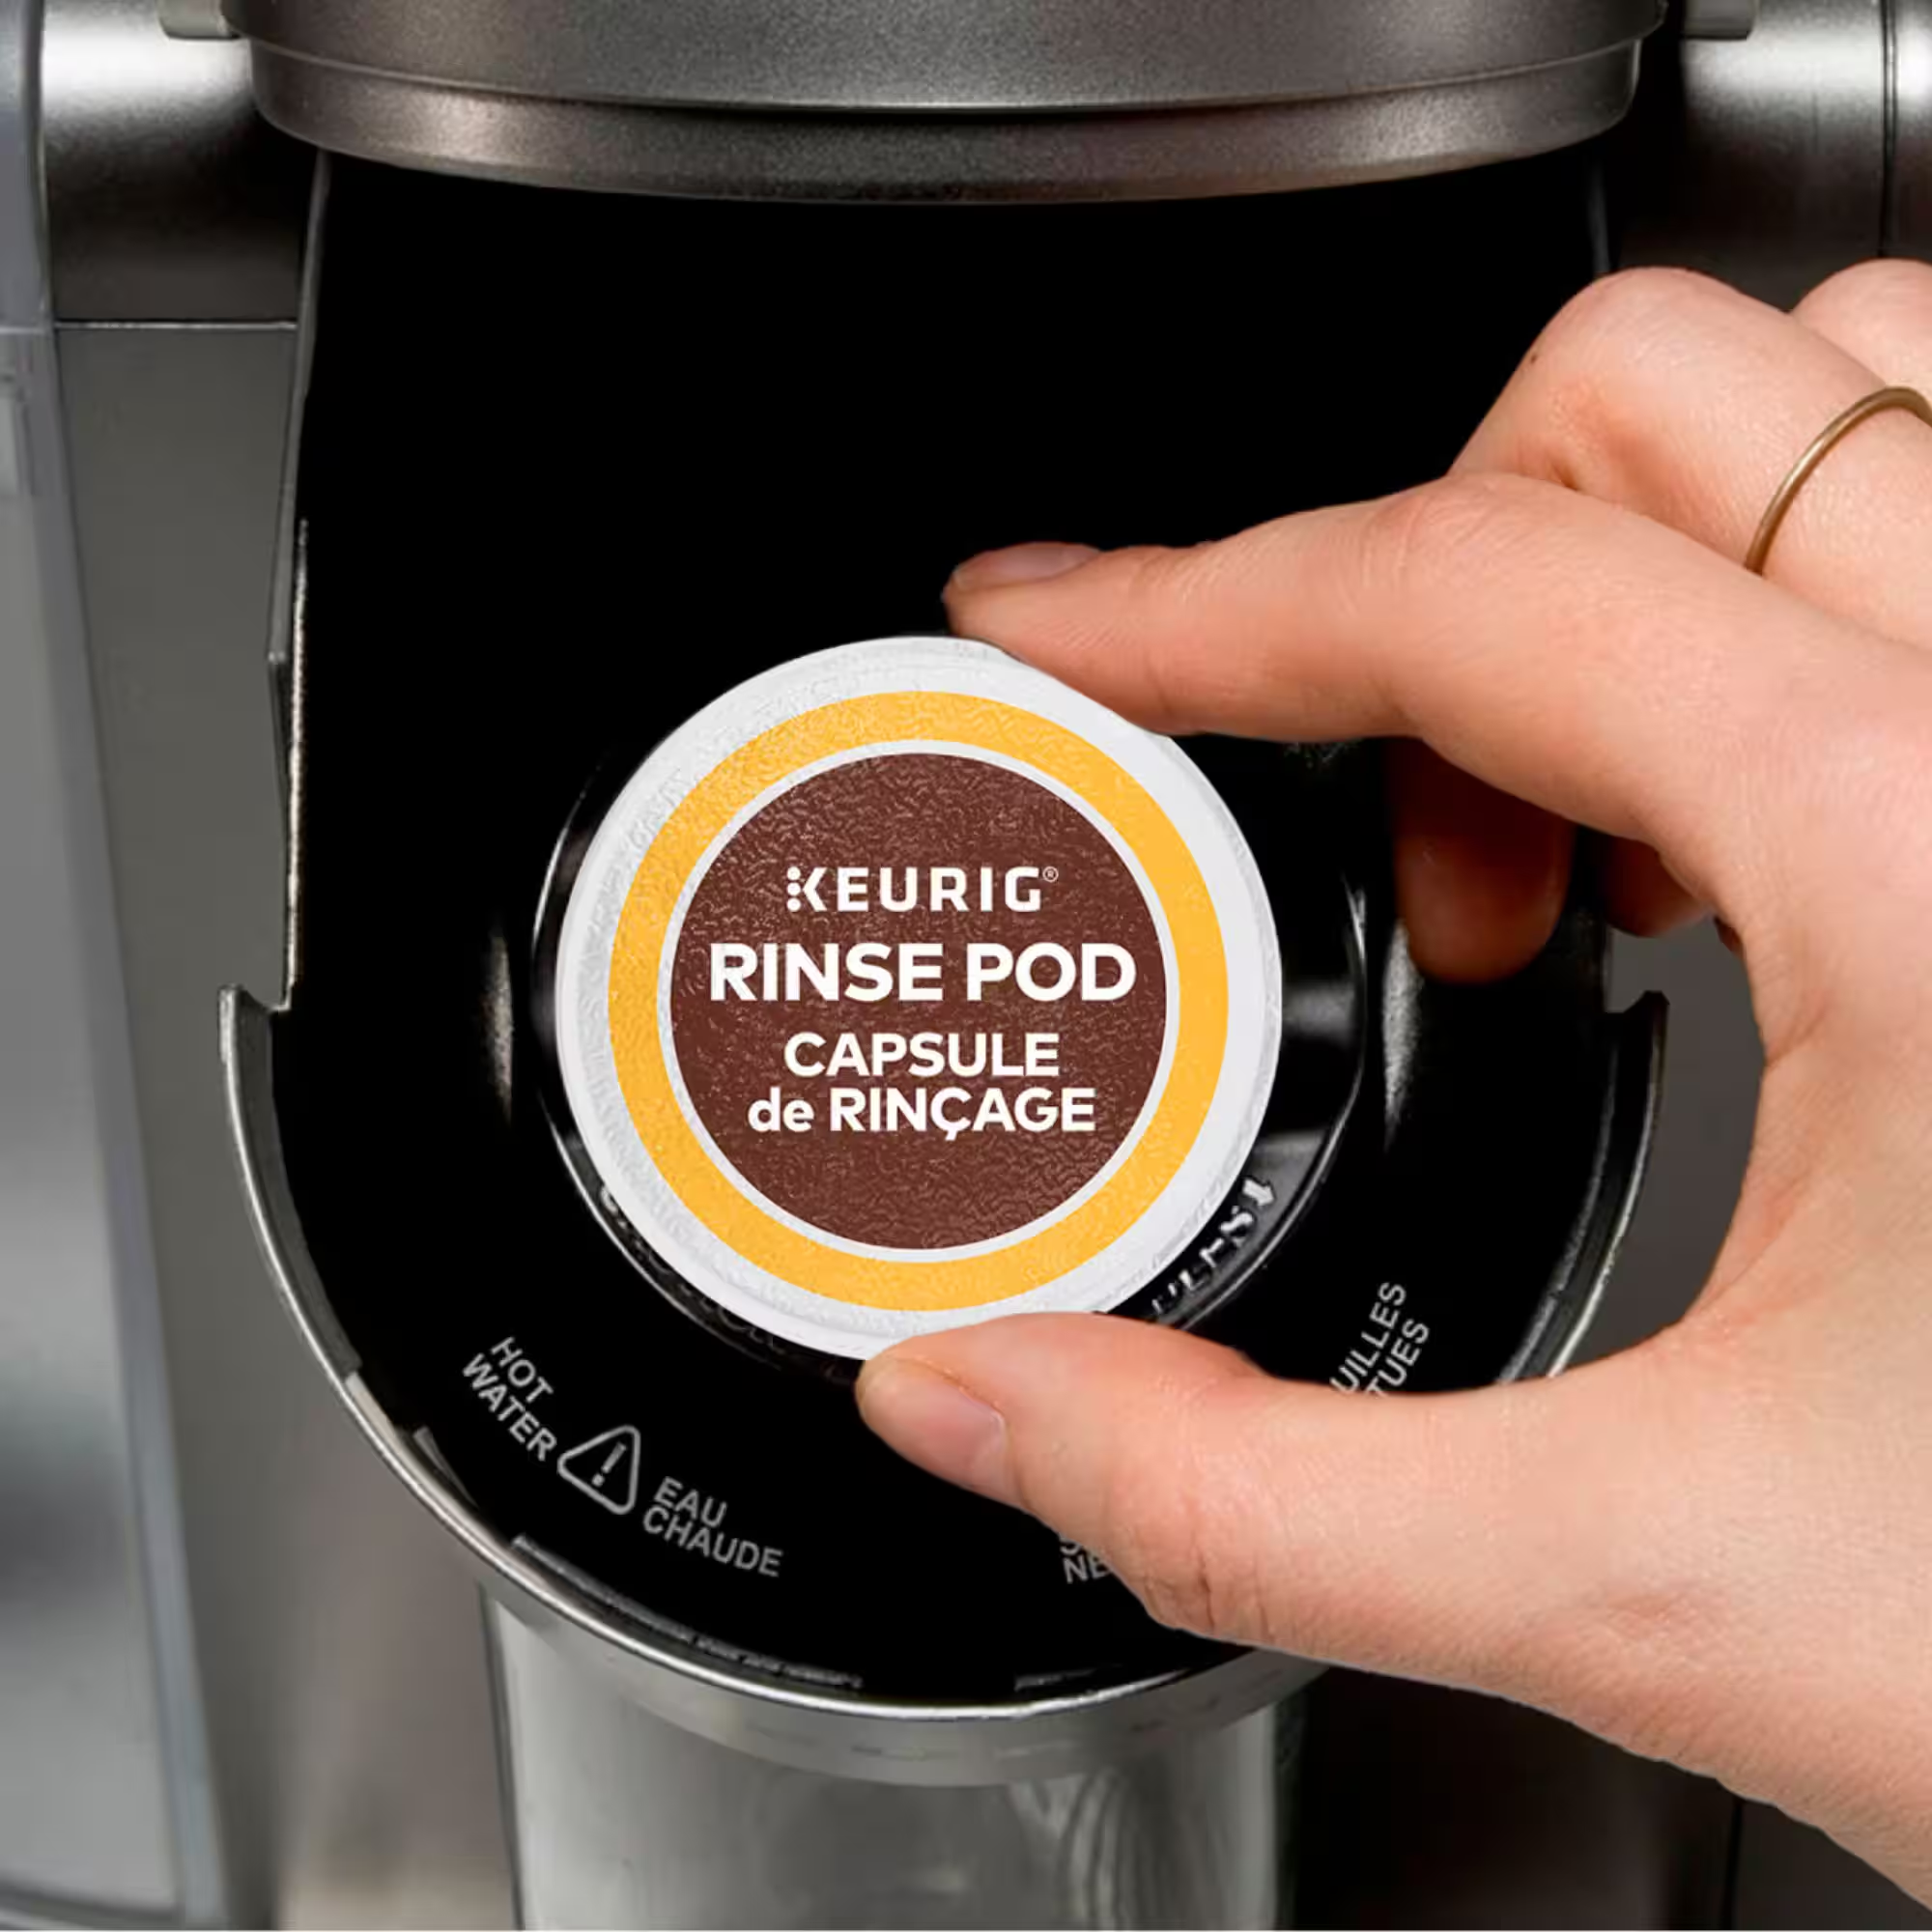
What to Do When Descale Light Stays On
If your descale light remains lit after you’ve completed the descaling process, try the following:
- Run one more fresh water cycle. This might clear any leftover solution.
- Power off, then unplug your Keurig for a few minutes. This can reset the system.
- If the light stays on, contact Keurig support for model-specific advice.
Remember, the descale light is there to ensure the longevity of your machine by prompting regular cleaning.
What If Keurig Won’t Brew Even After Troubleshooting
When you’ve tried all recommended fixes and your Keurig still won’t brew, here’s what to do:
- Consider if it’s under warranty and if a replacement unit or part is an option.
- Call Keurig’s customer support for step-by-step guidance. They may offer a solution you hadn’t considered.
- Reflect on the machine’s usage length and if it might be time for a new coffee maker.
Keurig machines are reliable, but like all appliances, they have a lifespan. Assessing when to seek repairs or replacement is key to continued enjoyment of your coffee.
 Comparison of Keurig with Other Coffee Makers in Terms of Energy Use
 Rinsing and Final Steps to Remove Vinegar Taste