Maintaining your Keurig coffee maker is essential for ensuring the longevity and optimal performance of the machine. One crucial aspect of maintenance is knowing how to empty the Keurig internal tank. Whether you’re preparing to move the appliance, perform deep cleaning, or troubleshoot issues, understanding the correct procedure for emptying the internal tank will help keep your Keurig in excellent condition. This guide provides a detailed, step-by-step approach to effectively empty the internal water reservoir of your Keurig machine, ensuring it continues to brew delicious coffee without interruptions.
Why You Might Need to Empty the Keurig Internal Tank
Understanding the reasons behind emptying the internal tank can help you maintain your Keurig effectively.
Preventing Mineral Buildup
Over time, mineral deposits from water can accumulate inside the tank and other parts of the machine. Regularly emptying and cleaning the internal tank helps prevent these buildups, which can affect the taste of your coffee and the functionality of the machine.
Preparing for Long-Term Storage
If you plan to store your Keurig for an extended period, it’s essential to empty the internal tank to prevent mold growth and unpleasant odors. Drying out the tank ensures that no stagnant water remains that could become a breeding ground for bacteria.
Troubleshooting Brewing Issues
Sometimes, issues with brewing, such as inconsistent water flow or unexpected noises, can be traced back to the internal tank. Emptying and inspecting the tank can help identify and resolve these problems, ensuring your Keurig operates smoothly.
Enhancing Machine Longevity
Regular maintenance, including emptying the internal tank, contributes to the overall longevity of your Keurig. By keeping the tank free from debris and buildup, you reduce wear and tear on the machine’s components, extending its usable life.
Safety Precautions Before Emptying the Tank
Before you begin the process of emptying your Keurig’s internal tank, it’s essential to follow certain safety precautions to prevent accidents and ensure the machine remains in good condition.
Unplug the Machine
Always start by unplugging your Keurig from the electrical outlet. This step is crucial to prevent any risk of electric shock while you’re handling the internal components of the machine.
Allow the Machine to Cool Down
If you’ve recently brewed coffee, let the machine cool down completely before you begin. Opening and handling the tank while the machine is still hot can lead to burns or other injuries.
Gather Necessary Tools
Having all the required tools and materials on hand before you start can make the process smoother and reduce the risk of accidents. Refer to the next section for a detailed list of what you’ll need.

Tools and Materials You’ll Need
Preparing the right tools and materials ahead of time can make the process of emptying the Keurig internal tank more efficient.
Collection Containers
Prepare a large container or sink area to collect the water that will be drained from the internal tank. This helps prevent spills and keeps the workspace clean.
Cleaning Supplies
Have cleaning supplies ready, such as a soft cloth, mild dish soap, and white vinegar or a descaling solution. These will be useful for cleaning the tank after emptying it.
Screwdrivers and Tools
Depending on your Keurig model, you might need screwdrivers or other tools to access the internal tank. Check your machine’s manual to identify any specific tools required.
Gloves
Wearing gloves can protect your hands from any residual coffee or water and keep them clean throughout the process.
Instructions Manual
Having the user manual on hand can provide model-specific instructions and diagrams that can be extremely helpful during the maintenance process.
Step-by-Step Guide to Emptying the Tank
Following a systematic approach ensures that you empty the internal tank effectively and safely.
Step 1: Power Off and Unplug the Keurig
Begin by turning off your Keurig and unplugging it from the outlet. This step ensures that there is no electrical power running through the machine while you work on it.
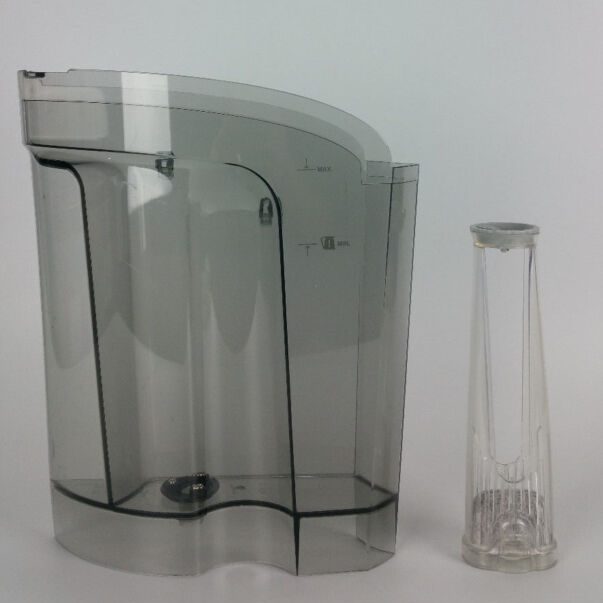
Step 2: Remove the Water Reservoir
Most Keurig models have a removable water reservoir. Lift or slide the reservoir off its base carefully. Place it upside down over the sink to drain any remaining water. For some models, you may need to disconnect the reservoir from the base before removing it.
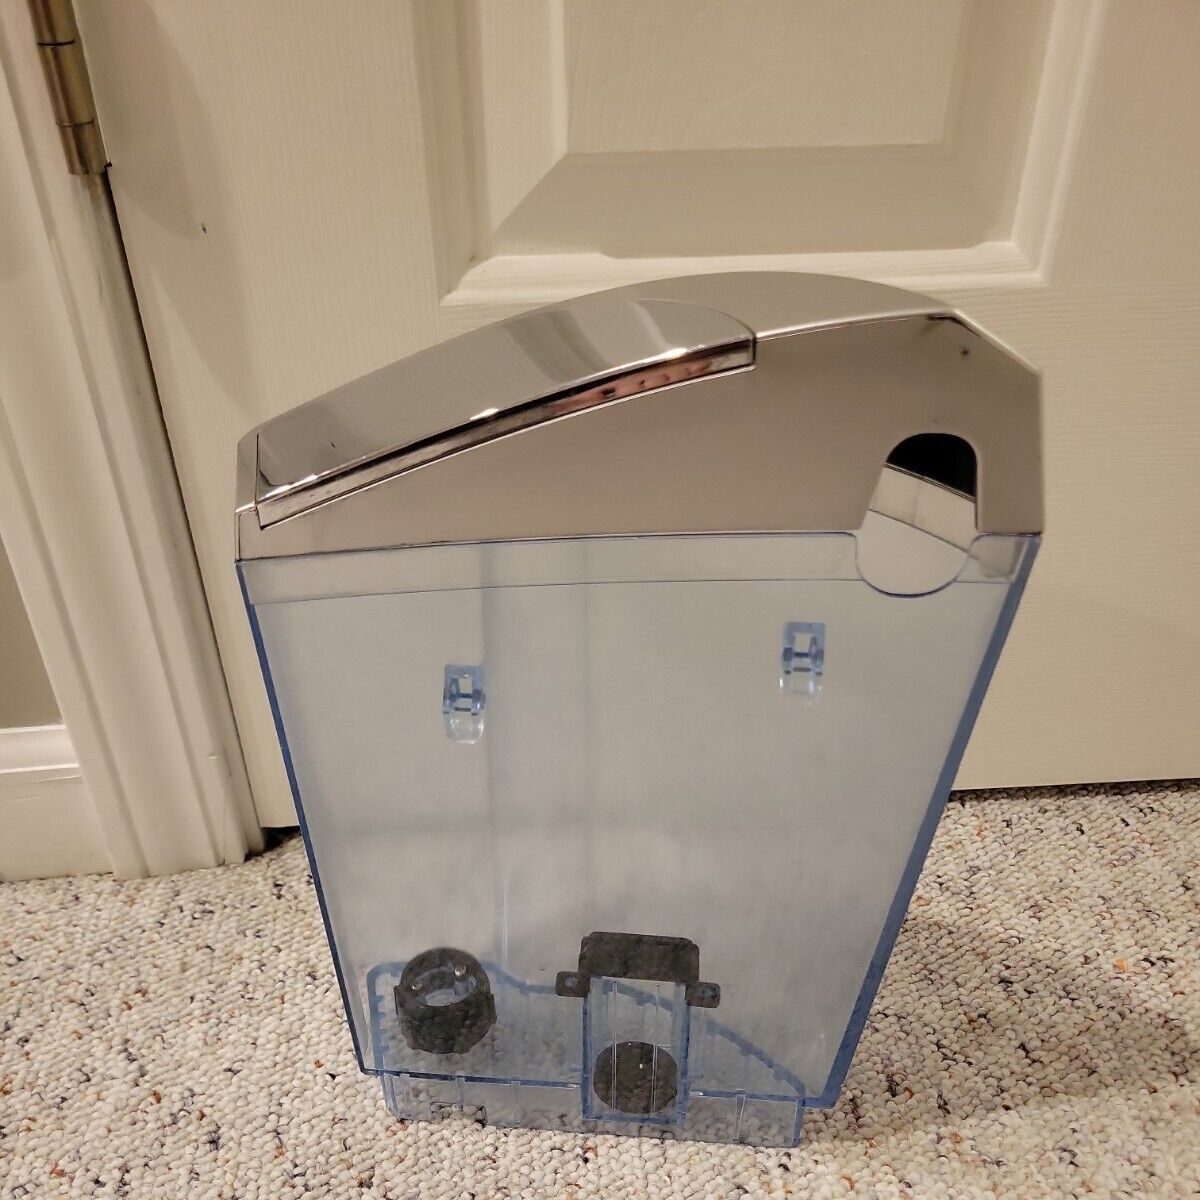
Step 3: Access the Internal Tank
If your Keurig model has an internal water tank separate from the removable reservoir, you may need to remove the top or back panel of the machine. Use the appropriate screwdriver to carefully take apart the panels, exposing the internal components.
Step 4: Locate the Drain Valve or Hose
Identify the drain valve or hose connected to the internal water tank. This is where you will direct the water to drain out. Ensure you have your collection container ready to capture the water.
Step 5: Open the Drain Valve
Carefully open the drain valve, allowing the water to flow out into your container or sink. If your machine doesn’t have a drain valve, you might need to tilt or maneuver the machine to pour out the water gently.
Step 6: Allow All Water to Drain
Ensure that all water is completely drained from the internal tank. This may take several minutes, depending on the size of your Keurig’s internal tank and the water pressure.
Step 7: Close the Drain Valve and Reassemble
Once the tank is empty, close the drain valve securely. Reassemble any panels or components you removed earlier, ensuring everything is back in its proper place.
Step 8: Refill or Store the Machine
After emptying the internal tank, you can either refill it with fresh water or prepare the machine for storage by ensuring all parts are dry.
Cleaning and Maintenance After Emptying
Emptying the internal tank is an excellent opportunity to perform a deeper clean of your Keurig, enhancing its performance and prolonging its lifespan.
Descaling the Machine
Descaling removes mineral buildup from the internal tank and other components. Use a descaling solution or a mixture of white vinegar and water to run through a brew cycle. Follow the manufacturer’s instructions for the best results.
Cleaning the Reservoir
Even after emptying, the removable water reservoir may have residues. Wash it thoroughly with mild dish soap and warm water, then rinse it multiple times to ensure all soap is removed.
Wiping Down External Surfaces
Use a damp cloth to wipe down the exterior of the Keurig, removing any spills or coffee stains. Avoid using abrasive cleaners that could damage the surface.
Inspecting for Damage
While cleaning, inspect the internal tank and other components for any signs of wear or damage. Look for cracks, leaks, or loose parts that may need repair or replacement.
Reassembling the Machine
After cleaning and drying all parts, reassemble your Keurig carefully. Ensure that all components are securely in place to prevent leaks or malfunctions during use.
Troubleshooting Common Issues
Emptying the internal tank can help resolve several common problems with Keurig machines. Here are some issues that might be fixed by properly managing the internal tank.
Water Not Flowing Correctly
If your Keurig isn’t dispensing water as it should, minerals or debris in the internal tank might be the culprit. Emptying and cleaning the tank can restore proper water flow.
Unusual Noises During Brewing
Hissing, gurgling, or other unusual sounds could indicate that air is trapped in the internal tank or that there are blockages. By emptying and inspecting the tank, you can identify and eliminate these issues.
Inconsistent Coffee Temperature
Inconsistent heating may result from mineral buildup. After emptying and descaling the internal tank, the heating mechanism can function more efficiently, ensuring consistent coffee temperature.
Leaks from the Tank Area
Leaks are often caused by loose connections or damaged parts within the internal tank system. While emptying the tank, check all connections and seals, tightening or replacing them as needed.
Conclusion: Mastering How to Empty Keurig Internal Tank
Knowing how to empty Keurig internal tank is fundamental for anyone who owns a Keurig coffee maker. This process is integral to maintaining the machine’s performance, ensuring the quality of your coffee, and prolonging the life of the appliance. By following the detailed steps and adhering to the safety precautions outlined in this guide, you can confidently manage the internal water reservoir of your Keurig. Regular maintenance, including emptying and cleaning the internal tank, not only prevents common brewing issues but also enhances the overall user experience. Embrace these practices to keep your Keurig functioning optimally, delivering the perfect cup of coffee every time you brew.


 When to Use a Blender


 Step 2: Clearing Clogged Needles

 Using Vinegar as a Natural Descale Solution