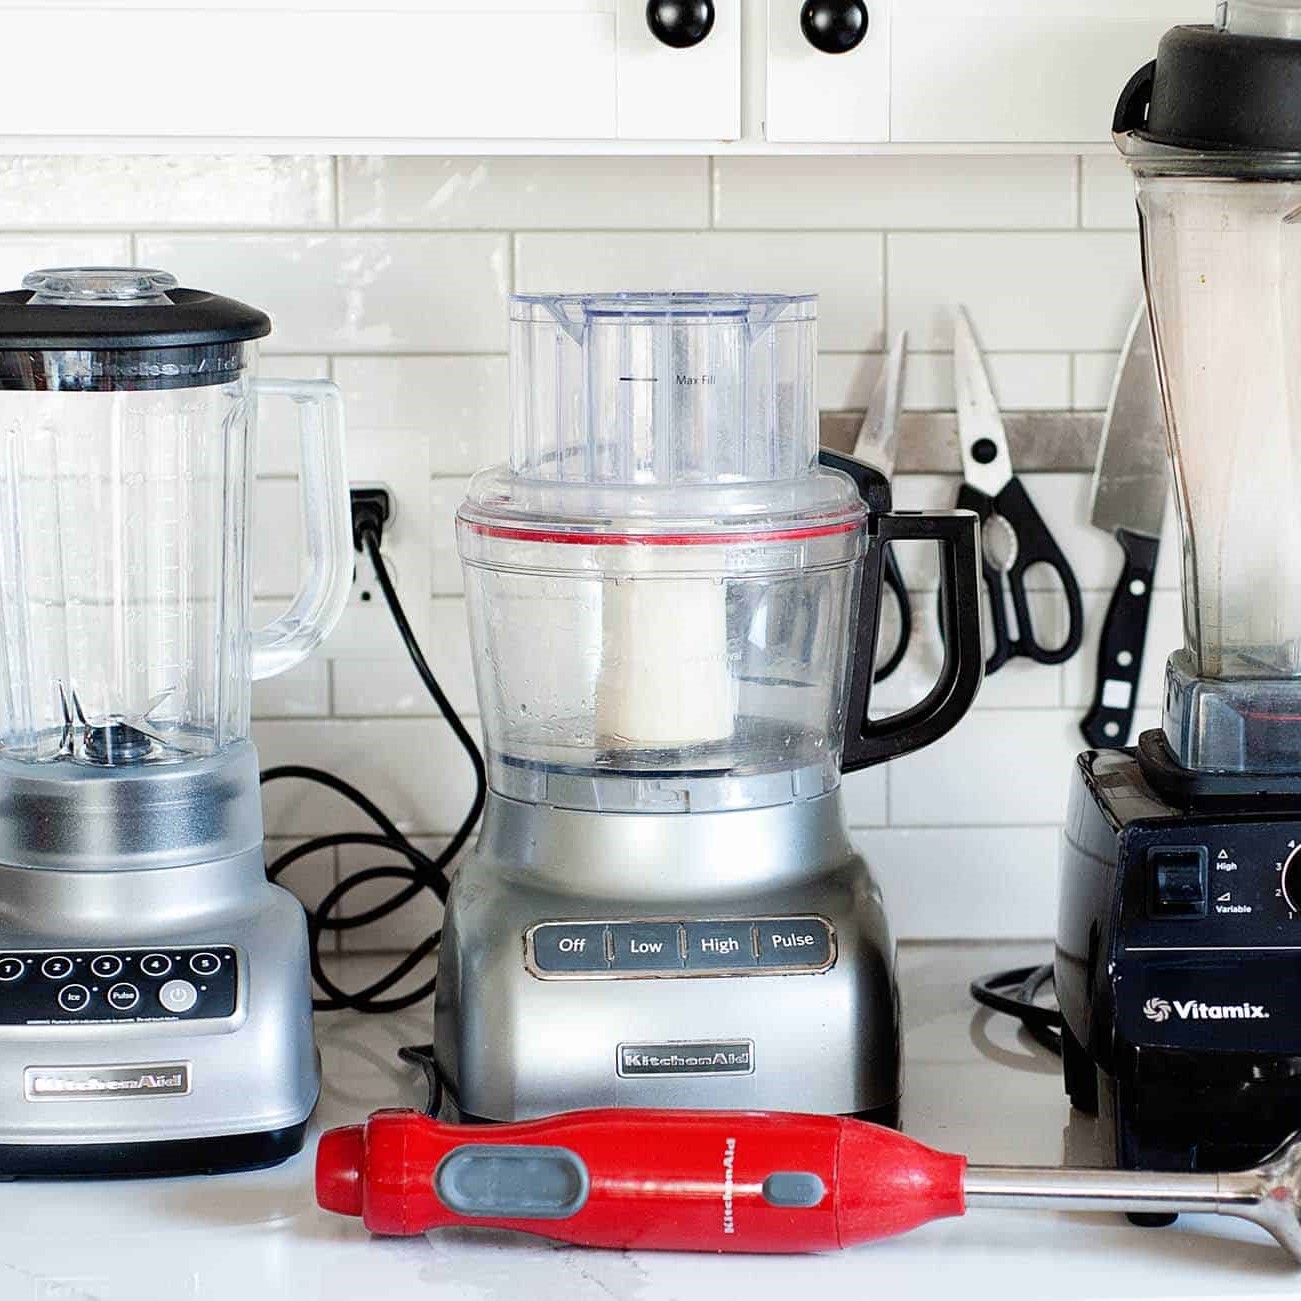
Introduction to Food Processing and Blending
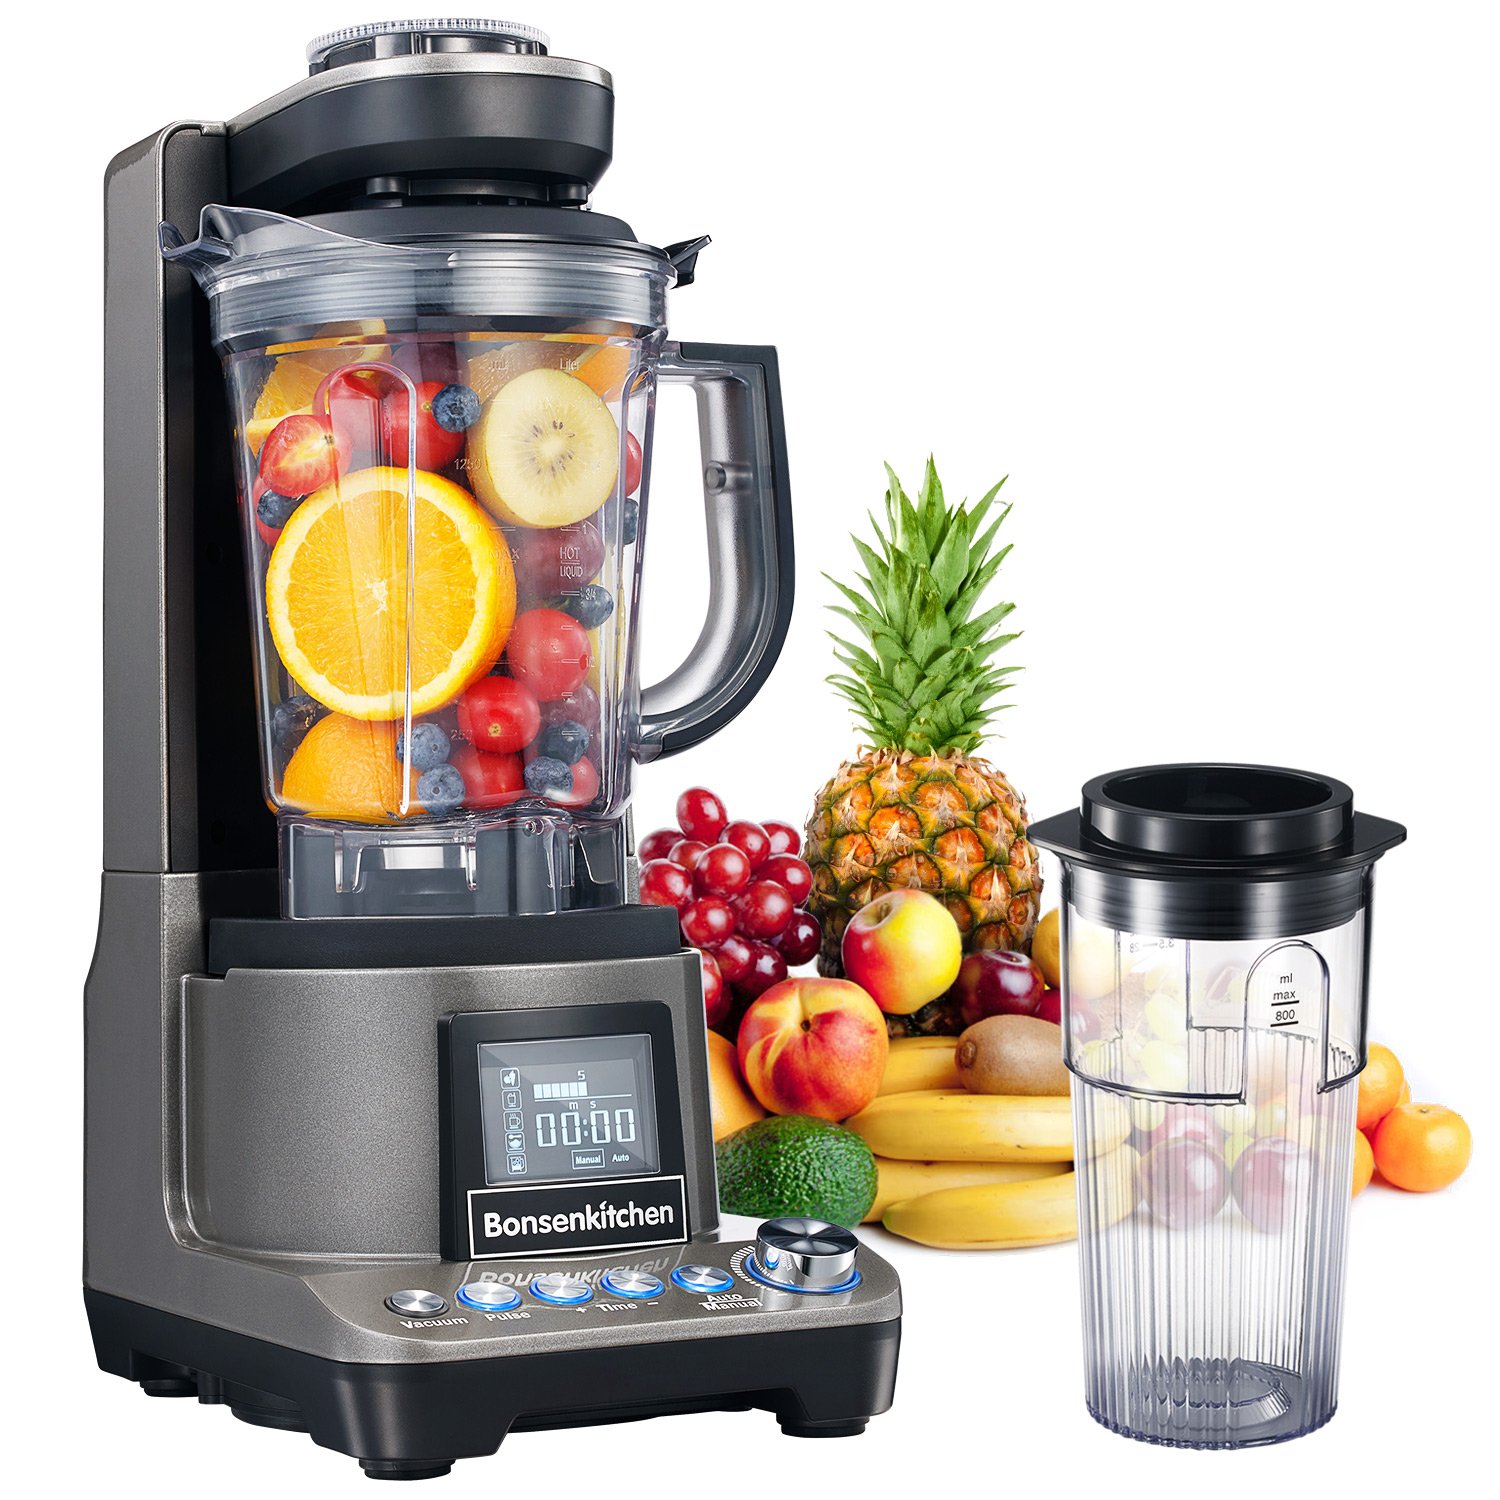
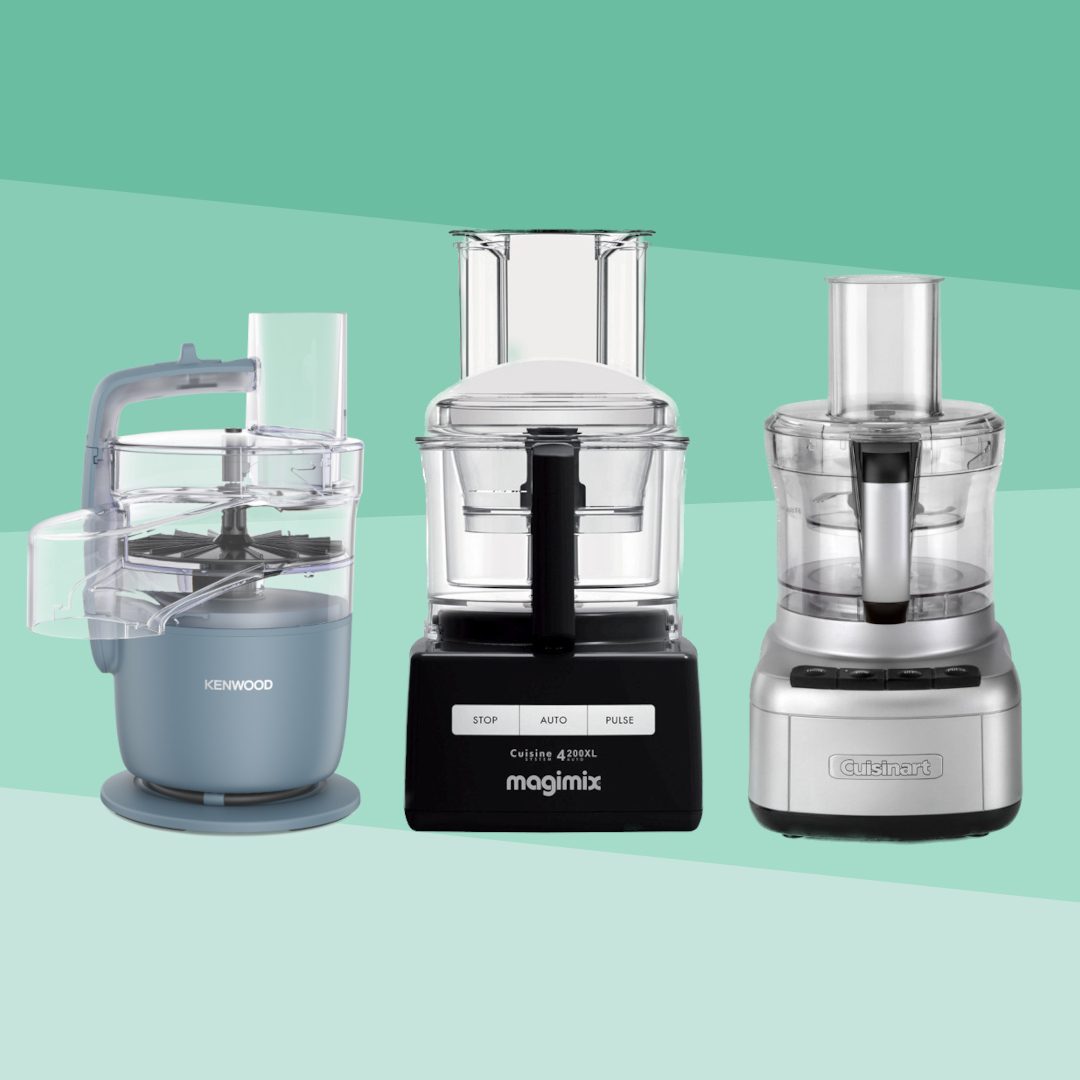
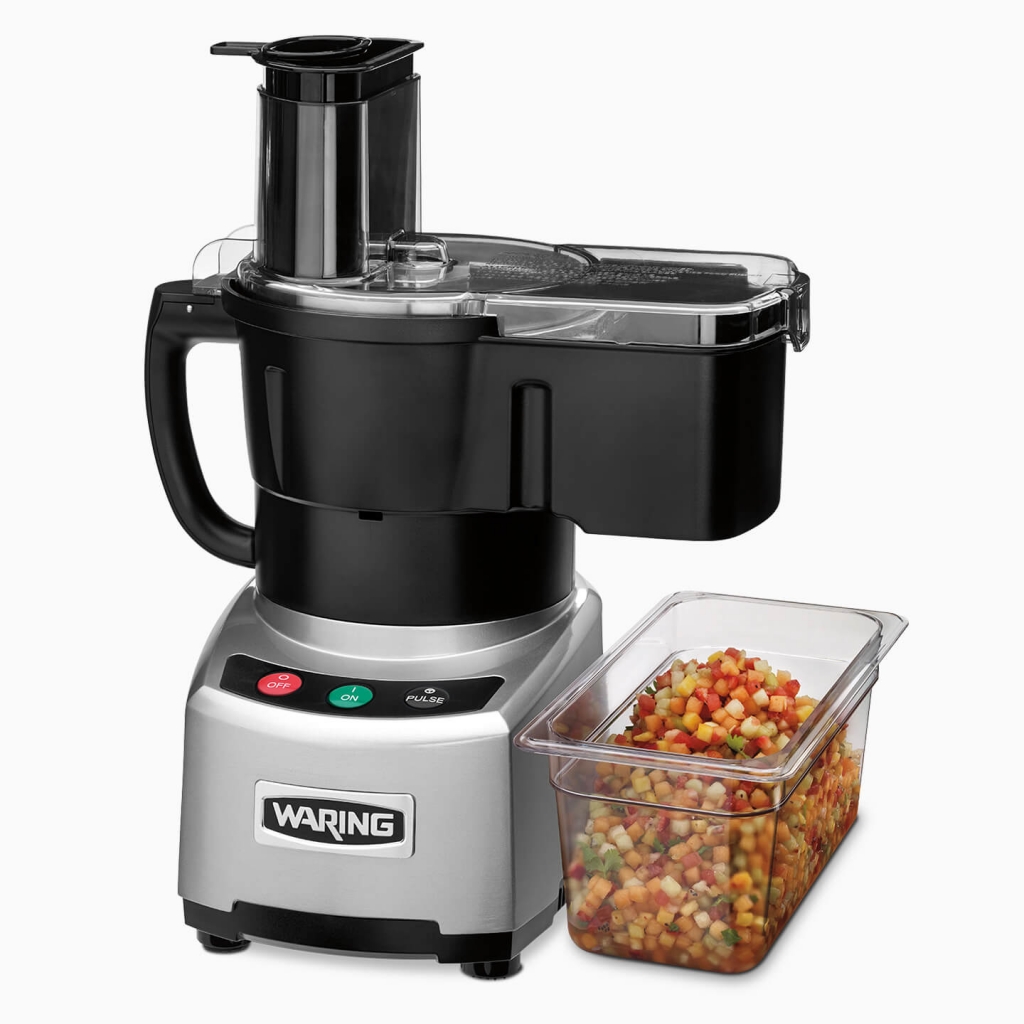
In the modern kitchen, two appliances dominate the countertop: the food processor and the blender. These tools have revolutionized the way we prepare food, making processes like chopping, blending, and puréeing faster and more efficient. A food processor is a versatile appliance with a range of attachments and settings that can chop, slice, dice, and even knead dough. Blenders, on the other hand, are designed to liquefy, mix, and emulsify ingredients, ideal for creating smoothies, soups, and sauces.
Understanding the differences between a food processor and a blender is key to choosing the right tool for your specific culinary tasks. This will help you make the most out of your kitchen appliances and ensure you can create a variety of recipes with ease. In this guide, we’ll explore the unique features of food processors and blenders, their advantages, and when to use each one for optimal results. Whether you’re a seasoned chef or a home cooking enthusiast, knowing how to leverage these appliances can elevate your cooking game to new heights.
Key Differences Between Food Processors and Blenders
Understanding the key differences between food processors and blenders is essential for your kitchen tasks. Here are the main distinctions:
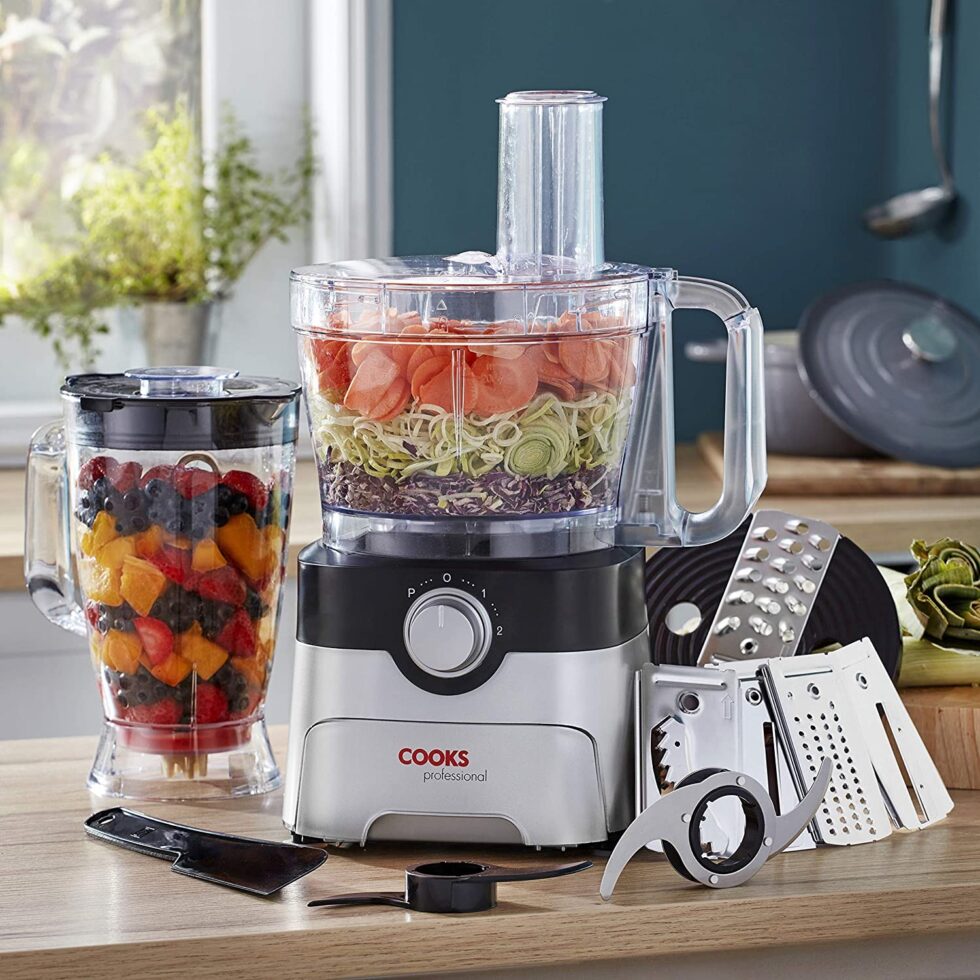
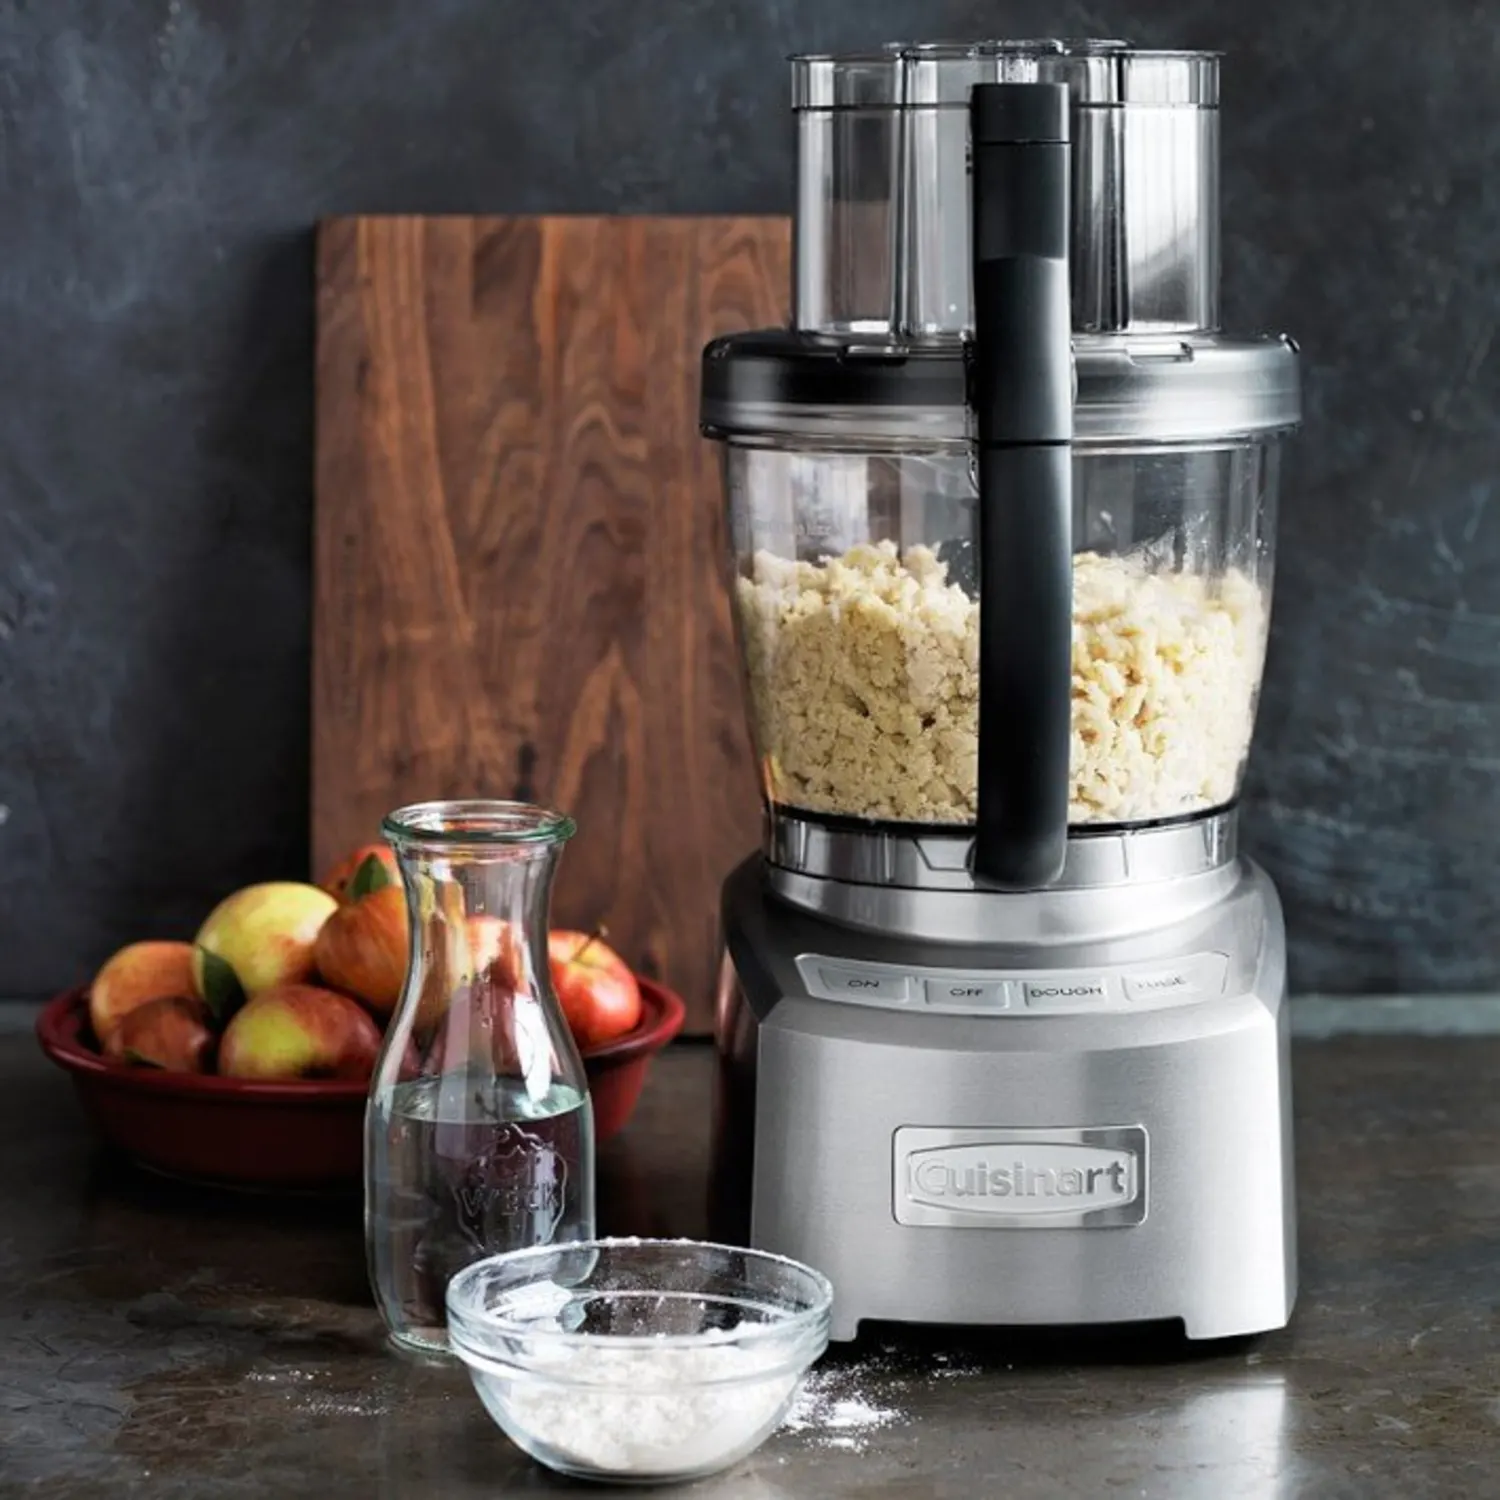
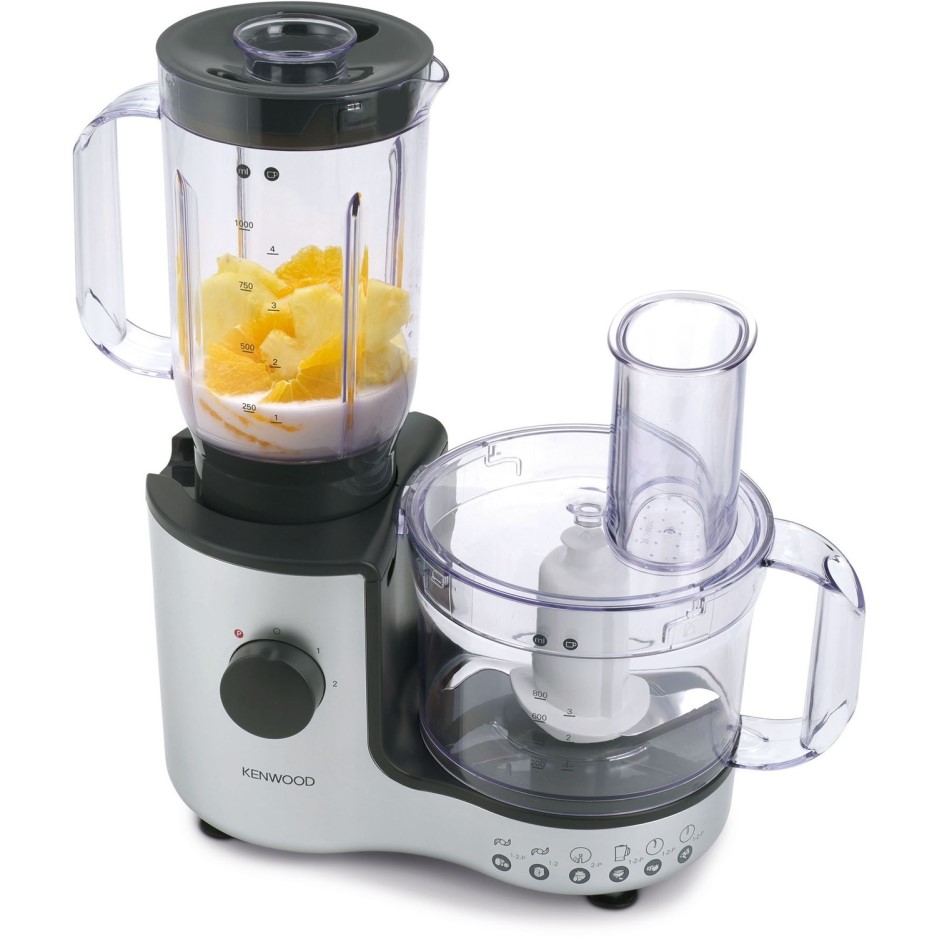
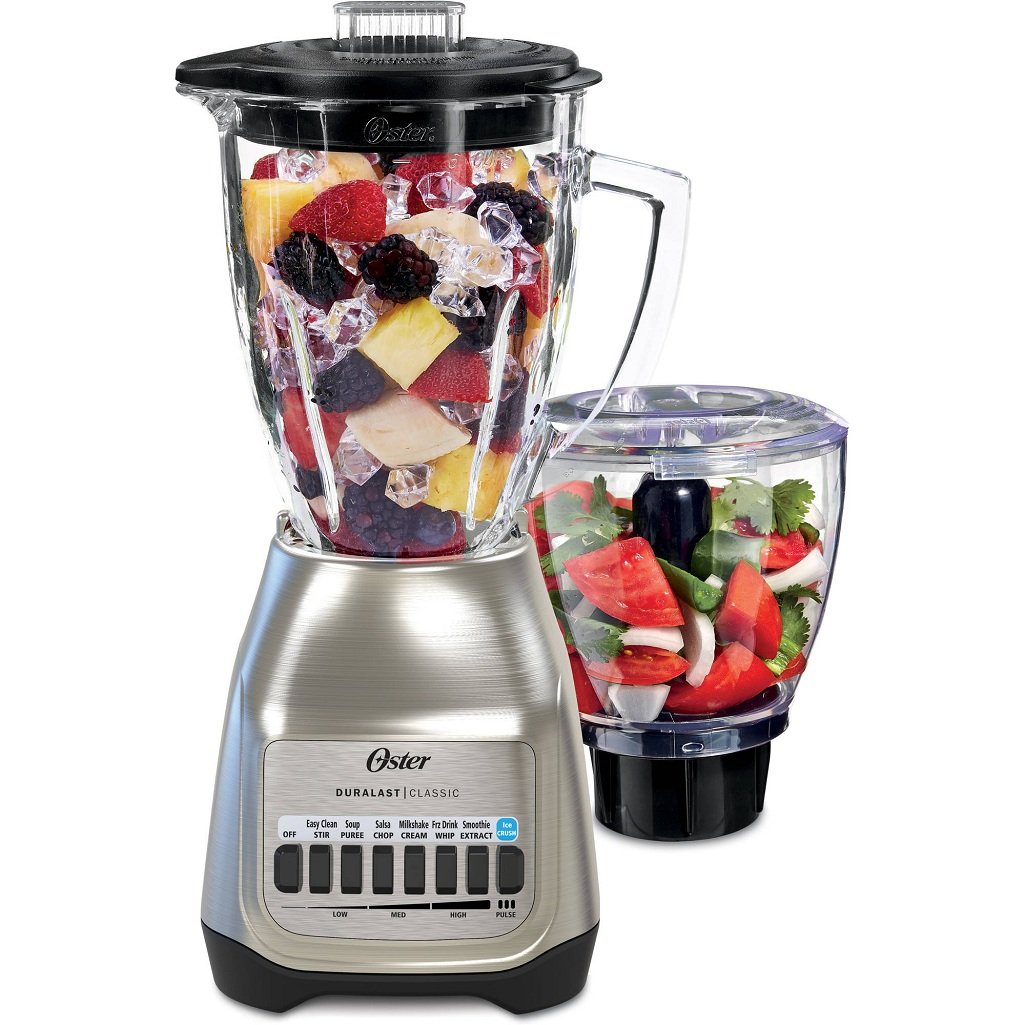
- Purpose and Functionality: A food processor is built for tasks that need precision, like slicing and shredding. Perfect for dry ingredients, it can also handle dough. A blender, however, excels at managing liquid-based tasks. It makes smooth liquids like smoothies or soups.
- Blade Design: The blades in a food processor are varied and interchangeable. They are designed for different cuts. Blender blades are fixed and made to create a vortex to blend and liquefy.
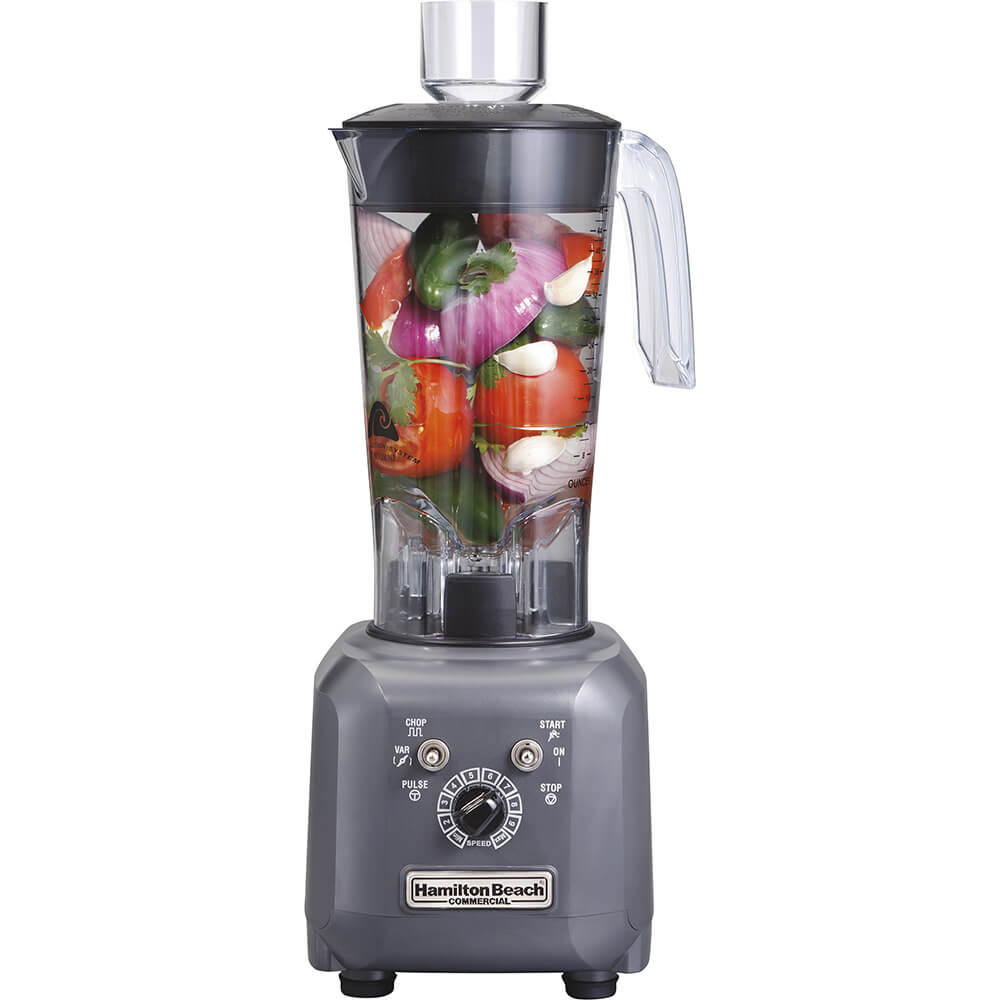
- Container Shape: Food processors come with wider, shorter bowls. This shape is ideal for solid or semi-solid foods that need more space to be moved around. Blenders have taller, narrower pitchers. These suit the flow of liquids needed for blending.
- Motor Speed: Blenders typically run at a higher speed. This is to achieve a smooth consistency in liquids. Food processors have lower speeds but more control options. They offer precision for cutting and combining ingredients.
- Attachments and Accessories: Food processors often include a range of attachments. Think shredding disks or dough blades. Blenders keep it simple, usually with a single blade.
Incorporating the keywords, food processors are suited to versatile kitchen tasks that involve solid to semi-solid ingredients. Blenders, on the other hand, are your go-to for liquid preparations. As you keep these differences in mind, you’ll know which appliance to reach for depending on the recipe at hand.
Advantages of Food Processors
When deciding between a food processor and a blender, it’s essential to recognize the unique advantages that food processors offer. These kitchen powerhouses are designed for a wide range of culinary tasks that require both power and precision. Let’s delve into their specific benefits:
- Versatility: Food processors come with various attachments, making them incredibly adaptable.
- Precision: The interchangeable blades provide exact slicing, dicing, and shredding.
- Volume: They can handle larger quantities of ingredients at once, thanks to their spacious bowls.
- Dough Preparation: Dough blades allow you to effortlessly knead bread or pizza dough.
- Speed Control: With various speed options, food processors offer better control over texture.
- Energy Efficiency: They are engineered to perform demanding tasks without using excessive energy.
A food processor is an excellent choice for tasks that blender blades can’t handle. It can turn nuts into flour, slice veggies uniformly, and shred cheese in seconds. With a food processor, preparing complex recipes becomes simpler and quicker. The ability to process dry ingredients without liquid makes it stand out. It is ideal for when you need a crumbly pie crust or a well-mixed salad. Your culinary creativity can flourish with a food processor as your ally in the kitchen.
Advantages of Blenders
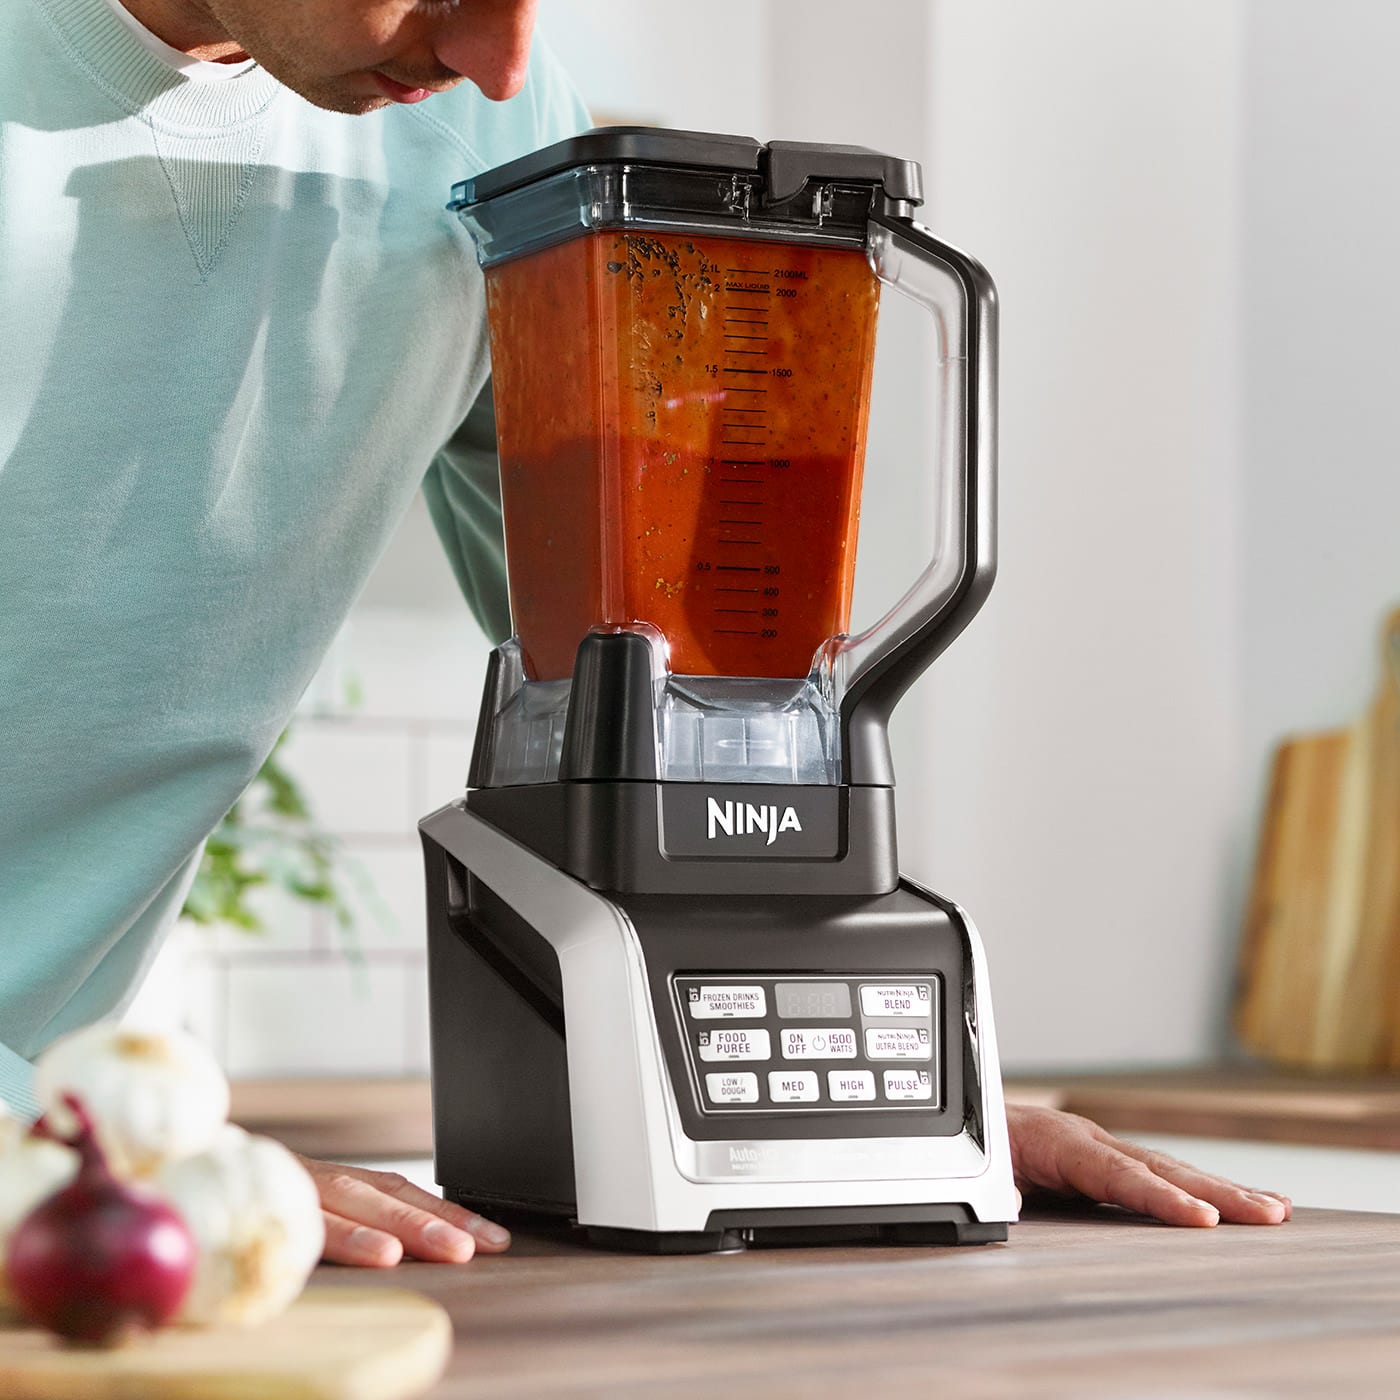
Blenders are essential for any modern kitchen, famous for their ability to produce perfectly smooth liquids. Here are some key benefits that make blenders a great choice for certain kitchen tasks:
- Efficiency in Liquids: Blenders can quickly mix and emulsify liquids, which is perfect for smoothies, soups, and sauces.
- High-Speed Motor: With their powerful motors, blenders create fine textures in a short time.
- Ease of Cleaning: Most blenders have fewer parts compared to food processors, making them simpler to clean.
- Space Saving: The design of a blender is often slim and tall, taking up less counter space.
- Simplicity: Blenders usually have straightforward controls, making them user-friendly.
Blenders shine when it comes to preparing drinks like protein shakes or fruit purees. They can also crush ice with ease, making them ideal for frozen cocktails or icy desserts. Whether you’re making a quick breakfast shake or preparing a soup base, a blender gets the job done fast and with less fuss. Overall, blenders are perfect when working with liquid recipes that require a silky smooth texture.
 Factors to Consider When Choosing Between a Food Processor and Blender
When you’re weighing up whether to add a food processor or blender to your kitchen, consider several factors. Here’s what to bear in mind:
- Intended Use: Think about the recipes you make most often. If you need to chop, a food processor is better. For smoothies, use a blender.
- Quantity of Food: Food processors handle larger amounts easily. Blenders suit smaller, liquid-heavy batches.
- Space in Kitchen: Check your counter space. Blenders take up less room. Food processors need more space.
- Budget: Determine how much you want to spend. Food processors can cost more but offer more functions.
- Functionality Preferences: If you need a device for multiple tasks, pick a food processor. For primarily liquid tasks, pick a blender.
- Meal Prepping Habits: Daily meal preppers may prefer a food processor for its versatility. Occasional users might lean towards a blender.
These considerations will help you choose the right appliance. It’s about matching your cooking style and needs with the features of each tool.
Technological Advancements in Food Processors and Blenders
The year 2025 has brought significant technological leaps in kitchen appliances, especially in food processors and blenders. These advancements aim to enhance the user experience, optimize functionality, and expand the capabilities of these essential kitchen gadgets.
Smart Technology Integration
Modern food processors and blenders now come with smart technology. This means they can connect to apps and voice assistants. They offer personalized settings and remember your preferences. This tech makes meal prep easier and more intuitive.
Improved Energy Efficiency
Manufacturers have focused on energy-saving features. Newer models are more energy-efficient. They use less power but still deliver top performance. This is good for the environment and your energy bills.
Enhanced Blades and Motors
Blenders now have even stronger motors and sharper blades. Food processors come with more precision attachments. These upgrades allow for finer chops and smoother purees.
Multi-Functionality
Both appliances now often feature multiple functions in one device. A food processor can double as a blender, and vice versa. This saves space and money, removing the need to own separate gadgets.
Safety Features
Safety in the kitchen is vital. Latest food processors and blenders have better safety locks and auto-off functions. These prevent accidents and give peace of mind.
Durable and Sustainable Materials
Brands are choosing materials that last longer and are recyclable. This attention to durability and sustainability appeals to eco-conscious consumers.
The food processor blender industry is evolving, with focus on convenience, performance and sustainability. As you consider your next purchase, these innovations could greatly influence your decision.
How to Care for and Maintain Your Kitchen Appliances
Caring for your food processor and blender extends their life and ensures safe, efficient operation. Here are essential tips for maintaining these kitchen tools.
- Read the Manual: Always start by reading your appliance’s manual. It holds key details for care and use.
- Clean Regularly: Clean after every use to prevent buildup. Hand-wash detachable parts and wipe the base.
- Inspect Blades: Look for dullness or damage. Sharp blades are vital for optimal performance.
- Check Seals and Gaskets: Make sure seals are tight to prevent leaks. Replace if worn out.
- Store Correctly: Keep in a dry place and avoid piling up other items on top of the appliances.
- Use Properly: Don’t overload your food processor or blender. Follow the recommended capacities.
- Handle with Care: Treat your appliances gently. Avoid dropping or hitting them.
- Regular Checks: Periodically verify cords and plugs. Any wear could mean it’s time for a replacement.
With proper maintenance, your food processor blender will remain a reliable partner in your culinary adventures.
 Conclusion: Making the Right Choice for Your Kitchen Needs
Choosing between a food processor and a blender can impact your cooking style and kitchen efficiency. To make the right choice, reflect on your everyday kitchen habits. Ponder the kinds of recipes you love to prepare. If you often work with dough or need to chop and dice in bulk, a food processor is your best bet. For smoothies, soups, and sauces, a blender will be your go-to appliance.
Consider the size of your kitchen. A blender requires less counter space compared to a food processor. If you’re tight on space, a blender might be more practical. Budget is another critical factor. Decide on how much money you are willing to spend. Remember, a food processor may have a higher price tag but it brings more versatility.
Don’t overlook the latest tech improvements. These can sway your decision. Smart features and energy-saving upgrades can enhance your cooking experience.
Also, think about upkeep. Both appliances will last longer with proper care and cleaning. Regular maintenance is key for them to function at their best.
In essence, your decision should match your cooking needs, budget, and the size of your kitchen. With careful consideration, you’ll find the ideal kitchen companion to assist you in creating delicious meals with ease and joy.
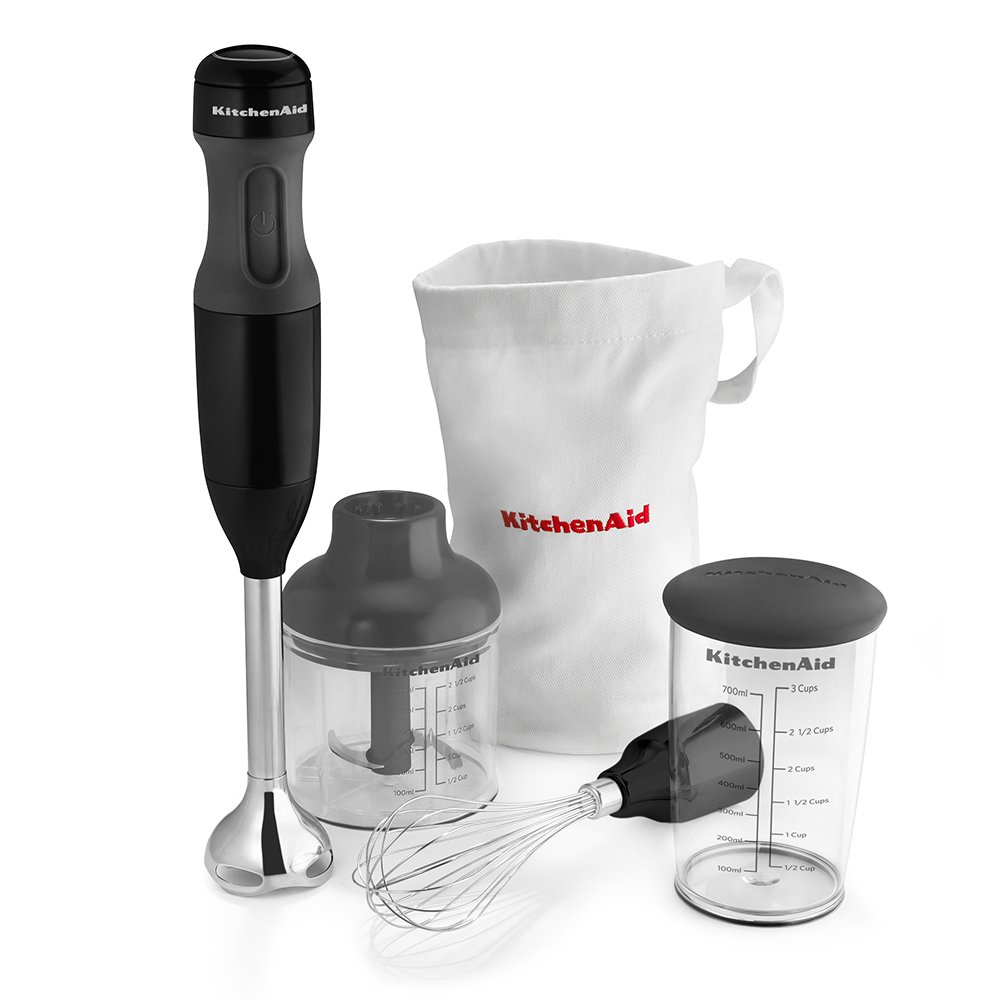

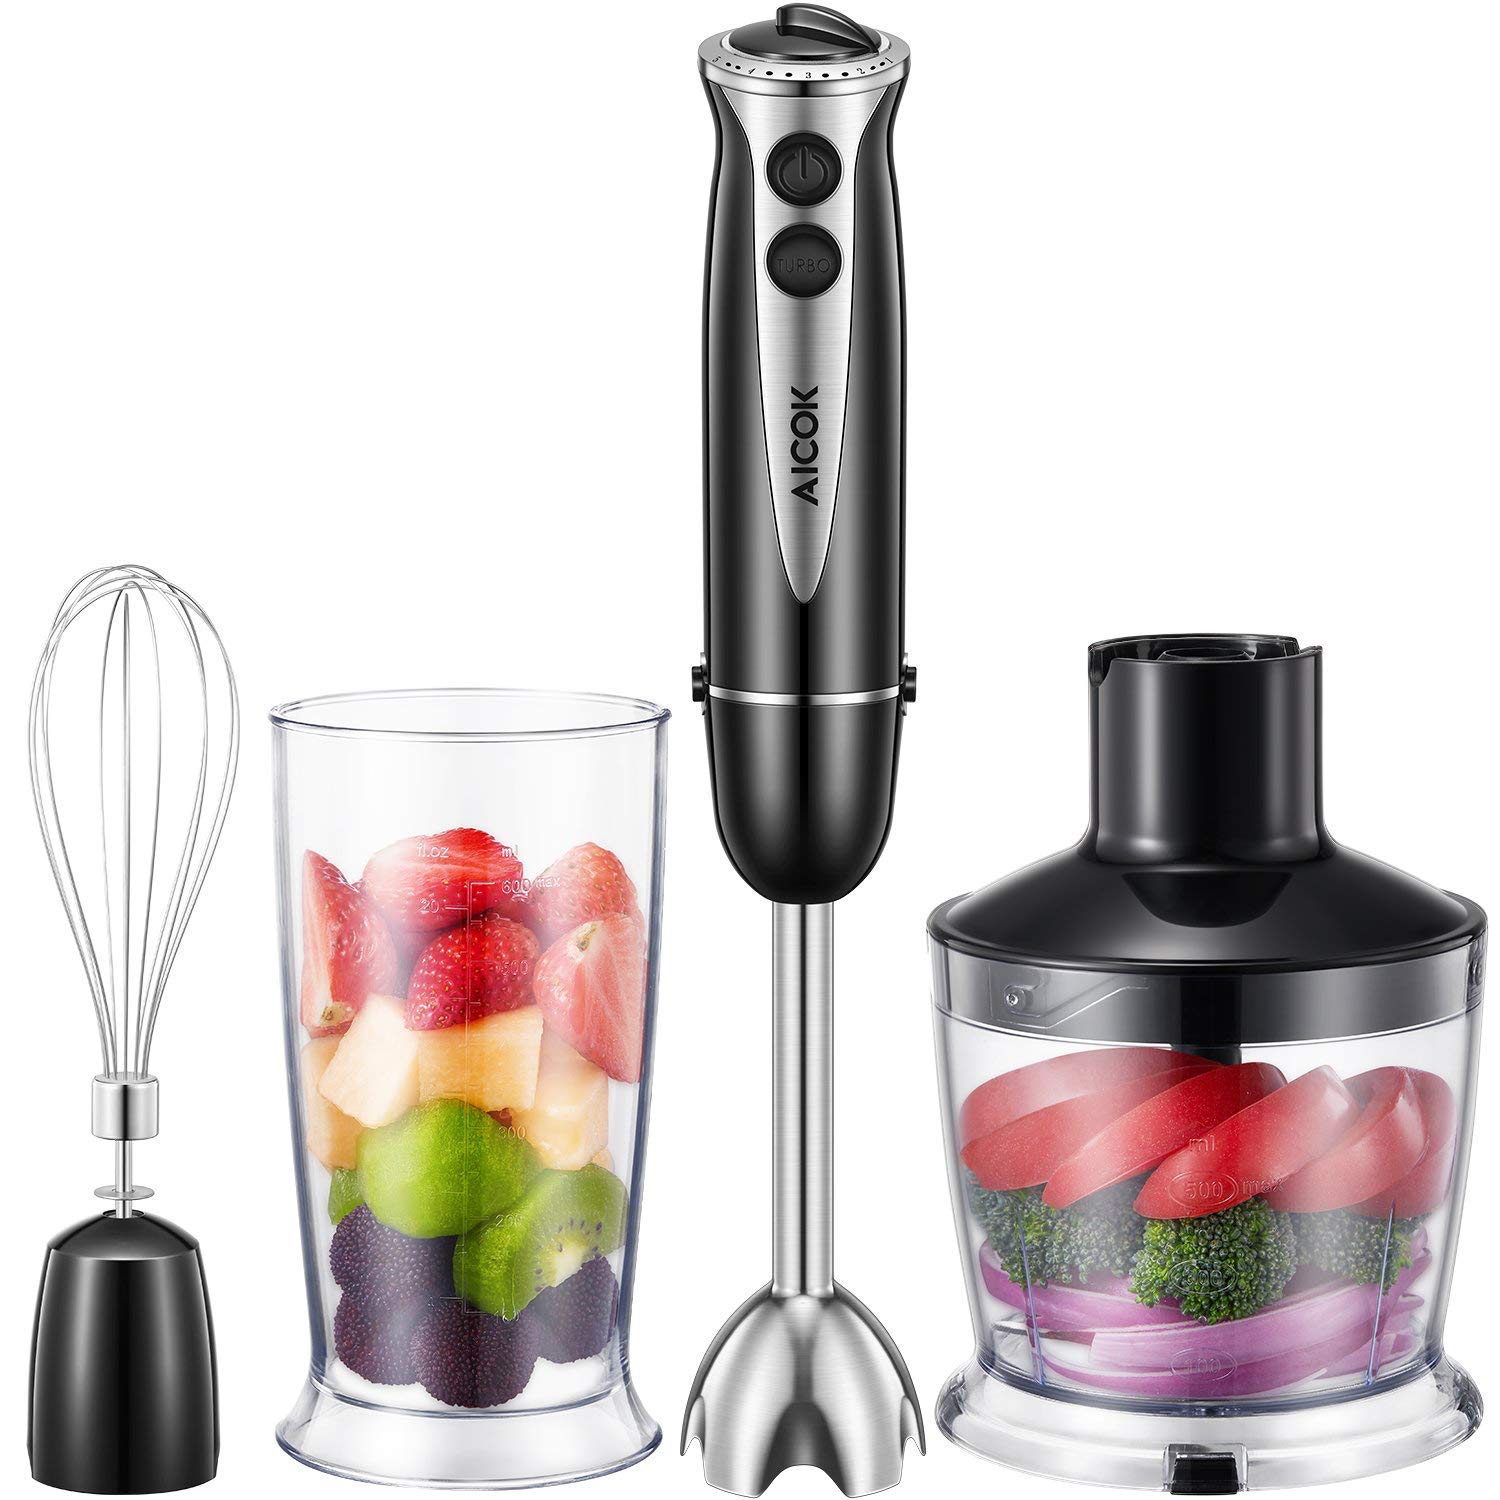
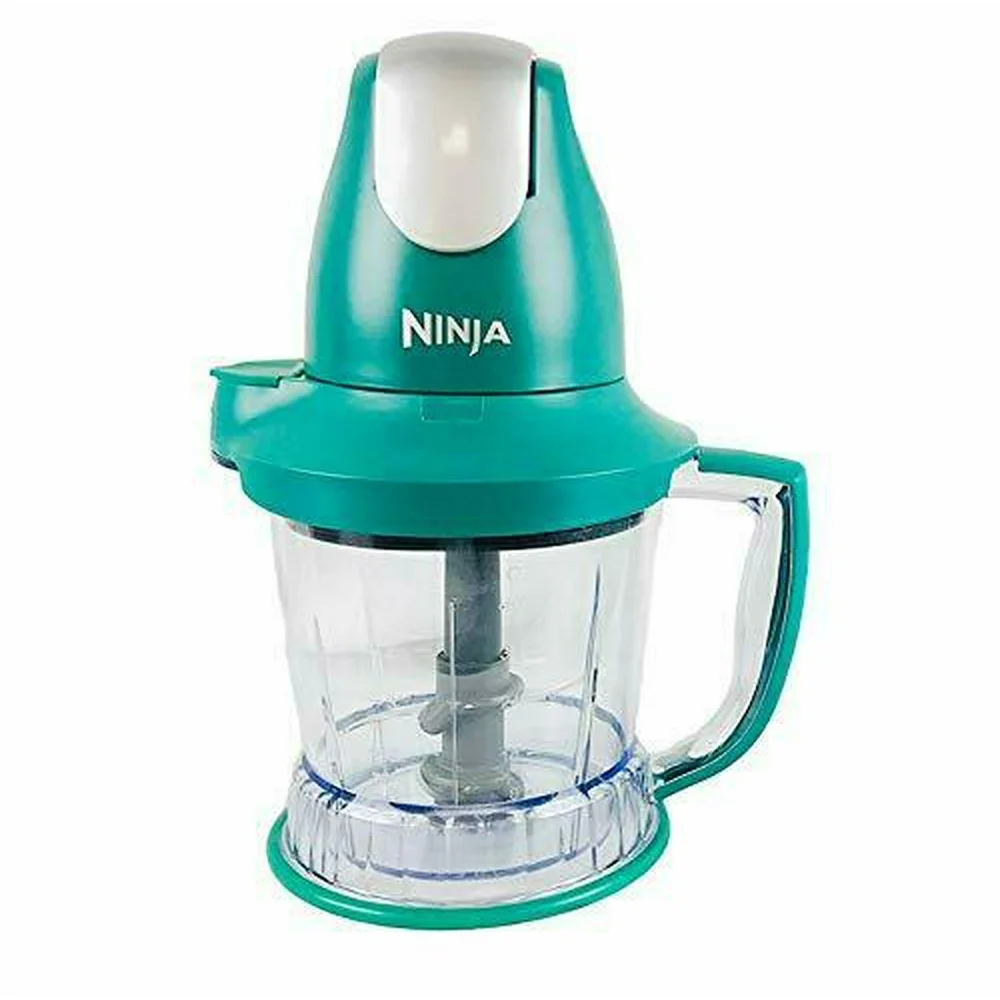
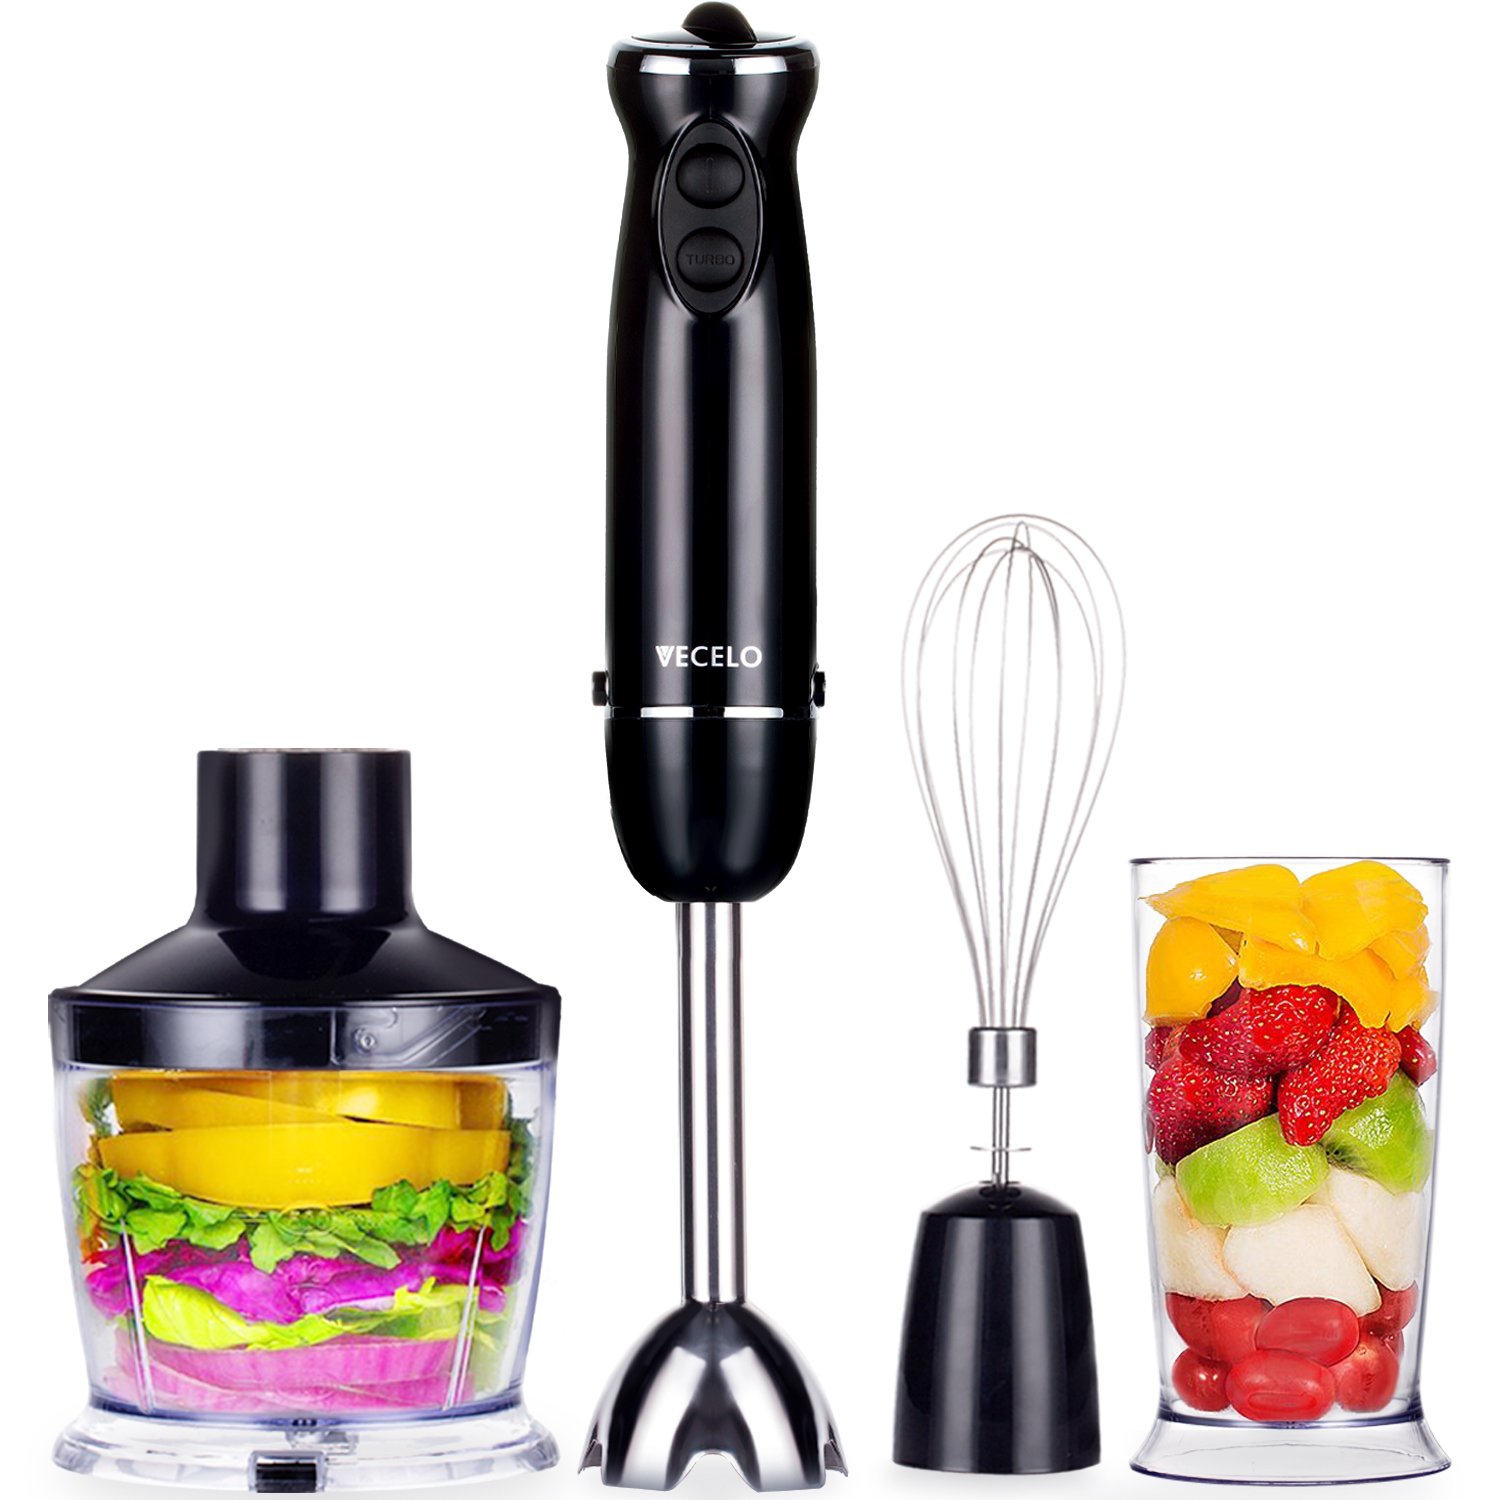 Immersion Blender: The Convenient Pureeing Tool
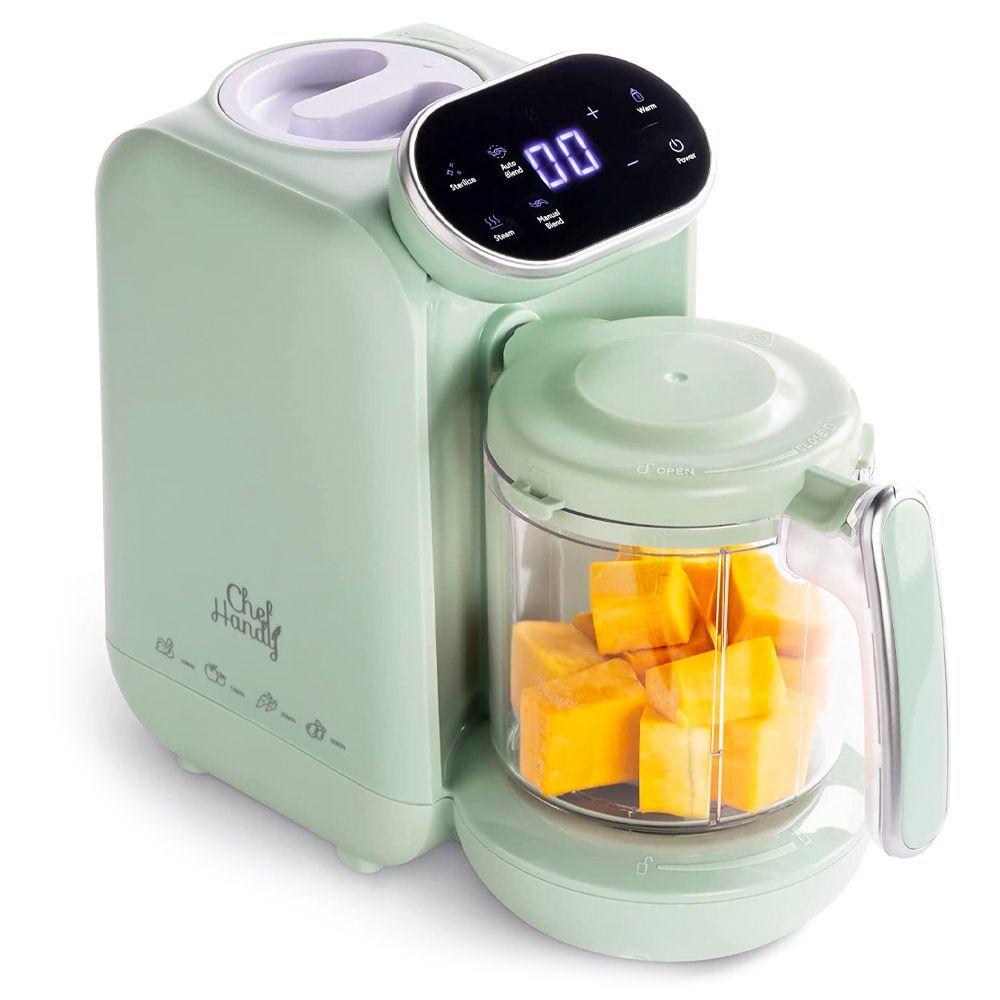
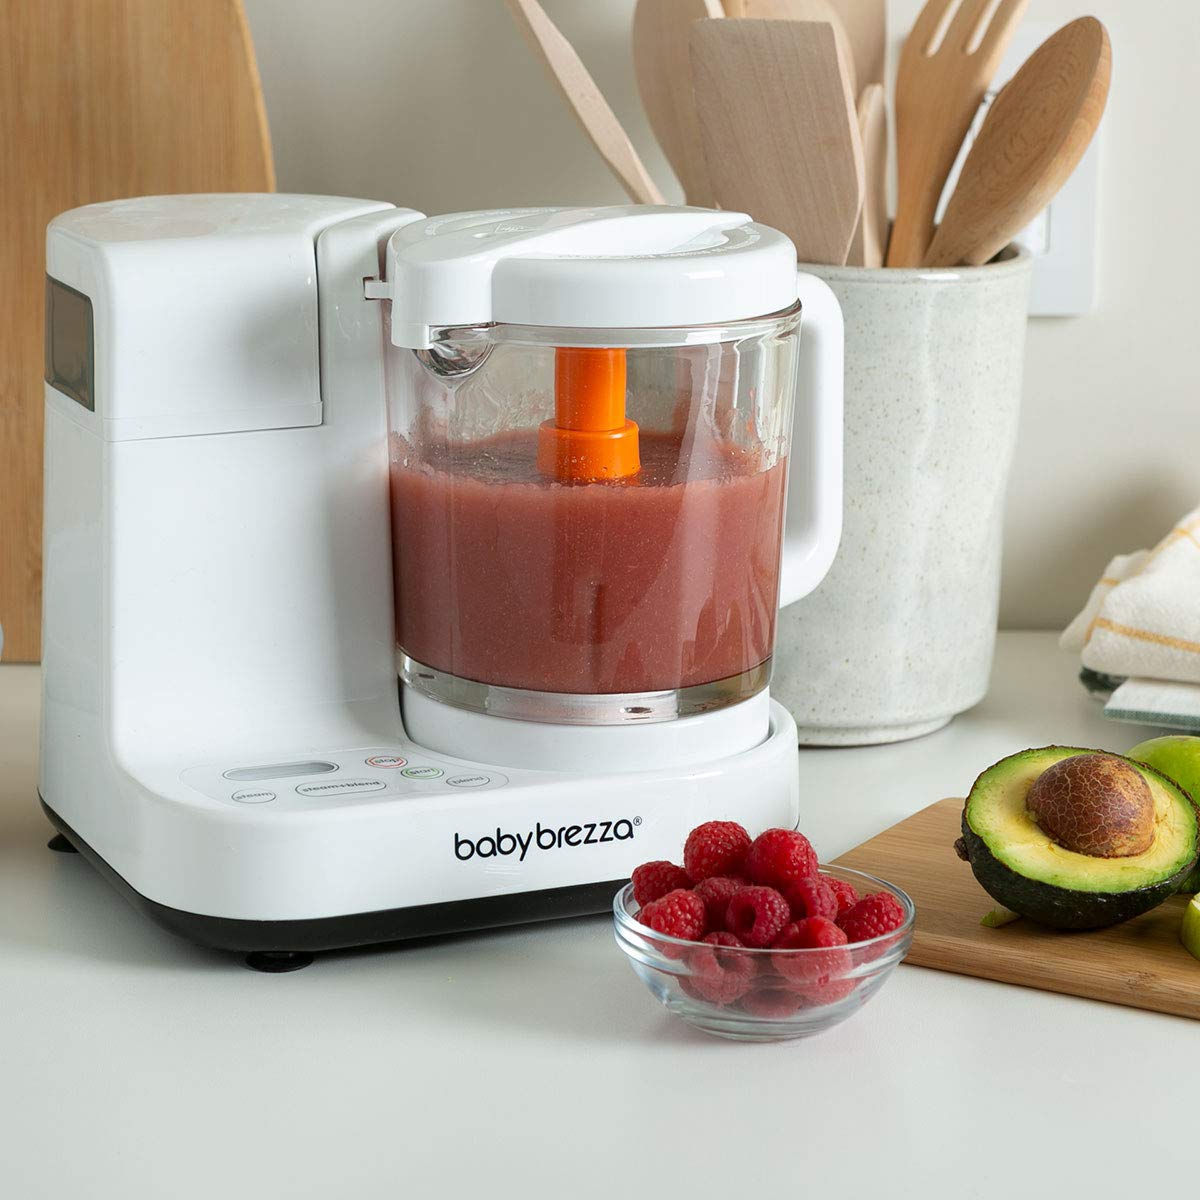
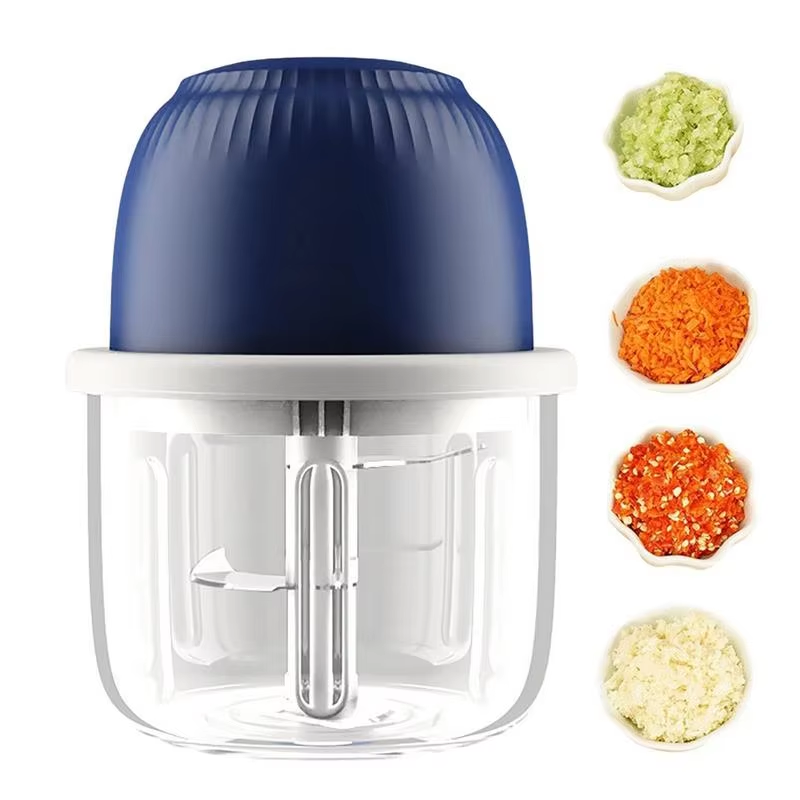
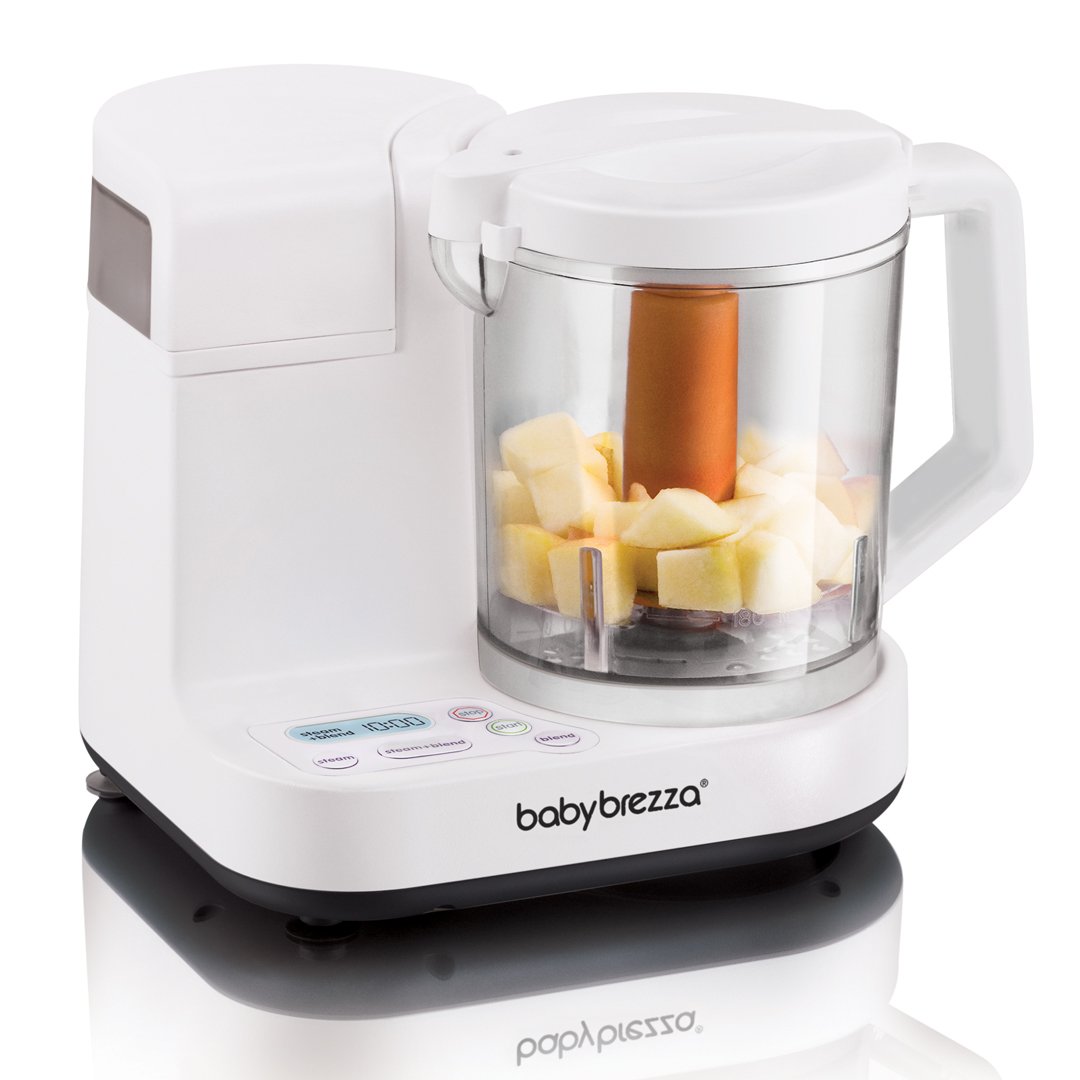 Top Recommended Baby Food Processor Models
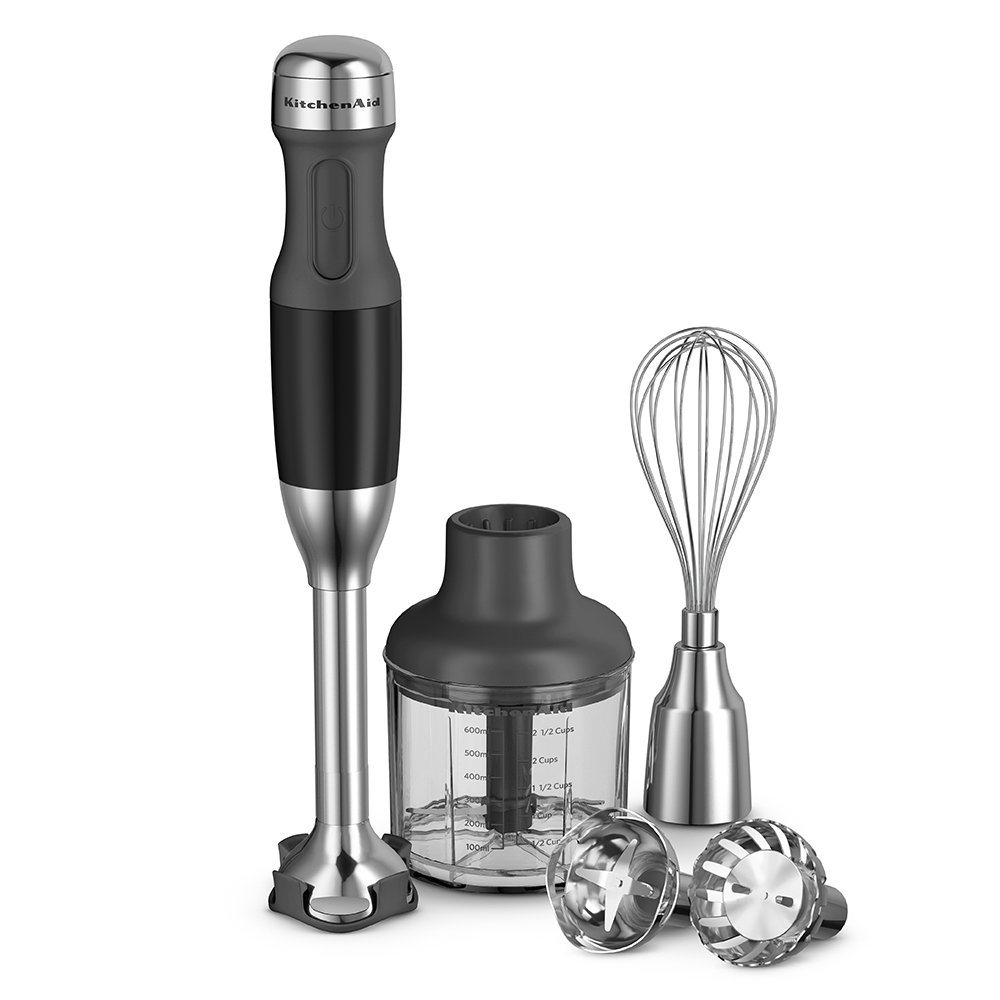
 Tips for Maintaining and Cleaning Your Hybrid Appliance
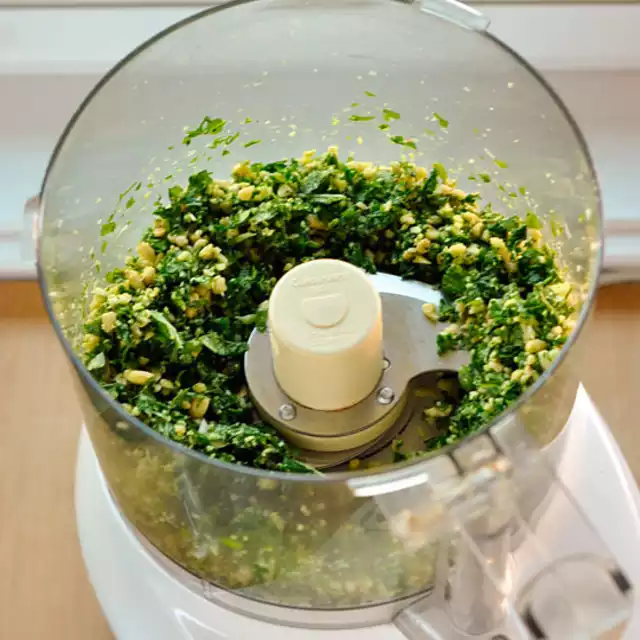
 Creating Healthy Meals with a Food Processor
 Practical Uses and Recipes
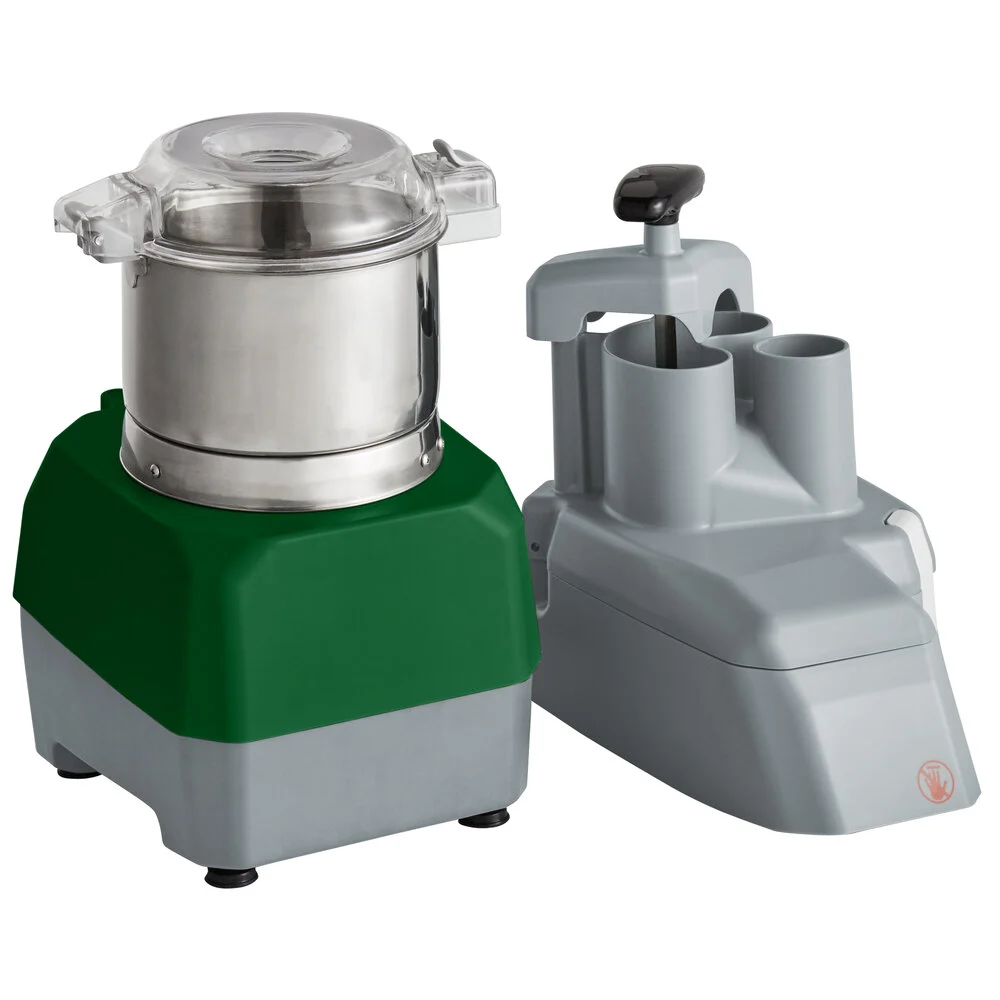
 Crafting Homemade Sauces and Dips for Healthier Alternatives
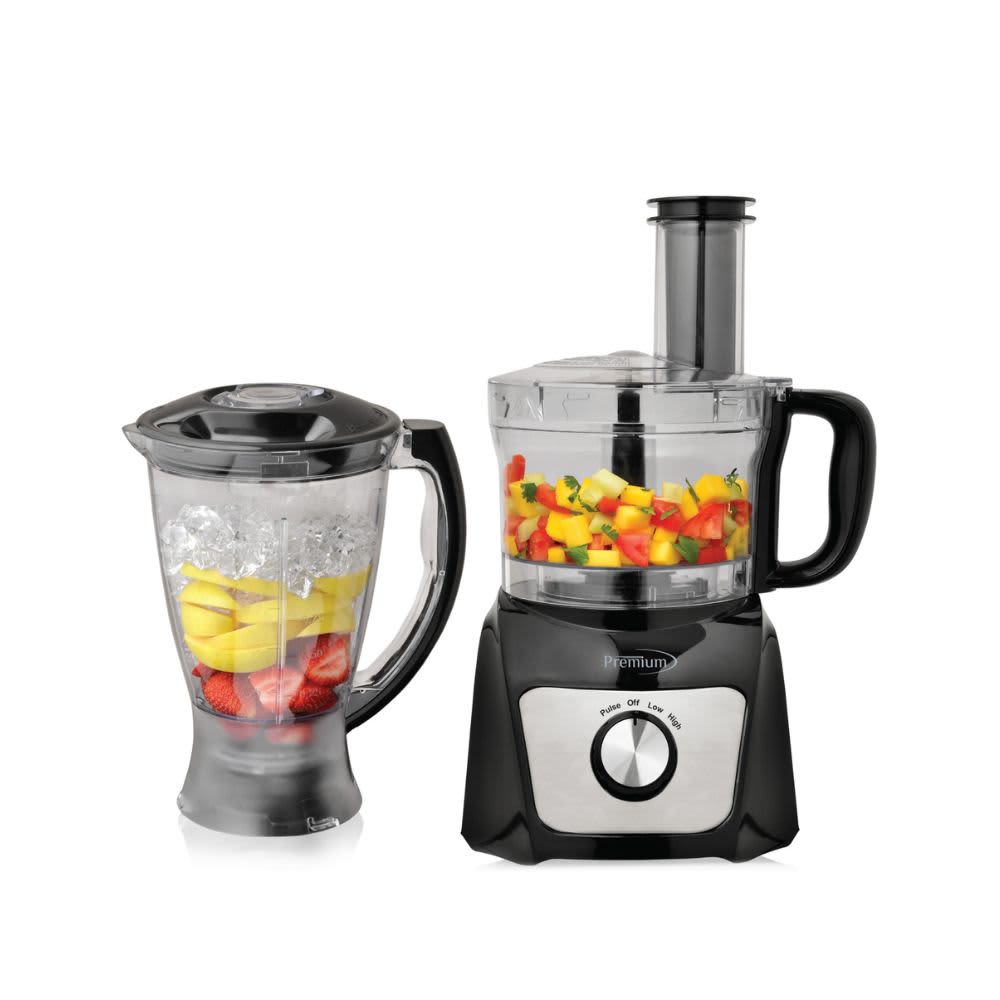
 When to Opt for a Mini Food Processor
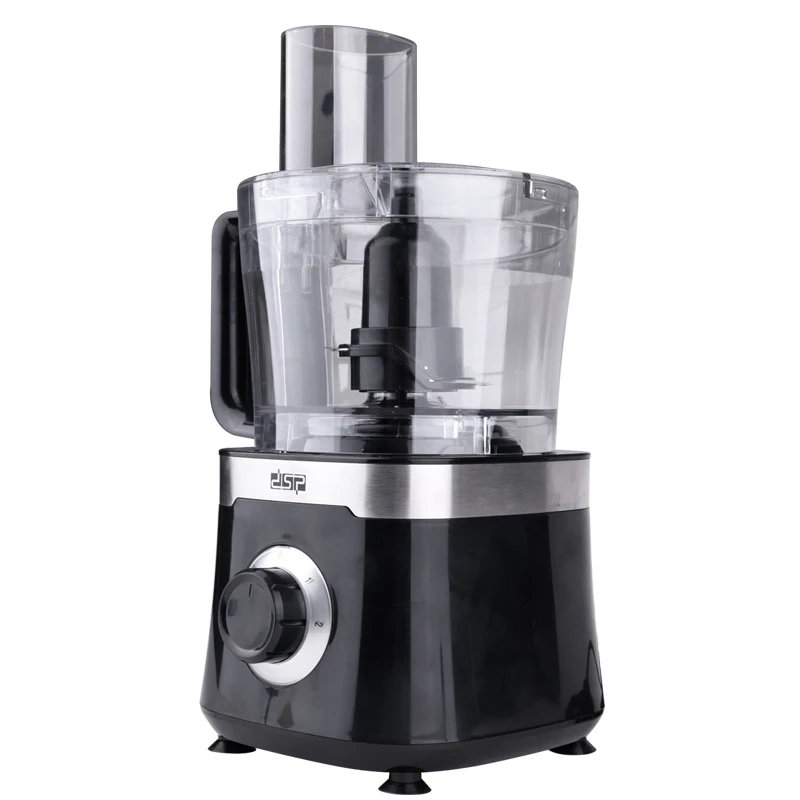
 The Convenience of Homemade Meal Prep