In today’s health-driven lifestyle, finding the best juicer on the market is essential for those who crave fresh, nutritious, and delicious juices daily. Whether you’re blending vibrant green smoothies, extracting nutrient-packed vegetable juices, or crafting refreshing fruit beverages, the right juicer can make all the difference. This comprehensive guide explores various types of juicers, key features to consider, and top recommendations to help you make an informed decision and elevate your juicing experience.
Why Choosing the Best Juicer Matters
Juicing has become a popular way to boost nutrition and enjoy flavorful drinks. However, not all juicers are created equal. Selecting the best juicer on the market ensures you receive maximum juice yield, preserve essential nutrients, and enjoy a hassle-free experience. Moreover, the right juicer can complement your kitchen setup, align with your dietary preferences, and fit seamlessly into your daily routine.
The Benefits of Investing in a High-Quality Juicer
Opting for the best juicer offers numerous advantages:
- Nutrient Preservation: High-quality juicers retain more vitamins and minerals, ensuring your juices are as healthy as possible.
- Efficiency: The best models extract juice quickly and effectively, saving you time in the kitchen.
- Durability: Superior juicers are built to last, providing long-term value and consistent performance.
- Versatility: Advanced juicers can handle a variety of fruits and vegetables, expanding your juicing possibilities.
- Ease of Cleaning: Top-tier juicers are designed for easy disassembly and cleaning, making maintenance a breeze.
Types of Juicers: Finding the Best Fit for Your Needs
Understanding the different types of juicers is crucial in selecting the best juicer on the market. Each type has unique features, advantages, and drawbacks, catering to various juicing preferences and lifestyles.
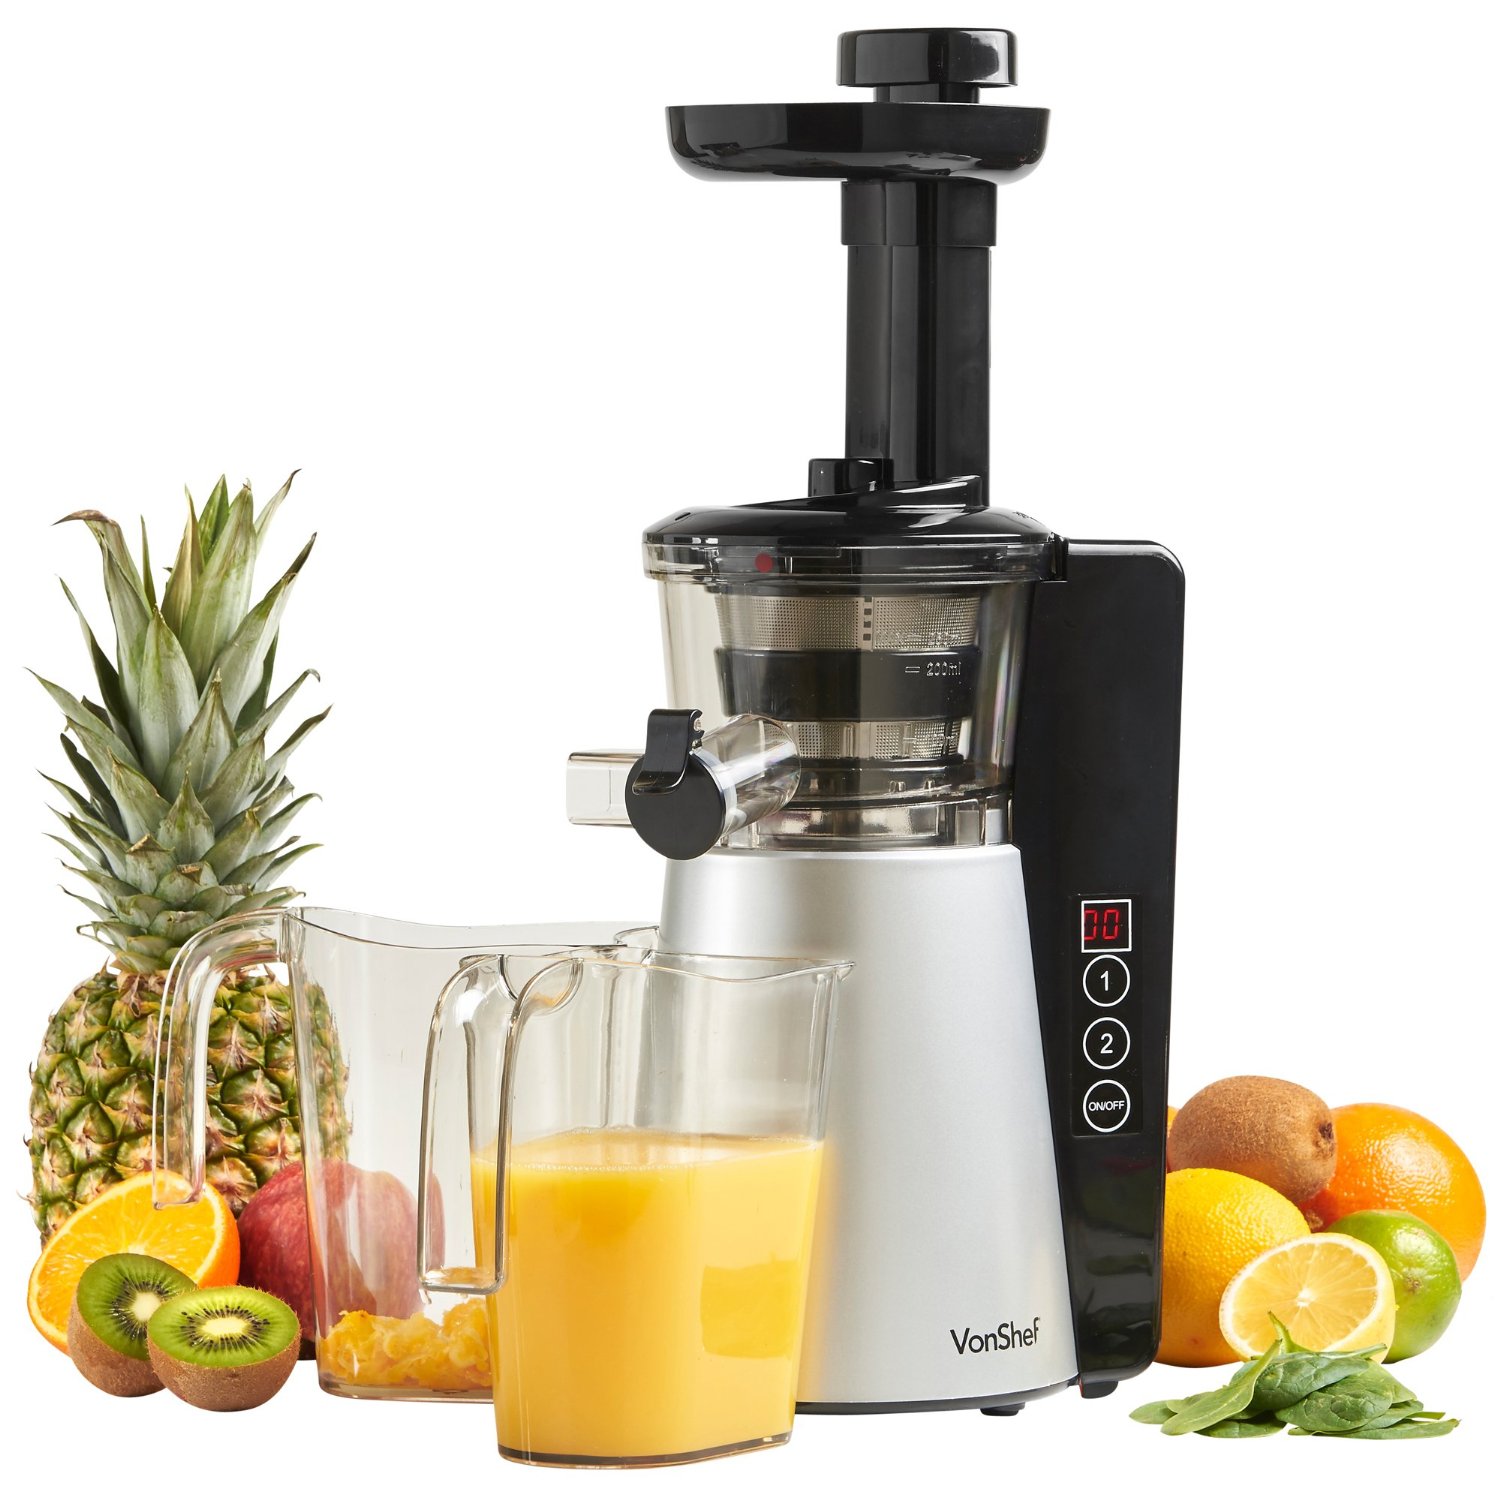
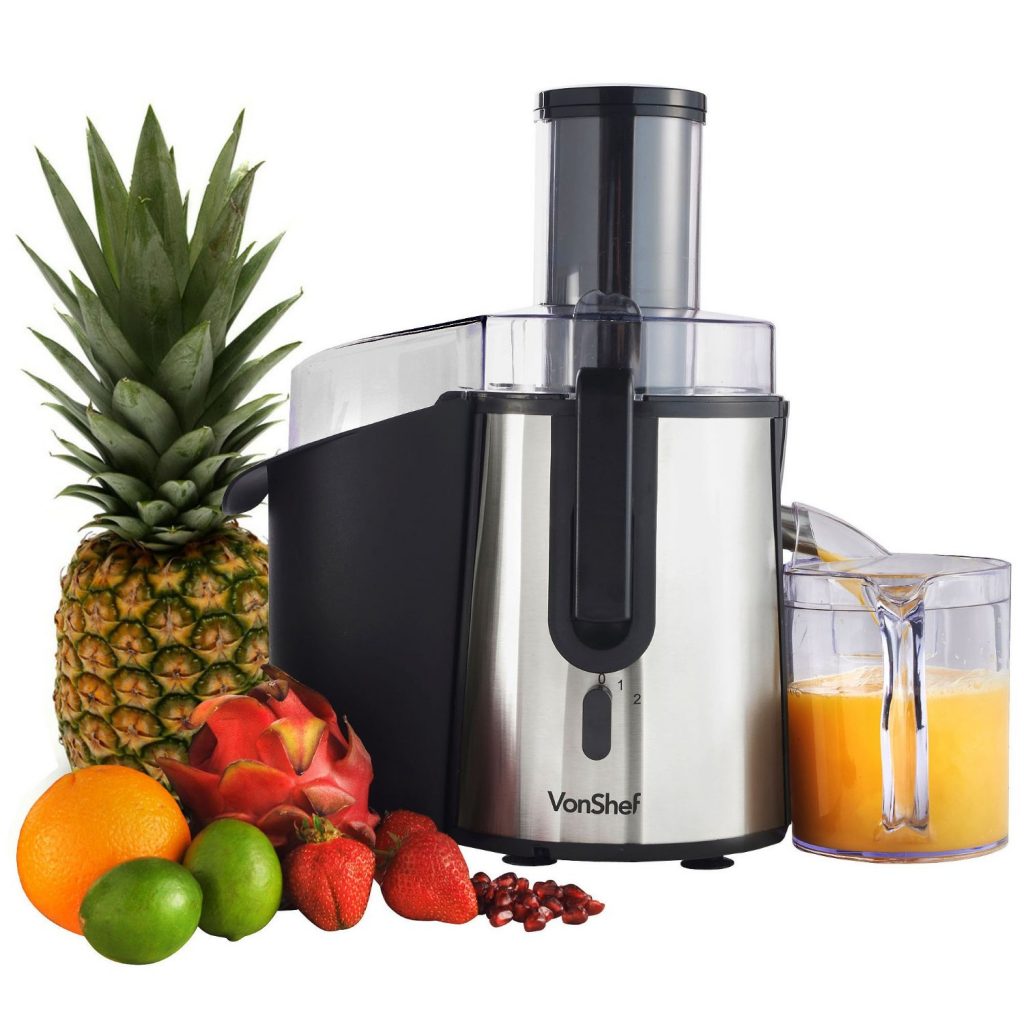
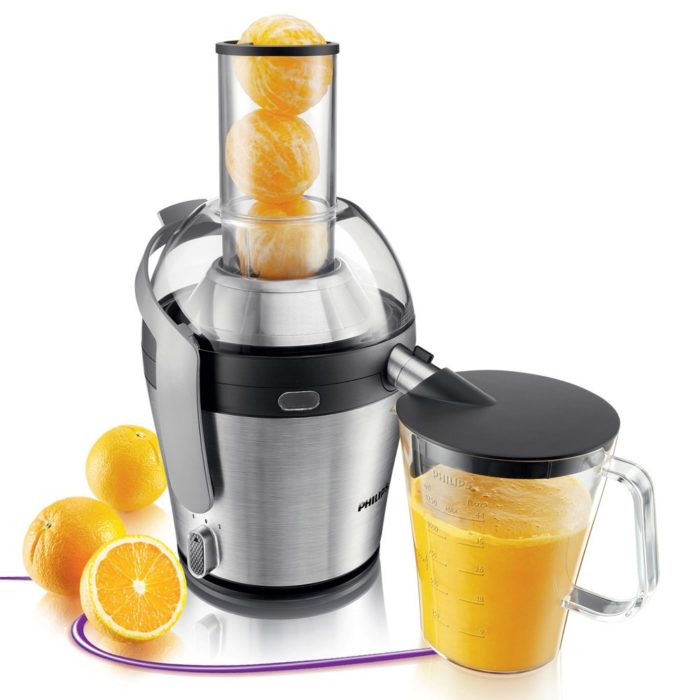
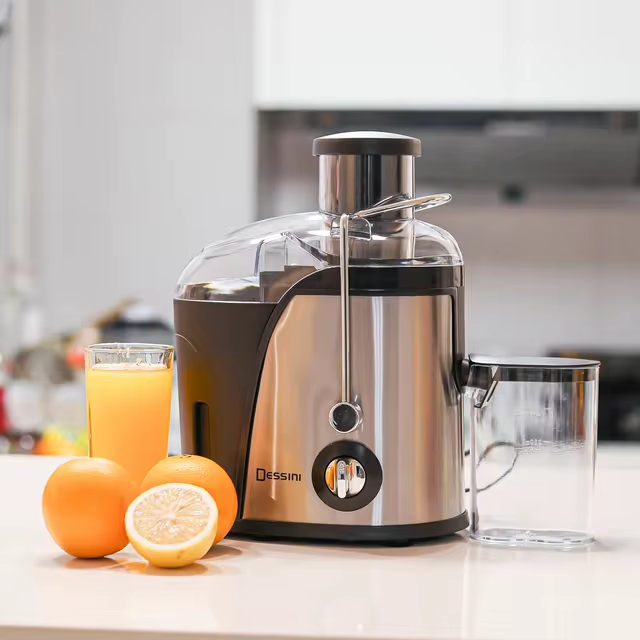
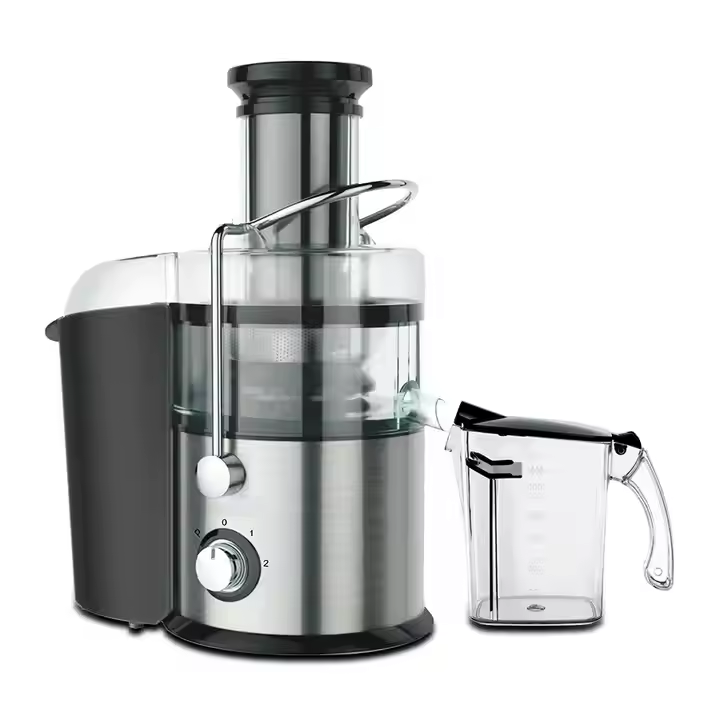
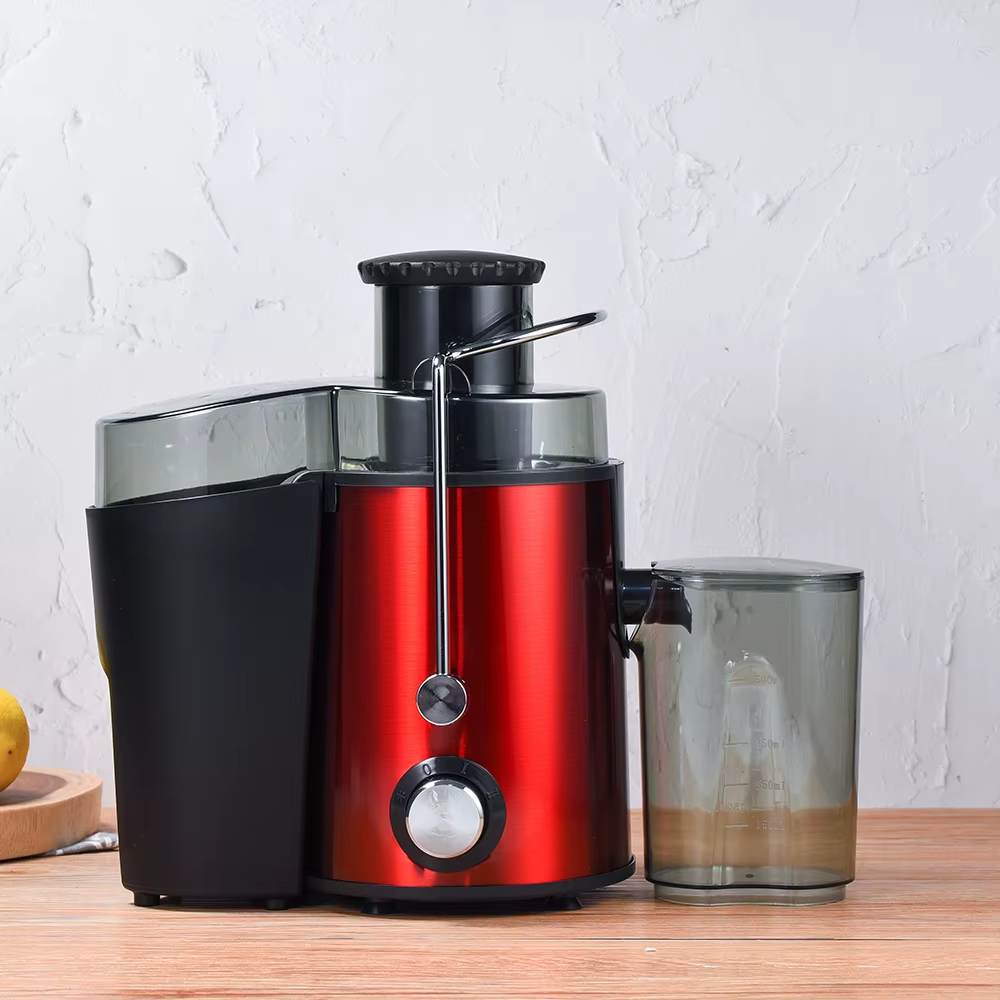
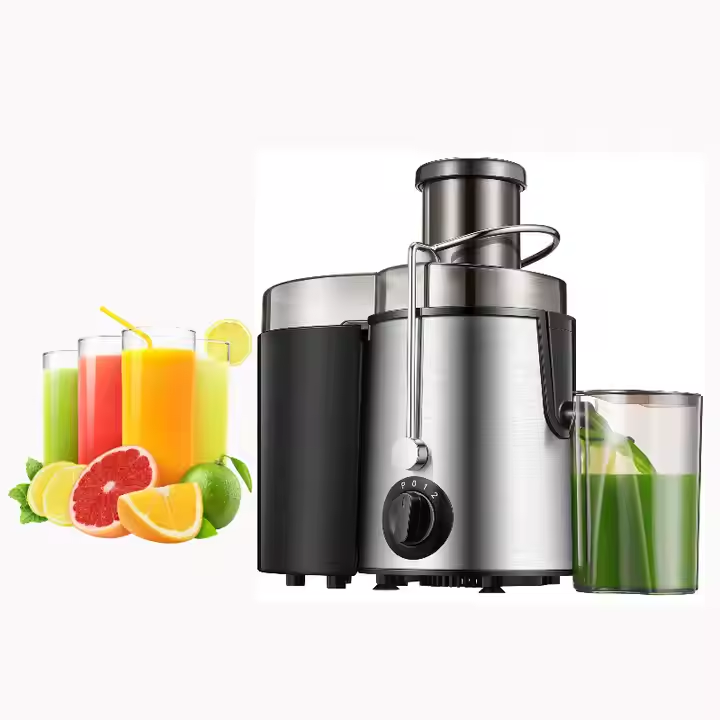
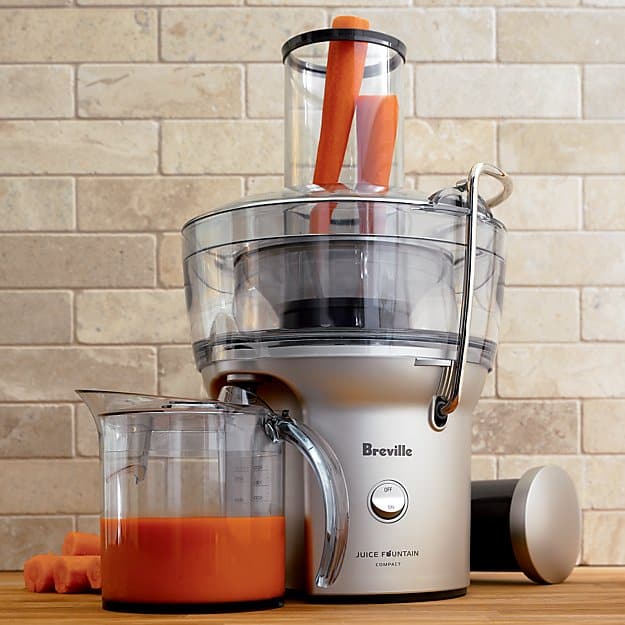
Centrifugal Juicers: Speed and Efficiency
Centrifugal juicers are among the most popular and widely available options. They operate by spinning fast, using sharp blades to chop fruits and vegetables before extracting the juice through centrifugal force.
Advantages of Centrifugal Juicers
- Quick Juicing: These juicers are perfect for those who need their juice in a hurry.
- Affordable: Generally less expensive than other types, making them accessible to a broad audience.
- Ease of Use: Simple to operate with straightforward controls.
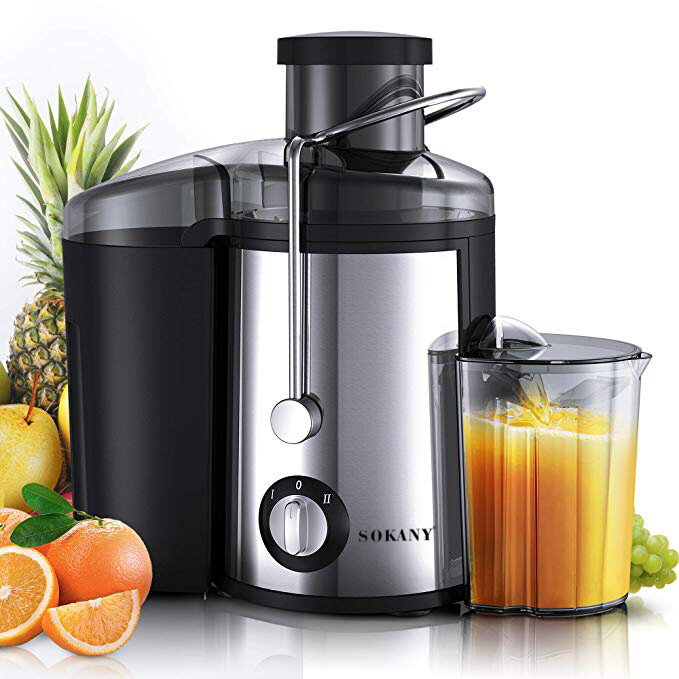
Disadvantages of Centrifugal Juicers
- Heat Generation: The high-speed spinning can generate heat, potentially degrading some nutrients.
- Less Efficient with Greens: Struggle to extract juice from leafy vegetables, limiting their versatility.
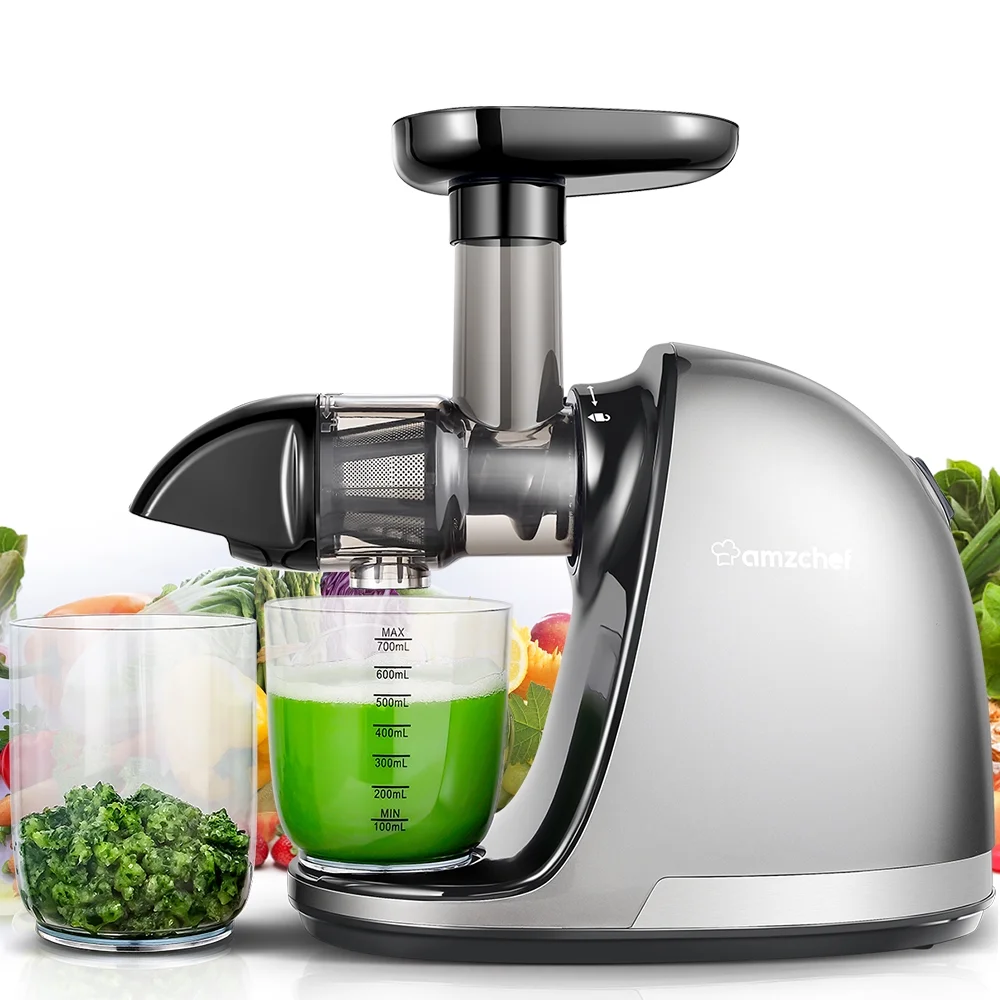
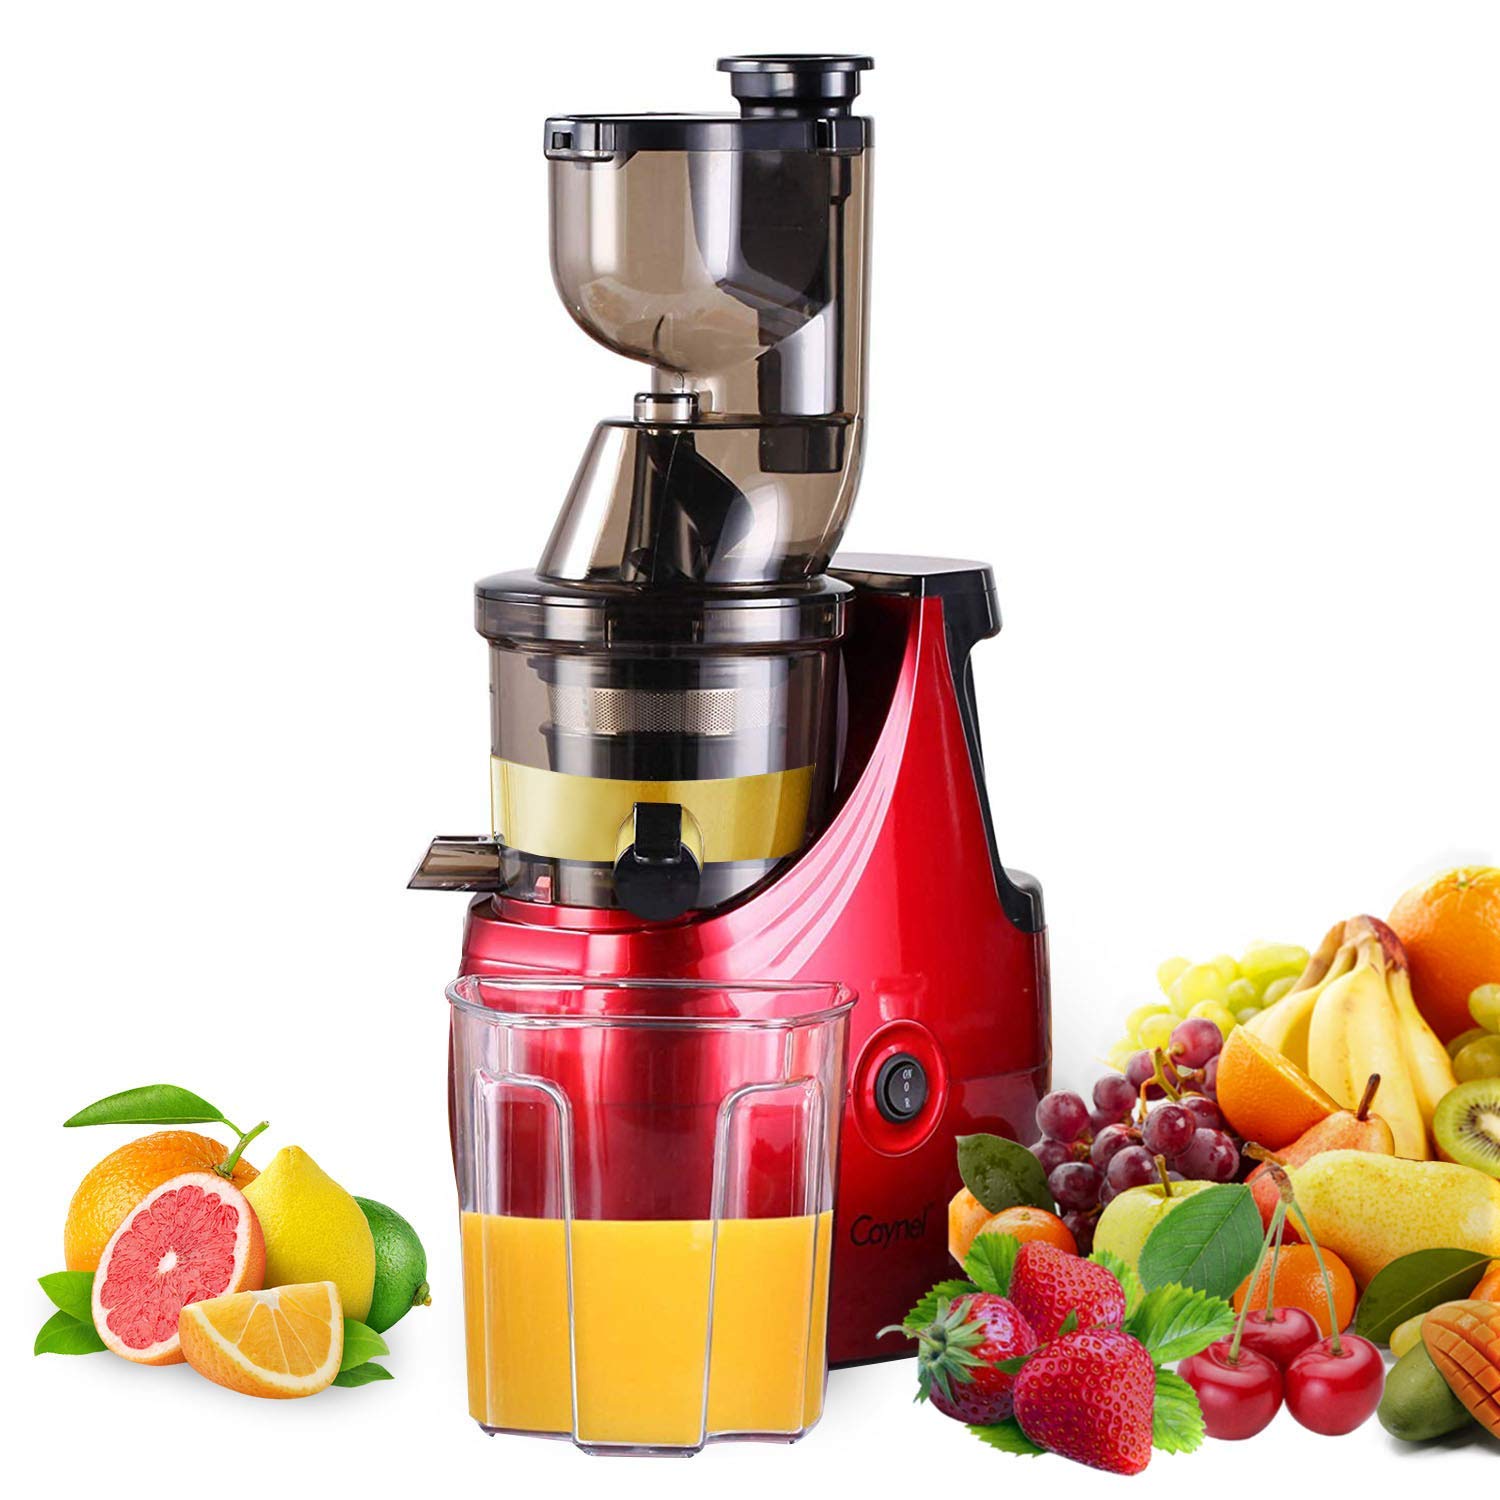
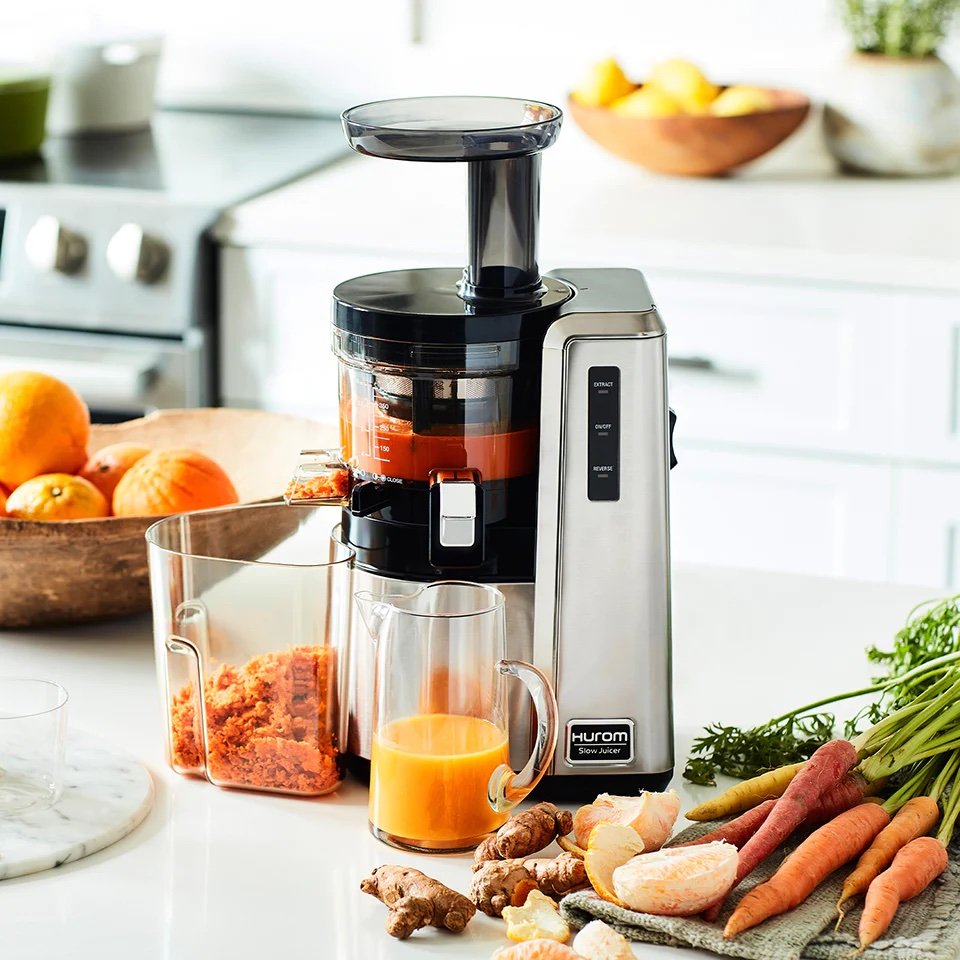
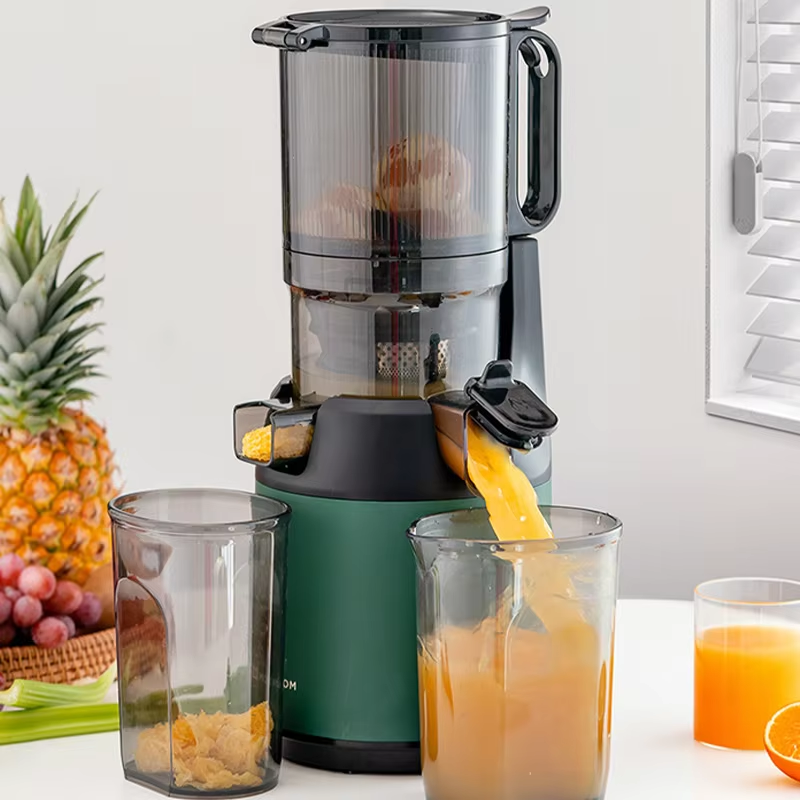
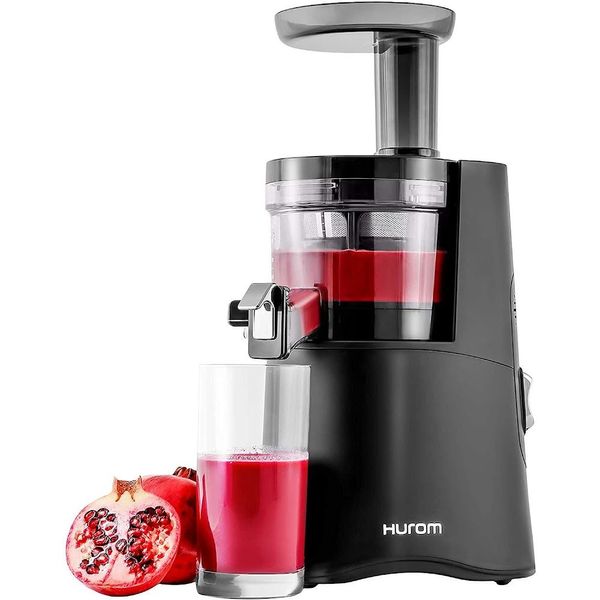
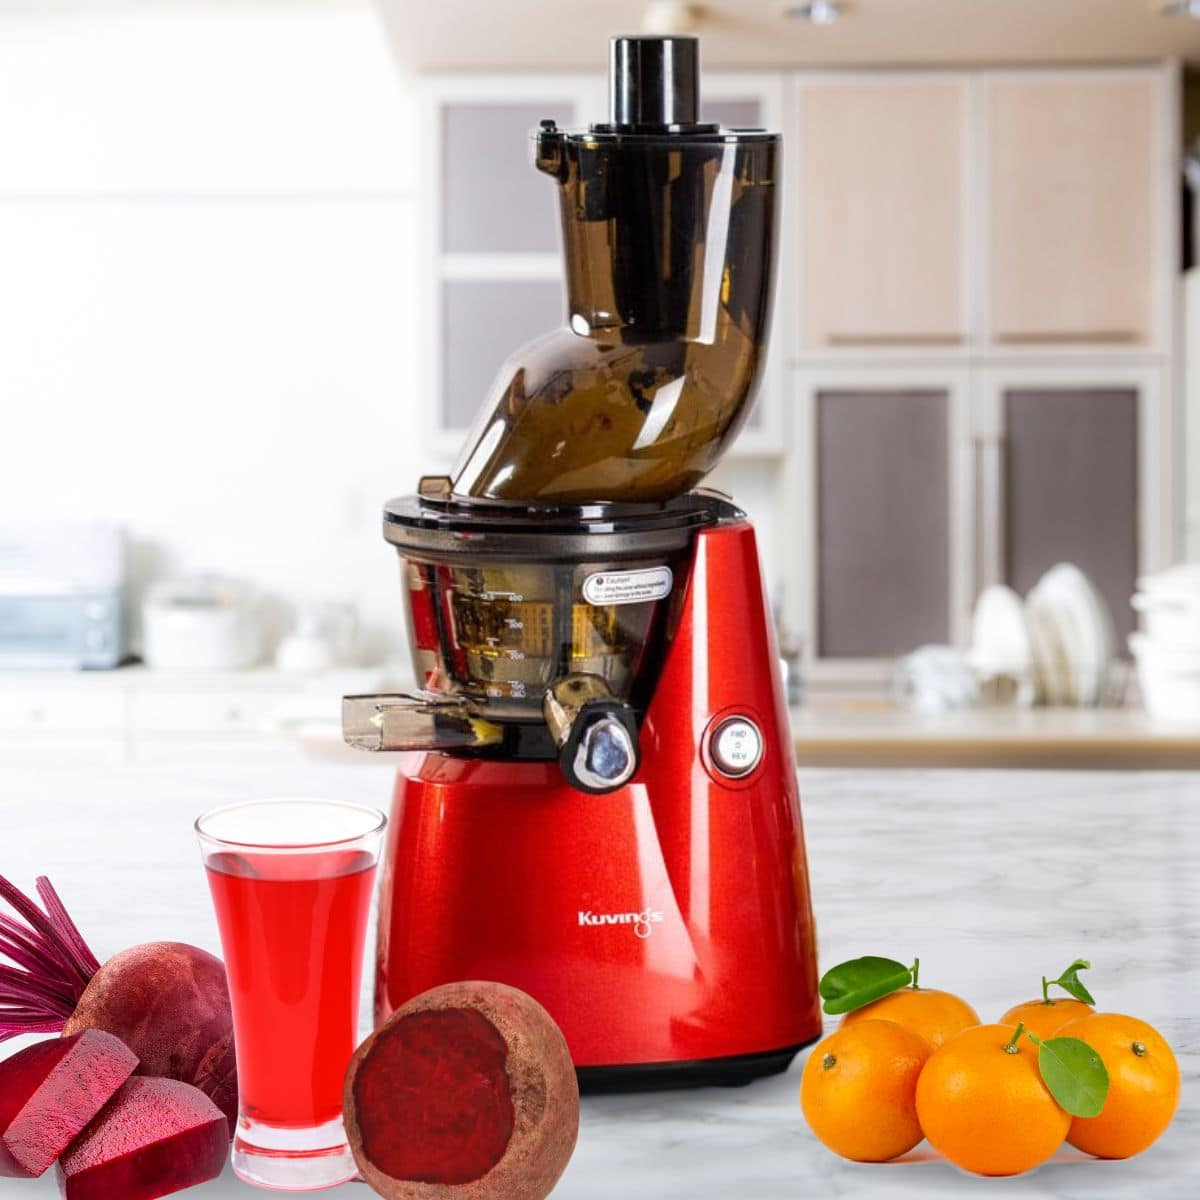
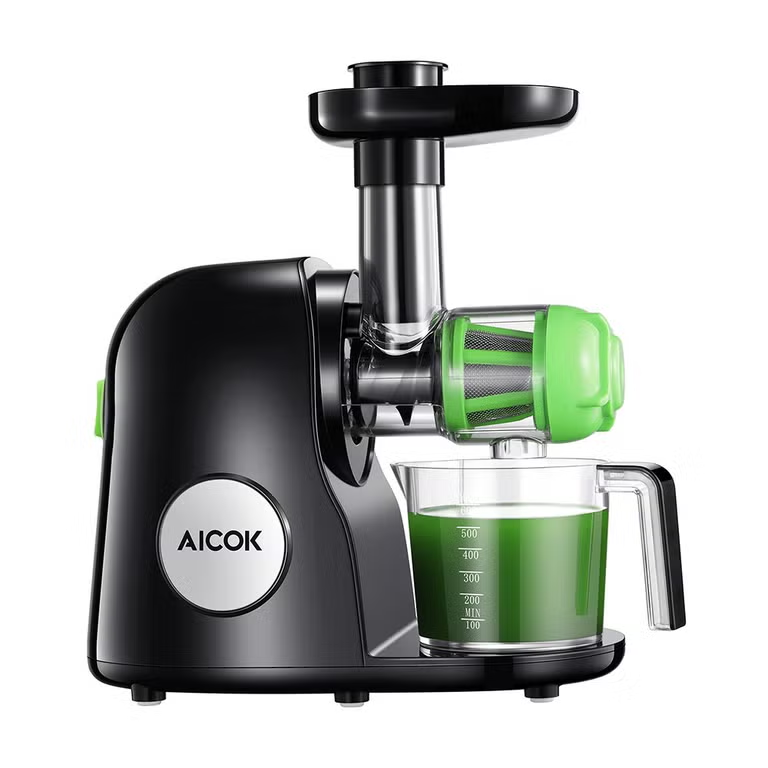
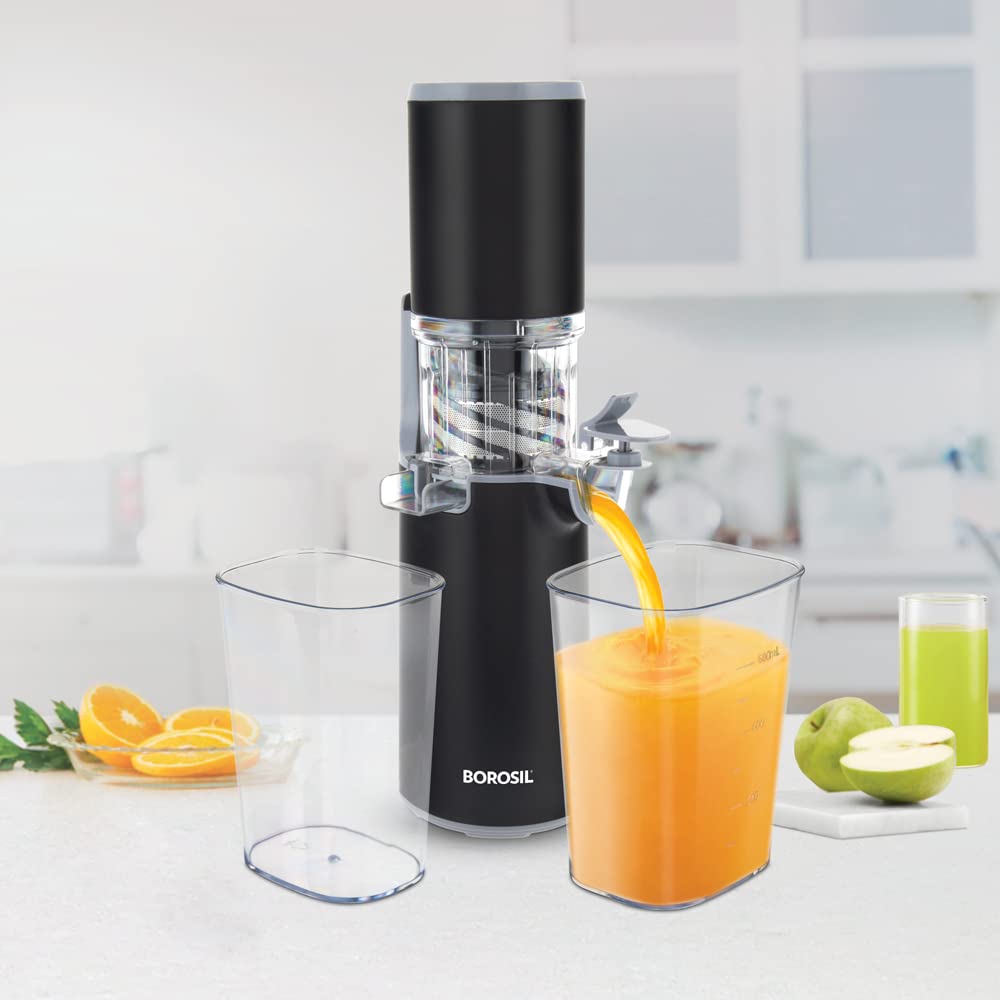
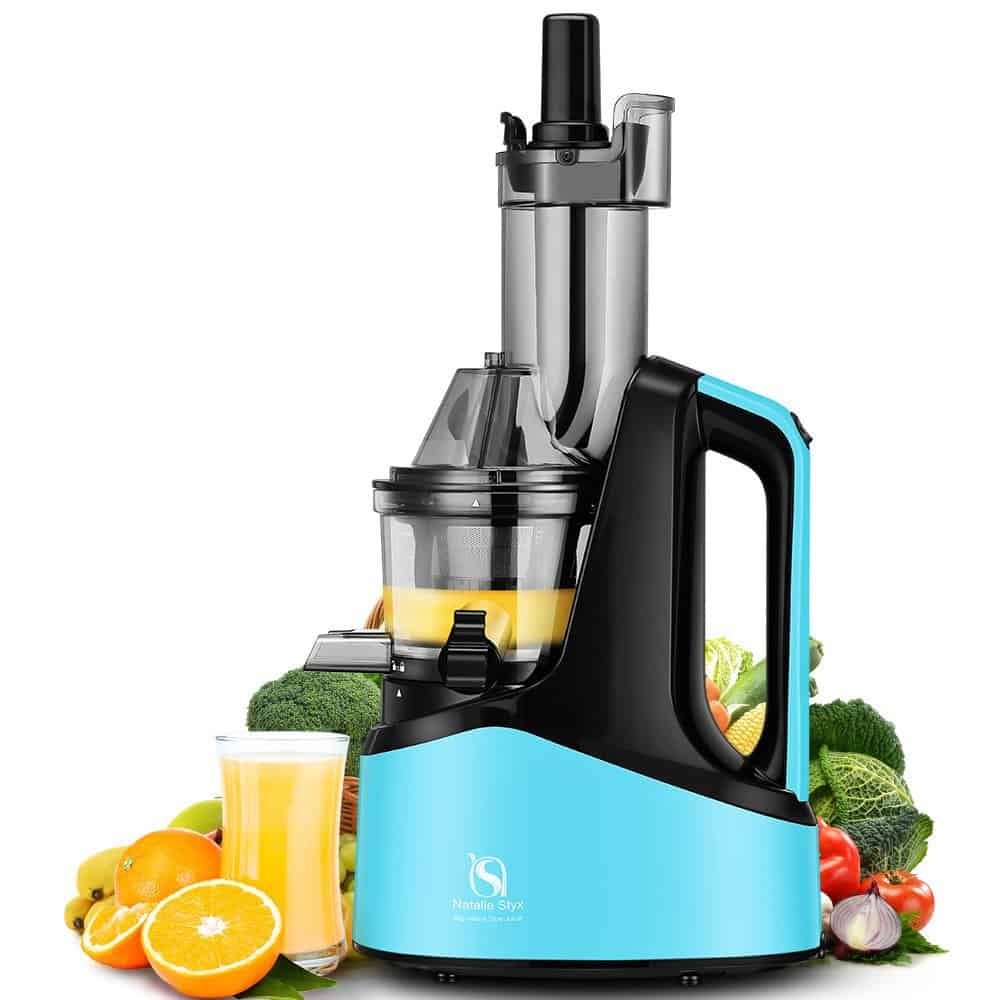
Masticating Juicers: Nutrient-Rich Juicing
Masticating juicers, also known as slow juicers, operate at lower speeds, using an auger to crush and press fruits and vegetables to extract juice.
Advantages of Masticating Juicers
- Higher Juice Yield: Extract more juice from produce, especially leafy greens.
- Better Nutrient Retention: The slow process preserves more vitamins and enzymes.
- Versatility: Capable of juicing a wide range of produce, including nuts for making nut milk.
Disadvantages of Masticating Juicers
- Slower Juicing: The process takes longer compared to centrifugal juicers.
- Higher Cost: Generally more expensive due to advanced technology and materials.
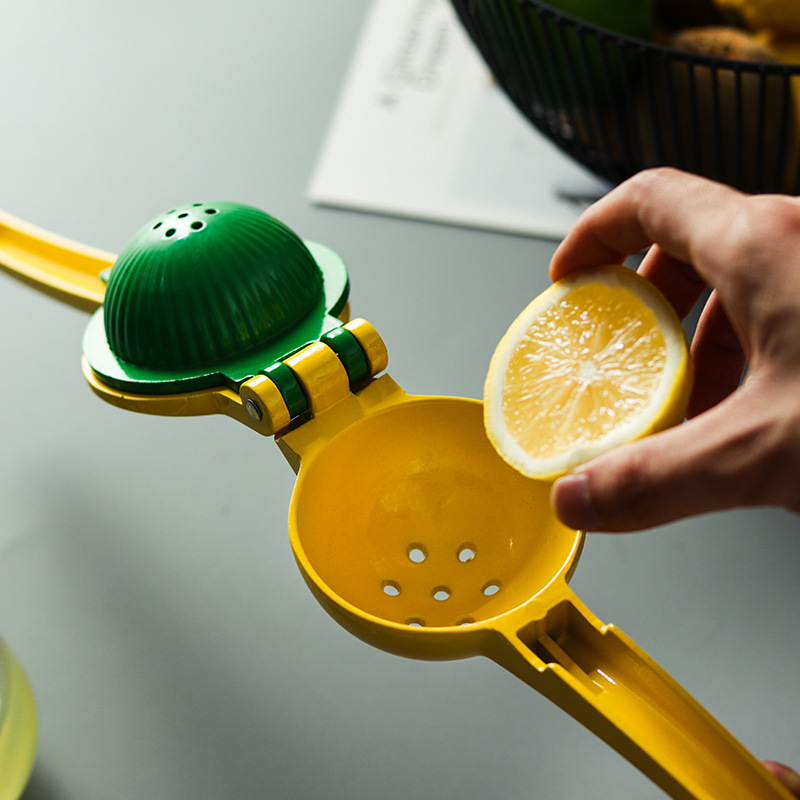
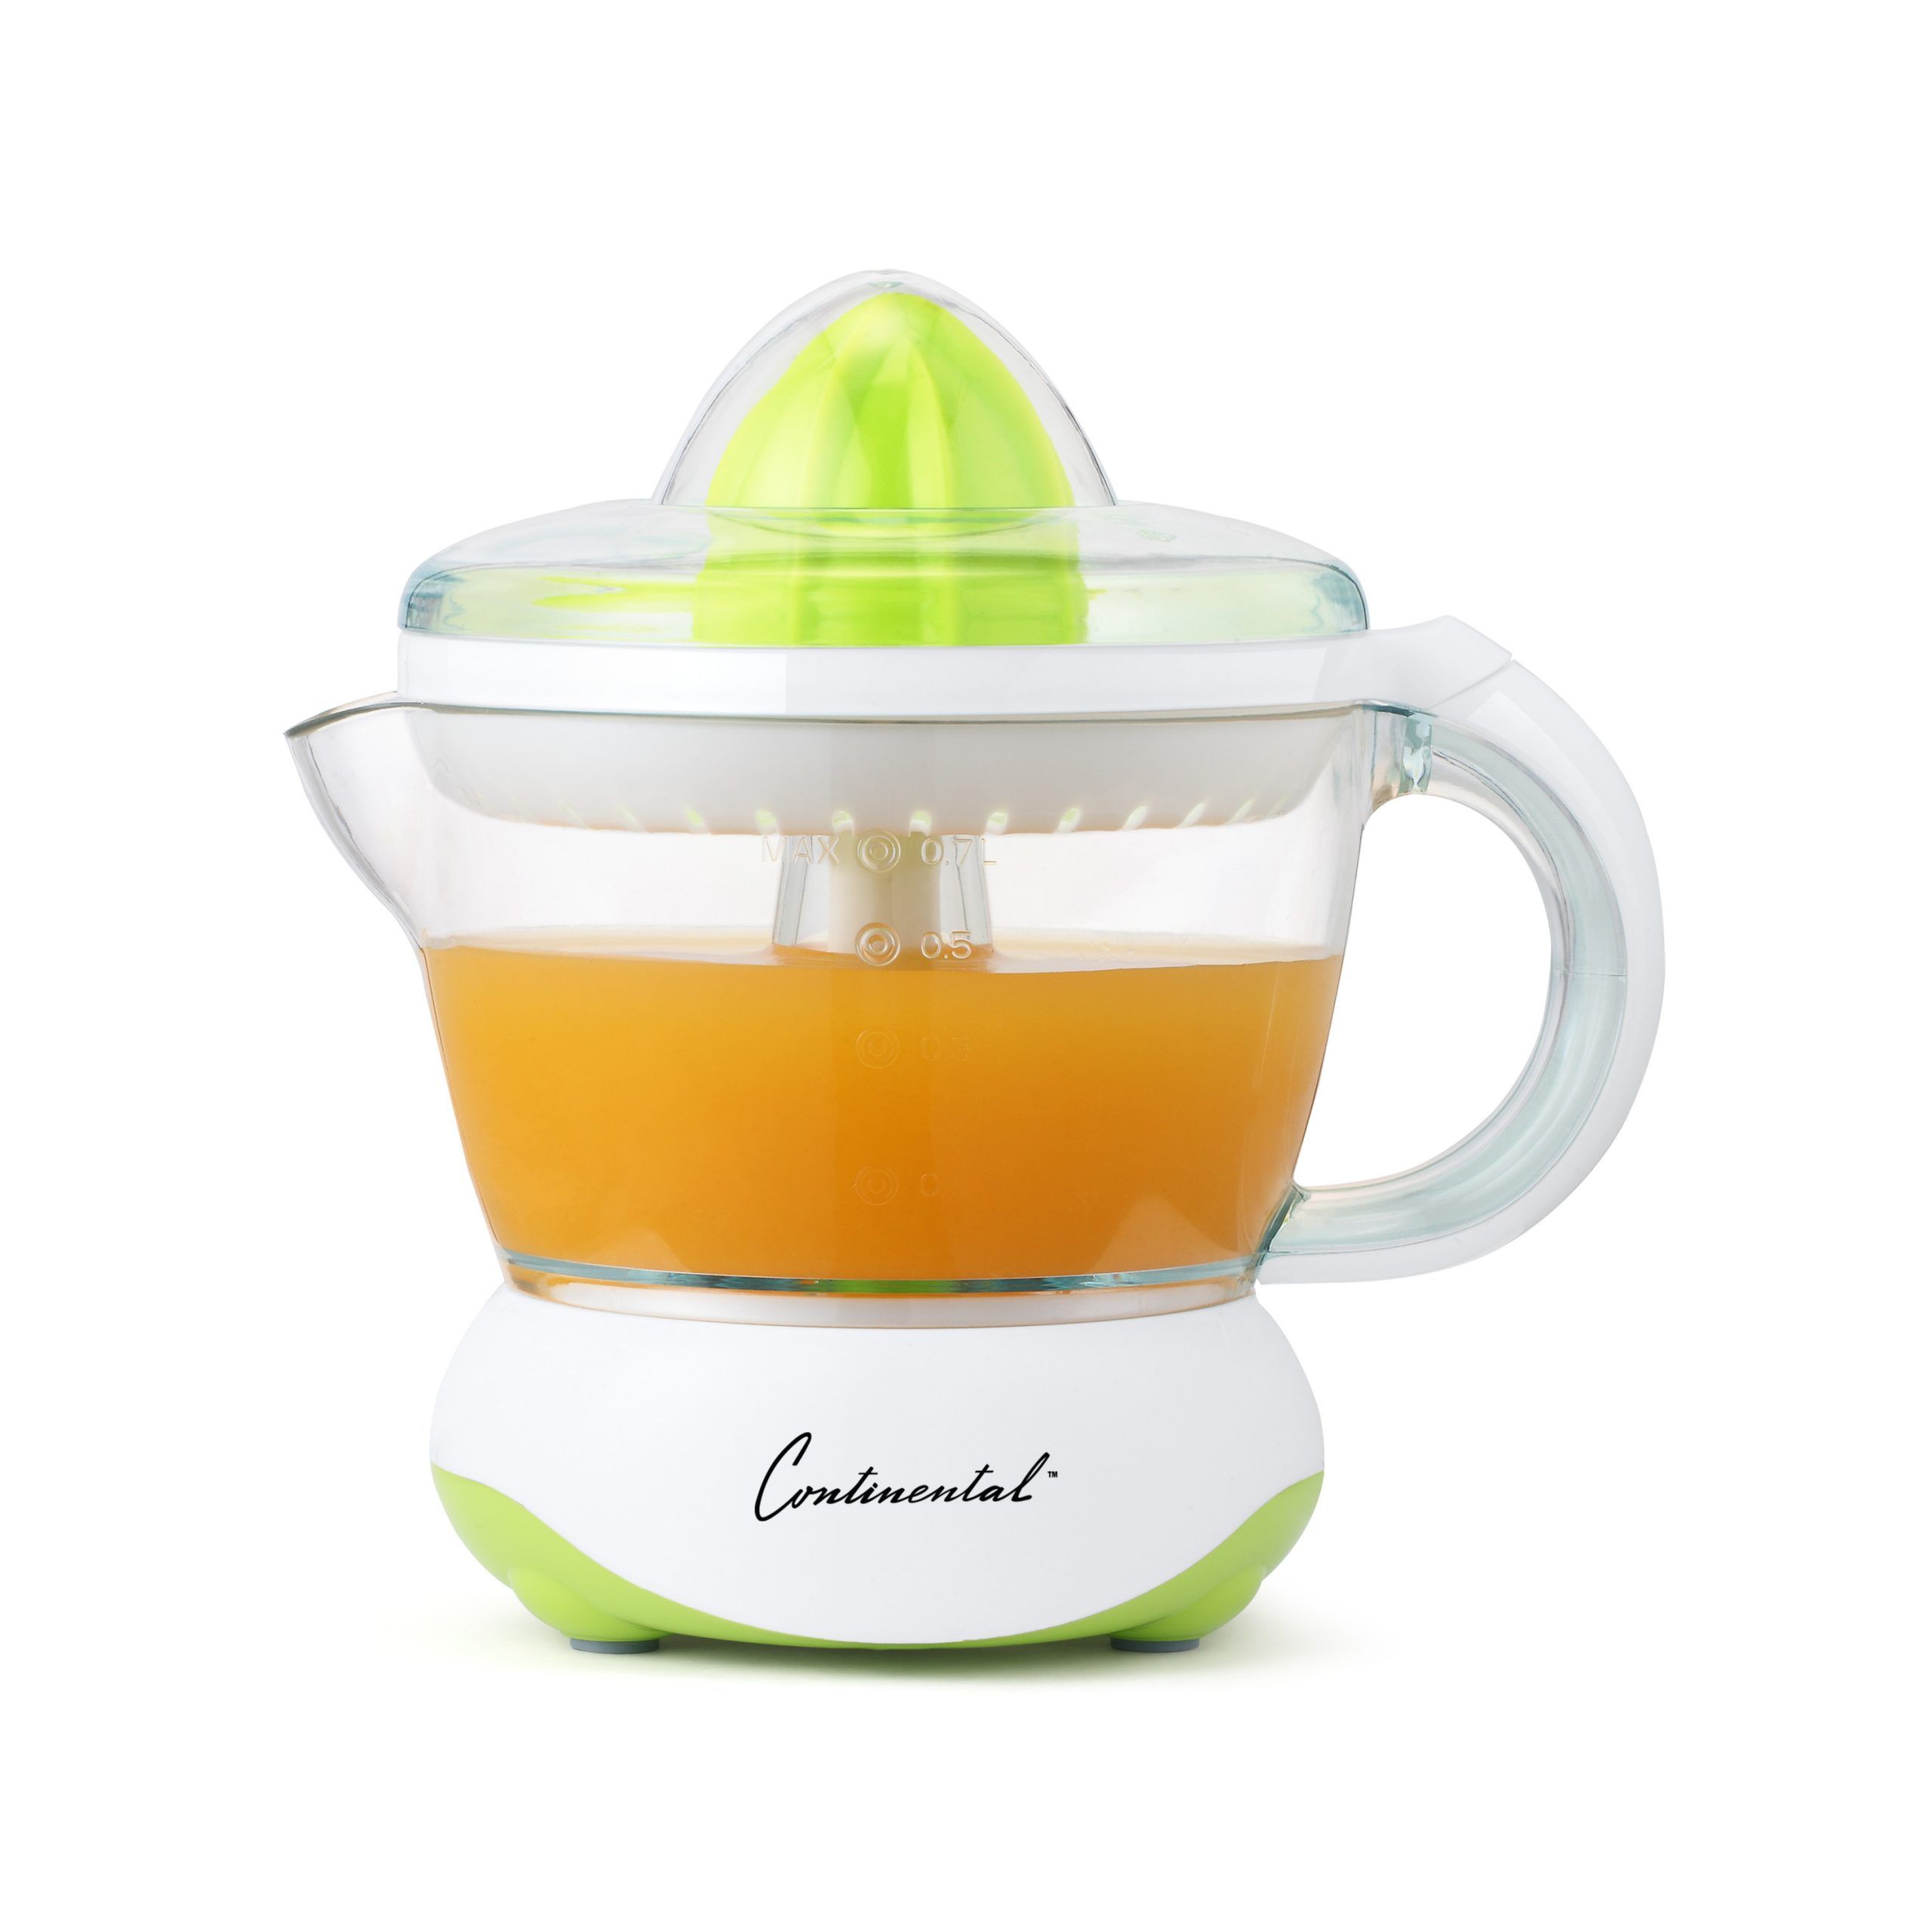
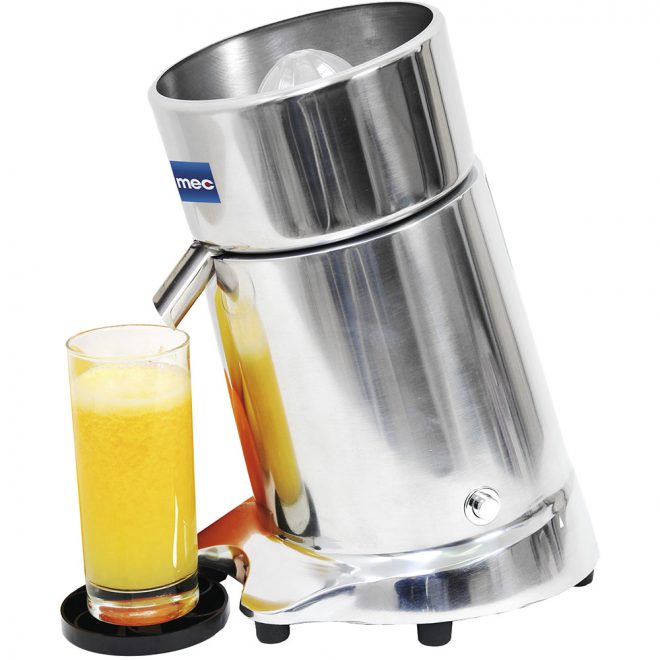
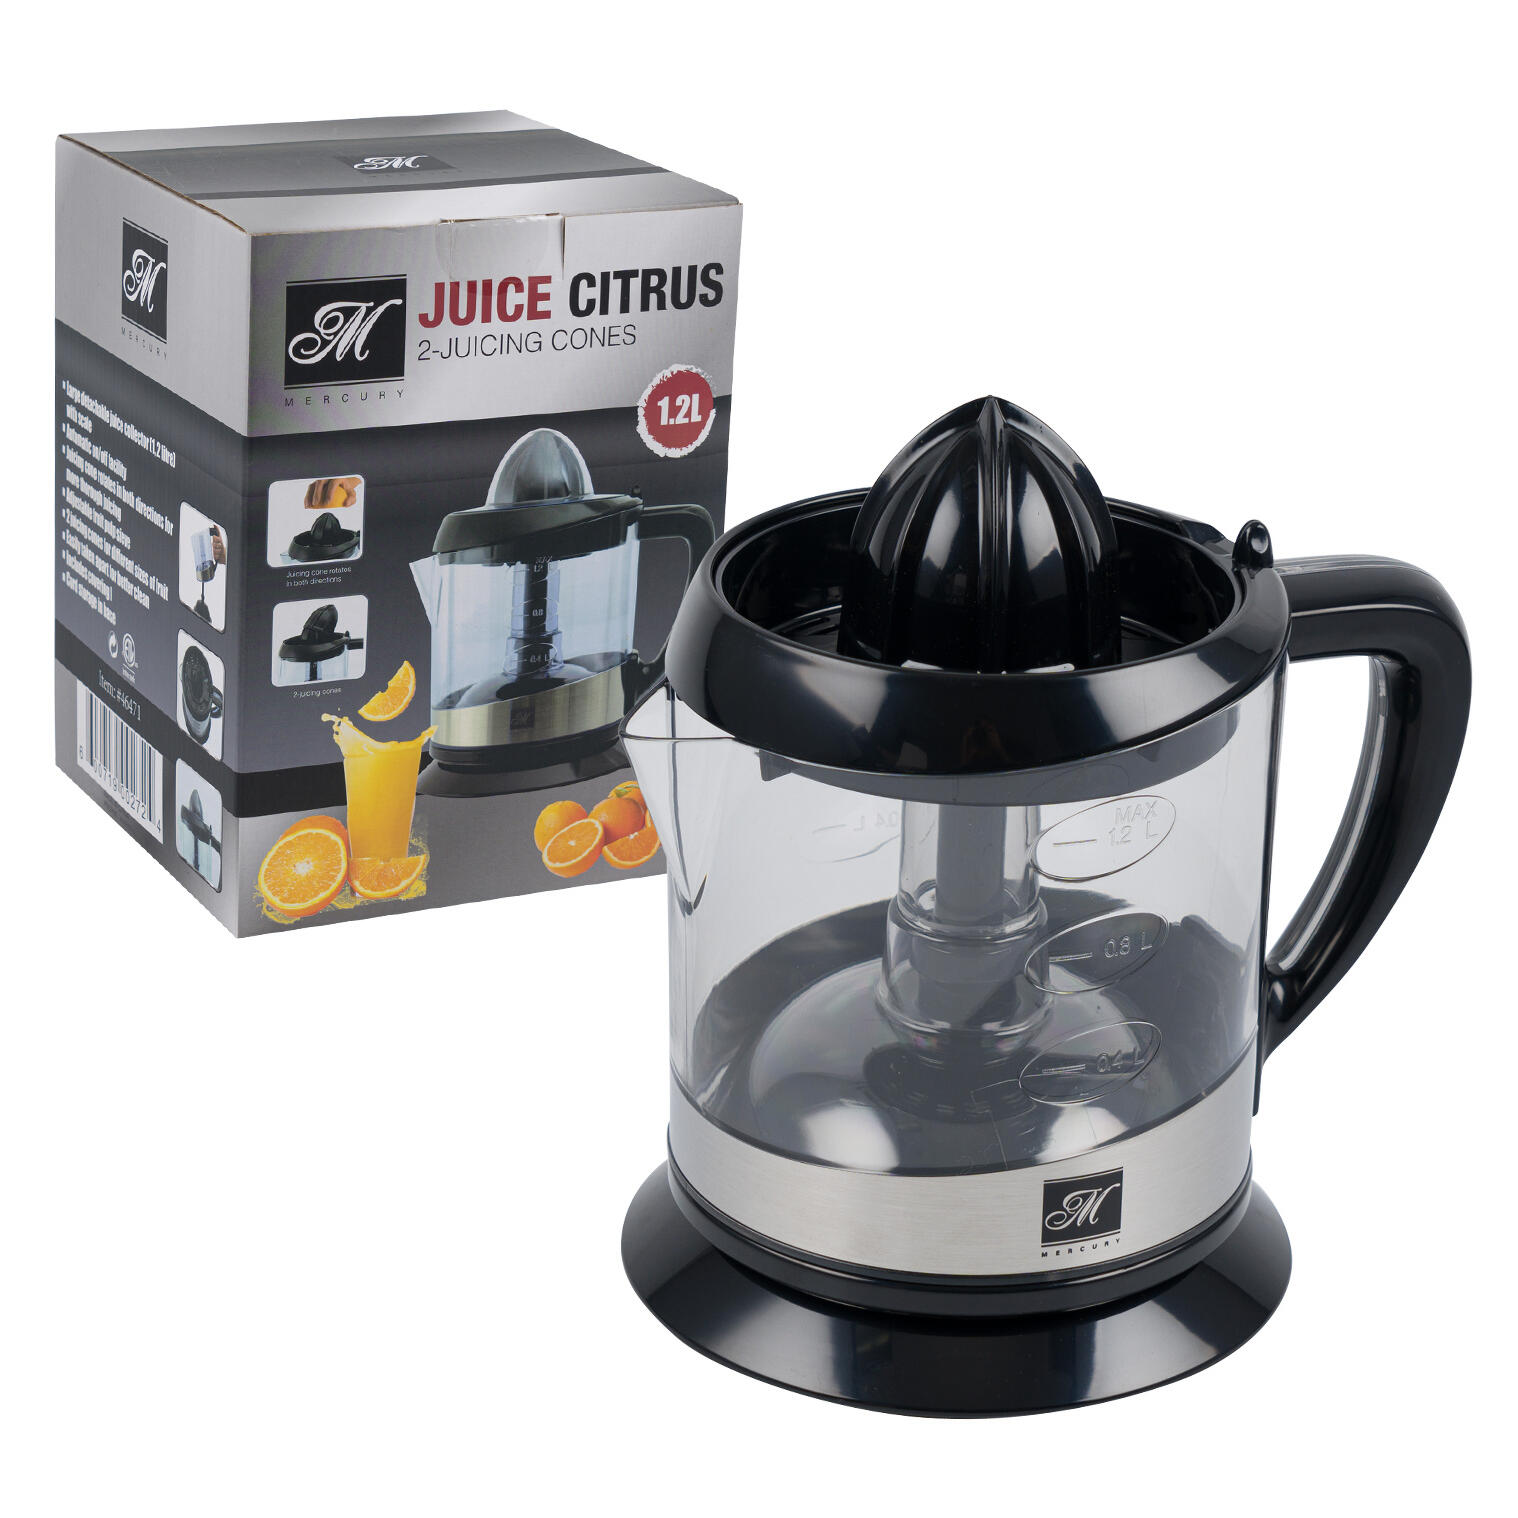
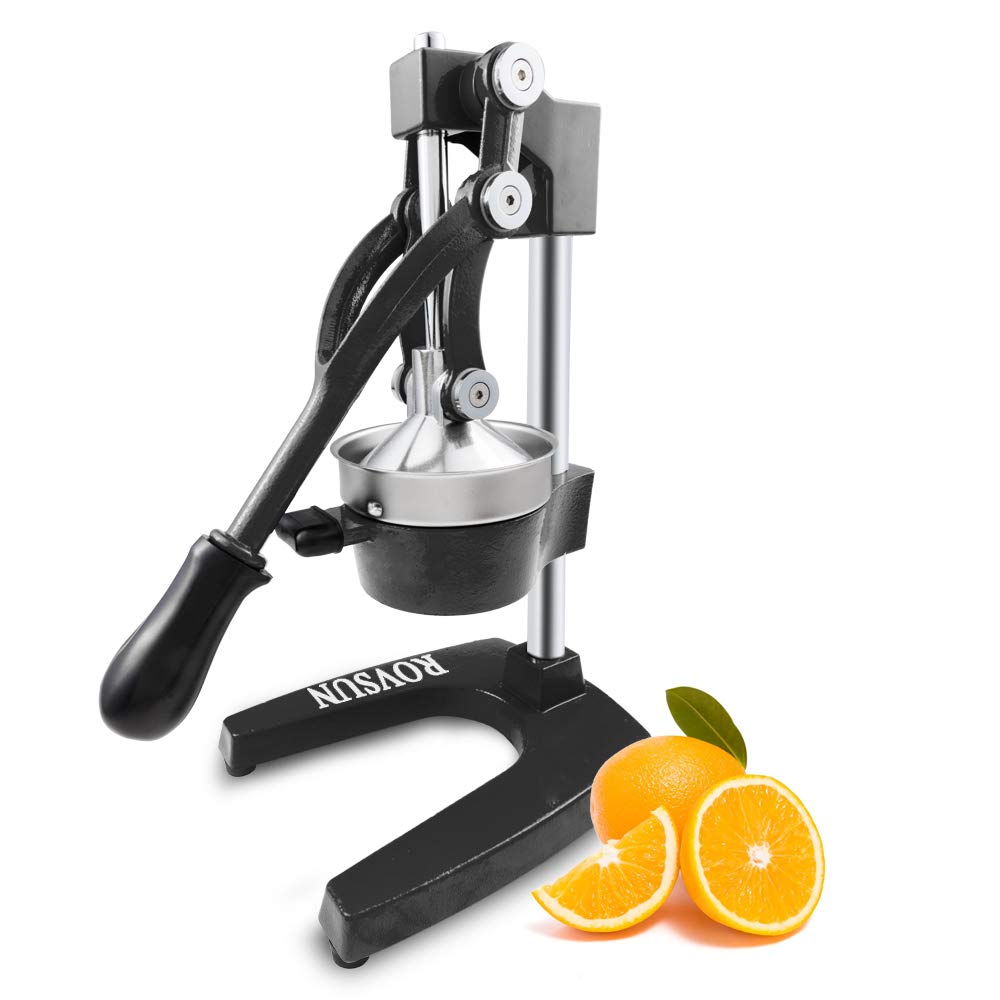
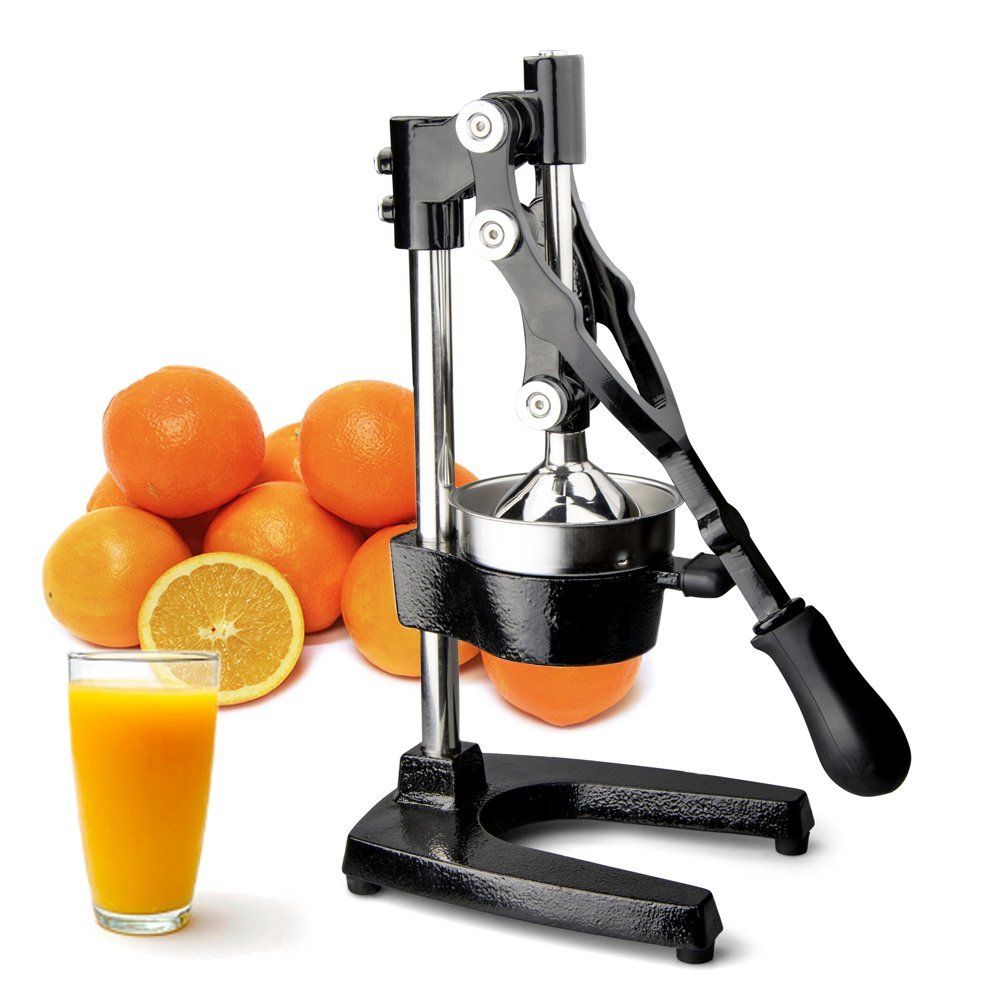
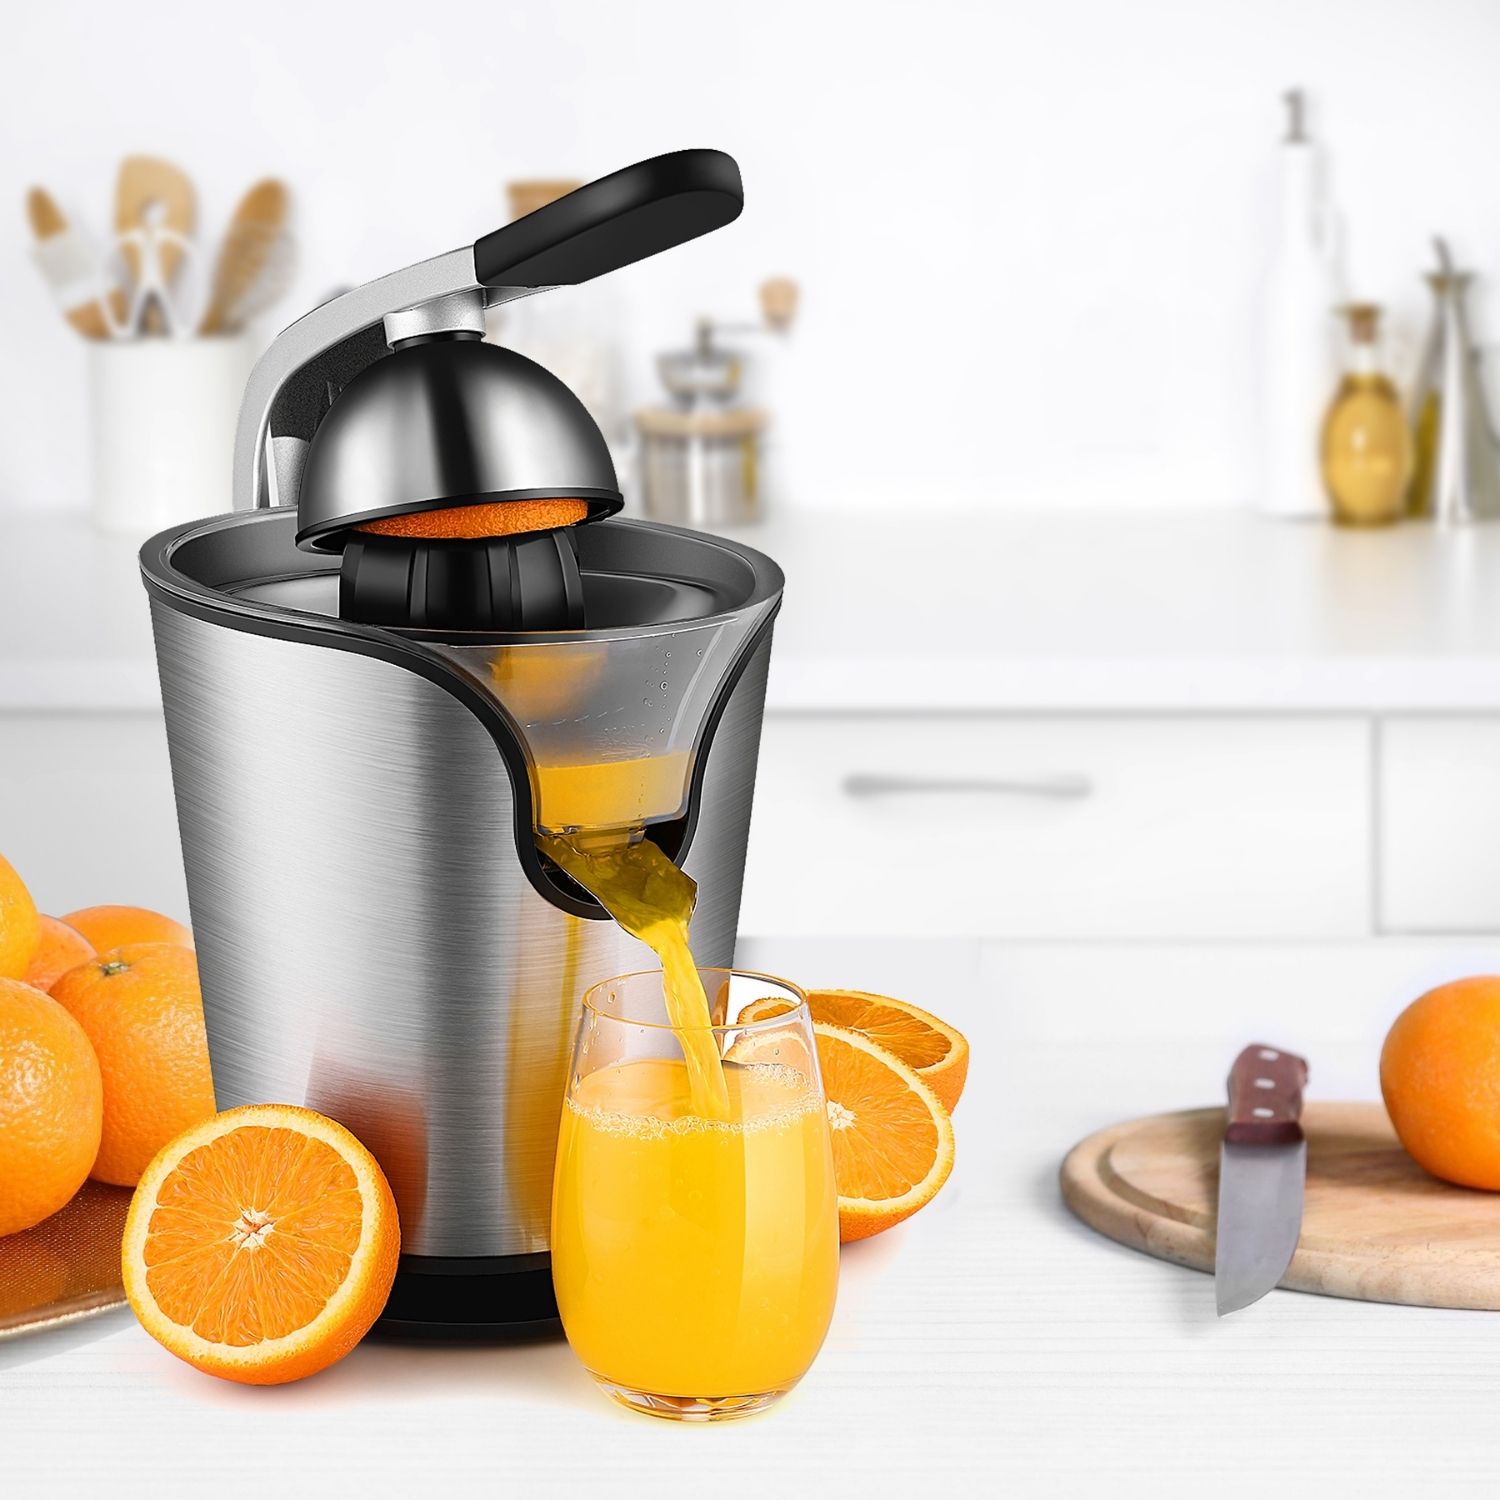
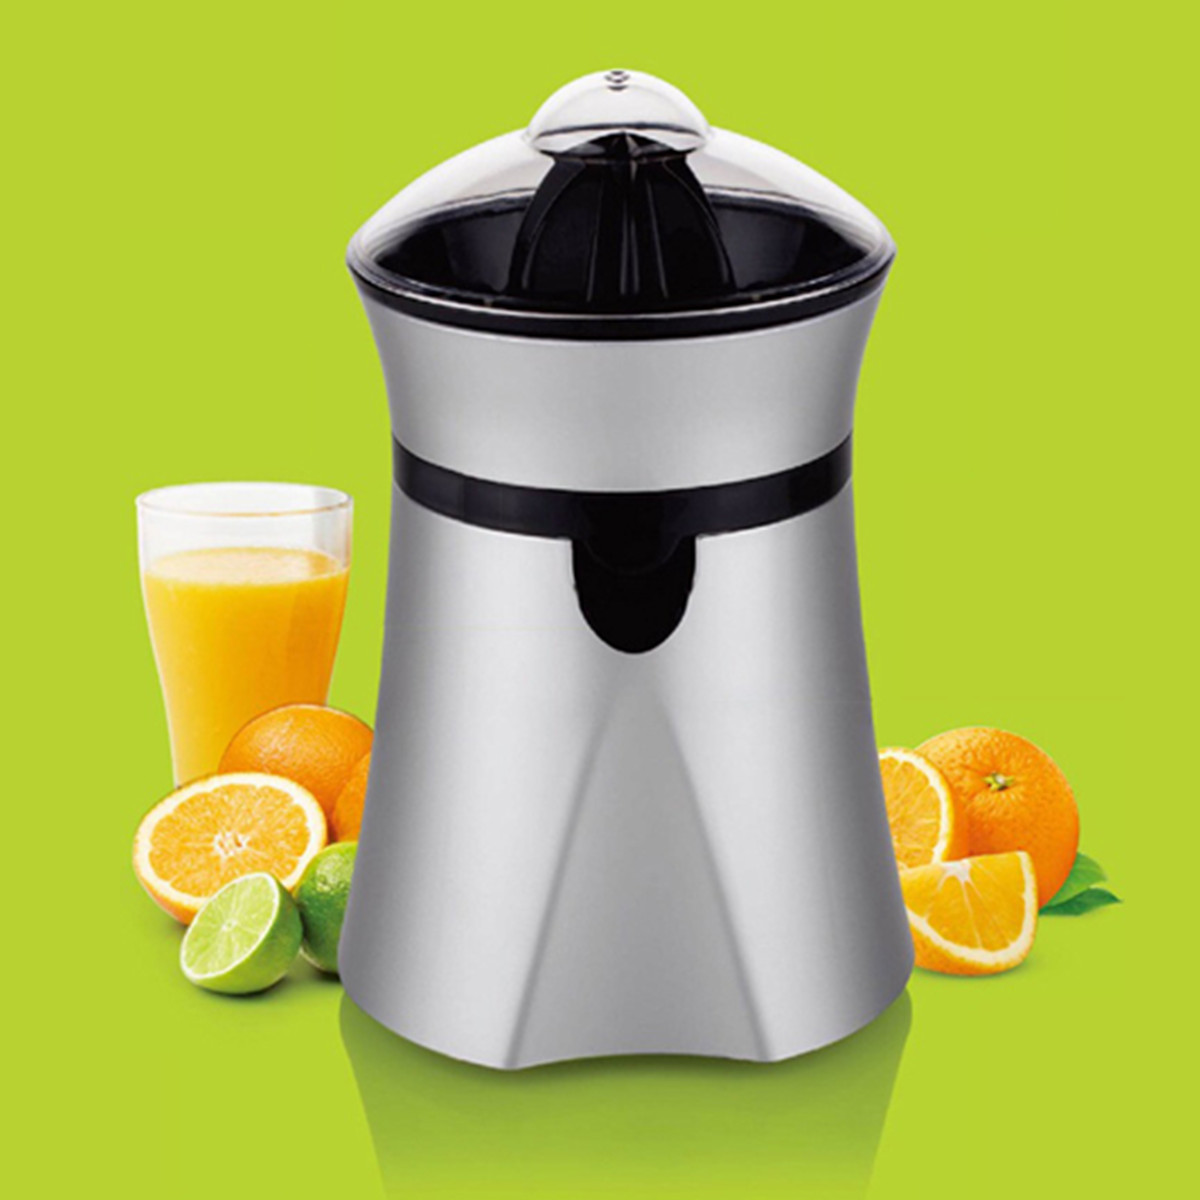
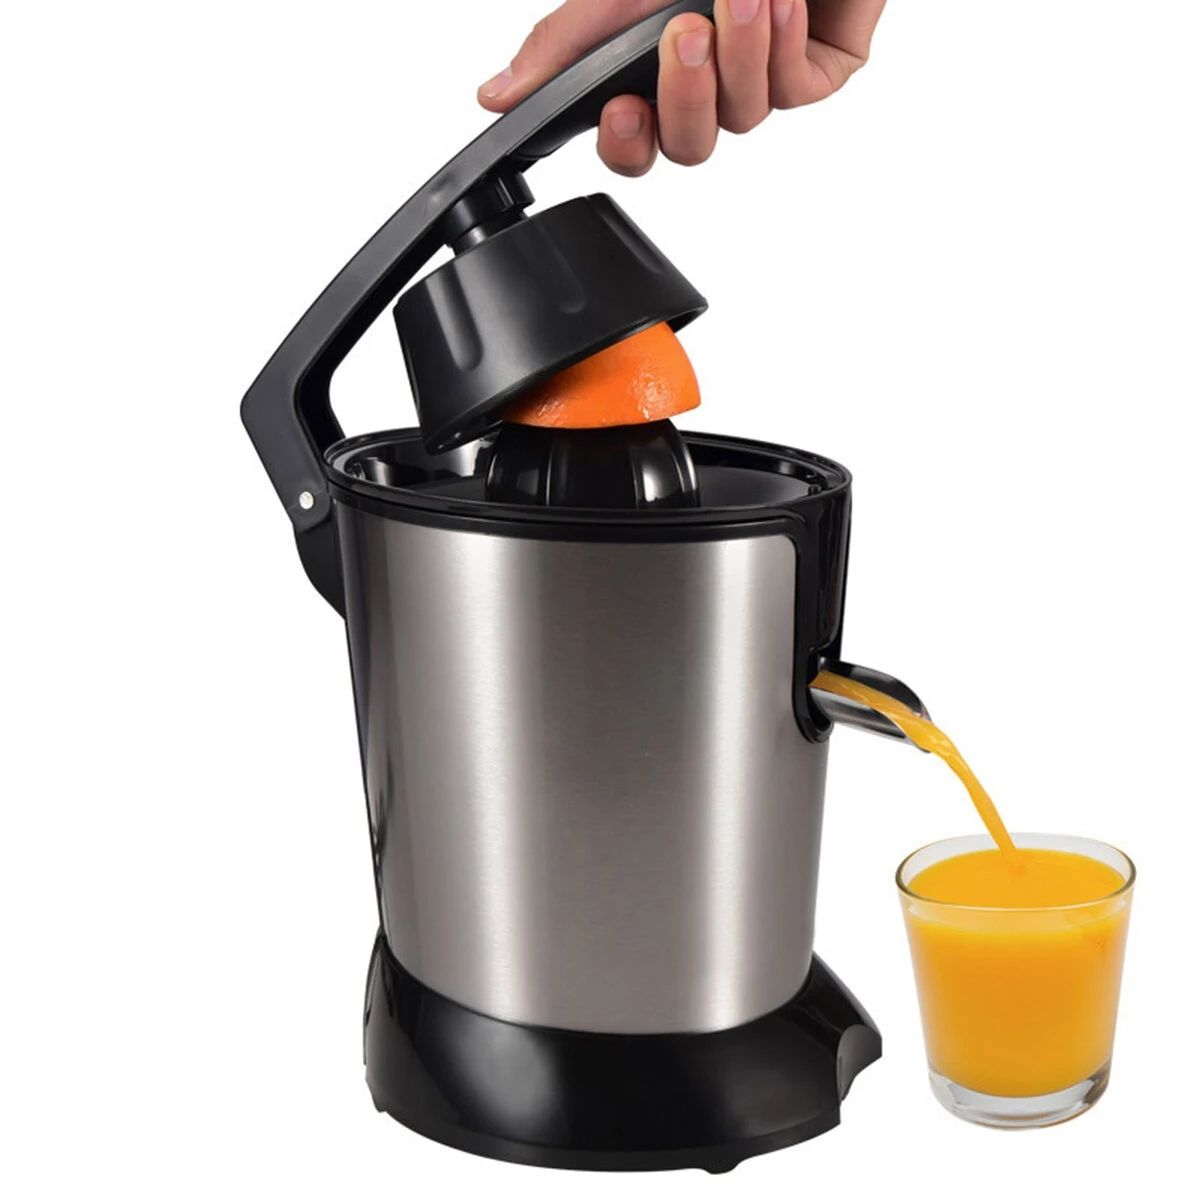
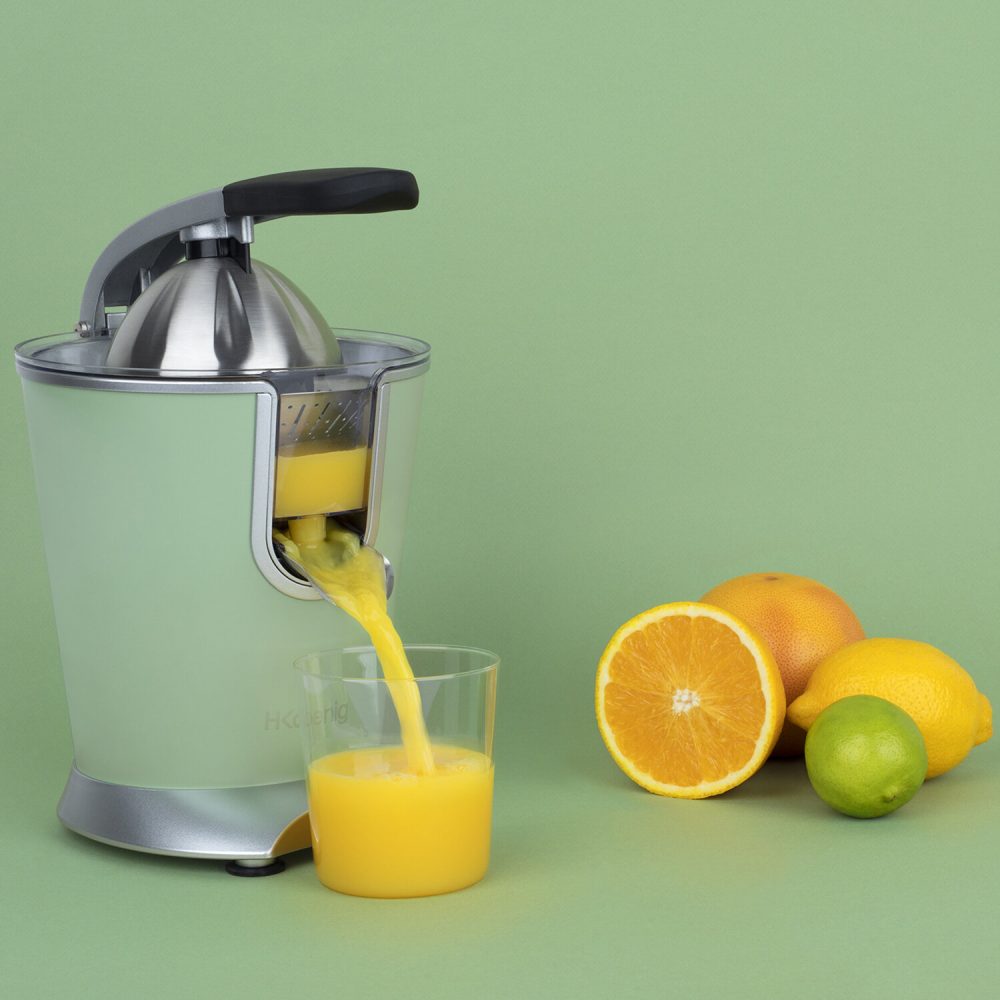
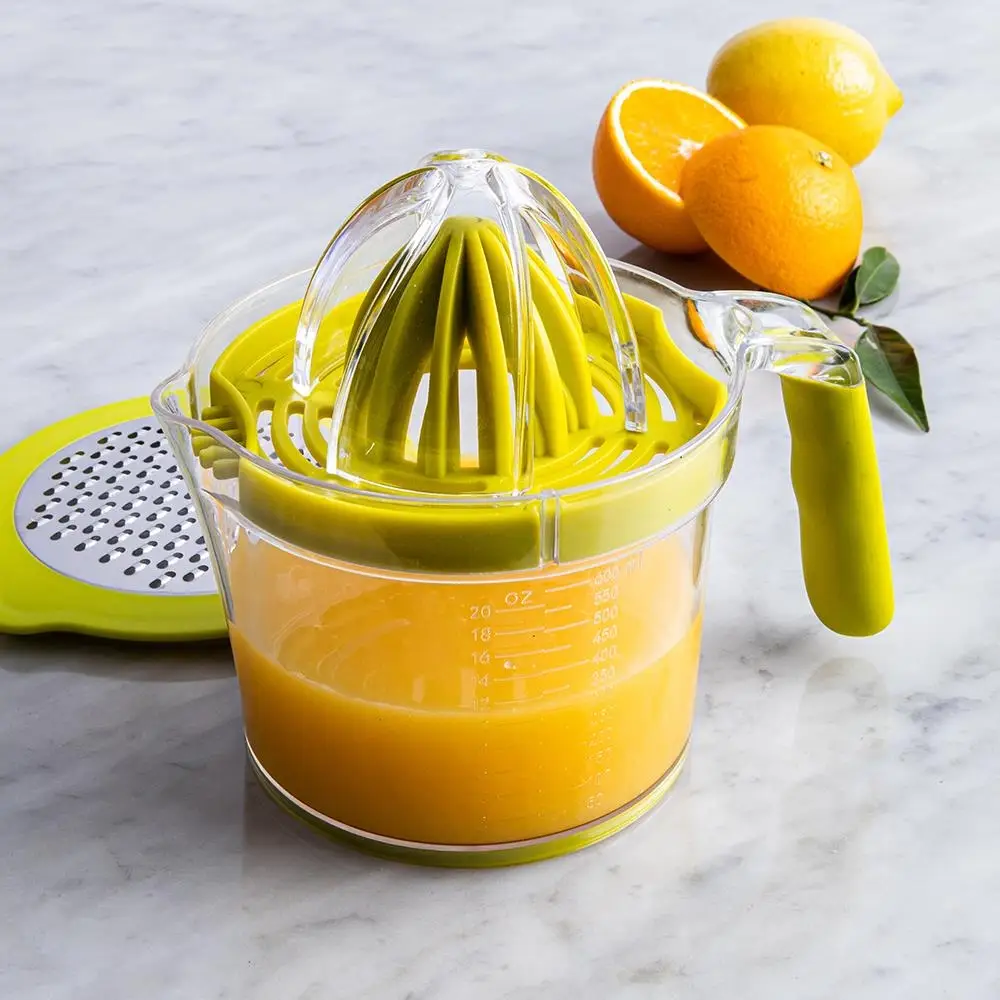
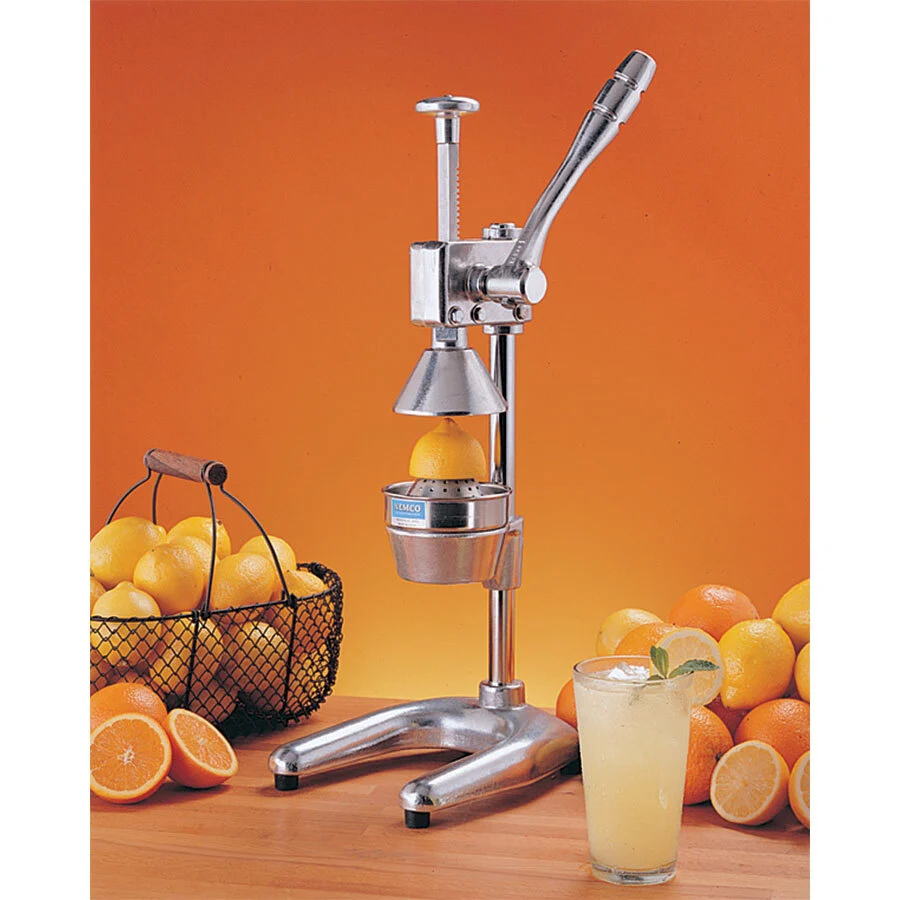
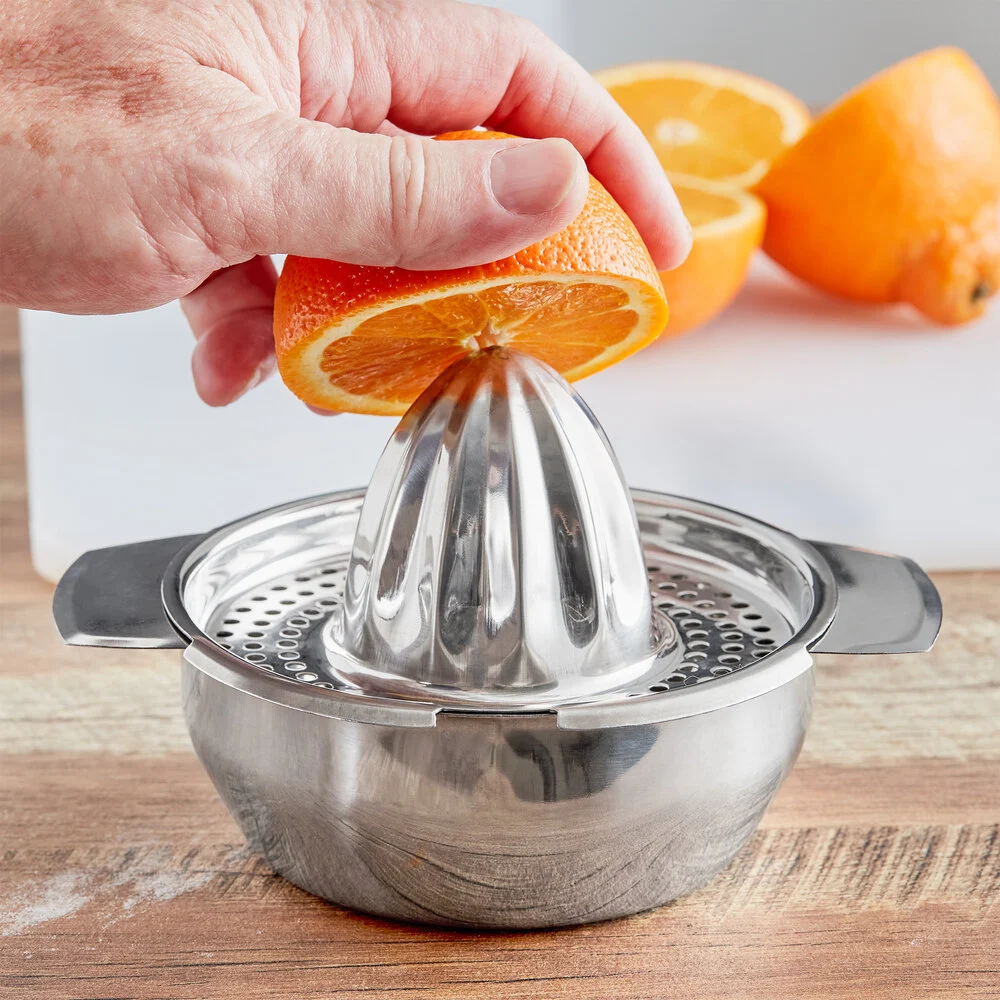
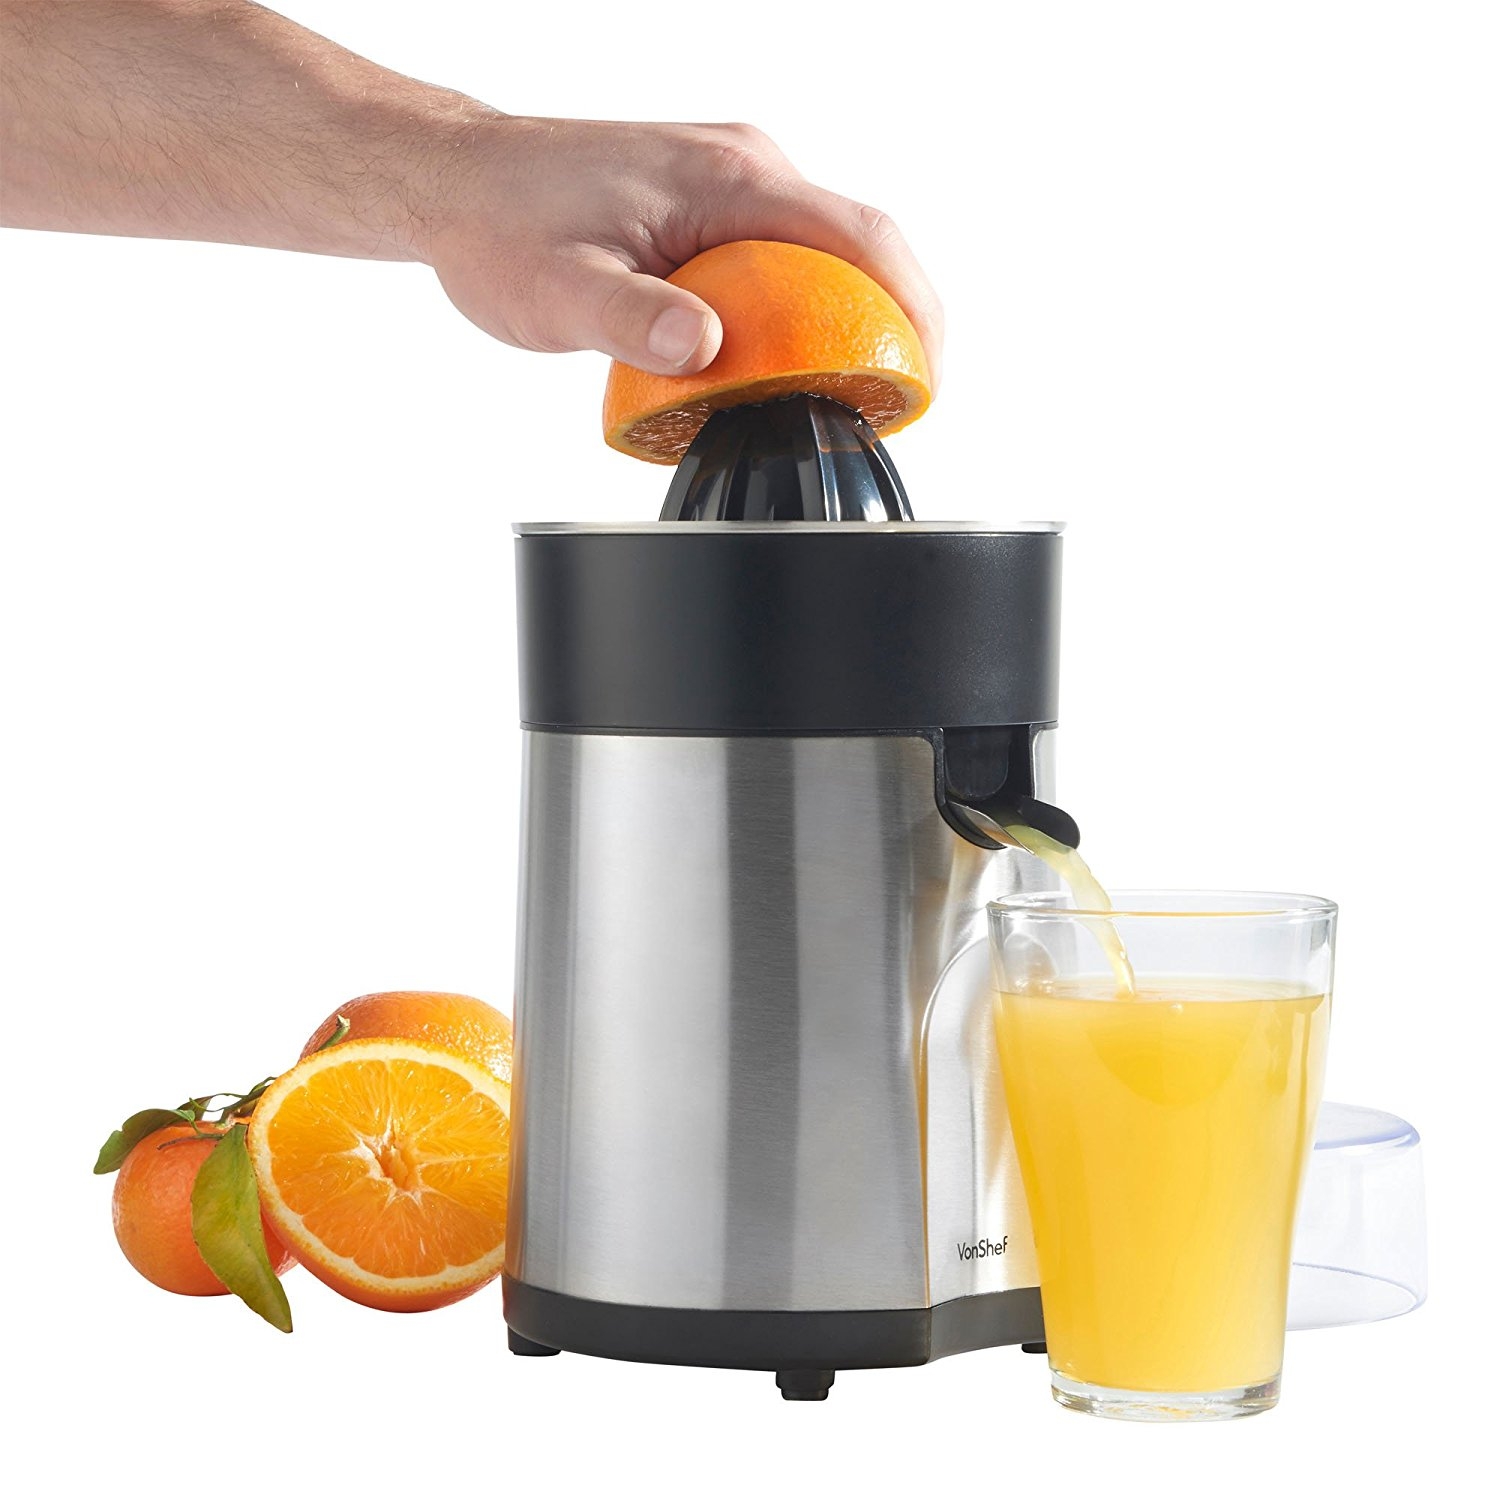
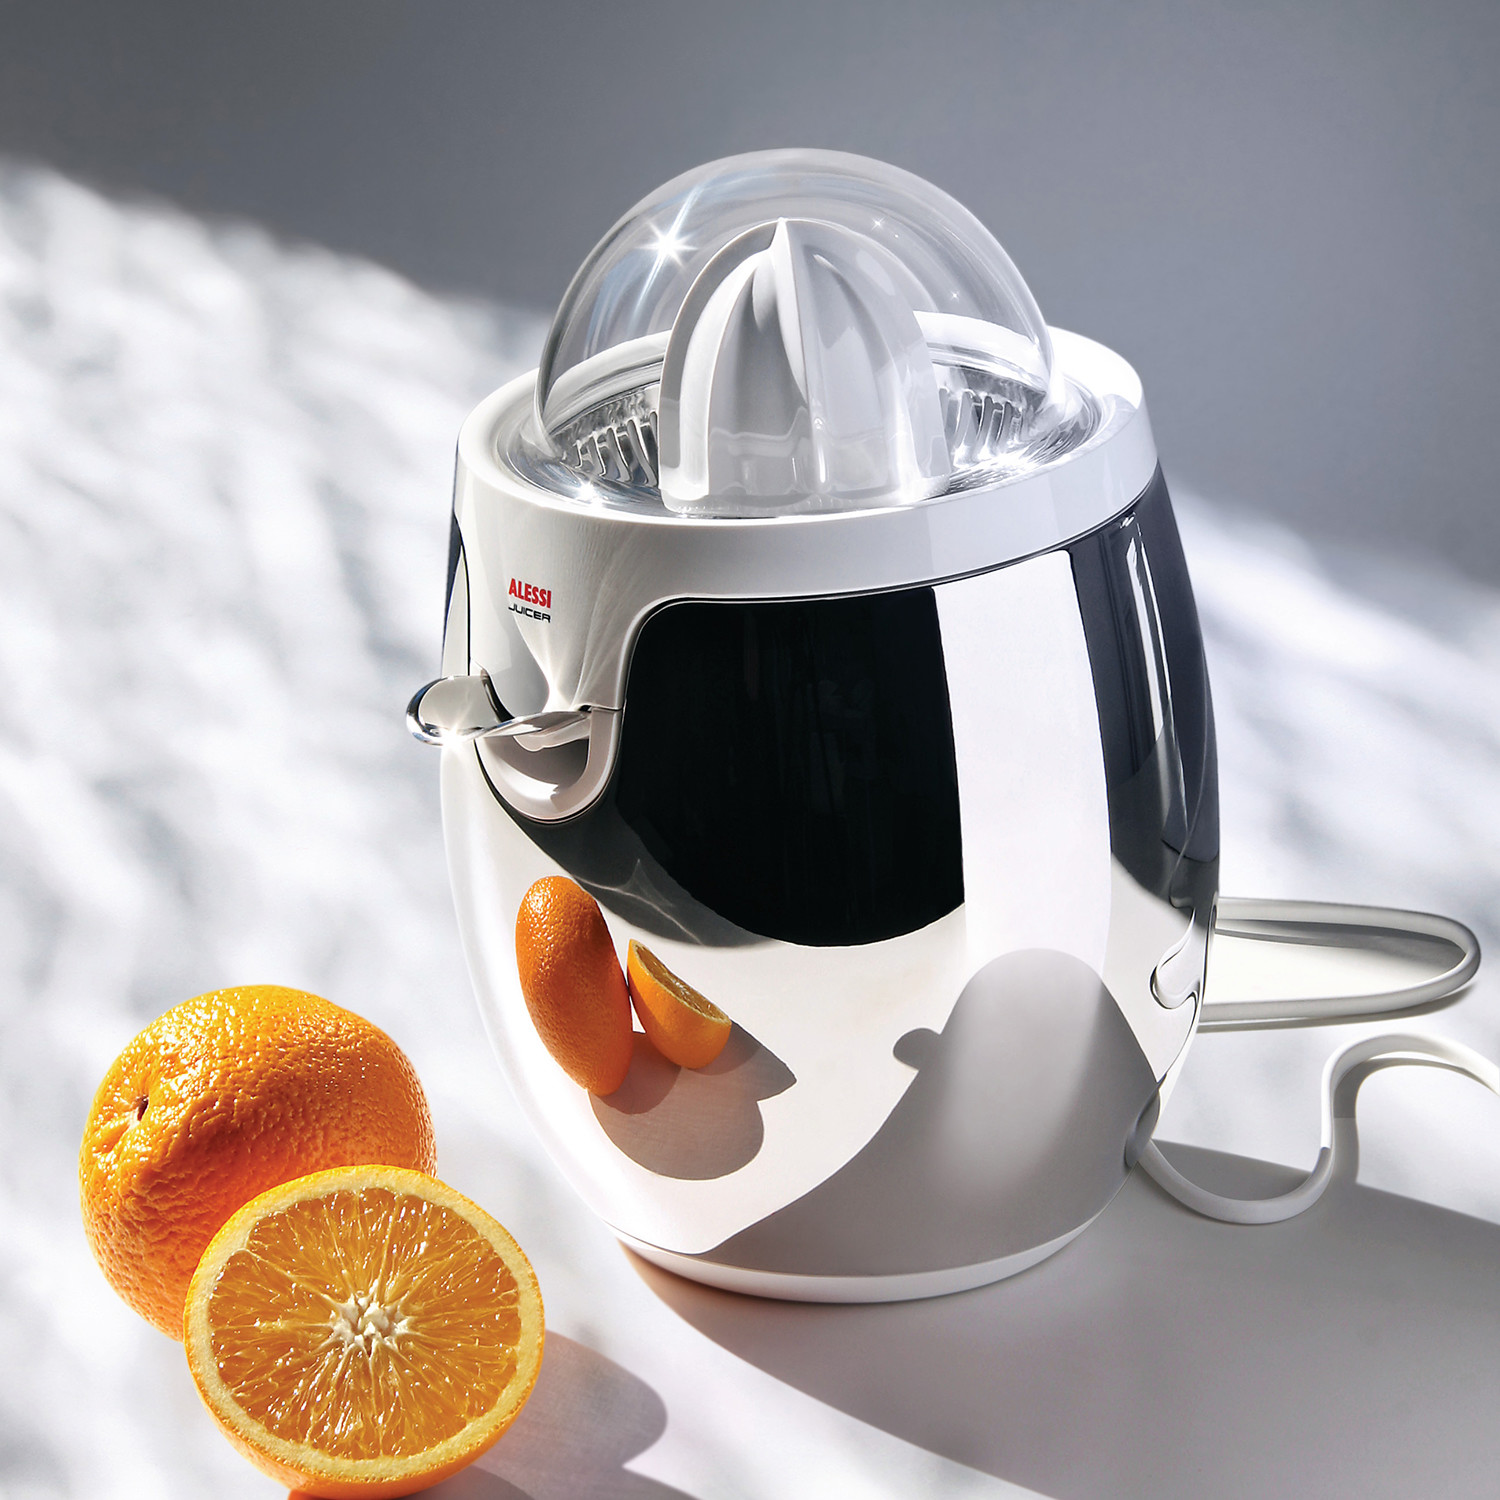
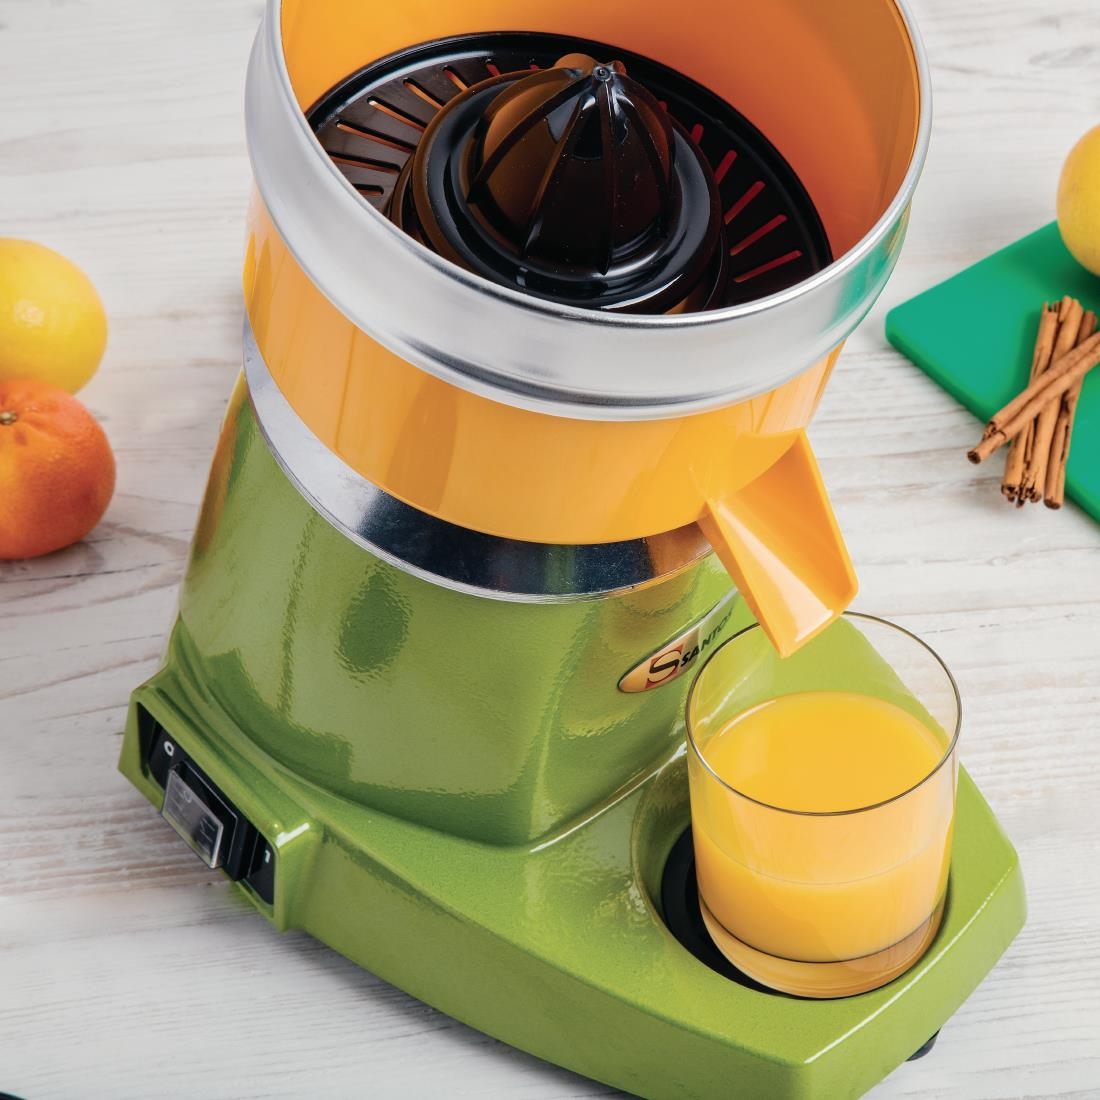
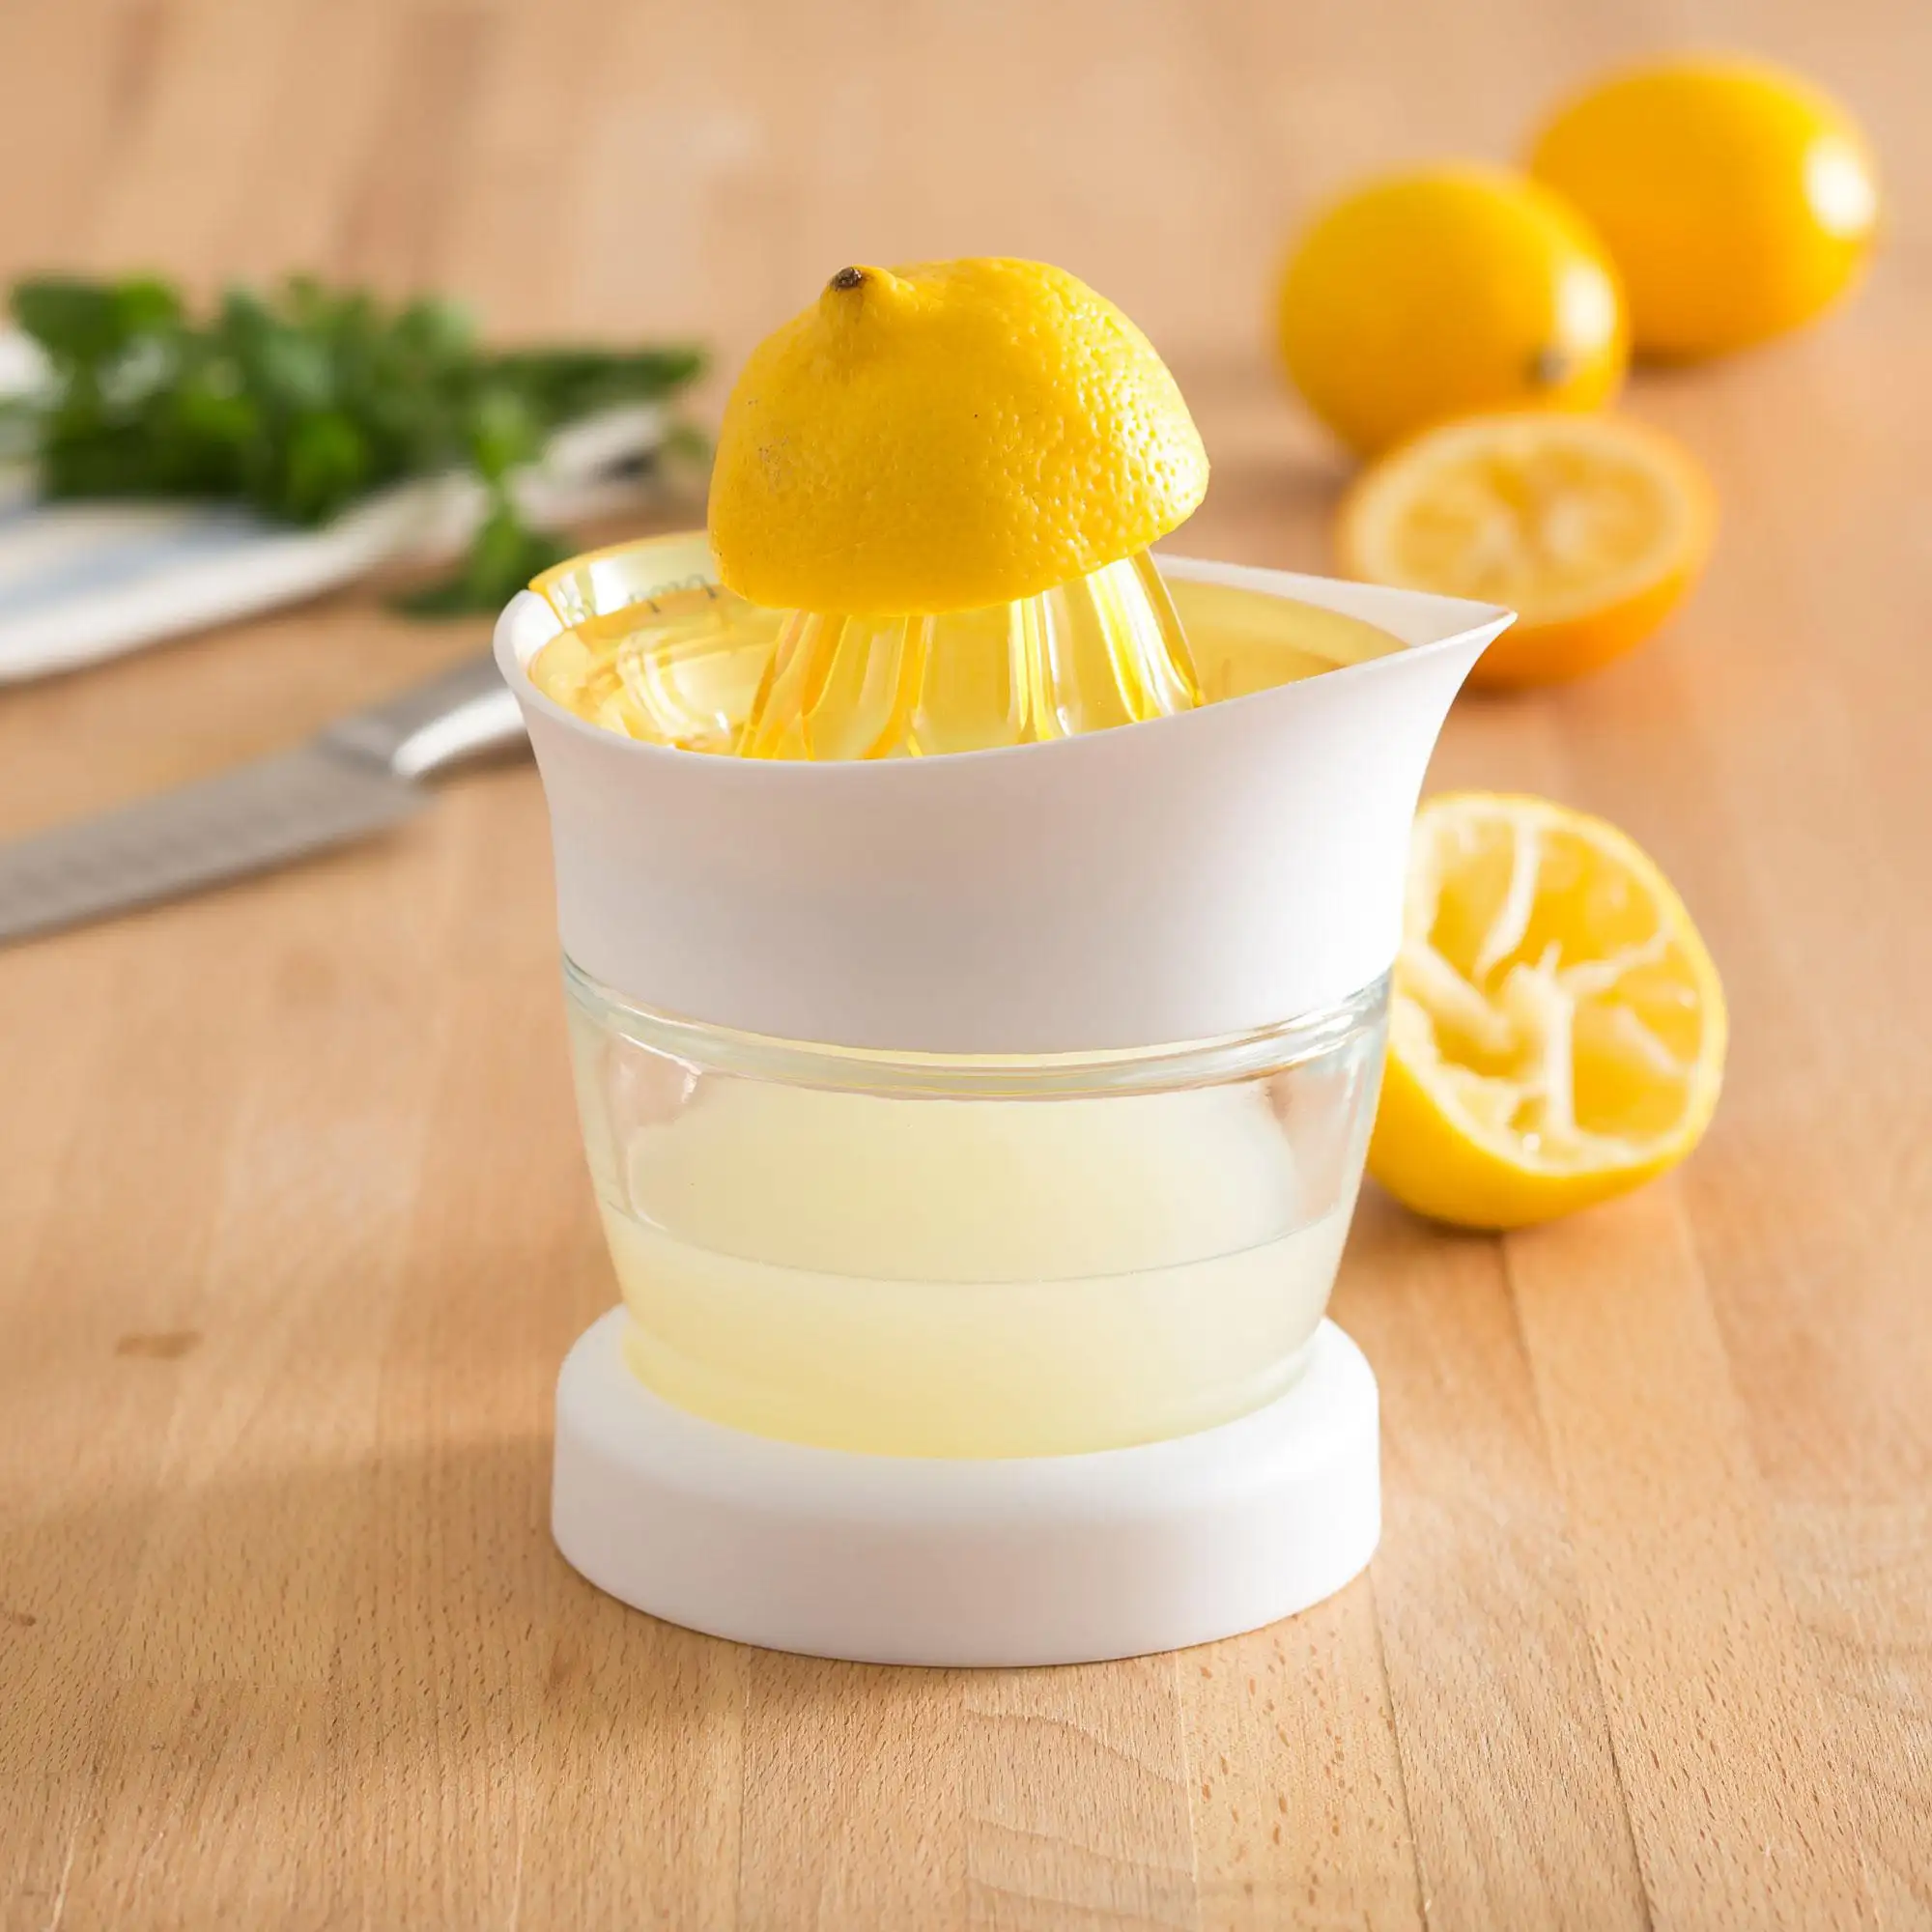
Citrus Juicers: Specialized for Citrus Fruits
Citrus juicers are designed specifically for extracting juice from citrus fruits like oranges, lemons, limes, and grapefruits.
Advantages of Citrus Juicers
- Optimized for Citrus: Perfectly extracts juice from citrus fruits with minimal effort.
- Compact Size: Typically smaller and easier to store.
- Ease of Cleaning: Fewer parts make them simpler to clean.
Disadvantages of Citrus Juicers
- Limited Use: Primarily only useful for citrus fruits, reducing their versatility.
- Manual Operation: Most models are manual, requiring hand effort which might not suit heavy users.
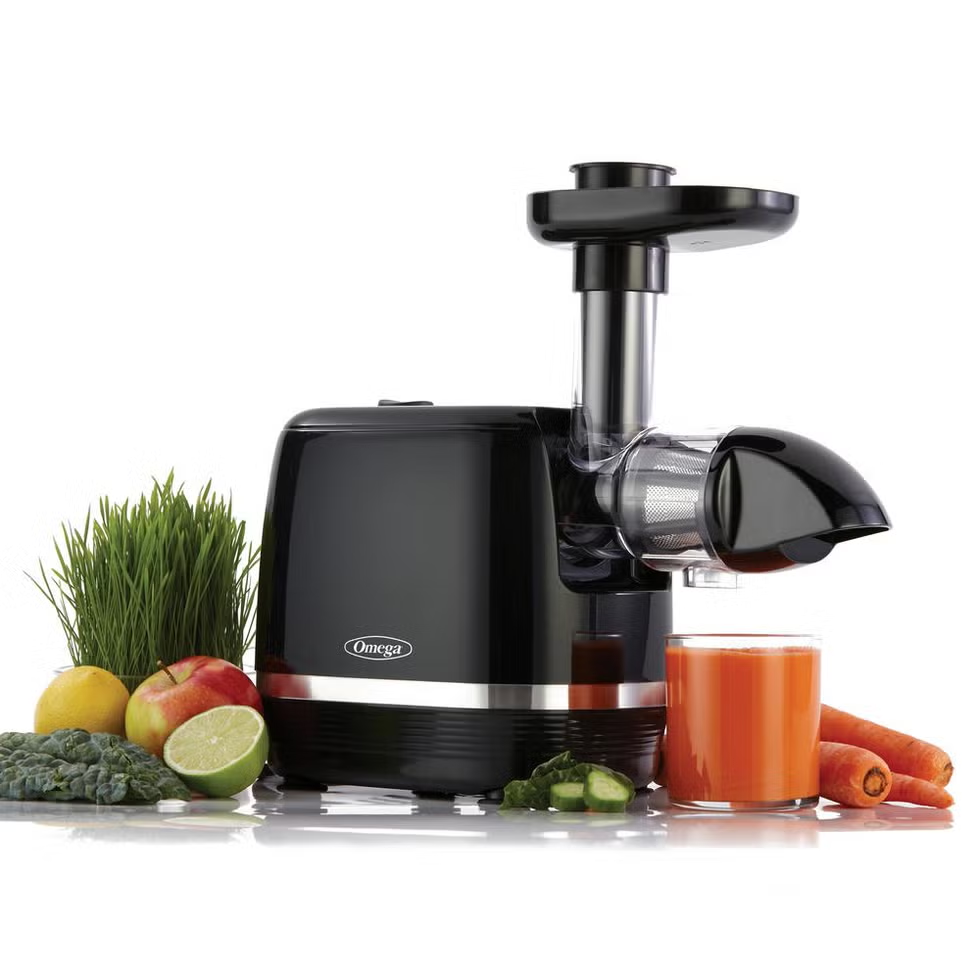
Twin Gear Juicers: The Premium Choice
Twin gear juicers, also known as triturating juicers, use two interlocking gears to crush and press fruits and vegetables, ensuring maximum juice extraction and nutrient retention.
Advantages of Twin Gear Juicers
- Maximum Nutrient Preservation: Gentle juicing method retains a high level of nutrients and enzymes.
- High Juice Yield: Extracts every bit of juice from the produce, minimizing waste.
- Versatility: Can handle a wide variety of fruits, vegetables, and even some nuts for making milk or sorbets.
Disadvantages of Twin Gear Juicers
- Expensive: These are the most costly juicers on the market.
- Large Size: Typically bulkier, requiring more storage space.
- Complex Cleaning: More parts and intricate mechanisms can make cleaning more time-consuming.
Key Features to Look for
When searching for the best juicer on the market, several essential features can enhance your juicing experience. Here’s what to prioritize:
Motor Power and Speed Settings
A powerful motor ensures efficient juice extraction, especially when dealing with tough or fibrous produce. Additionally, adjustable speed settings allow you to control the juicing process, optimizing nutrient retention and minimizing heat generation.
Ease of Assembly and Cleaning
Choose a juicer that disassembles easily and is dishwasher safe if possible. This feature saves time and effort, making it more likely you’ll use your juicer regularly.
Juice Yield and Filtration
High juice yield means you extract more liquid from your produce, reducing waste. Additionally, adjustable filtration allows you to control the pulp level in your juice, catering to your texture preferences.
Durability and Build Quality
Look for juicers made with high-quality materials, such as stainless steel components and BPA-free plastics. These materials not only ensure longevity but also maintain the purity and taste of your juice.
Noise Level
If you’re sensitive to noise or plan to juice early in the morning, consider a quieter model. Masticating and twin gear juicers tend to operate more quietly compared to centrifugal models.
Versatility and Additional Functions
Some juicers come with extra attachments or functions, such as the ability to make nut milk, sorbets, or even grind coffee beans. These additional features can add value and versatility to your kitchen appliance.
Frequently Asked Questions
To further assist you in making an informed decision, here are some commonly asked questions about the best juicer on the market:
What Makes a Juicer the Best on the Market?
The best juicer on the market typically offers high juice yield, excellent nutrient retention, durability, ease of use, and versatility. It should efficiently handle a variety of produce, be easy to clean, and fit your budget and kitchen space.
Are Masticating Juicers Better Than Centrifugal Juicers?
Masticating juicers are generally better for preserving nutrients and extracting more juice, especially from leafy greens. However, centrifugal juicers are faster and more affordable, making them suitable for those who prioritize speed and ease of use.
How Often Should I Use My Juicer?
The frequency of use depends on your personal needs. If you juice daily, investing in a high-quality juicer that can withstand frequent use is essential. Ensure you perform regular maintenance to keep it in good working condition.
Can I Juice Whole Fruits and Vegetables?
Many modern juicers, especially high-end models, feature wide feed chutes that allow you to juice whole fruits and vegetables without extensive prep work. This feature saves time and reduces the need for cutting and peeling.
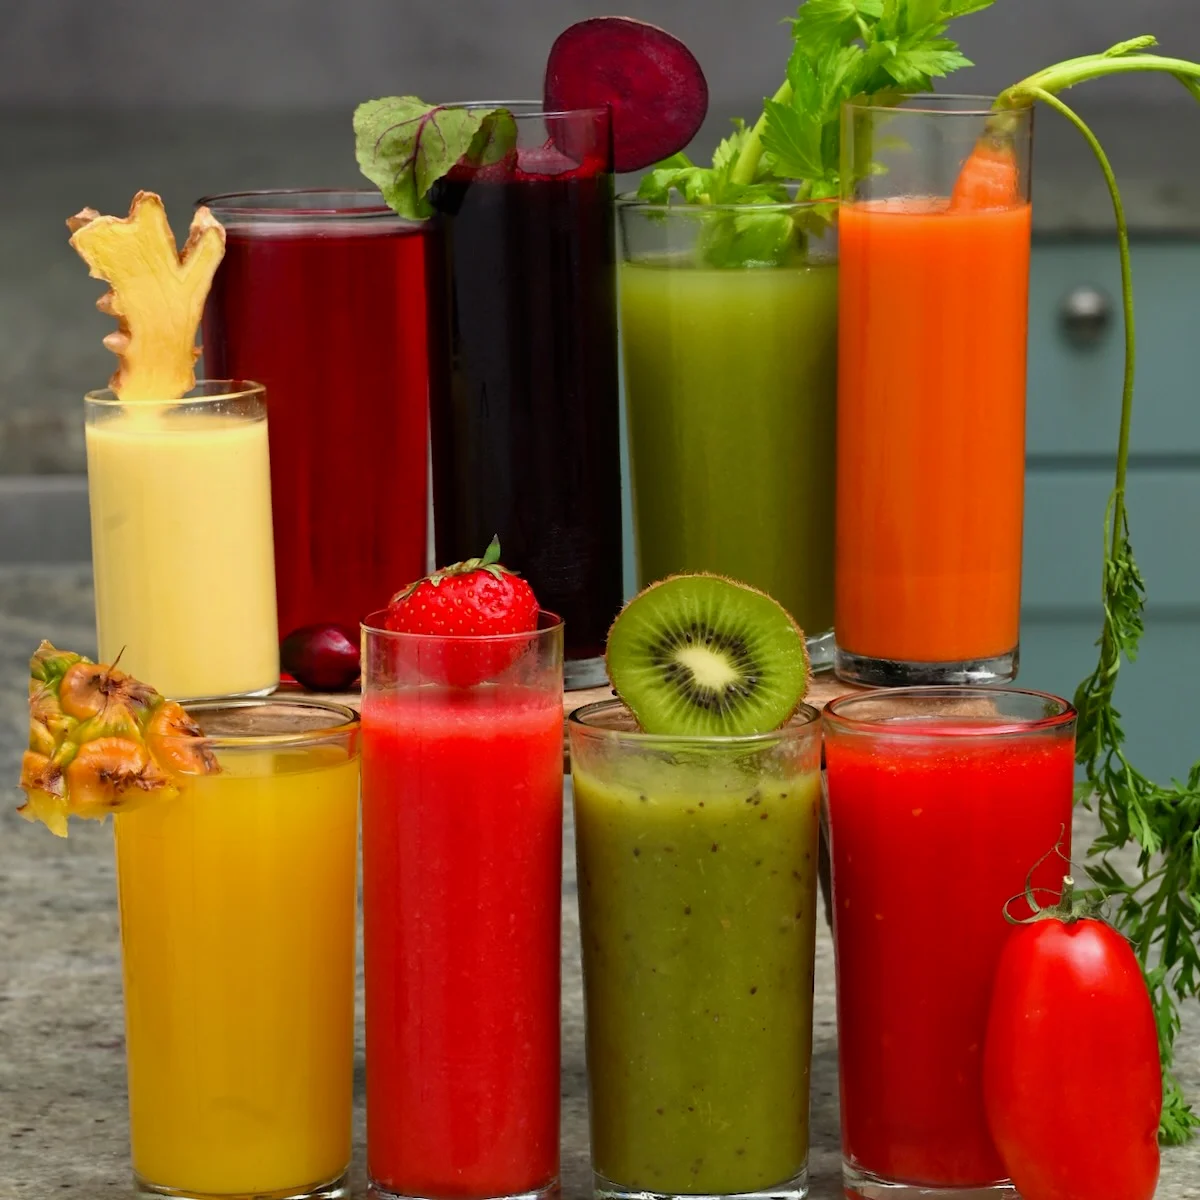
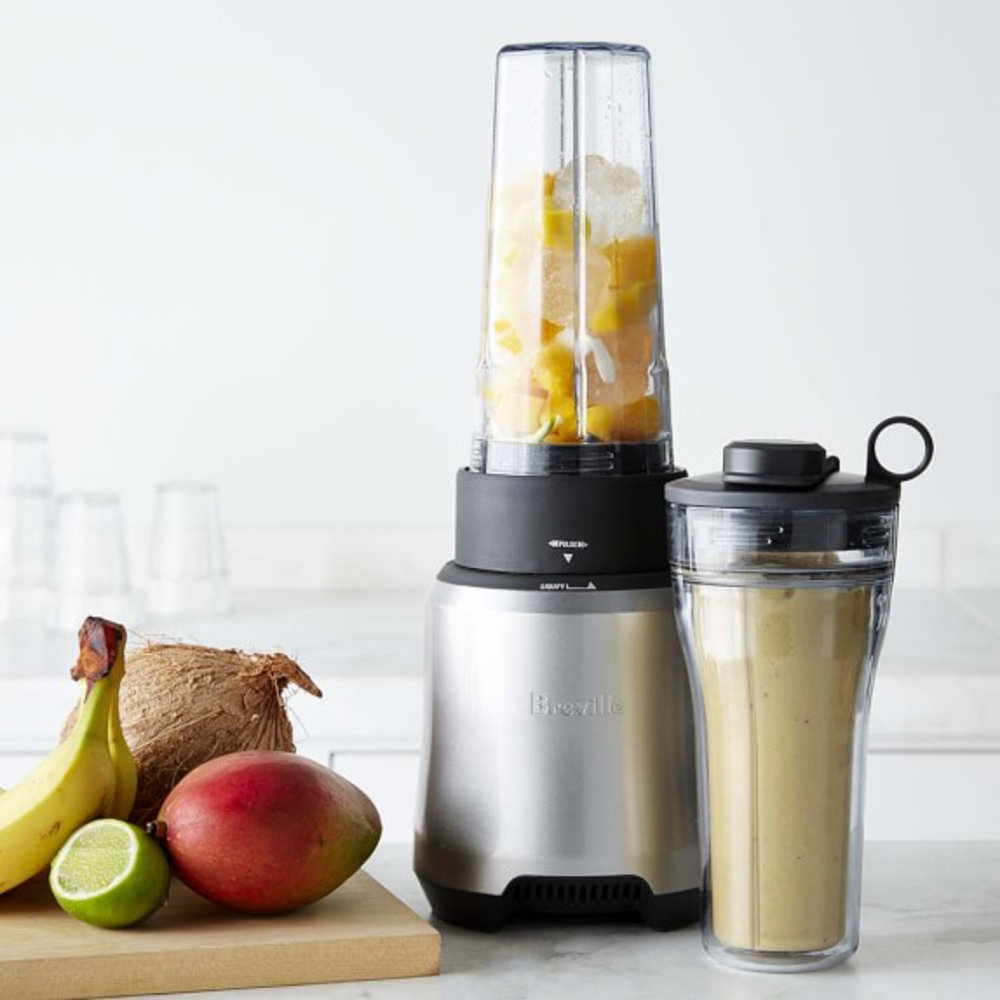
Is Juicing Better Than Blending?
Juicing extracts the liquid and nutrients from fruits and vegetables, providing a concentrated source of vitamins and minerals. Blending retains the fiber, offering a heartier and more filling beverage. Both methods have their benefits, depending on your nutritional goals.

Maximizing Your Juicer’s Potential: Tips and Tricks
To get the most out of your best juicer on the market, consider these tips and tricks:
Choose Fresh, High-Quality Produce
Using fresh, ripe fruits and vegetables ensures the best flavor and maximum nutrient content. Organic produce can further enhance the quality of your juice by reducing exposure to pesticides and additives.
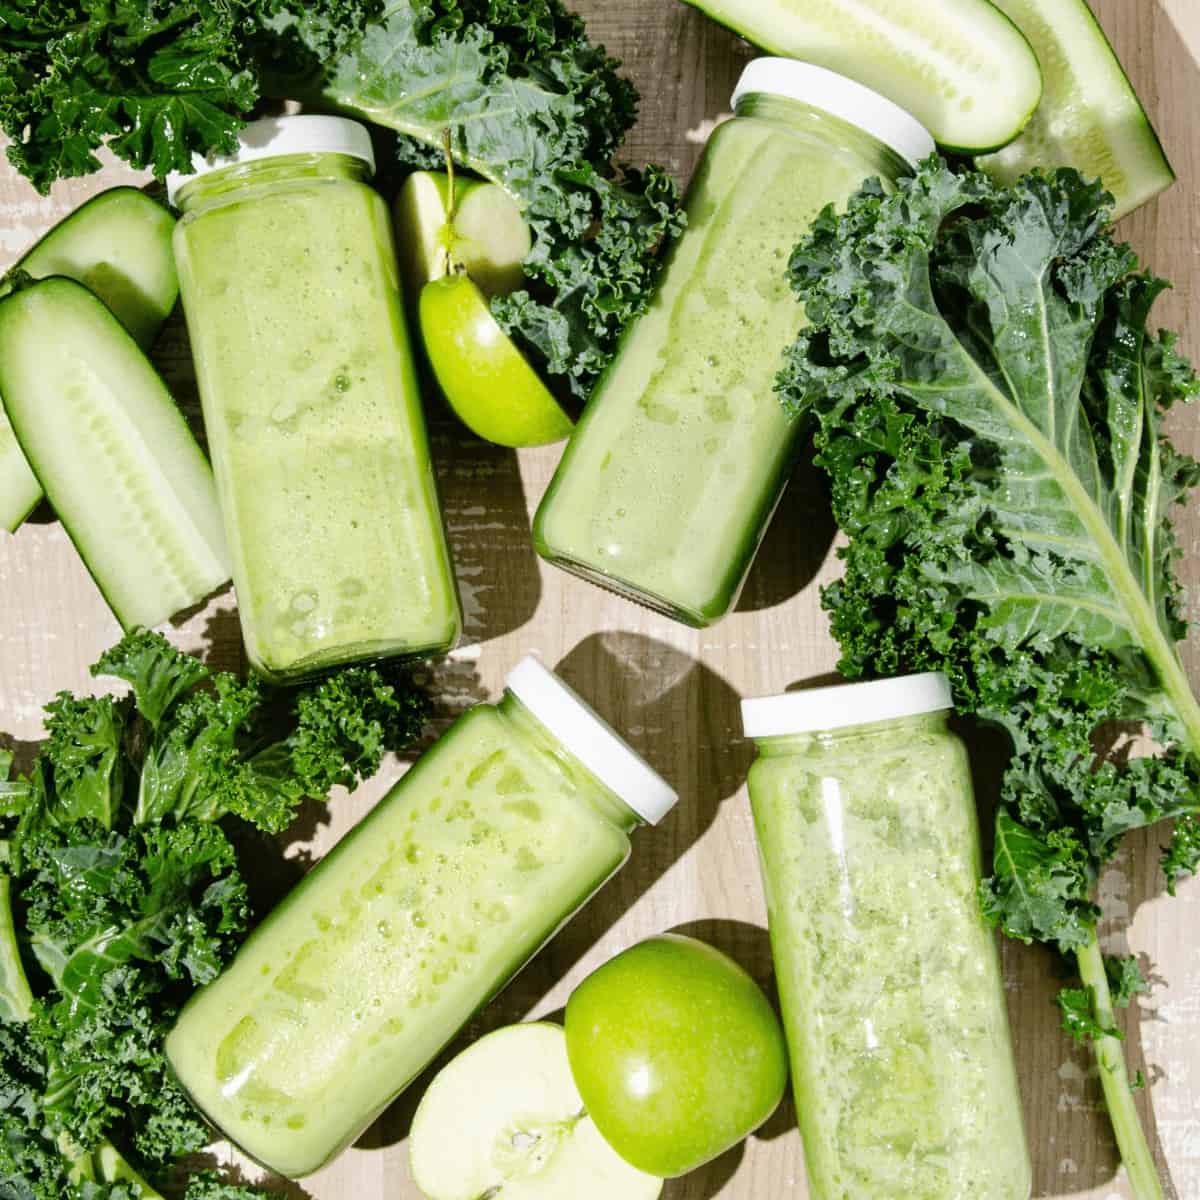
Experiment with Different Combinations
Don’t be afraid to mix and match different fruits and vegetables to create unique and delicious juice blends. Combining flavors like apple and kale or orange and ginger can yield tasty and nutritious results.
Prep Your Produce Properly
Wash and, if necessary, peel your produce before juicing to remove any dirt or pesticides. Cutting larger items into smaller pieces can help your juicer process them more efficiently, especially if it has a narrow feed chute.
Alternate Between Soft and Hard Produce
To prevent clogging and ensure a smooth juicing process, alternate between soft and hard produce. For example, combining apples (soft) with carrots (hard) can facilitate better juice flow and extraction.
The Environmental Impact of Choosing the Best Juicer
Selecting the best juicer on the market also involves considering its environmental impact. Opt for models that are energy-efficient, have durable components to reduce waste, and are made from recyclable materials. Additionally, juicing at home minimizes the need for store-bought juices, which often come in single-use plastic containers, further reducing your carbon footprint.
Recyclable and Sustainable Materials
Choose juicers made from recyclable materials or those that follow sustainable manufacturing practices. This choice supports environmentally friendly businesses and reduces the overall ecological footprint.
Conclusion
In summary, selecting the best juicer on the market involves understanding the different types available, evaluating key features, and considering your personal juicing needs and preferences. Whether you prioritize speed, nutrient retention, versatility, or ease of use, there’s a juicer out there that perfectly matches your requirements. Investing in a high-quality juicer not only enhances your kitchen’s functionality but also supports a healthier lifestyle.
By following this guide, you can confidently choose a juicer that elevates your juicing experience, ensures maximum nutrient intake, and provides delicious, fresh juice every day. Embrace the benefits of juicing, explore new flavor combinations, and enjoy the journey towards better health with the best juicer on the market.