The Importance of Regular Descale Maintenance
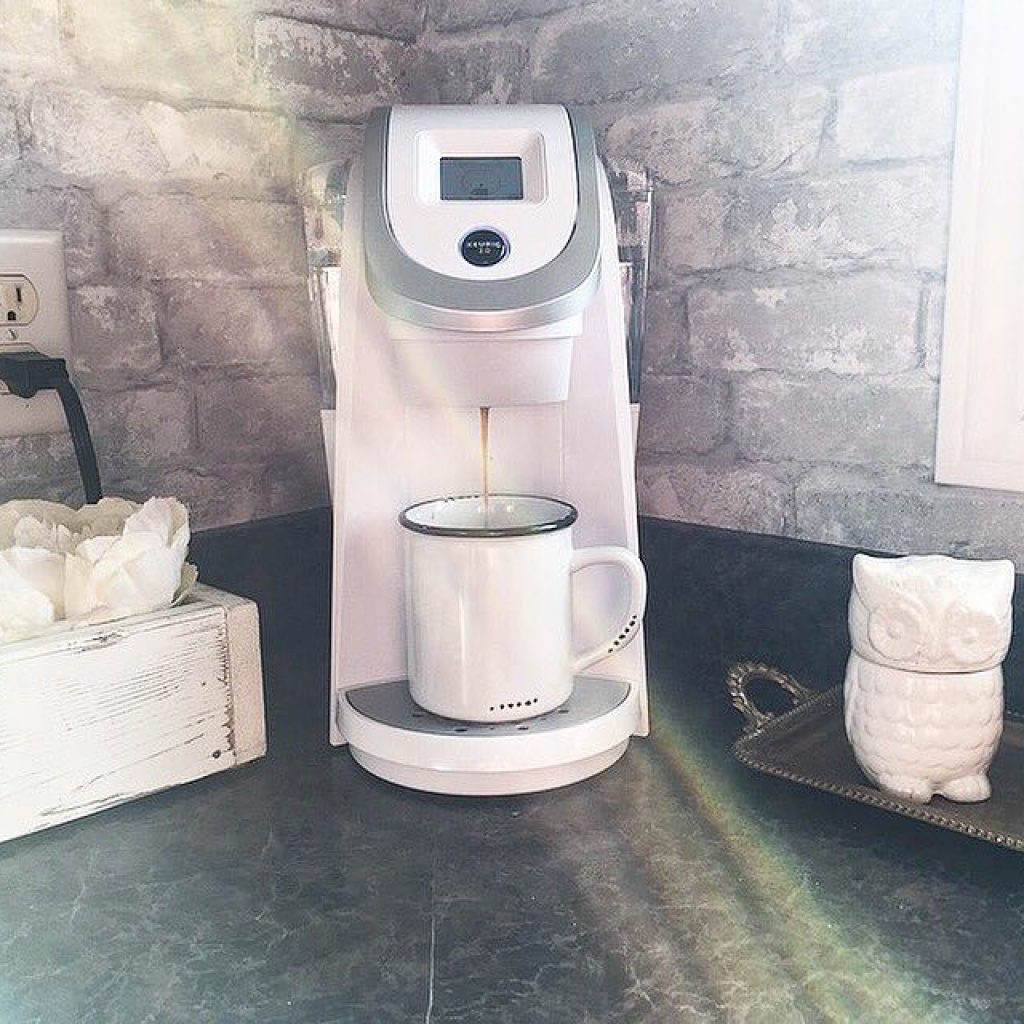
Maintaining a Keurig coffee machine includes regular descaling to ensure it runs smoothly. Just like any appliance, Keurigs can accumulate minerals from water over time. This buildup can affect the machine’s performance and the quality of your coffee. To prevent malfunction and extend your machine’s lifespan, it’s critical to descale it regularly.
Descaling involves removing mineral deposits which can clog the internal system of your Keurig. If ignored, these can cause the machine to work harder, potentially shortening its life. A clear sign that descaling is necessary is when the machine takes longer to brew, the coffee tastes off, or the ‘descale’ light turns on.
Taking the time to complete this maintenance task every few months prevents problems before they begin. For those who use their Keurig heavily, more frequent descaling might be needed. Users should also be aware of the kind of water they use. Hard water has more minerals and may require more frequent descaling. This simple care routine can ensure your Keurig continues to deliver the perfect cup of coffee every time.
Step-by-Step Guide to Descaling Your Keurig
To keep your Keurig in top shape, follow this guide.
Identifying the Need for Descaling
Your Keurig will alert you with a descale light. Notice slow brew times or off-taste coffee? Time to descale.
Preparing Your Keurig for Descaling
Switch off and unplug your Keurig. Remove the water reservoir. Empty any K-cups from the holder.
Using the Right Descale Solution
Choose a specific Keurig or universal descaler. Avoid harsh chemicals.
Running the Descaling Cycle
Refill the reservoir with the descaling solution. Turn on the Keurig. Run a brew cycle without a K-cup.
Rinsing and Final Steps
Once descaled, fill the reservoir with fresh water. Run additional cycles to rinse. Now, your Keurig is ready for use.
Troubleshooting a Keurig Duo Descale Light That Won’t Go Off
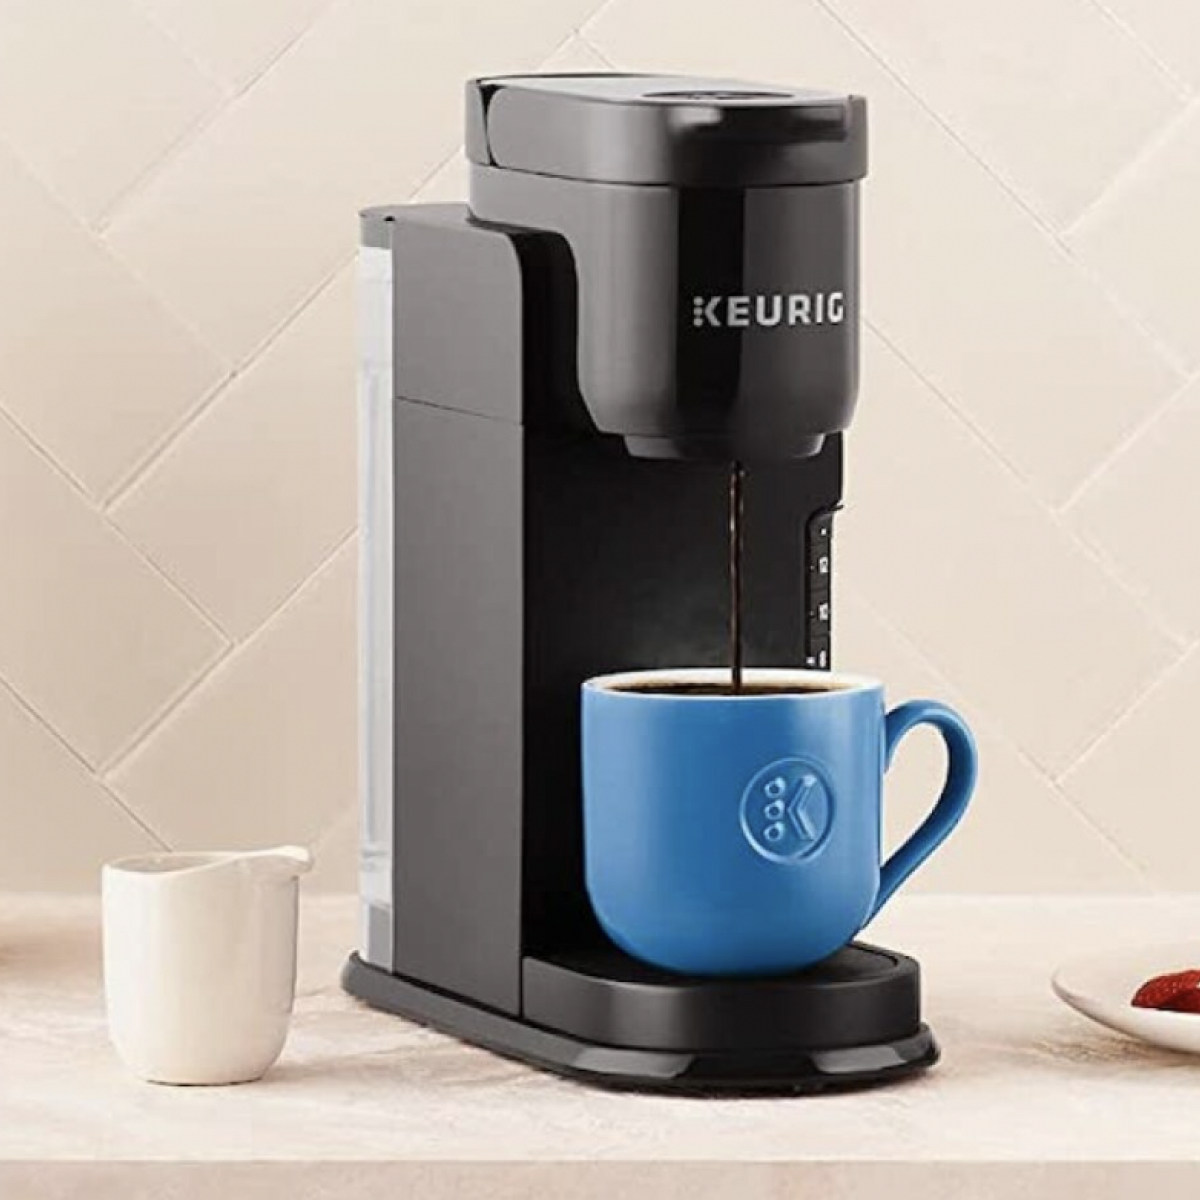
When your Keurig Duo descale light refuses to extinguish, it signals a need for attention. This persistent light can be an annoyance, but with the right steps, it can usually be resolved. If you’ve completed the descaling process and the light remains on, don’t worry—there are a few troubleshooting methods to try.
First, ensure you’ve followed all the instructions for your specific Keurig model. Mistakes during the descaling process can prevent the light from turning off. If you’ve confirmed the process was correct, and the light is still on, it’s time to consider other solutions.
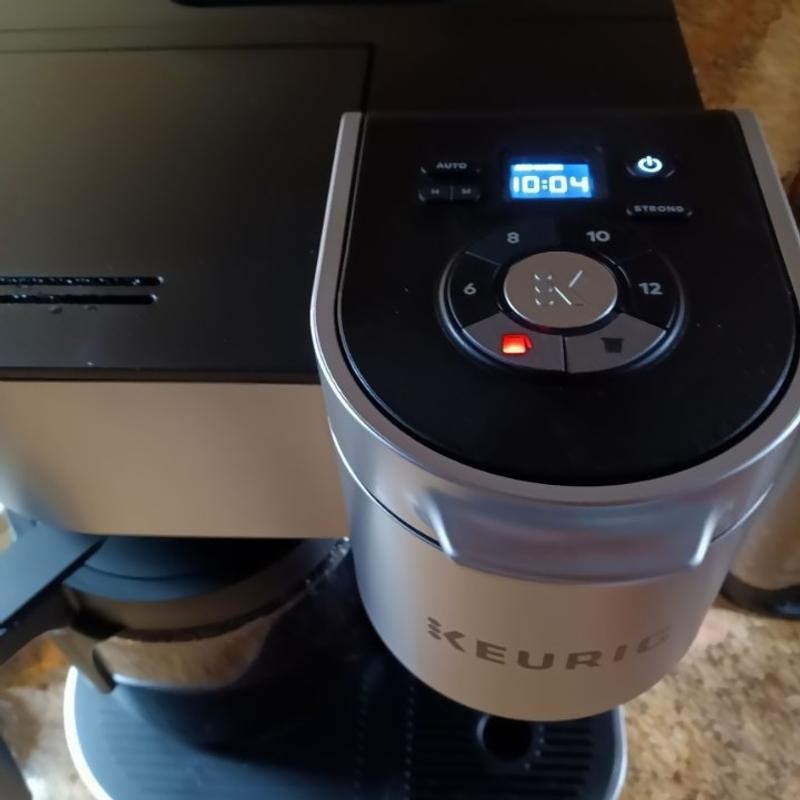
One commonly suggested fix involves your Keurig Duo’s buttons. Pressing the 8oz and 10oz buttons simultaneously for a few seconds has helped some users. The process might differ slightly depending on the model, so refer to your owner’s manual.
If button sequences don’t work, don’t despair. Sometimes, the light may stay on due to minor technical glitches. Unplugging the machine for a few minutes can reset the system and may resolve your issue.
Remember, the goal is to inform the machine that descaling has been done. The descale light is a reminder for regular maintenance. If all else fails, repeating the descaling process or contacting Keurig’s customer support can be your best bet. Ensuring that your Keurig is clean is crucial for that perfect cup every time.
 What to Do When Standard Descaling Doesn’t Work
When your trusty Keurig still signals ‘descale’ after a standard clean, don’t fret. It’s not uncommon for some mineral deposits to resist initial efforts. Here’s what to do when the usual method falls short.
Considering Alternative Descaling Solutions
Sometimes, the descale solution you’ve used might not be potent enough. Consider these alternatives:
- Vinegar: A natural descaler, mix equal parts white vinegar and water and use it as a descaling solution.
- Citric acid: Often sold in powder form, mix with water to create a strong descaling agent.
- Commercial cleaner: Some commercial descalers offer stronger formulas for tough mineral deposits.
Remember to always follow the usage directions for any alternative solution you choose.
Adjusting Soak Times for Stubborn Buildup
For deposits that won’t budge, longer soak times can help:
- Let the descaling solution sit in the water reservoir for an hour.
- Run a brewing cycle halfway, then pause for 30 minutes before finishing.
- Repeat if necessary, until the water runs clear and deposits are gone.
Patience is key with tough buildup. Give the solution time to work.
Examining the Machine for Other Issues
Persistent descale lights may point to other issues:
- Check for clogs in the needle using a paper clip to remove debris.
- Inspect the water line and filter for blockages or damage.
- Make sure all parts are properly seated and the water reservoir is correctly aligned.
Sometimes the descale light stays on because of a minor, fixable issue unrelated to scale.
Cleaning the Keurig Exit Needle to Maintain Flow
The Keurig exit needle is crucial for brewing. It can get clogged, which stops coffee flow. Regular cleaning is essential to prevent this. Here’s how to clear your Keurig’s exit needle and maintain its flow.
Why Cleaning the Exit Needle Is Important
A clean exit needle ensures smooth coffee delivery. When clogged, it blocks water and coffee flow. This can cause poor brewing and flavor.
Simple Steps to Clean Your Keurig’s Exit Needle
- Turn off and unplug your Keurig machine.
- Locate the exit needle. It’s inside where the K-cup is placed.
- Use a paper clip or similar tool. Gently insert it into the needle to clear debris.
- Run a water brew cycle. Check if water flows freely now.
By following these steps, you can usually fix flow issues. This simple task keeps your Keurig brewing perfectly. And it can prevent that annoying ‘why does my keurig say descale’ light from turning on unexpectedly.
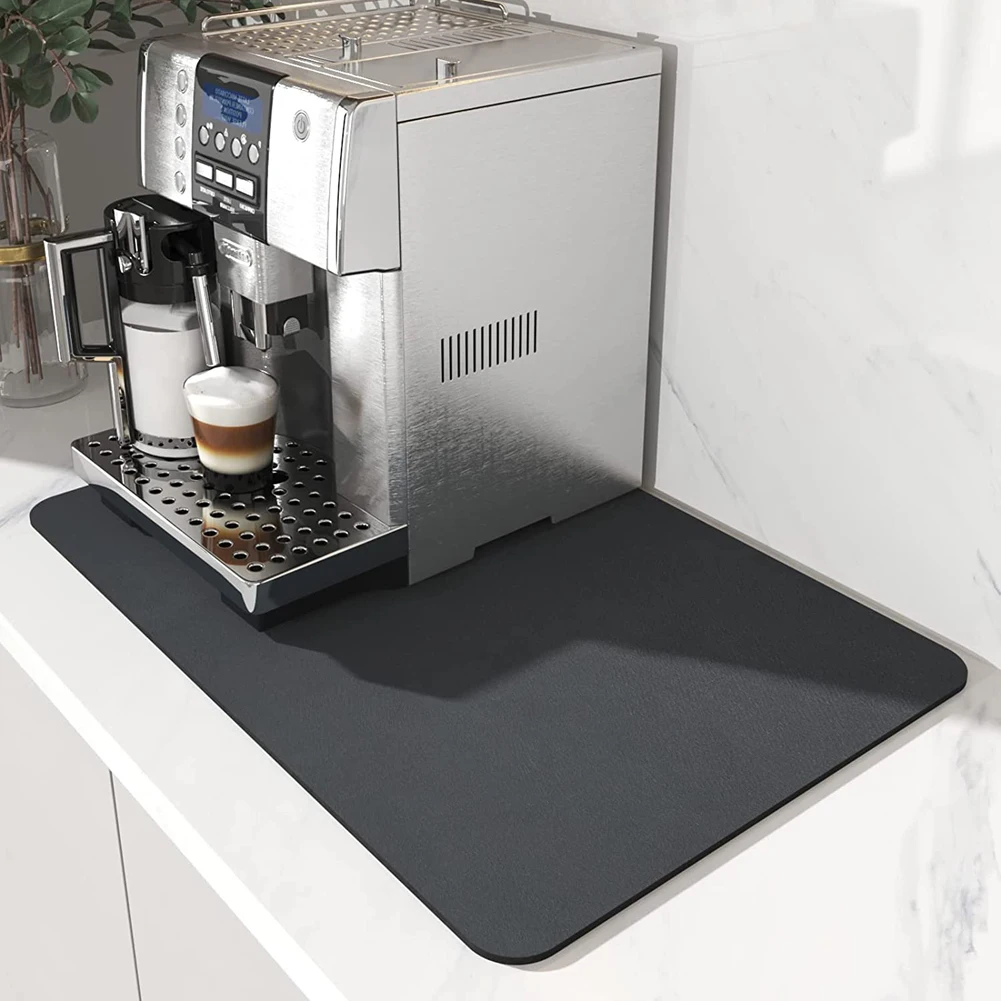
How Frequently to Descale Your Keurig for Optimal Performance
How often should you descale your Keurig to keep it working well? The simple answer is every three months. But if you use it a lot, you might need to descale more often. Heavy use means more water runs through, which leads to more mineral buildup. If you’re noticing slower brew times or off tastes, it’s a sign to descale sooner.
Also, the type of water you use matters. Hard water leads to more mineral deposits. So, you’ll need to descale more if your water is hard. Staying on top of descaling means smoother operation and better coffee. It’s a little effort for a big reward – great-tasting coffee every time. For best results, mark your calendar every three months as a reminder. And if your Keurig starts acting up, check if it’s time to descale before trying other fixes.
Remember, some simple maintenance can make a big difference. Keep your Keurig happy with regular descaling, and it’ll keep brewing your favorite coffee perfectly.
Conclusion: The Vital Role of the Descale Light in Keurig Maintenance
The descale light on your Keurig is there for a good reason. It reminds you that your coffee machine needs a thorough cleaning. This cleaning is key for the machine to work right and make great coffee. When this light stays on even after you descale, it’s a sign. It means you might need to clean deeper or check for other issues. Take this light seriously. It helps you keep your Keurig running smoothly for a long time. So when you see it, don’t wait. Descaling on time can save you money and stress in the long run. Plus, it keeps your coffee tasting its best. Remember, a clean Keurig is the start to a good day with your favorite cup.
FAQs: Common Keurig Descale Light Queries
Navigating the world of Keurig maintenance can sometimes be puzzling, especially when that descale light stays on. You may have questions about what to do next. Here, we address the most common inquiries related to the Keurig descale light. Our goal is to help you understand the process better and keep your coffee brewing smoothly.
Causes of Descale Light Illumination
So, why does the Keurig descale light come on? It usually means there’s too much calcium or other minerals in the machine. This build-up can slow down your brewer. It might also happen if you pack refillable K-cups too tight, which blocks water flow. Keep your machine clean, and this issue should be rare.
Choosing an Effective Descale Solution
To pick a good cleaner, consider a few things. Keurig has its own descale solution that works well. You can also use white vinegar or a mix of water and citric acid. Find what works for your machine and stick with it. Just follow the directions for safe use.
Addressing Persistent Descale Lights
If the descale light won’t go off, don’t panic. Try pressing the 8oz and 10oz buttons together for five seconds. If it’s still on, unplug the machine for a bit. This can reset it. Still lit? You might need to descale again or check for deeper clogs.
Cleaning Blocked Exit Needles
Keep an eye on the needle that pokes your K-cups. It can get clogged. Turn off your Keurig, and use something small, like a paper clip, to clean it out. Do this occasionally to prevent issues.
Descale Frequency for Heavy Users
How much you use your Keurig affects how often you need to descale. Brew many cups a day? You might need to clean the machine more than every three months. Trust your senses. If the coffee starts tasting weird or the machine slows, it’s time to descale.
 Cleaning the Keurig Exit Needle
 Troubleshooting a Stubborn Descale Light
 Rinse Cycle: Cleaning Out the Descaling Solution
 Troubleshooting Common Keurig Duo Descaling Issues
 Troubleshooting Keurig Issues After Registration
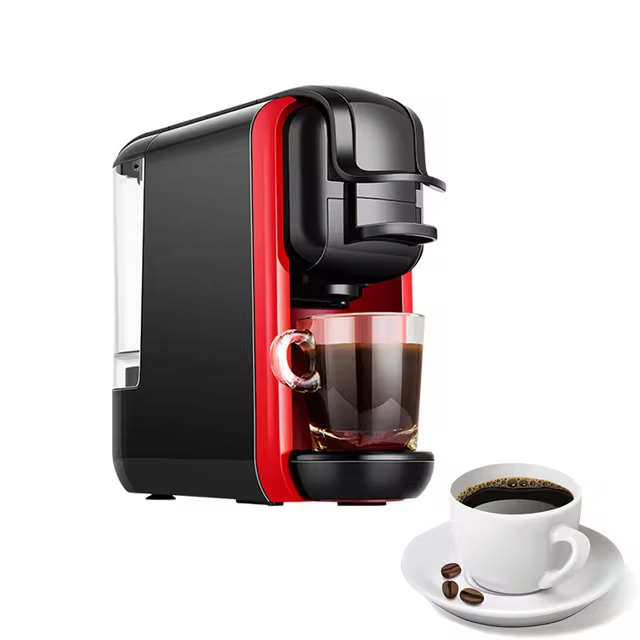
 Step-by-Step Descaling Process
 Addressing the Blinking Blue Light in Water Reservoir
 Maintaining a Clean Keurig to Minimize Descale Frequency