Unboxing and Initial Setup of Your Keurig
Removing Packaging and Inspecting Components
How to operate a keurig? When you first unbox your new Keurig, start by removing all packaging materials. Check each component against the Keurig manual to ensure nothing is missing or damaged. Common components include the main unit, water reservoir, and K-Cup holder. Handle all parts with care during inspection.
Cleaning Before First Use
Before you brew your first cup, it’s important to clean your Keurig. Wipe the machine’s exterior with a soft, damp cloth. For the water reservoir, use warm water and mild dish soap. Rinse it thoroughly to avoid any soap residue in your coffee.
Installing the Charcoal Water Filter
If your model comes with a charcoal water filter, installation is next. Soak the charcoal filter in water for about 5 minutes. Rinse it under cold water for another minute. Place the filter into the water filter holder, then install it inside the reservoir. This helps ensure better-tasting coffee by removing impurities from water.
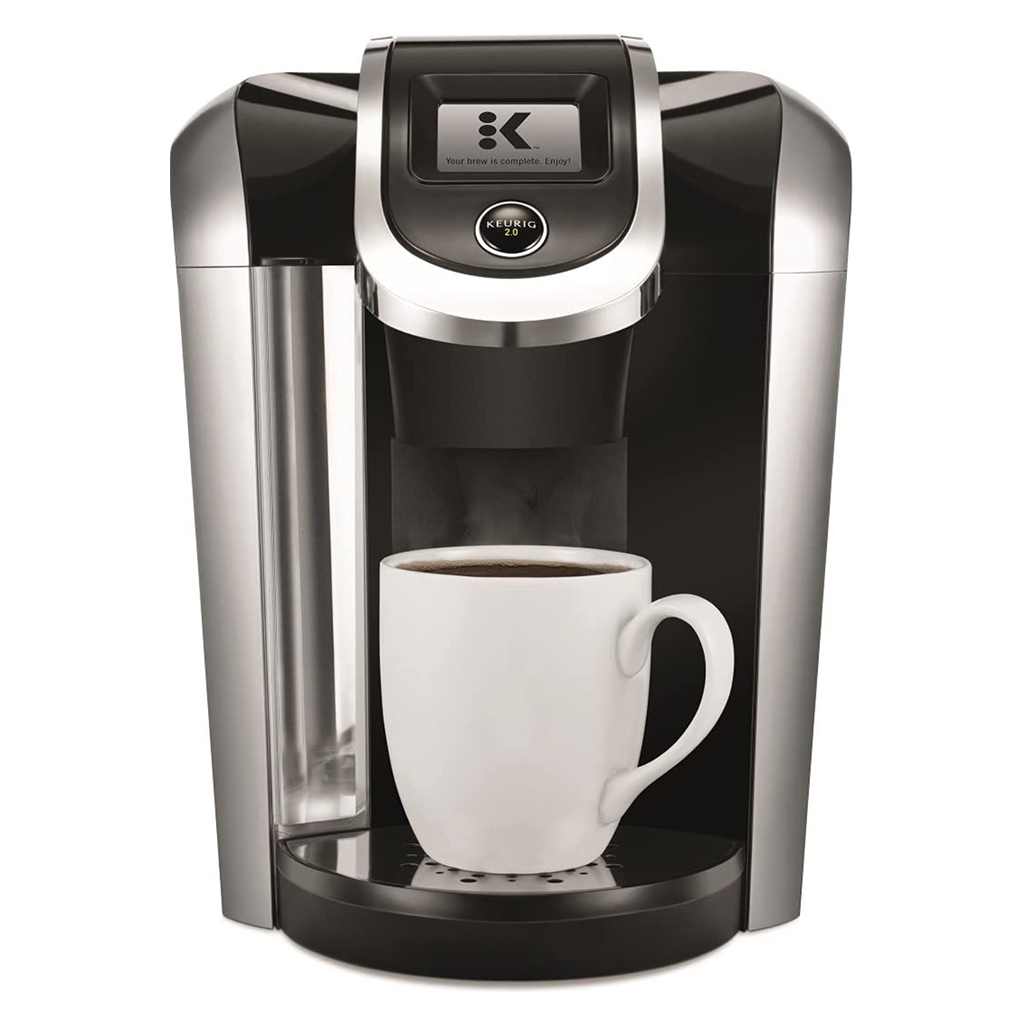
Powering On and Heating Up Your Keurig
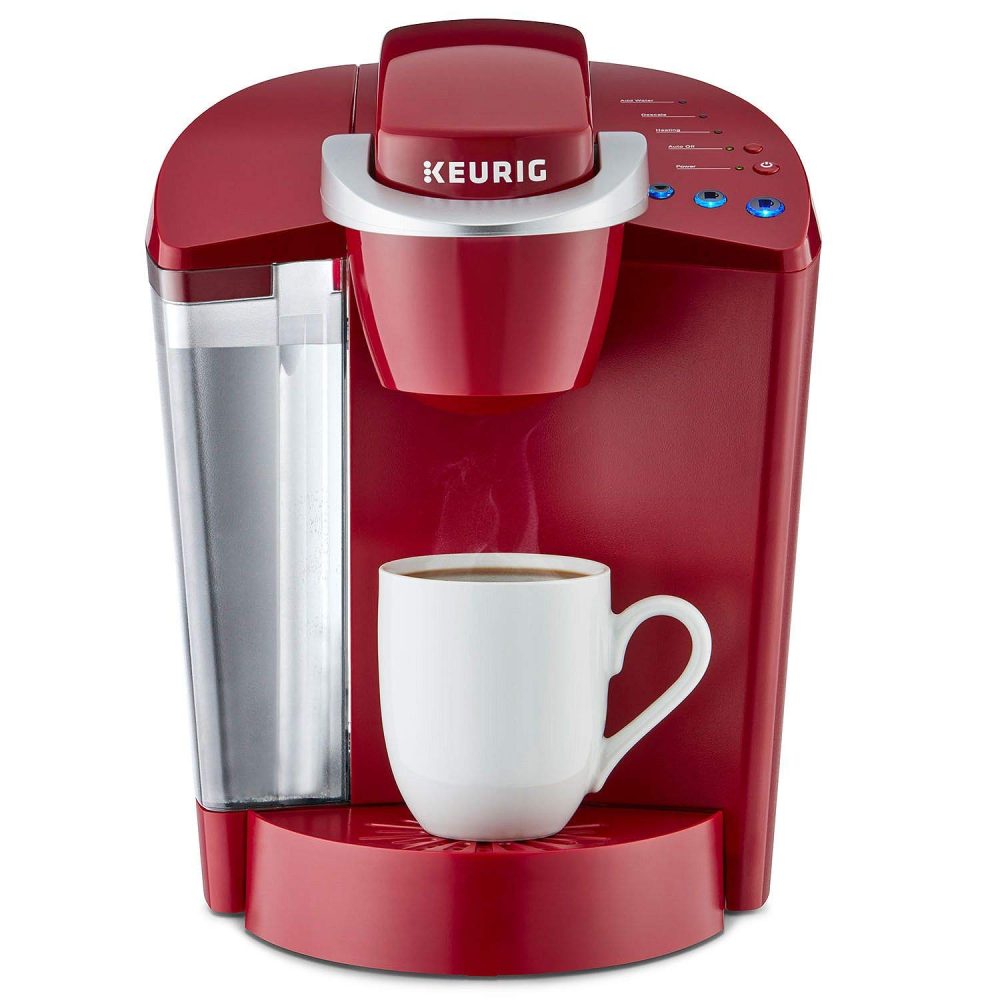
How to operate a keurig? Turning on your Keurig is straightforward. First, make sure it is plugged in. Simply press the power button on your machine. It takes about a minute for the machine to warm up. Some models might take up to three minutes. You will know it’s ready when the heating light turns off.
Understanding Indicator Lights
Your Keurig has several indicator lights that are helpful. The ‘Power’ light indicates that the machine is on. The ‘Heating’ light shows that the water is heating up. A ‘Descale’ light warns of limescale build-up and indicates it’s time to descale. The ‘Add Water’ light will illuminate when it’s time to refill the water reservoir. These lights help maintain the machine’s performance and ensure great coffee.
Troubleshooting Power Issues
If your Keurig doesn’t turn on, check if it’s properly plugged in. Ensure the outlet works by plugging in a different device. If the outlet is fine but your Keurig still won’t power on, try resetting the machine by unplugging it for a few minutes. If problems persist, contact Keurig customer service for more help. Always refer to your model’s manual for specific troubleshooting tips.
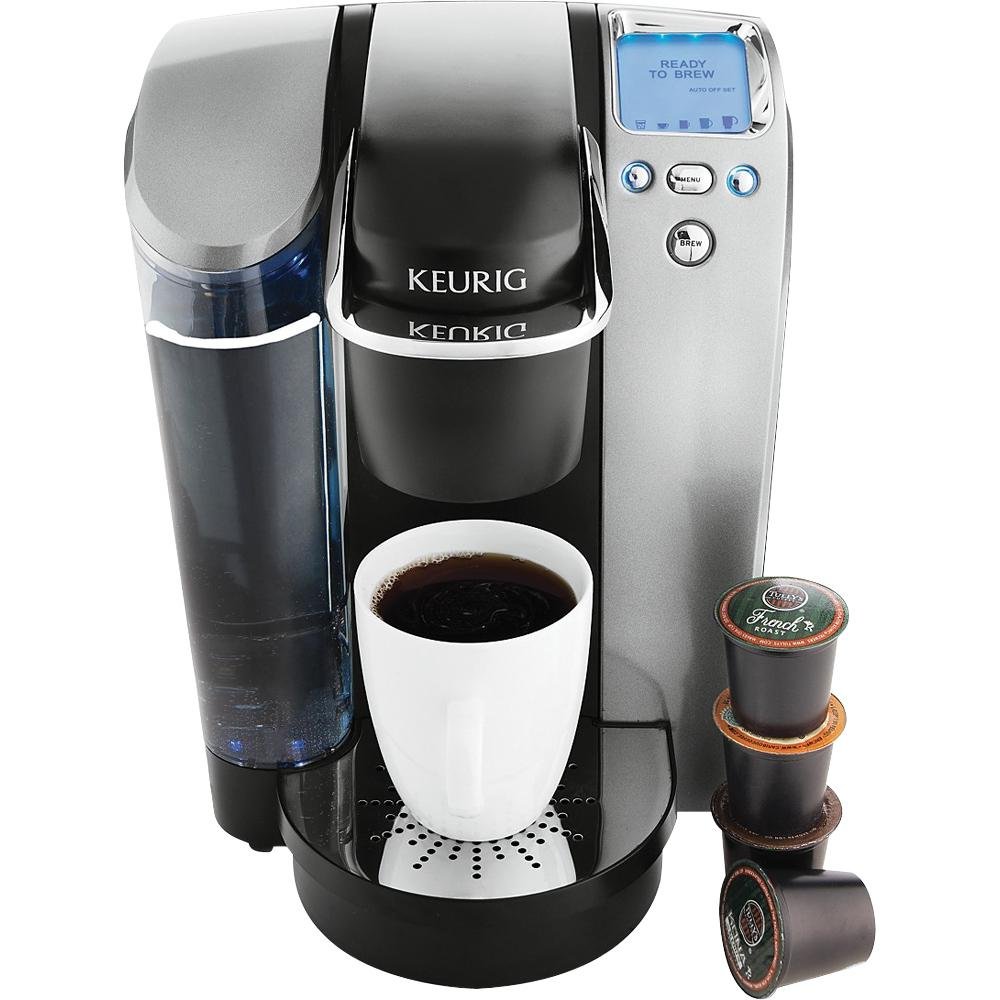
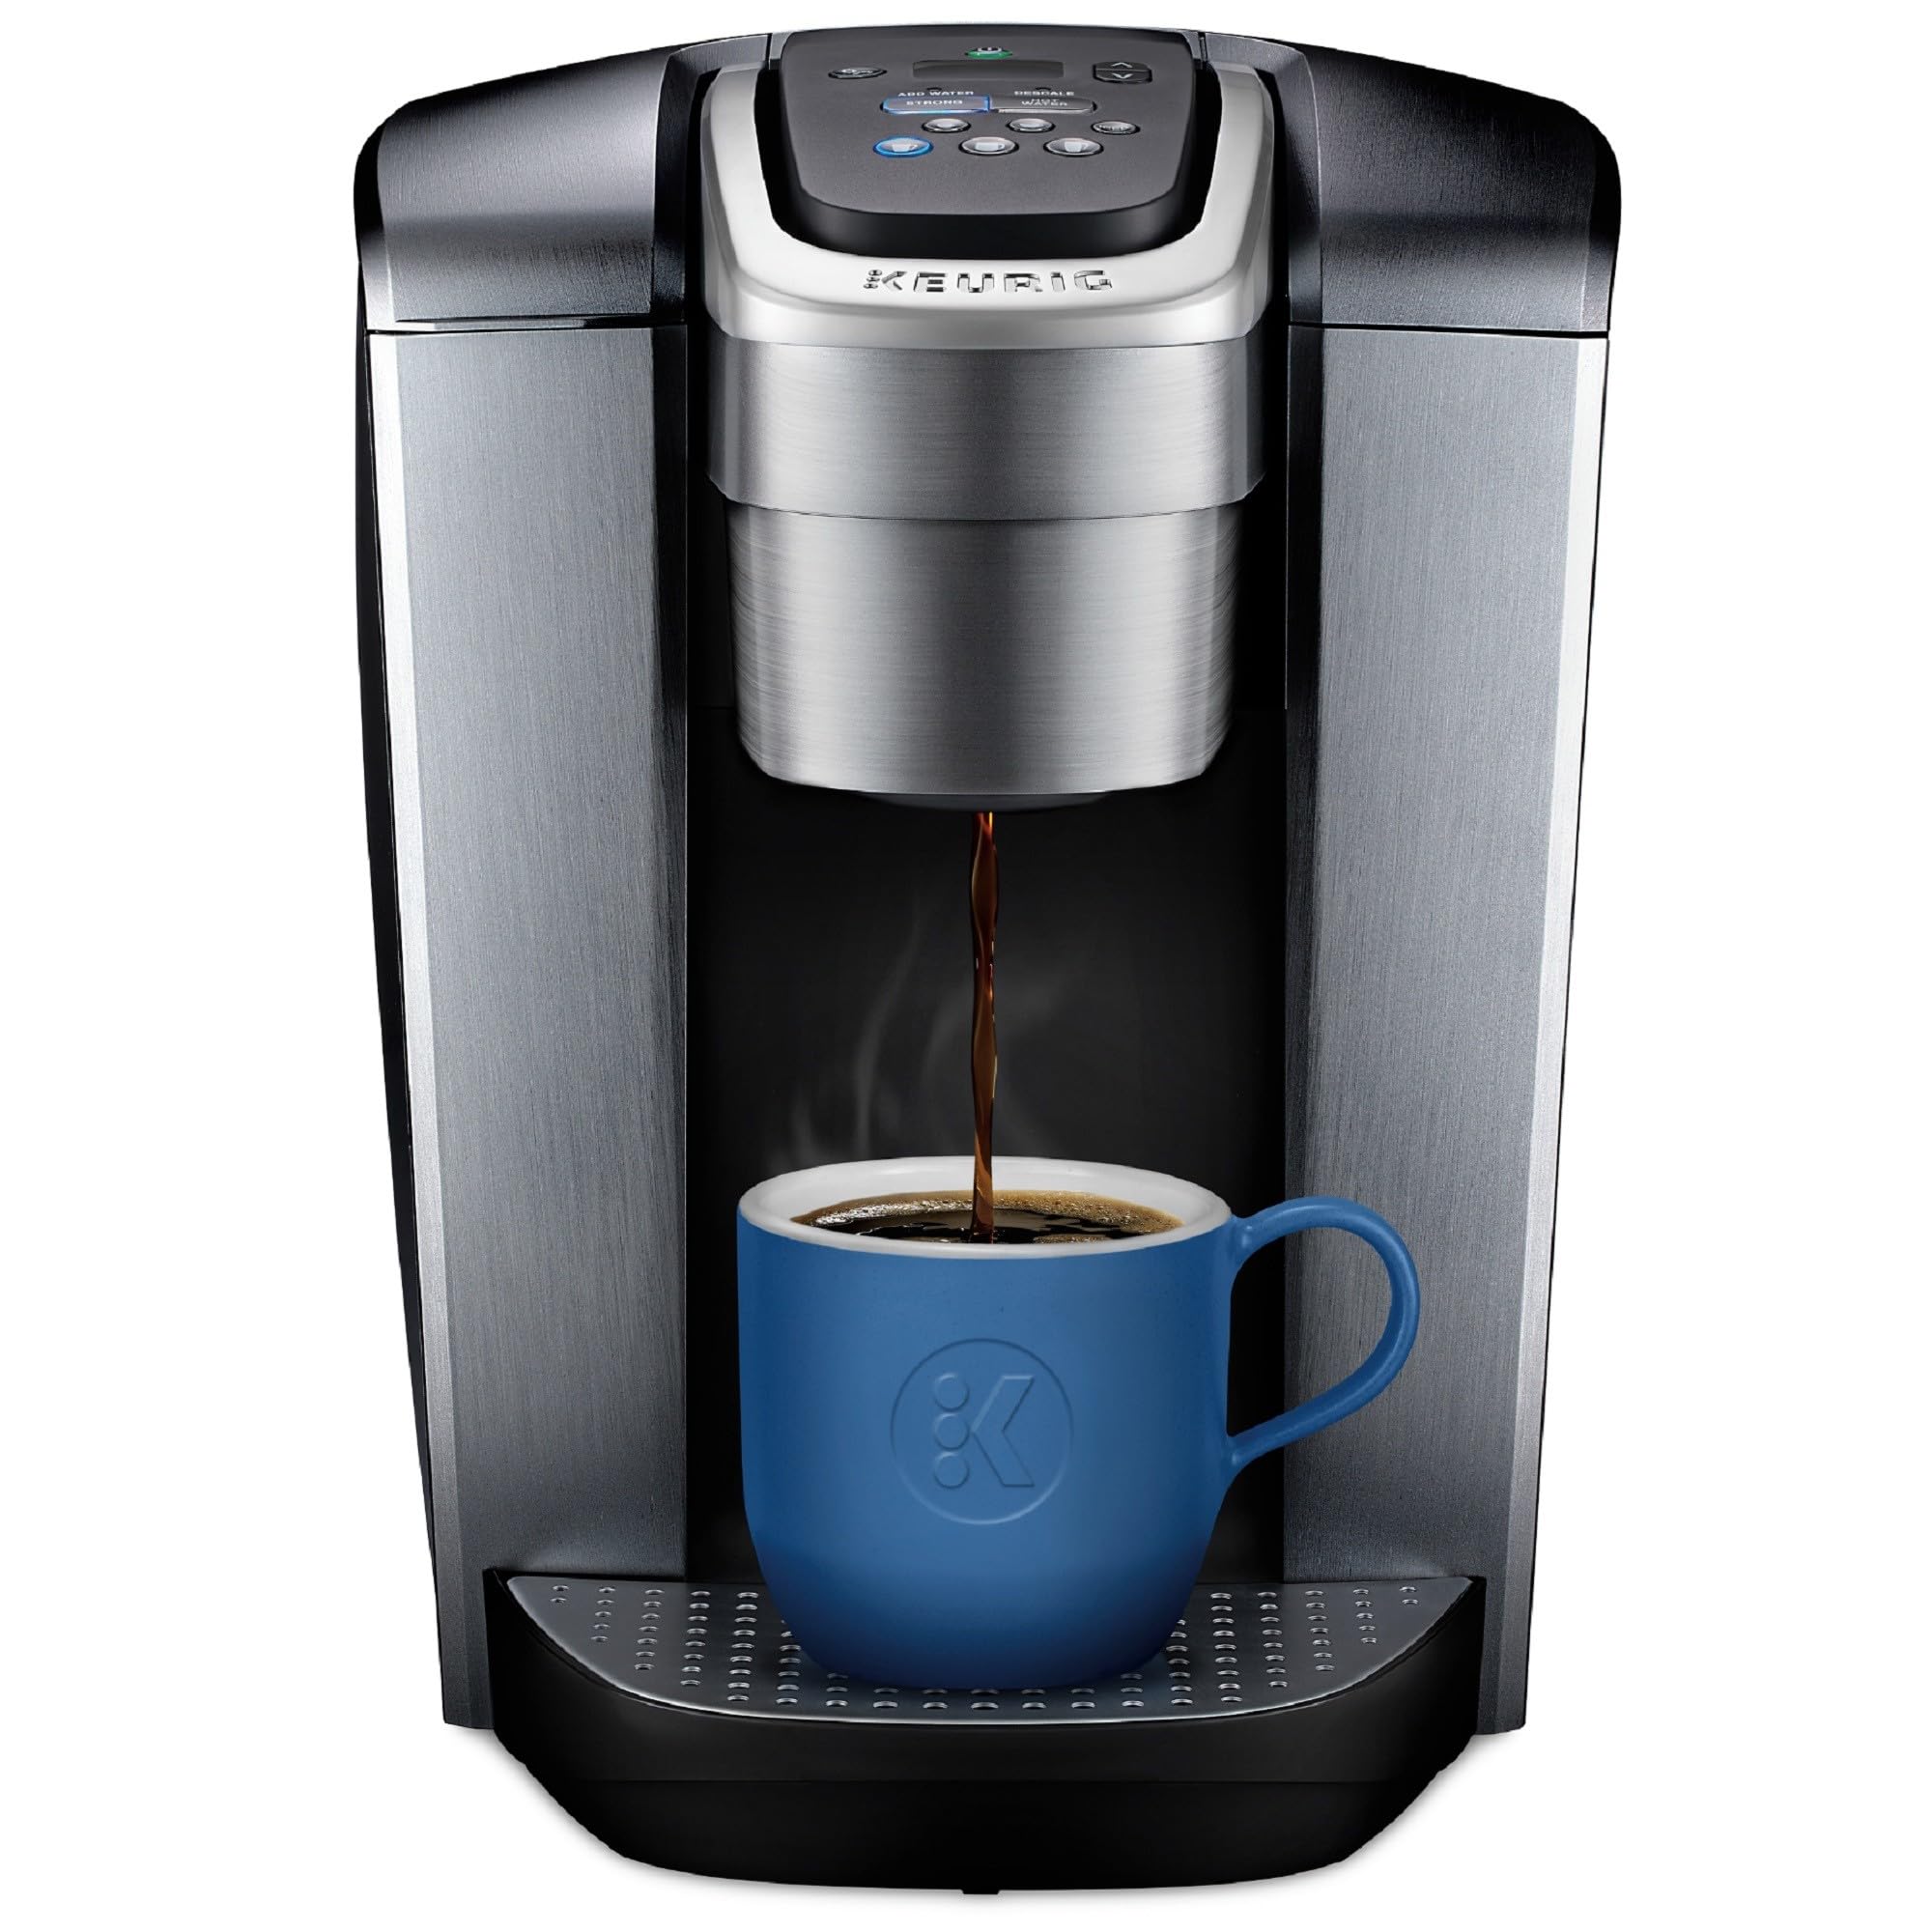
Navigating Keurig’s Buttons and Functions
After powering on your Keurig, familiarize yourself with its buttons.
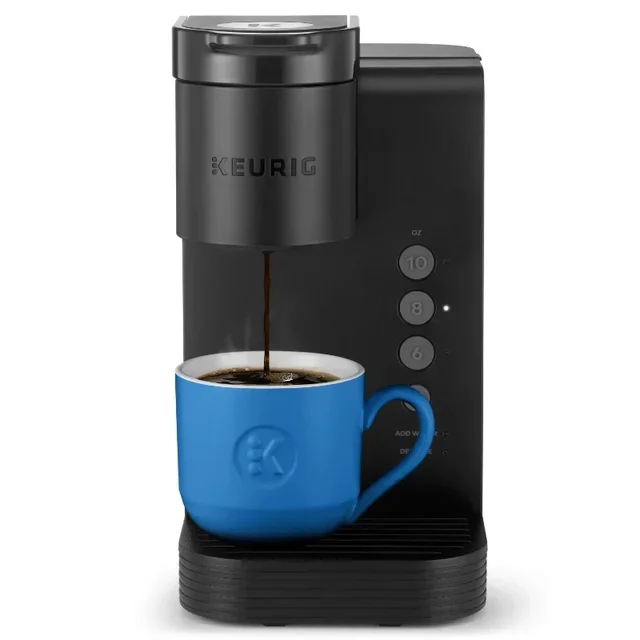
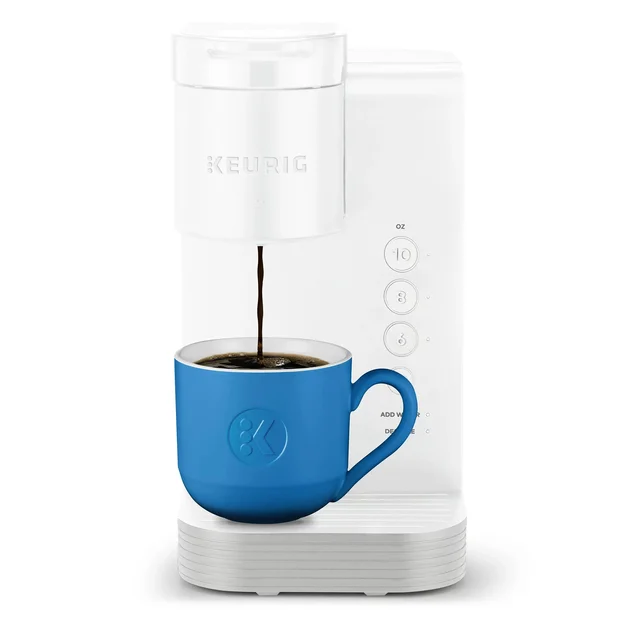
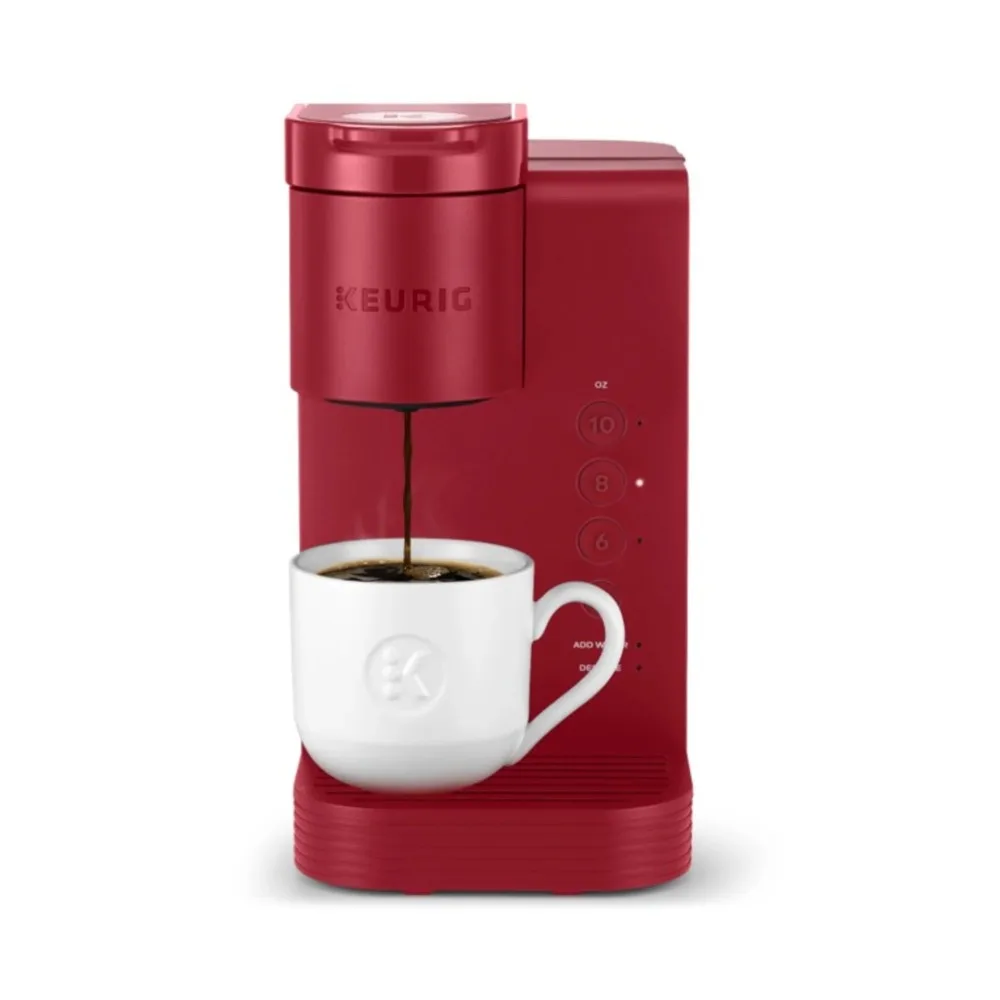
Distinguishing Between Various Cup Sizes
Keurig machines often feature different cup size options. These may include 6 oz., 8 oz., and 10 oz. sizes. Cup size buttons may show coffee cups of varying sizes, helping to identify the amount they’ll dispense.
Utilizing Special Features: Iced, Strong, and Temperature Control
Some models have ‘Iced’ for brewing stronger coffee to complement ice. A ‘Strong’ button is available for a more robust flavor. Temperature controls allow you to adjust the heat of your drink.
Benefits of the Auto On/Off Function
The Auto On/Off feature can save energy. It turns the Keurig off when not in use for a set time. This function helps with electricity saving and machine longevity.
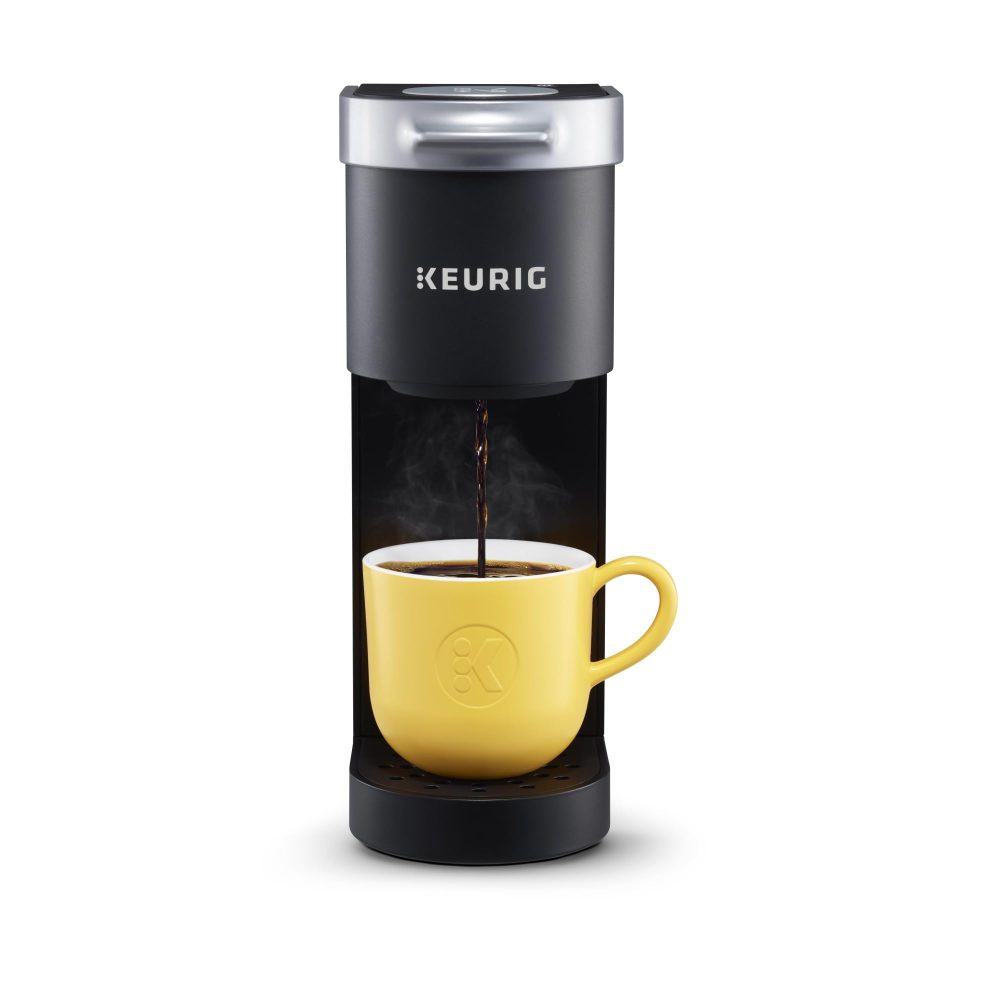
 Brewing Your First Cup of Coffee
Now that your Keurig is ready, let’s brew your first cup.
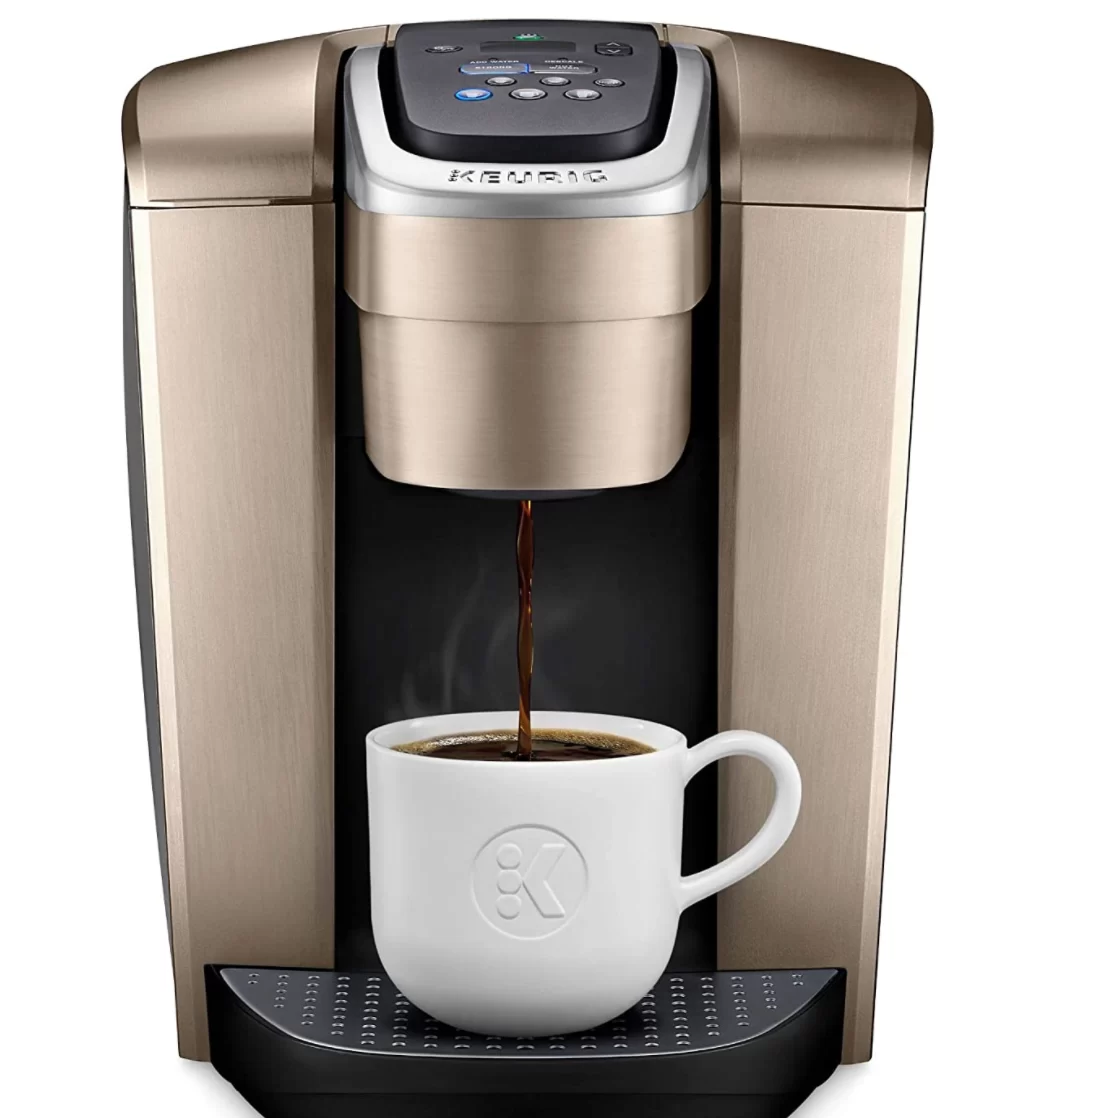
Inserting the K-Cup and Selecting Brew Size
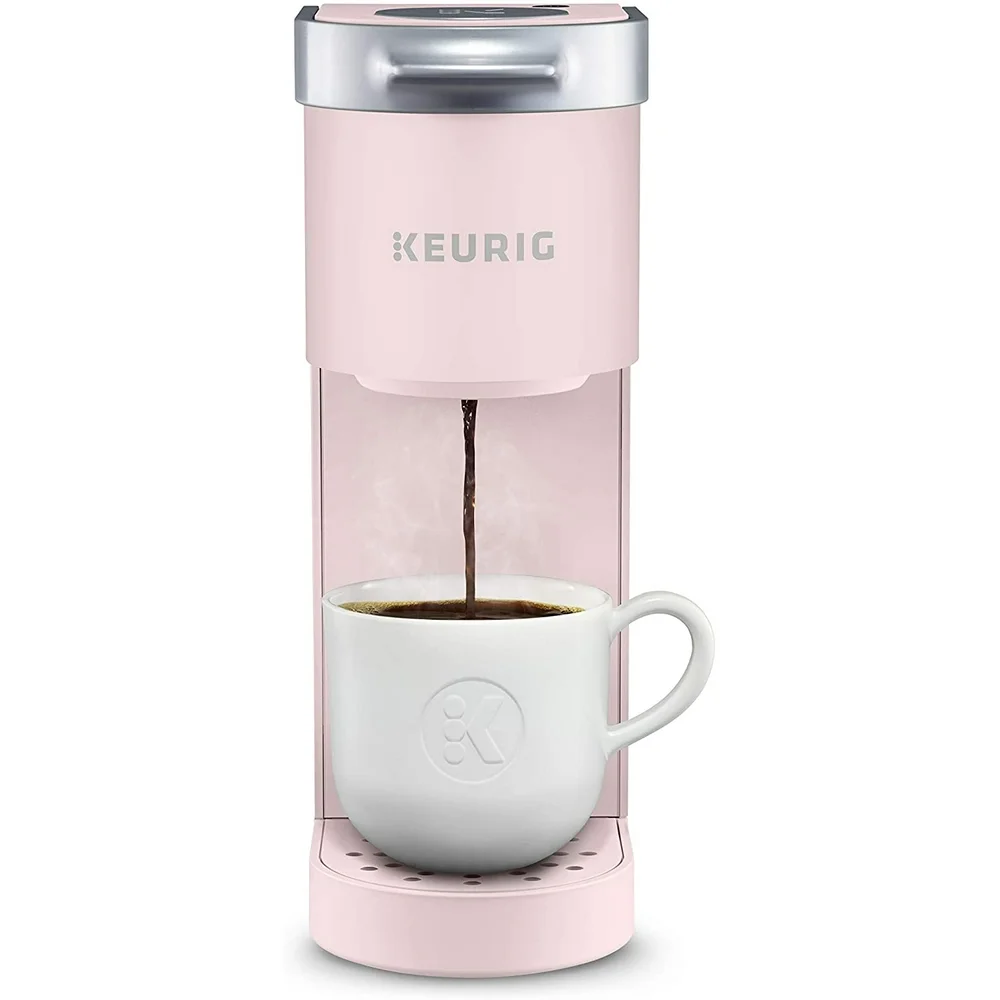
Open the lid of your Keurig and place the K-Cup into the slot. Choose your desired cup size by pressing one of the cup size buttons. Remember, the image on the button often indicates the size of the brew.
Model-Specific Brewing Techniques
Each Keurig model might have different steps, so check your manual. For instance, some machines auto-determine the cup size based on water added, while others let you pick a size.
Customizing Coffee Strength and Temperature
For a stronger cup, press the ‘Strong’ button if your model has one. To adjust the beverage temperature, use the temperature control feature on models that offer this option. This allows you to enjoy your coffee just the way you like it.
Advanced Keurig Features
Keurig machines aren’t just for single cups of coffee. They offer advanced features for various coffee preferences and situations. Whether you want a full carafe for the family or a specialized drink just for yourself, Keurig has designed models to accommodate all your coffee needs.
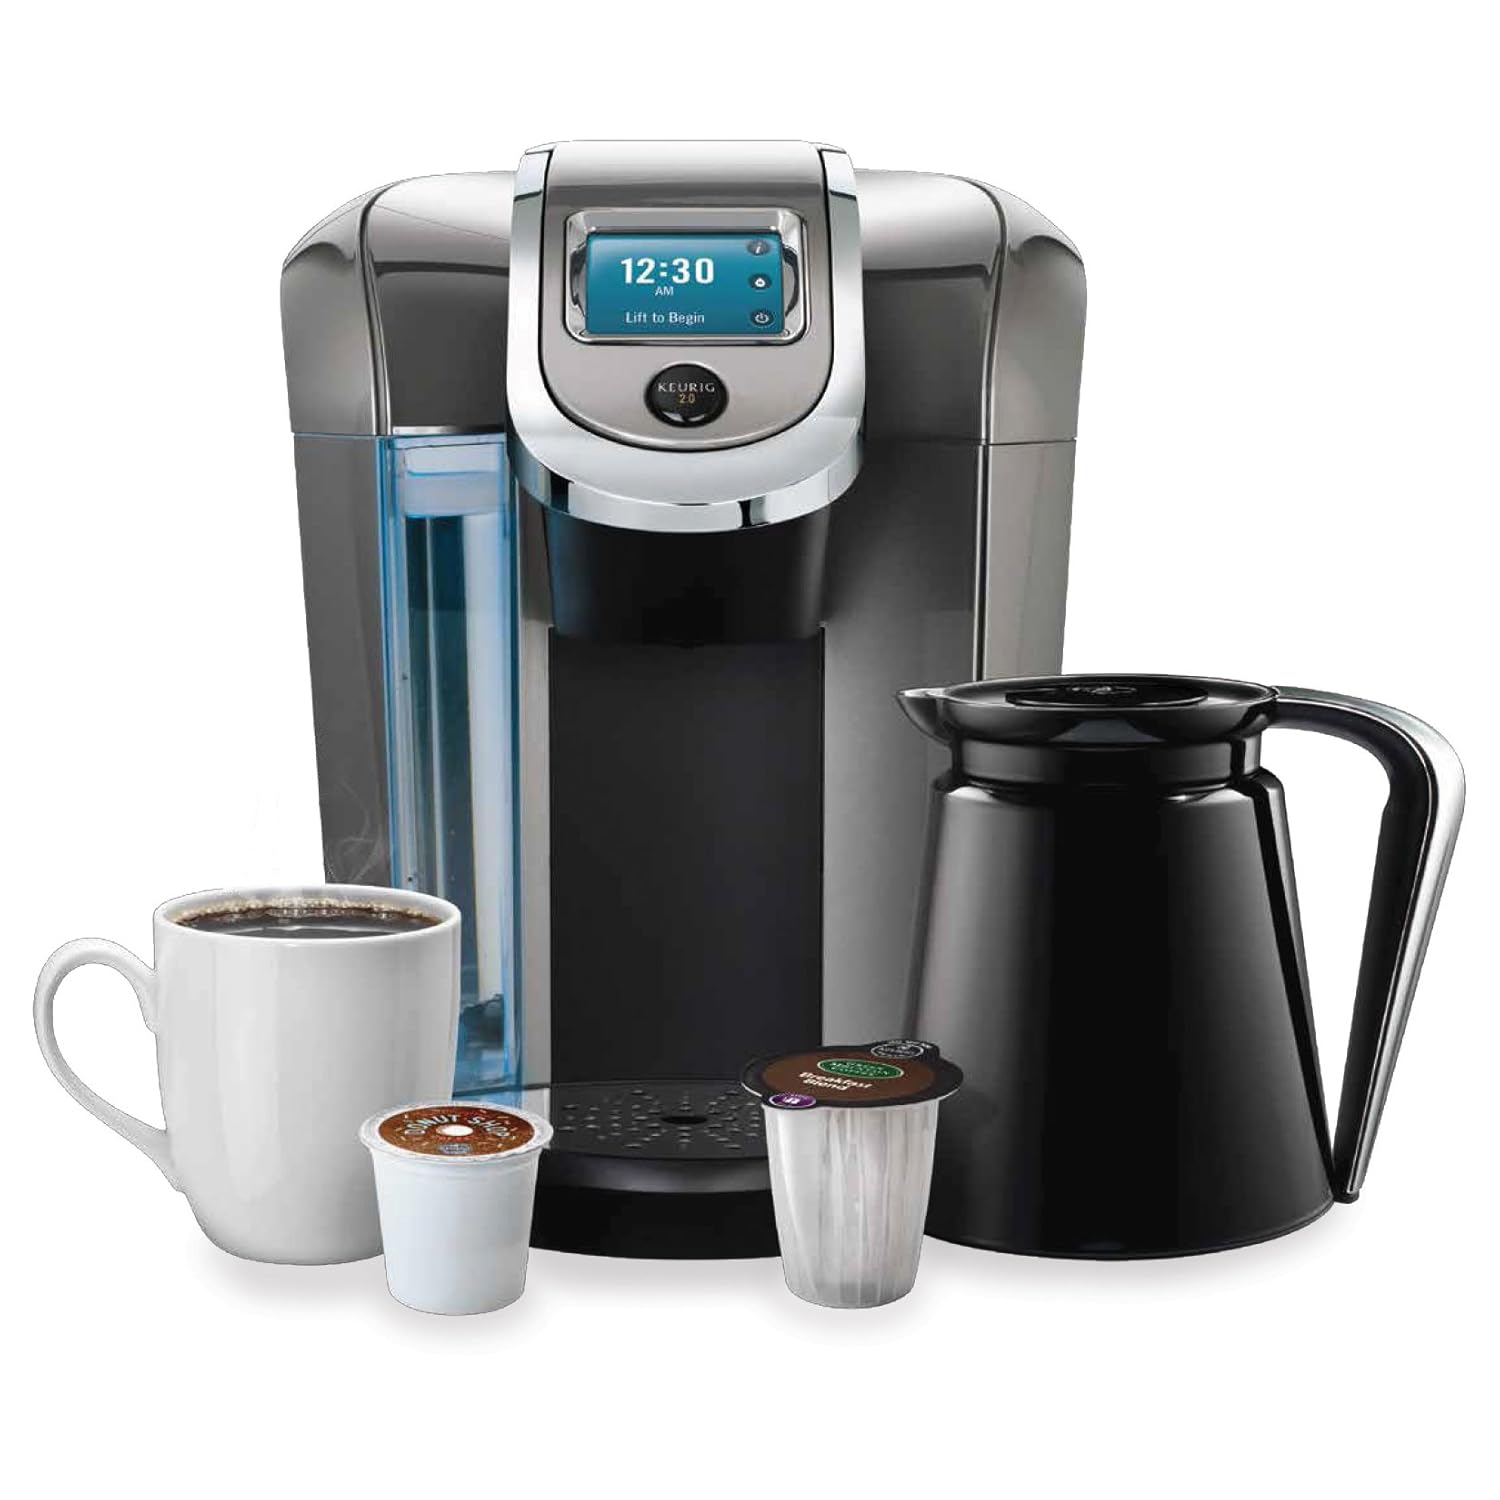
Brewing a Carafe with Keurig Duo Models
The Keurig Duo models provide flexibility by allowing you to brew either a single cup or a full carafe. For a carafe, simply use the coffee grounds of your choice. Place a flat-bottom paper filter in the basket, add coffee, and select your desired carafe size (8, 10, or 12 cups). This is great for hosting guests or when you need more coffee at once.
Making Specialty Drinks with the K-Cafe
Do you enjoy lattes or cappuccinos? The K-Cafe model is perfect. This device can create various specialty drinks with ease. First, insert a desired K-Cup, choose the ‘Shot’ option for a coffee shot, and then froth your milk using the milk frother attachment. You can even make iced versions by pressing the ‘Cold’ setting before frothing.
Utilizing Hot Water and Iced Coffee Settings
Some Keurig models go beyond brewing coffee. They provide hot water on demand, useful for tea or instant meals. Additionally, the iced coffee feature strengthens your brew so it can withstand ice dilution, ideal for refreshing iced coffee without compromising flavor.
Maintenance and Care for Your Keurig
Proper maintenance ensures your Keurig brews the best coffee for years to come.
How to Descale and When to Do It
Descaling removes mineral build-up, keep your machine efficient. Descaling every 3 to 6 months is ideal. Use white vinegar or a descaler solution. Fill up the water reservoir with the solution, run brew cycles without a K-cup until empty, and flush with fresh water after.
Regular Cleaning for Optimal Performance
Clean your Keurig regularly for the best taste and performance. Wipe the exterior with a damp cloth weekly. Wash the removable parts, like the water reservoir and drip tray, with soapy water monthly.
Handling and Replacing Water Filters
Change the water filter every 2 months or every 60 tank refills to ensure fresh taste. Soak the new filter in water for 5 minutes, then rinse it under running water for 1 minute before installing.
Frequently Asked Questions on Keurig Usage
Navigating your Keurig’s features should be stress-free. Let’s tackle some frequent operation questions.
Addressing Common Operation Concerns
Maybe your machine won’t start, or perhaps it brews slowly. First, ensure it’s plugged in. Check for proper placement of the water reservoir. If issues persist, a descaling might be in order. Your manual will provide tailored troubleshooting steps. For more help, Keurig support is available.
Tips for Auto-Brew Settings
The auto-brew feature is a real morning time-saver. Set your desired brew time through the auto button. Confirm your settings by pressing the blinking brew button. Don’t forget to place a mug on the drip tray overnight. To stop auto-brew, deactivate it according to your model’s instruction manual.
Best Practices for Milk Frothing Attachments
For rich lattes and cappuccinos, follow these tips. Use fresh cold milk for the best froth. Fill to the marked line and hit the froth button. For cold drinks, press the cold setting first. Always clean the frother after each use to maintain performance. Enjoy delightful, creamy beverages every time.
Conclusion: Mastering How to Operate a Keurig
How to operate a keurig? Mastering how to operate a Keurig transforms your coffee-making experience, turning it into a personalized and enjoyable ritual. From initial setup and daily brewing to advanced customization and diligent maintenance, understanding each facet of your Keurig ensures you consistently enjoy delicious coffee tailored to your tastes. Whether you’re a seasoned coffee aficionado or new to single-serve machines, this guide equips you with the knowledge and confidence to make the most of your Keurig. Embrace the convenience and versatility of your Keurig, and savor every perfectly brewed cup that starts your day on the right note.

 Step-by-Step Cleaning Guide for Your Keurig
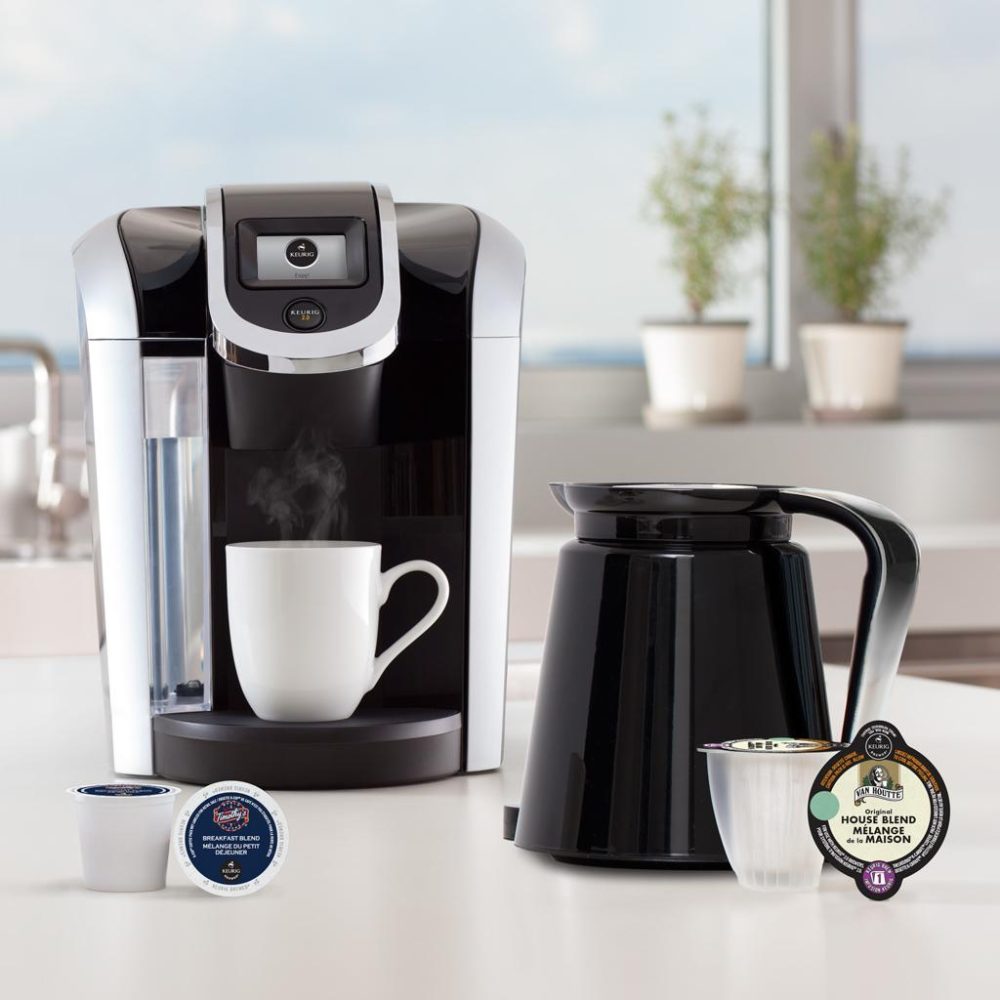
 DIY Repairs for Keurig Water Sensors
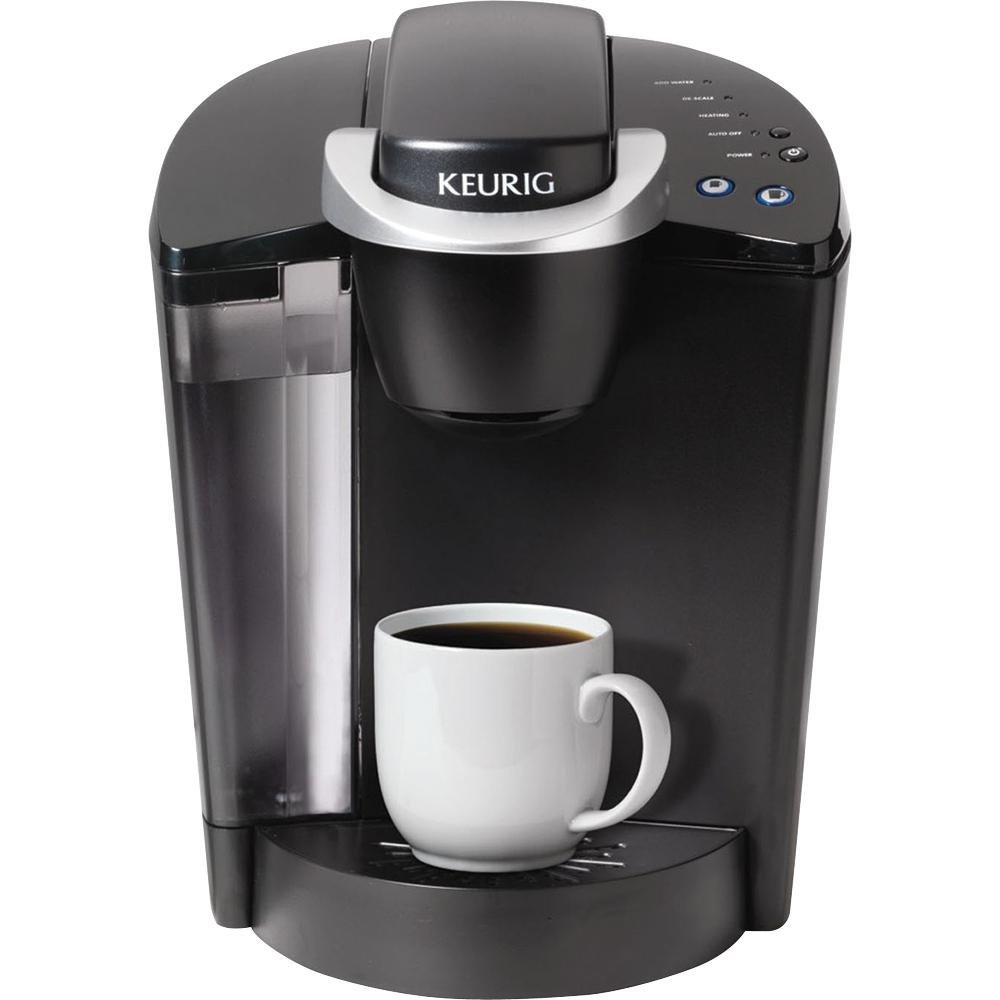


 Understanding Keurig Error Messages and Indicators
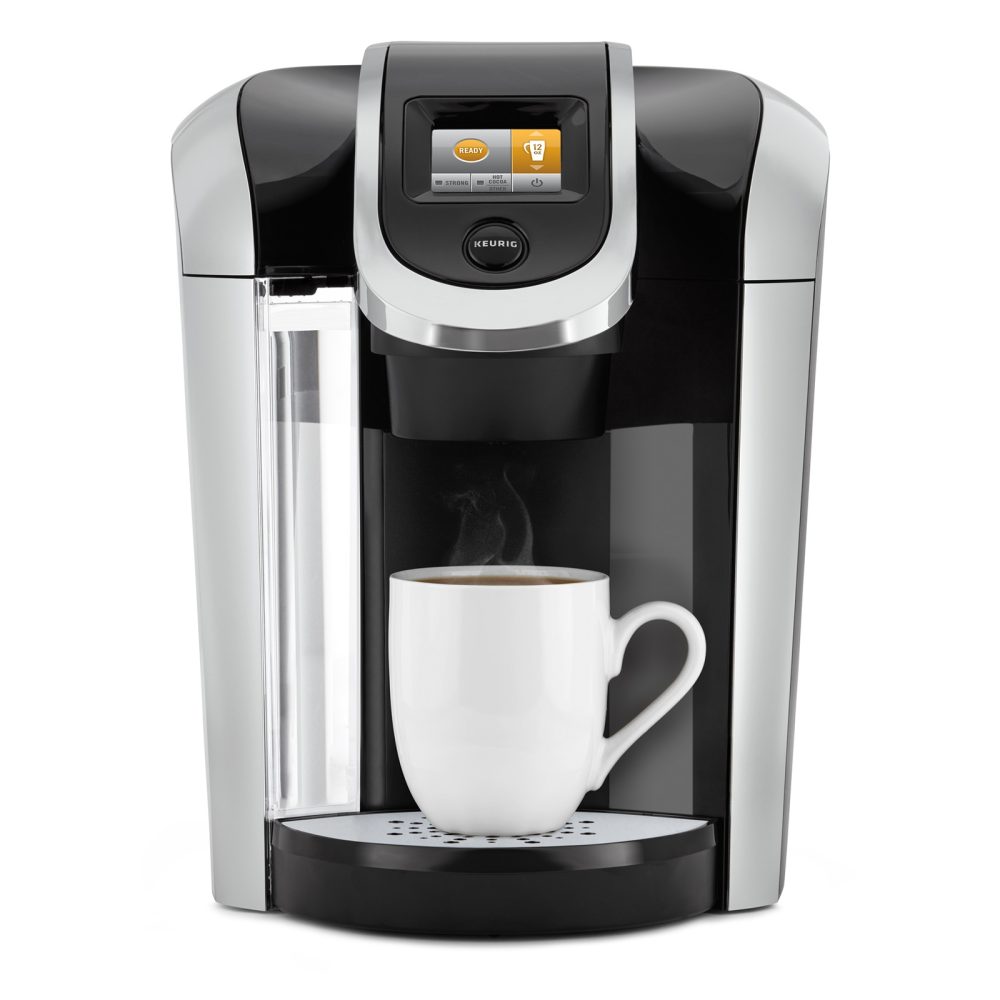
 Troubleshooting Persistent Descale Light Issues
 The Importance of the Serial Number for Warranty
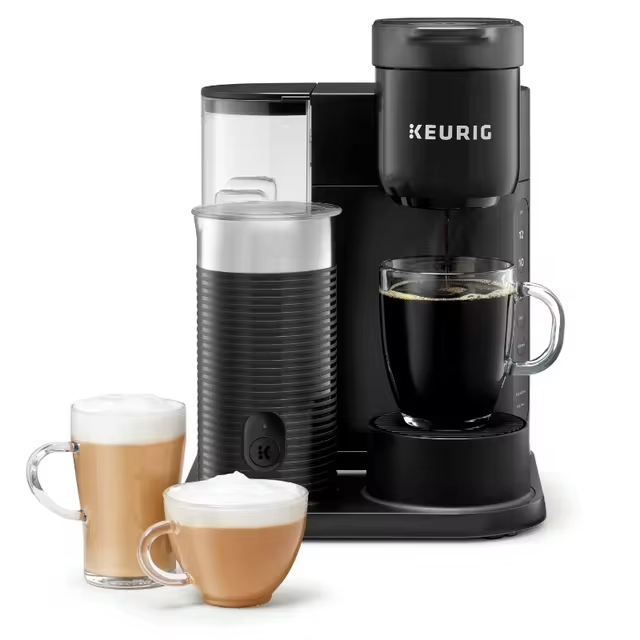
 Alternative Methods: Descaling with Citric Acid and Baking Soda
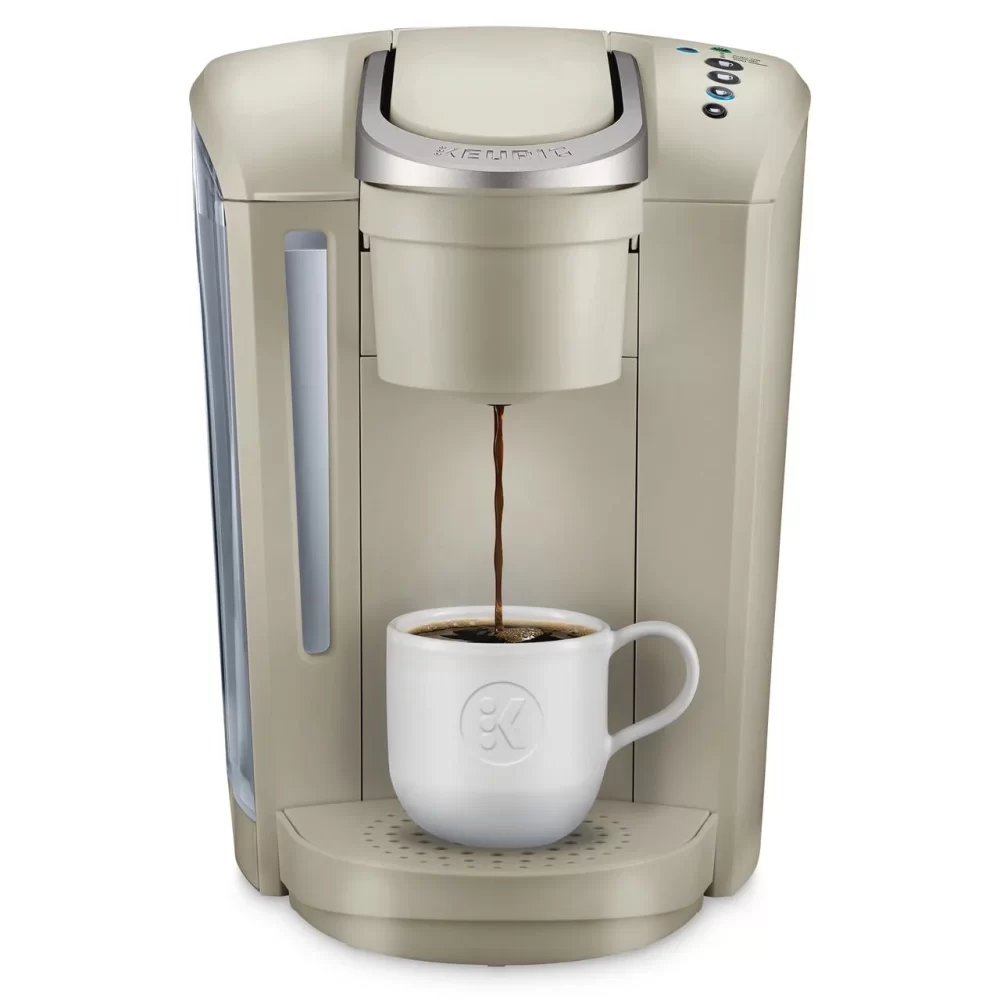
 Cleaning the Keurig Exit Needle