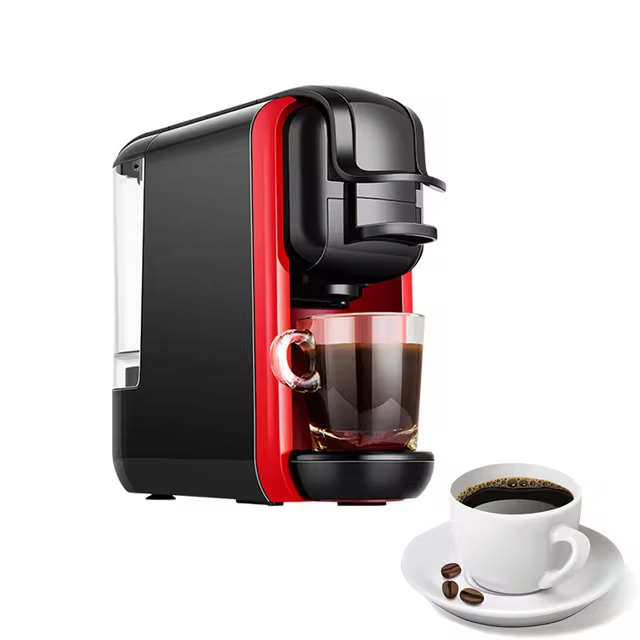
Why Descaling Your Keurig Slim is Essential
Descaling your Keurig Slim is a must to keep your machine running smoothly. It’s all about removing calcium and other mineral build-ups. These deposits, often termed ‘scale’, can greatly affect your brewer’s performance. Left unchecked, they can cause clogs, reduce heating efficiency, and even shorten the lifespan of your Keurig.
Regular descaling ensures your coffee tastes fresh and your machine brews quickly. It also helps maintain a consistent water temperature. This is key for a perfect cup every time. Most importantly, it prevents potential malfunctions that could lead from neglected maintenance. Think of descaling as a regular health check for your Keurig Slim. It’s essential for its longevity, ensuring every brew is just as good as the first.
Ignoring descaling can lead to longer brew times, less hot coffee, and even machine errors. Don’t wait for problems to arise; make descaling a part of your routine maintenance. Your Keurig Slim will thank you with every delicious cup it serves. Remember, a well-maintained machine is the secret to the best coffee experience.
Signs That Your Keurig Slim Needs Descaling
Noticing changes in your Keurig Slim’s performance? It might be time for descaling. Here are telltale signs:
- Longer Brew Times: Your coffee is taking more time to brew than normal.
- Temperature Issues: Your coffee isn’t as hot as it should be.
- Weird Noises: The machine is noisier, making unusual sounds during brewing.
- Poor Flow: The water flow is slow or interrupted.
- Off-tasting Coffee: If your coffee starts to taste strange, it’s a red flag.
- Scale Deposits: Visible mineral buildup around the water reservoir or other parts.
- Error Messages: The machine displays error messages related to scaling.
If you spot any of these signs, take action. Descale your Keurig Slim to restore its peak performance and ensure the quality of your coffee remains high. Tackle the problem early to avoid more serious issues later.
What You’ll Need to Descal Your Keurig Slim
Before you start the descaling keurig slim process, gather these items:
- White vinegar or Keurig’s descaling solution: This acts as the descaling agent.
- Large ceramic mug: You’ll need this to catch the descaling solution.
- Access to a sink: For discarding the used solution.
- Water: Fresh water for rinsing after the descaling process.
- Dry cloth or paper towel: For wiping away any spills or residue.
- Timer or clock: To track the descaling soak time.
Once you have these supplies, you’re ready to begin. Ensure you use them as directed to avoid damage to your Keurig Slim.
 Step-by-Step Descaling Process
Descaling your Keurig Slim is simple. Follow these steps:
- Preparation: Turn off your Keurig Slim. Empty the water reservoir.
- Add Descaler: Fill the reservoir with the descaling agent – either white vinegar or Keurig’s descaling solution.
- Run Descaling Cycle: Power on the machine. Run a brew cycle with no K-cup inserted, catching the solution in the large mug.
- Repeat: Run at least two more cycles with the solution to effectively loosen and remove scale deposits.
- Let It Rest: After the last cycle, let your Keurig Slim sit for 30 minutes with the power on.
- Rinse: Empty and clean the reservoir. Fill it with fresh water. Run several brew cycles until you clear out all traces of the descaling solution.
- Clean Up: Wipe down the machine’s exterior with a dry cloth or paper towel.
- Final Check: Ensure that the water flows smoothly and the Keurig Slim heats correctly. Brew a fresh cup to confirm.
By following this descaling process, your Keurig Slim will work efficiently. Repeat this process regularly to maintain quality performance and flavorful coffee.
How Often Should You Descal Your Keurig Slim
To keep your Keurig Slim in top shape, regular descaling is key. The best practice is to descale every 3 to 6 months. However, this can vary. If you use your brewer often, scale may build up quicker. In such cases, descale every 3 months. For those who use it less frequently, every 6 months should suffice.
The hardness of your water also affects descaling frequency. Hard water leads to faster scale buildup. If you live in an area with hard water, consider descaling more often. You can buy a water hardness test kit to check your water. This will provide a better idea of descaling needs for your Keurig Slim.
Lastly, keep an eye on your machine’s performance. If you notice any signs of scale before your regular descaling time, don’t wait. Descale right away to prevent problems. Regular descaling will keep your coffee tasting great and your Keurig Slim running well.
Tips for Maintaining Your Keurig Slim After Descaling
After descaling your Keurig Slim, maintaining it is pretty straightforward. Here are some quick tips to ensure it stays in great shape:
- Use Filtered Water: This reduces scale buildup. Filtered water limits the minerals that cause scaling.
- Empty Water Reservoir Daily: Don’t let water sit in the machine overnight. Empty and refill with fresh water each day.
- Regular Cleaning: Wipe your machine after use. Clean the drip tray and K-cup holder regularly.
- Avoid Leaving Used K-Cups: Remove them right after brewing. This prevents clogs and keeps the machine clean.
- Water Level Check: Make sure the water reservoir isn’t too full. This avoids water spills inside the machine.
- Periodic Inspections: Look for any visible mineral deposits regularly. If you see some, it may be time for a quick descale.
By following these steps, your Keurig Slim will work well for longer. Plus, your coffee will always taste its best. Stick to this routine and enjoy hassle-free brewing every day.
Troubleshooting Common Descaling Issues
Even when you follow all the steps for descaling your Keurig Slim correctly, you might encounter some issues. Here are common troubleshooting tips for a smooth descaling process:
- Machine Not Brewing: If your Keurig Slim doesn’t start brewing after descaling, check if the machine is plugged in and turned on. Then, ensure the water reservoir is properly seated.
- Partial Brews: If you get only a partial cup after descaling, check for clogs. Run a few more cycles with fresh water to clear any residual scale.
- Leakage: Seeing water on your counter? Ensure you haven’t overfilled the water reservoir. Tighten any loose parts, like the water reservoir or the drip tray.
- Descaling Solution Smell: If a vinegar smell remains after rinsing, run more fresh water cycles until it clears.
- Pressure Issues: If water pressure seems low, descaling may not have removed all the scale. Repeat the descaling process with a fresh solution.
- Unresolved Errors: If you continue to see error messages or the machine doesn’t run properly, it might need professional servicing.
These tips should help you overcome common issues while descaling Keurig Slim. Regular maintenance and troubleshooting can extend the life of your brewer and keep your coffee tasting great.
Conclusion
Descaling your Keurig Slim is an essential part of your coffee-making routine that shouldn’t be overlooked. By understanding what descaling is, why it’s necessary, and following the steps outlined in this guide, you can keep your machine in excellent condition and enjoy great-tasting coffee every time. Make descaling your Keurig Slim a regular task to ensure that you can continue savoring every cup, maintaining the quality of your beloved brewing machine for years to come.