Introduction
Whipped cream is a versatile and delightful topping that adds a touch of indulgence to desserts, beverages, and even morning pancakes. While many rely on electric mixers for the task, a blender can also be a handy tool for whipping cream to perfection. In this comprehensive guide, we will explore the steps to make whipped cream using a blender. From preparing the ingredients to achieving the perfect consistency, we will provide specific instructions and tips to help you create velvety, homemade whipped cream in no time.
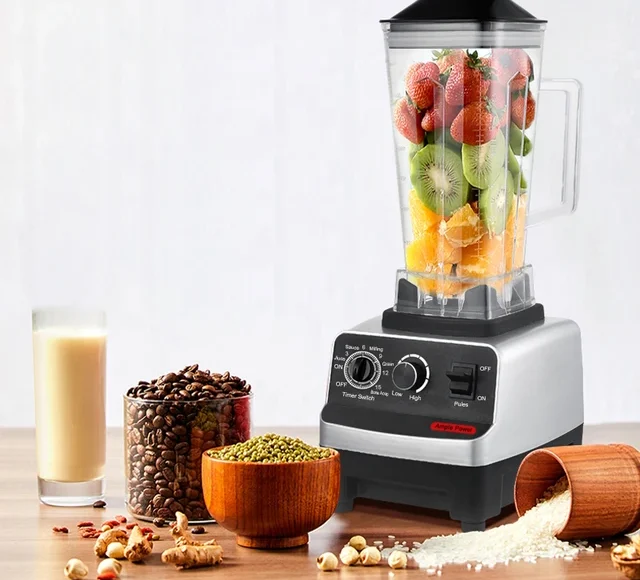
Whipping Up Deliciousness: Making Whipped Cream in a Blender
I. Gather Your Ingredients and Tools
-
Heavy Whipping Cream:
- Start by ensuring you have fresh, high-fat heavy whipping cream. Its higher fat content (usually around 35-40%) is what enables the cream to whip properly. Use it straight from the refrigerator to maintain a cool temperature during the whipping process.
-
Sweetener:
- You will also need a sweetener to enhance the flavor of the whipped cream. Granulated sugar is a common choice, but you can also use powdered sugar or alternative sweeteners to suit your preference.
-
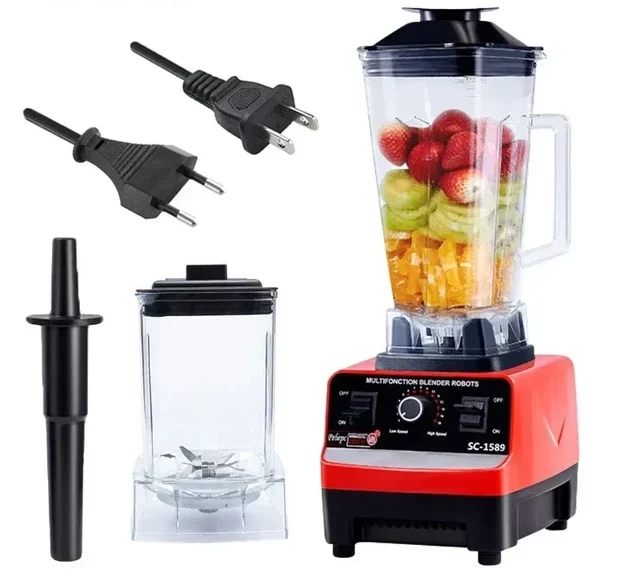
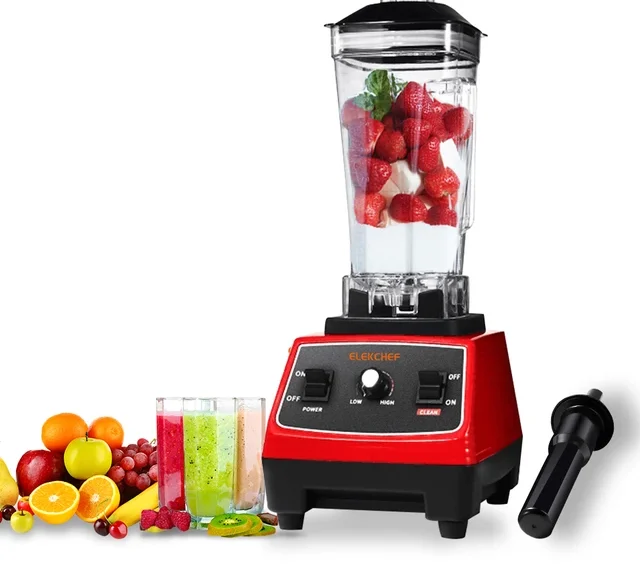
Blender:
- Prepare a blender with a sturdy motor and a secure, tight-fitting lid. The blender’s power is crucial for efficient whipping, while the lid prevents any splattering during the process.
II. Preparing the Blender and Ingredients
-
Chilling the Blender Jar and Blades:
- Before starting, place the blender jar and its blades in the refrigerator for about 15 minutes. Chilled equipment helps maintain the appropriate temperature needed for successful whipping.
-
Cooling the Ingredients:
- Refrigerate the heavy whipping cream for at least 30 minutes before use to ensure its cold temperature, which aids in achieving the desired consistency.
III. Whipping Process
-
Adding the Ingredients:
- Begin by pouring the cold heavy whipping cream into the chilled blender jar. Add the desired amount of sweetener according to your taste preferences. As a general guideline, use around 2 tablespoons of sugar per cup of cream. Adjust the amount of sweetener based on personal preference.
-
Blending at Low Speed:
- Secure the blender lid tightly and start blending at a low speed. This initial low speed breaks down the cream and incorporates the sweetener evenly.
-
Increasing Speed:
- Gradually increase the blender speed to a medium-high setting. The increased speed helps incorporate air into the cream, resulting in the desired light and fluffy texture of whipped cream. Monitor the texture and consistency as you increase the speed.
-
Checking the Texture:
- Periodically stop the blender and lift the lid to check the consistency. If the cream appears too thin and runny, continue blending until soft peaks form. Soft peaks are gentle and slightly curl over when the blender is lifted from the cream.
-
Avoid Over-Whipping:
- Be cautious to avoid over-whipping the cream, as it can quickly turn into butter with continued blending. If you accidentally over-whip the cream, you can rescue it by adding a bit more fresh cream and gently whisking it by hand to soften the texture.
IV. Storing and Serving
-
Storage:
- Transfer the freshly whipped cream to an airtight container and store it in the refrigerator until ready to use. It can be kept for up to 24 hours, but note that it may lose some of its volume and texture over time.
-
Flavored Variations:
- Spice up your whipped cream by incorporating additional flavors. Add a splash of vanilla extract, almond extract, or any other desired flavorings during the blending process. Adjust the amount according to personal taste preferences.
-
Serving Suggestions:
- Serve the homemade whipped cream alongside desserts like pies, cakes, or fresh fruits. It also beautifully complements hot beverages, such as hot chocolate or coffee. Use your creativity to explore versatile serving options.

V. Tips and Considerations
-
Be Mindful of Blender Capacity:
- Ensure your blender has enough capacity to accommodate the volume of cream you plan to whip. Overfilling the blender can lead to ineffective whipping due to restricted movement of the cream.
-
Watch the Texture:
- Pay close attention to the texture of the cream throughout the blending process. Stop blending as soon as soft peaks form to avoid over-whipping.
-
Use Full-Fat Cream:
- Opt for heavy whipping cream with a higher fat content as it froths and stabilizes better, resulting in a smoother and more stable whipped cream.
-
Avoid Starting at High Speed:
- Starting the blender on a high speed from the beginning may cause the cream to splatter or become lumpy. Begin at a lower speed and gradually increase it to achieve the desired texture.
VII. Troubleshooting Common Issues
-
Cream Not Whipping:
- If you find that your cream is not whipping properly even after following the steps, there could be a few potential issues. Ensure that your cream is fresh and has a high enough fat content. Avoid using ultra-pasteurized cream, as it may not whip as well. Additionally, make sure your blender is in good working condition and has enough power to handle the task.
-
Over-Whipping:
- Over-whipping can happen if you let the blender run for too long. If you accidentally over-whip the cream and it becomes too thick and butter-like, you can try adding a little bit of fresh cream to soften the texture. Gently whisk it by hand until the desired consistency is achieved.
VIII. Alternative Methods
-
Hand Whisk:
- If you don’t have a blender or prefer a more traditional approach, you can whip cream by hand using a whisk. Chill the cream and a mixing bowl beforehand, and gradually whisk in a circular motion until soft peaks form.
-
Stand Mixer:
- A stand mixer with a whisk attachment can also be used to whip cream. Follow the manufacturer’s instructions for the appropriate speed and duration. Keep a close eye on the texture to ensure it doesn’t become over-whipped.
VI. Conclusion: Whipping Cream with Ease
By following these specific steps and tips, you can successfully make whipped cream using a blender. From preparing the ingredients to achieving the perfect consistency, using a blender provides a convenient and efficient way to create homemade whipped cream.
Remember to ensure the cream, blender jar, and blades are properly chilled, and gradually increase the blender speed to achieve soft peaks. Enjoy the velvety texture and delightful sweetness of your homemade whipped cream as you enhance your favorite desserts and beverages.
Embrace the simplicity and versatility of making whipped cream in a blender, and elevate your culinary creations with this light and airy topping.