Introduction
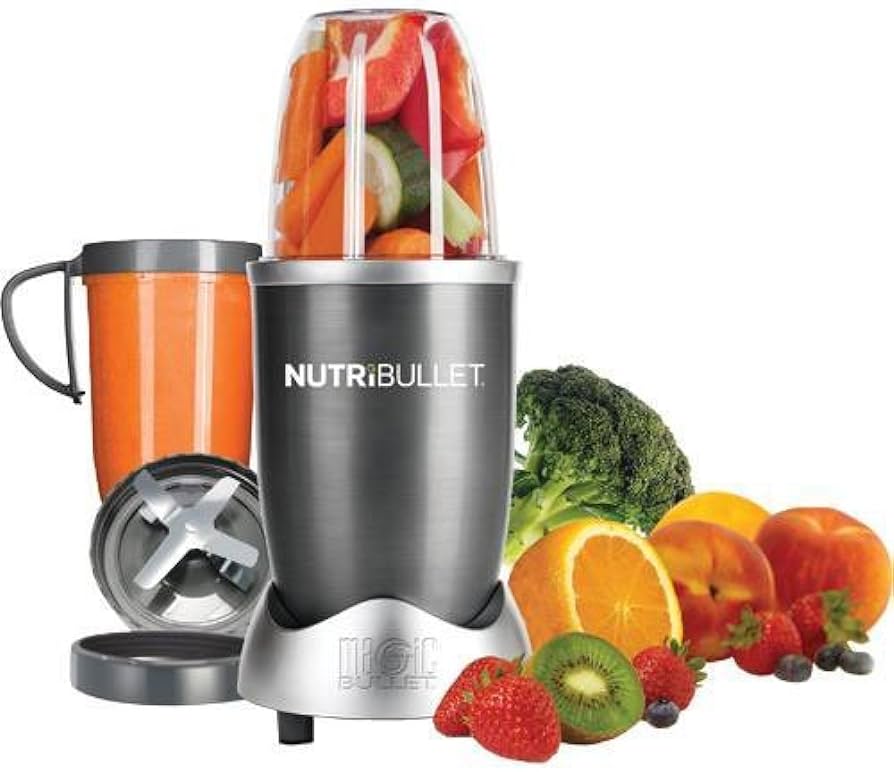
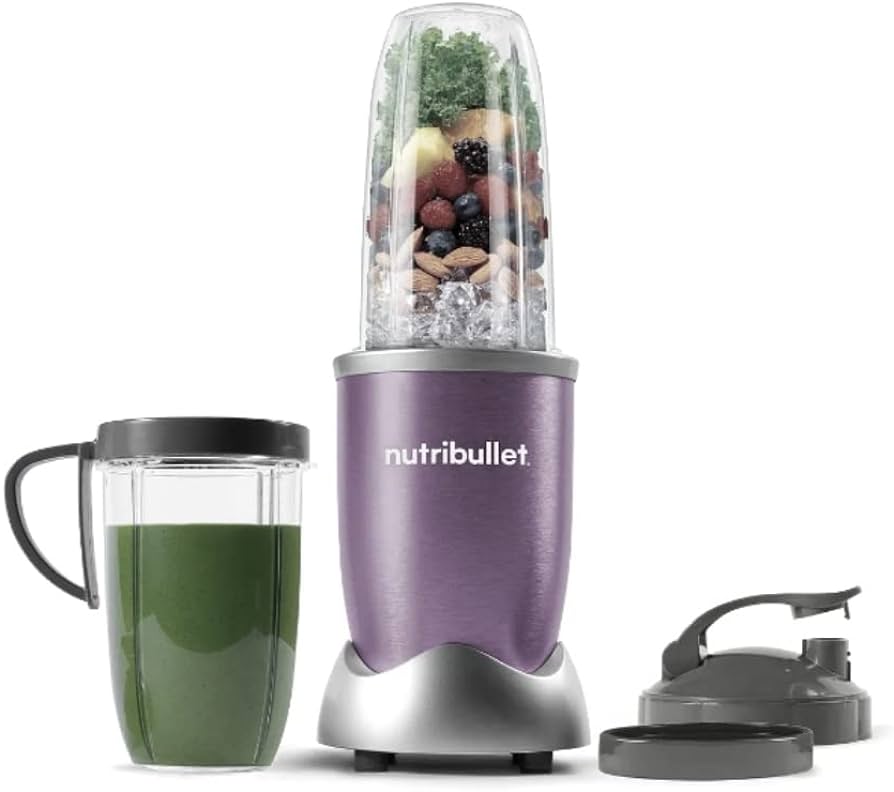
The NutriBullet Blender is a popular and versatile kitchen appliance known for its ability to blend ingredients into smooth, nutritious concoctions. While the traditional operation of the NutriBullet Blender relies on the use of buttons, there may be instances where these buttons become inaccessible or non-functional. Fortunately, there are alternative methods that allow users to utilize the NutriBullet Blender without relying on the standard button functions. This guide explores various approaches and techniques to operate the NutriBullet Blender without buttons, providing specific details and considerations to help users navigate such situations effectively.

I. Plug and Unplug Method
-
Plug in the Blender:
- Begin by plugging the NutriBullet Blender into a functioning power outlet.
-
Connect the Cup:
- Attach the blending cup to the blender base, ensuring it is placed securely and locks into position correctly. The blending cup should fit snugly onto the base to ensure proper functioning.
-
Load Ingredients:
- Prepare the desired ingredients to be blended and load them into the blending cup. Take care not to exceed the maximum fill line indicated on the cup to ensure safe and efficient blending.
-
Blend by Plugging and Unplugging:
- To initiate the blending process, plug the NutriBullet Blender into the power outlet. The blender will begin operating upon connection, allowing the blades to blend the ingredients. To stop blending, simply unplug the blender from the power outlet. This method effectively mimics the on/off functionality of the button.

II. Timer-based Method
-
Plug in the Blender:
- As in the previous method, start by plugging the NutriBullet Blender into a functional power outlet, ensuring a secure connection.
-
Connect the Cup:
- Attach the blending cup to the blender base, making sure it is positioned correctly and locks into place securely.
-
Load Ingredients:
- Prepare the ingredients and add them to the cup, ensuring that they are within the recommended fill limits for safe and efficient blending.
-
Set a Kitchen Timer:
- Utilizing a kitchen timer or any other type of timing device, set a specific duration for blending. The duration should be based on the desired consistency and texture of the blended ingredients.
-
Hold Down the Power Plug:
- While the blender is plugged into the power outlet, manually hold down the power plug or find a suitable object to keep it in the powered position. This will keep the blender operating for the duration specified on the timer, effectively simulating the button’s functionality.
-
Cease Blending by Timer:
- Once the set blending duration elapses, release the power plug or remove the object used to keep it in the powered position. This will terminate the blending process, enabling the removal of the blending cup for use.
III. Using an External Switch
-
Plug in the Blender:
- Begin by plugging the NutriBullet Blender into a functioning power outlet, ensuring a secure connection.
-
Connect the Cup:
- Attach the blending cup to the blender base, confirming that it is positioned correctly and securely locked.
-
Load Ingredients:
- Prepare the ingredients and place them in the blending cup, ensuring they are within the safe fill limits specified by the manufacturer.
-
Prepare the External Switch:
- Acquire a compatible external switch that can be connected to the NutriBullet Blender as an alternative control mechanism. This switch should be designed to safely handle the blender’s power requirements.
-
Connect the External Switch:
- Proceed to connect the external switch to the NutriBullet Blender, specifically to the power cord or the plug end. Ensure that all connections are secure to prevent any electrical hazards or malfunctions.
-
Utilize the External Switch:
- With the external switch connected, follow the provided instructions to turn the switch on and off, effectively controlling the power supply to the NutriBullet Blender. This external switch becomes the substitute for the traditional button functionality.
IV. Safety Considerations and Recommendations
-
Prioritize Safety:
- When using alternative methods to operate the NutriBullet Blender, safety should always be the primary concern. Users must exercise caution to prevent any potential electrical hazards or accidents.
-
Consult with Professionals:
- If buttons are inaccessible or non-functional on the NutriBullet Blender, seeking assistance from licensed technicians or the manufacturer’s customer support is recommended. They can provide guidance, diagnose any button-related issues, or offer appropriate solutions.
VI. Accessibility Options
-
Adaptive Technology:
- For individuals with limited mobility or dexterity, there are adaptive technologies available that can assist in operating the NutriBullet Blender without relying on the traditional buttons.
-
Voice-Activated Assistants:
- Utilizing voice-activated assistants, such as Amazon Alexa or Google Assistant, can provide an alternative method of controlling the NutriBullet Blender. By connecting the blender to a compatible smart plug, users can use voice commands to turn the blender on and off, initiate blending, or adjust blending speeds.
-
Remote Control Devices:
- Some NutriBullet Blender models may offer the option of remote control devices as accessories. These remote control devices can provide button-like functionality for the blender, allowing users to operate it from a distance without needing direct access to the blender’s buttons.
VII. Personalized Modifications
-
Button Repair or Replacement:
- Depending on the specific model of the NutriBullet Blender and the nature of the button issue, it may be possible to repair or replace the buttons. Contacting the manufacturer or authorized service centers can help assess the feasibility of button repair or replacement.
-
Retrofitting with Alternative Buttons:
- Retrofitting the NutriBullet Blender with alternative buttons or switches is another possible solution. This may involve modifying the blender base to accommodate new control mechanisms or using external gadgets that replicate the functionality of the original buttons.
VIII. Consumer Support and Community Assistance
-
Manufacturer Assistance:
- In situations where the NutriBullet Blender’s buttons are inaccessible or non-functional, reaching out to the manufacturer’s customer support can provide valuable insights. They may offer specific guidance, troubleshoot technical issues, or provide suggestions on alternative methods to operate the blender effectively.
-
Online Forums and Communities:
- Engaging with online forums, social media groups, or communities dedicated to the NutriBullet Blender can be beneficial. Fellow NutriBullet Blender users may have encountered similar challenges and can provide advice, tips, or alternative solutions based on their experiences.
V. Conclusion
While the NutriBullet Blender is typically operated through the use of buttons, there are alternative methods available for situations where button functionality is limited or unavailable. The plug and unplug method, timer-based method, and use of an external switch are viable alternatives that allow users to blend ingredients effectively. It is essential to prioritize safety, follow manufacturer guidelines, and seek professional advice when required. By utilizing these alternative methods, users can continue to enjoy the benefits of the NutriBullet Blender even without functional buttons, ensuring the preparation of nutrient-packed blended creations.