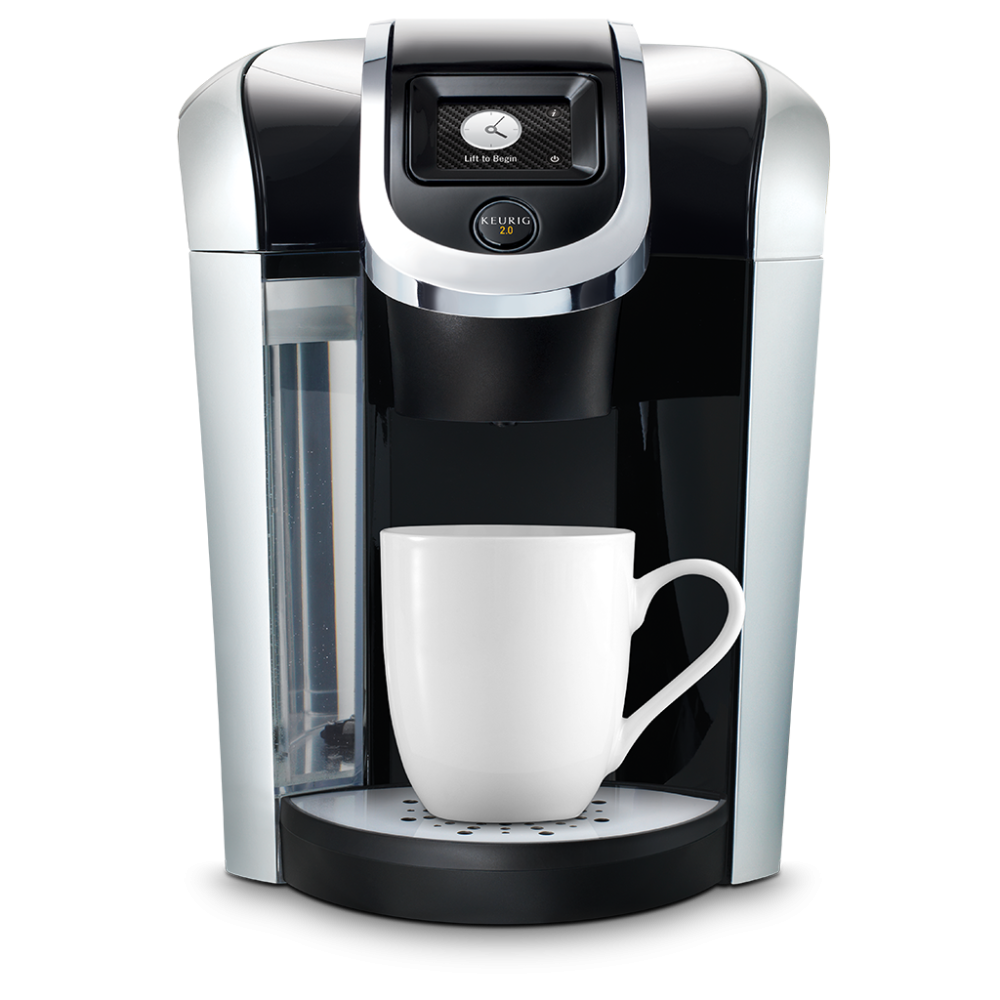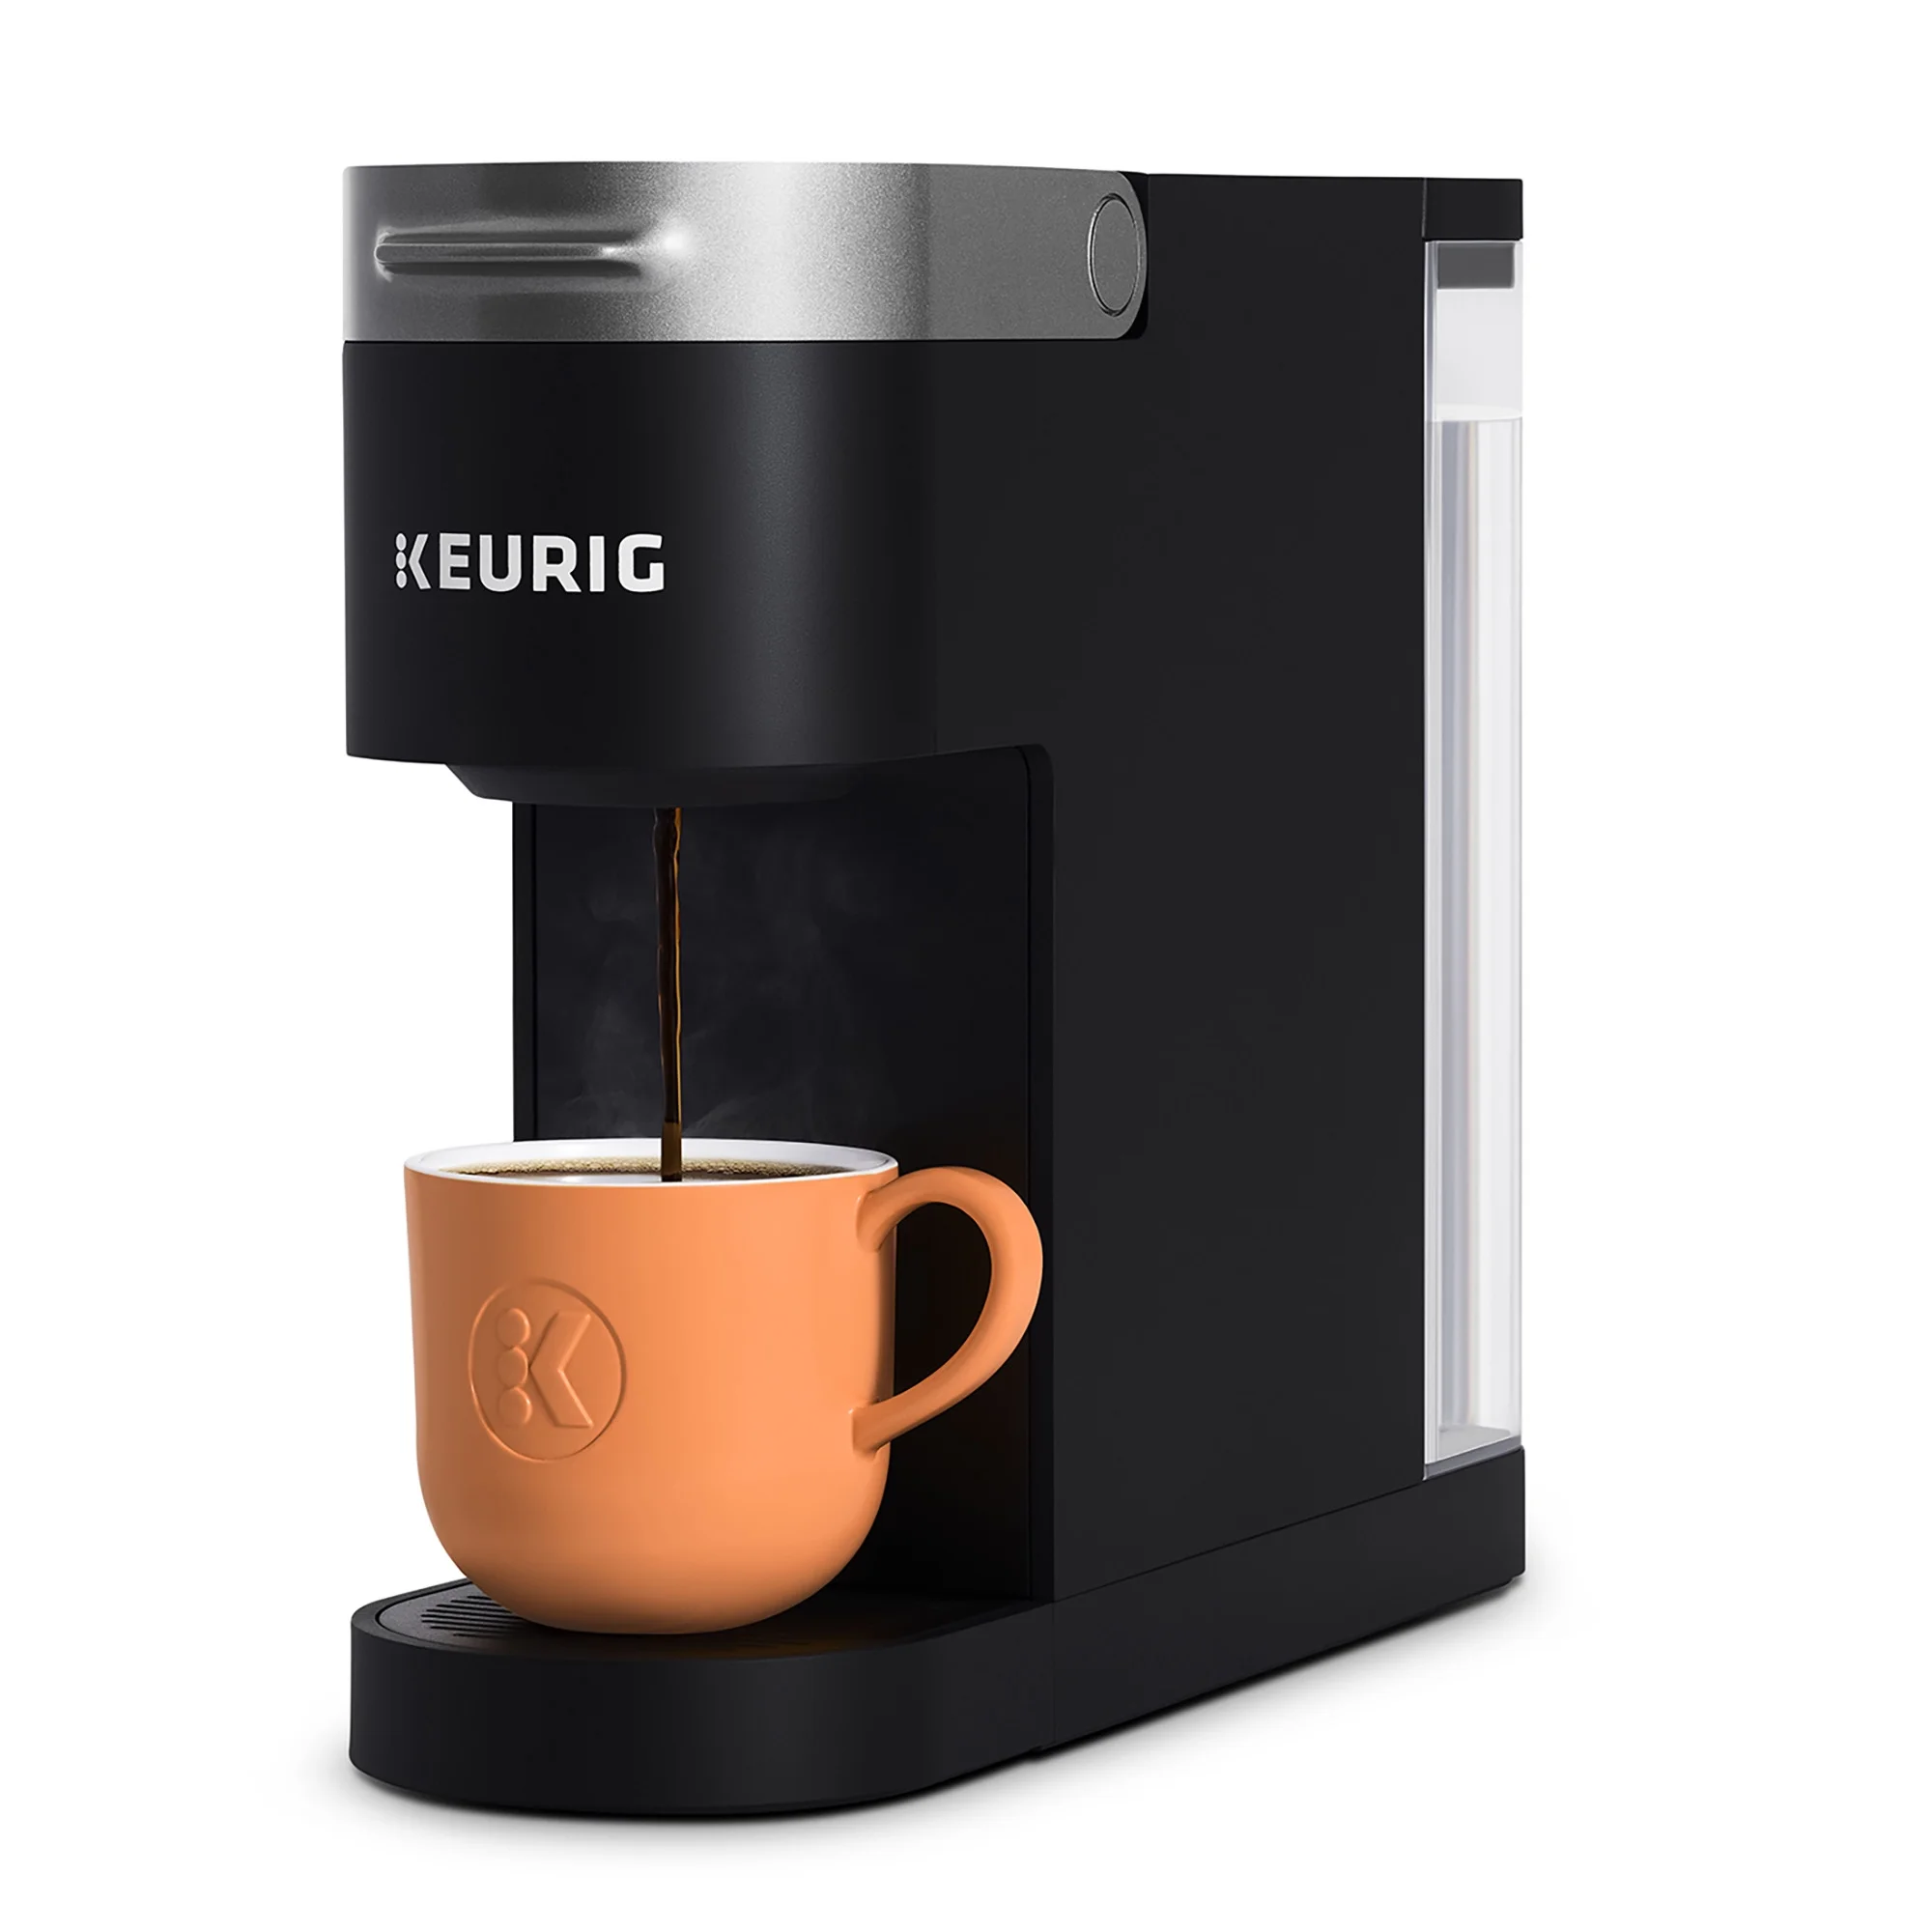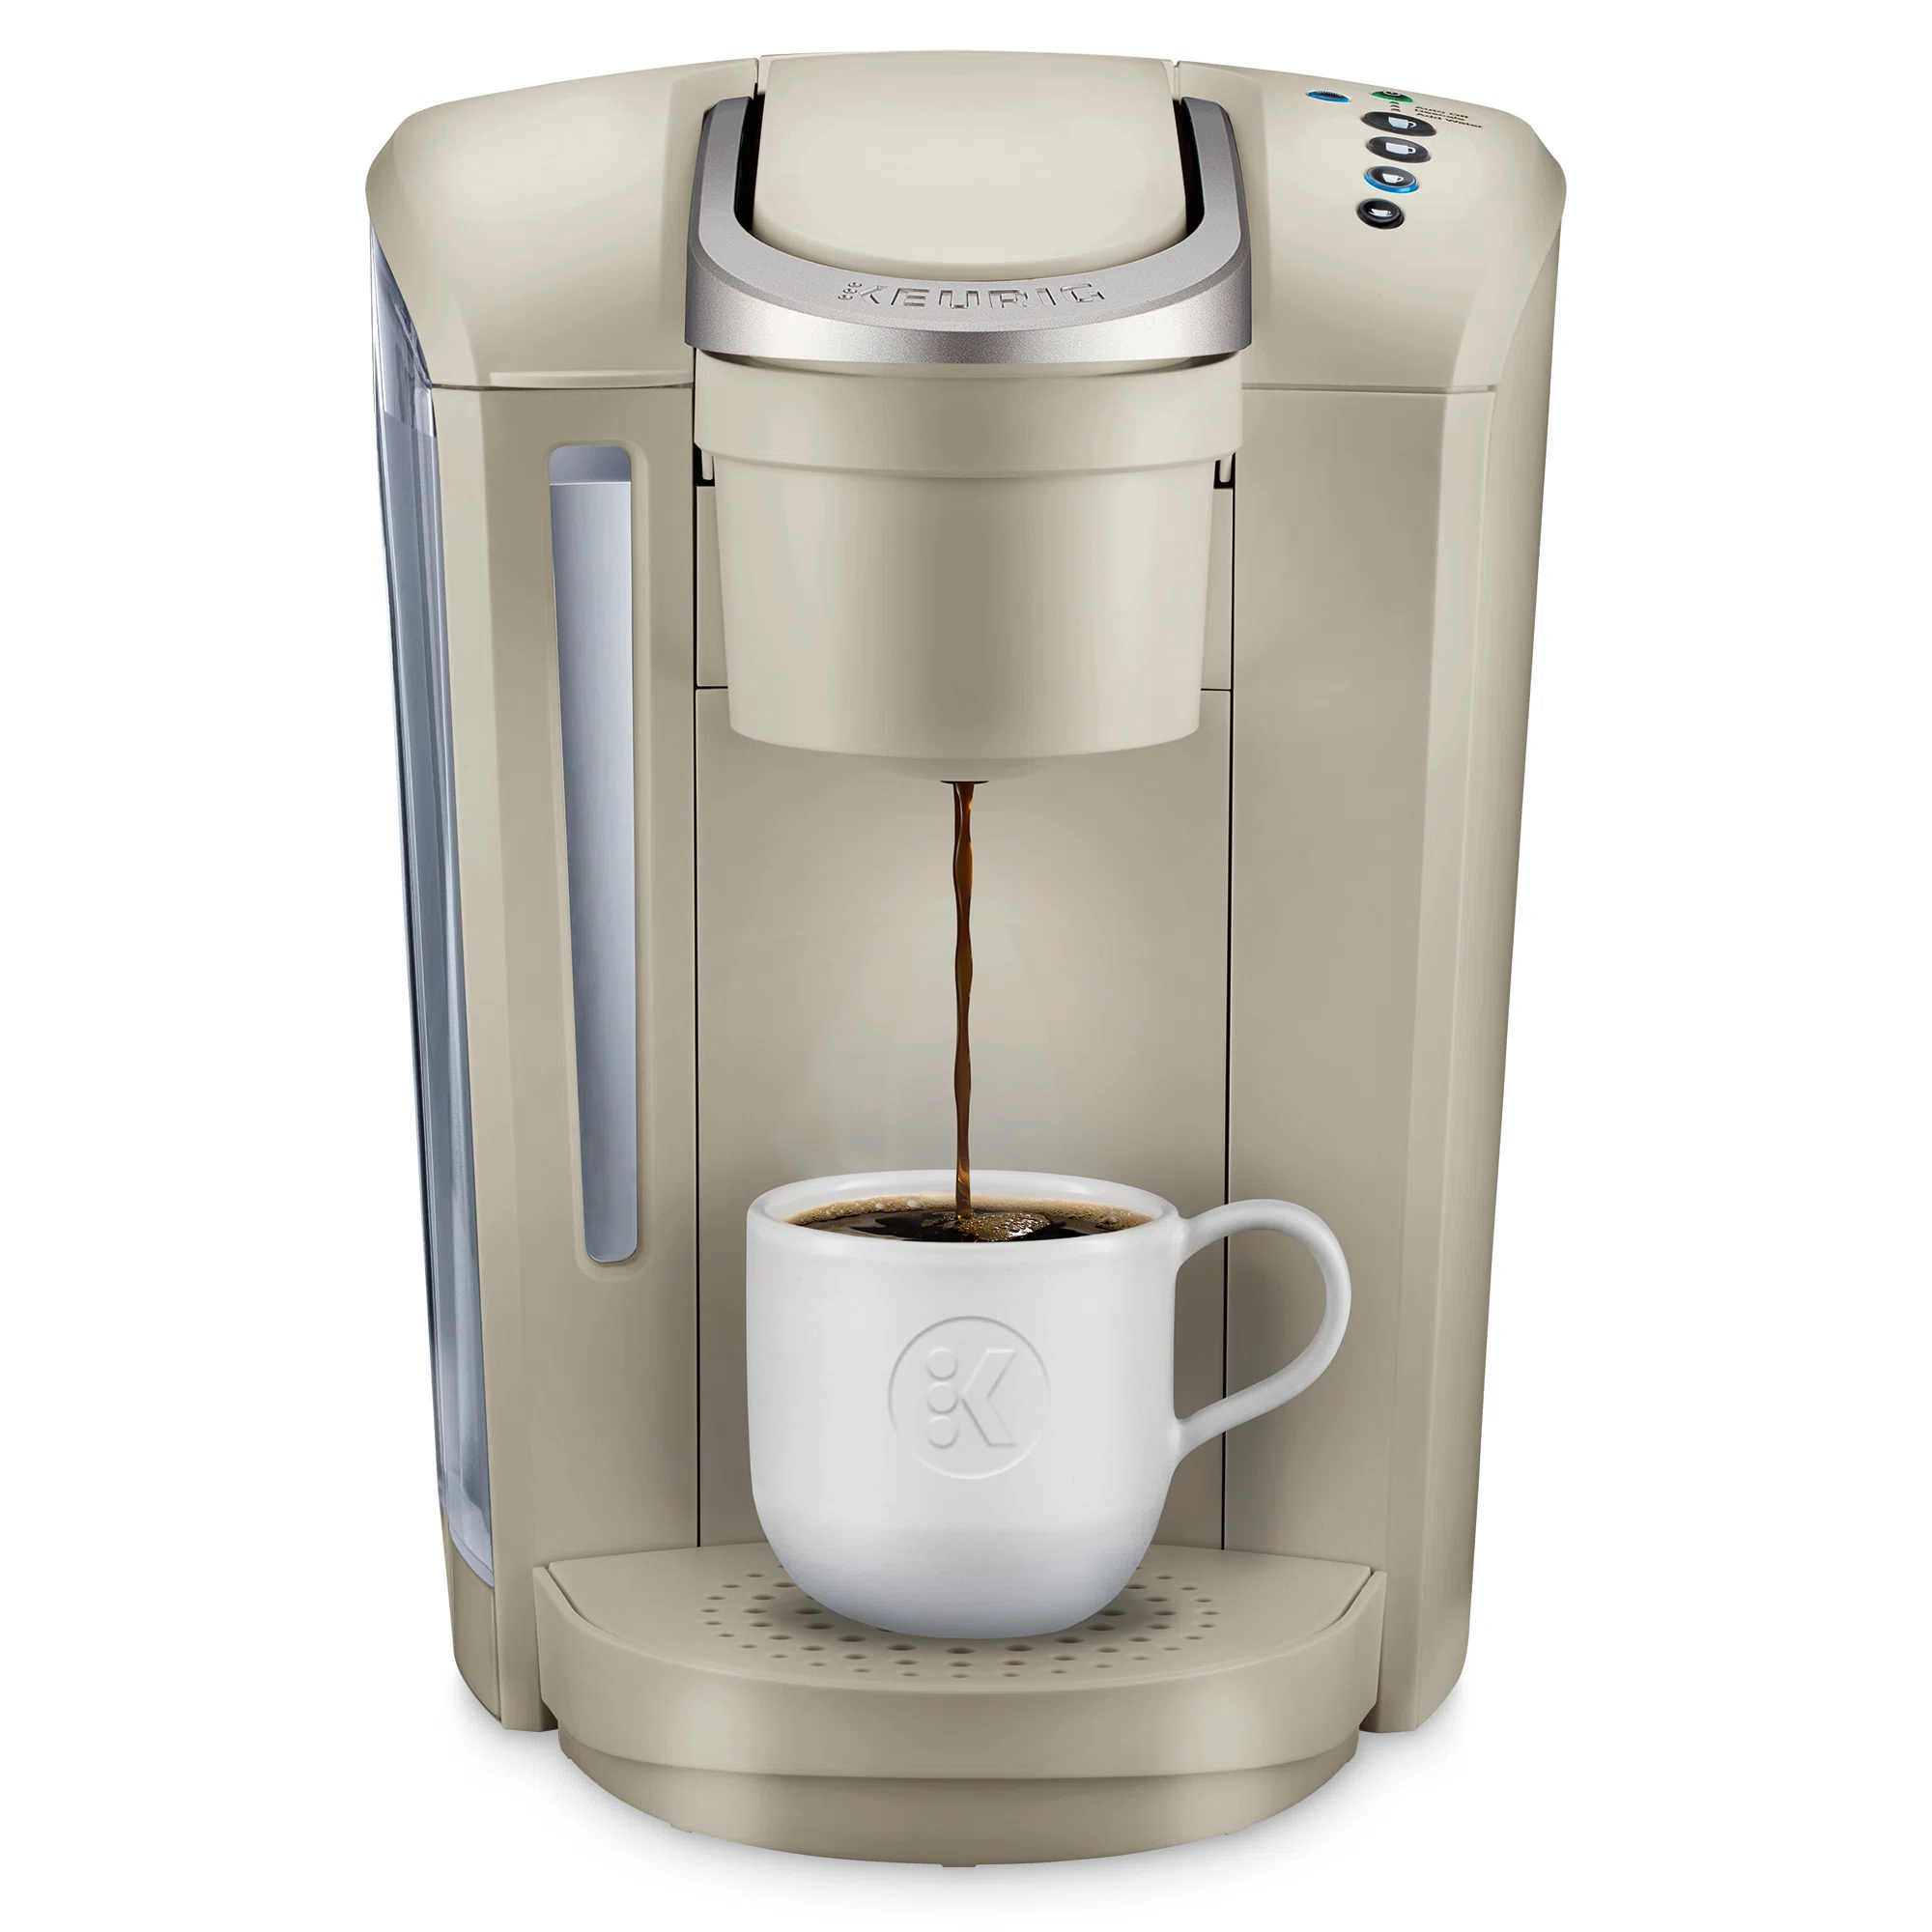
Introduction to Keurig Brewing Dilemmas
For coffee lovers, a Keurig machine brings convenience and quality with the push of a button. But imagine this: you press the button, eager for your morning cup, and you get only half of what you expect. A Keurig not brewing a full cup is not only disappointing but also a sign that something’s amiss with your machine. Known for their efficiency, these machines should deliver consistent results. When they fall short, it’s time for a little coffee detective work to restore full function.

In the world of single-serve coffee, Keurigs have made a name for providing quick, personalized cups of coffee. A full cup, rich in taste and piping hot, should be guaranteed every time. If your day starts with a partial cup, we need to pinpoint the issue. It could range from calcium buildup to clogged needles or air trapped in the system. By understanding the common pitfalls, you can troubleshoot effectively. Prepare to roll up your sleeves; we’re diving into the nitty-gritty of Keurig upkeep to ensure a perfect pour every time.
Step 1: Deciphering the Descale Solution
Descale your Keurig to solve issues with not brewing a full cup. This process removes calcium and mineral build-up that can clog your coffee maker. A regular descale keeps your Keurig brewing correctly.
When and How to Descale Your Keurig
You should descale your Keurig every 3 to 6 months. If you use it often or have hard water, descale more frequently. To descale, mix white vinegar and water in equal parts. Fill the reservoir with this solution. Run a brewing cycle without a K-cup inserted. Repeat until the reservoir is empty. Rinse the machine by running several cycles with plain water. This removes any vinegar taste. For a deeper clean, use a commercial descaling solution. Follow the instructions on the package for the best results.
 Step 2: Clearing Clogged Needles
One common reason for a Keurig not brewing full cup is clogged needles. Coffee grounds or foil from K-Cup pods can block these tiny openings. Without a clear path, the water can’t flow properly. This results in incomplete cups of coffee.
DIY Needle Cleaning Techniques
To fix a blocked needle, use a paper clip. Unbend it to a straight line. Insert it gently into the needle. Move it to loosen any stuck particles. Be careful, avoiding toothpicks, as they may break off inside. For an easy guide, here’s what to do:
- Power off your Keurig.
- Open the lid where you place the K-Cup.
- Locate the needle. It’s the sharp part that punctures the K-Cup.
- Straighten a paper clip. Insert it into the needle hole.
- Wiggle the paper clip carefully to remove debris.
- Repeat on all needles if your Keurig has more than one.
- Run a test brew cycle without a K-Cup to check the flow.
Perform these steps regularly to prevent future blockages and keep your Keurig brewing a full cup.
Step 3: Reservoir Tube Maintenance
After descaling and cleaning the needles, if you’re still facing the issue of a Keurig not brewing full cup, the next step is to check the reservoir tube. This tube carries water from the reservoir to the machine’s interior. Any blockages here can prevent your Keurig from brewing the correct amount.
Methods for Dislodging Tube Obstructions
Here are some methods you can try to unclog the reservoir tube:
- Slosh Water Technique: Fill the reservoir with water, slosh it around and then pour it out. Use a clean cloth to wipe the area where the reservoir connects to the machine.
- Baster Flushing: Fill a turkey baster with water and forcefully inject water into the tube. This can push out any trapped debris.
- Compressed Air Method: With the reservoir removed, use a can of compressed air. Aim into the tube and blast air through to clear obstructions.
- Manual Inspection: Sometimes, you might need to inspect where the reservoir hooks into the machine. Look for any visible signs of blockage and clean as necessary.
By regularly checking and maintaining the reservoir tube, you help ensure no blockages occur that could impact your machine’s ability to brew a full cup.
Step 4: Eliminating Air Blockages
Ensuring your Keurig brews a full cup also involves managing air in the system. Air blockages can stop the pump from priming correctly. This might result in a partial cup.
Shaking Tactics for Air Release
If your Keurig isn’t brewing a full cup, trapped air could be the culprit. Here’s a simple solution. Gently shake your Keurig to free any air bubbles stuck inside. Make sure the machine is off and cool before doing this. Then, follow these steps:
- Remove the water reservoir before shaking the Keurig machine.
- Hold the Keurig securely and give it a gentle but firm shake.
- Try tilting it slightly to different angles to help move the air.
- After shaking, reattach the reservoir and perform a brew cycle without a K-cup.
Shaking can move trapped air, allowing the water pump to prime properly. If shaking doesn’t work, you may need to repeat the descaling process. This can release any persistent air pockets.
Keep your Keurig’s reservoir filled to prevent air from getting trapped. Regular maintenance using these steps can help avoid future air blockage problems.
 Step 5: Preventative Measures for Consistent Brewing
After solving the immediate issues, it’s key to prevent future Keurig not brewing full cup problems. Regular maintenance ensures consistent, full cups every time. Here, we outline routine practices to keep your Keurig in peak condition.
Keeping Your Keurig in Top Shape
To avoid frequent troubleshooting, adopt these upkeep habits:
- Daily Clean-Up: After each use, remove the K-Cup and wipe the surrounding area. This prevents coffee build-up.
- Weekly Inspections: Check the needles and reservoir once a week. Look for any clogs or limescale.
- Monthly Cleansing: Deep-clean your machine monthly. Run a cycle with a descaling solution or white vinegar and water.
- Water Quality Matters: Use filtered water to lessen mineral deposits. This reduces the need for frequent descaling.
- Regular Shaking: Gently shake your Keurig sometimes to loosen air traps that seem hidden.
- Parts Replacement: Replace parts like the water filter cartridge every two months for optimal performance.
- Preventive Descaling: Don’t wait for problems. Descale every 3-6 months, or more often with hard water use.
By performing these simple steps, you reduce the risk of partial cups. Your Keurig will thank you with perfect pours every time. Stay proactive with your machine’s care, and enjoy your coffee to the fullest.
Conclusion: Enjoying a Full Cup Every Time
Enacting the tips we’ve explored, your Keurig not brewing full cup issues should be history. Regular maintenance is the key. By descaling, cleaning needles, maintaining the water reservoir tube, and ensuring no air blocks your system, you’ll keep your Keurig in top condition.
Remember, these steps are both reactive and preventive. If you encounter a half-filled cup, act fast with the guidance provided. Prevention is even better. Stay on top of cleaning and descaling, even when your Keurig seems to work fine.
With diligent care, your morning coffee ritual will expectantly reward you with a full, delicious cup every time. The joy of a consistent and perfect brew will enhance your daily routine. So, embrace these simple yet effective strategies, and let every press of the button herald a well-brewed start to your day.