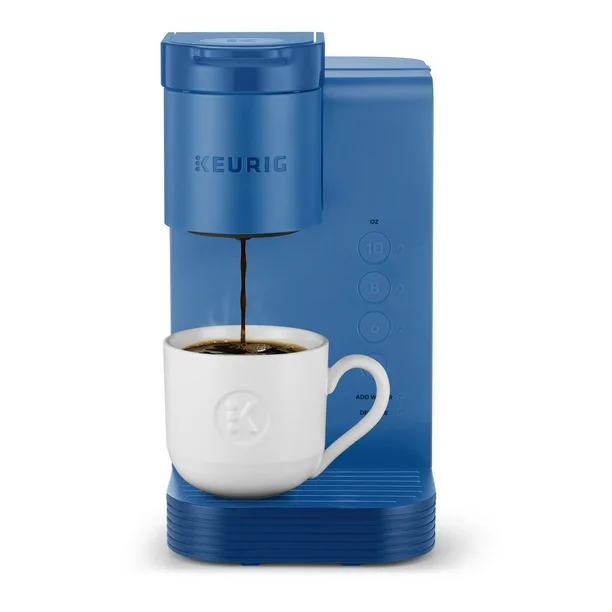
Introduction to the Importance of Descaling
Descaling your Keurig K-Express is crucial for maintaining its performance. Over time, calcium and scale can build up inside the machine. This happens with regular use and the interaction with water minerals. If not removed, these deposits can clog the water lines. They can also impact the brewing temperature and taste of your coffee. Regular descaling ensures your Keurig operates efficiently and provides the best flavor. It can also extend the lifespan of your machine.
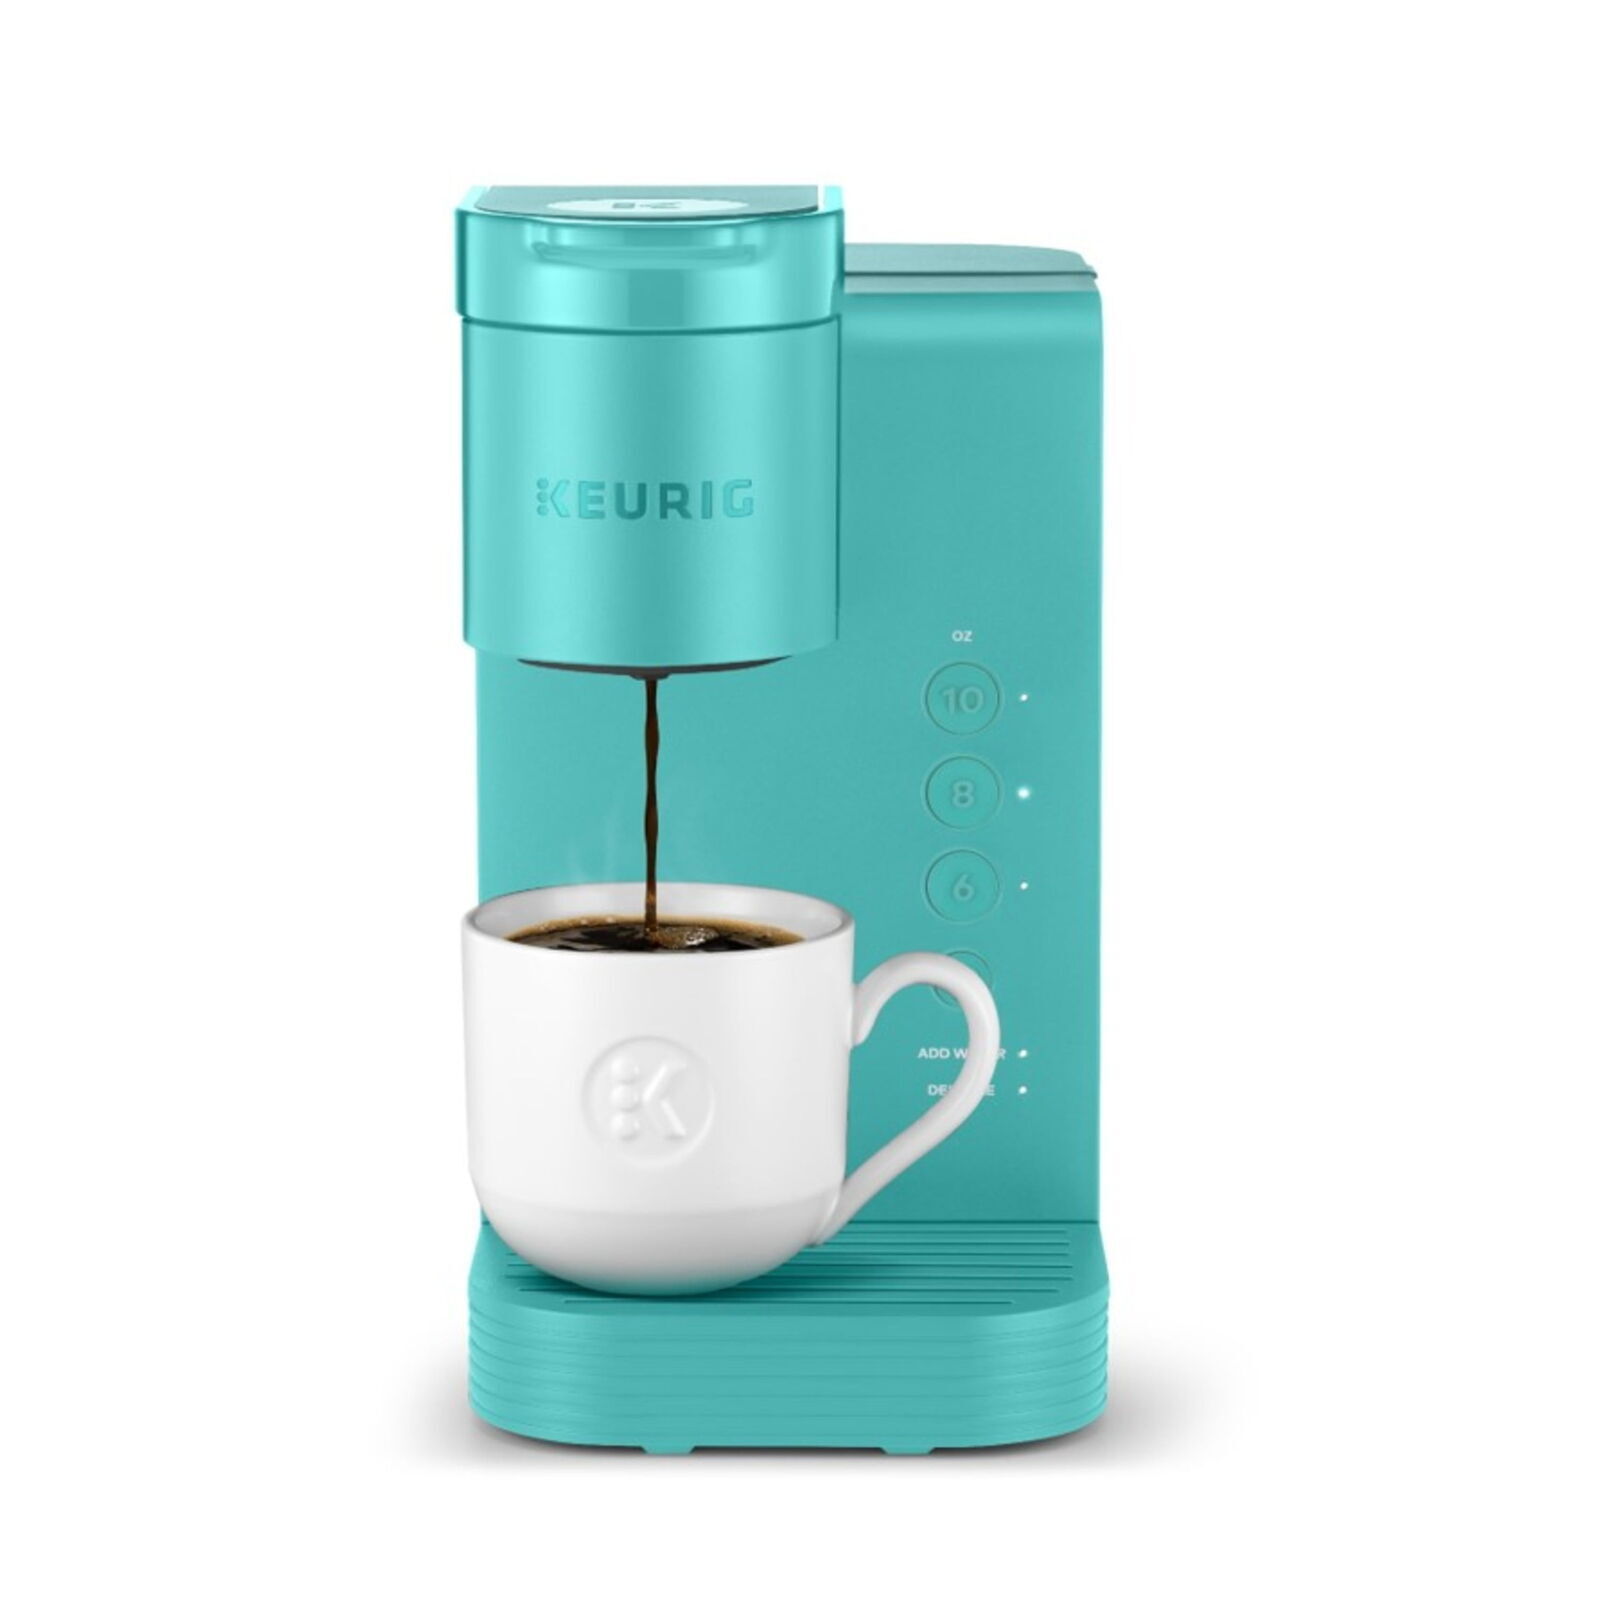
Knowing how to descale Keurig K-Express properly is an important part of ownership. This not only keeps your coffee tasting great but it also prevents machine malfunctions. To make sure your Keurig K-Express serves you well for years, descaling is key. It’s a simple process that can save you money on potential repairs. More importantly, it can prevent the frustration of a poorly brewed cup of coffee. With this guide, you’ll learn the steps needed to effectively descale your coffee maker.
Signs That Your Keurig K-Express Needs Descaling
Recognizing when your Keurig K-Express machine requires descaling is essential. Here are the common signs to look out for:
- Slower Brewing Time: If you notice that your coffee maker takes longer than usual to brew a cup, it might be signalling a scale build-up.
- Strange Noises: Unusual sounds coming from your Keurig can indicate that scale is interfering with the normal operation of the machine.
- Poor Coffee Taste: A clear indicator is when your coffee doesn’t taste as good as it used to. Minerals may be affecting the flavor.
- Error Messages: The Keurig K-Express may show error messages or lights that are designed to alert you that descaling is needed.
- Scheduled Maintenance: Keurig recommends descaling every 3 to 6 months, so if it’s been a while, it’s likely time for a descale.
If you spot any of these signs, it’s time to learn how to descale Keurig K-Express. Following these steps will help ensure your coffee maker performs well and your coffee tastes fresh.
What You’ll Need: Descaling Solution Alternatives
Before you begin the descaling process, gather what you’ll need. Keurig suggests using their branded descaling solution. This solution is specifically made for their machines. However, you can use common household items if you don’t have it. Here are some alternatives you can consider:
- White Vinegar: This is a natural and effective descaling agent. Mix it with an equal part of water.
- Citric Acid: Citric acid is another natural option. It breaks down the scale without harmful chemicals. Use about two tablespoons for every half gallon of water.
- Lemon Juice: Similar to vinegar, the acid in lemon juice can also descale. Mix it with water in the same ratio as vinegar.
Be sure to have enough of your chosen solution. You will need it to fill the water reservoir. Also, have a large ceramic mug to catch the solution during the descaling cycle. Lastly, you’ll need fresh water for the rinse cycle that follows.
Choose your descaling solution wisely. Make sure it’s one that you’re comfortable using in your Keurig K-Express. Now let’s prepare the machine for descaling.
Preparing Your Keurig K-Express for Descaling
Before you start the descaling process, it’s important to get your Keurig K-Express ready. Here’s how to prepare it:
- Turn Off & Unplug: Safety first. Always turn off and unplug your coffee maker before cleaning.
- Empty the Reservoir: Remove any water left in the reservoir. This ensures a fresh start for descaling.
- Remove the Water Filter: If your model has one, take out the water filter before descaling.
- Dismantle Removable Parts: Take apart any parts that come off easily, like the drip tray. Clean them separately.
Once you’ve done these steps, you’re all set to begin descaling. By preparing your Keurig K-Express properly, you help ensure that the descaling agent works effectively. Plus, you protect yourself from possible injury or damage to the machine. Now you’re ready for the next steps involving the descaling solution of your choice.
Step-by-Step Descaling Process
Once your Keurig K-Express is ready, it’s time to start descaling. Follow these straightforward steps to remove any buildup and get your coffee maker back to peak condition. Remember, using the right descaling solution is important for the best results. Here’s how to descale Keurig K-Express:
- Step 1: Pour in the Descaling Solution: Fill the water reservoir with your chosen descaling solution.
- Step 2: Place a Large Mug: Put a ceramic mug on the drip tray to catch the solution during the descaling.
- Step 3: Start the Descaling Cycle: Power on the Keurig and run a brewing cycle without a coffee pod.
- Step 4: Repeat if Necessary: If your Keurig has a lot of buildup, you may need to run additional cycles.
- Step 5: Let It Sit: After the last cycle, leave the solution in the reservoir for 30 minutes to break down scale.
- Step 6: Empty the Reservoir: Discard any remaining descaling solution from the reservoir.
Ensure you wear protective gear, like gloves, to avoid skin irritation from the descaling solution. Also, keep your kitchen well-ventilated to avoid any discomfort from the fumes. This process can take some time, but it is vital for your Keurig’s longevity and performance. Once you’ve completed these steps, you’re ready to proceed to the rinse cycle, which will remove any traces of the descaling solution.
 Rinse Cycle: Cleaning Out the Descaling Solution
After you finish descaling, a thorough rinse is crucial. This step removes any leftover descaling solution. It ensures your next cup of coffee tastes great, not like vinegar or citric acid. Here’s what to do:
- Step 1: Fill the Reservoir with Fresh Water: Remove any solution left. Then, fill the tank to the max line with clean water.
- Step 2: Run the Brewing Cycle: With the ceramic mug still in place, start a brewing cycle. Do this without a pod, just like during descaling.
- Step 3: Repeat the Process: One cycle might not rinse it all out. Run at least two more cycles with fresh water each time.
- Step 4: Sniff Test: After the cycles, sniff inside the reservoir. No smell means no more descaling solution.
- Step 5: Wipe Down: While the machine is still empty, wipe any areas where the solution may have spilled. Use a damp cloth for this.
Make sure to perform these steps until the water runs clear. Your Keurig K-Express should not have any residue or scent of descaler. This guarantees your machine is fully clean and safe for brewing your favorite coffee.
Maintaining Your Keurig K-Express Post-Descaling
After descaling your Keurig K-Express, proper maintenance is key. This helps prevent scale build-up and ensures lasting performance. Here’s how to maintain your machine post-descaling:
- Regular Cleaning: Wipe down the exterior regularly. Use a damp cloth to keep it clean.
- Water Reservoir Care: Refill with fresh water daily. Empty it if you plan not to use the machine for a while.
- Filter Replacement: If your machine comes with a filter, replace it as recommended by Keurig.
- Use Softened Water: If possible, use filtered or softened water. This minimizes mineral deposits.
- Regular Use: Regular use can prevent the water lines from drying out and clogging.
By following these simple steps, you’ll help keep your Keurig K-Express in top shape. Regular care reduces the need for frequent descaling and helps with uninterrupted coffee enjoyment.
Troubleshooting Common Issues After Descaling
After you’ve descaled your Keurig K-Express, you might face some common issues. Don’t worry, these are usually easy to fix. Here is what you might encounter and how to handle it:
- Machine Won’t Brew: This could mean the Keurig needs a reset. Turn it off, unplug for a few minutes, then plug it back in and try again. If this doesn’t work, check for clogs in the needle that pierces the pods.
- Water Leaks: If water is leaking, make sure all parts are properly seated. The water reservoir should be firmly in place, and the drip tray should be secure.
- Odd Tasting Coffee: If the coffee taste hasn’t improved, ensure that all descaling solution is fully rinsed out. Run a few more fresh water cycles through the machine.
- Power Issues: No power after descaling could indicate an issue with the outlet or the power cord. Test another appliance in the outlet to rule this out.
- Error Codes: If error messages still pop up, consult the Keurig user manual. They often have a list of codes and troubleshooting steps.
If you’ve tried these fixes and still have issues, reach out to Keurig customer support. They can offer professional advice tailored to your Keurig K-Express model. By understanding how to troubleshoot these common issues, you’ll enjoy a better, more reliable coffee experience.