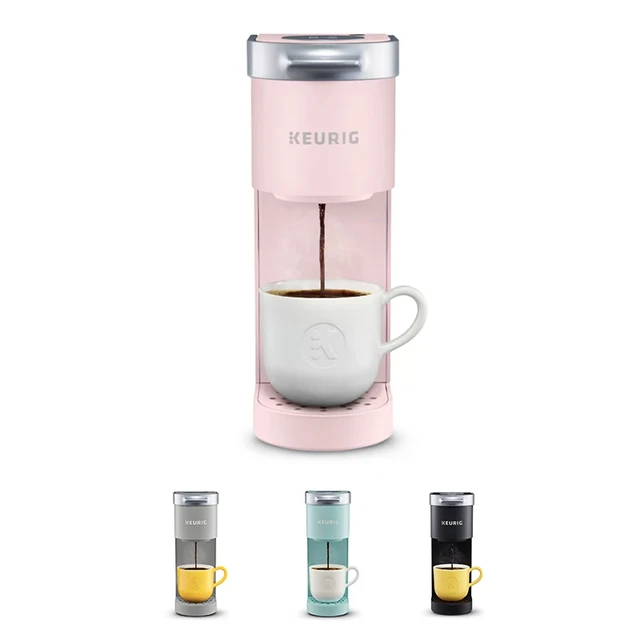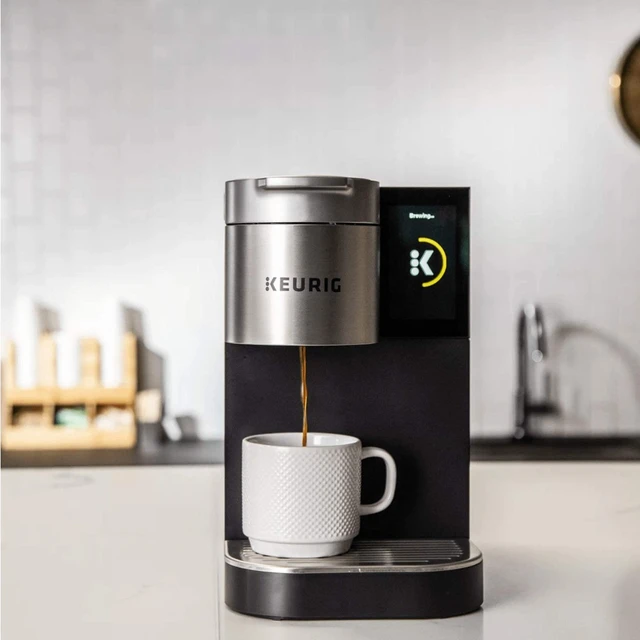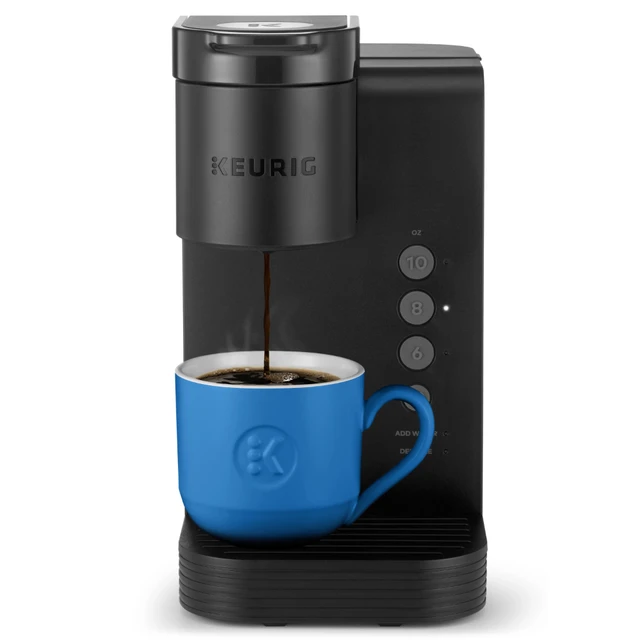
If you own a Keurig coffee maker, seeing the alert “My Keurig says descale” can be concerning. Most coffee enthusiasts rely on their machines for that perfect cup of coffee. When a descale alert appears, it indicates that your machine requires a thorough cleaning to ensure optimal performance. This guide will explore the importance of descaling, how to do it, and some related tips to keep your coffee maker in peak condition.
What Does Descale Mean?
Descaling is the process of removing mineral build-up from your coffee maker. Mineral deposits, primarily calcium and magnesium, can accumulate over time, especially if you live in an area with hard water. When you brew coffee, water flows through various components of the machine, leaving behind these deposits. Over time, this can lead to decreased efficiency, unpleasant tastes in your coffee, or even damage to the machine itself.
Why Is Descaling Important?
- Improved Coffee Quality: Mineral deposits can alter the taste of your coffee. By regularly descaling, you can ensure that your machine brews coffee with the best flavor, free from any off-tastes caused by build-up.
- Machine Longevity: Keeping your machine descaled can significantly extend its lifespan. Mineral build-up can lead to clogs and other mechanical failures that could necessitate costly repairs or replacements.
- Energy Efficiency: A clogged machine may work harder to brew your coffee, consuming more energy in the process. Regular descaling ensures that your machine operates efficiently.
Signs That Your Keurig Needs Descaling
Knowing when to descale your Keurig is essential for maintaining its performance. The most obvious sign is the “descale” alert on the display. However, several other indications can suggest it’s time for upkeep:
Changes in Brewing Time
If you notice that your Keurig takes significantly longer than usual to brew a cup of coffee, it could be a sign of mineral build-up. The build-up may restrict water flow, requiring the machine to work harder to result in a cup of coffee.
Fluctuating Water Levels
Another red flag is if you notice erratic water levels in the reservoir. If your Keurig struggles to maintain water pressure, it’s possible that scaling is affecting the internal components.
Inconsistent Coffee Taste
If your coffee tastes different or weaker than it used to, this could be linked to mineral build-up. Deposits can alter the water’s interaction with the coffee grounds, leading to disappointing flavor profiles.
How to Descale Your Keurig
Descaling your Keurig is a straightforward process. Here is a step-by-step guide to ensure the job gets done effectively.
Gather Your Materials
Before beginning, you will need:
- Descaling solution (commercial or homemade)
- Water
- A large container (to catch the water from the machine)
- Coffee filter (if needed)
Step 1: Prepare the Descale Solution
Using Commercial Solutions: Many brands offer descaling solutions specifically designed for coffee machines. Follow the manufacturer’s instructions for dilution.
Homemade Solution: If you prefer to go the DIY route, a mixture of equal parts white vinegar and water works well. Vinegar is acidic and effectively dissolves mineral deposits.
Step 2: Empty the Water Reservoir
Start by ensuring that your Keurig is powered off. Remove any remaining water from the reservoir. This step is important to avoid diluting your descaling solution.
Step 3: Fill the Reservoir
Pour your descaling solution into the reservoir. If you’re using a homemade solution, fill it halfway with vinegar and then the remaining half with water.
Step 4: Begin the Descaling Process
- Power On the Machine: Turn your Keurig on and let it warm up.
- Run a Brew Cycle: Place a large container beneath the coffee outlet and begin the brew cycle without a K-cup. Repeat this process until the reservoir is empty.
- Let it Sit: After running the solution through, let your machine sit for 30 minutes to an hour. This waiting period will help the solution break down the mineral deposits.
Step 5: Rinse with Fresh Water
After the soaking period, it’s crucial to rinse the machine thoroughly:
- Empty the Reservoir: Dump any remaining descaling solution.
- Rinse: Fill the reservoir with fresh water and run several brew cycles without a K-cup to cleanse out any remaining solution.
Step 6: Test the Brew
After rinsing, brew a cup of coffee with a K-cup to determine if the taste has returned to normal. If everything checks out, you’ve successfully descaled your machine!
Frequency of Descaling
How often should you descale your Keurig? The answer can vary depending on your location and water quality. However, the general recommendation is to descale every three to six months. If you notice any of the earlier signs (e.g., brewing delays, taste changes), it may be time to descale even sooner.
Adjustments for Different Water Types
If you are in an area with particularly hard water, you may want to consider descaling more often—perhaps every two months. Conversely, if you use filtered water with low mineral content, you could push it to every six months.
Can You Take Your Keurig to a Repair Shop?
While many repair shops offer services for various electrical appliances, the decision to take your Keurig for disinfection largely depends on a few factors:
- Expertise of Technicians: Not all technicians specialize in coffee machines. To ensure proper care, it’s crucial to find a repair shop that has experience with Keurig products.
- Cost of Services: Professional cleaning can be more expensive than DIY methods. You should weigh these costs against the benefits of having an expert handle your appliance.
- Extent of Cleaning Required: If your machine has extensive mold or buildup that you can’t reach, professional help might be necessary.
Evaluating the Pros and Cons of Professional Services
When considering whether to take your Keurig to a repair shop, it’s essential to evaluate the pros and cons of professional cleaning versus DIY methods.
Pros of Professional Cleaning
- Thorough Cleaning: Professionals often have access to tools and solutions that can provide a deep clean, targeting areas that DIY methods may miss.
- Inspection: Technicians can check for any potential issues with the functionality of the machine that might need to be addressed.
- Time-Saving: If you’re busy, delegating the cleaning can be a time-saver.
Additional Maintenance Tips
To keep your Keurig in top shape beyond descaling, consider these maintenance tips:
Regular Cleaning
Ensure that you clean the water reservoir and drip tray regularly. This habit not only promotes better tasting coffee but also helps maintain hygiene.
Replace the Water Filter
If your model has a water filter, change it as recommended by the manufacturer. This can help reduce mineral build-up and enhance the quality of brewed coffee.
Store with Care
If you do not plan to use your Keurig for an extended period, be sure to empty the reservoir, clean the components, and store it in a cool, dry place.
 Common Mistakes to Avoid
When descaling your Keurig, avoid these common pitfalls:
Skipping Steps
Be sure to follow each step diligently. Skipping the rinsing process can leave behind descaling solution residue, affecting your next cup of coffee.
Using Non-Approved Cleaners
Avoid using household cleaners or swirling other chemicals for descaling. Always opt for products designed for use in coffee makers.
Ignoring the Descale Alert
Ignoring the descale alert can lead to long-term damage. Stay vigilant and address descaling when necessary.
Conclusion: Keeping Your Coffee Maker at Its Best
“My Keurig says descale” is a signal that should not be taken lightly. By understanding the importance of descaling and following proper maintenance techniques, you can ensure that your coffee maker continues to operate smoothly and efficiently. Regular upkeep not only enhances the quality of your coffee but also extends the lifespan of your beloved machine. So, the next time that descale alert lights up, you’ll be equipped with all the tools and techniques necessary to restore your Keurig to its optimal state. Happy brewing!

