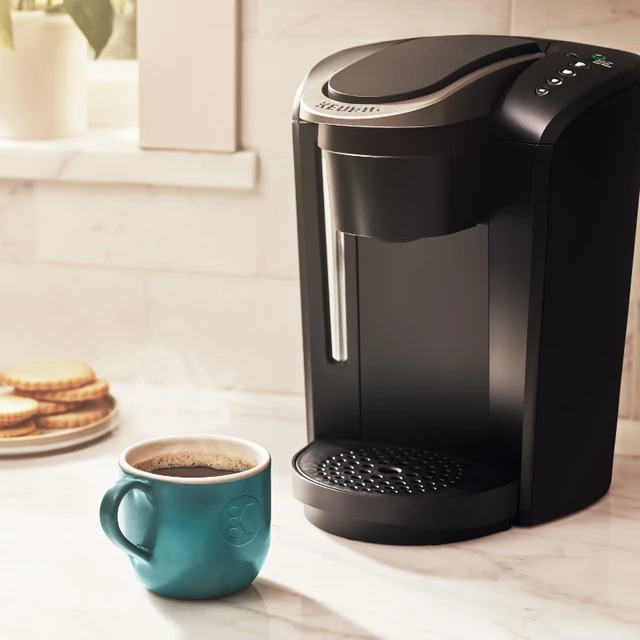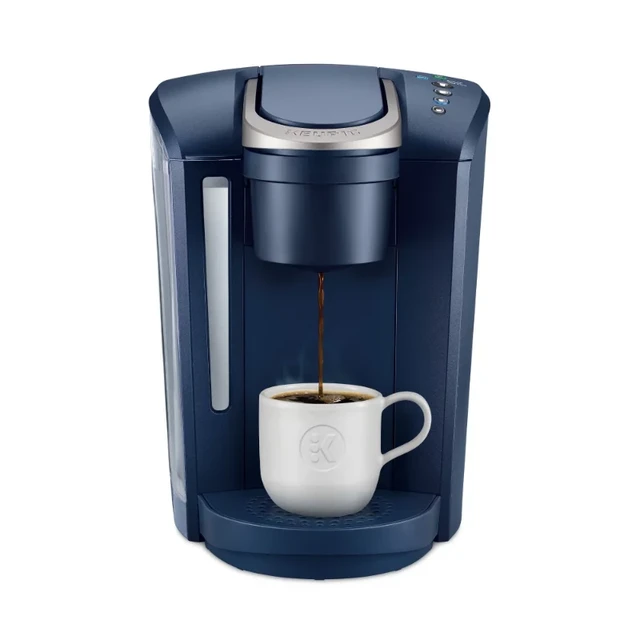
If you’re a coffee aficionado or even just someone who needs their daily caffeine fix, you likely appreciate the convenience of a Keurig coffee maker. These machines provide a quick and efficient way to make a single cup of coffee without the mess of traditional brewing methods. However, if you have been using your Keurig for a while, you might have encountered the warning message: “Descale.” This message can be confusing for many users, and it often leads to questions like, “What does descale mean?” and “Why do I need to descale my coffee maker?” This article aims to provide a comprehensive understanding of what it means to descale your Keurig coffee maker, why it’s necessary, and how you can do it efficiently.
What Is Descaling?
The Science Behind Descaling
Descaling is a process that involves removing mineral deposits, also known as limescale, from the internal components of your coffee machine. Over time, as water passes through the Keurig, minerals such as calcium and magnesium begin to accumulate inside the machine. These mineral deposits are harmless to consume but can significantly affect the performance and longevity of your coffee maker.
Why Is Descaling Important?
If not removed, these mineral deposits can:
- Block Water Pathways: This can prevent the machine from brewing properly.
- Affect Coffee Taste: Accumulated minerals can alter the taste of your coffee.
- Reduce Heating Efficiency: Mineral buildup can make it harder for the heating elements to heat water adequately, resulting in lukewarm coffee.
- Cause Corrosion: Over time, limescale can corrode the internal parts, leading to malfunctions and costly repairs.
Signs That Your Keurig Needs Descaling
Besides the obvious descale message, there are several signs that your Keurig coffee maker might need descaling:
- Slower Brewing Times: One of the initial indicators can be that your coffee maker takes longer than usual to brew a cup of coffee.
- Less Coffee Output: If you notice that your machine is producing less coffee than it should, this can be a sign of mineral buildup.
- Strange Noises: Odd sounds, such as gurgling or sputtering, can indicate that water is having difficulty passing through the machine due to blockages.
- Poor-tasting Coffee: A noticeable change in the taste of your coffee can be a sign of mineral accumulation inside the machine.
How Often Should You Descale Your Keurig?
Manufacturer’s Recommendations
Keurig recommends descaling your coffee maker every 3 to 6 months, depending on the hardness of your water. Hard water contains more minerals that can accumulate faster in your machine. Some advanced Keurig models come with water filter cartridges that can help reduce mineral buildup, slightly extending the time between descalings.
Personalized Descaling Schedule
While the manufacturer’s guidelines are a good starting point, your usage patterns can also dictate how often you should descale your machine. If you use your Keurig multiple times a day, you might need to descale it more frequently. Similarly, if you use filtered or bottled water, you might be able to extend the intervals between descaling sessions.
Materials Needed for Descaling
Before starting the descaling process, you’ll need to gather some materials:
- Descaling Solution: You can use a commercially available descaling solution or make your own using white vinegar and distilled water.
- Large Ceramic Mug: This will be used to catch the descaling solution as it passes through the machine.
- Clean Water: To rinse the machine after descaling.
Step-by-Step Guide to Descaling Your Keurig
Using a Commercial Descaling Solution
- Preparation:
- Turn off your Keurig and unplug it from the outlet.
- Empty the water reservoir and remove any coffee pods from the holder.
- Remove the water filter cartridge if your machine uses one.
- Mix the Solution:
- Follow the instructions on the descaling solution bottle to mix it with water. Typically, you’ll need to pour the entire bottle of descaling solution into the water reservoir and fill the empty bottle with water to add to the reservoir as well.
- Start Descaling:
- Plug the Keurig back in and power it on.
- Place the large ceramic mug on the drip tray to catch the descaling solution.
- Run a cleansing brew without a coffee pod, selecting the largest cup size available.
- Repeat:
- Empty the mug and repeat the cleansing brew until the “Add Water” light comes on, indicating that the reservoir is empty.
- Let It Sit:
- Allow the machine to sit for at least 30 minutes with the power on. This gives the descaling solution time to break down any remaining mineral deposits.
- Rinse:
- Empty any remaining descaling solution from the reservoir and rinse it thoroughly. Fill the reservoir with fresh, clean water.
- Run multiple cleansing brews with clean water to ensure that all traces of the descaling solution are removed.
Using White Vinegar and Distilled Water
- Preparation:
- Turn off and unplug your Keurig, then remove any coffee pods and the water filter cartridge.
- Mix the Solution:
- Fill the water reservoir with a mixture of equal parts white vinegar and distilled water.
- Start Descaling:
- Place a large ceramic mug on the drip tray.
- Plug in the machine and power it on. Run a cleansing brew using the largest cup size.
- Repeat:
- Empty the mug and repeat the process until the reservoir is empty or the “Add Water” indicator comes on.
- Let It Sit:
- Allow the machine to sit, plugged in and powered on, for at least 4 hours. This extended period helps to ensure that the vinegar effectively dissolves the mineral deposits.
- Rinse:
- Empty the water reservoir and rinse it thoroughly to remove any leftover vinegar.
- Fill the reservoir with fresh, clean water and run several cleansing brews to ensure that all traces of vinegar are flushed out.
 Post-Descaling Maintenance Tips
Keeping your Keurig in optimal condition requires more than just periodic descaling. Here are some routine maintenance tips:
Regular Cleaning
- Water Reservoir: Clean the water reservoir weekly using warm, soapy water, then rinse it thoroughly.
- Drip Tray: Remove and clean the drip tray regularly to avoid it becoming a breeding ground for bacteria.
- Needle: The exit needle should be cleaned periodically to prevent blockages that can affect brewing performance.
Water Quality
- Use Filtered Water: Using filtered water can significantly reduce the rate of mineral buildup in your machine.
- Change the Water Filter: If your Keurig has a water filter, make sure to change it as recommended, typically every 2 months.
Common Descaling Mistakes and How to Avoid Them
Using the Wrong Solution
Not all descaling solutions are created equal. Always use a descaling solution that is recommended by Keurig or a mixture of white vinegar and distilled water. Avoid using harsh chemicals that can damage the internal components of your machine.
Rushing the Process
Descaling is not a quick fix. The process requires time to effectively break down mineral deposits. Rushing through the steps or skipping the soaking period will likely mean you have to descale again sooner than necessary.
Inadequate Rinsing
Failing to thoroughly rinse your machine after descaling can leave a residue from the descaling solution, which can affect the taste of your coffee and even potentially harm your health. Make sure to run multiple cycles of clean water through your machine to flush out any remaining solution.
Conclusion
Descaling your Keurig coffee maker is an essential maintenance task that ensures the longevity and optimal performance of your machine. By understanding what does descale mean on my keurig, why it’s important, and how to do it correctly, you can keep your coffee maker running smoothly and enjoy delicious coffee with every brew. Regular maintenance, combined with proper descaling, will not only enhance the taste of your coffee but also save you from potential costly repairs or replacements in the long run. With these detailed instructions and maintenance tips, you can confidently tackle the task of descaling your Keurig, keeping your coffee maker in top condition for many cups to come. So the next time you see that “Descale” message, you’ll know exactly what to do to get your Keurig back to brewing the perfect cup of coffee. Happy brewing!

